Custom Name Banner
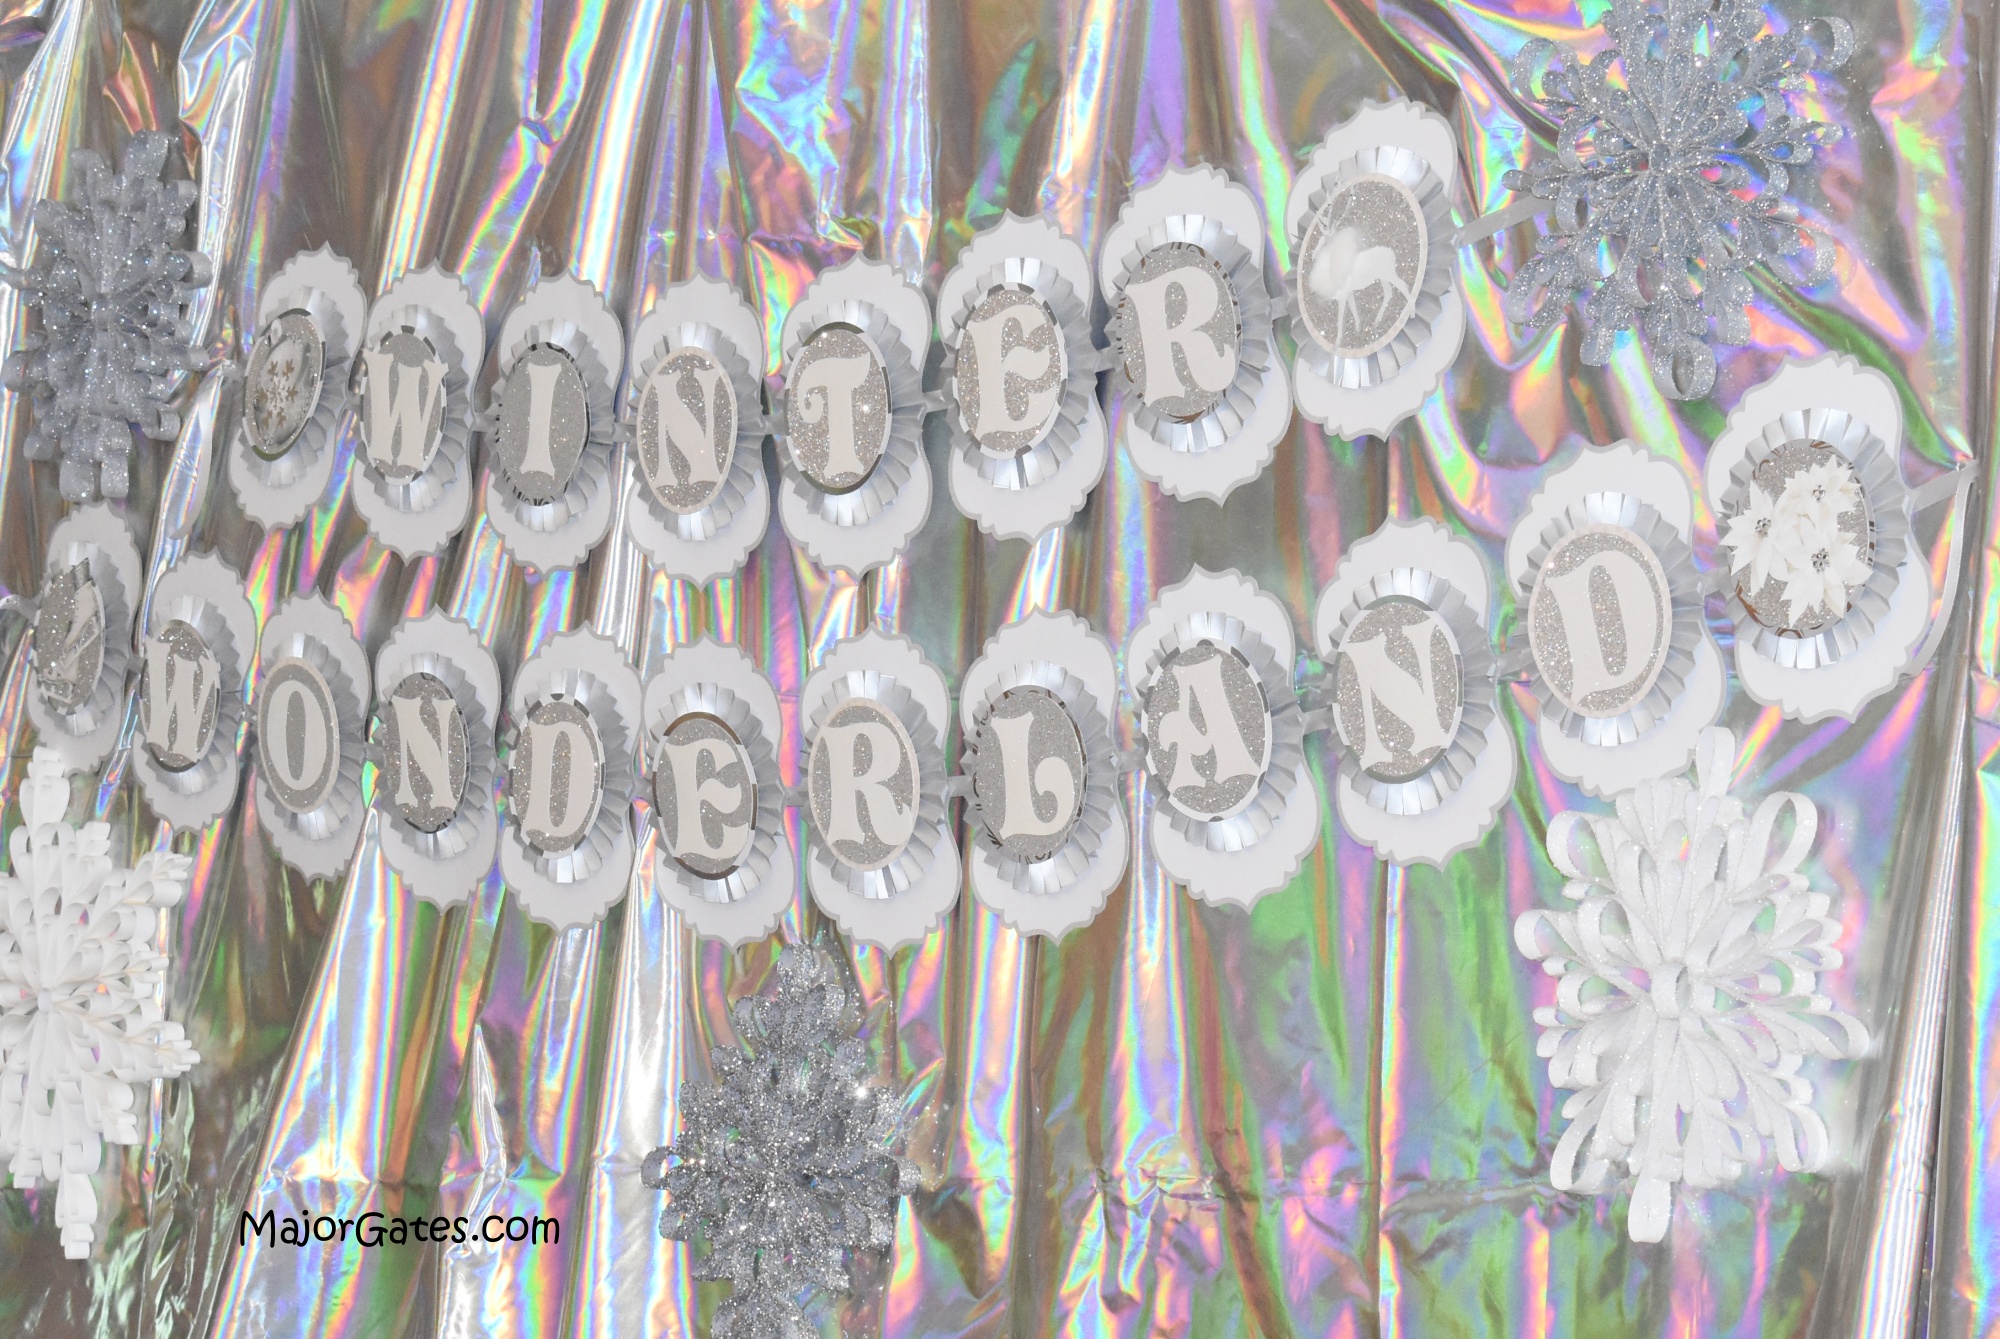
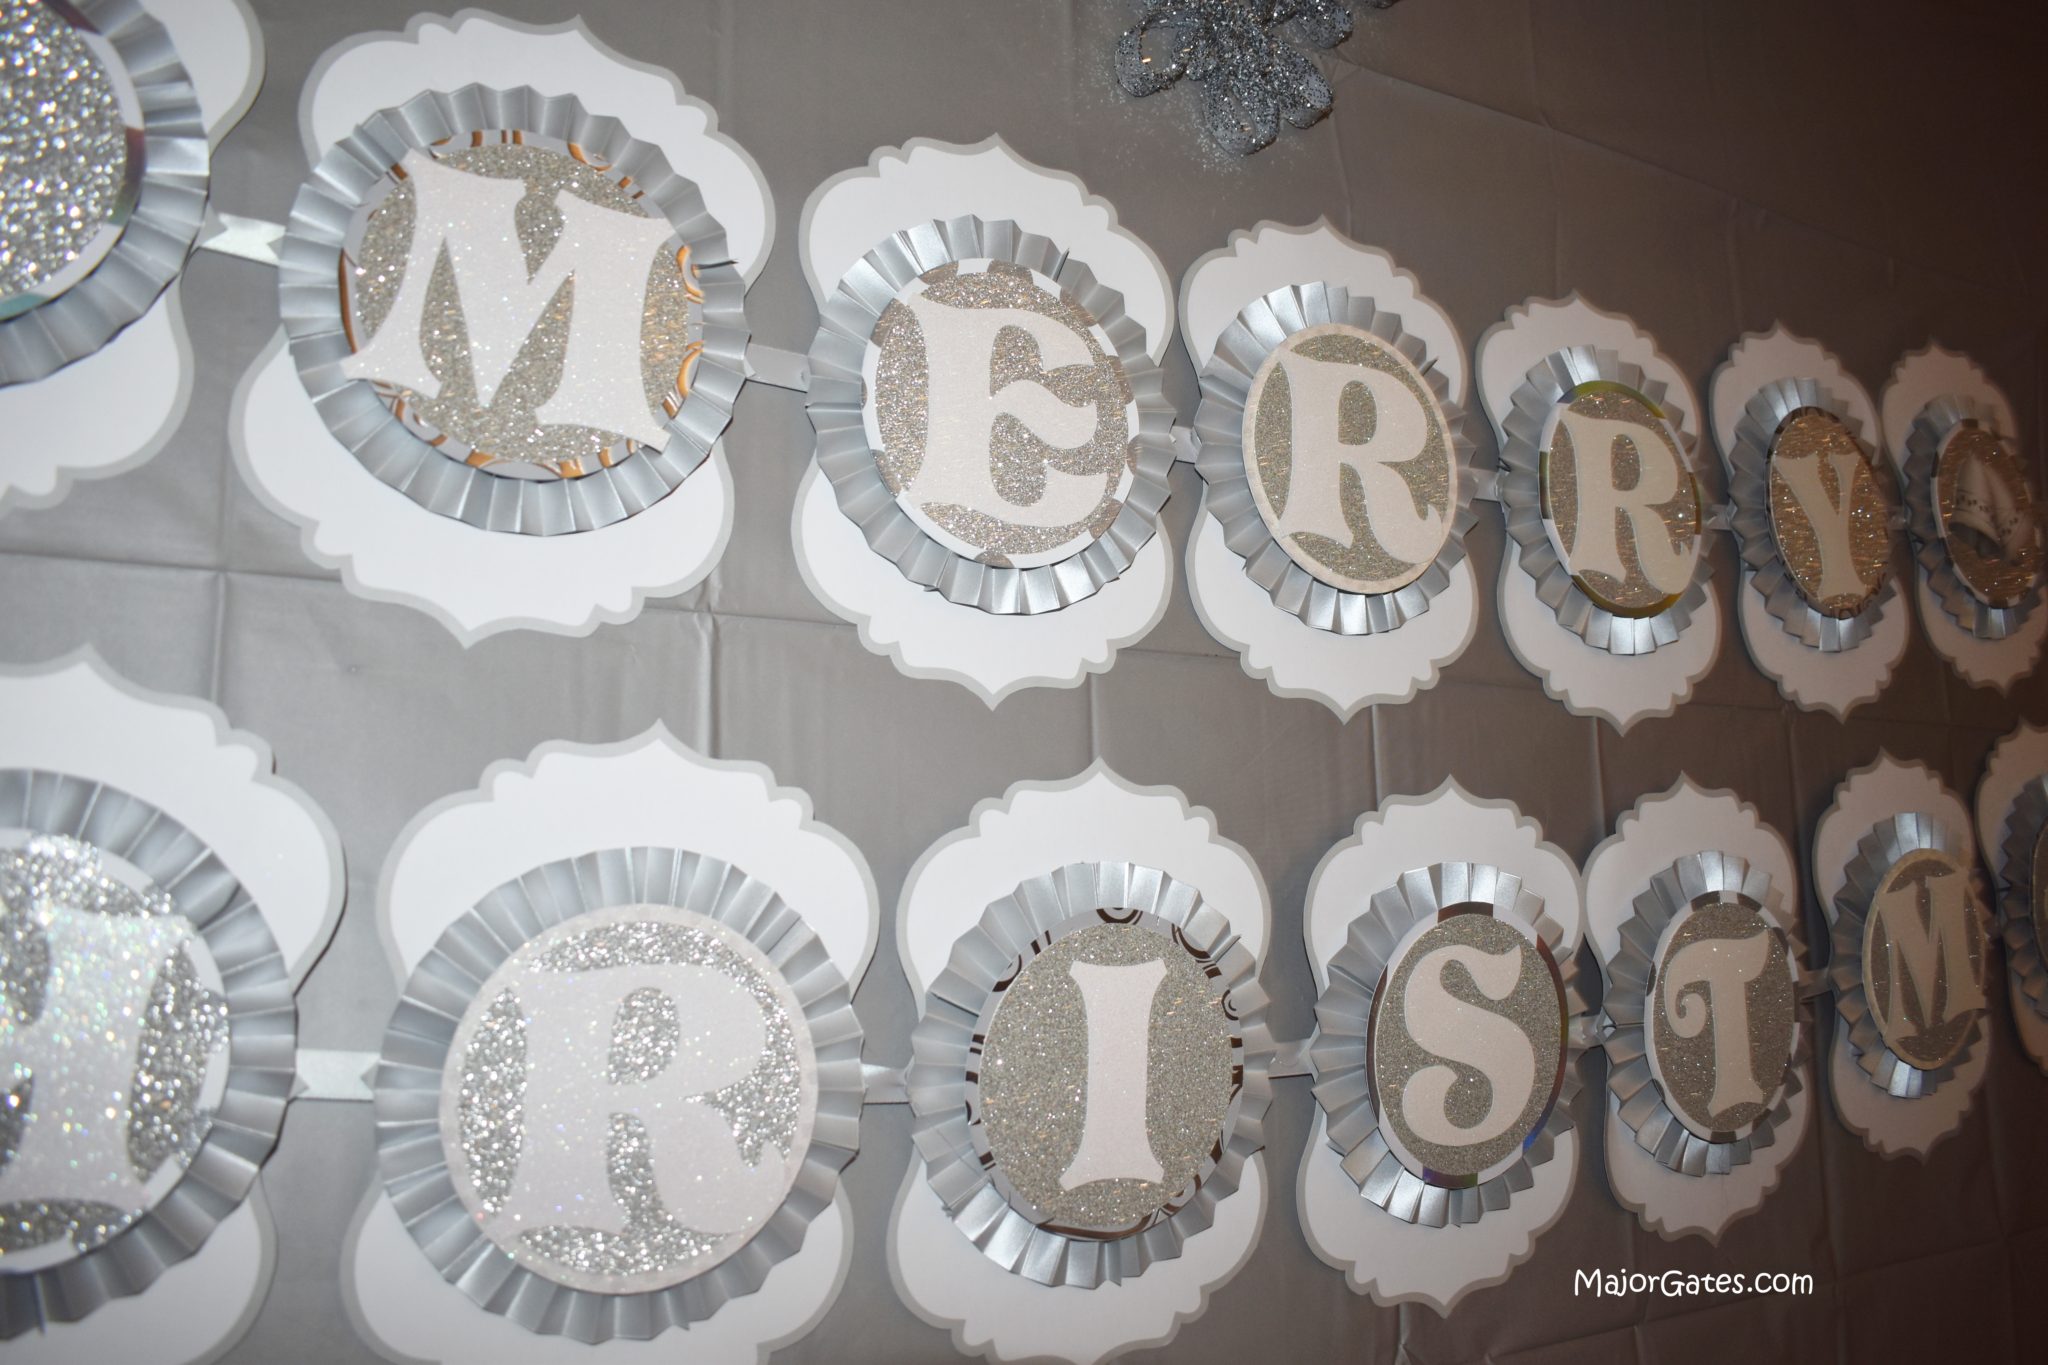
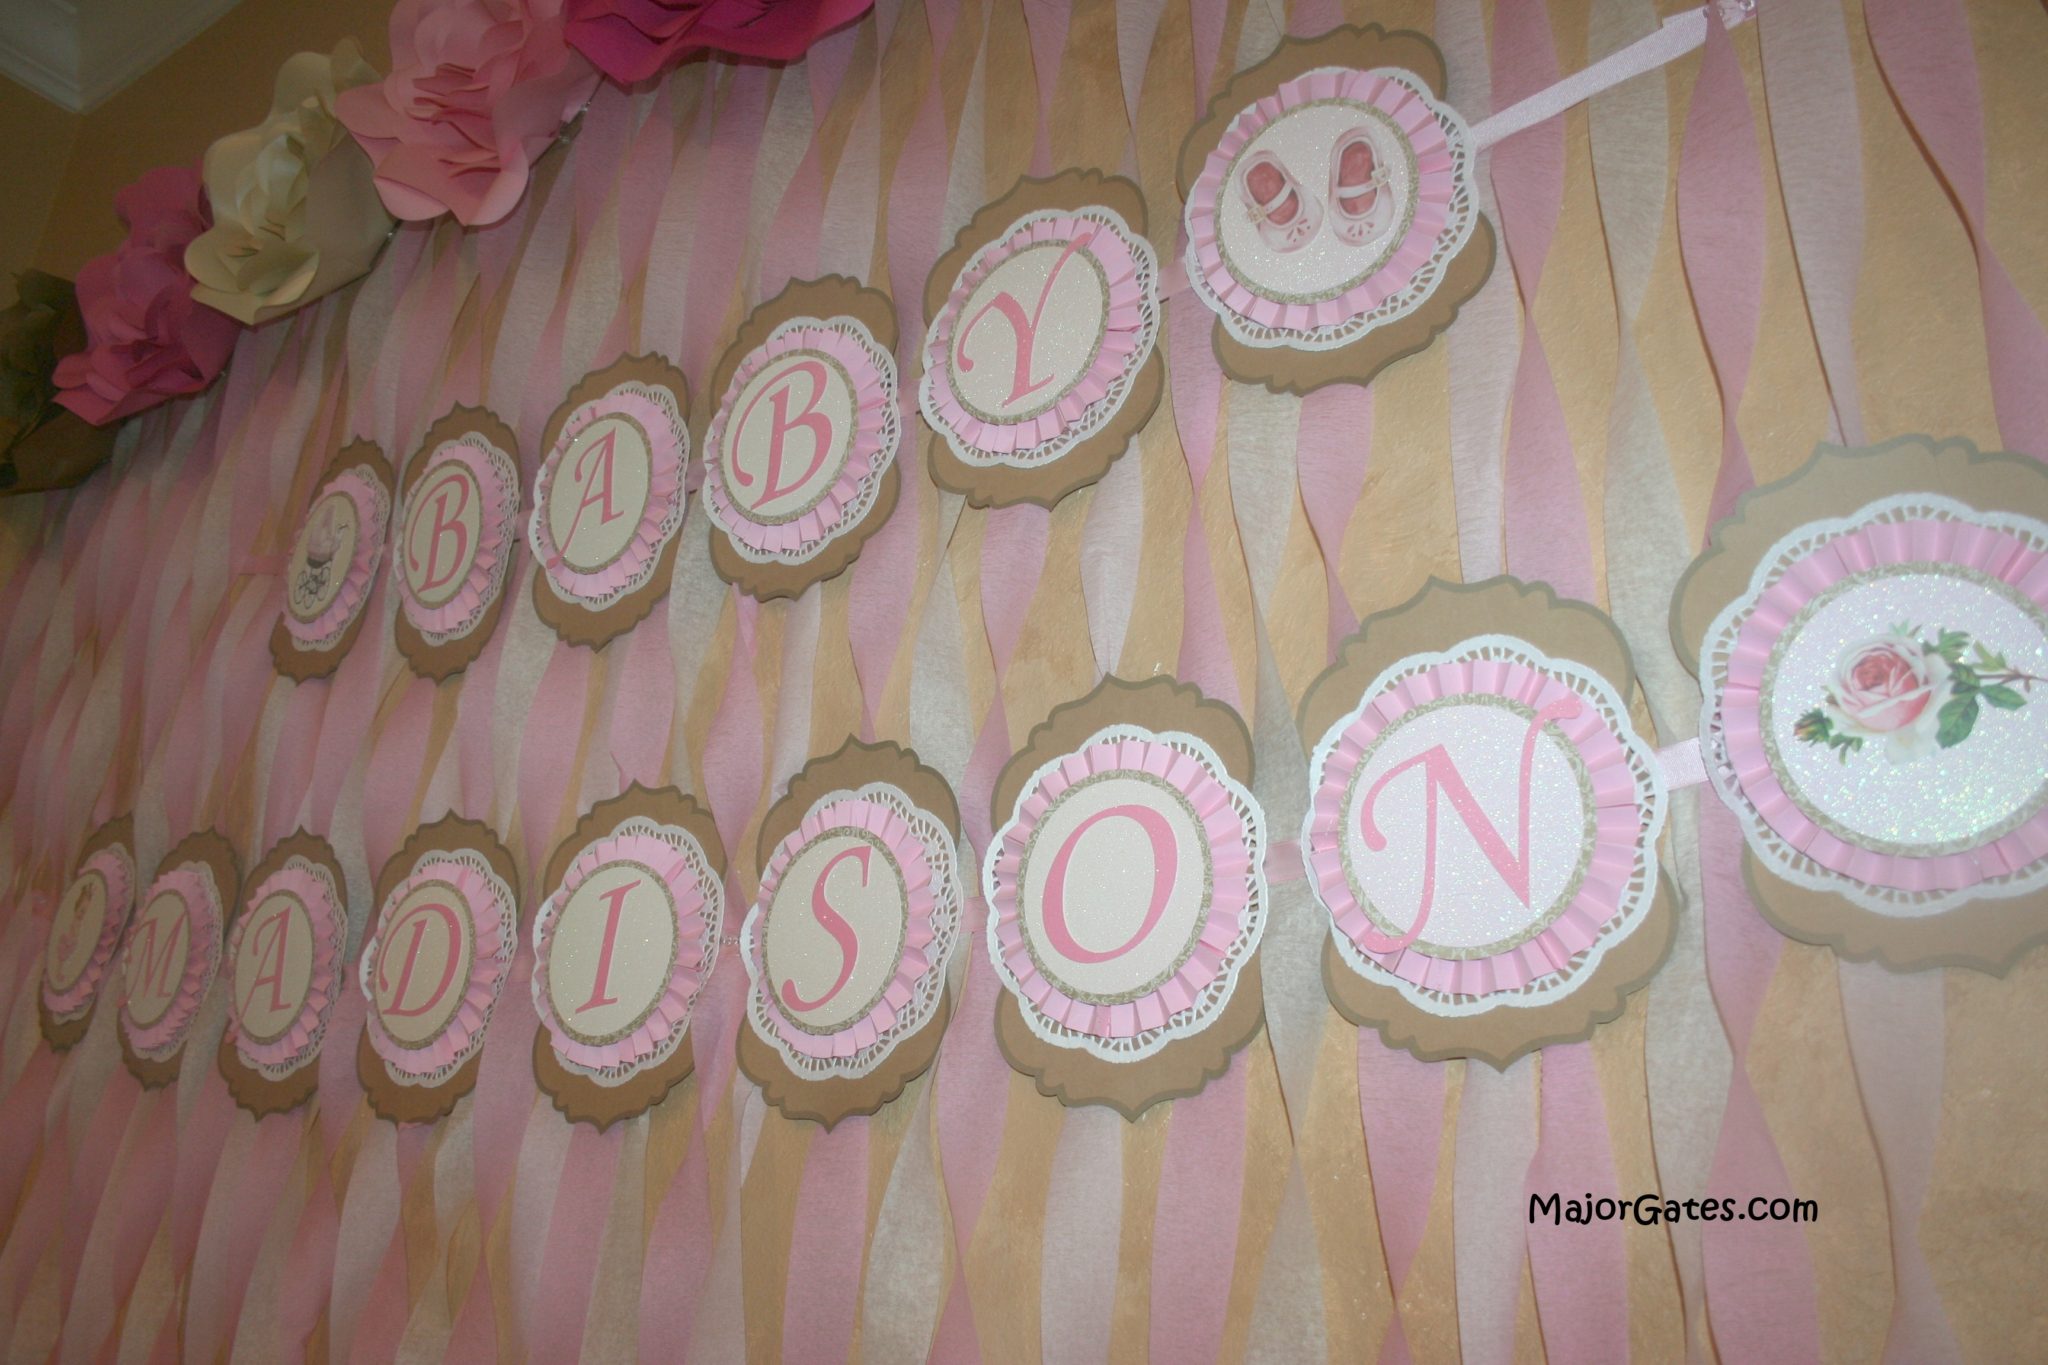
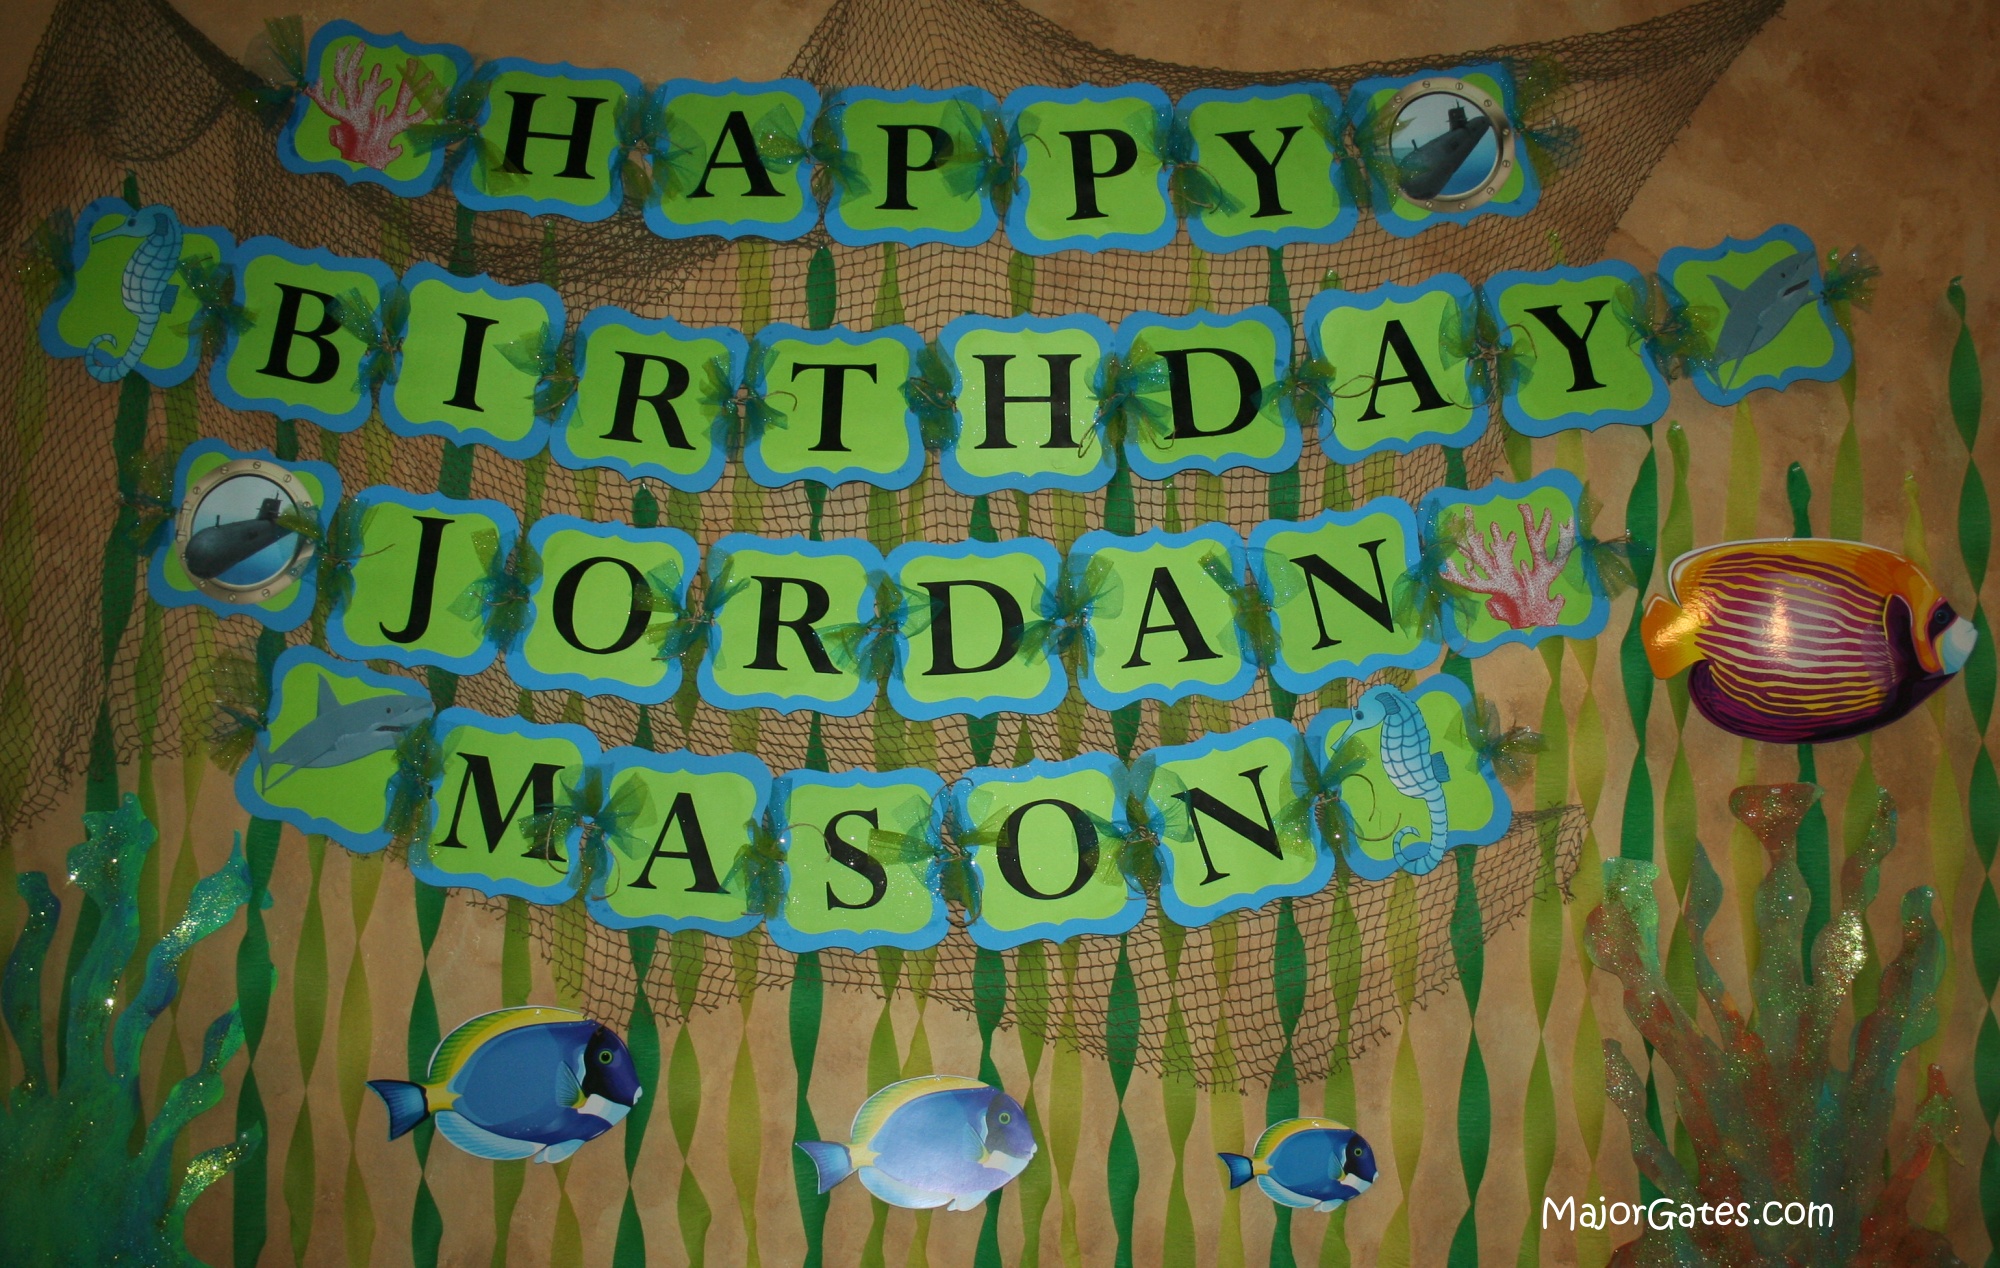
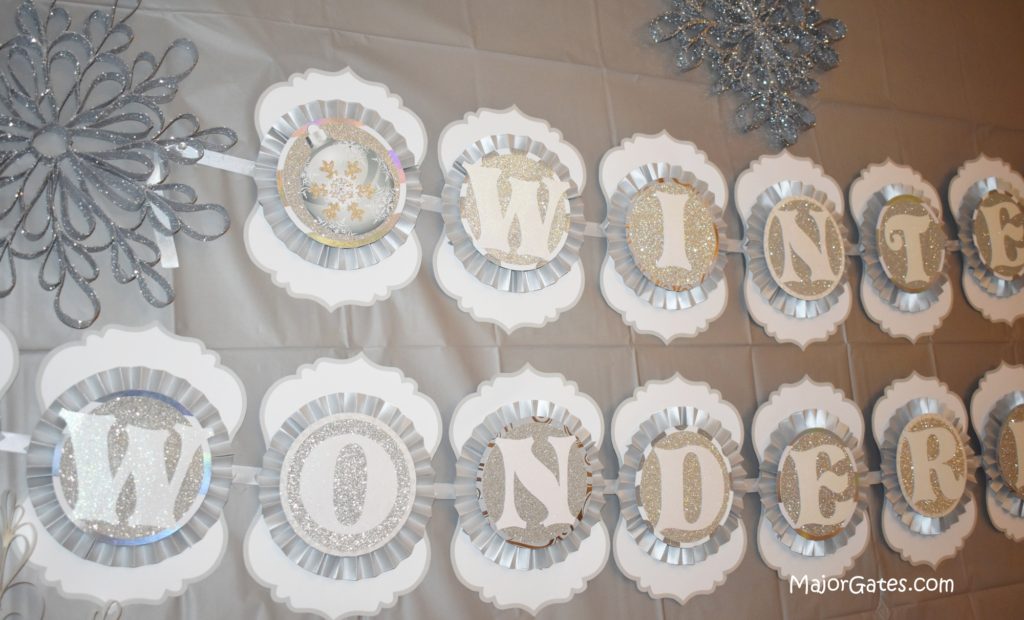
Making a custom name banner is a unique experience for your event or party. You can customize these layered banner’s any way you like. The instructions in this post are for a Winter Wonderland banner. I also have made banners such as: “Merry Christmas”, and birthdays. You can make this type of banner for graduations, anniversaries, showers, retirement, etc., the possibilities are endless.
The more you add to the banner, the longer it will take, so keep that in mind. I like the look of layered banners. This involves several types of card stock in various textures. So the card stock can vary per layer. I like regular, glittered and textured card stock for my projects.
In this example, I will show you how to add an accordion circle to add even more dimension to the banner. For this project, you can manually cut out the banner background or use a cutting machine. Since many people do not have a cutting machine, I will show the manually cut way.
I like to cut paper crafts when I am binge watching shows or movies I have already seen or as a way to to unwind in the evening.
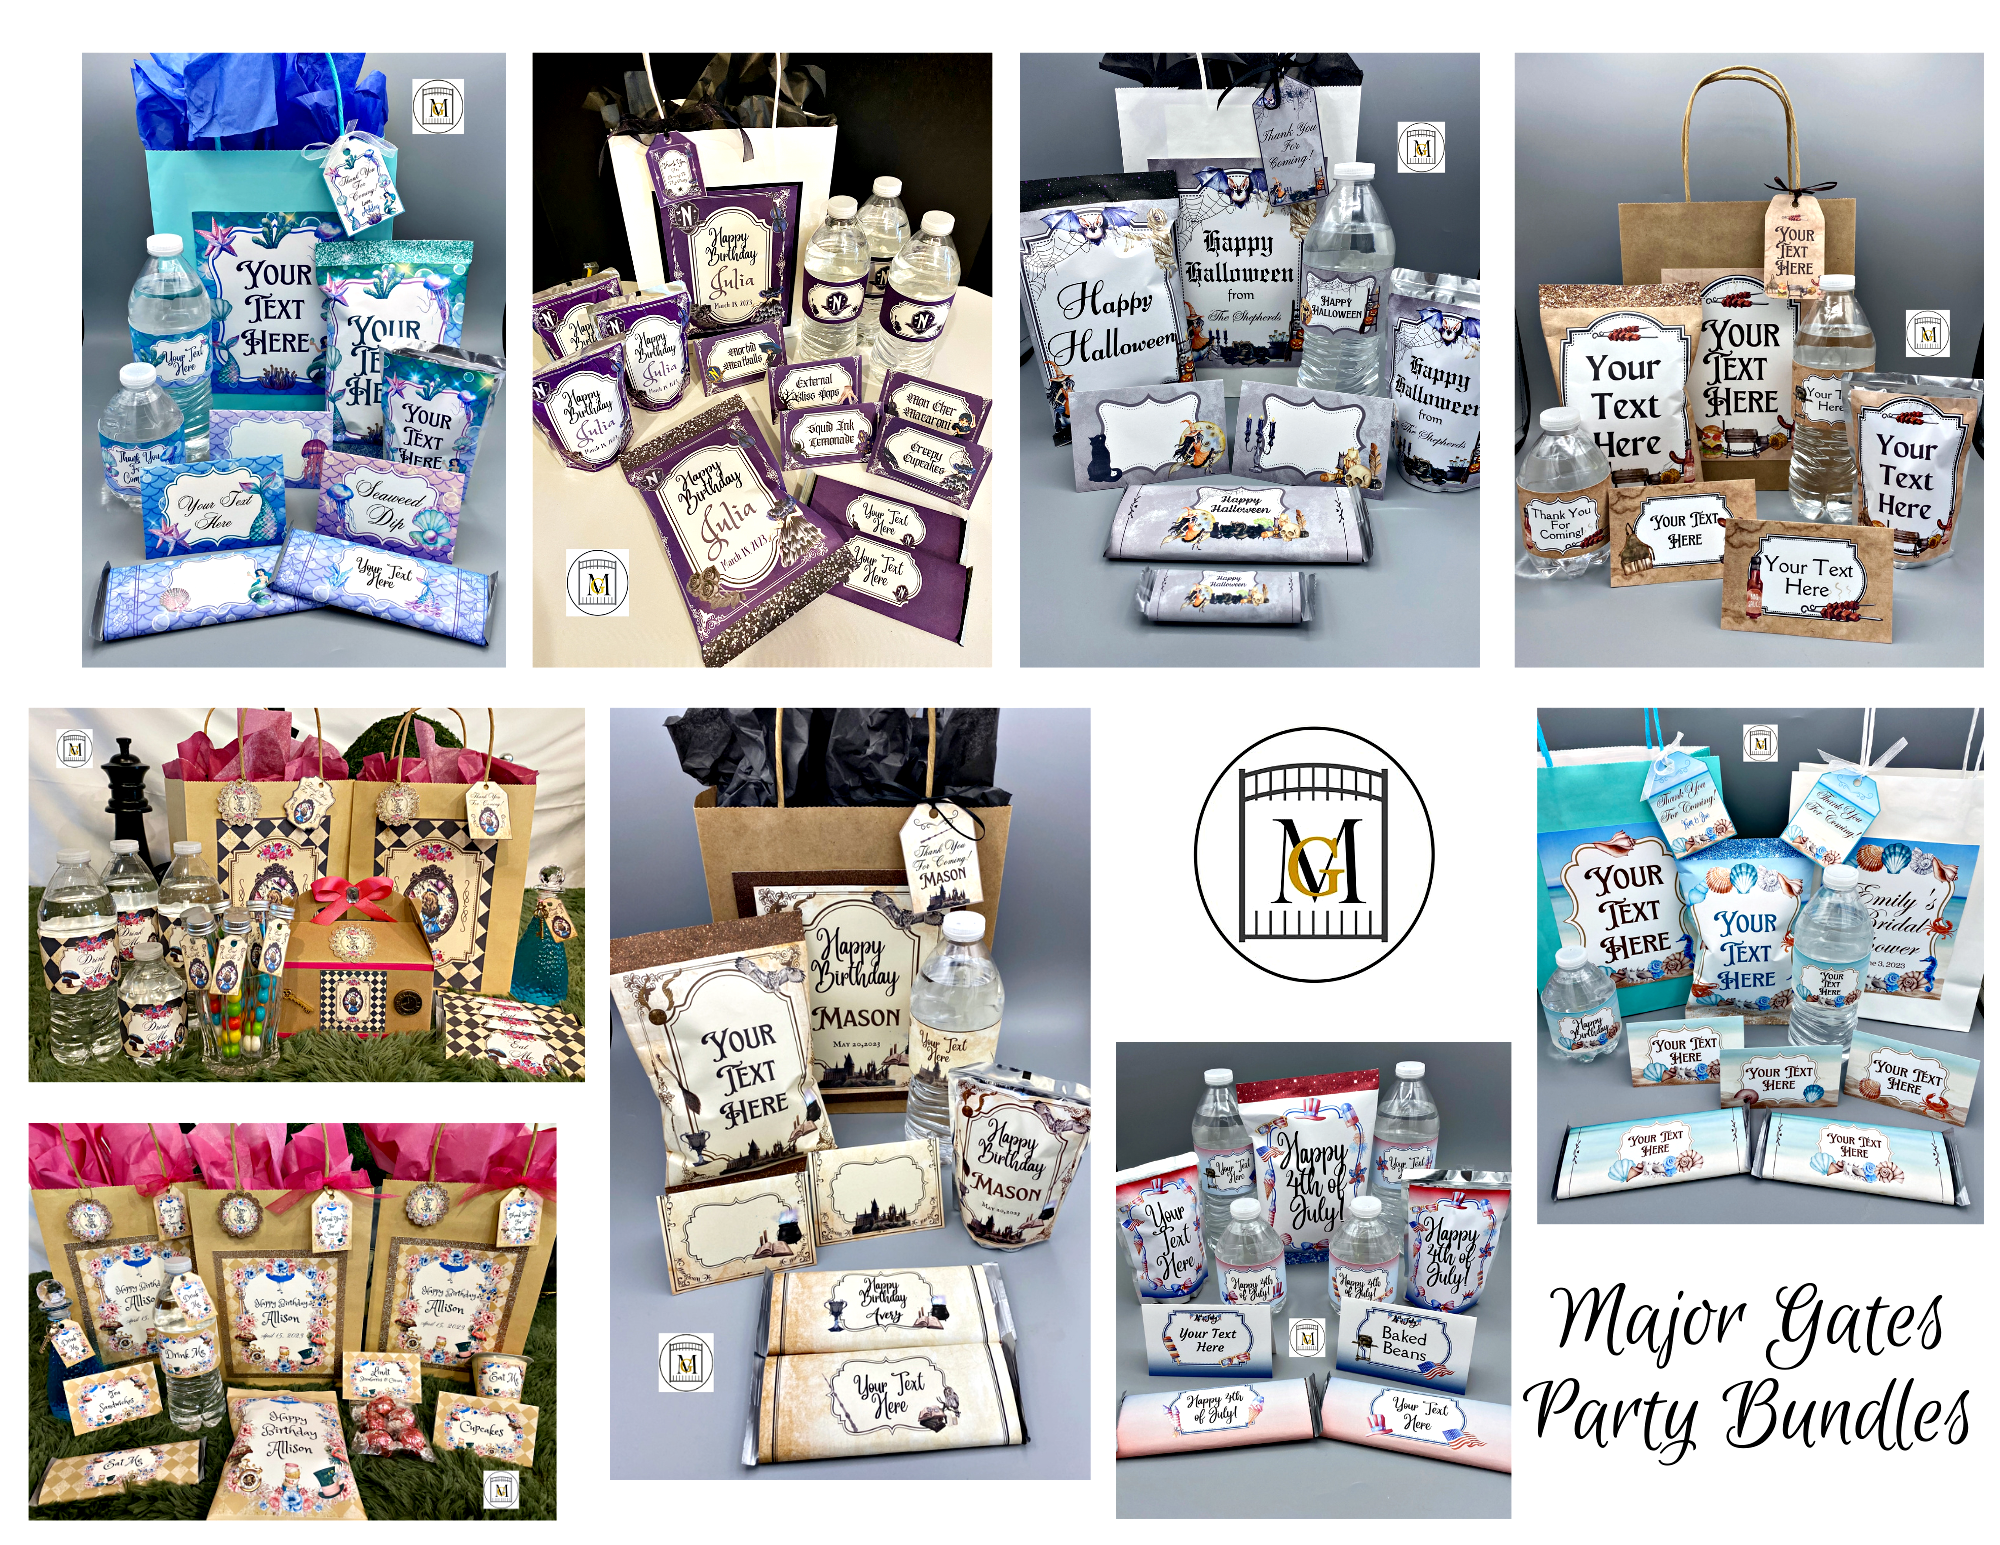
To see my available Party Label Bundle Downloads, click here: https://majorgates.com/product-category/party-bundles/
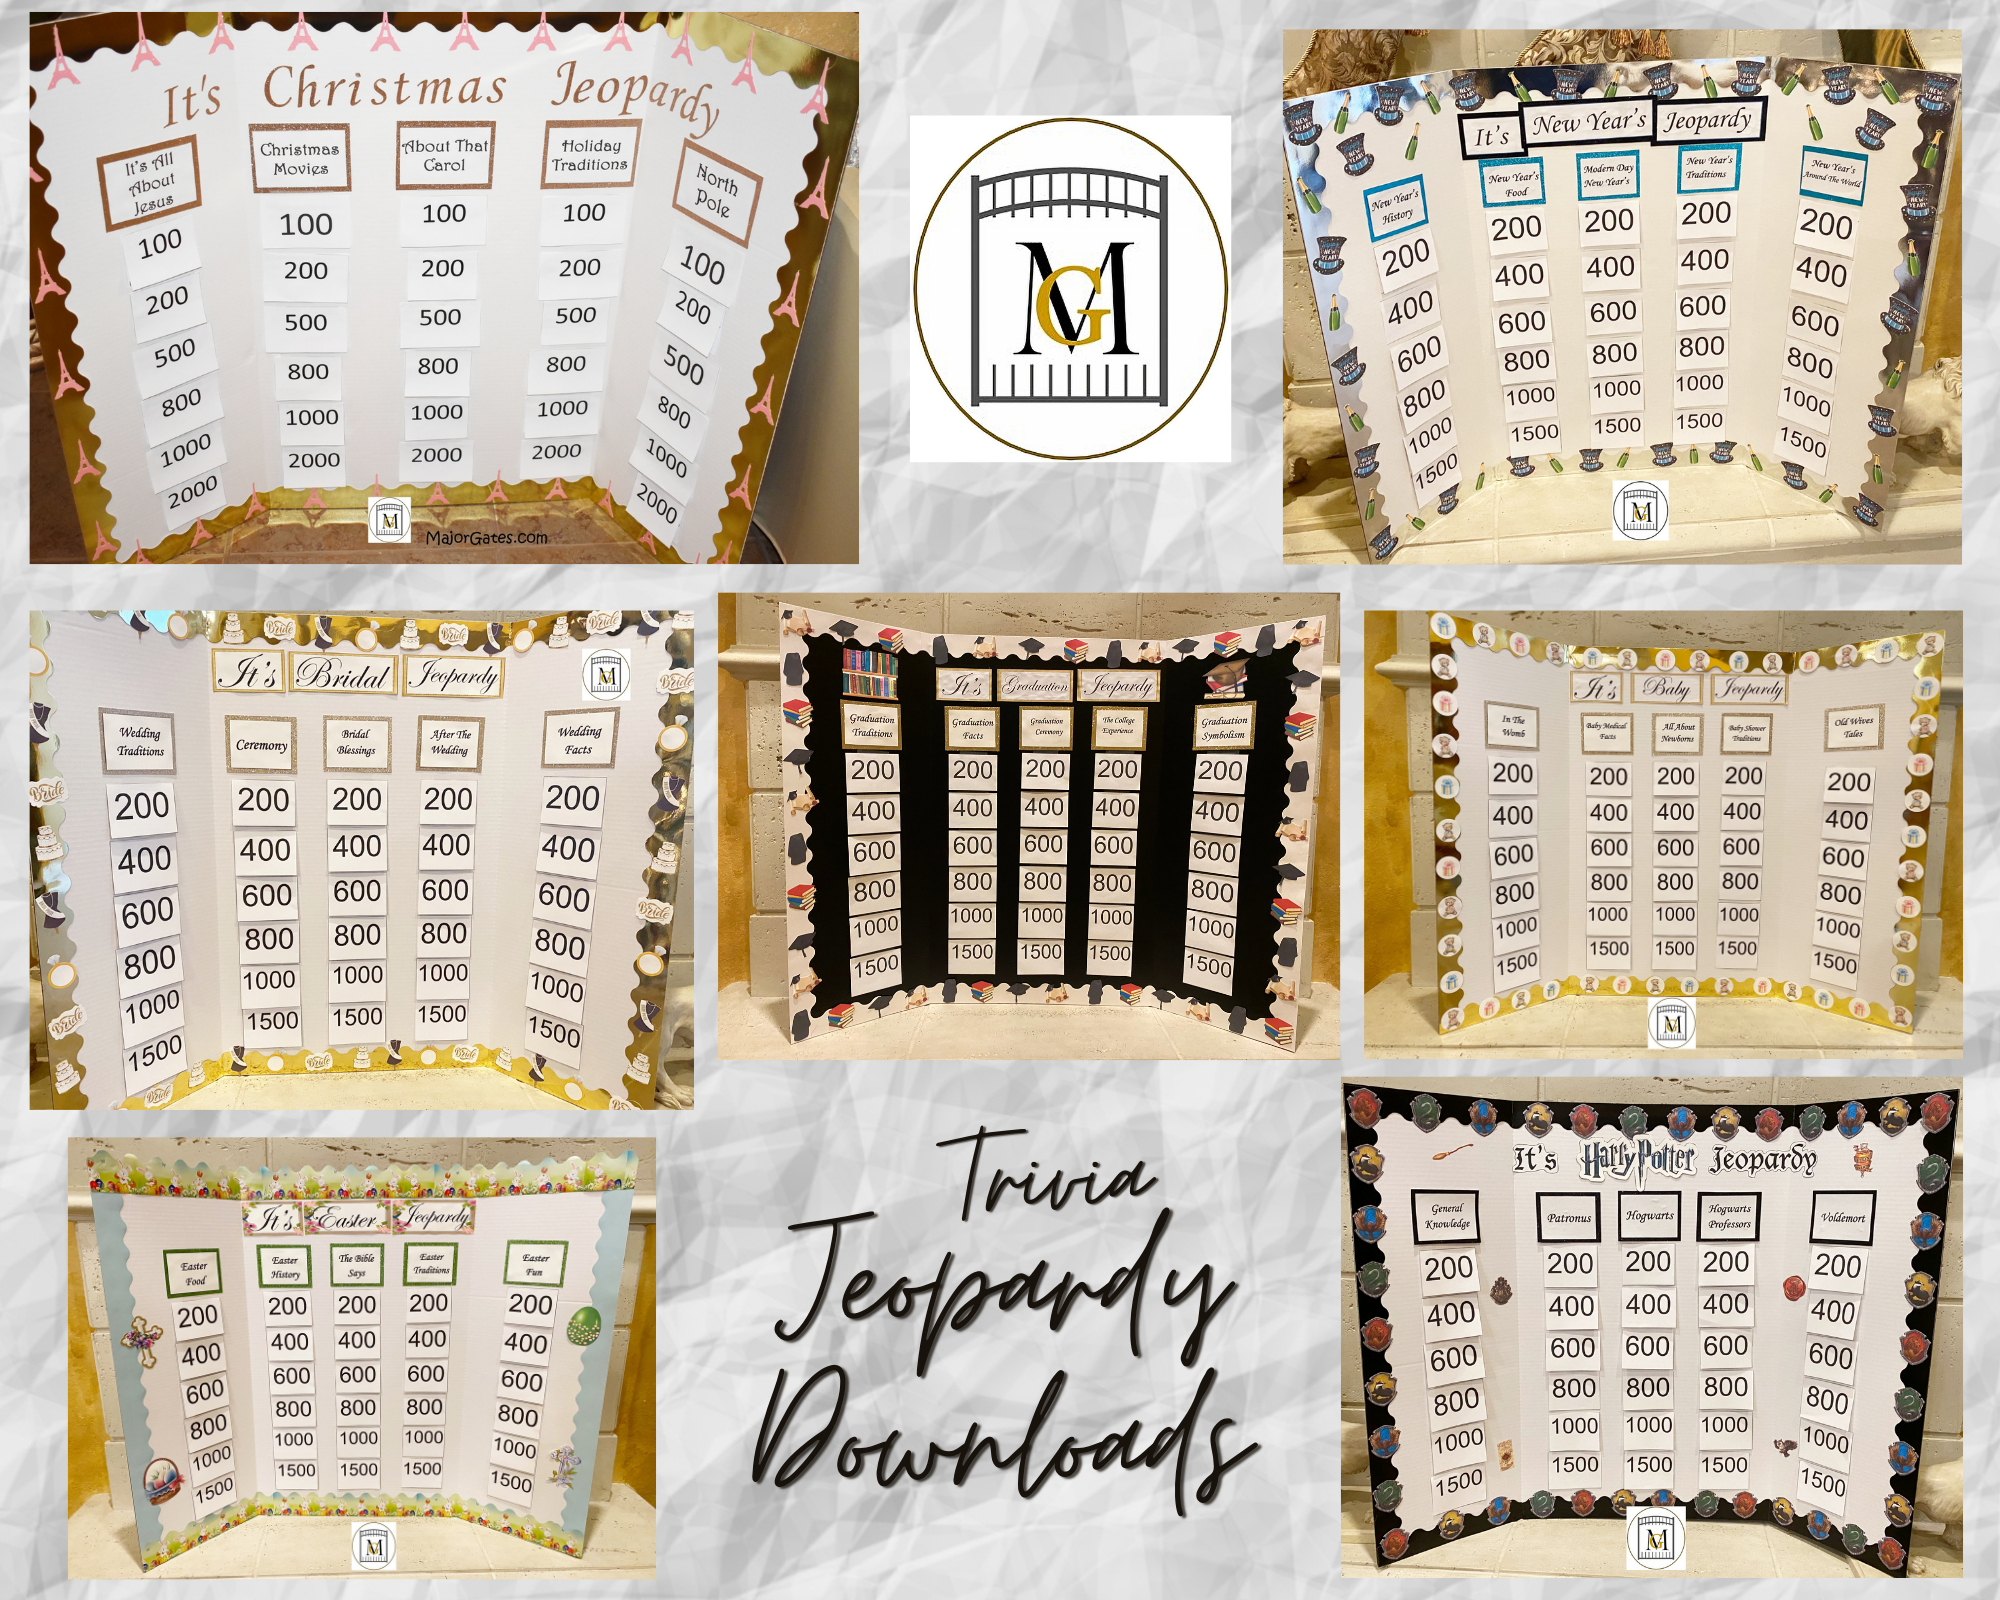
Check out my available Jeopardy/Trivia party downloads here: https://majorgates.com/product-category/jeopardy-trivia/
Don’t Forget To Follow Me On Pinterest!
Supplies
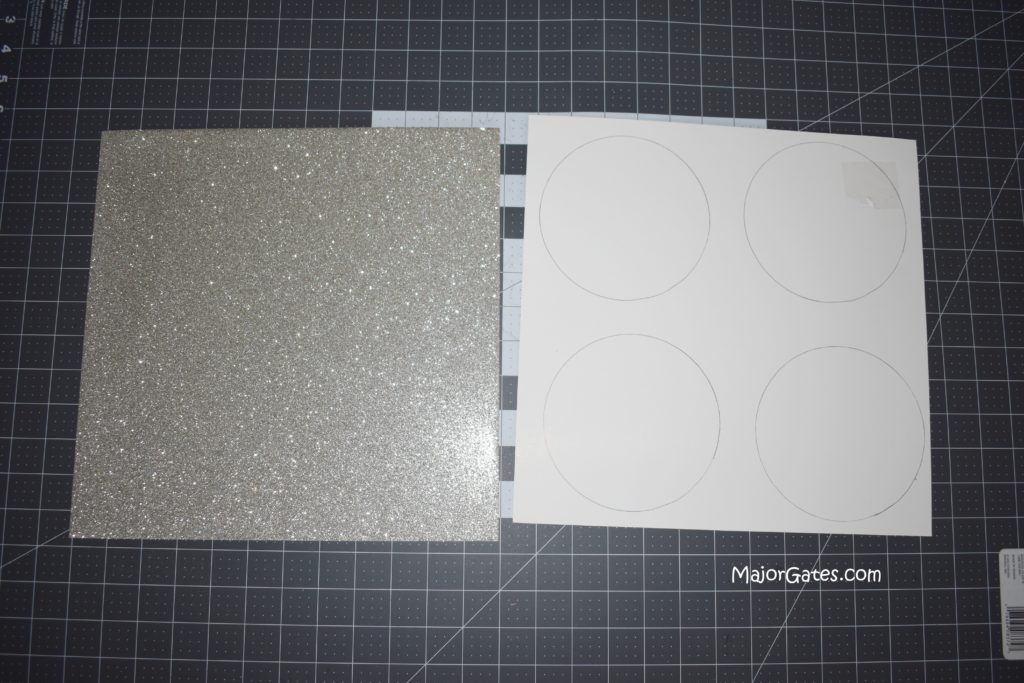
- Card Stock – this can be regular, textured and/or glitter or mix them. I like to buy 12 x 12 glitter or textured card stock because you can cut 4 circles and many letters per sheet.
- Shimmer Paper (if you are adding accordion circle) – card stock is too thick
- Banner Template – I like to make my own and I will explain how to do this or you can purchase on-line
- Scoring Board
- Bone Folding Tool
- Multi-Temperature Hot Glue Gun and glue sticks
- Regular Glue Sticks
- Party Theme Images (optional)
- Scissors
- Craft knife
- Ribbon(s) – I used a 5/8 inch wide satin ribbon
- Command hooks or push pins
Directions For Custom Name Banner
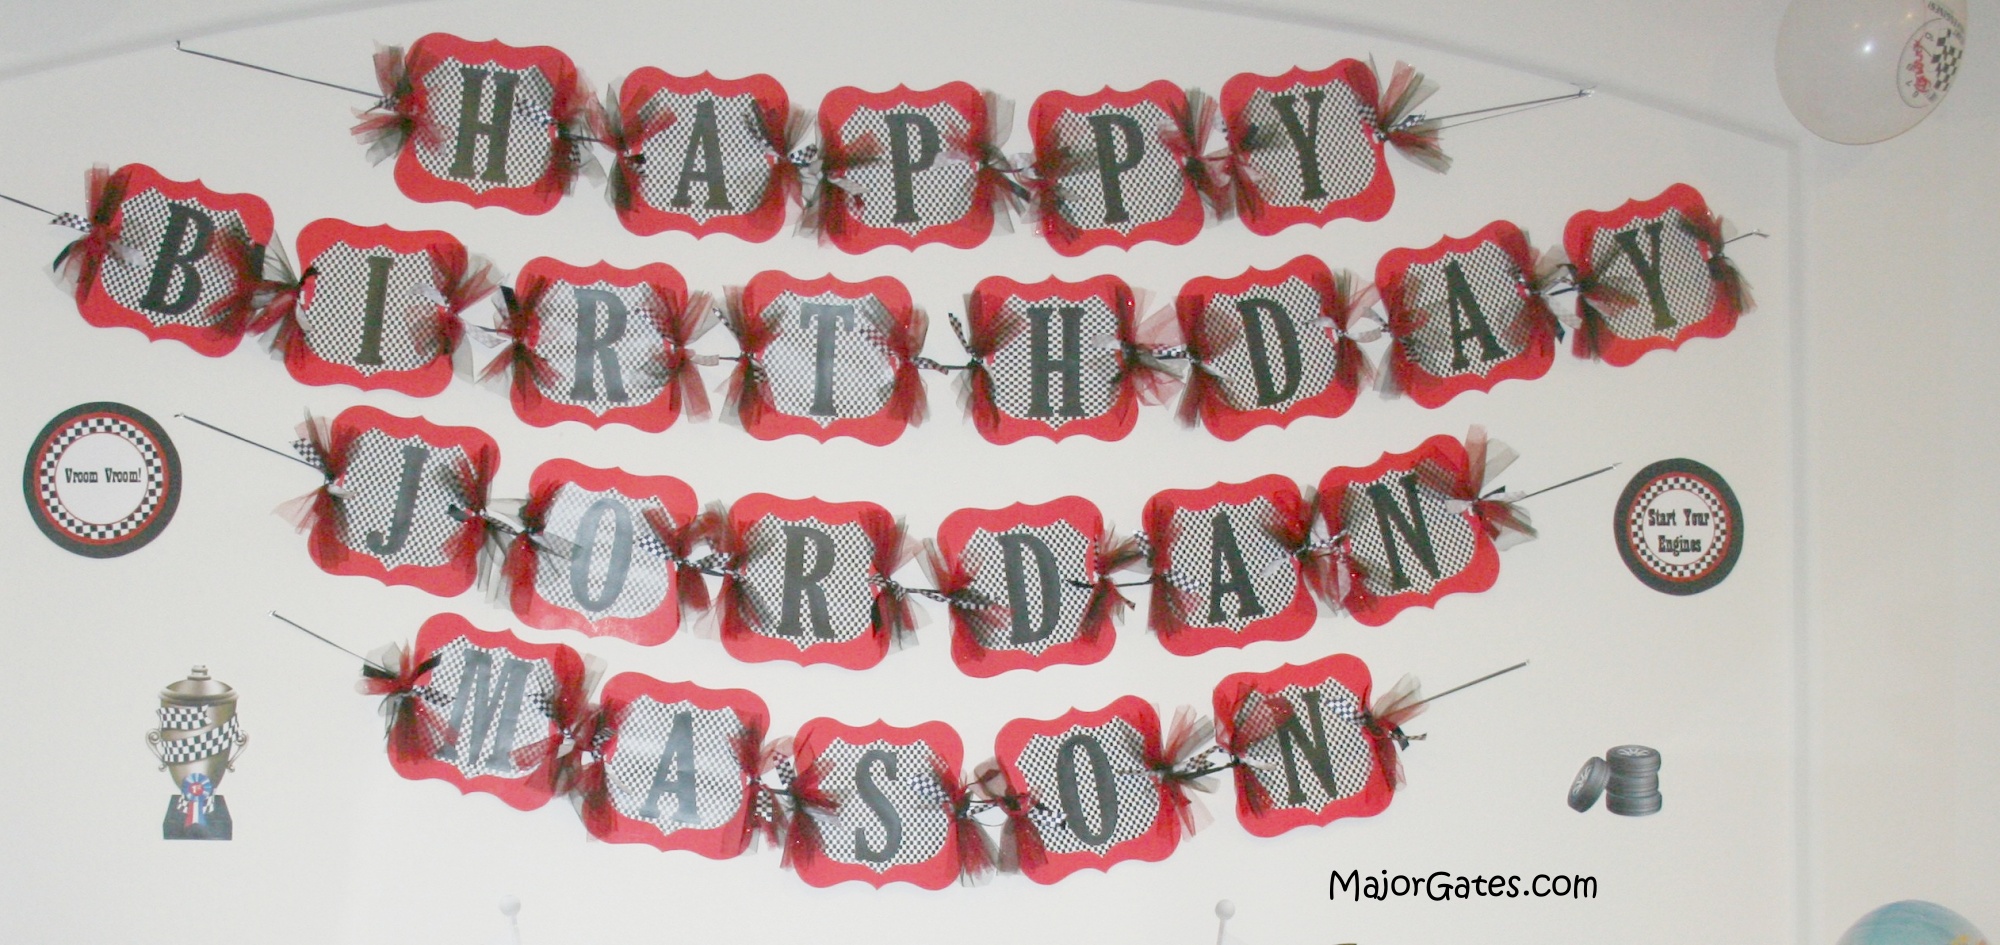
- Search the internet for Name Banner images and determine the shape you would like your banner to be in. Consider triangle, square, flag, circle, or search for label templates for different shapes. Then save the shape to your computer.
NOTE: Any image you find on the internet and use is for personal use only. If you plan to reproduce and sell images you found on the internet, you must get permission of the image owner. They may charge a fee to use their image for resale.
- Now determine the size you want the banner templates to be. I will be showing you how I made a scallop banner that is approximately 7 1/2 inches wide x 10 1/2 inches tall. I recommend banner backgrounds to be at least 7 inches tall to 12 inches tall. This depends on your space or wall you are decorating and the number of letters you need.
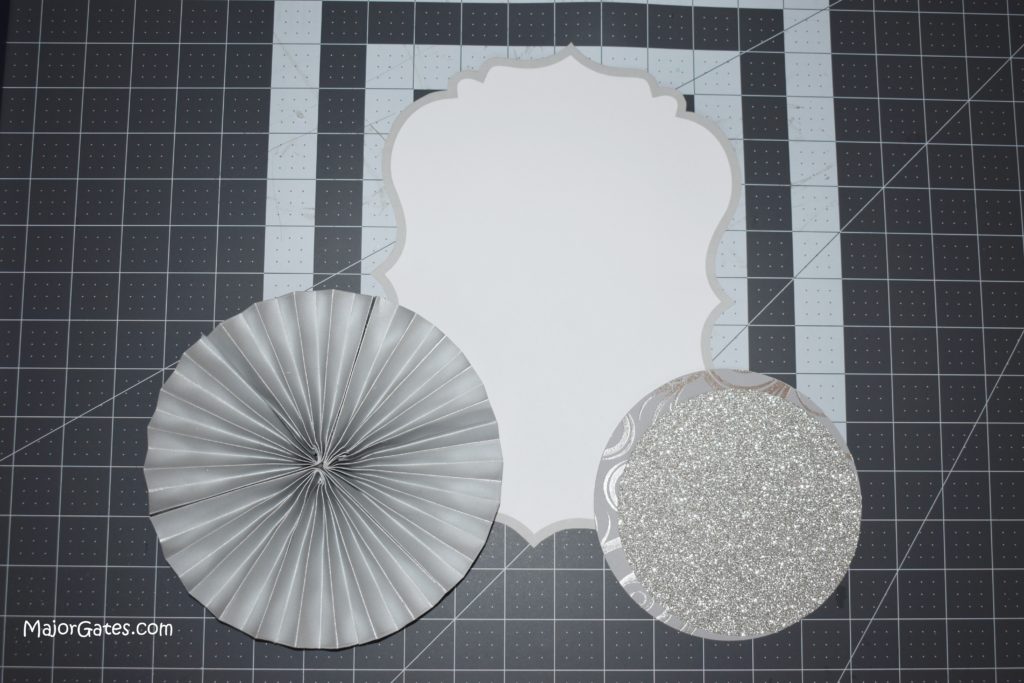
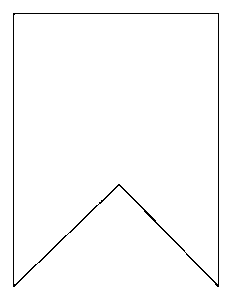
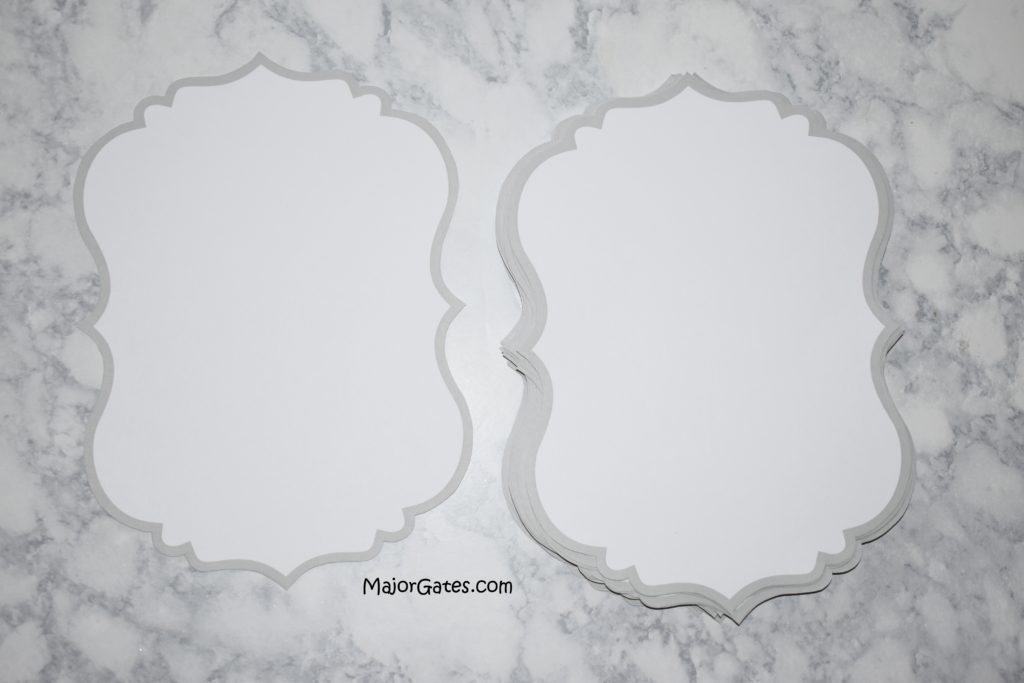
- Once you find a template you like you need to print it out on 8 1/2 x 11 inch card stock. I like to use heavy card stock but you can use regular 65lb cardstock as well. You can either hand cut out each one with scissors or use a cutting machine like Silhouette or Cricut. I chose to hand cut these out.
Accordion Circles
- Next, add the accordion circle layer. To do this, score 1/2 inch lines lengthwise on 8 1/2 in x 11 in paper or light weight shimmer paper. I do not recommend using card stock to make accordion circles. It is very hard to fold and bend heavy cardstock in accordion layers. Use either regular paper or shimmer paper.
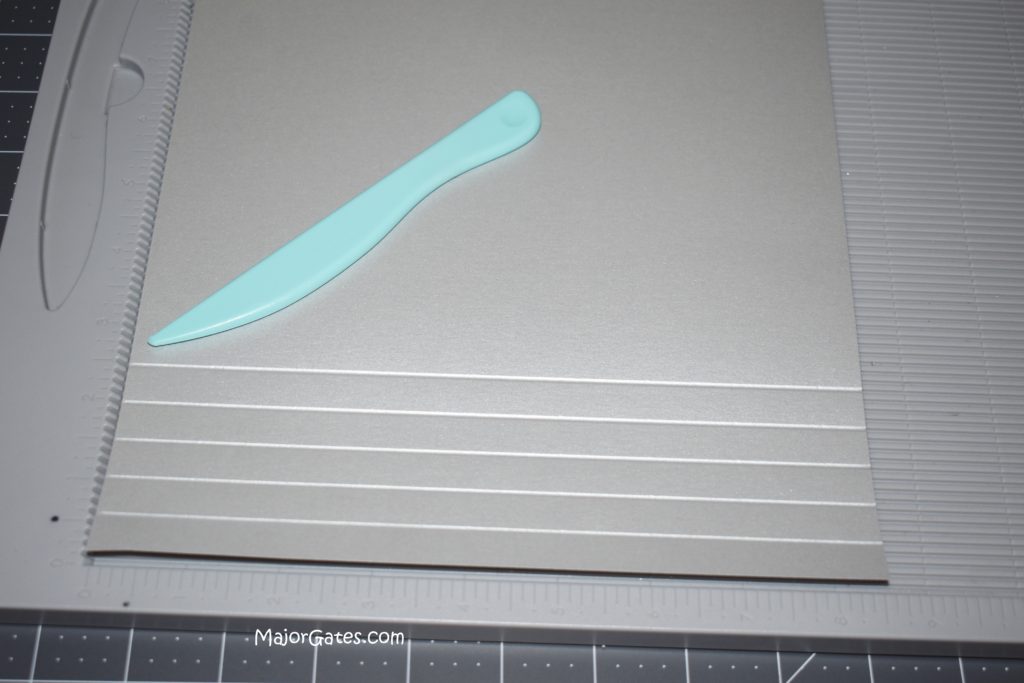
- I scored off 1 1/2 inches to get the size circle I needed. But play with the size you need by using scrap paper. So the goal is to have a circle that is large but smaller than your background.
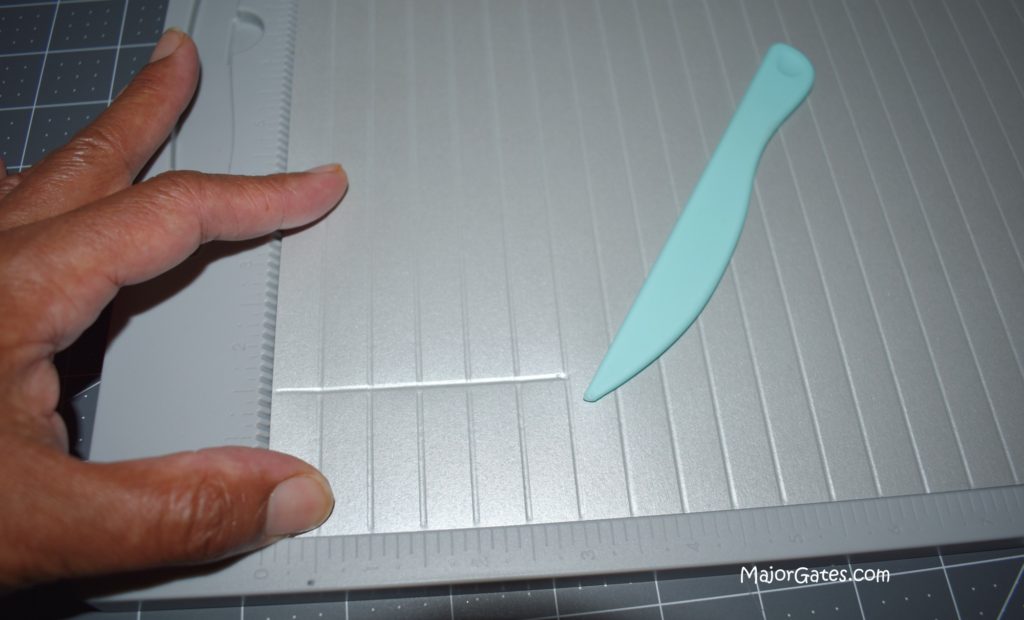
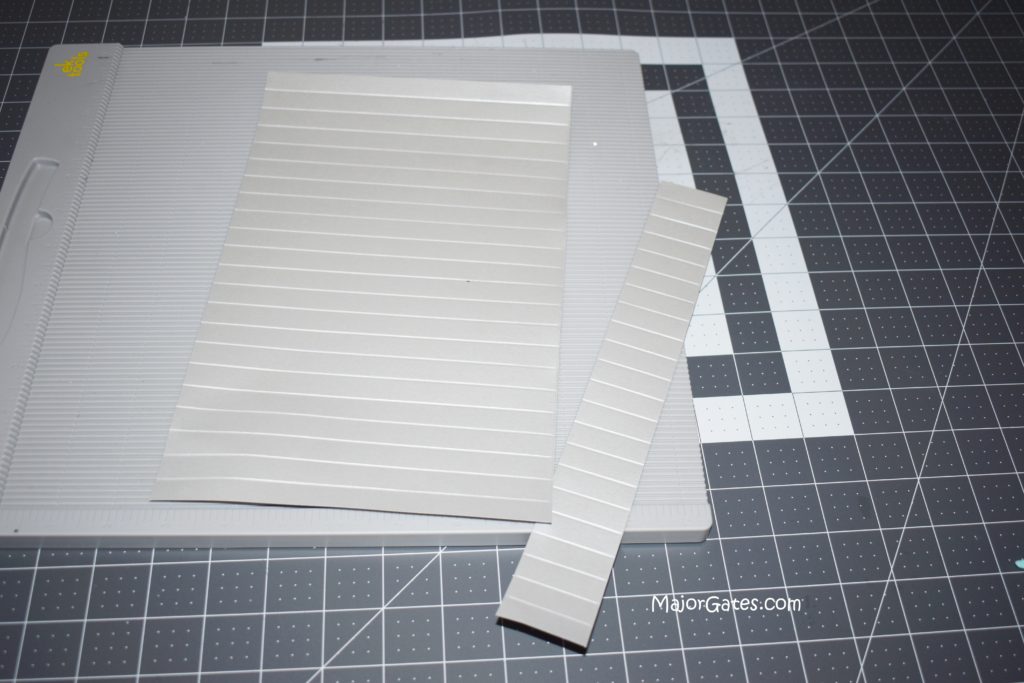
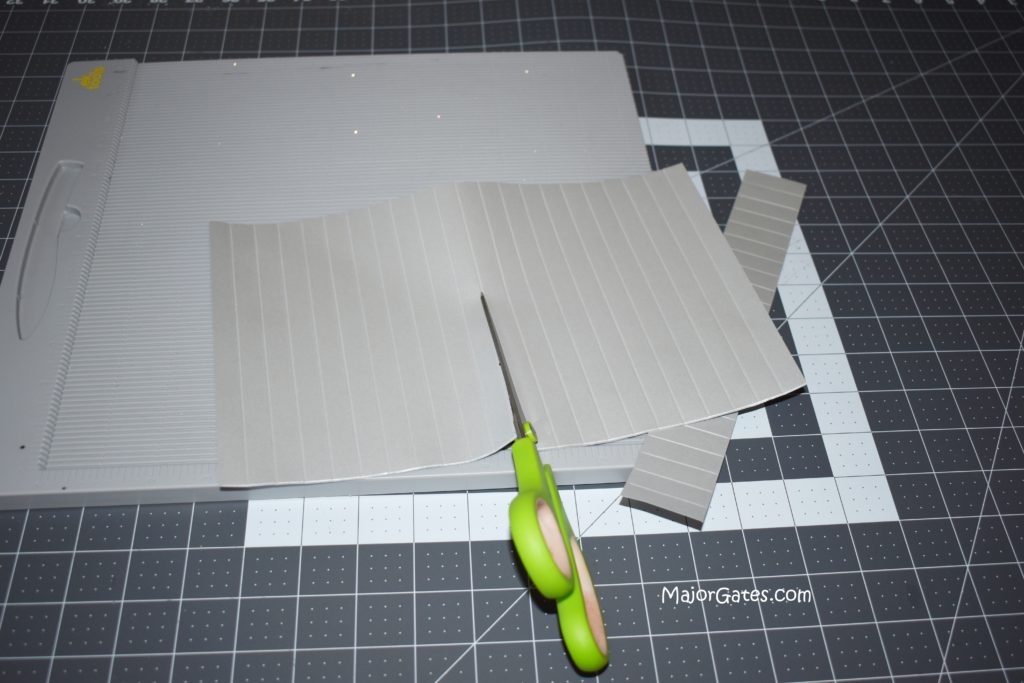
- Then cut the 11 inch paper in half at 5 1/2 inches. So make a small line, so you know where to cut.
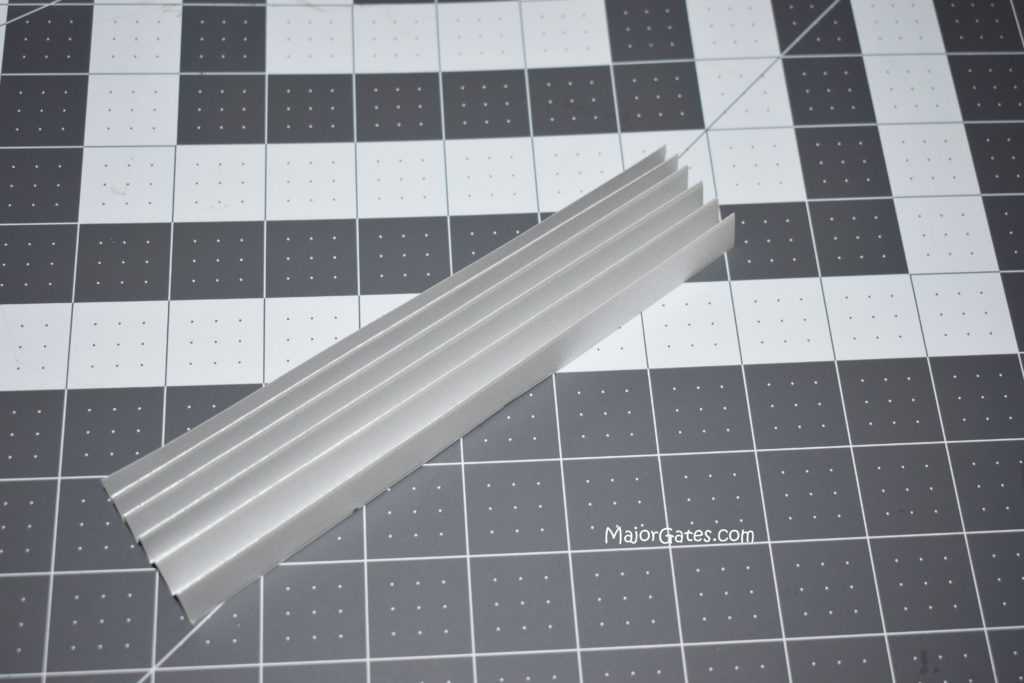
- Then fold back and forth to make the paper into accordion folds.
- Now fold in half and glue inner edges with regular glue. For this circle, I used 3 accordion fold groupings.
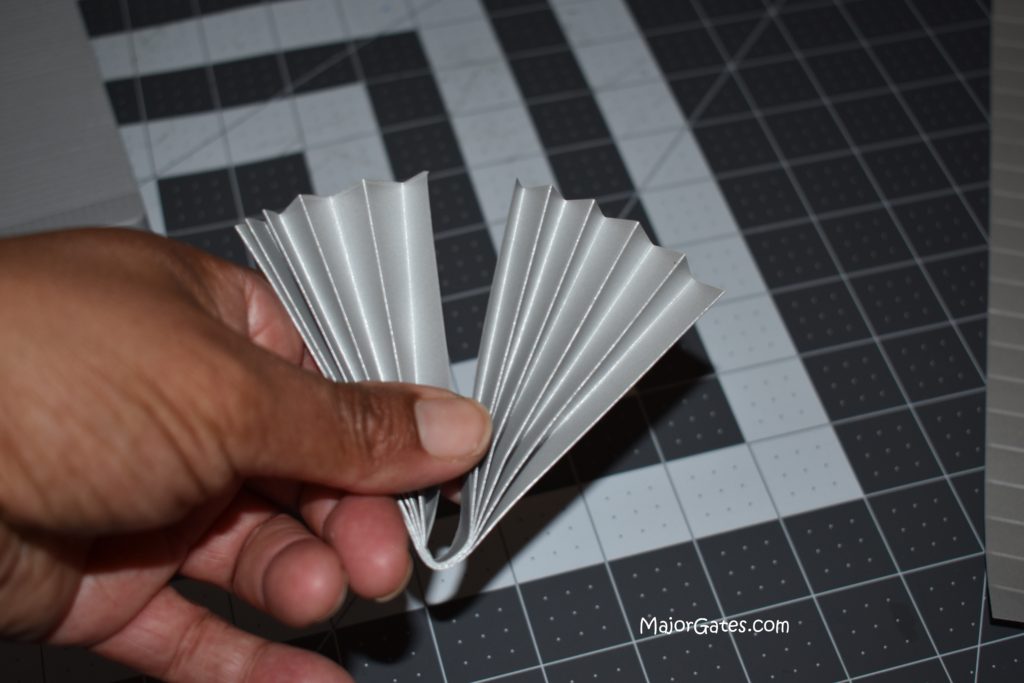
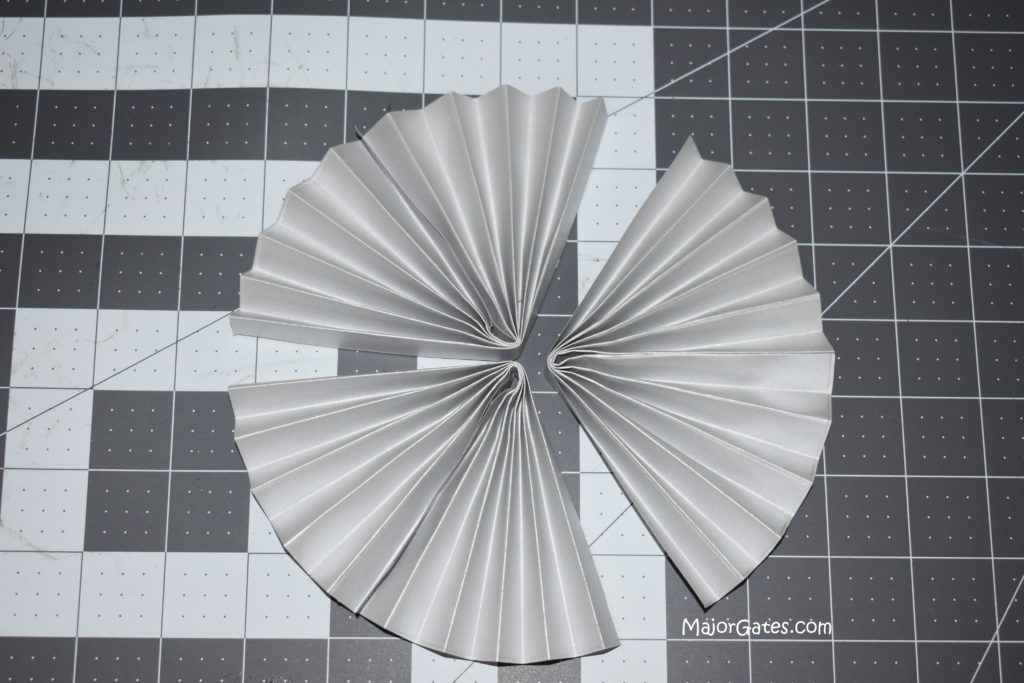
- I secured the accordion sections with hot glue. It is okay if the center is not perfect, because you will be covering it with a circle anyway. The important thing is the have the edges align.
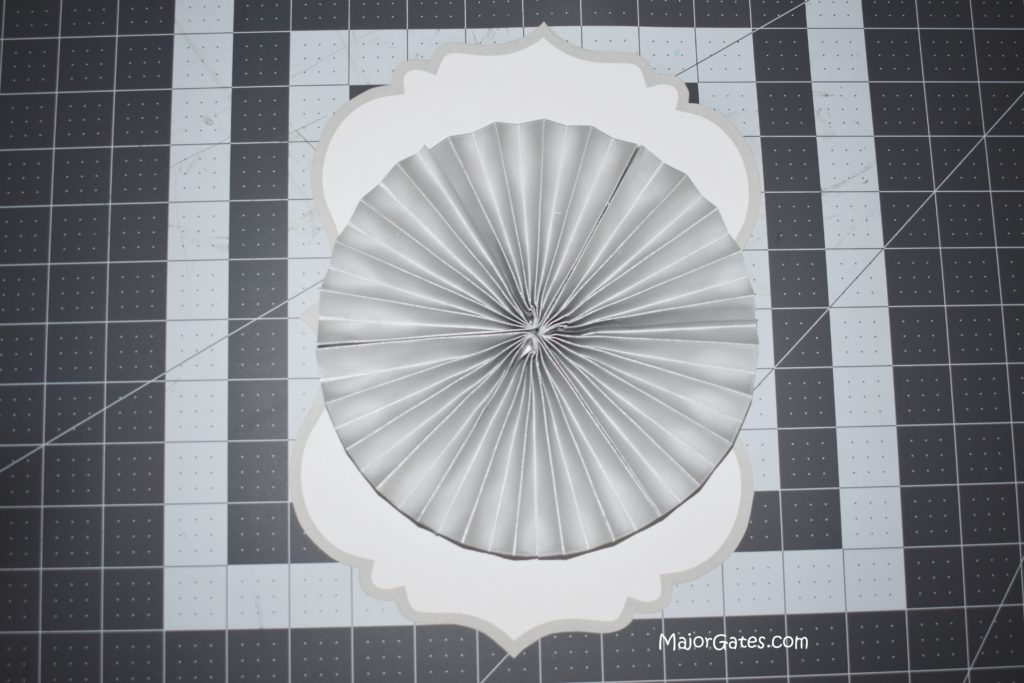
Create The Circles and Letters
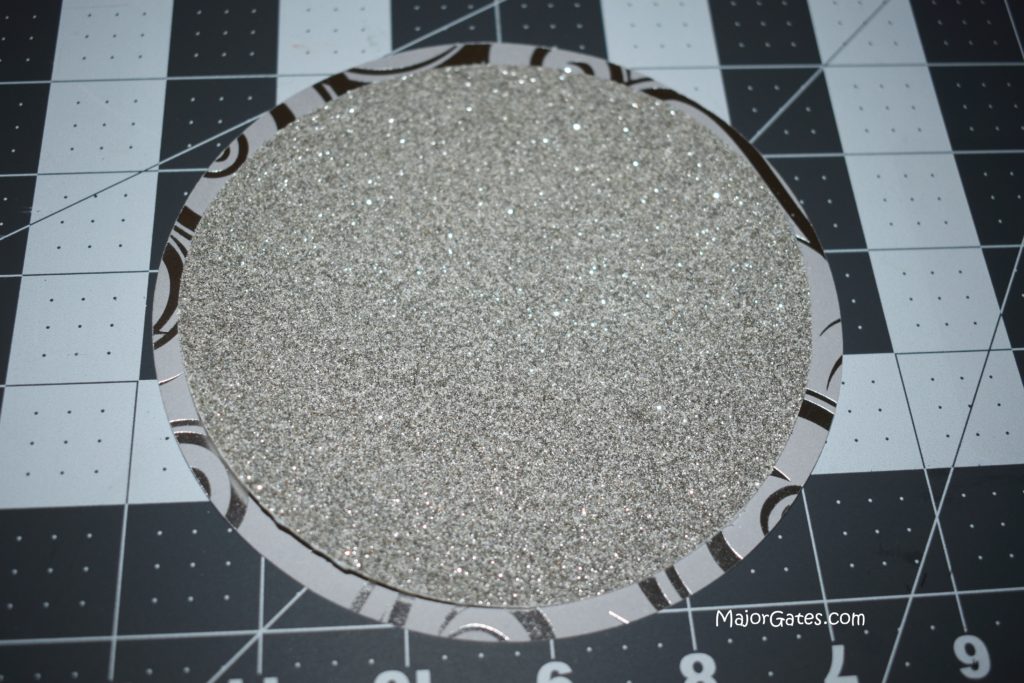
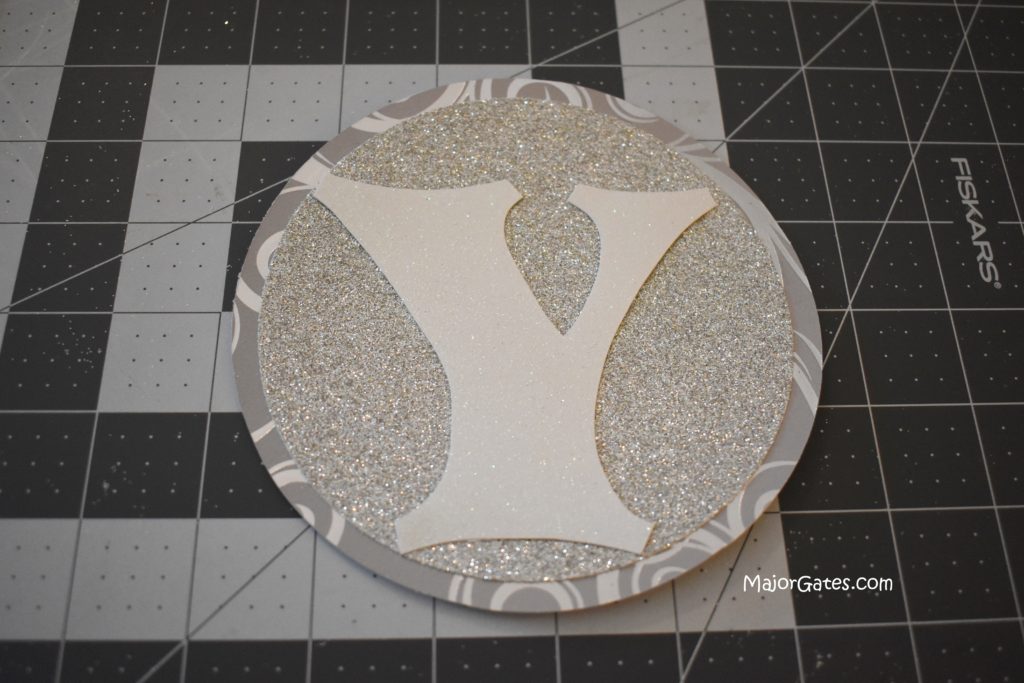
- You can hand cut out the letters and circles. In this example, I will show how to make a layered circle. So one circle will be slightly smaller. This just gives the banner more dimension. I used decorative 12 x 12 inch card stock and glitter card stock.
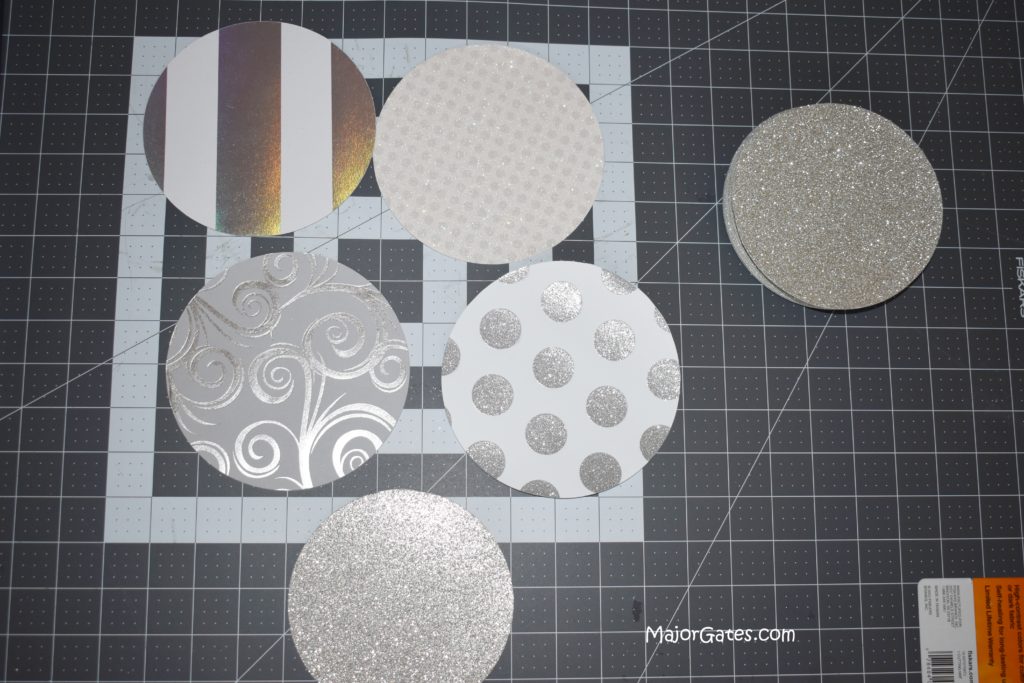
- Cut out the larger circle first. You can measure out a circle or look around your home and see if you can find a small plate, bowl or candle that is already the size you want. If you have a cutting machine, just adjust a circle to the desired size. For the outer circle, I cut 5 1/2 inch circles. And for the inner circles, I cut 5 inch circles. If you want more of the background to show, cut 4 3/4 inch circles.
- Now, once all of your circles are cut, then cut out your letters. Print the letters on card stock. I used white glitter card stock for this banner and it shimmers as light touches it. You can hand cut these or use a cutting machine. When hand cutting, use a craft knife to cut out the centers of letters like “B”, “A”, “D” “O”, “P”, etc. You can also use small tip scissors by punching a small hole and then cutting it out.
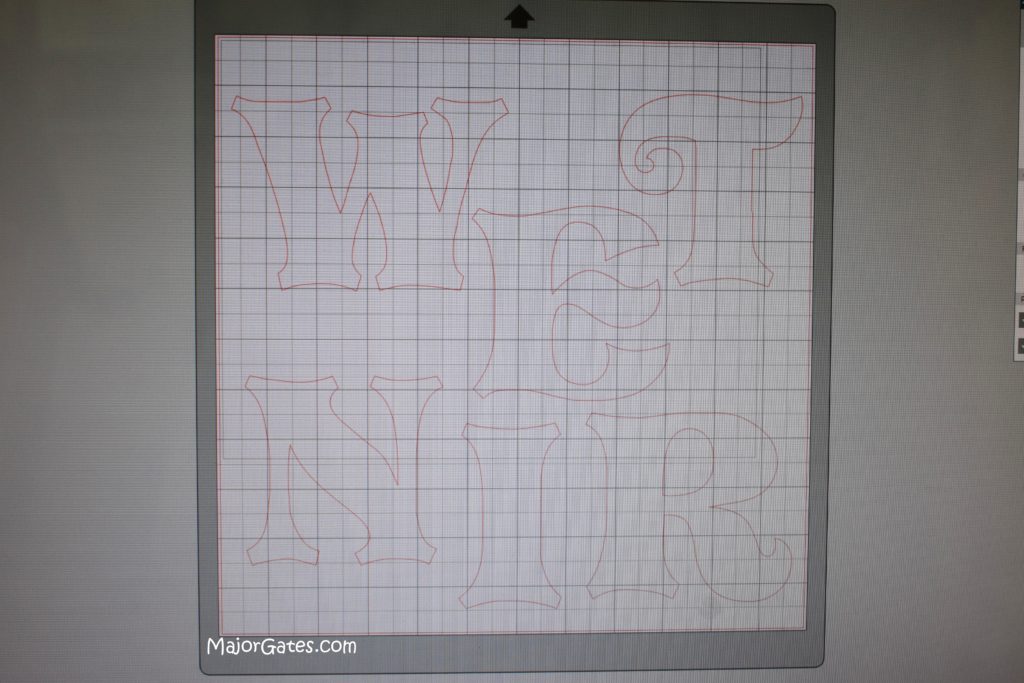
- When hand cutting the letters, print them on regular copy paper. Then trace the letters on the back of the card stock and cut with scissors.
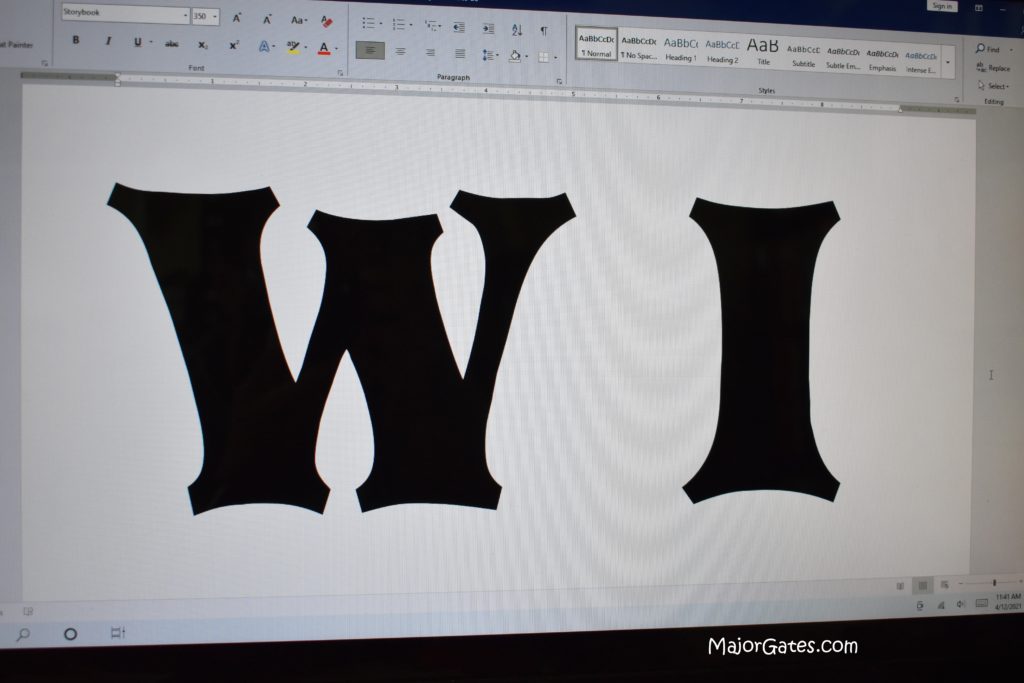
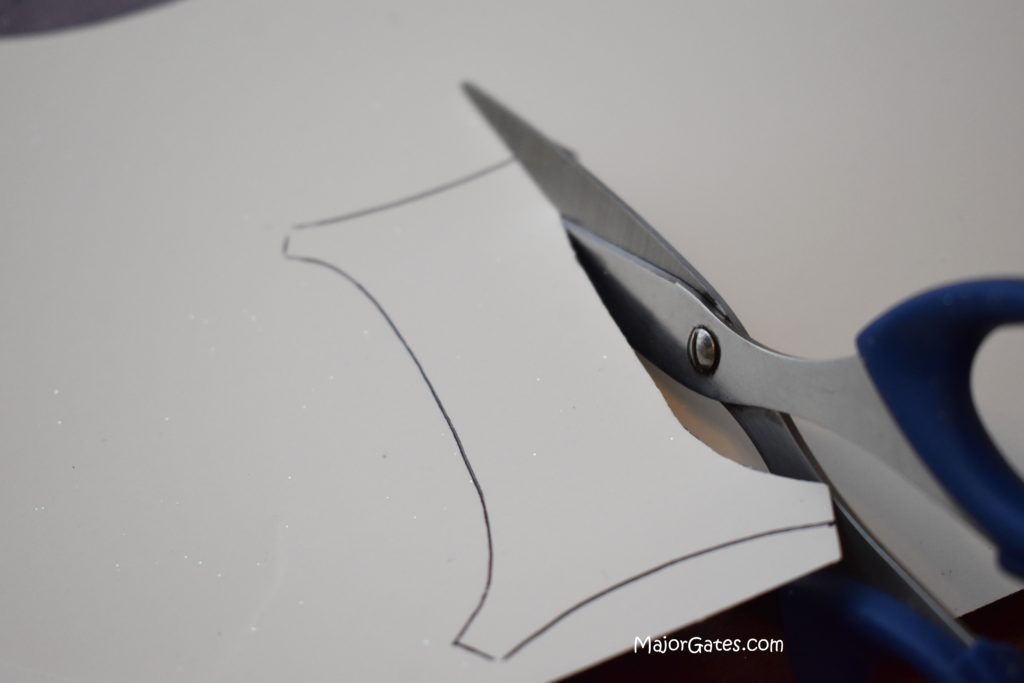
- I printed the letter size 3 1/2 – 4 inches tall x 5 – 5 1/2 inches wide and used a Storybook font. If you are doing manually, this is about 400-500 size font (depending on the font you choose).
Note: When choosing a font, choose a block font that the whole letter is connected. The scroll and old world fonts are great, but hard to cut and read.
Assemble The Custom Name Banner
- Start by gluing your circles together with a glue stick and not hot glue. So if you use hot glue, it will be lumpy. It is also hard to re-position the circle if you need to, with hot glue. I used 4 different backgrounds for more dimension to this banner.
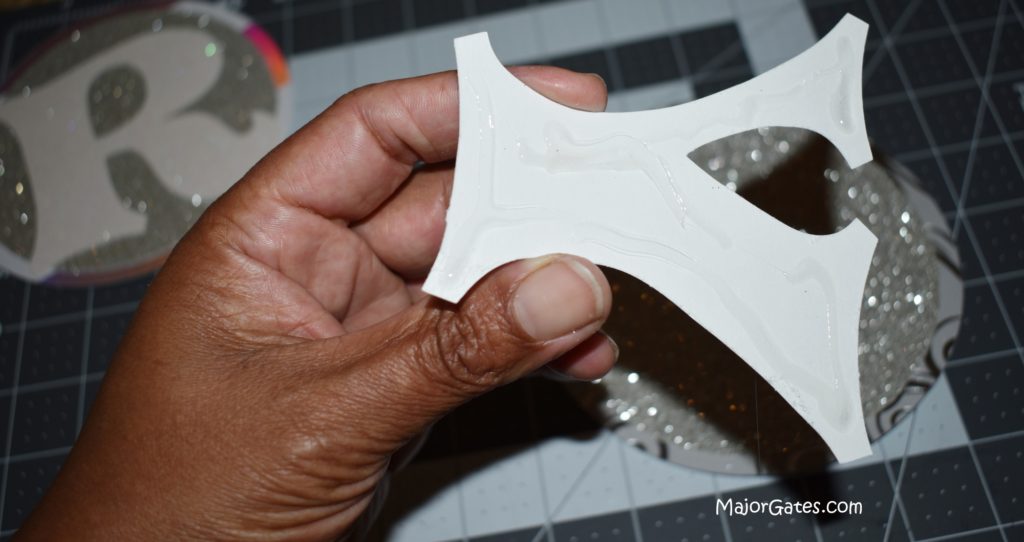
- Then hot glue on the letter. Work fast and place carefully because hot glue is not forgiving and it is hard to reposition.
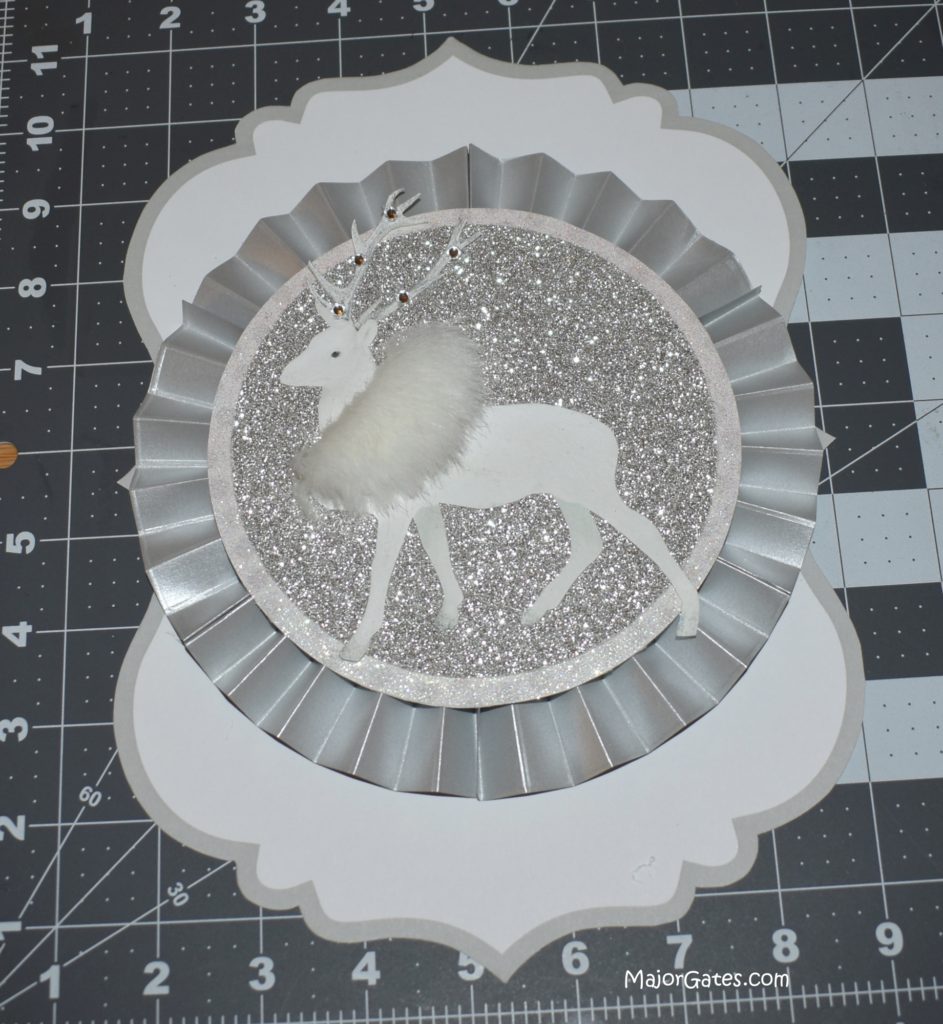
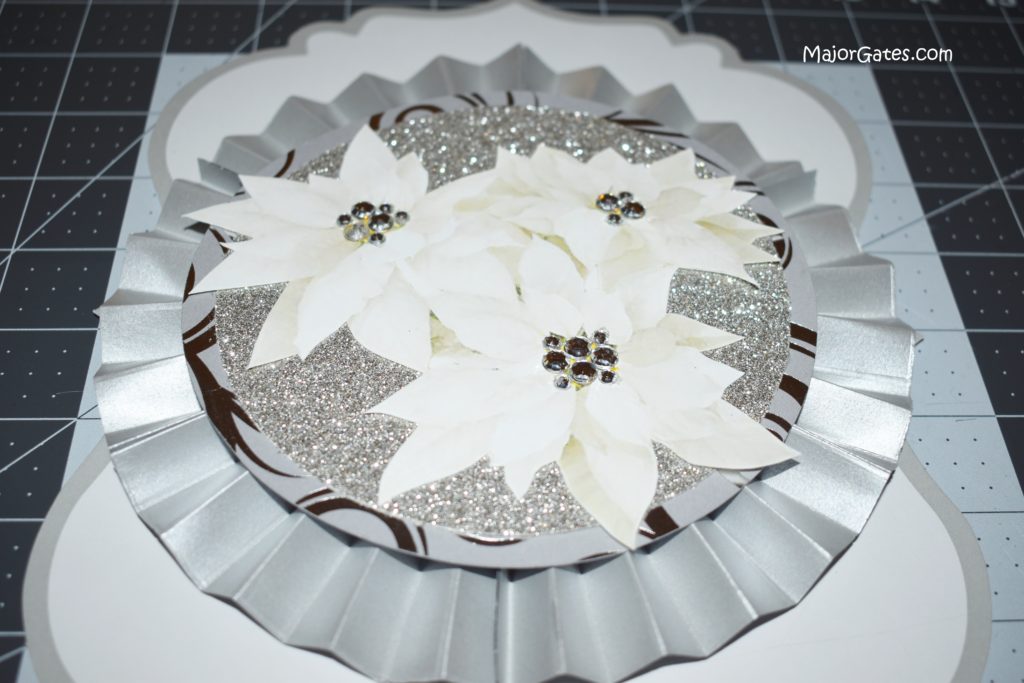
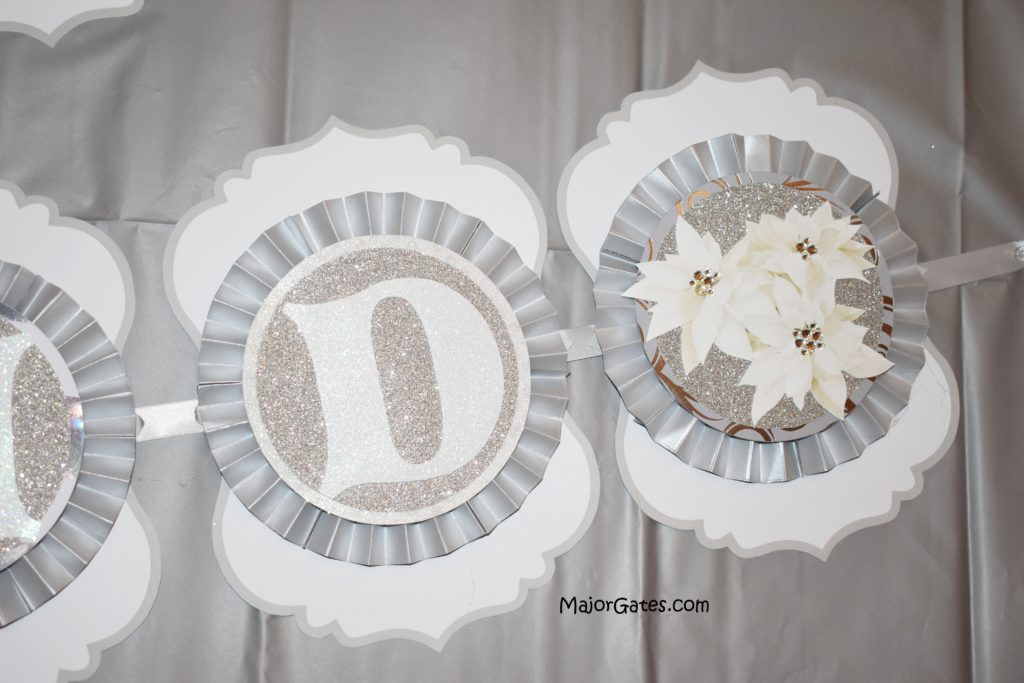
- Next, assemble the banner. I like to create end pieces to match the theme of the event. These are optional but they add extra decorative impact to the event. They are printed on regular card stock and then I embellish with decorative gems, glitter, fur, etc.
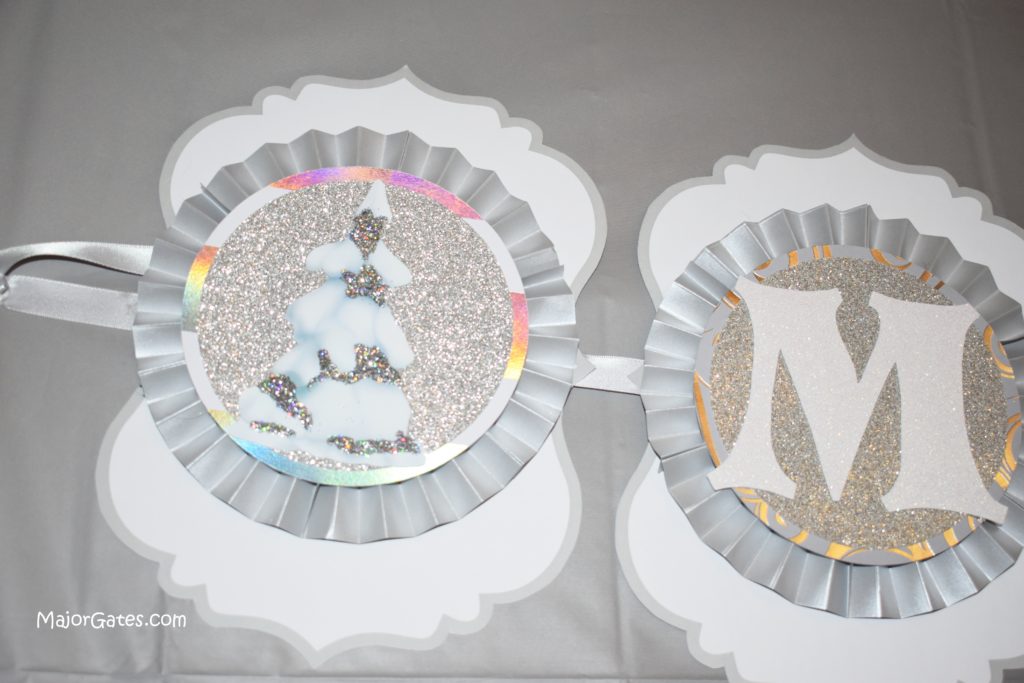
- Now, cut 5 inch strips of ribbon and hot glue the backs of the letters together. So you want to leave about an inch between the letters. Be careful not to glue the letters upside down or going in the wrong direction. If this does happen, carefully pull off the back of the ribbon and glue it the correct way.
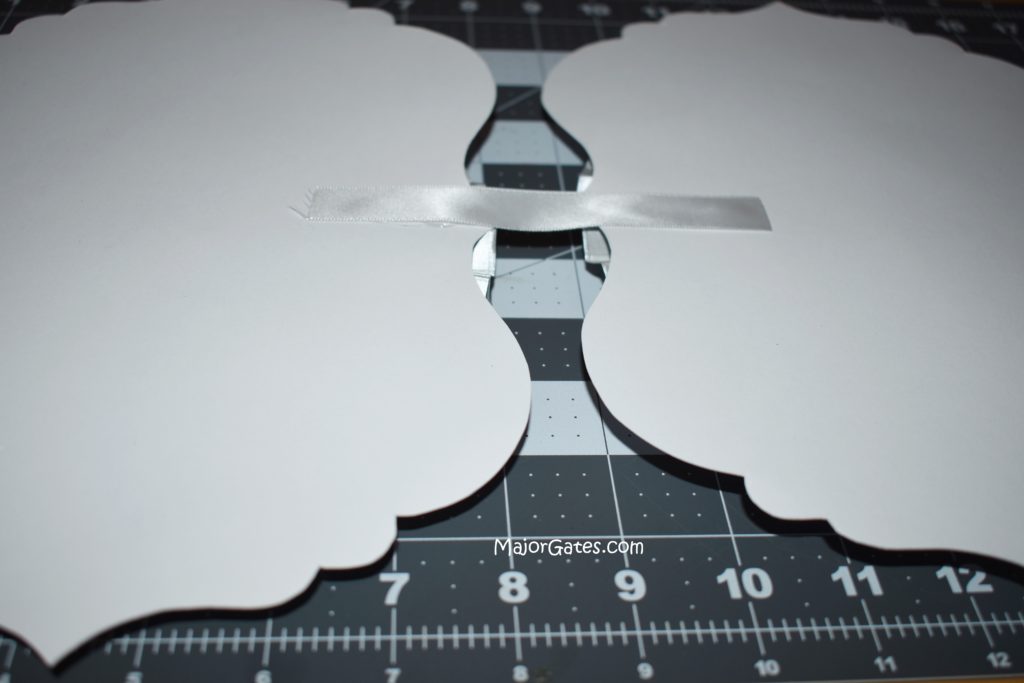
- Once all the custom name banner pieces are assembled, glue 10 inch strips of ribbon on the ends. Then hang on the wall with clear stick pins, Command strips or removable hooks.
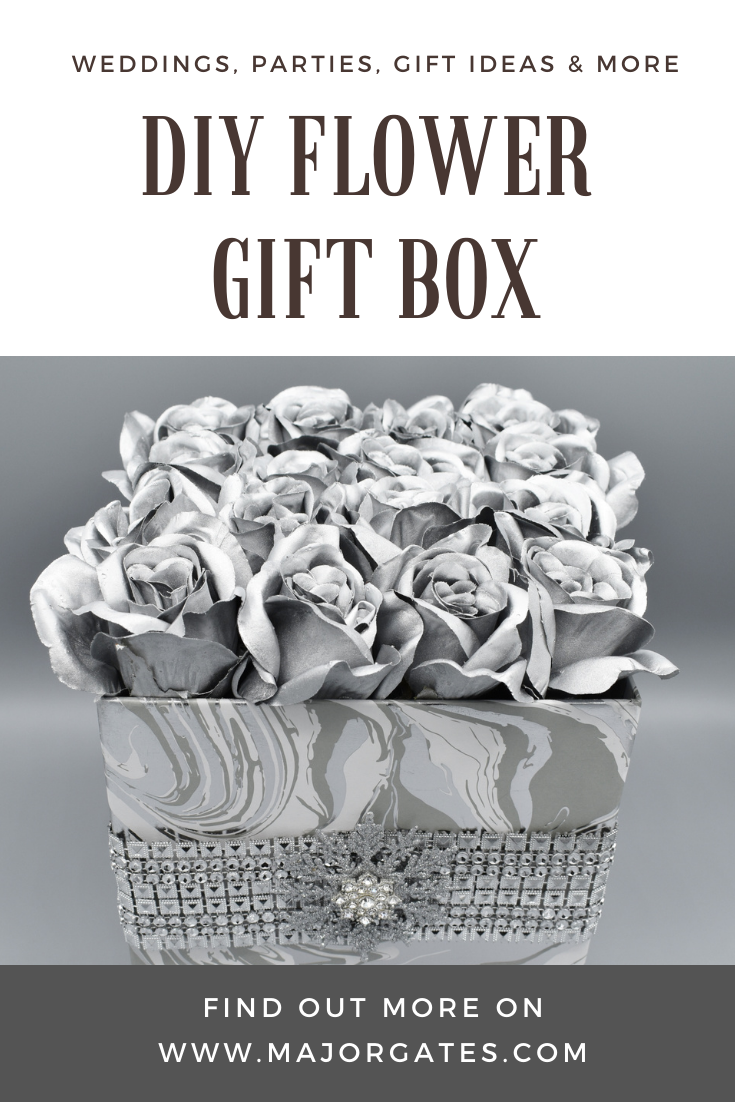
For another great event idea, see my post on how to make a Floral Gift Box here: https://majorgates.com/do-it-yourself/floral-gift-box/
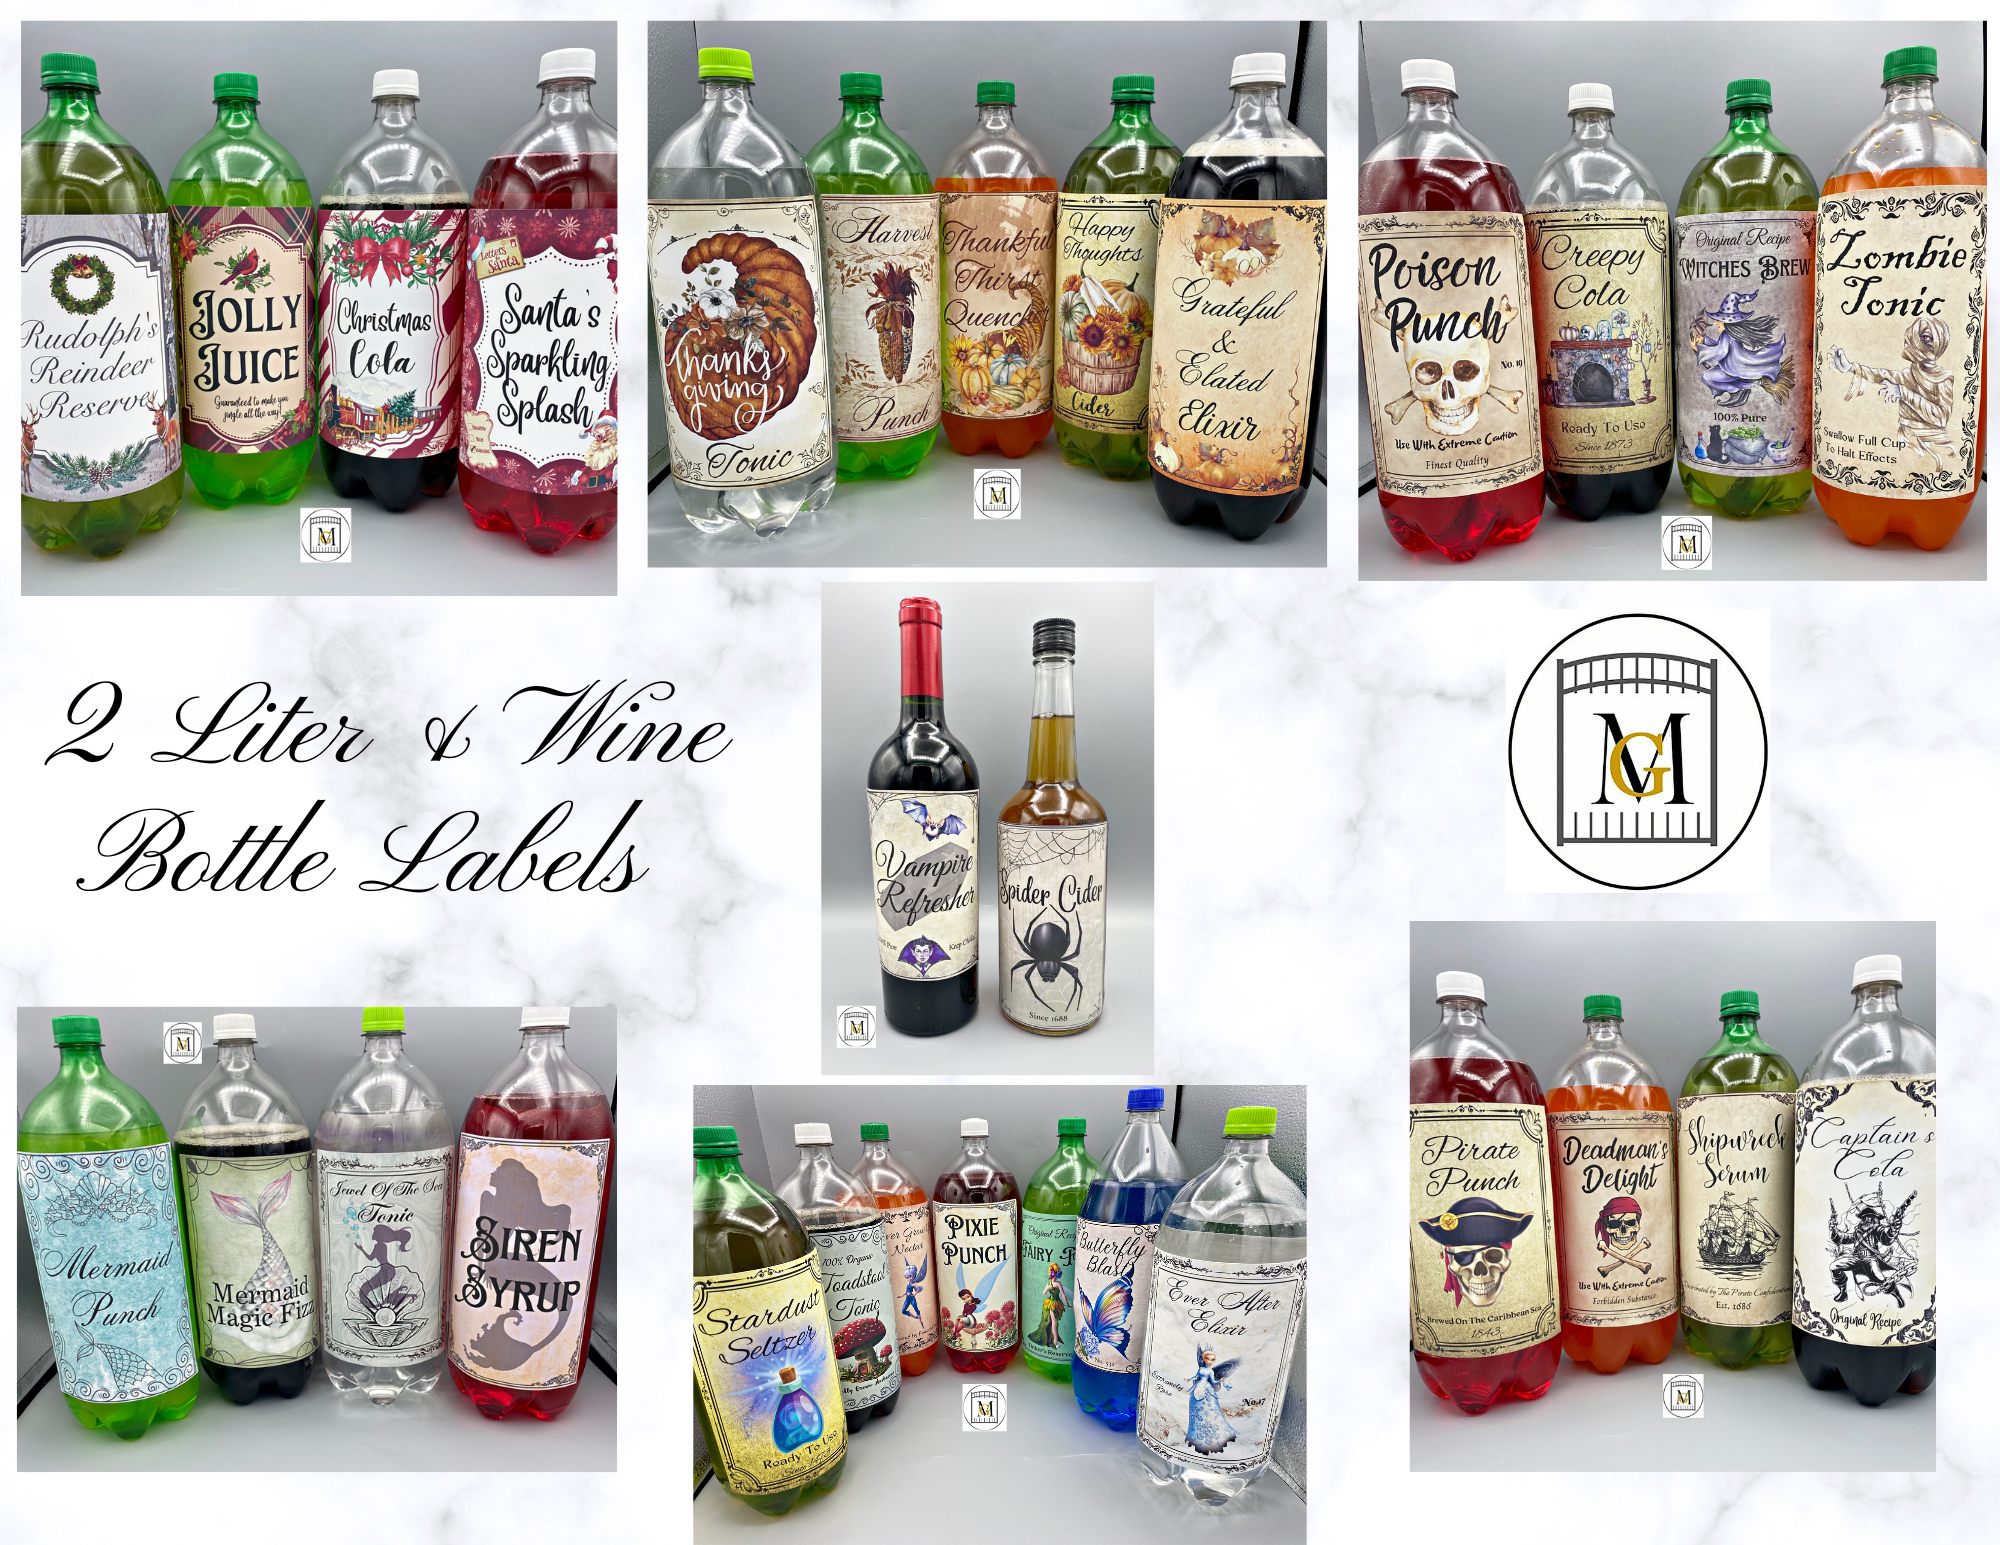
To see my available Drink, Wine, Potion/Apothecary Label Downloads, click here: https://majorgates.com/product-category/potion-apothecary-labels/
