DIY Cruise Magnets
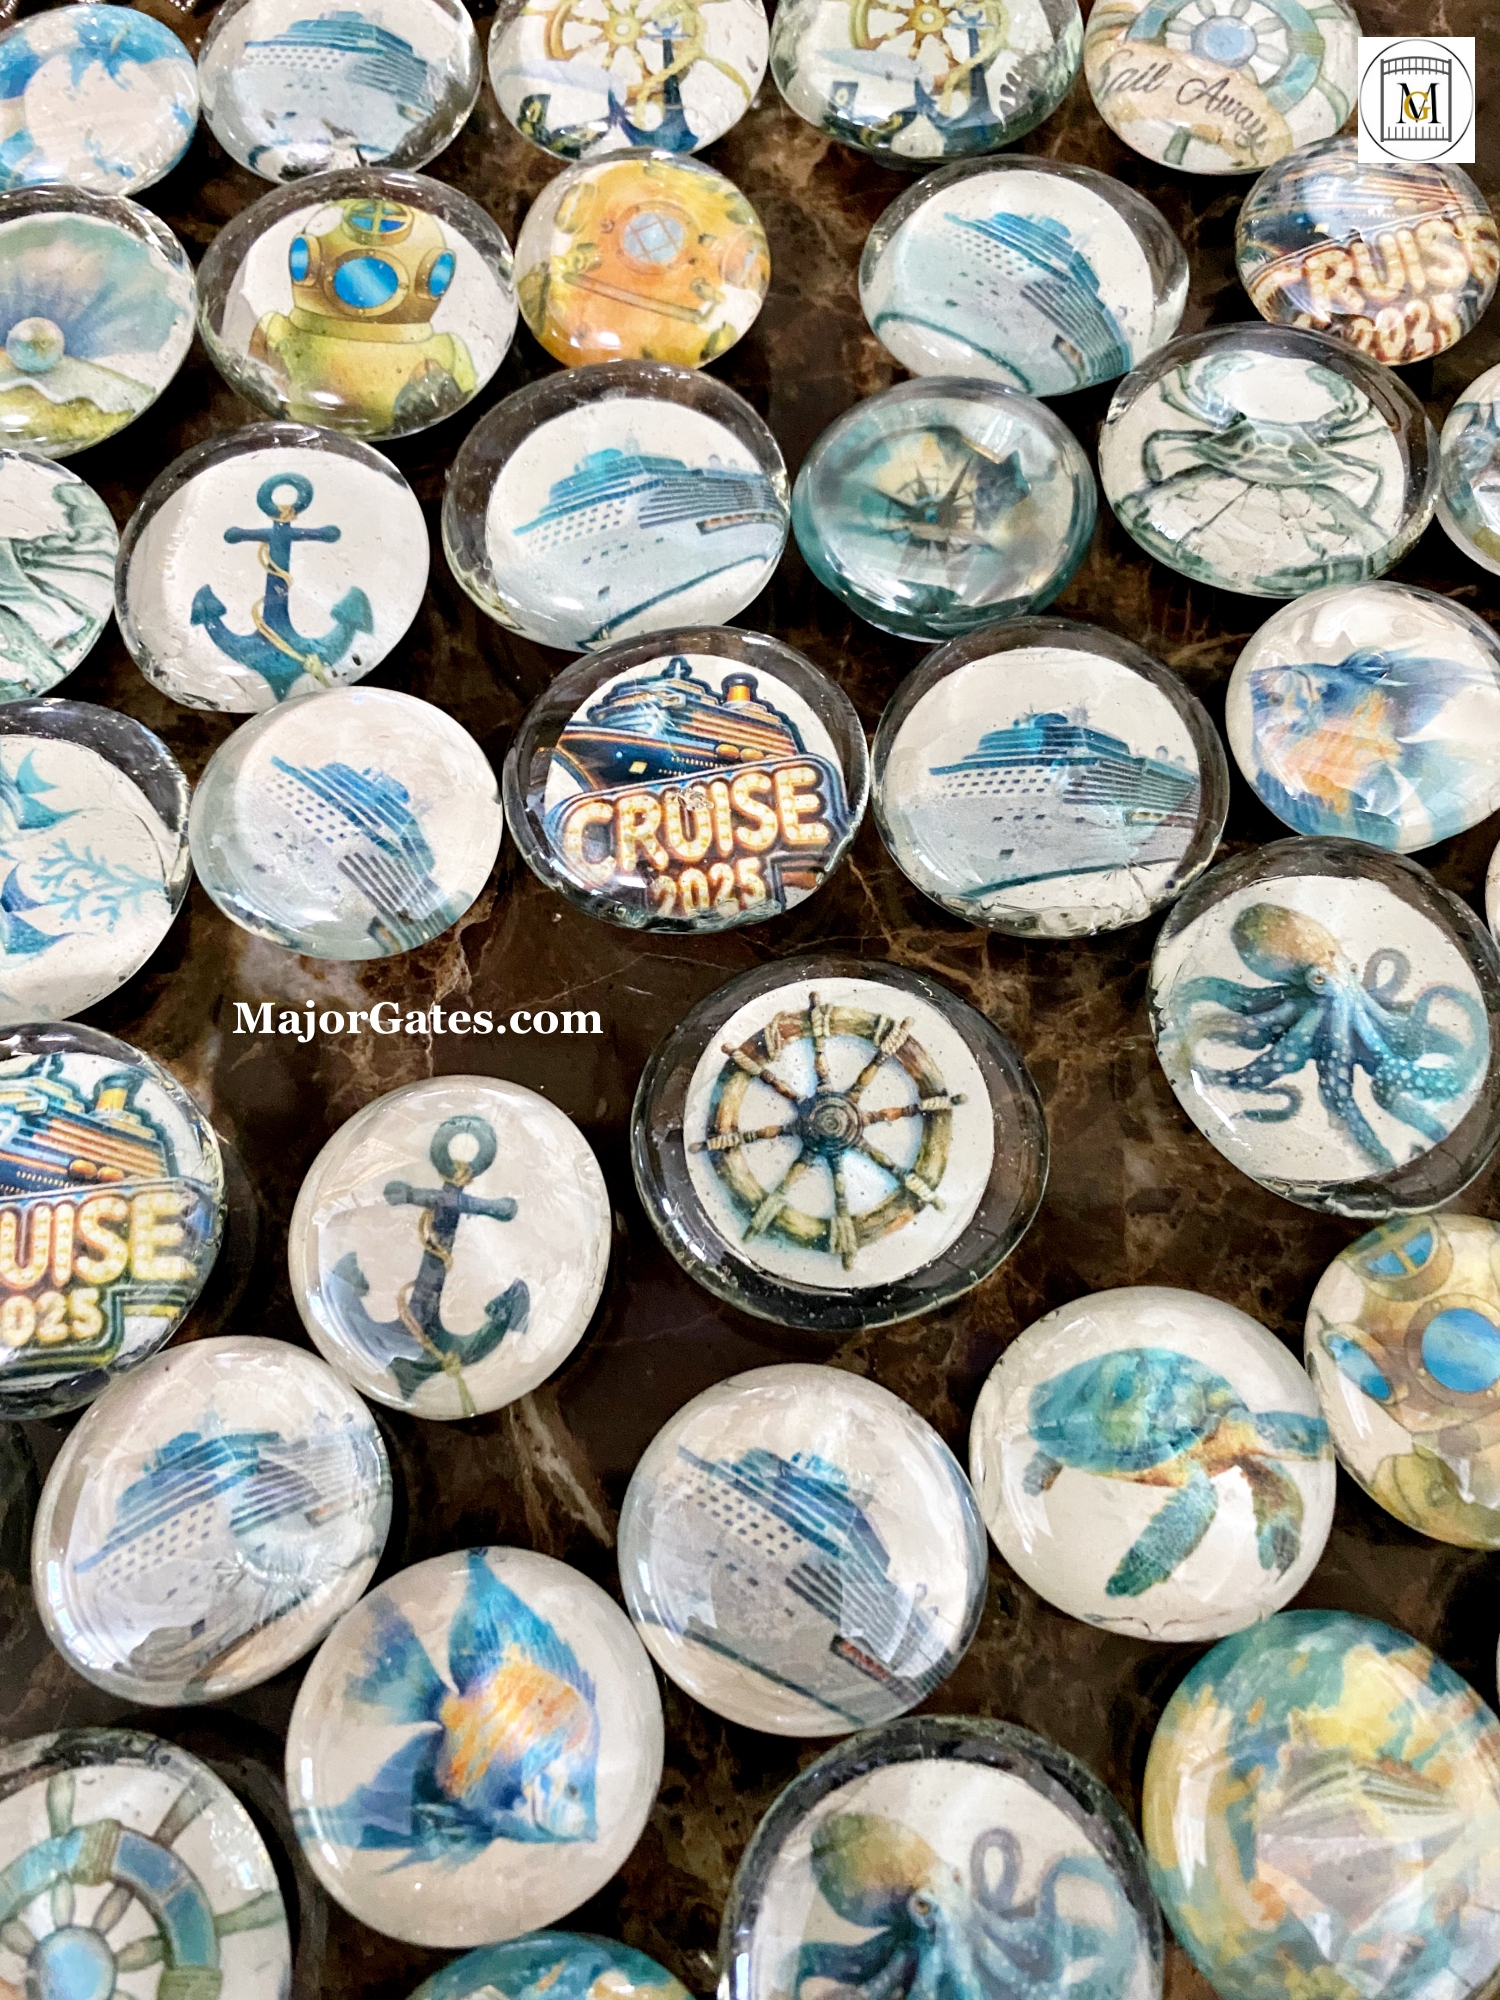
DIY Cruise Magnets are a very easy craft to make. Also, if you have kids, this is a great activity to have them help with and get excited about the cruise. You can make these specific for a cruise line or generic for cruising in general. In this post, I show you how to make them for any cruise line. Many people do not know the walls on your cruise cabin are metal, therefore anything magnetic will stick to them.
These magnets are great for hanging papers like the itinerary, ships layout map, floor map, tickets, reminders, etc. You can find the flat glass gems and magnets at your local craft store (like Michaels or Hobby Lobby), or on-line. So when you are looking for the magnets, look for the thick ones. The thicker they are, the more pages you will be able to stick to the wall. You could also glue 2-3 magnets together before attaching to the glass gem to make a hook. Also, feel free to make these for other occasions, but be sure to keep the magnets away from small children as they can be a choking hazard. I made quite a few for the group that was going on the cruise, so each cabin would have some.
To see my available Party Label Bundle Downloads, click here: https://majorgates.com/product-category/party-bundles/
Don’t Forget To Follow Me On Pinterest!
Supplies
- White 65lb Regular Card Stock
- Color Printer
- 1 inch circular craft punch or you can trace each gem over the image with a pen
- Scissors
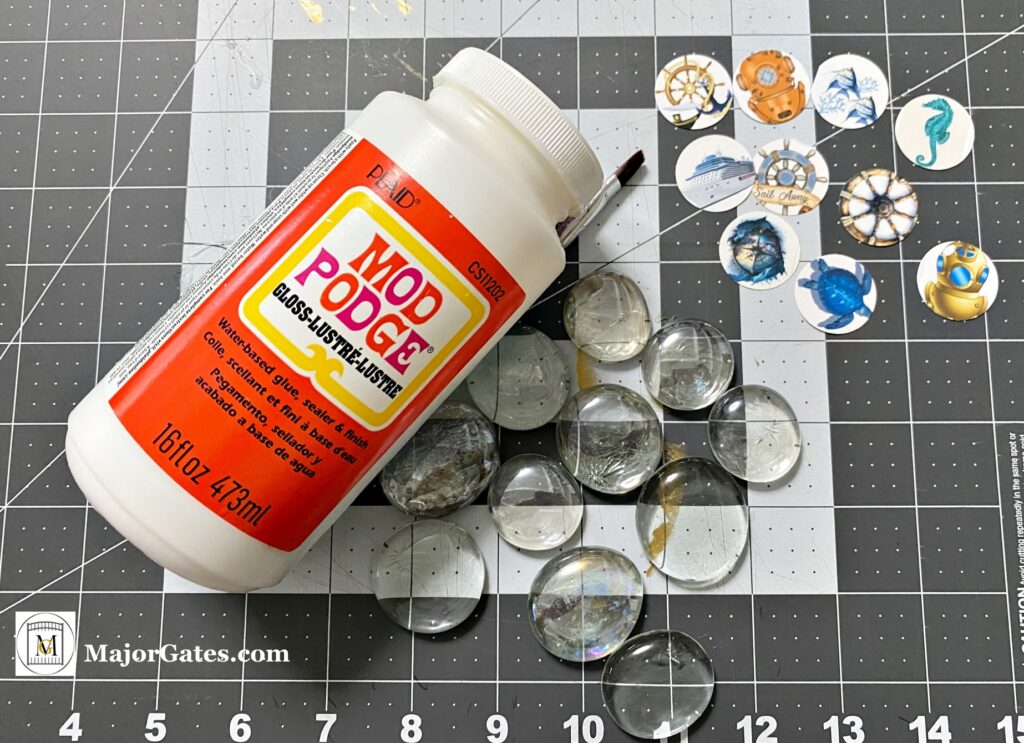
- Mod Podge Gloss
- Small Artist Paint Brush
- 1″ – 1 1/4″ Glass Flat Back Circular Marbles/Gems

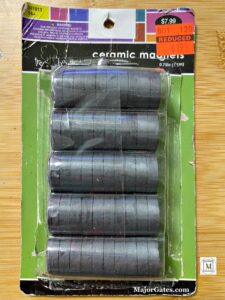
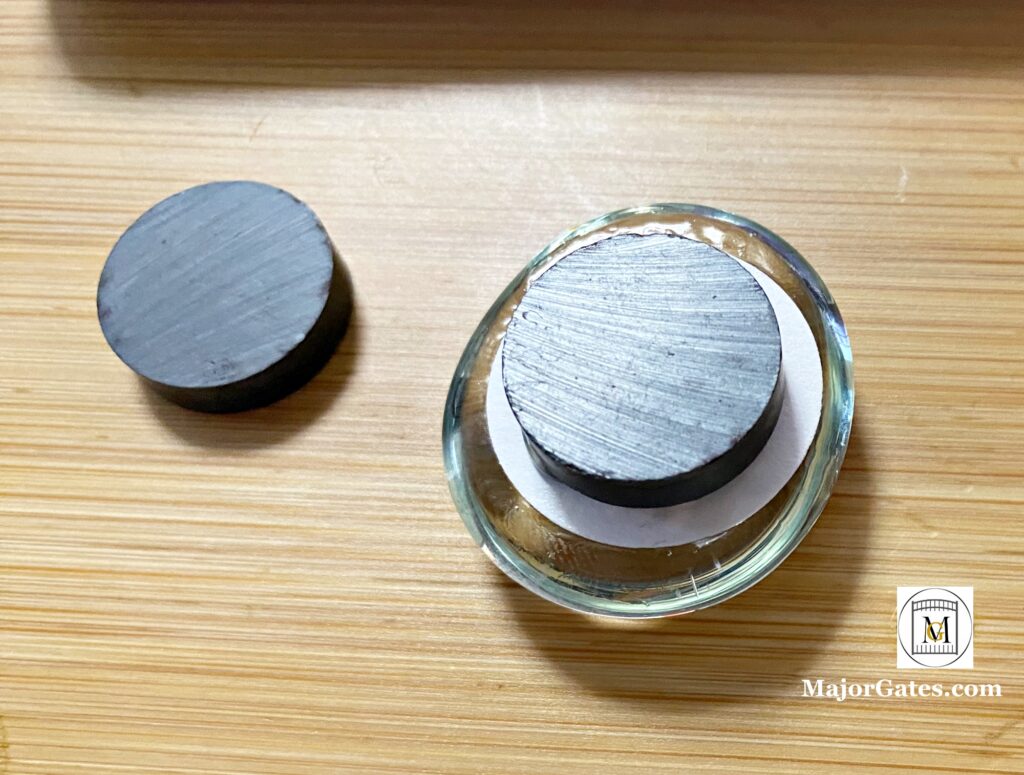
- .75 in Ceramic Magnets (warning: please keep these away from small children as they are a choking hazard, harmful if swallowed, seek emergency care if swallowed immediately.)
Affiliate links are in this post. So, I may receive a small commission at no extra cost to you if you make a purchase through my affiliate link. Therefore, I only recommend products that I use or would use and love! So, I have saved you the time of searching for good products for you. As an Amazon Associate I earn from qualifying purchases.
To see my available Potion/Apothecary Bottle Labels, click here: https://majorgates.com/product-category/potion-apothecary-labels/

Directions For DIY Cruise Magnets
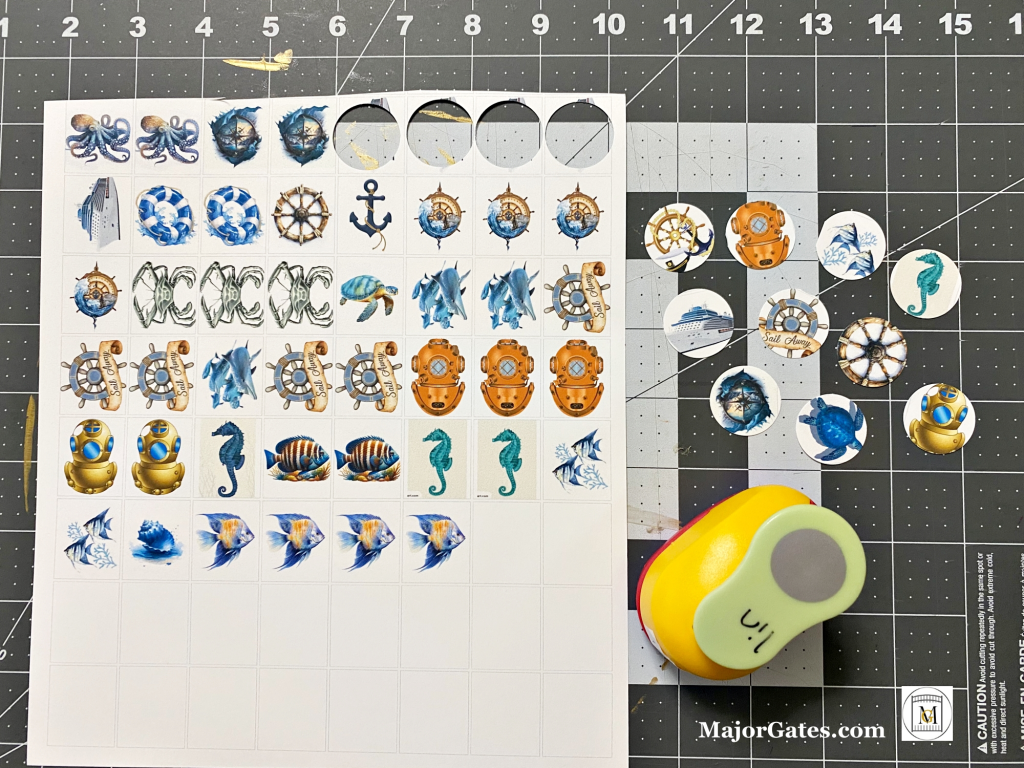
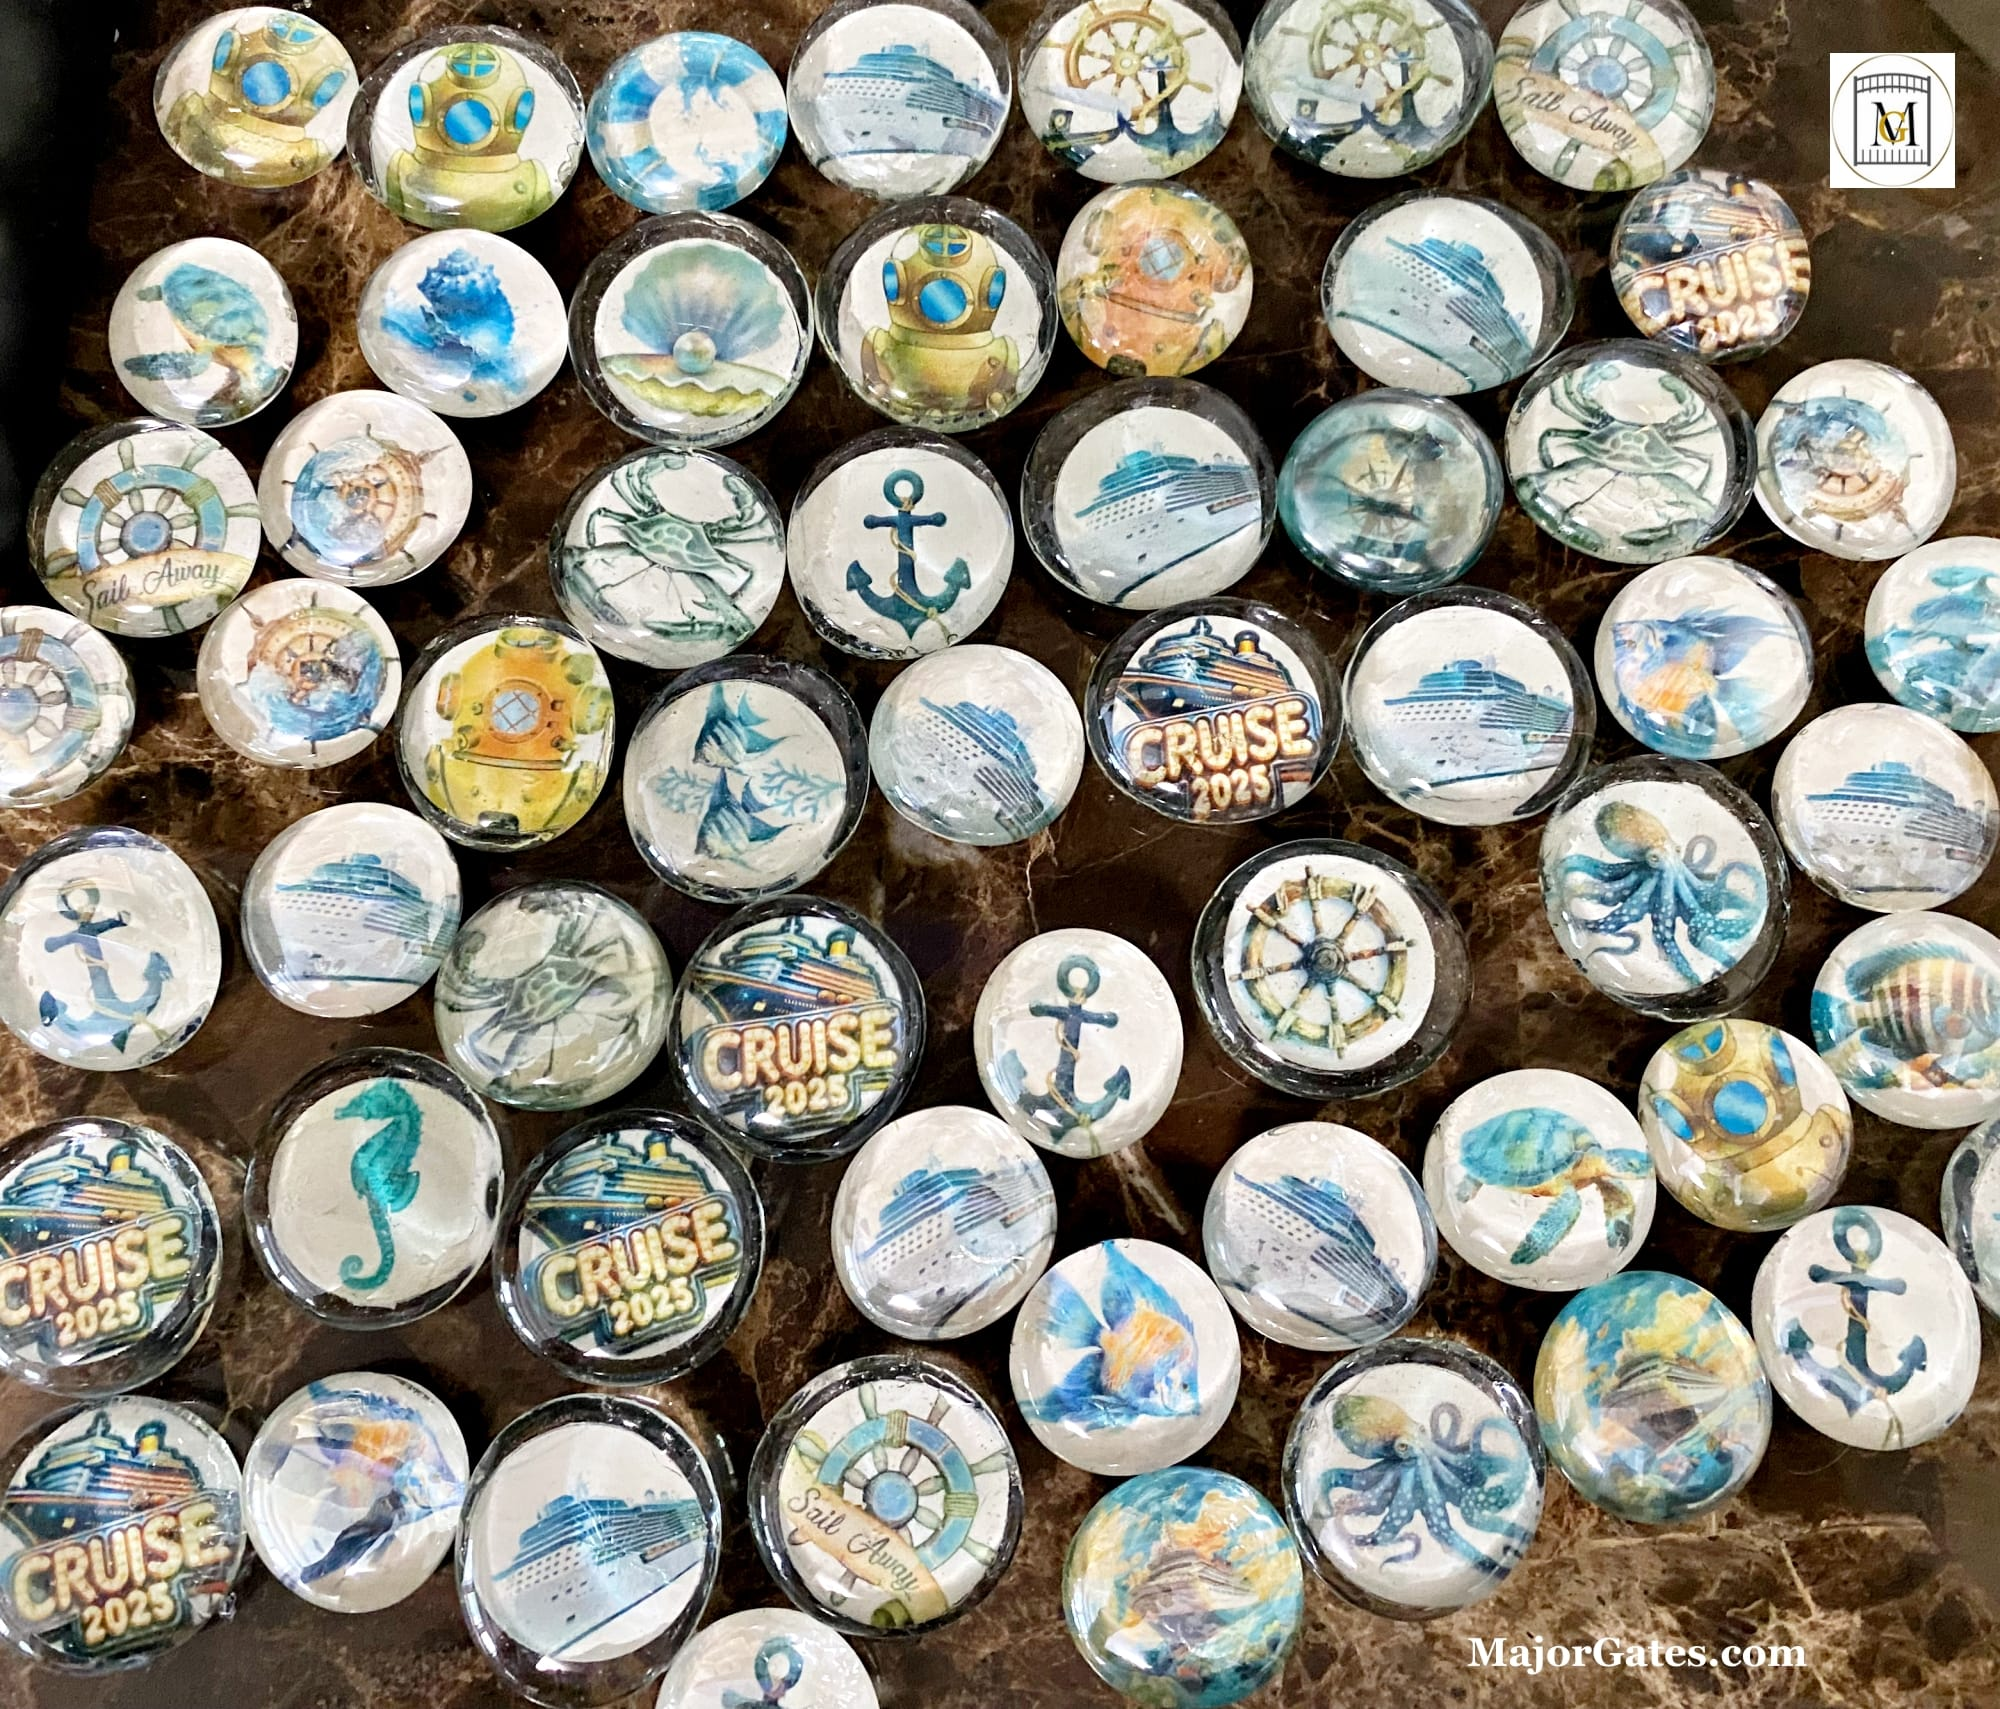
- Start by searching the internet for clipart images and save them down to your computer. Just remember that any images that you save are for personal use only and not to be sold. If you do want to sell the magnets, you have to get permission from the image owner.
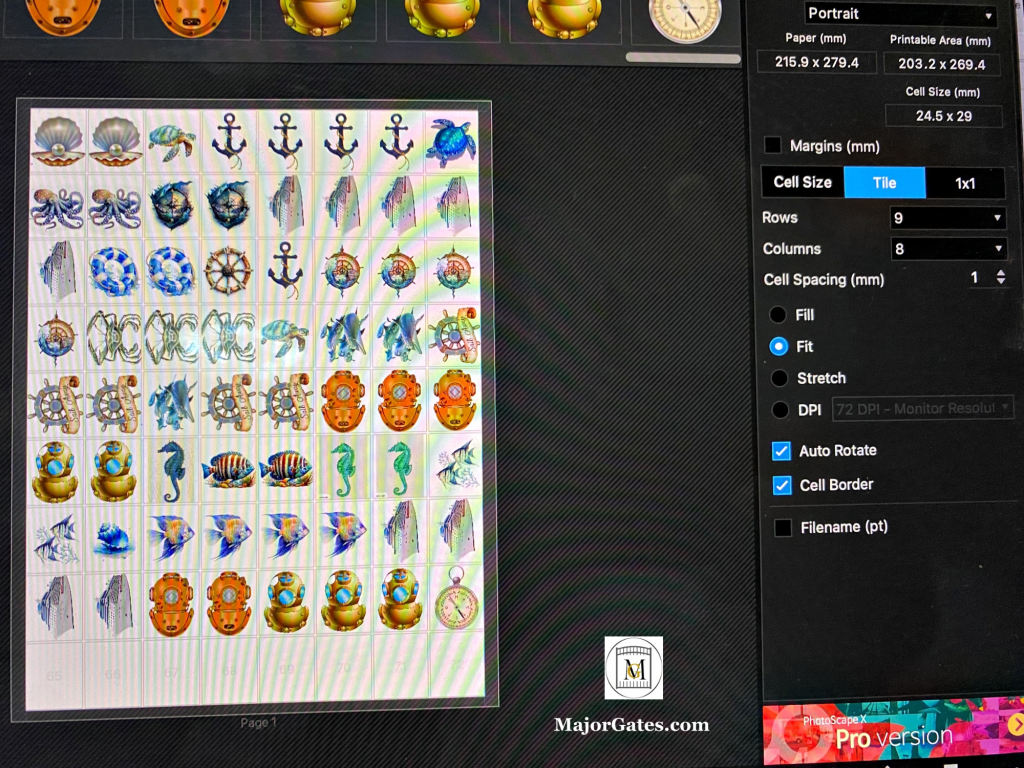
- Next, print out the images to be a litter smaller than 1 inch. I printed using a free software called PhotoscapeX (I am not affiliated), there is a paid version but the free version has always worked for me. Here is the link if you need an easy to use free photo editing software. http://x.photoscape.org/ So I printed 72 images on one page on card stock (9 rows x 8 columns – Tile tab – Portrait).
- Then, punch out the images with the 1 inch circular craft punch.
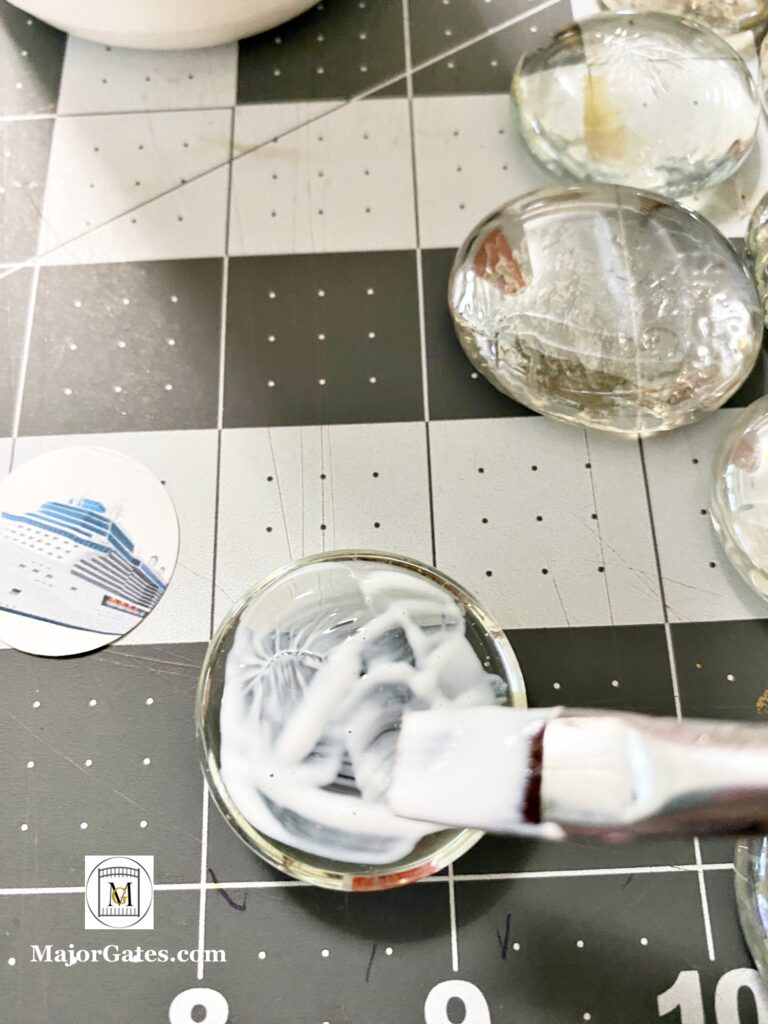
- Next, do a dry fit of an image to the back of the glass flat back gem and then paint the image side of the image with Mod Podge.
To see my available 2-Liter/Wine Bottle Party Label Downloads, click here: https://majorgates.com/product-category/2-liter-wine-bottle-labels/

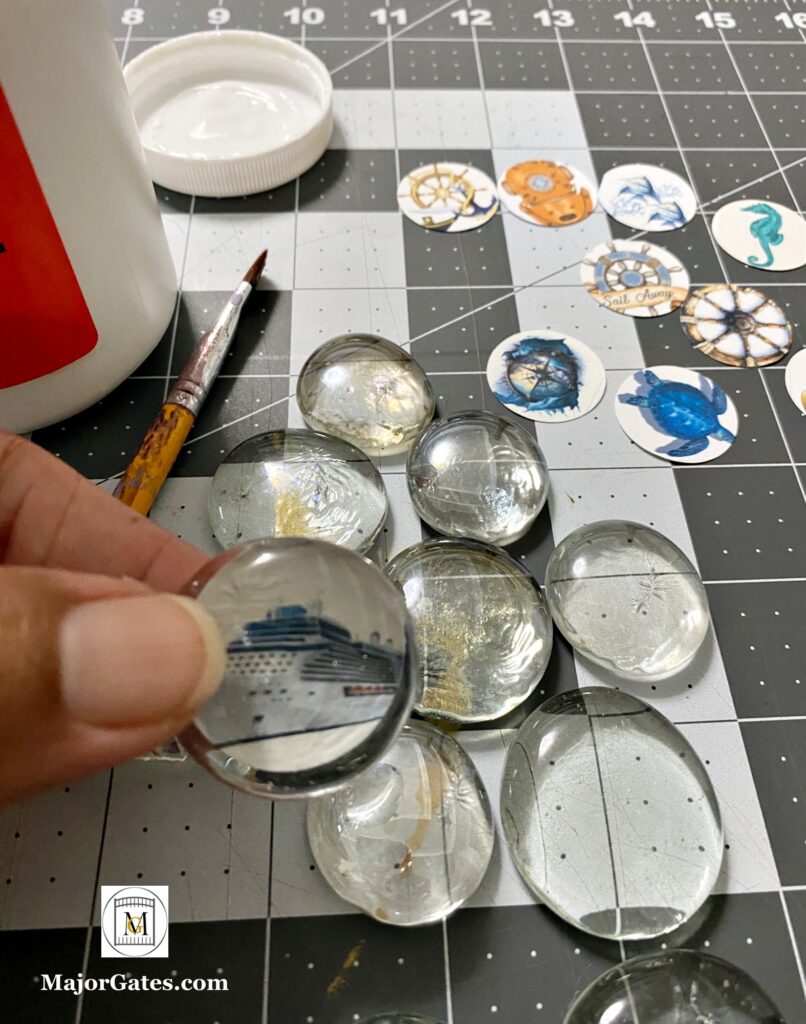
- Affix the image to the glass flat back gem and repeat for the number of magnets that you want to make.

- Then allow the gems to dry for at least 30 minutes.
- Now, hot glue on the magnet to the flat side of the gem. They dry in minutes and are done!

- Place them in a ziplock and add to your packing! You are now ready to hang any reminders, pamphlets, or paperwork you need handy to your cabin. Just don’t forget them when you leave.
To see my available Jeopardy/Trivia Party Game Downloads, click here: https://majorgates.com/product-category/jeopardy-trivia/
