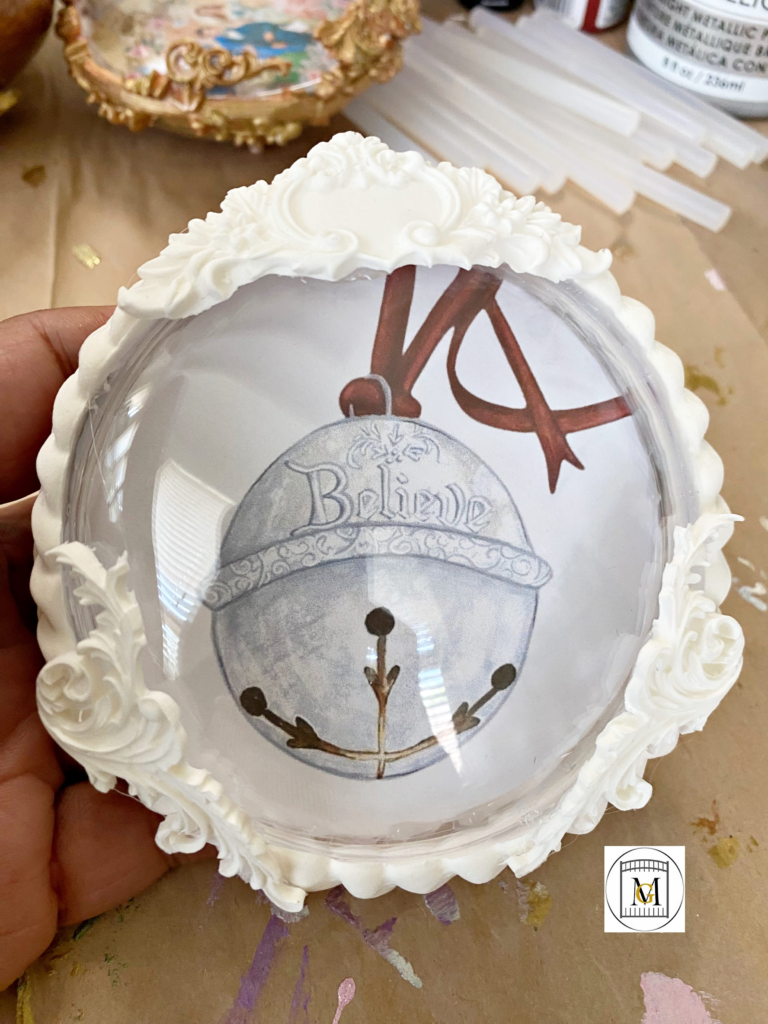
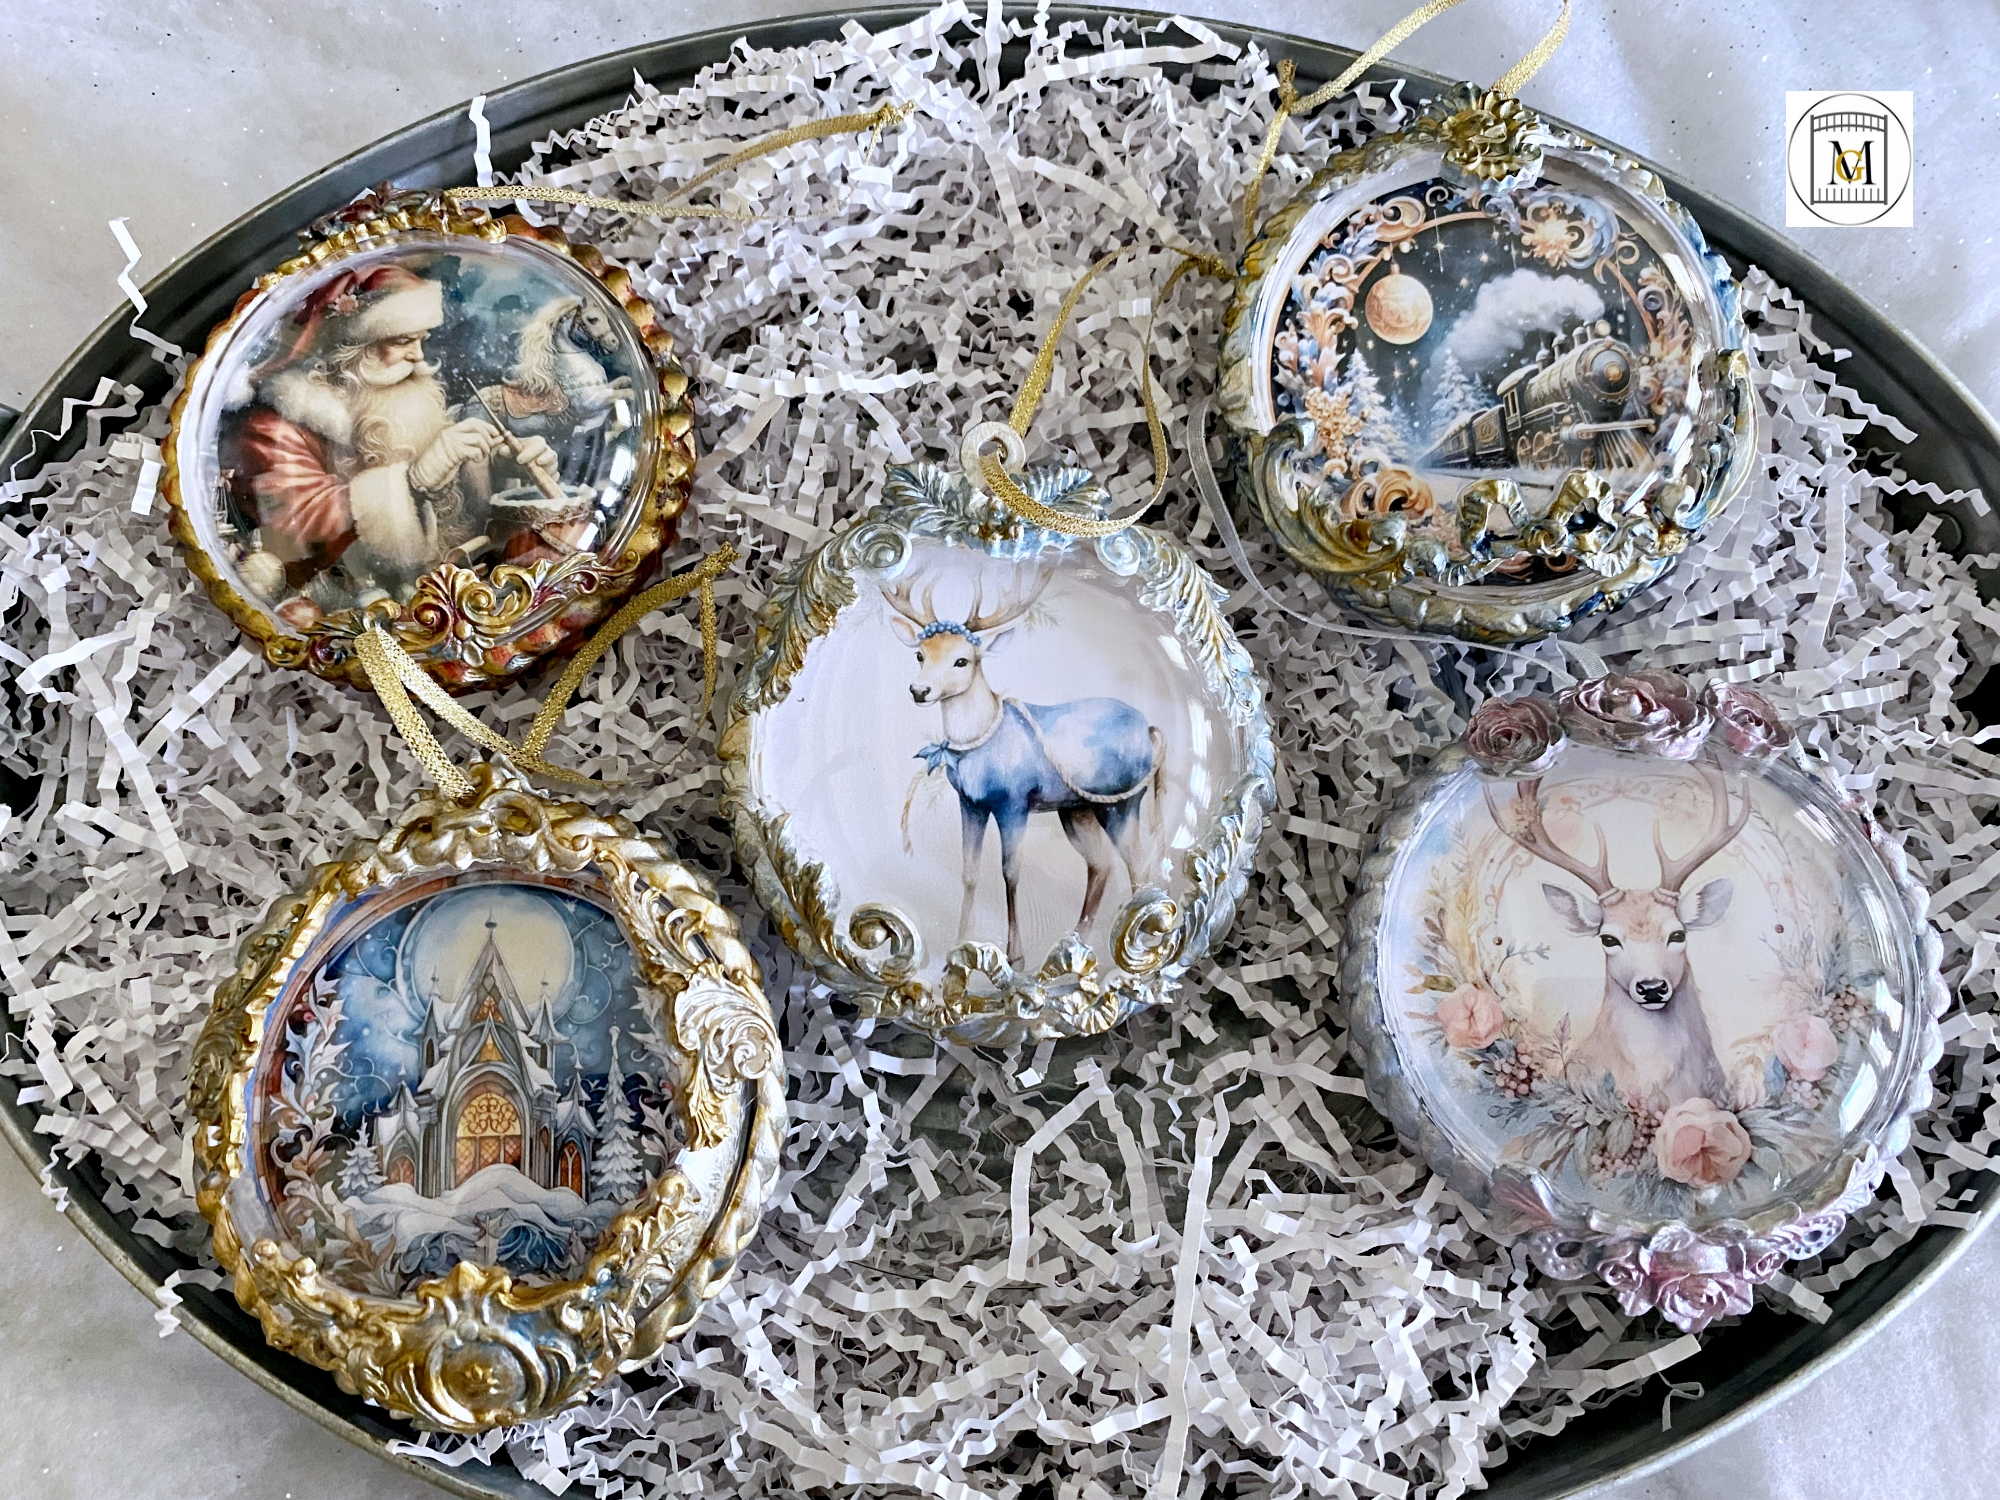
DIY Dome Image Ornaments
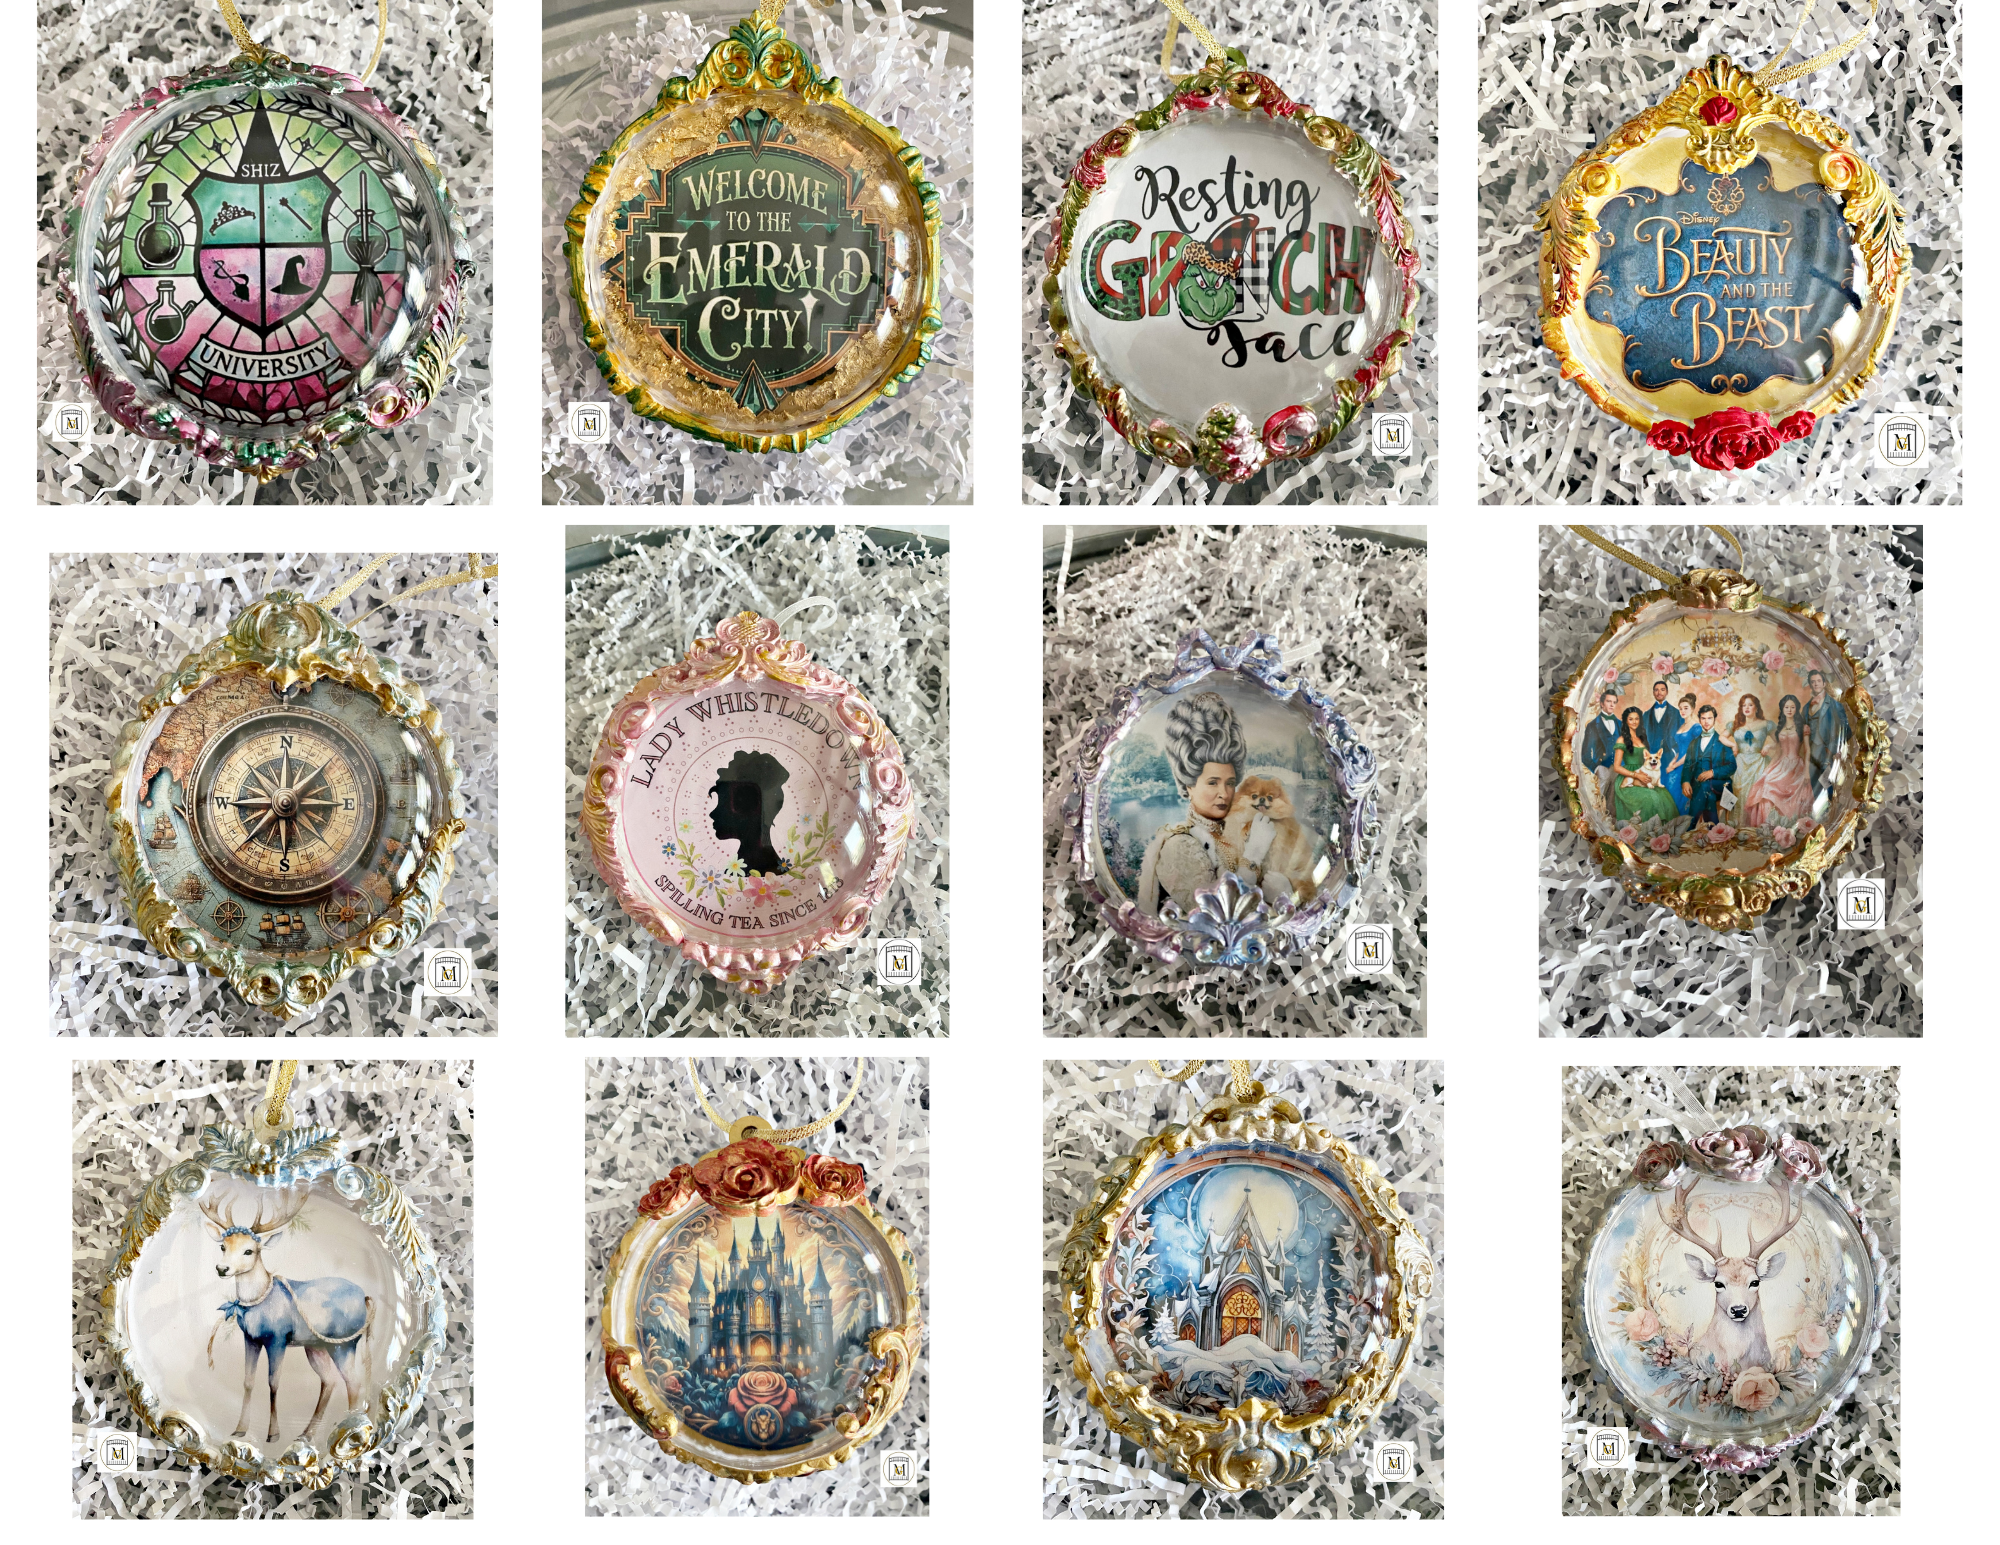
DIY Dome Image Ornaments are the perfect craft to make with little or no experience with crafting. The embellishments are made with air dry clay, and the image is printed on regular copy paper or photo paper and just cut out. So you don’t have to be a good artist to make something like this. You just need a steady hand for cutting and gluing, be able to use a paint brush, and your imagination.
I also love to work with air dry clay and silicone molds. These are the molds cake artists use as well, so you can use them with chocolate and fondant as well. So when you use air dry clay in silicone molds, a lot of the hard work is done for you. You just need to attach the clay to whatever you are making and then paint. I use molds for a variety of projects, so the minimal investment is worth making. I try to choose general molds that I can use for other projects as well. So keep that in mind when ordering silicone molds.
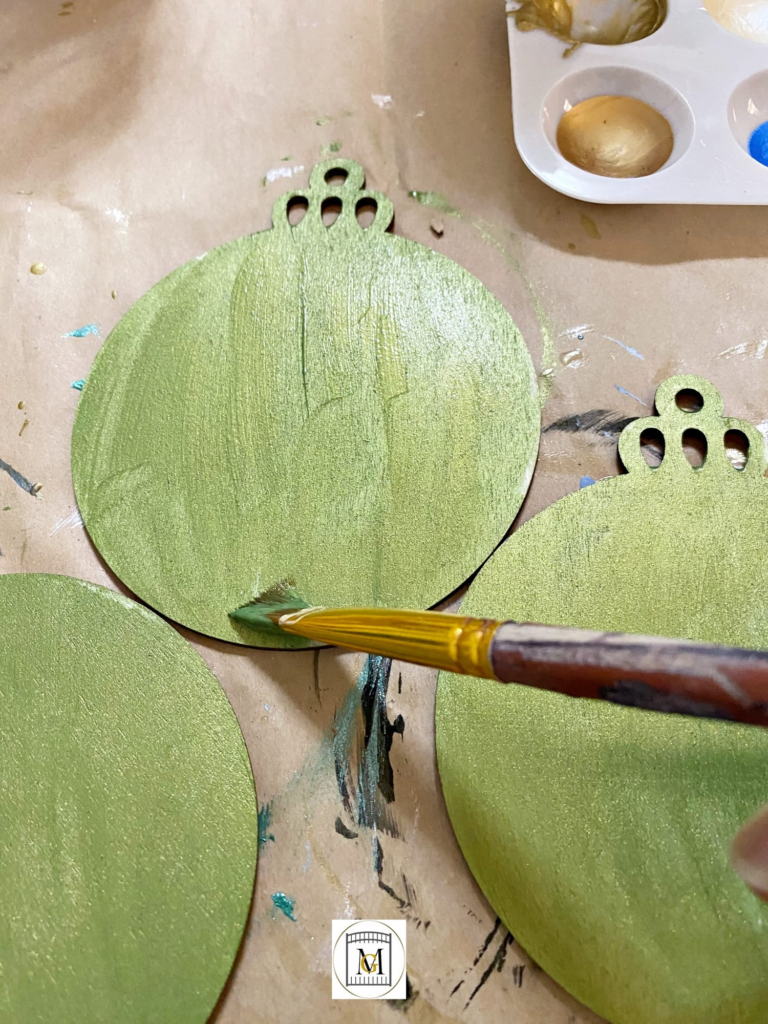
Also, working with wood circles or flat wood ornaments was fun too. They are easy to handle and paint. So basic printing skills printed the images in sizes that were easy to apply to the ornament. You can either find images already in a circle, or trace the bulb, or use a wood circle over the image and cut out.
Overall, this was a great project and you can make for any theme.
To see my available Party Label Bundle Downloads, click here: https://majorgates.com/product-category/party-bundles/

Don’t Forget To Follow Me On Pinterest!
Supplies
- 3.5″ Plastic oval fillable ornaments
- 3.5″ wood circles or wood circle ornament
- Mini hot glue gun and mini glue sticks or Quick Dry Tacky Glue
- Metallic Acrylic Paints – I recommend a metallic paint set that you can use for this project and others
- Silicone Molds – Roses, Border ,theme, Filigree Scrolls and Baroque Style
- Color Printer
- Regular A4 copy paper or glossy photo paper
- Paint brushes and paint tray
- Super lightweight air dry clay
- Cornstarch – brush lightly the silicone molds so that clay releases easier
- Sponge brushes
- Cup of water (to wash paint brushes)
- Mod Podge or clear glue
- 1/8″ ribbon
- Eyelet hooks (if you are using wood circles, because the wood ornaments should have space at the top to attach the string)
- Sharp craft scissors
- Baby wipes and paper towels
- Protected surface
- Disposable gloves (optional)
- Manual hand drill (optional)
Affiliate links are in this post. So, I may receive a small commission at no extra cost to you if you make a purchase through my affiliate link. Therefore, I only recommend products that I use or would use and love! So, I have saved you the time of searching for good products for you. As an Amazon Associate I earn from qualifying purchases. Just click on the pictures or links for the items seen in this post.
To see my available 2-Liter/Wine Bottle Party Label Downloads, click here: https://majorgates.com/product-category/2-liter-wine-bottle-labels/

Directions For DIY Dome Image Ornaments
- Start by finding an image you like on the internet and save down to your computer.
Note: Images found on the internet are for personal use only. So you must get the permission of the image owner for selling and they may charge a fee.
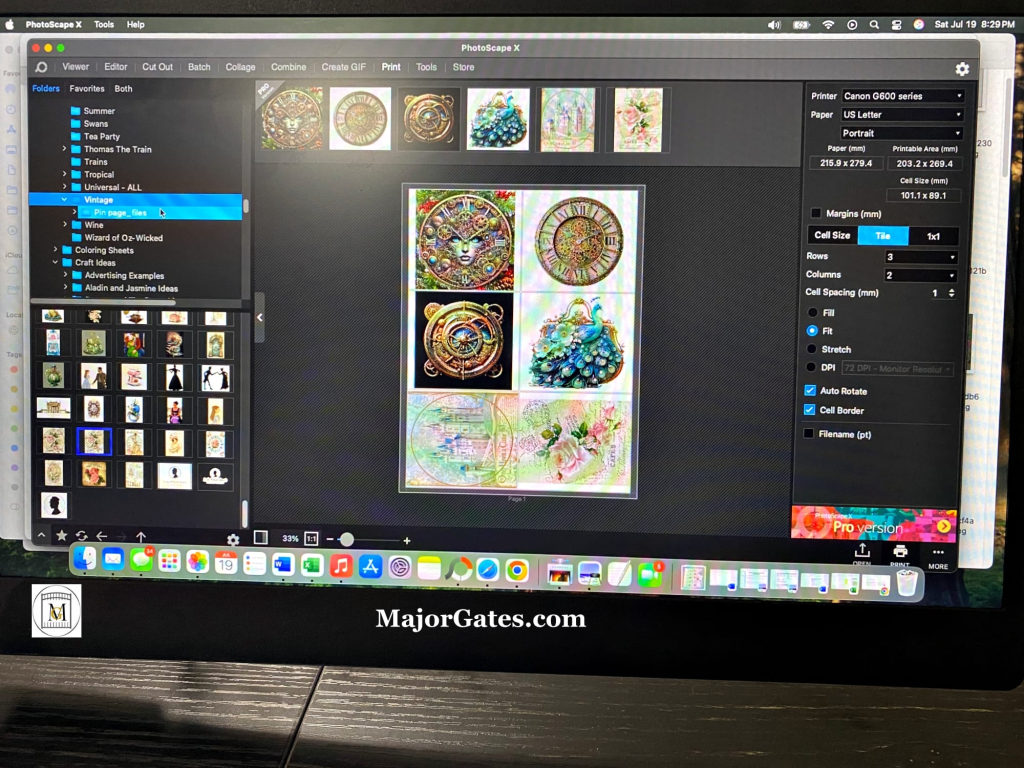
- Then print out the image. I print 6 to a page using a free photo software called PhotoScapeX (I am not affiliated). So you can either find a circular image, insert a circle in the software over the image, or trace the image with the half of the ornament.
- Next, cut out the image and do a dry fit on the wood circle or wood ornament. So I have a stack of base painted wood ornaments pre-painted before I start ornaments. You don’t have to completely paint the wood circle since an image is going over most of it.
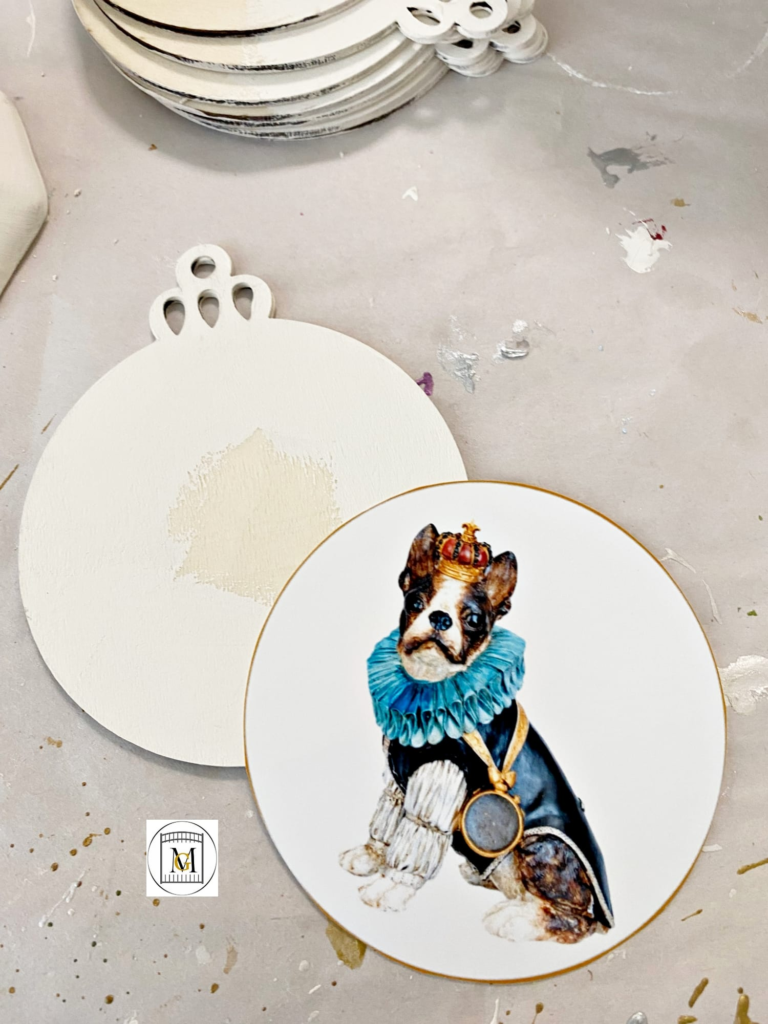
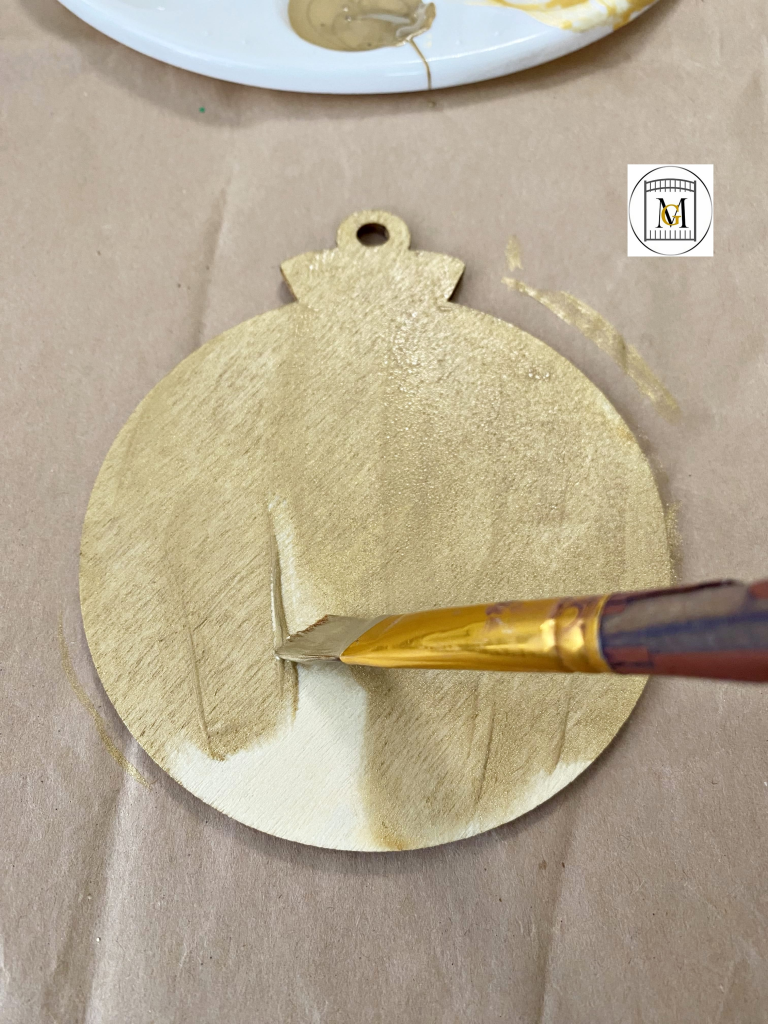
- So after printing, paint on a base color that pulls the colors from the image you selected. I mostly paint white, gold, red, green, or silver. Allow to fully dry.
- Next, paint the wood circle or wood ornament with Mod Podge or clear glue and then place the cut image on the circle and allow it to dry.
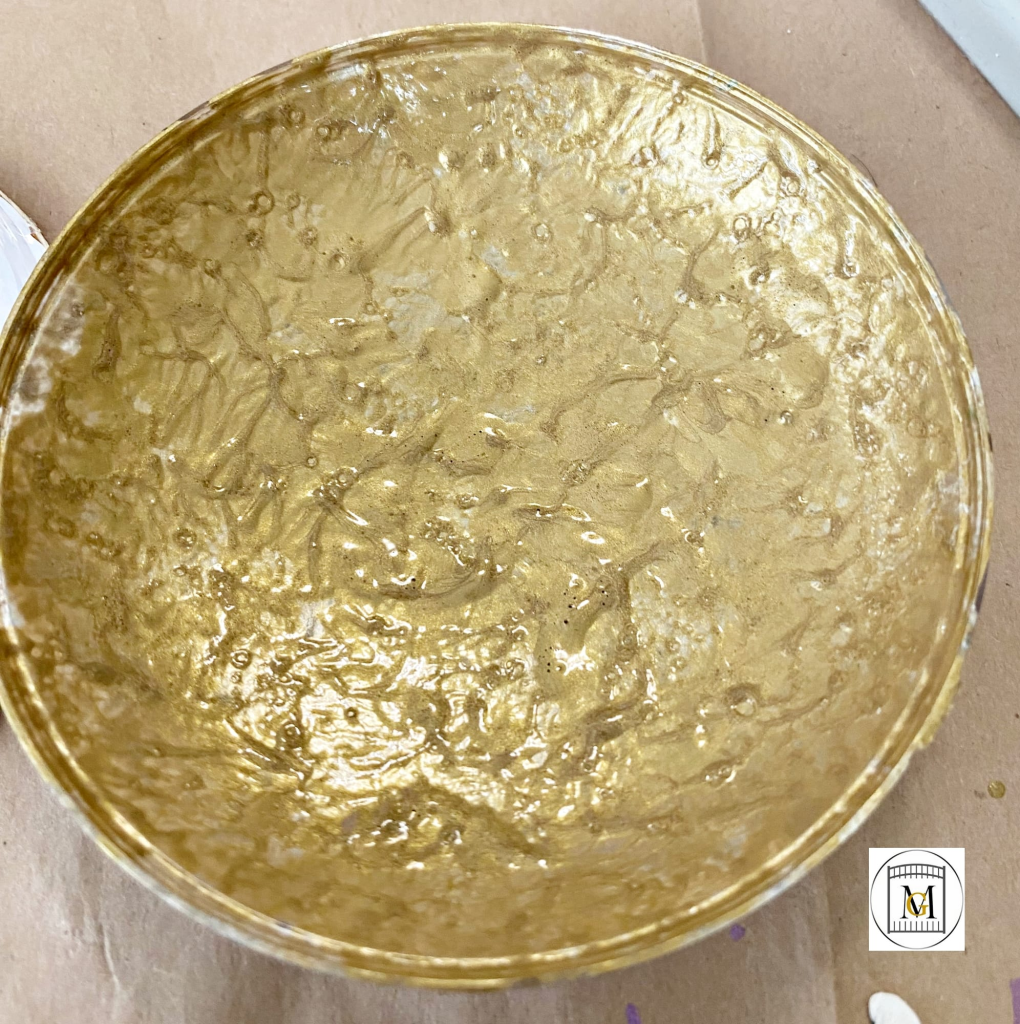
- So while the image is drying, use a sponge brush and sponge on metallic gold paint to the inside of half of the plastic circle ornament. Allow the paint to dry completely, this can be up to a couple of hours or overnight.
- Next, lightly brush the clay molds with cornstarch and then push in the air dry clay with your fingers and allow the clay to set. This can be anywhere from 1 hour to 5 hours, depending on humidity and how deep the mold is. So you do not want the clay to dry completely, it should be still bendable. You just want to be able to handle the clay without smudging it.

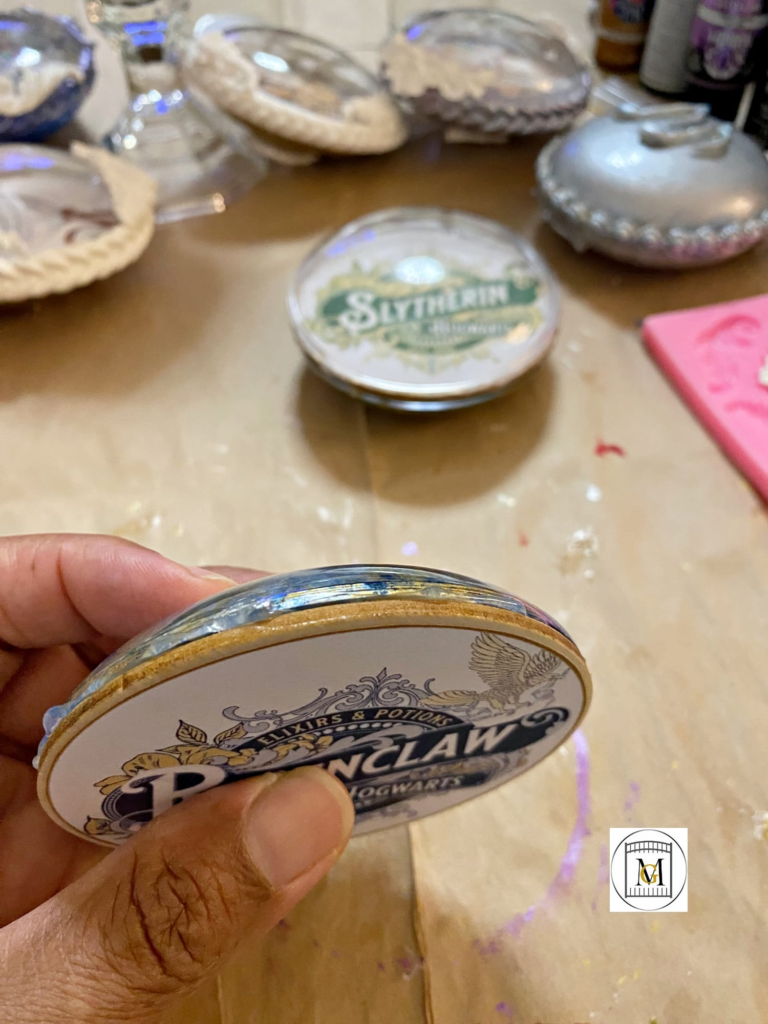
- Once the sponge paint is dry (bottom of the ornament), attach the image wood circle by hot glueing the edge of the plastic circle to the wood. So you may want to wear gloves, or be very careful because hot glue hurts if it gets on your hands. Go slow but not too slow (hot glue dries extremely fast) and apply a thin line and watch for drips. So if you spill or drip some glue, if it is not too bad, you can just cover with a clay embellishments.
If you need Potion/Apothecary Bottle Party Labels, see my available downloads here: https://majorgates.com/product-category/potion-apothecary-labels/

- Repeat by adding the clear other half of the bulb to the top of the ornament with hot glue.
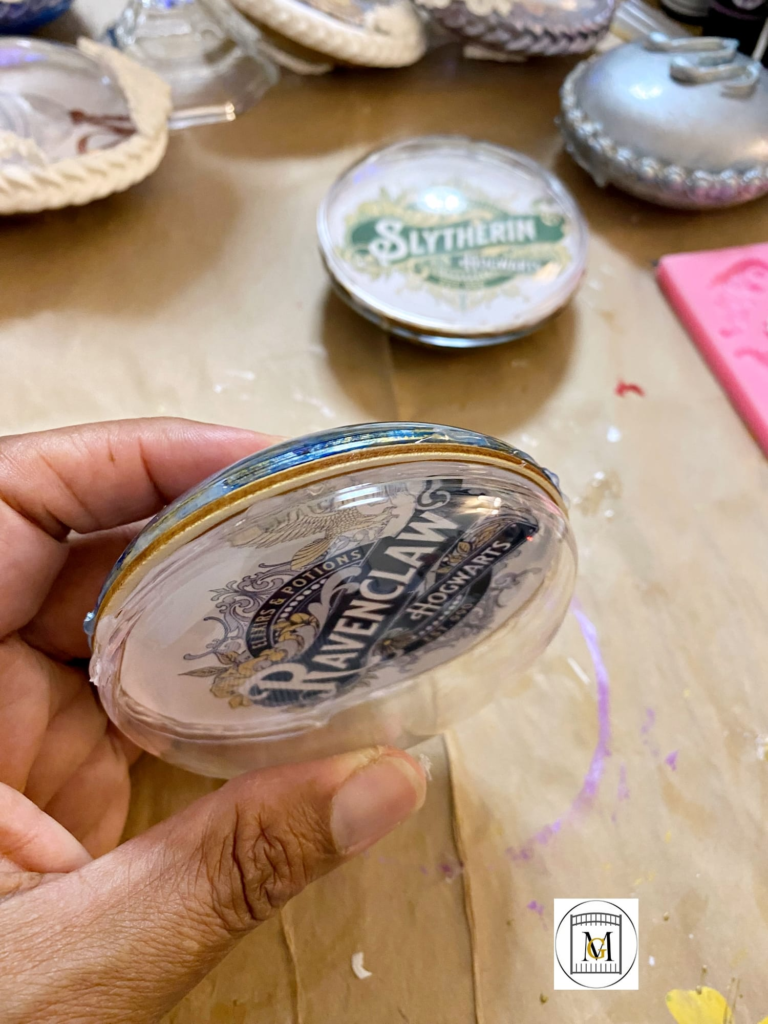
- If needed, add a thin line around the ornament where everything is joined to secure more.
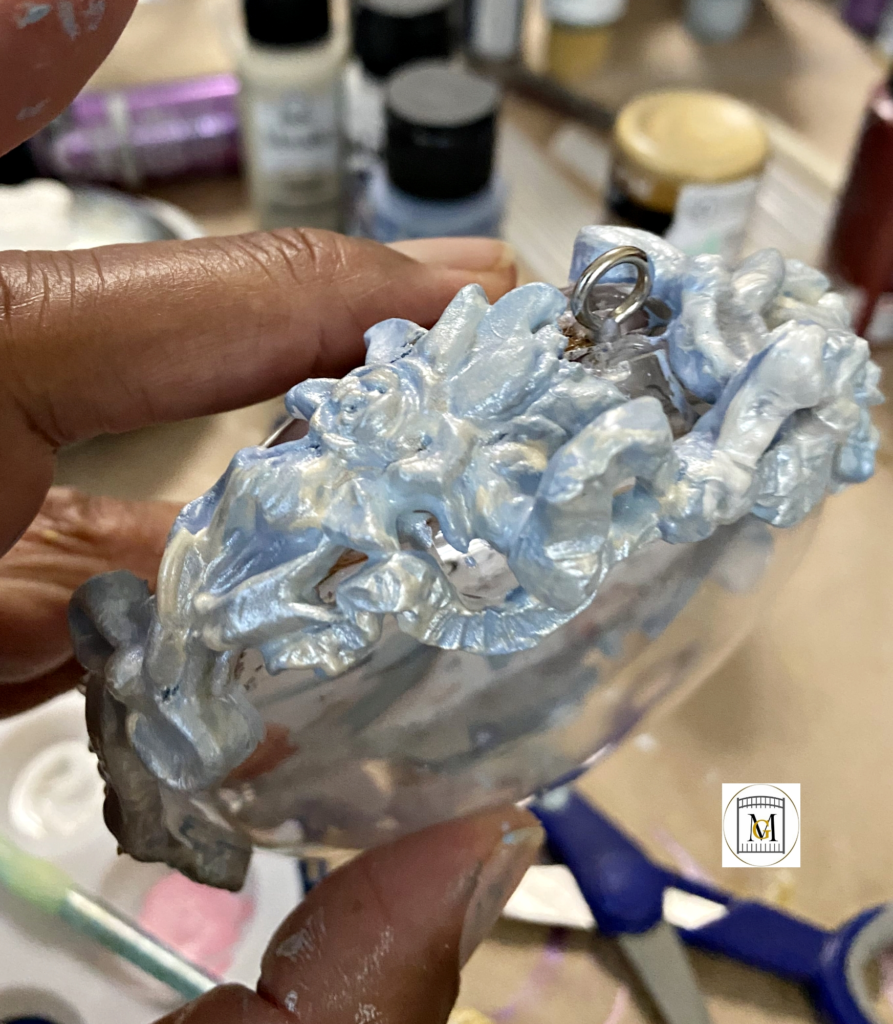
- Next, attach the clay molds with hot glue and wear gloves. So, you can also use quick dry glues and you have more flexibility with moving things around, it just takes a little longer to dry. Also, try not to add too much glue so that it does not overrun on the sides and onto the clear bulb. Then push the molds in place and hold for a few seconds until it bonds to the bulb. Remove any glue hairs as they appear (use tweezers in tight spaces).

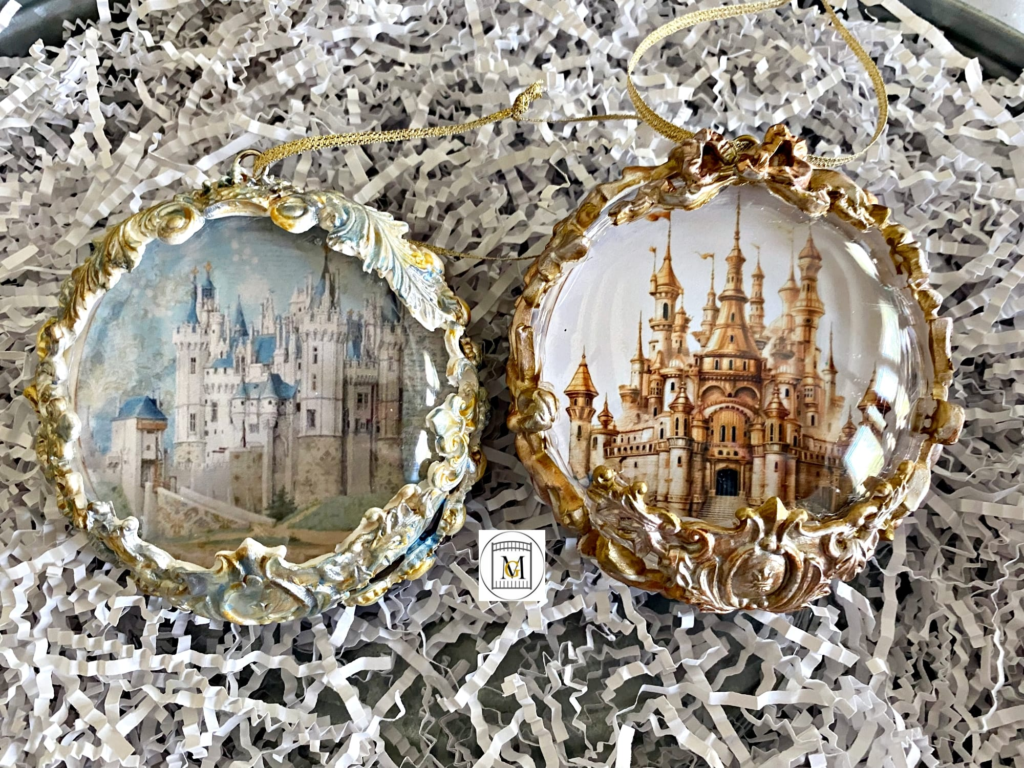
- Now, paint with the paint colors of your choice. Metallic paints add a natural shimmer to the ornaments. So start with a base color of metallic gold, metallic white, or metallic silver, then dry brush on the accent colors that pull from the colors in the ornament image. If you mess up a color, repaint with gold and then try again. Also, use the baby wipes or paper towels to blotch off paint, or to clean up paint that overran on the clear part of the bulb from the clay.


- Once the bulb is dry, add the string to the top, or if you used a wood circle, turn the eyelet screw into the ornament at the wood part and then attach the string.
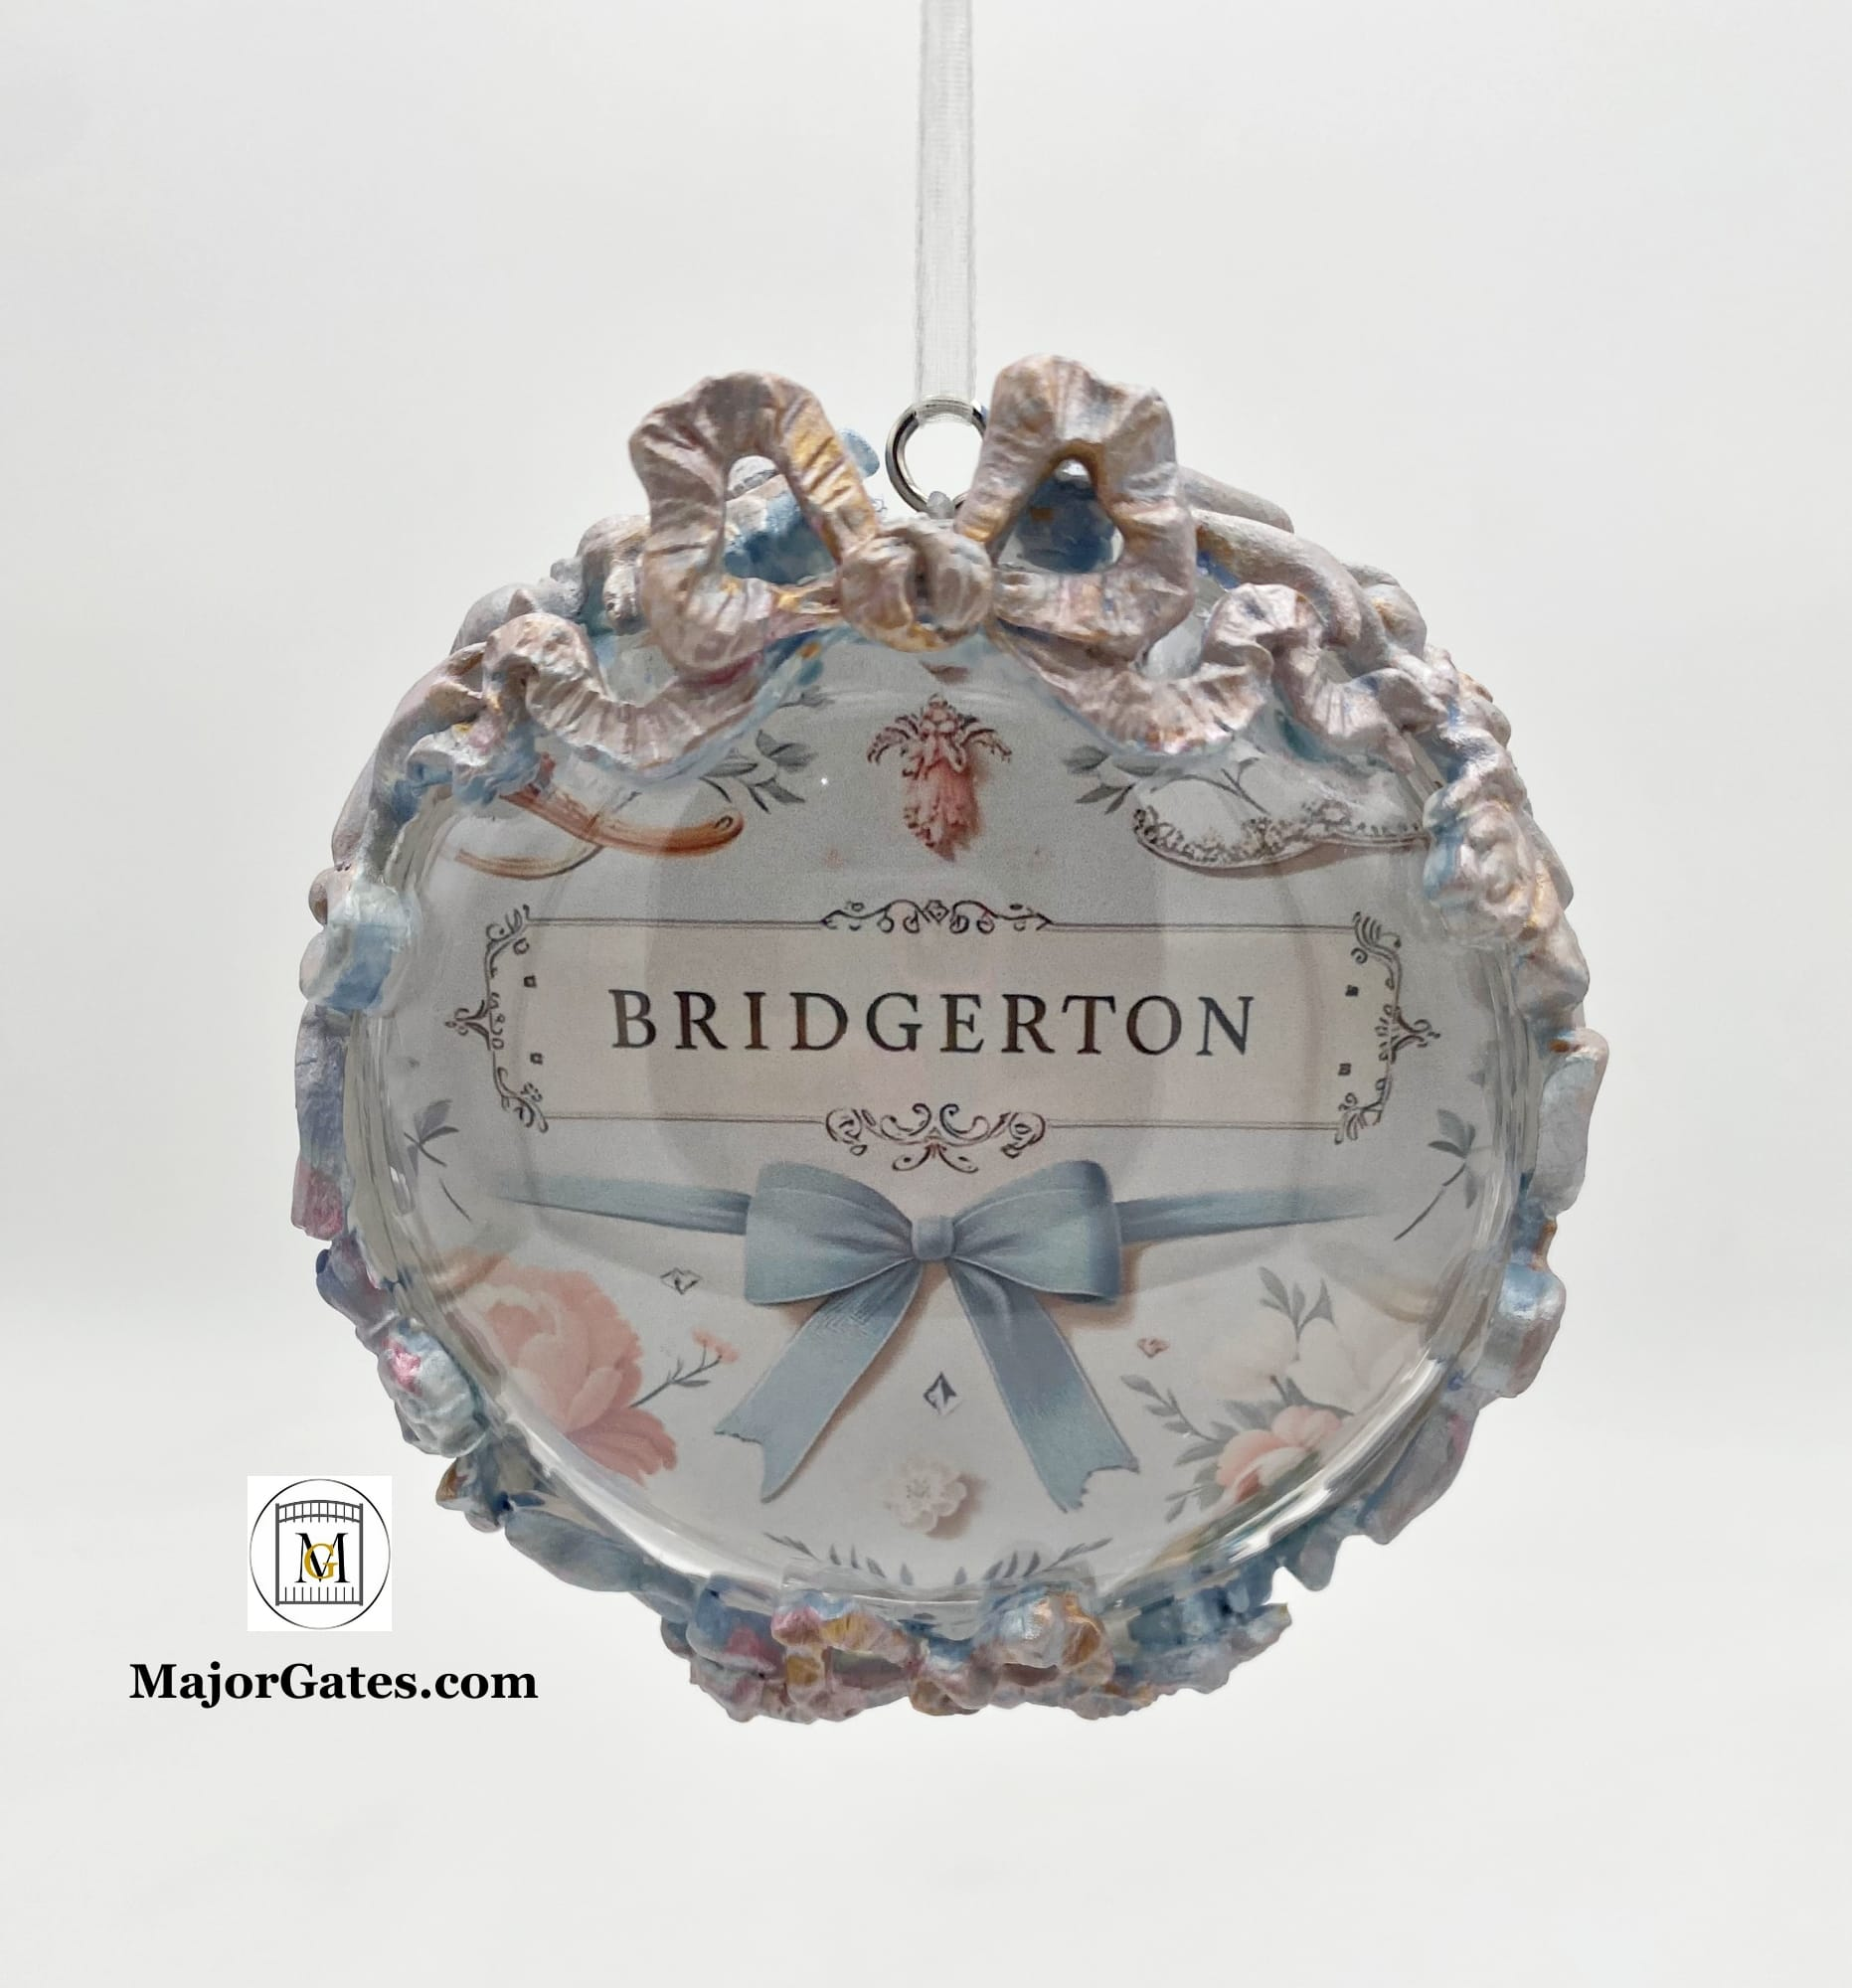
- It is ready! Hang on the tree or box it up to give as a gift. Also, consider gathering a few images in the same theme and make a group of ornaments.
STORAGE NOTE: Lightly wrap in tissue paper and do not store anywhere temperatures heat index exceeds 90 degrees Fahrenheit. I live in South Texas, so that means no attics, but okay in the garage. Be sure to mention this if you give these as a gift. I also would not store anywhere that temps reach below zero for longer than a week. I have not tested this, but I would think the clay may crack for extended freezing times. Cold freeze snaps are okay since I store them in the garage and they are just fine.
To see my available Jeopardy/Trivia Game Party Downloads, click here: https://majorgates.com/product-category/jeopardy-trivia/
