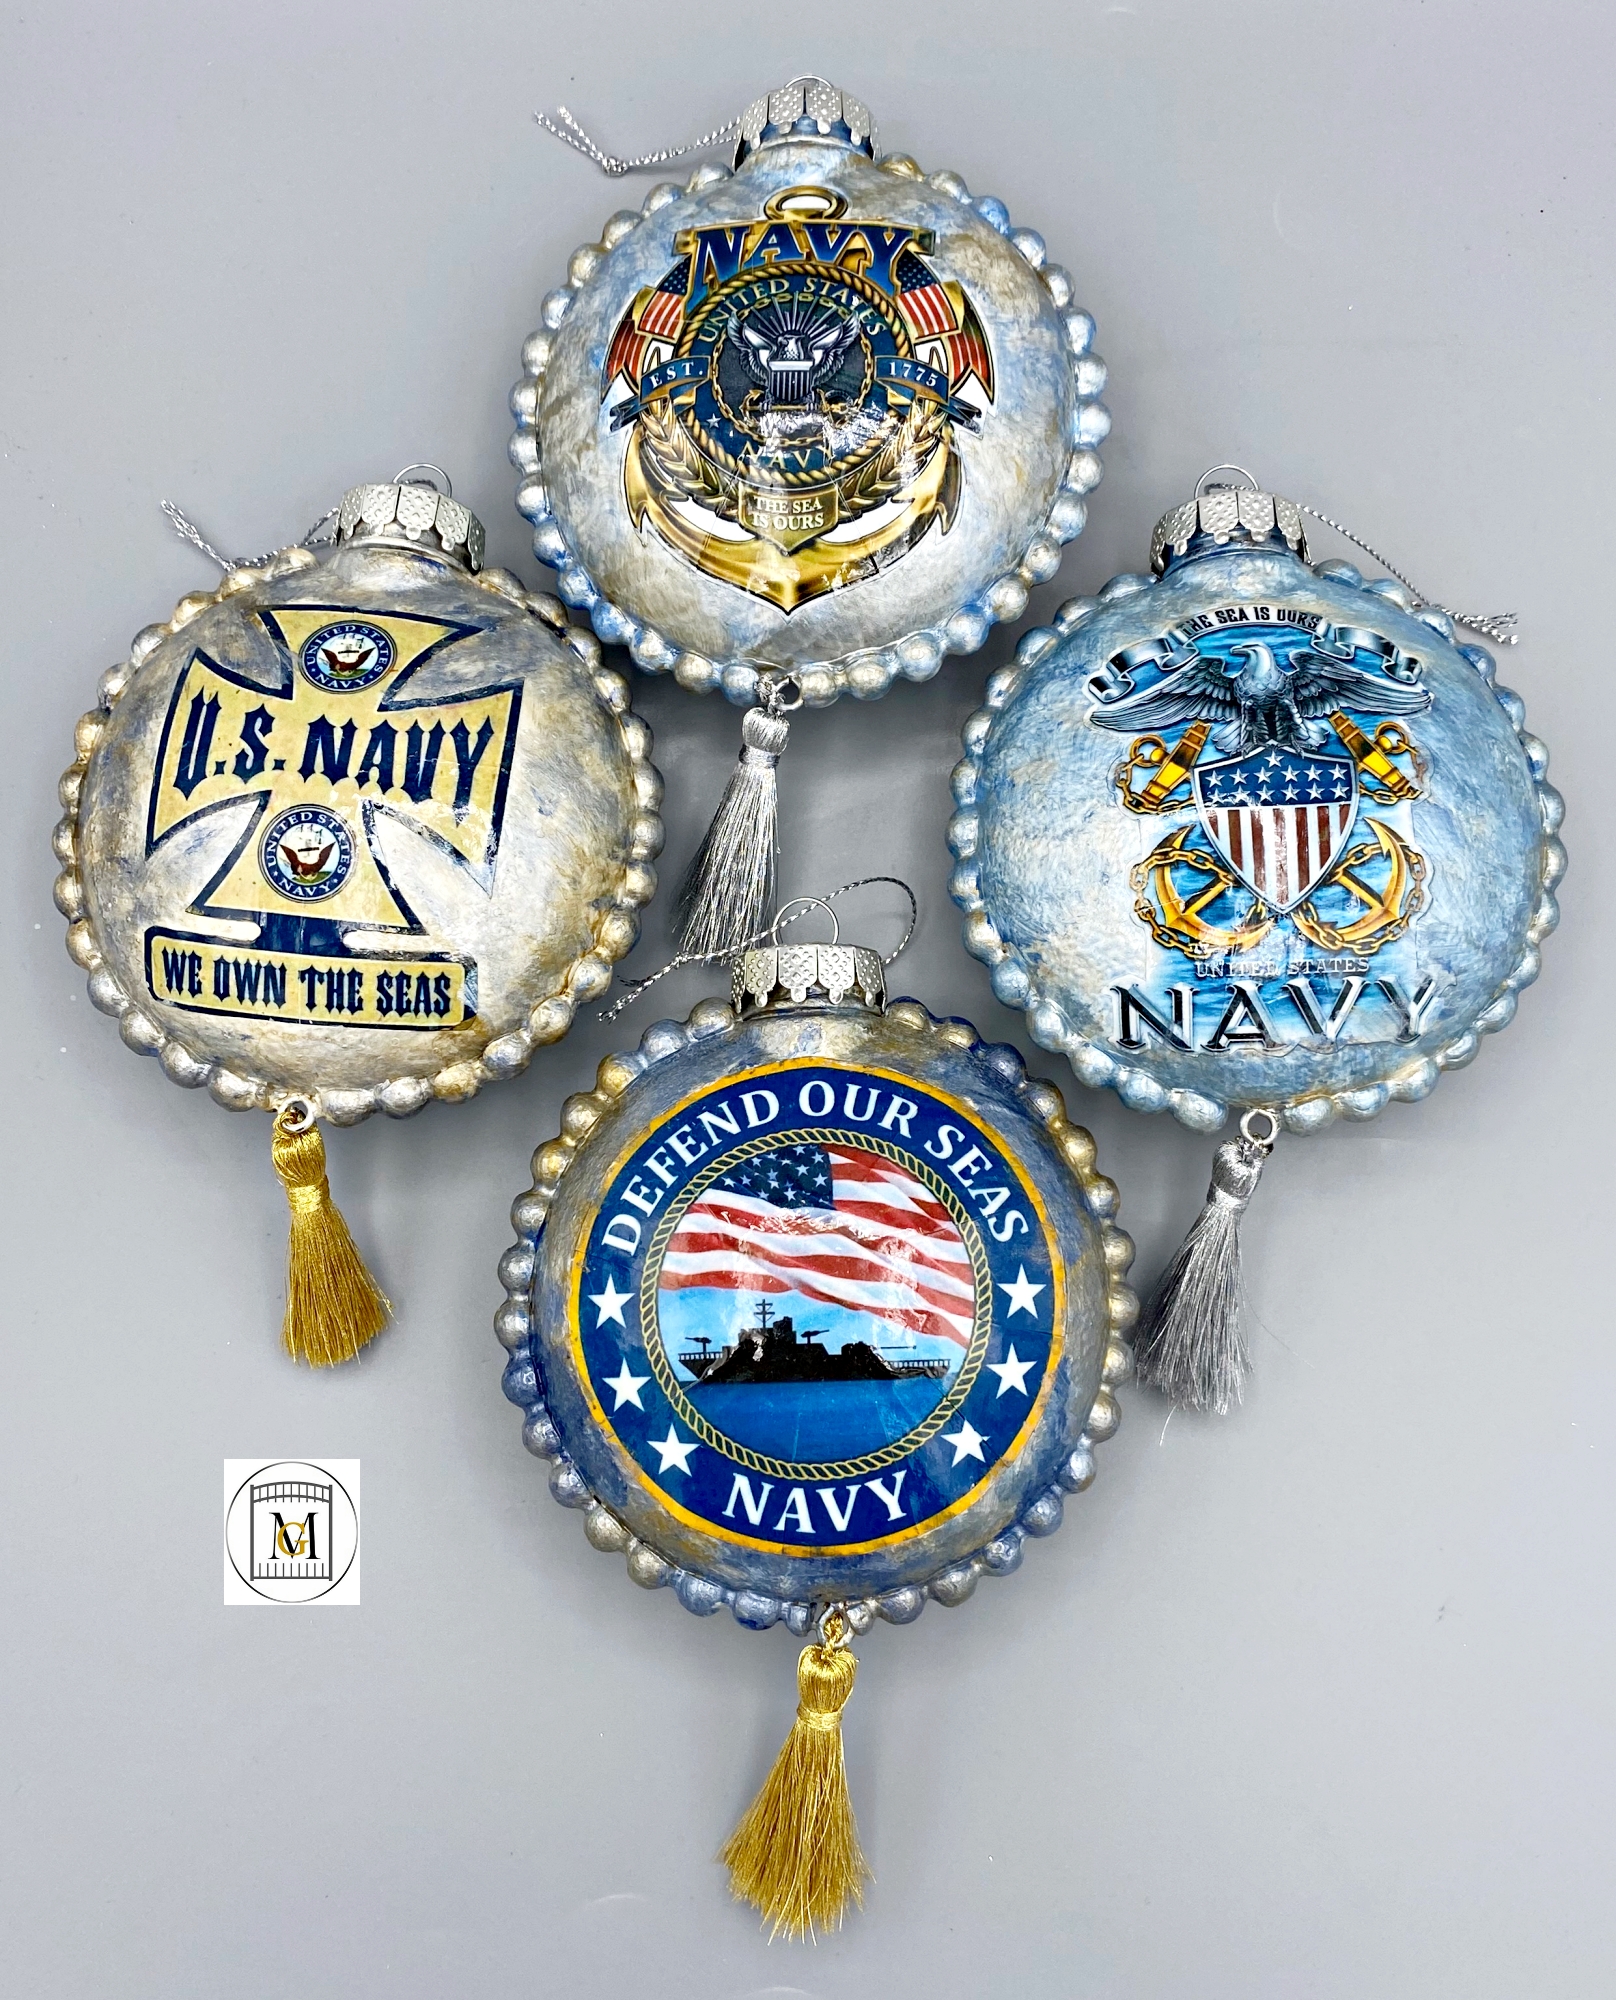
DIY Navy Ornaments
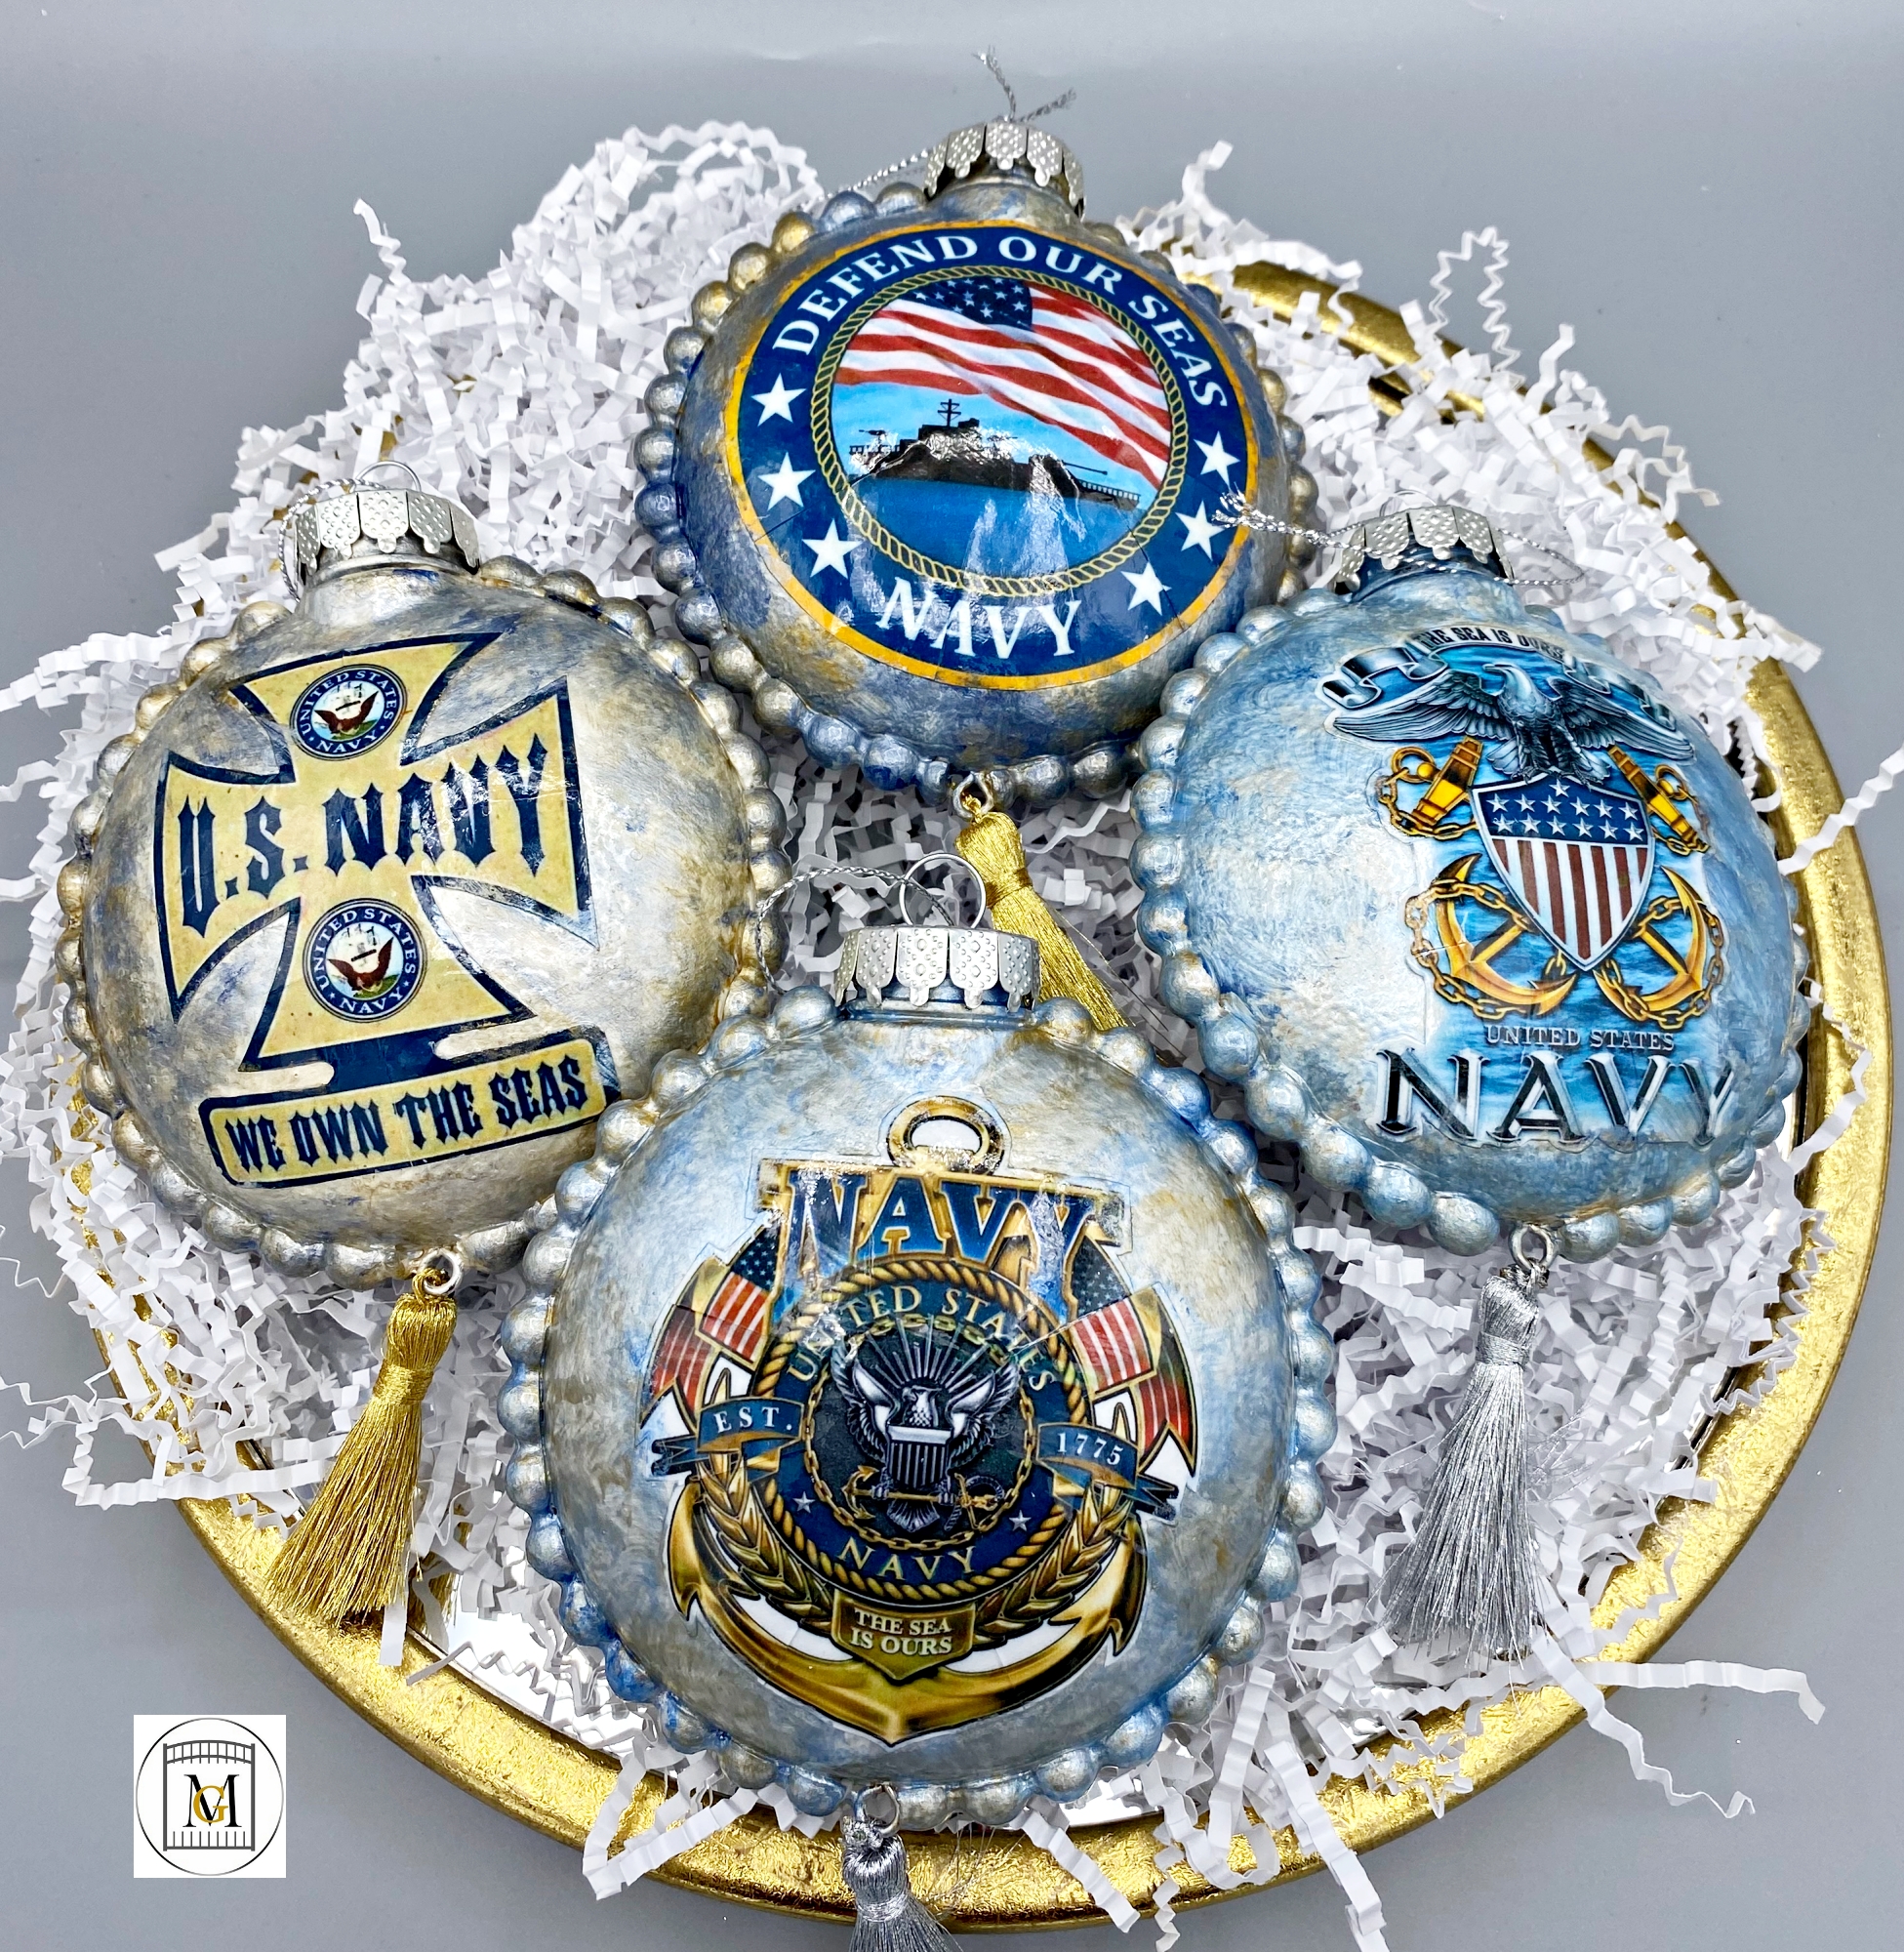
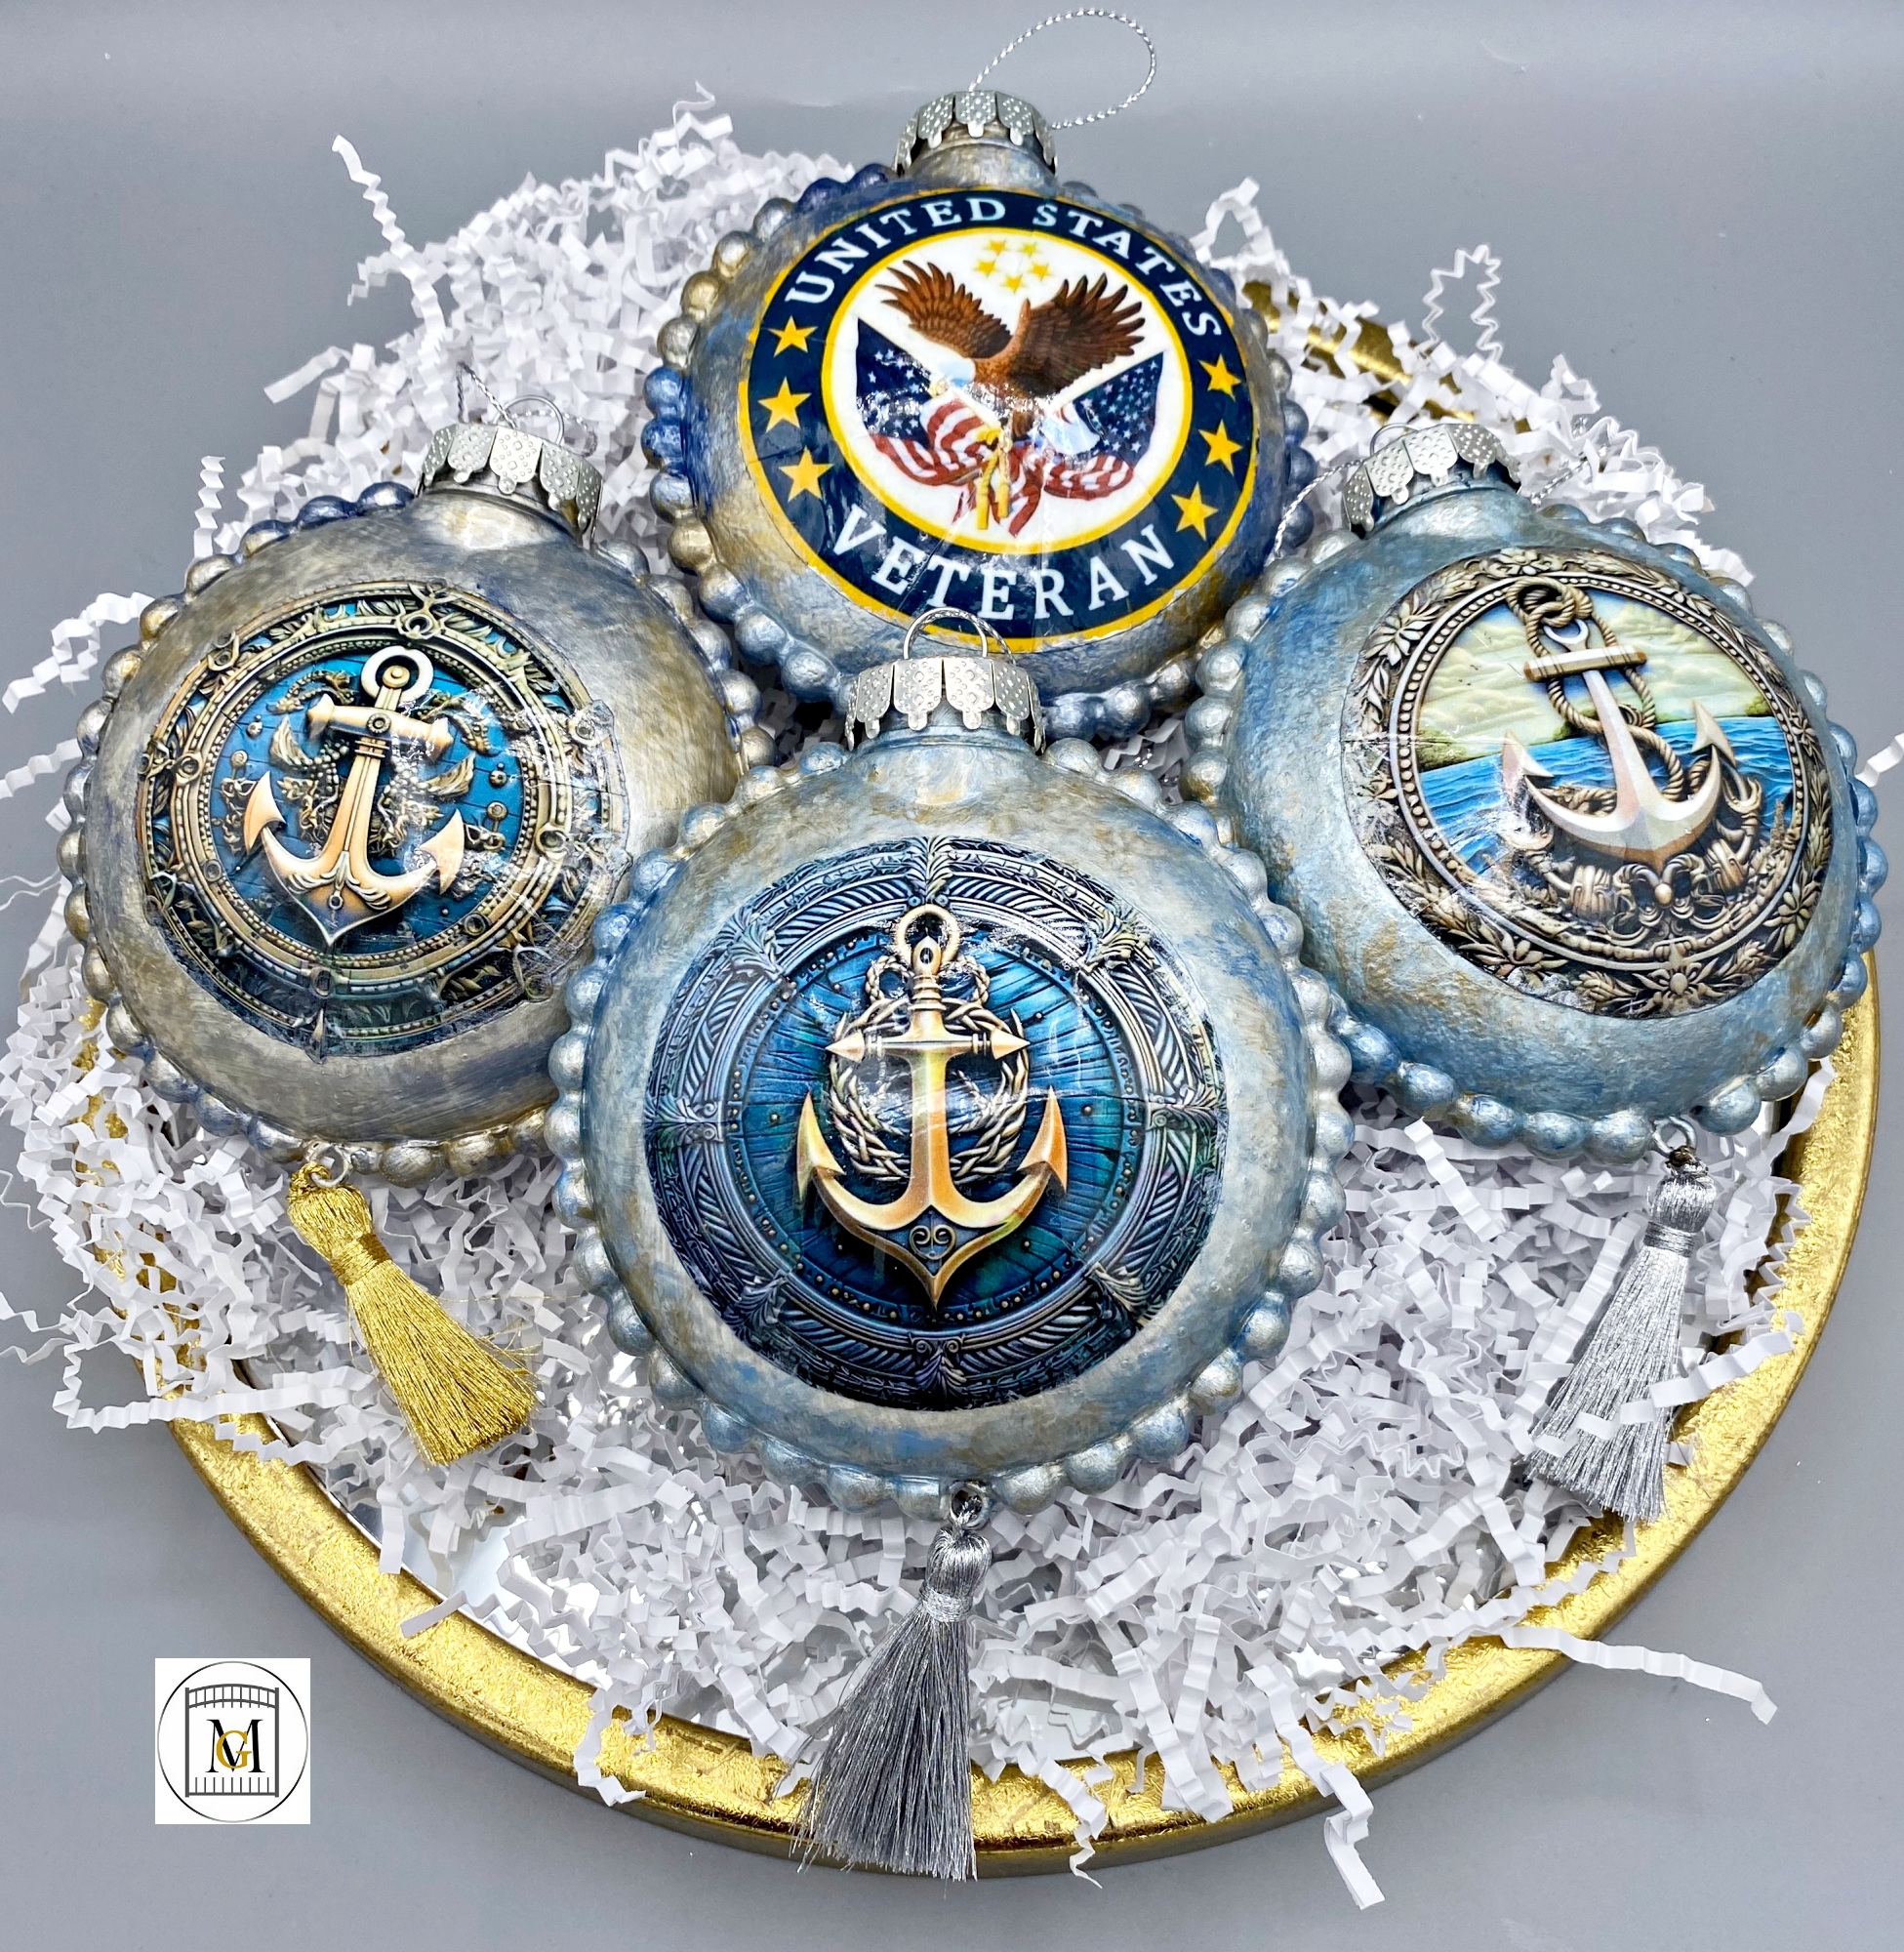
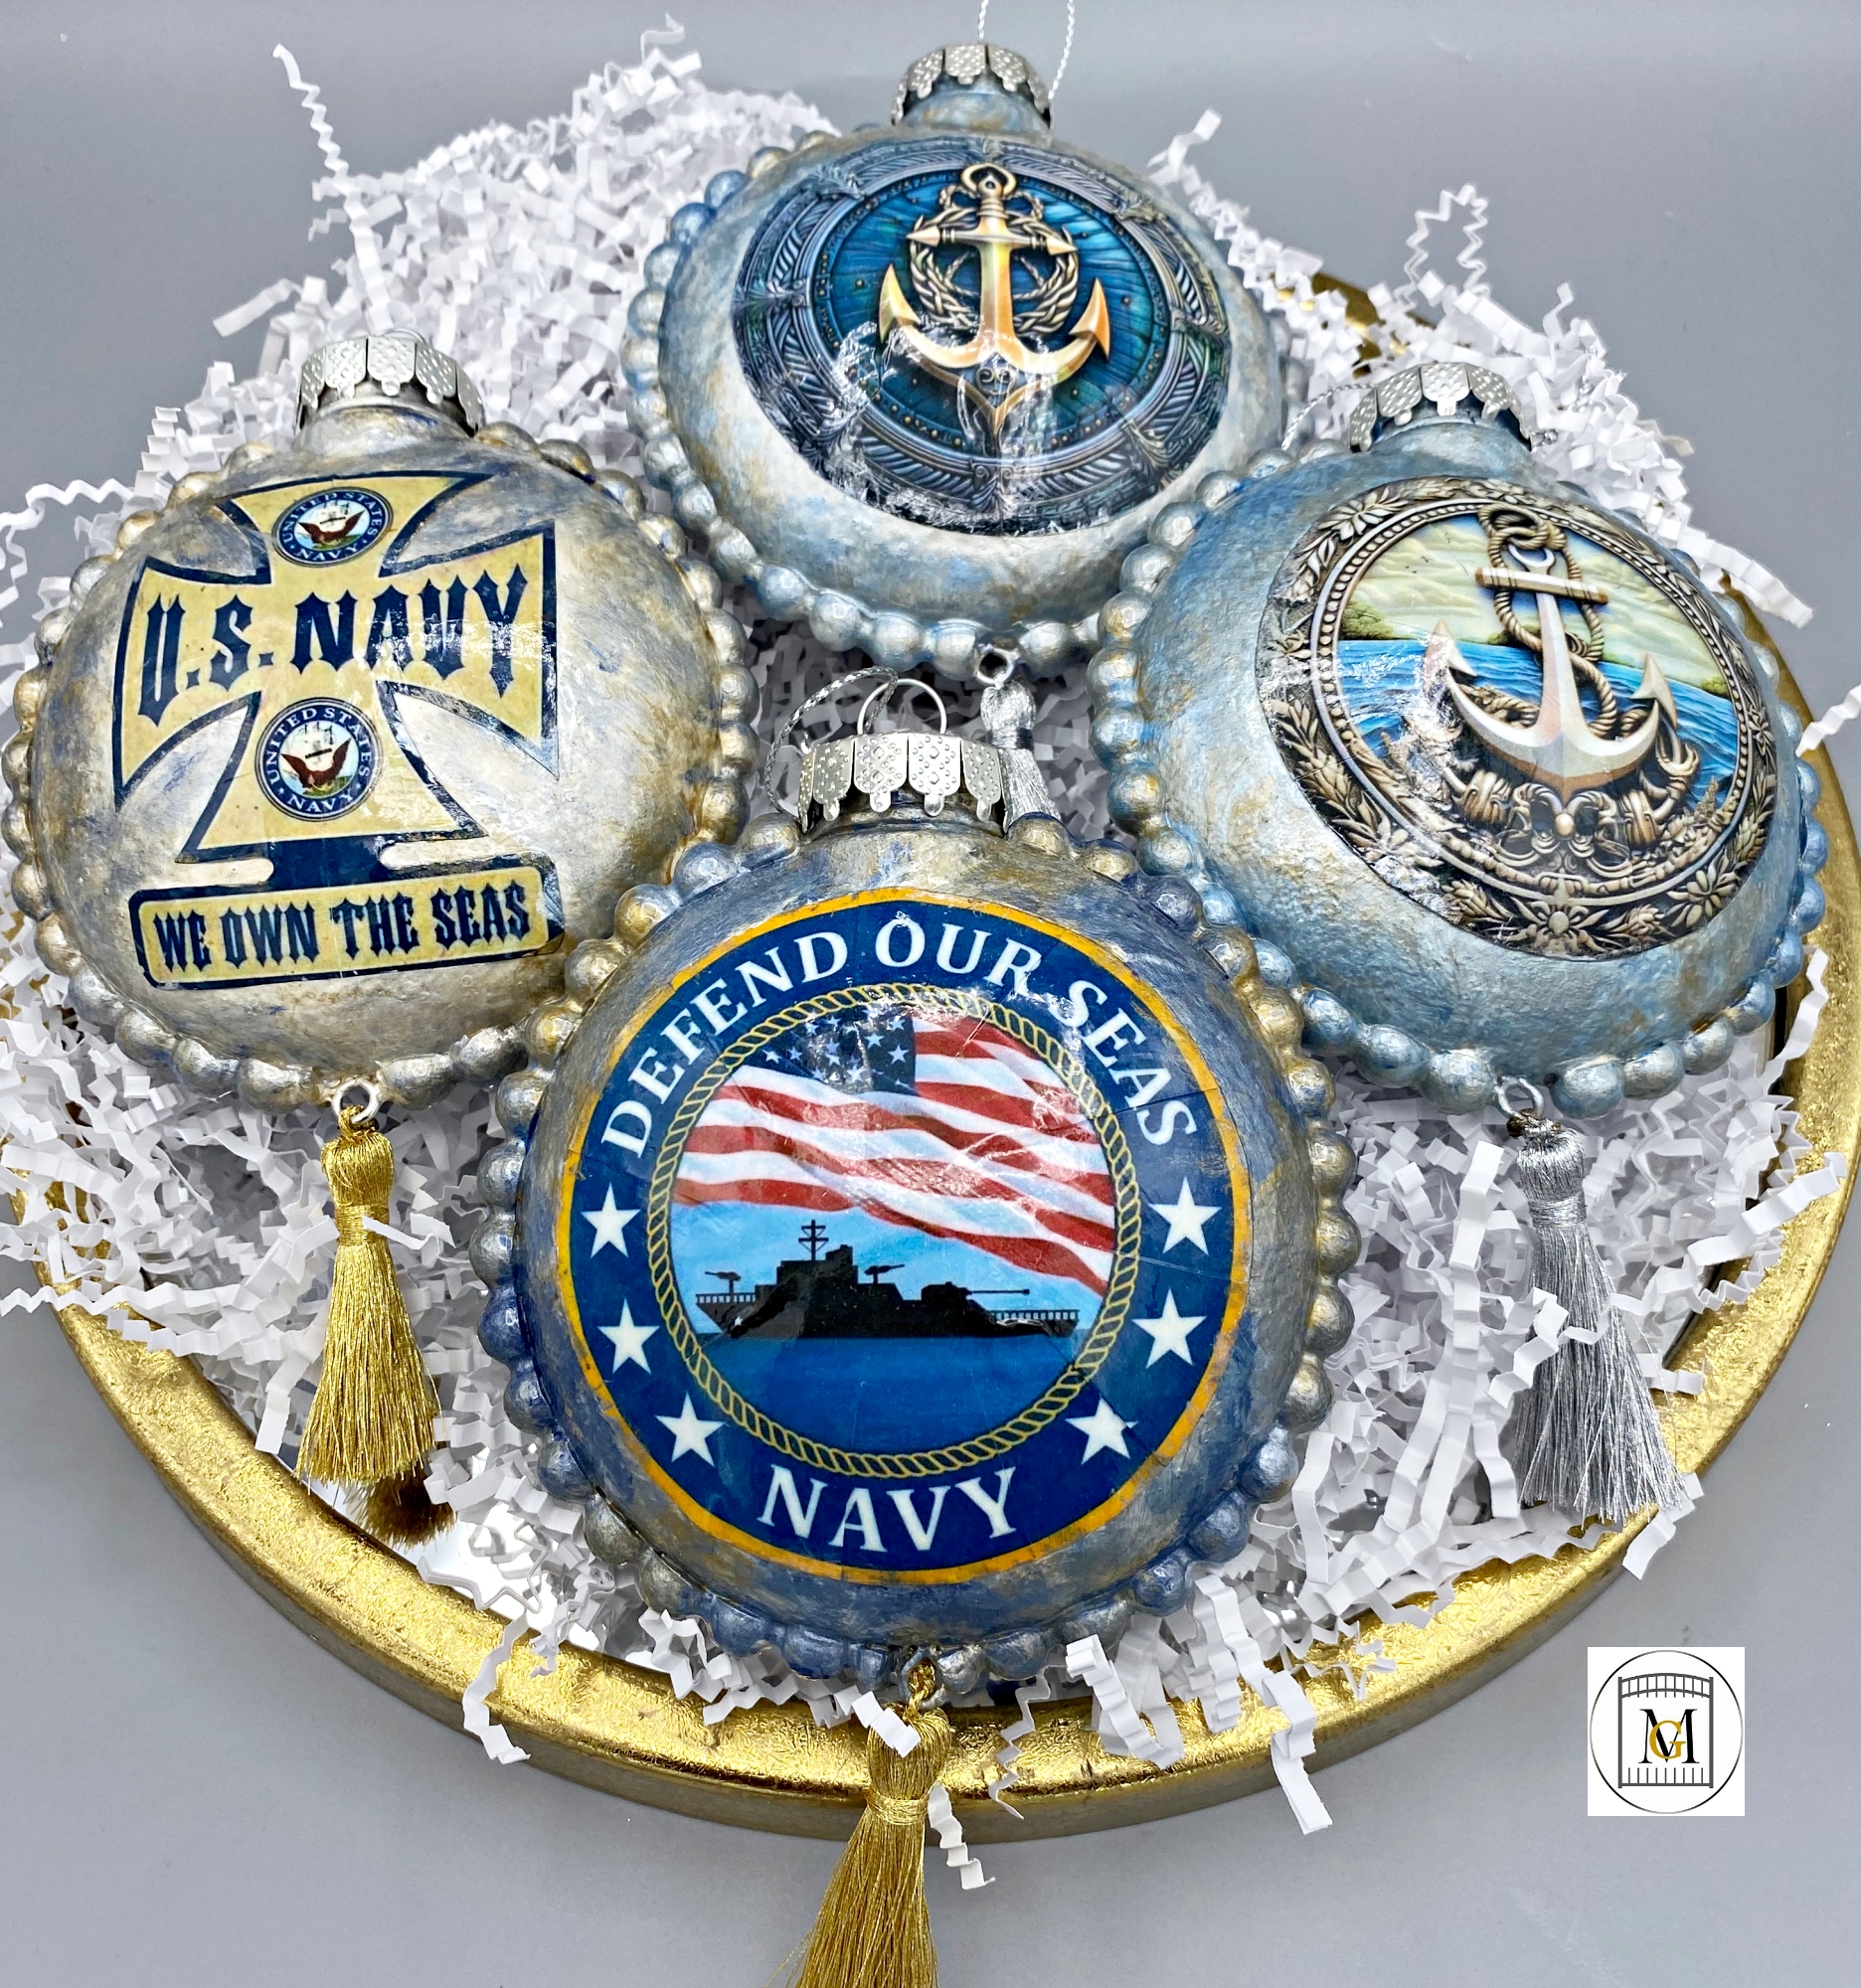
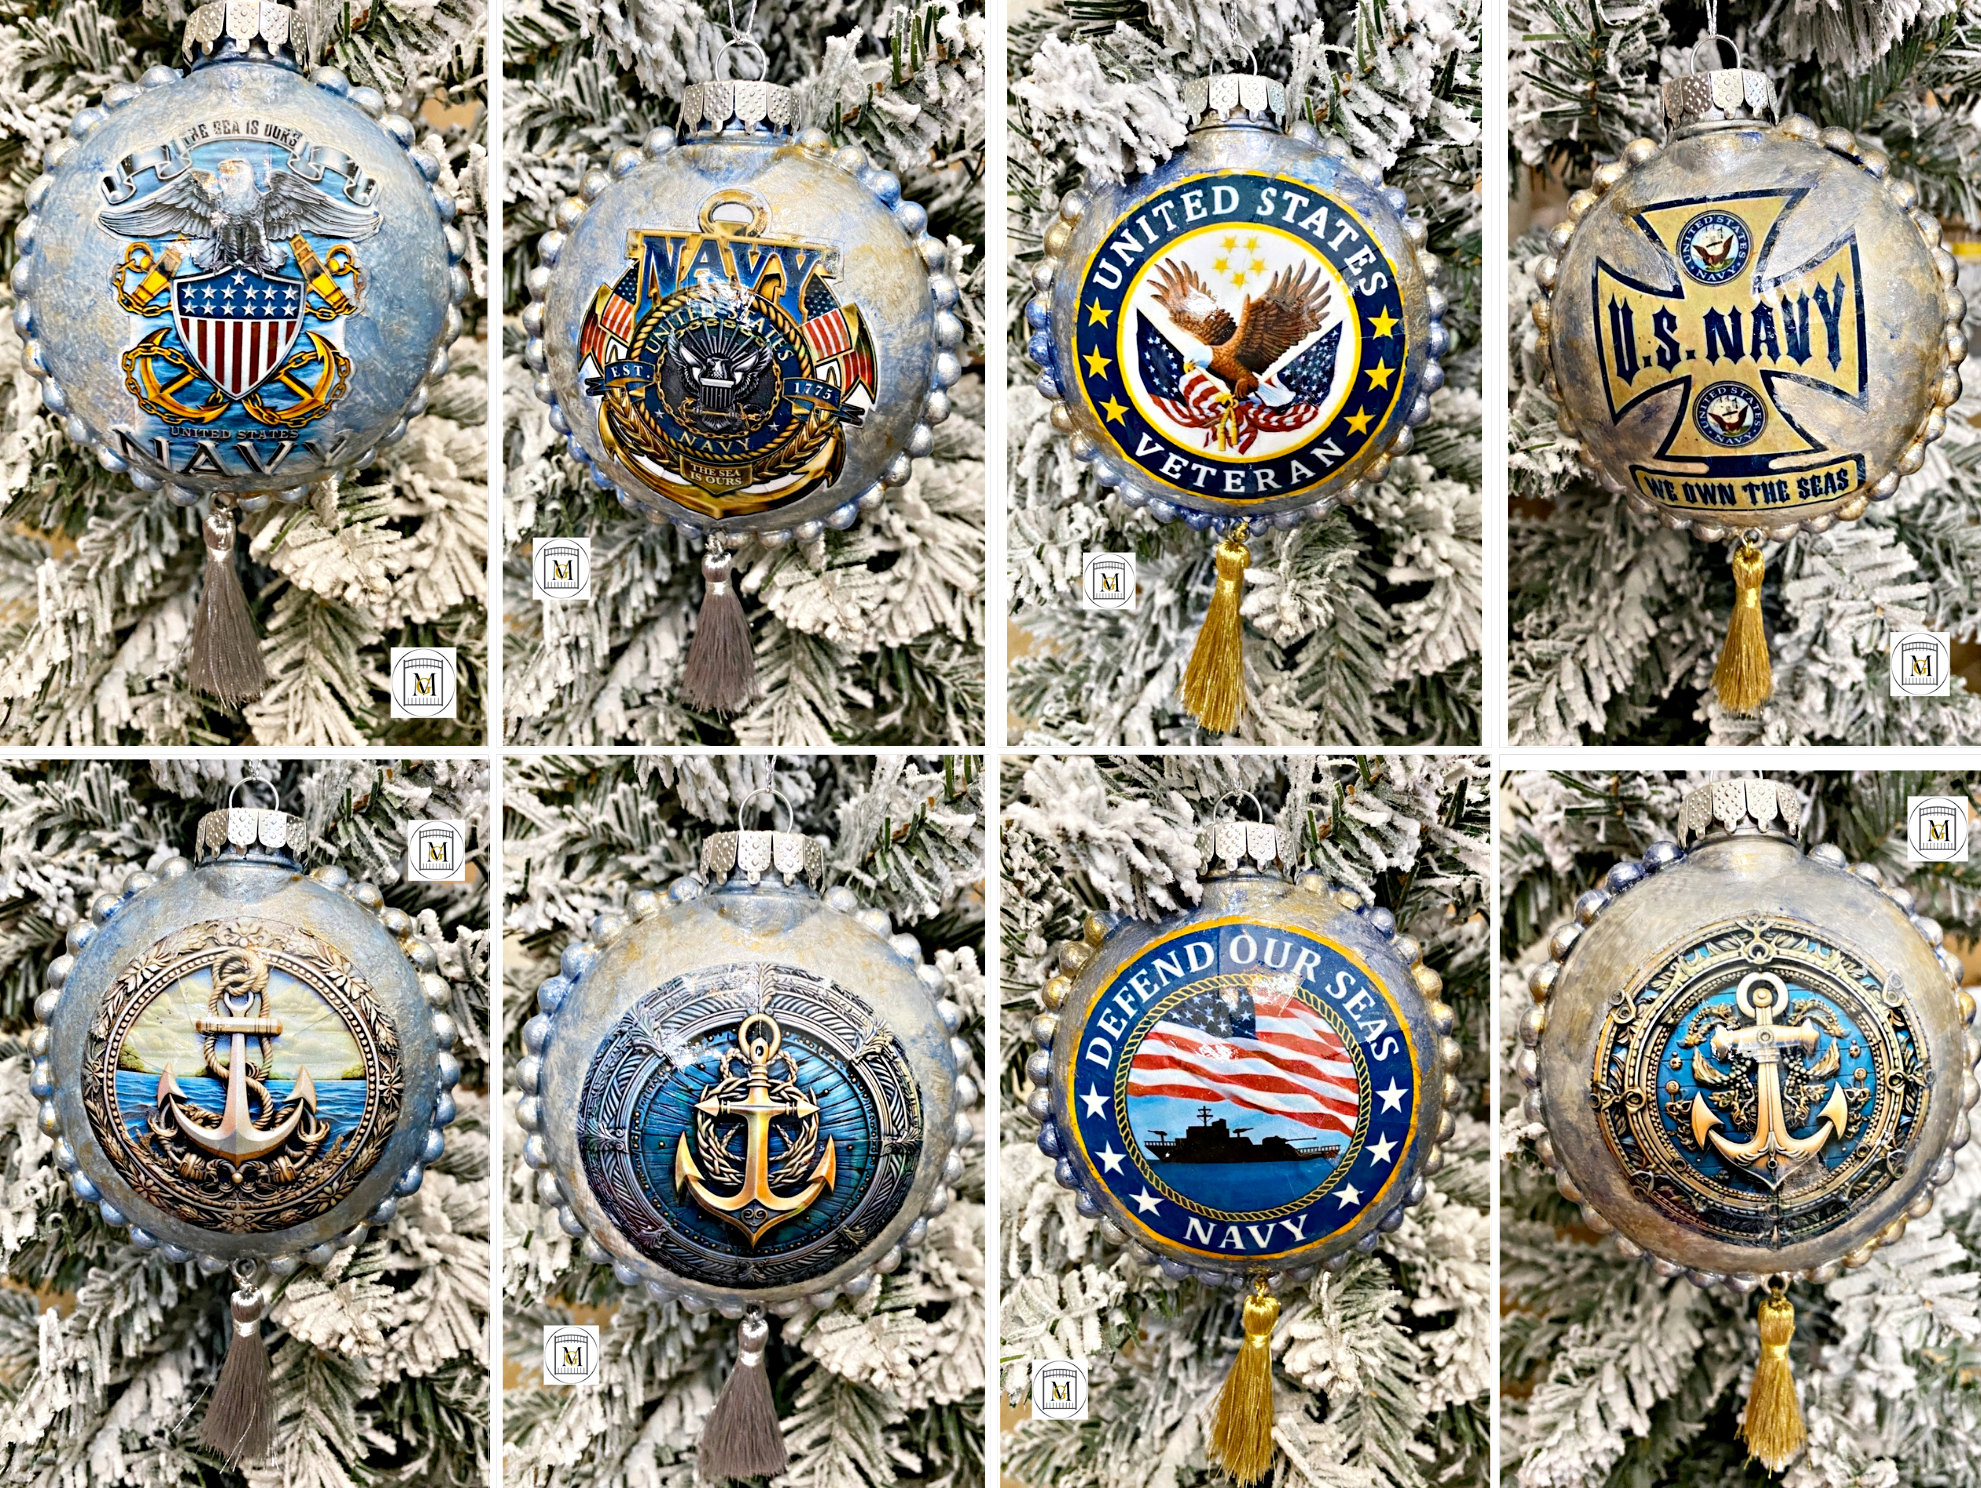
You can make DIY Navy Ornaments or make them for any branch of the armed services by following these steps. When you make custom or specialized ornaments for friends, special people, or family, they mean so much to the recipient. If you are new to crafting or are an experienced crafter, anyone can make these. I started blogging how I make my ornaments after being frustrated that steps were purposely left out on how to make interesting ornaments.
If you are a crafter, many of the supplies you already have at home. It is harder to find the right air dry clay that you like and silicone molds in the size and pattern that you like. Some of the supplies it was just easier to get on-line, especially since I had more options. So I get my clay, silicone molds, manual craft drill, and Mod Podge on-line.
To see my available potion/apothecary bottle labels, click here: https://majorgates.com/product-category/potion-apothecary-labels/
Another great thing about making custom or specialized ornaments, is that you can make these with any image you find and can cut out. The one thing I need to caution crafters about is images. If you find an image on-line, you can only use for personal use. You can not sell these ornaments without the permission of the image owner. But if you are making as gifts, the recipients are exceptionally grateful.
I do have to caution that the ornaments are not difficult, but they do take some time to make. For example, you have to search the internet for the images and cut them out. Also, you have to wait for the different steps to dry before moving for the next step. So I tend to make multi-theme group ornaments for all my recipients at the same time.
So keep reading and learn how to make some great ornaments.
Don’t Forget To Follow Me On Pinterest!
To see my available Party Bundle Party Labels, click here: https://majorgates.com/product-category/party-bundles/
Supplies
- 4 inch plastic disc clear Christmas bulb
- White chalk paint or other white base paint – I use chalk paint because it adheres to plastic easily
- Sharp craft scissors – I use 2 sizes – large and sewing or fine scissors
- Mod Podge Gloss
- Triple Thick Gloss
- Quick Dry Tacky Glue
- A variety of paint brushes and paint tray
- Sponge brush
- Super light weight air dry modeling white clay (I used Hearty brand)
- Silicone border mold
- Regular white copy paper
- Color printer
- Tassels
- Ribbon
- Eyelet screws (4mm x 7mm)
- Hand craft drill (optional) – sold at craft stores or on Amazon
- Nose pliers (used to help screw in the eyelet screws)
- Table protective covering
- Acrylic Paint – I used the following colors
- Deco Art Gloss Enamels Metallic Glorious Gold DAG71
- Deco Art Extreme Sheen Sky Blue Topaz DPM25
- Folk Art Metallic Champagne 675
- Deco Art Metallic Silver ADMTL13
- Anitas All Purpose Medium Blue 11009
- Anitas All Purpose Navy Blue 11028
- Tassels in the color of choice (Optional)
To see my available 2-Liter/Wine Bottle Party Label Downloads, click here: https://majorgates.com/product-category/2-liter-wine-bottle-labels/
Directions For DIY Navy Ornaments
- Select your art images and print them out on regular copy paper. So unless you have a cutting machine, select images without intricate cuts. I like images in circles or with an outline for easier cutting. You can find images all over the internet. But remember that using images on-line are for personal use only and cannot be sold without the owner of the image consent. Some original art owners may charge a fee in order to use their image for sale.
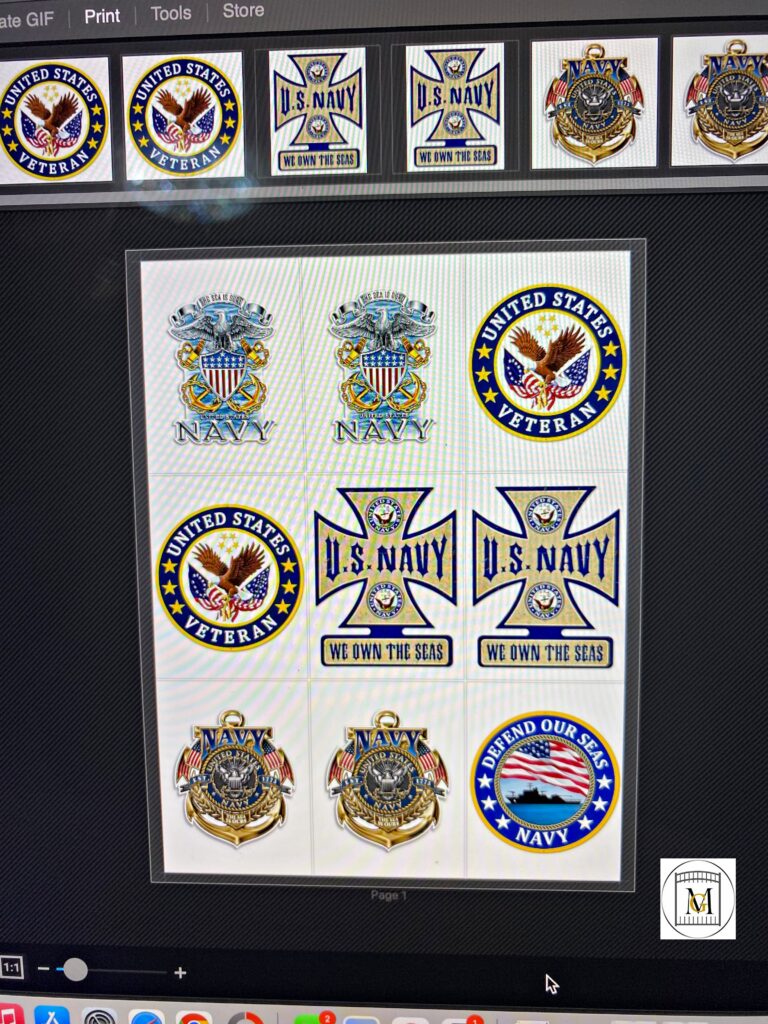
- Then cut the images out and apply a thin layer of Mod Podge on the back side of the image. Allow the glue to dry, then flip it over and apply a thin layer to the front of the image. So make sure you do not go back and forth with painting brushstrokes. Apply the Mod Podge in one direction only. The reason for the Mod Podge is to apply a seal over the image so it does not bleed when you painting and handling the ornament. It also provides a protection against water or moisture to protect the ornament.
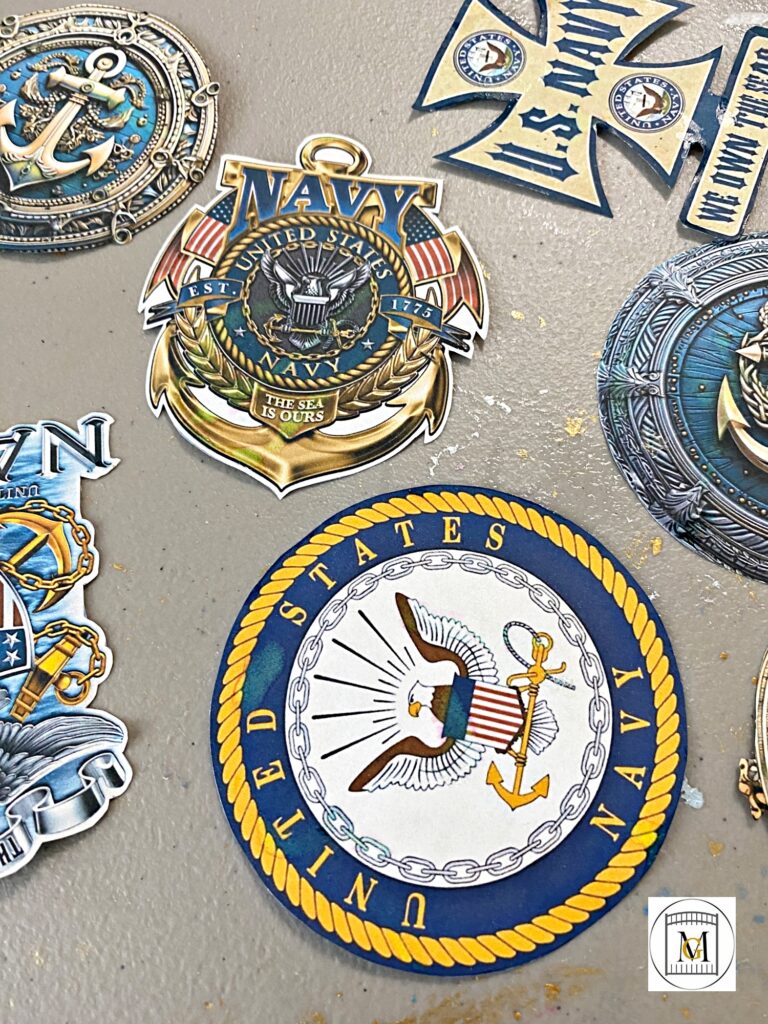
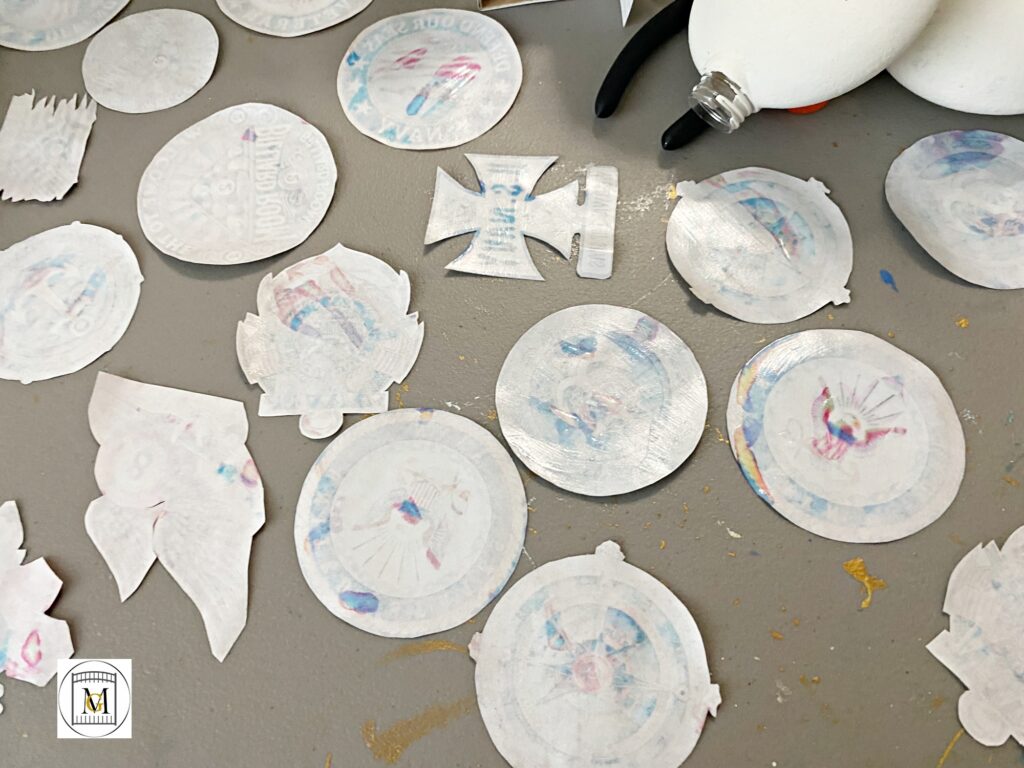
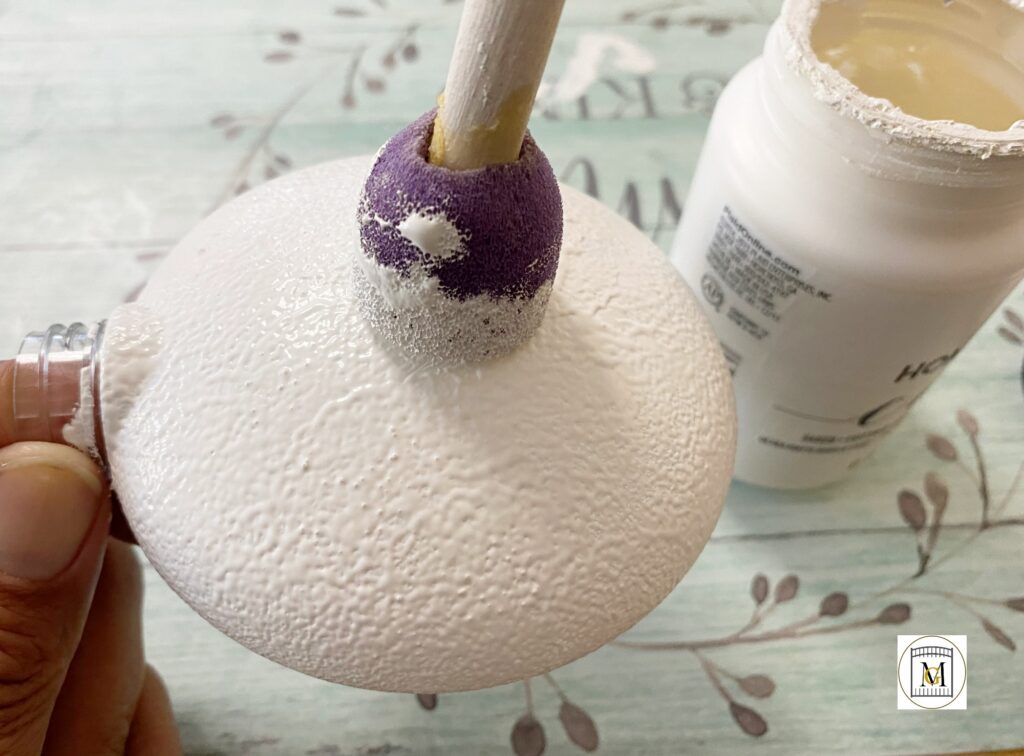
- Next, sponge paint on white chalk paint to the plastic bulb and allow it to dry.
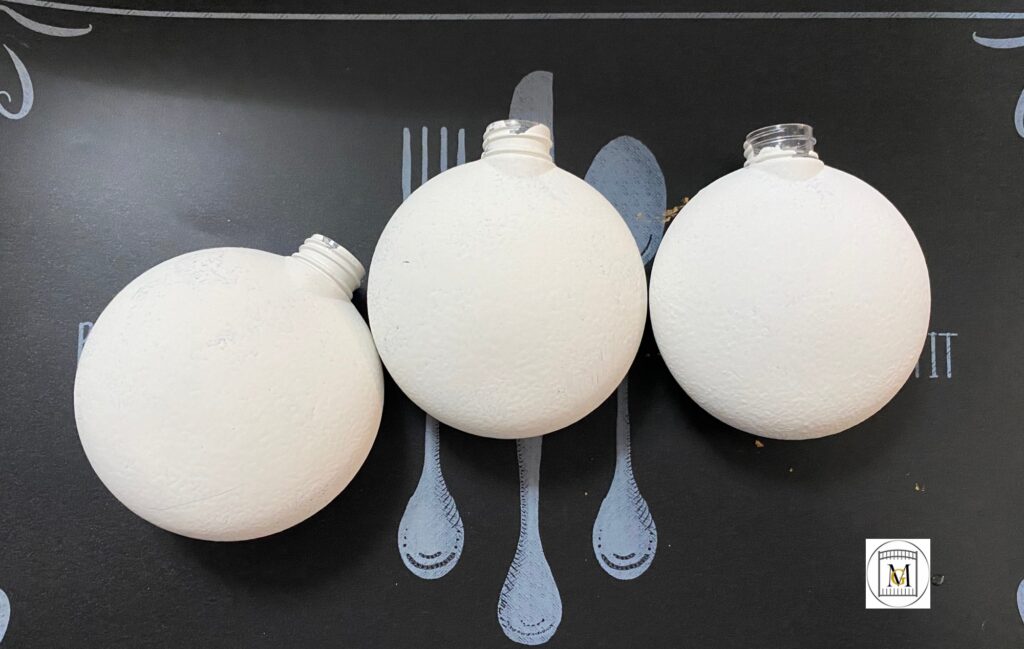
- Meanwhile, while the images and bulbs are drying, press the air dry clay into the molds. Feel free to use whatever mold border you like. So since I am using a 4 inch bulb in this example, I had to use both of the bead borders to cover each side.
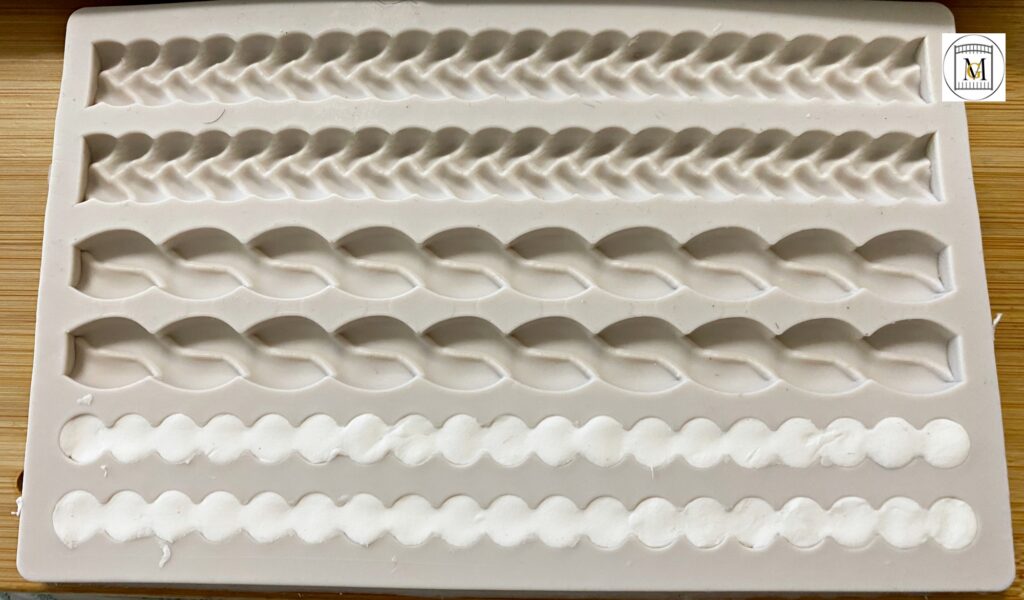
- Also, leave the clay in the mold for at least 30 minutes – 1 hour or until it is dry enough to easily remove from the mold without smudging with your fingers.
- Now add on the eyelet hook at the bottom of the bulb, before adding the trim. Just screw it in and then add the clay border with Tacky glue.
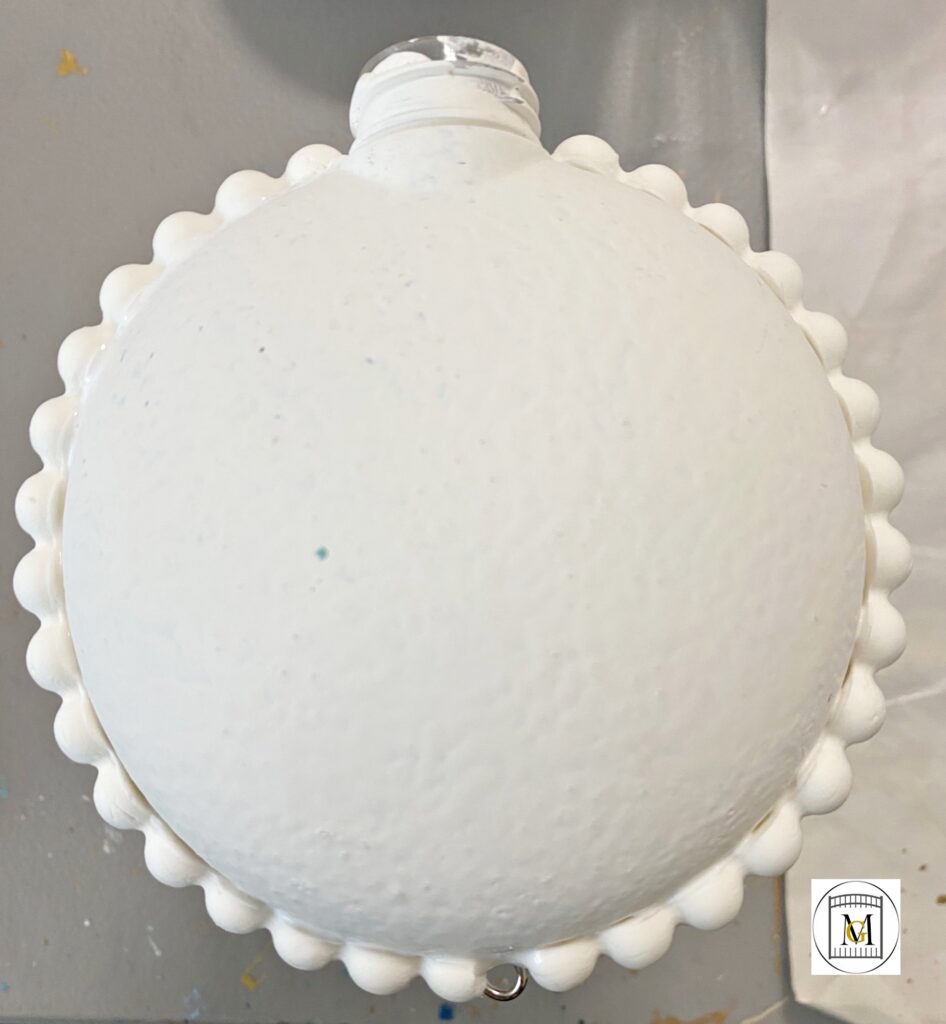
- Next, on one side of the bulb, paint on the acrylic paint. Try to have smooth brush strokes and pull the paintbrush towards the middle since the image will be covering it. Since this is your base paint coat, you do not have to be perfect because the accent paint will cover any blemishes. Now allow that side to dry before painting the other side including the trim border.
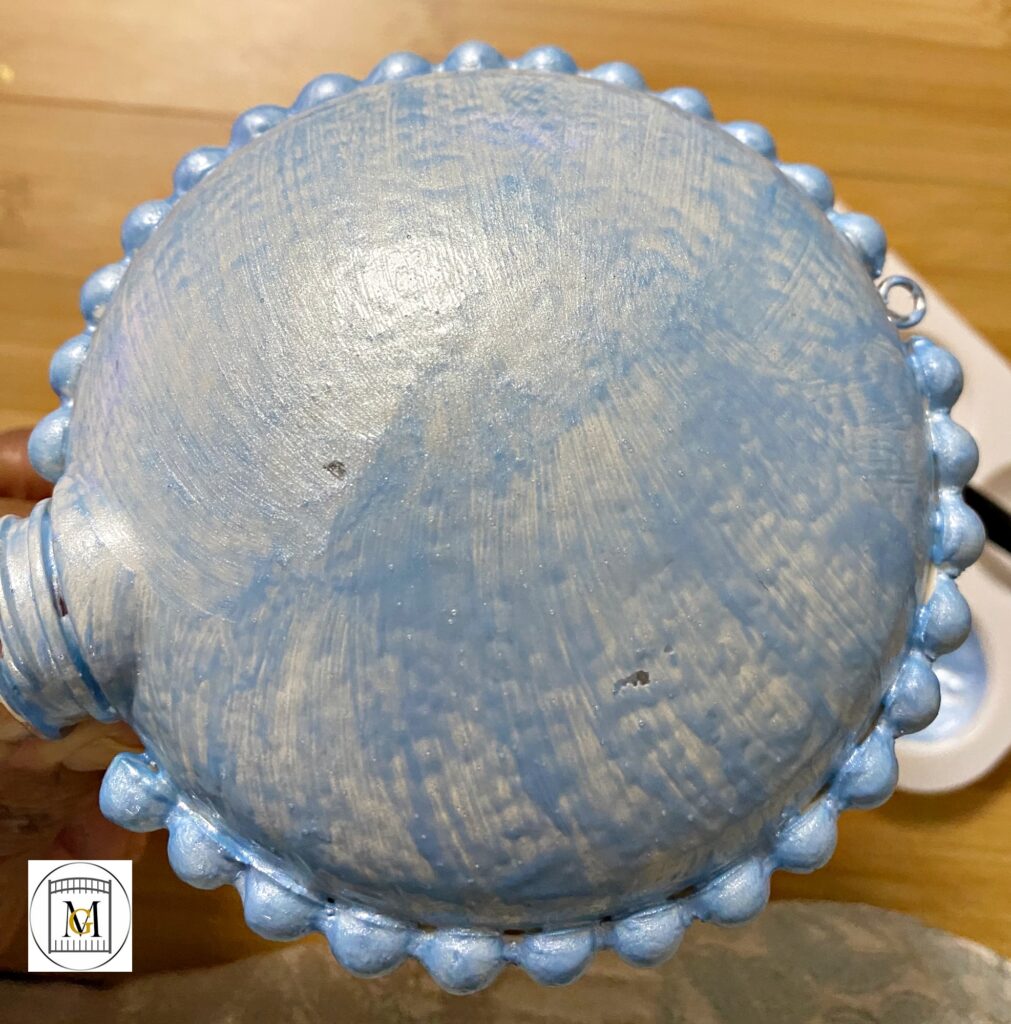
- Then, make a few cuts into the image. The reason you do this is to help the image adhere to the rounding of the bulb.
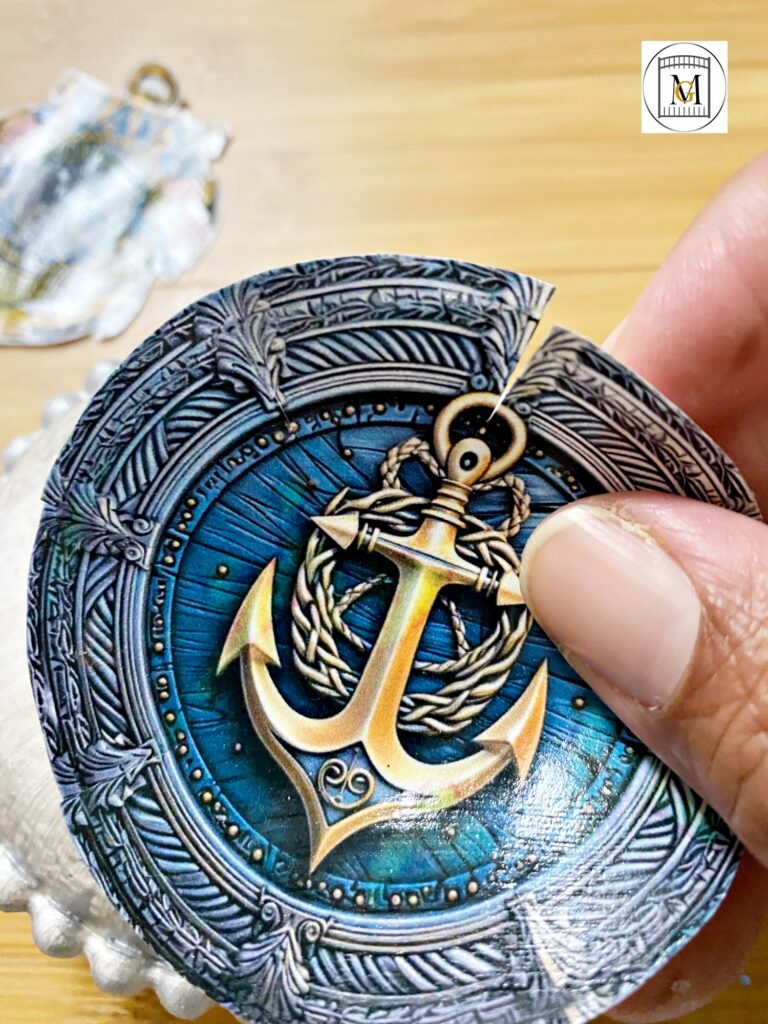
- Now, on the backside of the image, paint it with Mod Podge and adhere the image to the center of the bulb. Gently smooth out the image. So the cuts will allow you to smooth over the image as the bulb rounds. Then adhere the other image to the other side the same way.
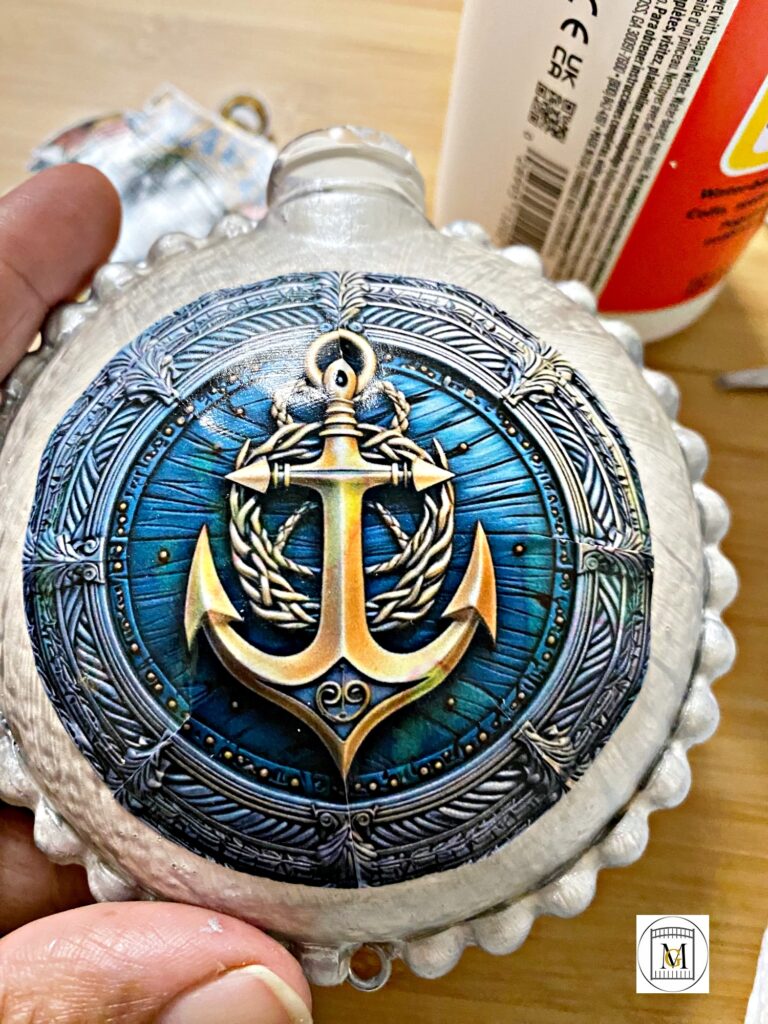
- Next using multiple brushes, add on your other colors. The technique I use is by applying like I am sponge painting but using a brush instead of a sponge brush. Allow each side to dry at least 1 hour before painting the other side. I also keep paper towels and baby wipes close by to dab off any excess paint or paint on my hands. Another tip is to write down the paint color you use in case you have to make more ornaments.
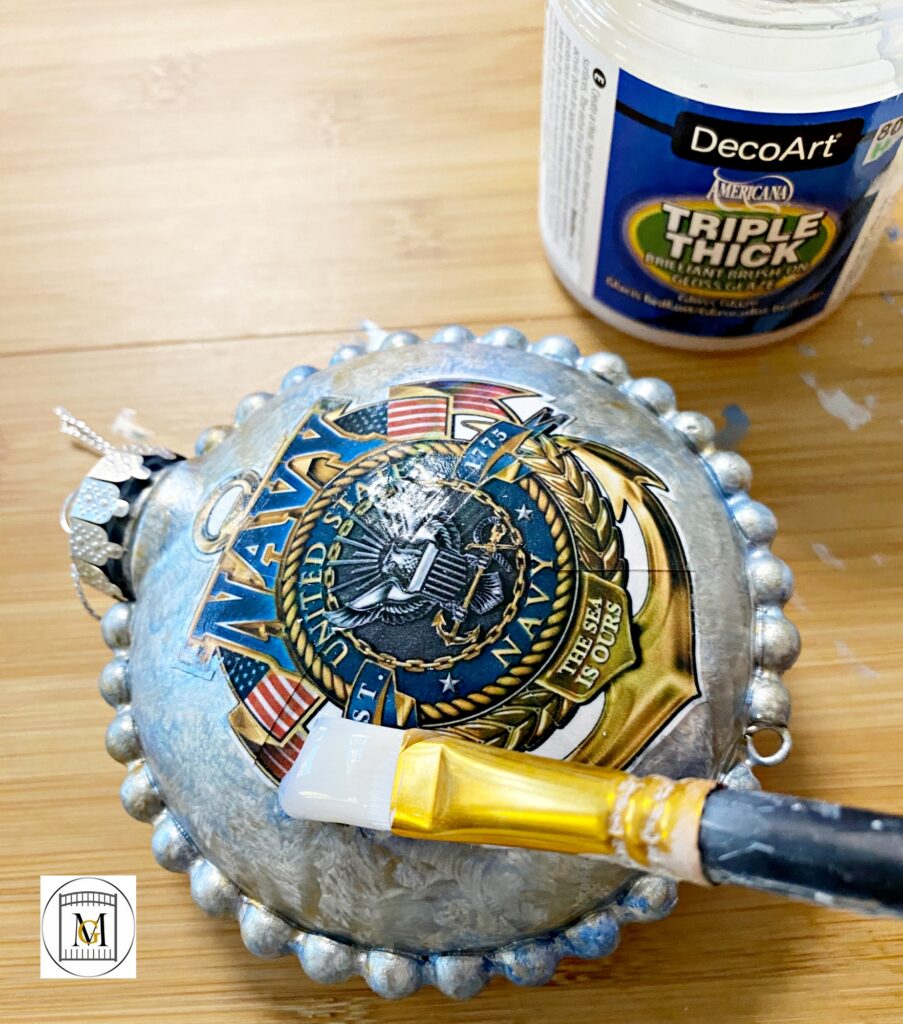
- Now, once your ornament dries, apply a thin layer of Triple Thick to seal the ornament. Don’t forget to seal all the ornament and dry one side at a time (about 2 hours per side).
- Last, add the cap, ribbon to hang and the tassel or charm at the bottom.
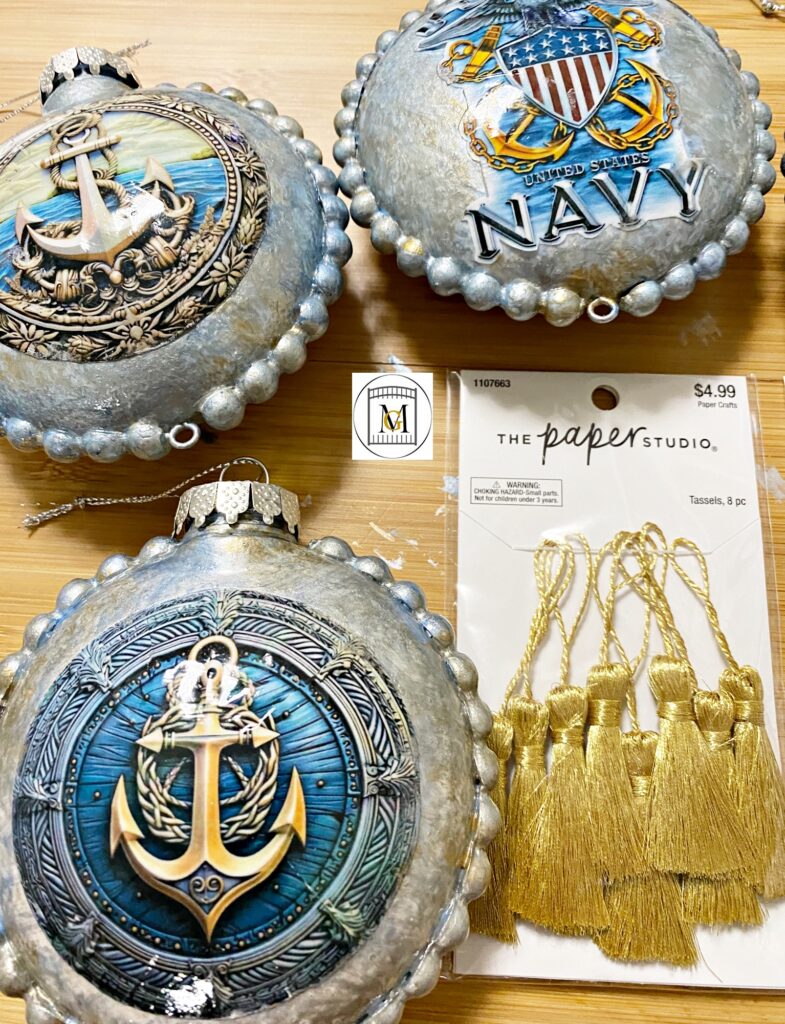
- That is it! They are ready to use or give away.
To see my available Jeopardy/Trivia Party Downloads, click here: https://majorgates.com/product-category/jeopardy-trivia/
