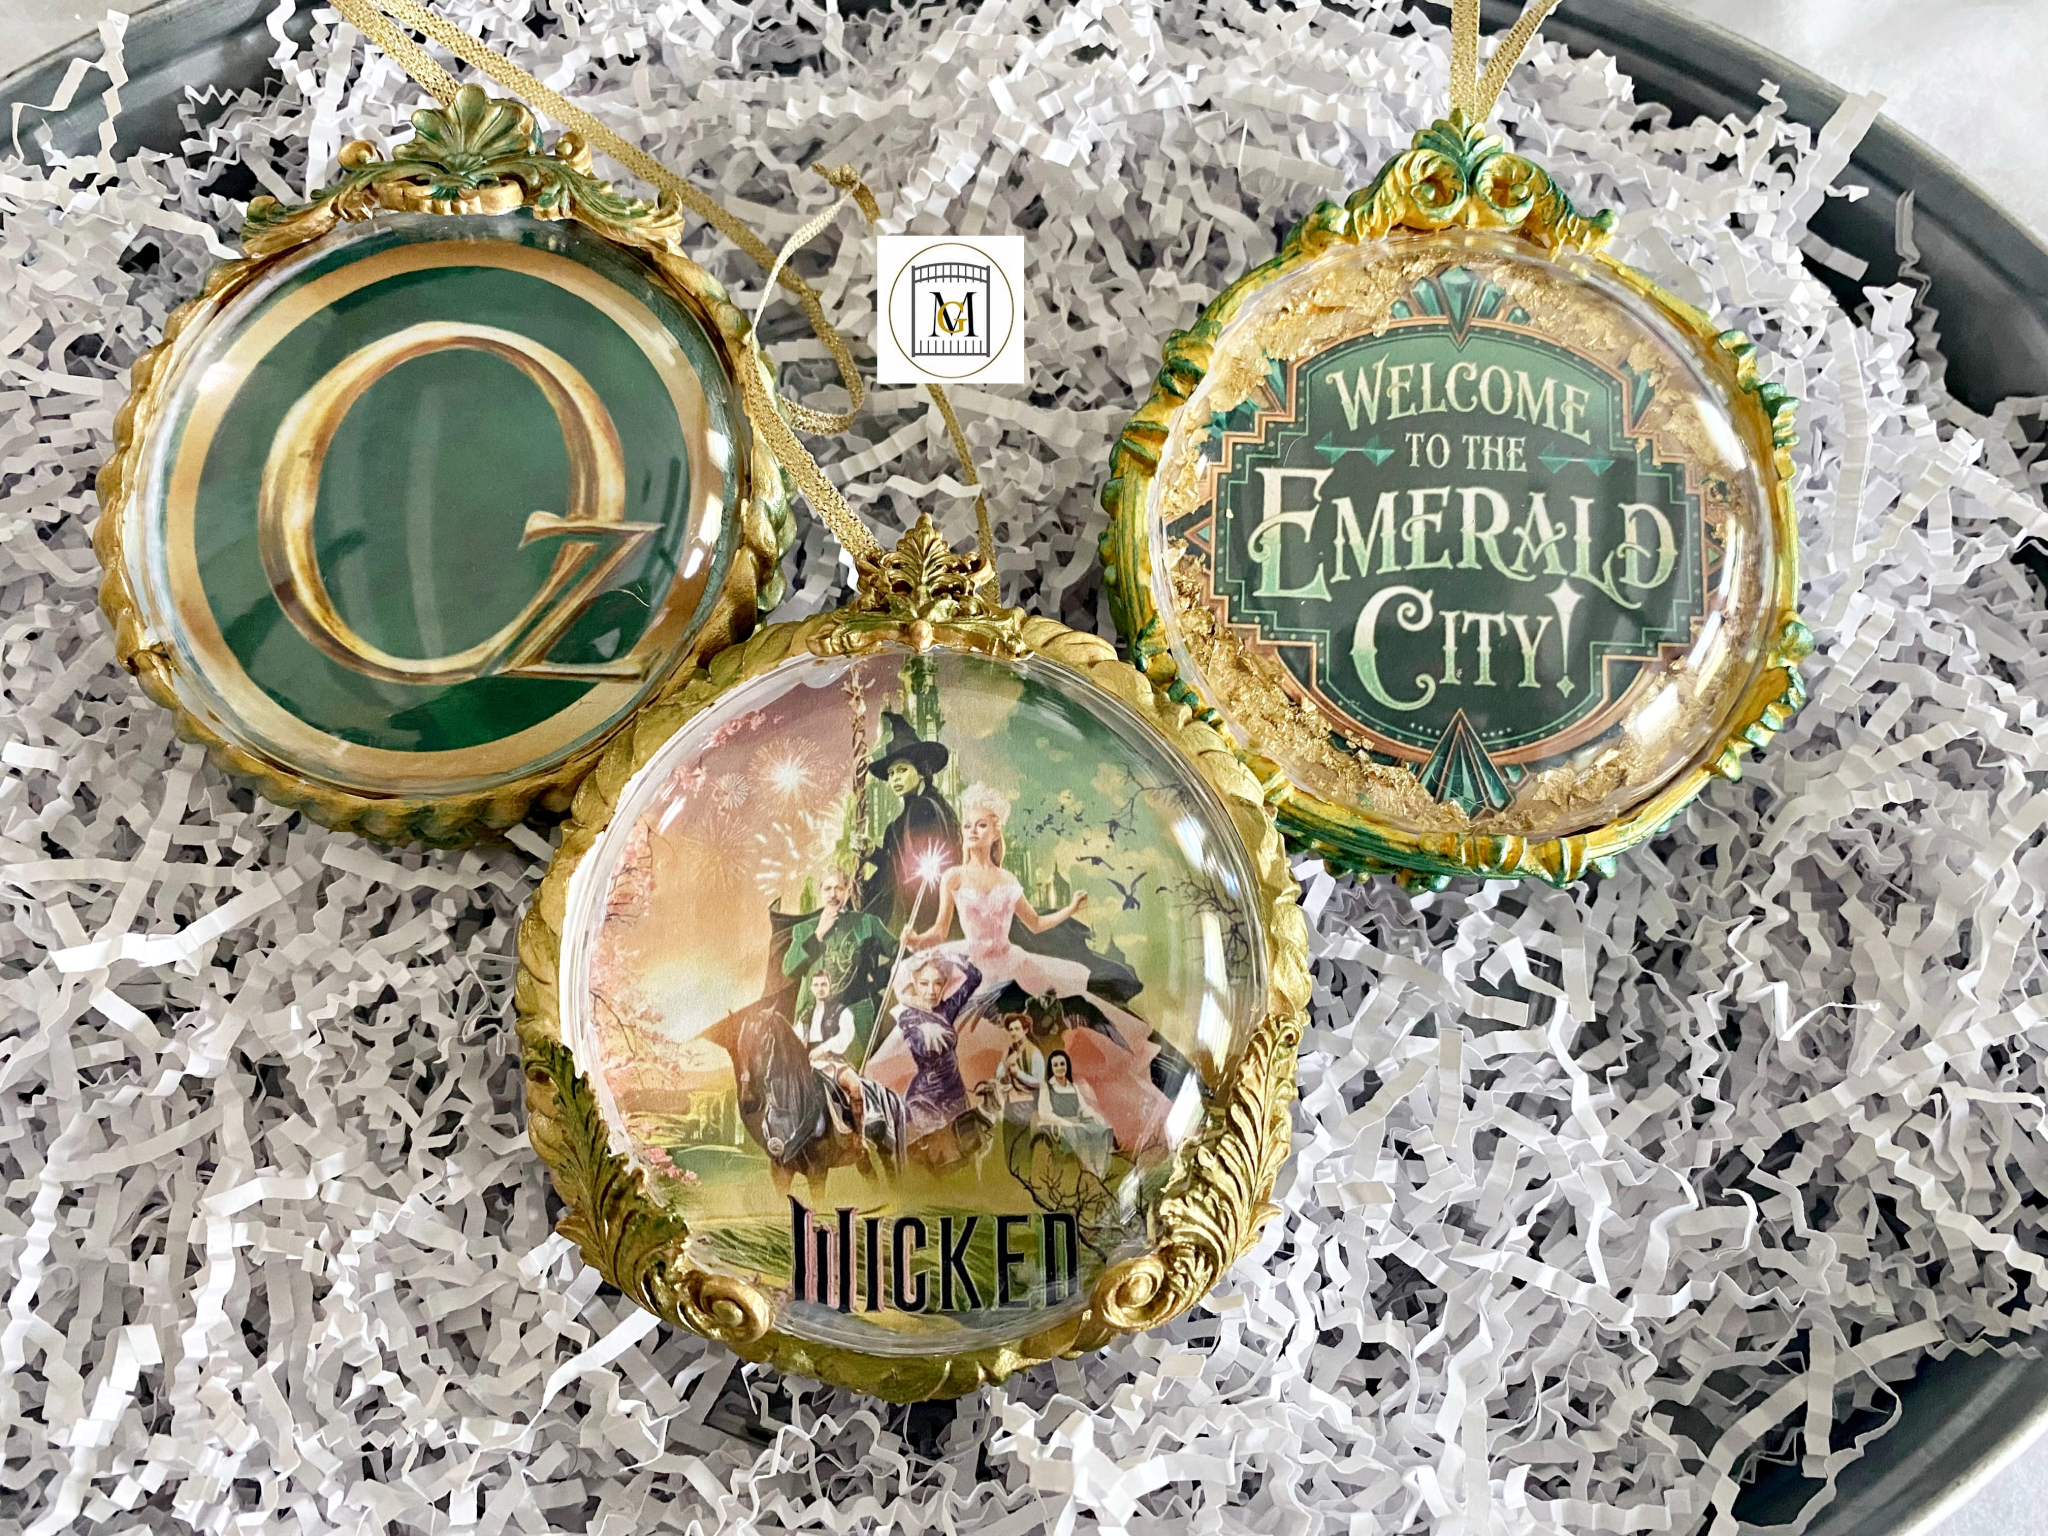
DIY Wicked-Wizard of Oz Ornaments

In this post, I show you how to make DIY Wicked-Wizard of Oz Ornaments. I love to make ornaments and make them in many themes and with different types of art media. These types of ornaments make great gifts and are truly unique. Because you are using your creativity to make these, no one else will have an ornament or ornaments like this. So you don’t have to be the best artist but you do need some imagination and these take some time to make. Just turn on a favorite show or movie, create a workspace and get to work!
I really enjoy the various Wicked and Wizard of Oz movies and shows over the years. Also, it is really fun to have a themed Christmas tree. So change it up year after year. The only issue with doing that is that you have to make your own ornaments in the theme you choose. That is how I got into ornament making and found out I really love making ornaments. The best part of making your own ornaments is that once you invest in the supplies, you can ornaments for many years and in all types of themes. I hope you have as much fun as I did.
Don’t Forget To Follow Me On Pinterest!
To see my available Party Label Bundle Downloads, click here: https://majorgates.com/product-category/party-bundles/

Supplies
- 3.5″ Plastic oval fillable ornaments
- 3.5″ wood circles or wood circle ornament
- Mini hot glue gun and mini glue sticks
- Metallic Acrylic Paints – I recommend a metallic paint set that you can use for this project and others
- Silicone Molds – Border, filigree, theme, and Baroque Style
- Color Printer
- Regular A4 copy paper or photo paper (gloss)
- Paint brushes and paint tray
- Super lightweight air dry clay
- Cornstarch – brush lightly the silicone molds so that clay releases easier
- Sponge brushes
- Cup of water (to wash paint brushes)
- Mod Podge or clear glue
- 1/8″ ribbon
- Eyelet hooks (if you are using wood circles, because the wood ornaments should have space at the top to attach the string)
- Sharp craft scissors
- Baby wipes
- Protected surface
- Disposable gloves (optional)
- Manual hand drill (optional)
Affiliate links are in this post. So, I may receive a small commission at no extra cost to you if you make a purchase through my affiliate link. Therefore, I only recommend products that I use or would use and love! So, I have saved you the time of searching for good products for you. As an Amazon Associate I earn from qualifying purchases. Just click on the pictures or links for the items seen in this post.
To see my available 2-Liter/Wine Bottle Party Label Downloads, click here: https://majorgates.com/product-category/2-liter-wine-bottle-labels/

Directions Wicked-Wizard of Oz Ornaments
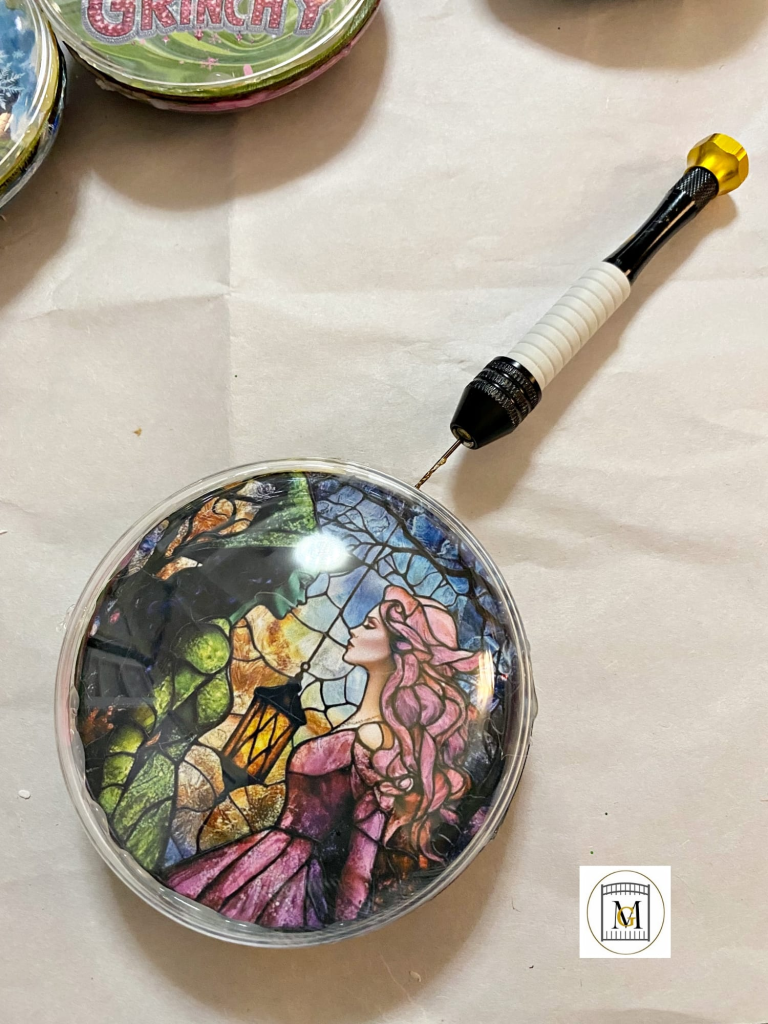
- Start by finding an image you like on the internet and save down to your computer.
Note: Images found on the internet are for personal use only. So you must get the permission of the image owner for selling and they may charge a fee.
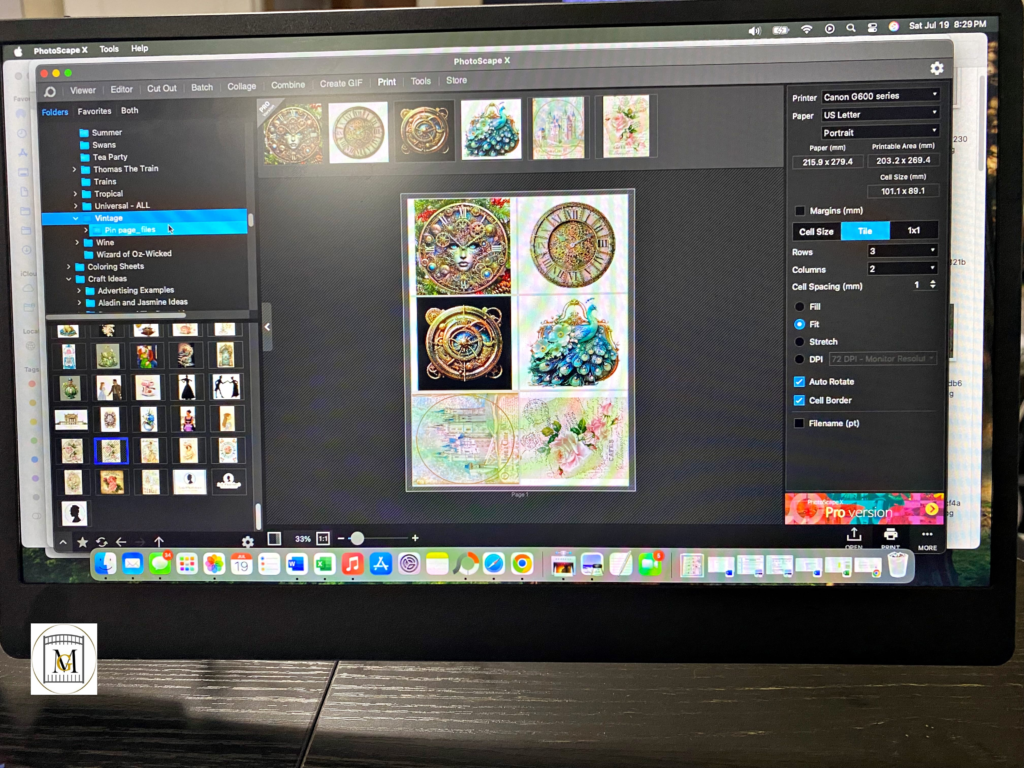
- Then print out the image. I print 6 to a page using a free photo software called PhotoScapeX (I am not affiliated). So you can either find a circular image, or trace the image with the half of the ornament.

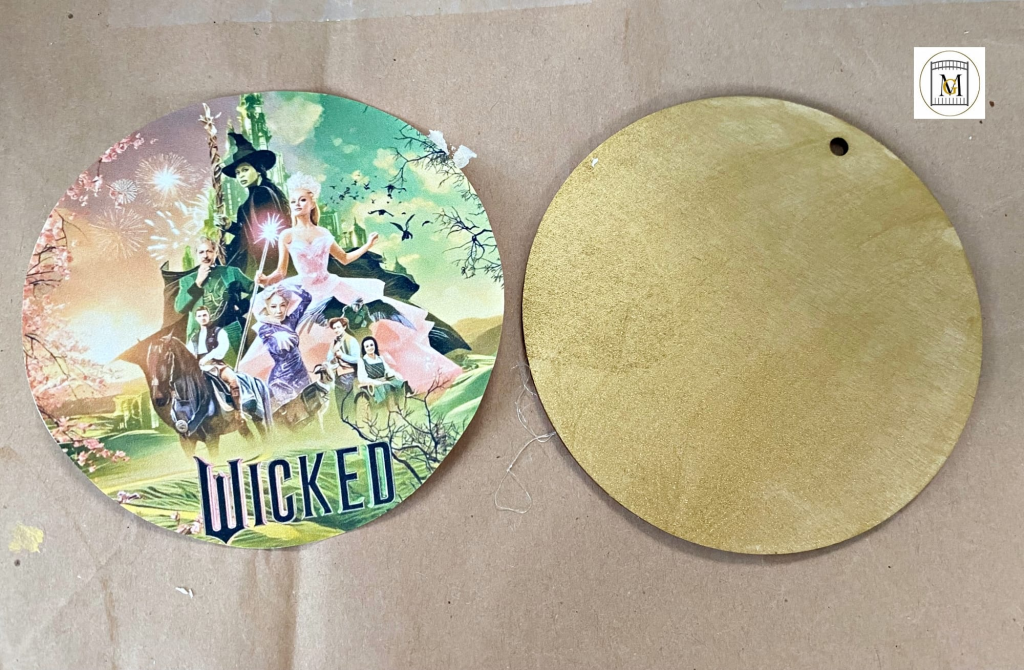
- Next, cut out the image and do a dry fit on the wood circle or wood ornament.
- If there is space showing on the wood circle or wood ornament, paint on a base color that pulls the colors from the image you selected.
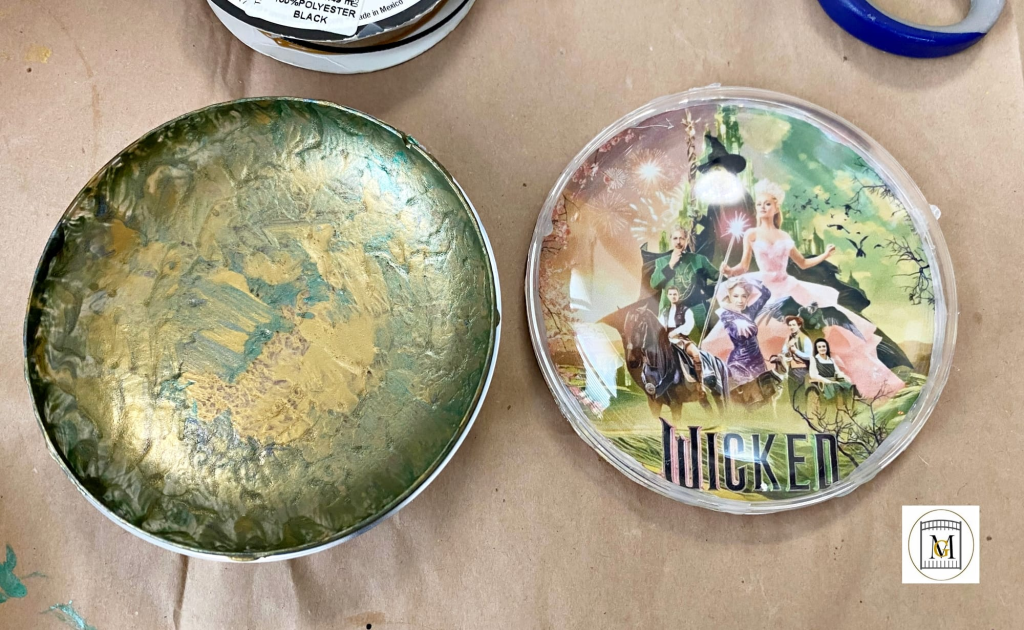
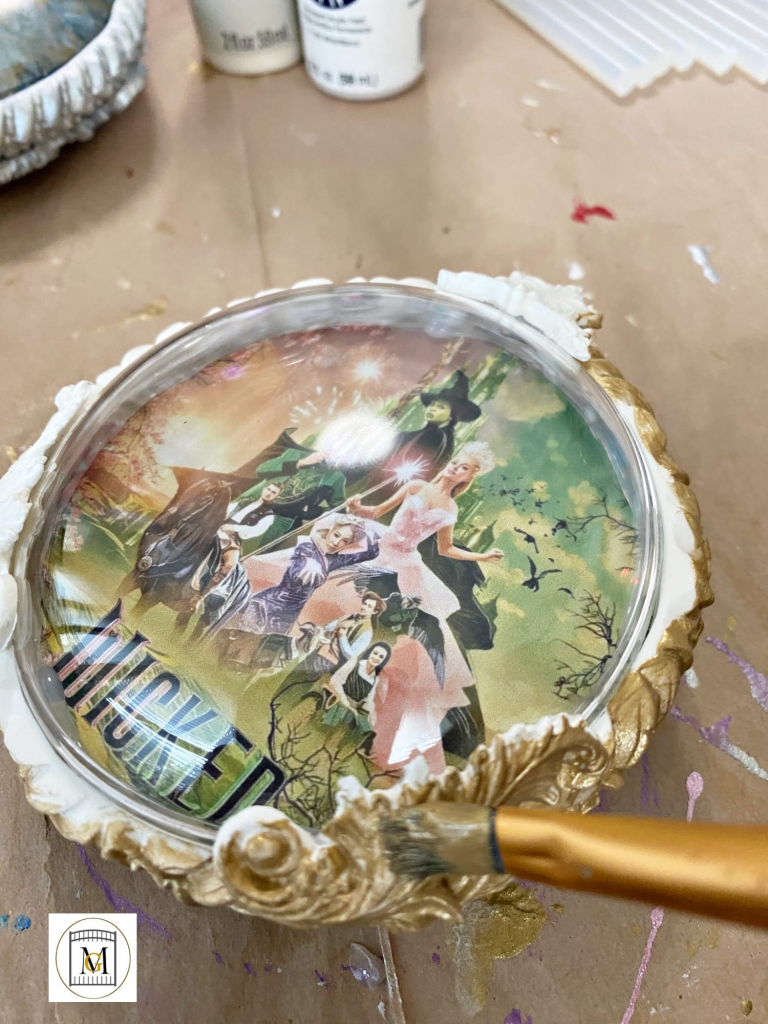
- Paint the wood circle or wood ornament with Mod Podge or clear glue and then place the cut image on the circle and allow it to dry. Then, glue on half of the clear ornament on top of the image. Be careful and wear gloves if you are using hot glue.

- Next, use a sponge brush and sponge on metallic paint to the inside of the other half of the plastic circle ornament with colors in the image. Allow the paint to dry completely, this can be up to a couple of hours.
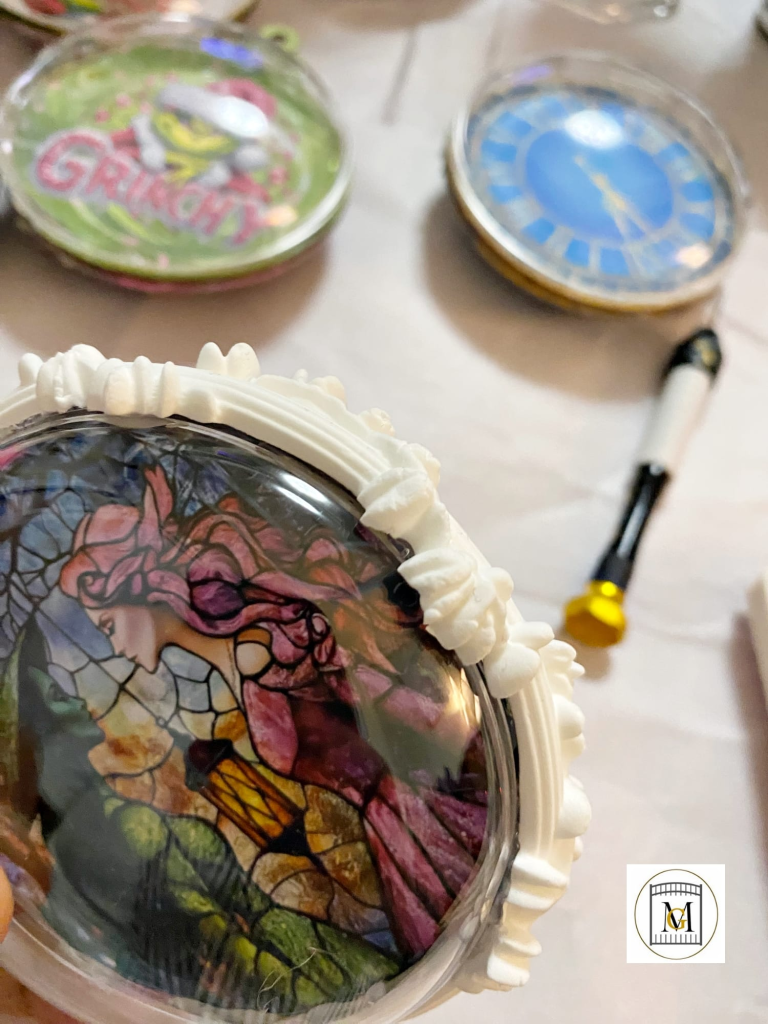
- Next, lightly brush the clay molds with cornstarch and then push in the air dry clay with your fingers and allow the clay to set. This can be anywhere from 1 hour to 5 hours, depending on humidity and how deep the mold is. So you do not want the clay to dry completely, so it is still bendable. You just want to be able to handle the clay without smudging it.

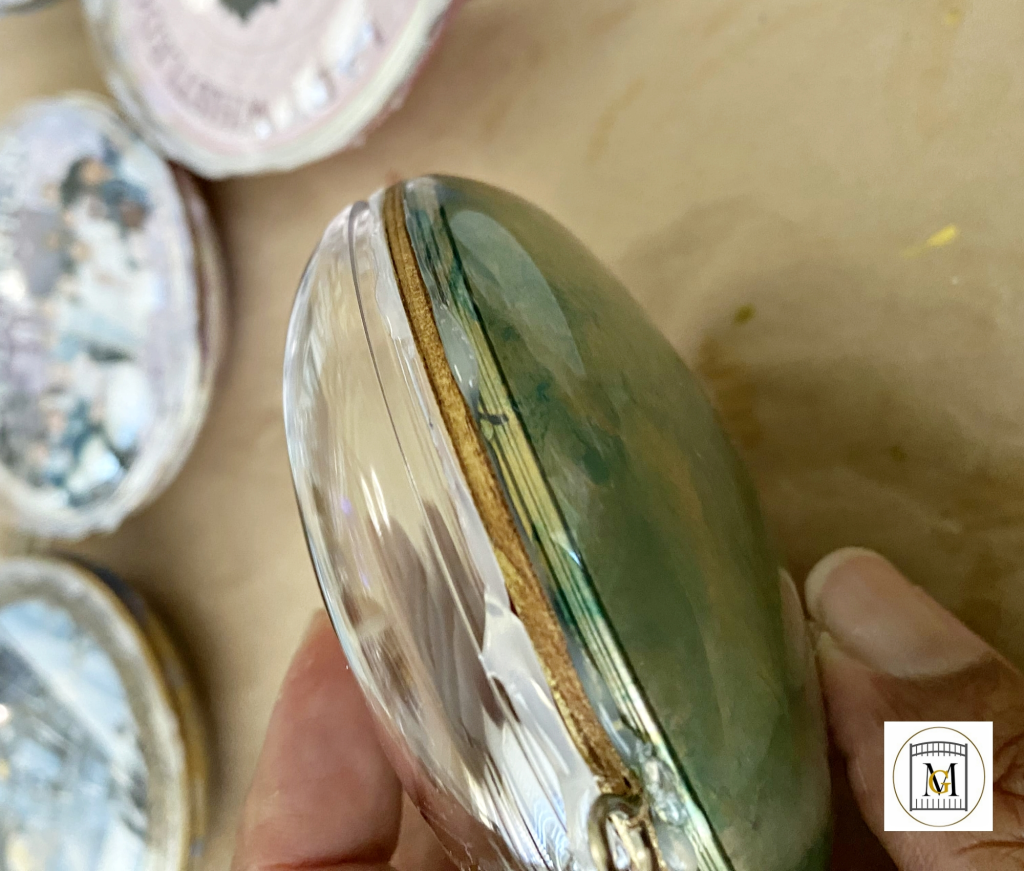
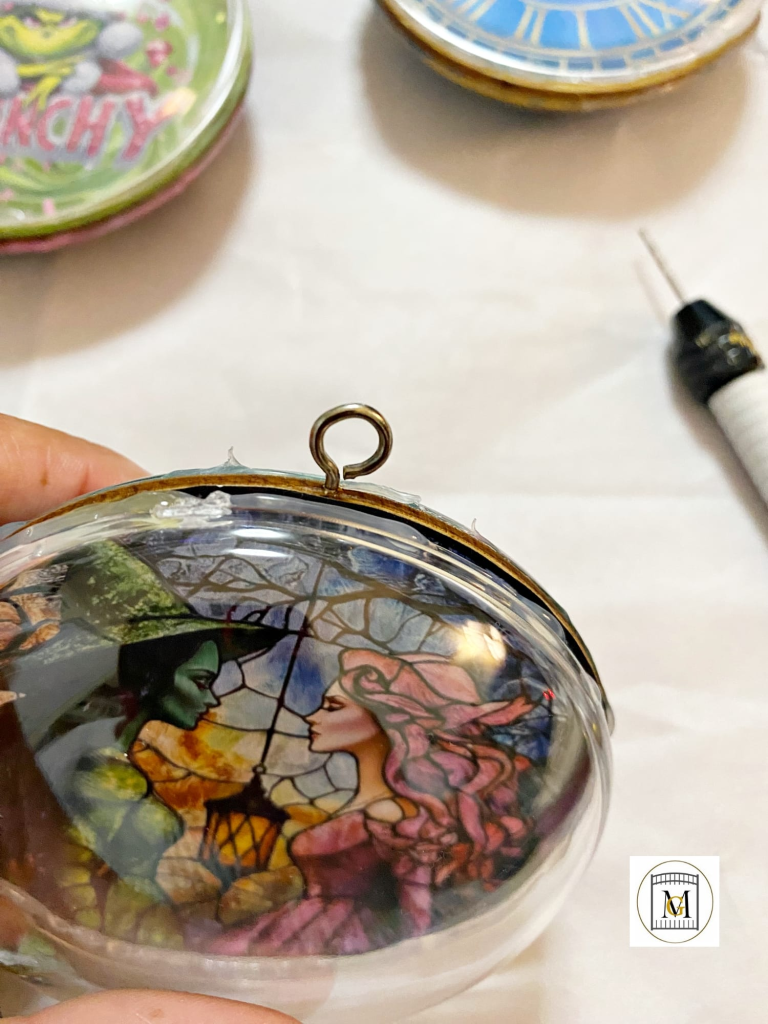
- Once the bottom of the ornament is dry, attach the image wood circle by hot glueing the edge of the plastic circle to the wood. So you may want to wear gloves, or be very careful because hot glue hurts if it gets on your hands. Go slow, but not too slow (hot glue dries extremely fast), and apply a thin line and watch for drips. So if you spill or drip some glue, if it is not too bad, you can just cover with a clay embellishments.
If you need other Potion/Apothecary Bottle Party Labels, see my available downloads here: https://majorgates.com/product-category/potion-apothecary-labels/

- If needed, add a thin line around the ornament where everything is joined to secure more.
- Then, turn the eyelet screw into the ornament centered at the wood part. Use the mini hand drill if you need to.
- Next, attach the clay molds with hot glue or fast drying glue and wear gloves. Also, try not to add too much glue, so that it does not overrun on the sides and onto the clear bulb. Then push the molds in place and hold for a few seconds until to bonds to the bulb. Remove any glue hairs as they appear.

- You can also add clay embellishments to the back of the ornament.
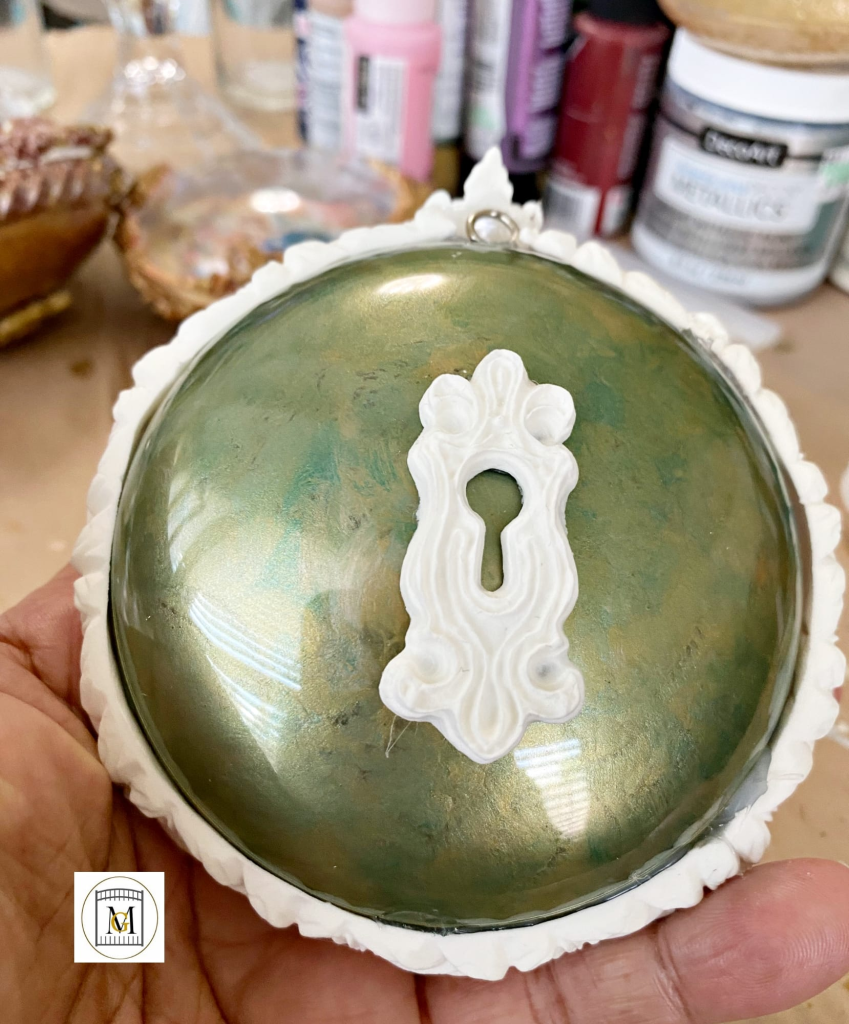
- Now, paint with the paint colors of your choice. Metallic paints add a natural shimmer to the ornaments. So start with a base color in the metallic paint closest to the main color in the image. Then dry brush on the accent colors. If you mess up a color, repaint with base metallic color and then try again. Also, use the baby wipes to blotch off paint or to clean up paint that overran on the clear part of the bulb from the clay.
- Once the bulb is dry, add the string to the top at the hook or opening from the wood ornament.
- It is ready! Hang on the tree or box it up to give as a gift. Also, consider gathering a few images in the same theme and make a group of ornaments.
To see my available Jeopardy/Trivia Game Party Downloads, click here: https://majorgates.com/product-category/jeopardy-trivia/
