Extra Large Paper Flowers
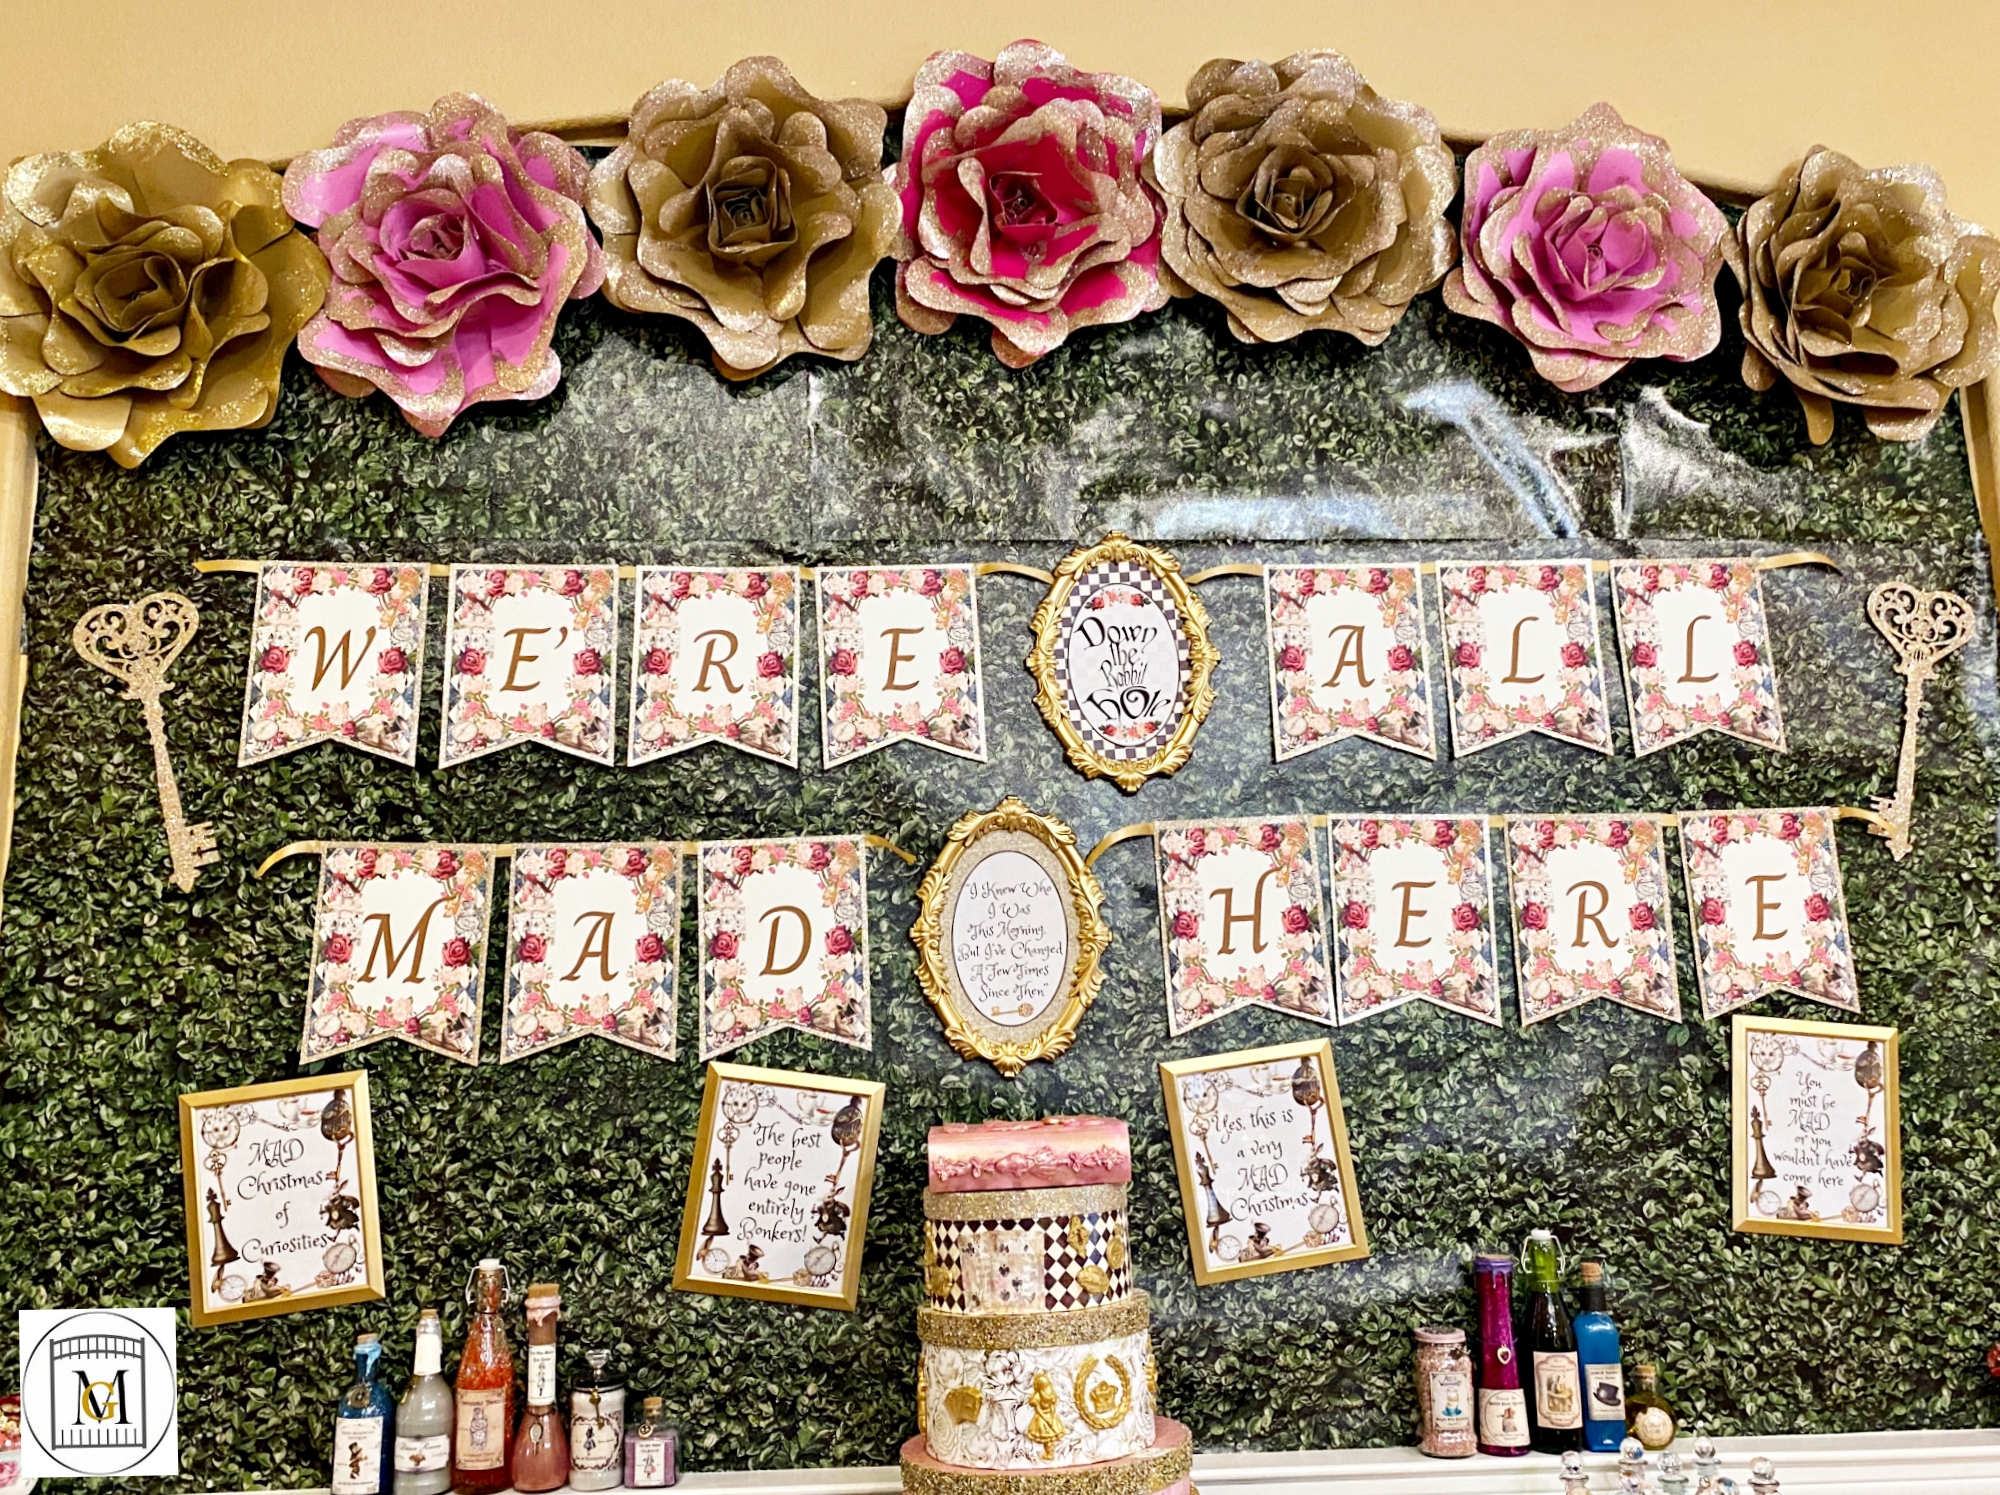
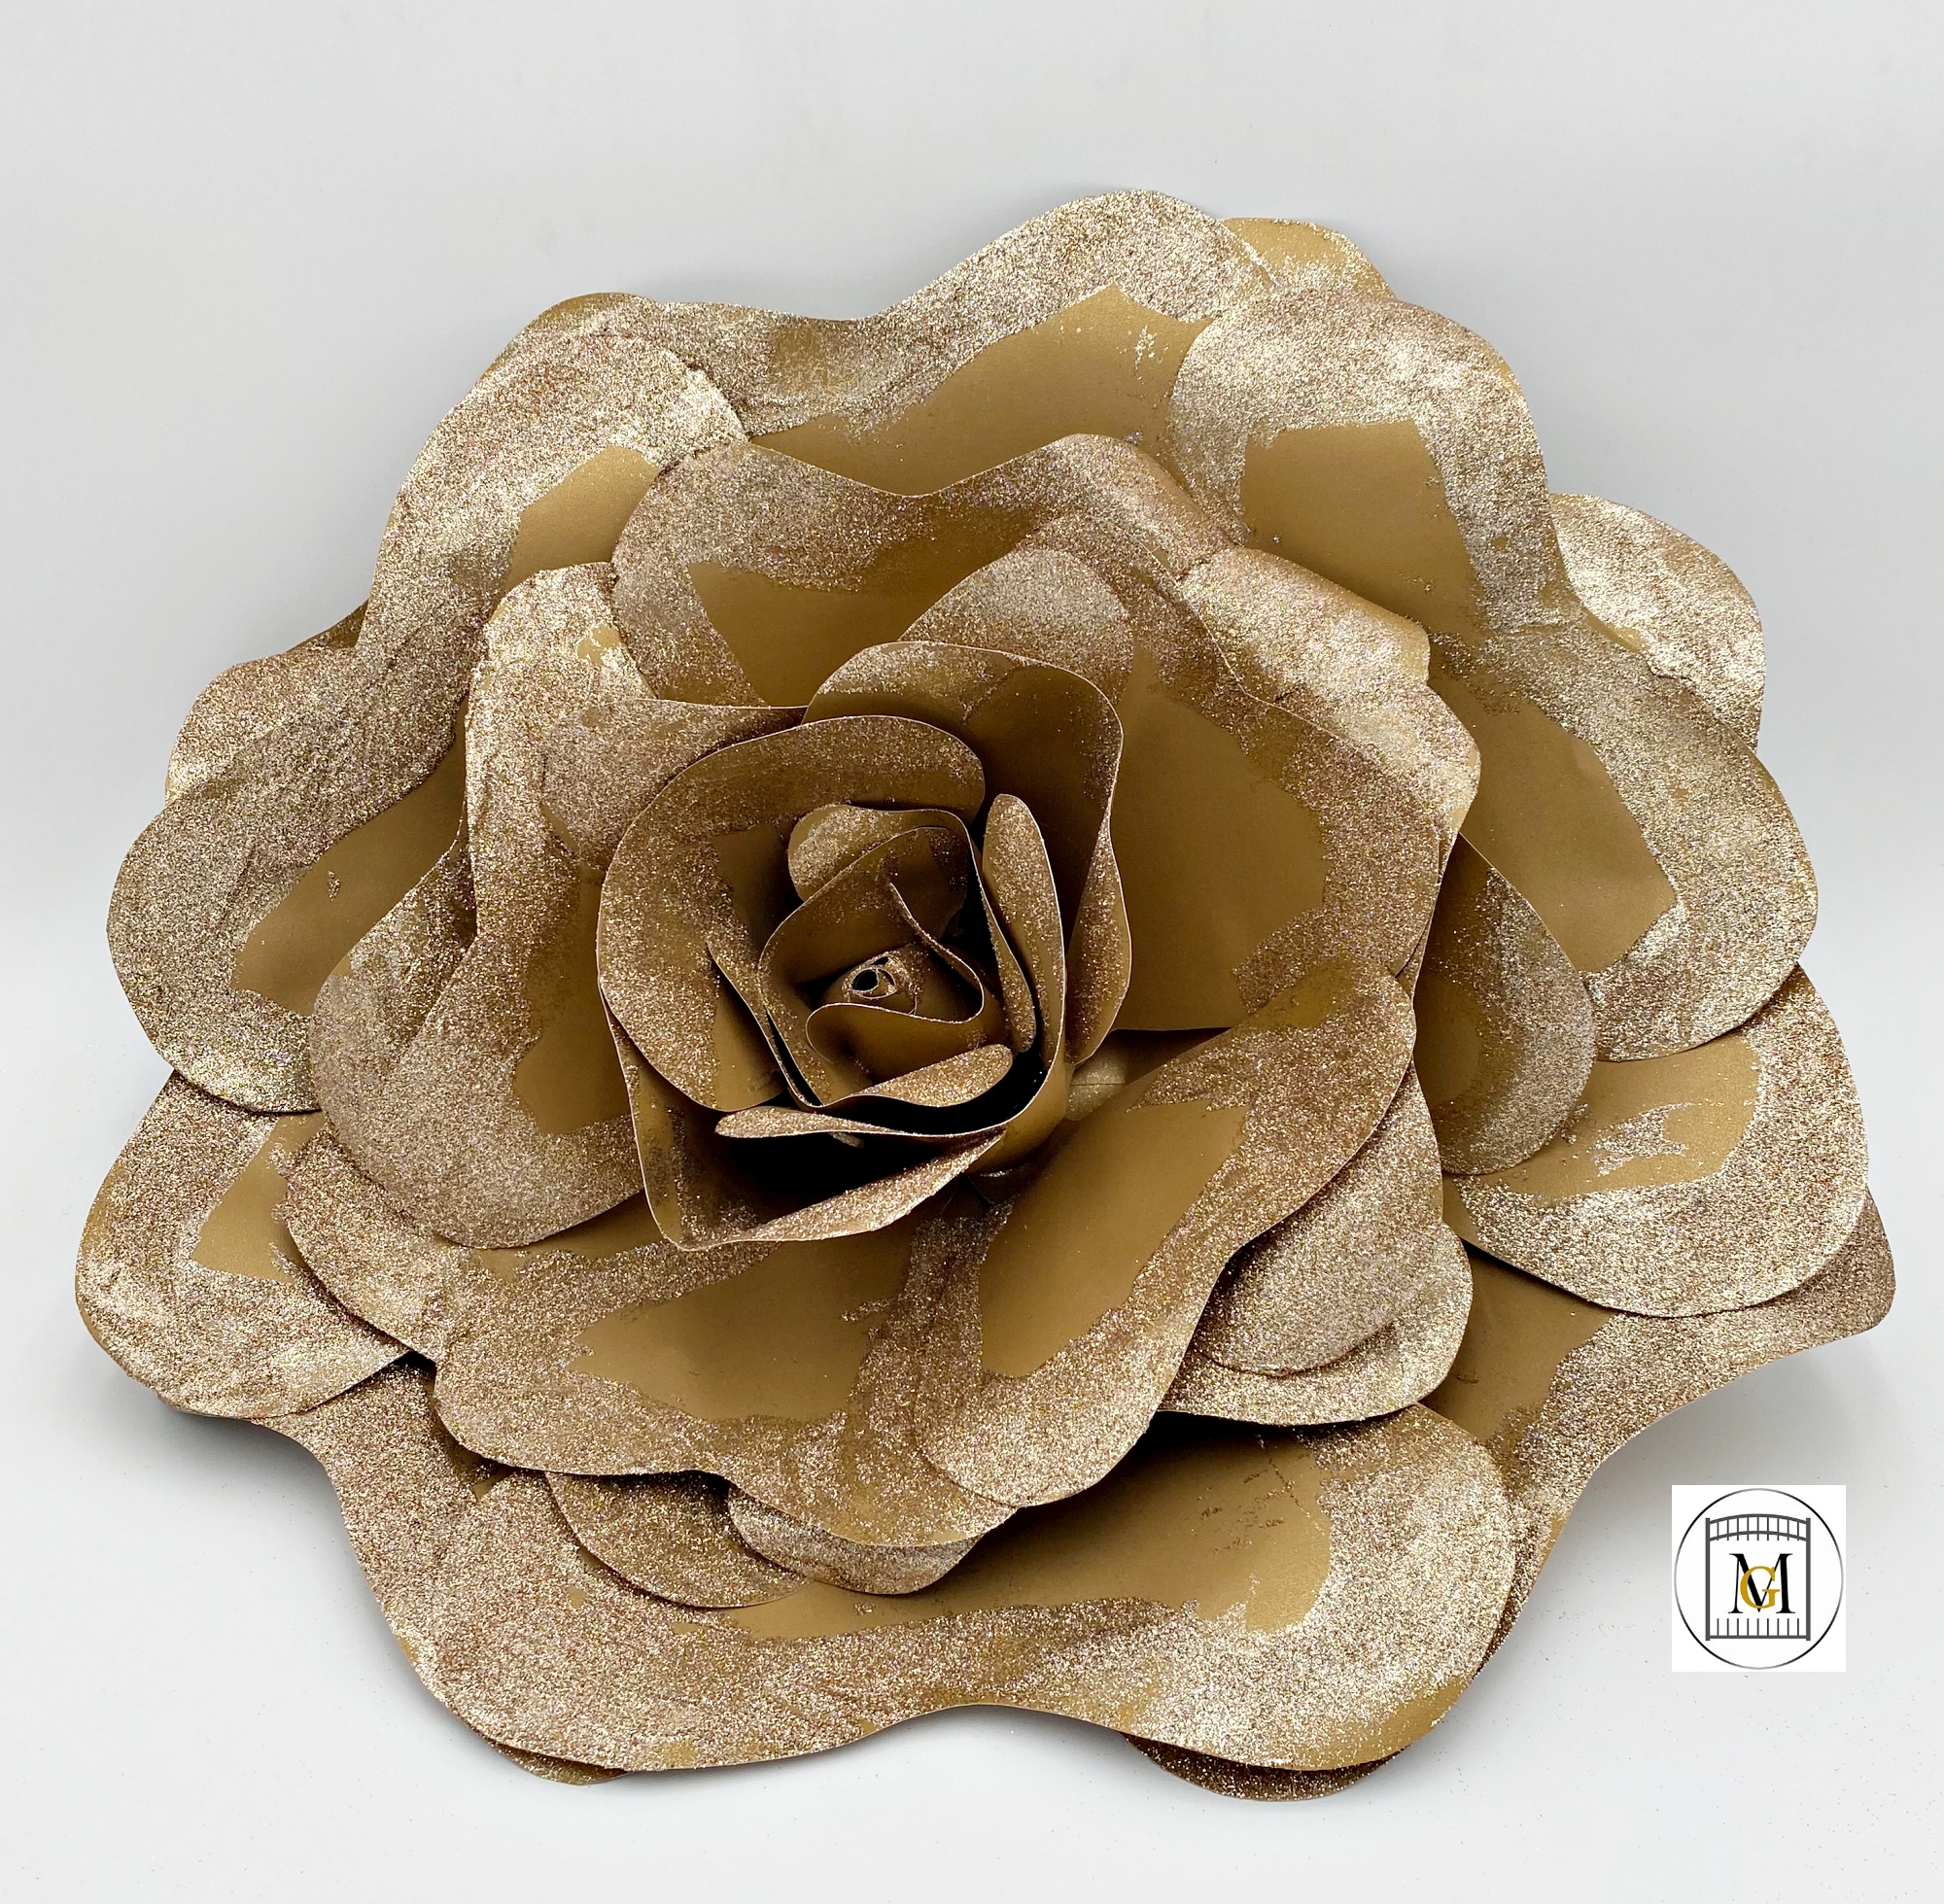
You too can make those extra large paper flowers you see at parties and on displays. They are pretty easy to make but are a little time consuming if you have to make a lot. You can also make these to decorate a room on the wall. I usually give these away to friends after the party so they can decorate a girls room or playroom. These large paper flowers are fun and whimsical.
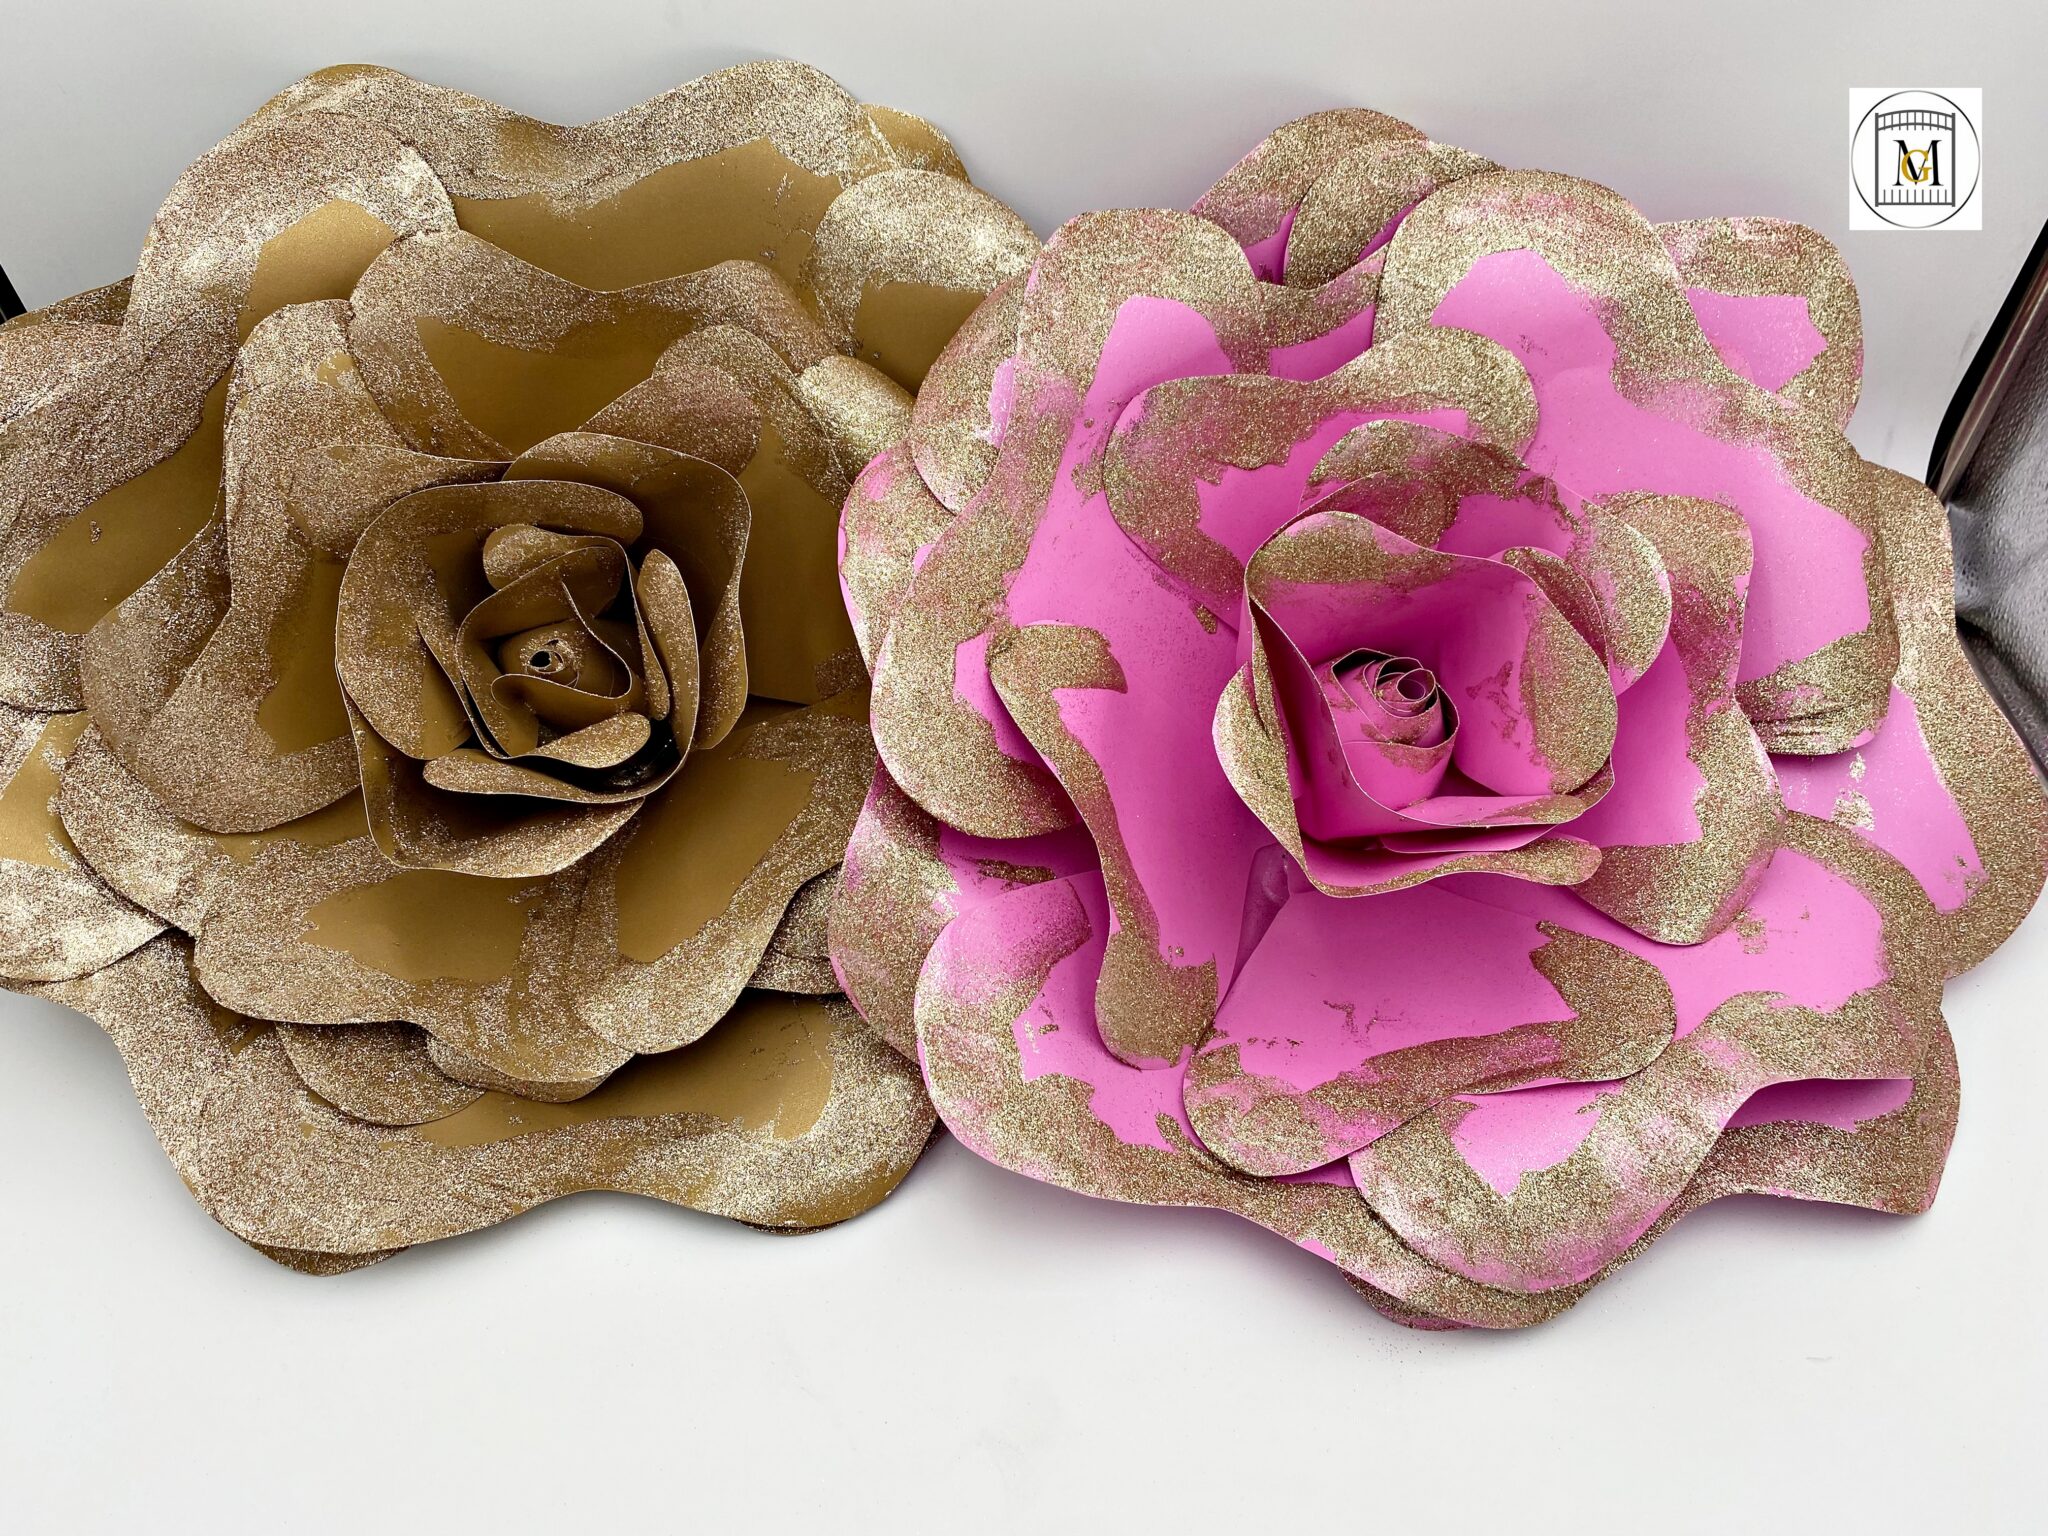
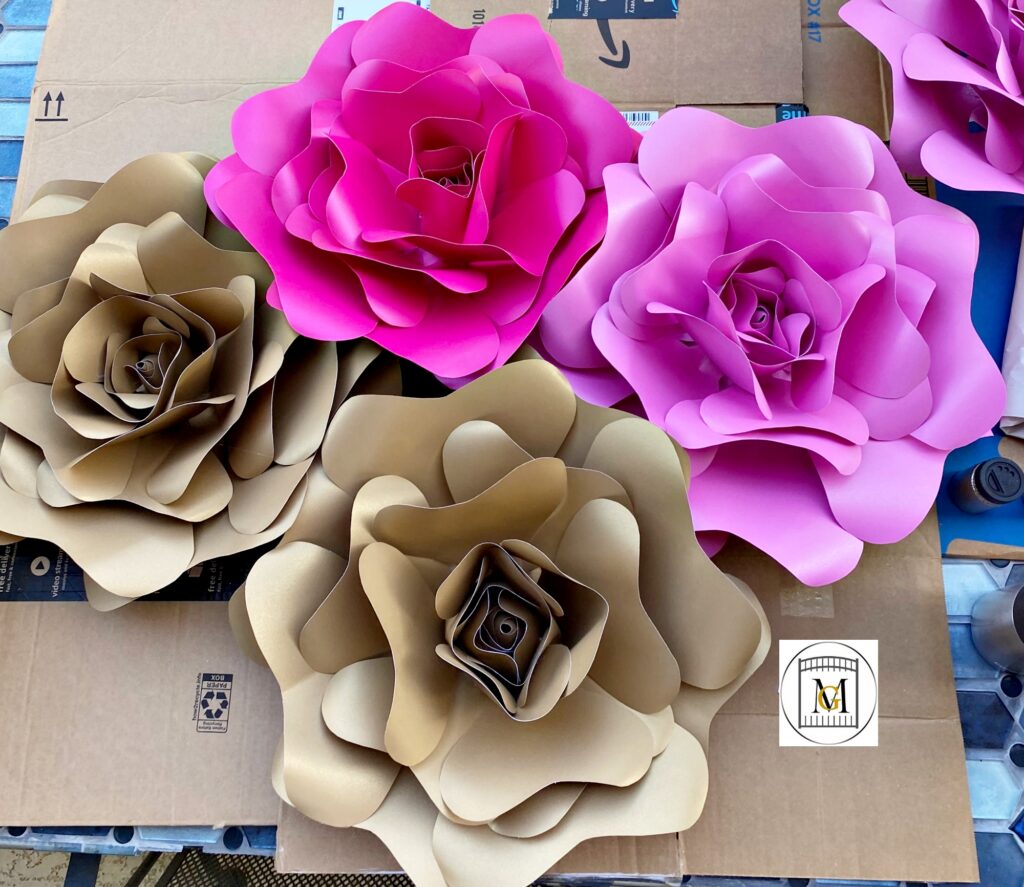
This time I am making paper large flowers for my Christmas party. The theme this year is Alice In Wonderland, so I am making a design wall to represent a whimsical magical forest with large flowers surrounding the top of the wall. Because of the unusual theme, I have to make most of the decorations myself and also make them Christmas like. To do that, I am using shimmer card stock that looks like it has something shinny in the paper. So to blend in with the decorations I am making for the tree, I am using a lot of gold, pink and fuchsia. That will pop nicely on the greenery background I am using in the wall arch. This will be the backdrop for one of my display tables.

To see my available Party Bundle Label Downloads, click here: https://majorgates.com/product-category/party-bundles/
Don’t Forget To Follow Me On Pinterest!
Supplies
- 65-67 lb Medium weight card stock in the desired color of your choice (I chose shimmer card stock). The heavier the card stock, the harder it is to bend and fold, so keep that in mind when purchasing. Medium weight card stock is the best in my opinion to work with. Also, make sure the color is printed on both sides of the card stock.
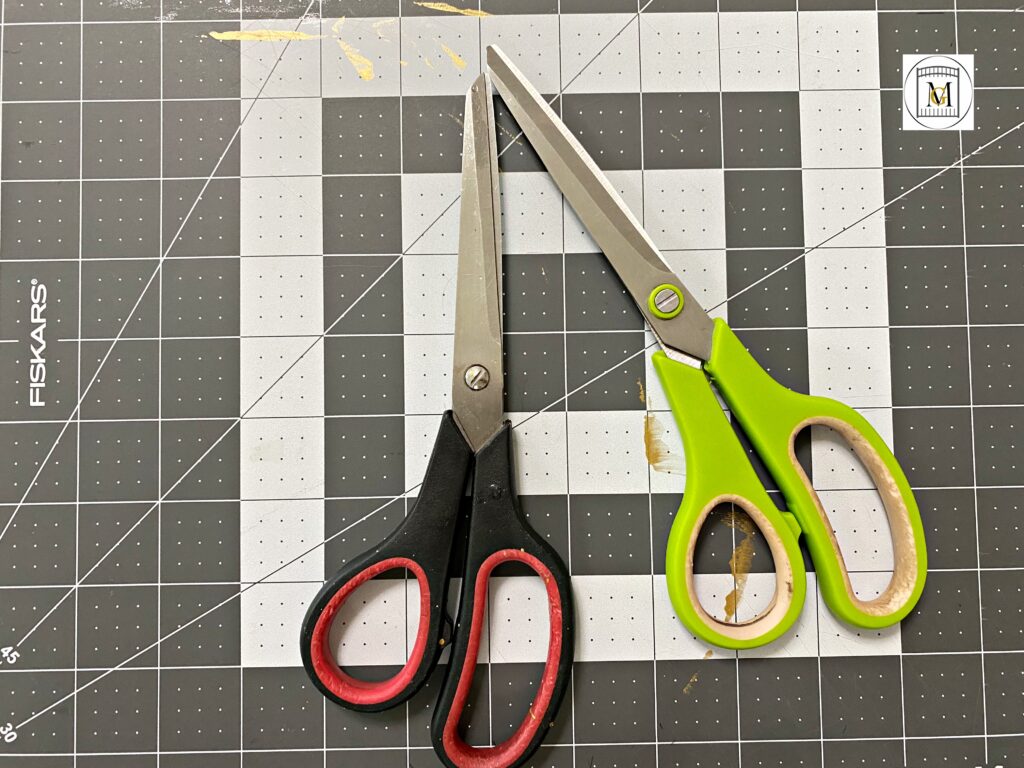
- Sharp Craft Scissors
- Mini Dual-Temperature Glue Gun and Glue Sticks
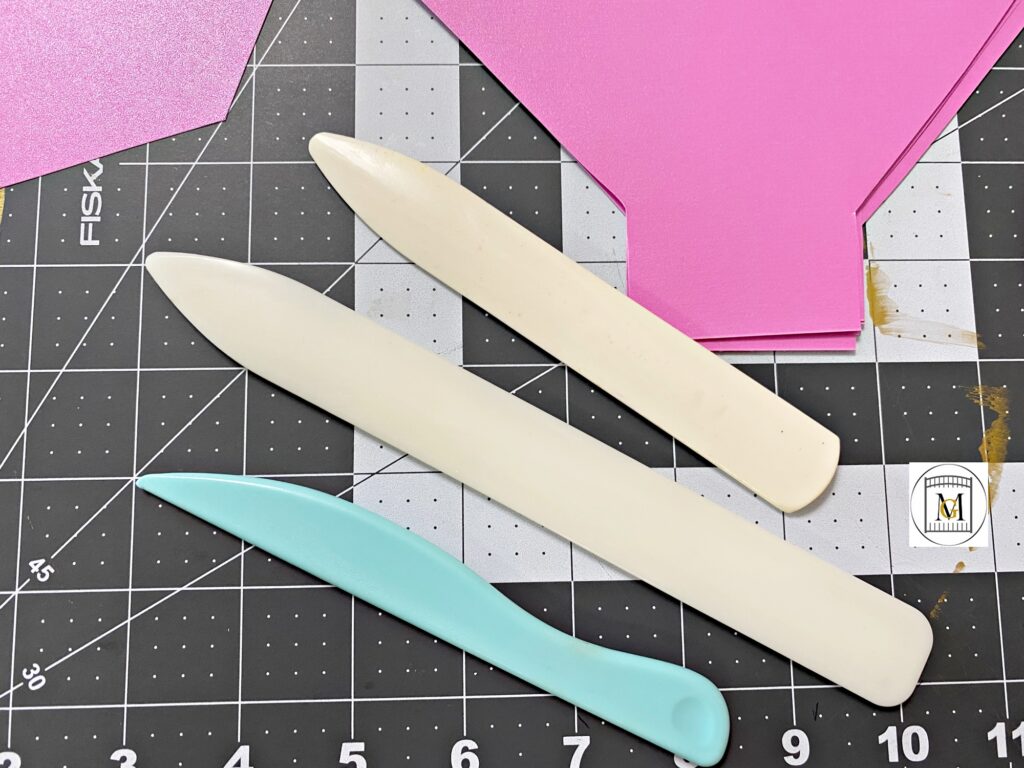
- 7-9 inch bone folder tool
- Pencil or pen
- Poster board to make templates
- Printer and paper to print pattern
- Mod Podge – if adding glitter
- Paint brush – if adding glitter
- Extra fine glitter of your choice
If you need a special way to add extra charm to your party or event, check out my 2-Liter Bottle/Wine Labels here: https://majorgates.com/product-category/2-liter-wine-bottle-labels/
Instructions For Extra Large Paper Flowers
- Start by printing out the petals template.
- Then cut out the petals and trace onto poster board and cut out. So it is very important that you use sharp crafting scissors. Because there is a lot of cutting in this project, you do not want to have frayed edges with dull scissors. Also, you can use a cutting machine to cut all your petals.
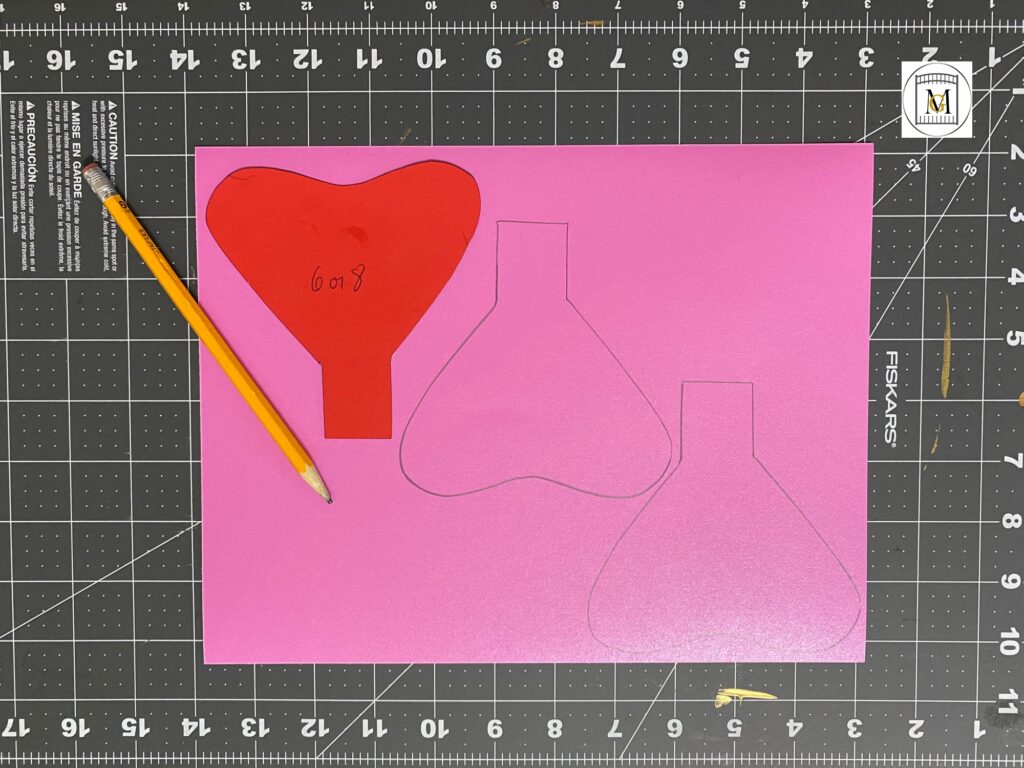
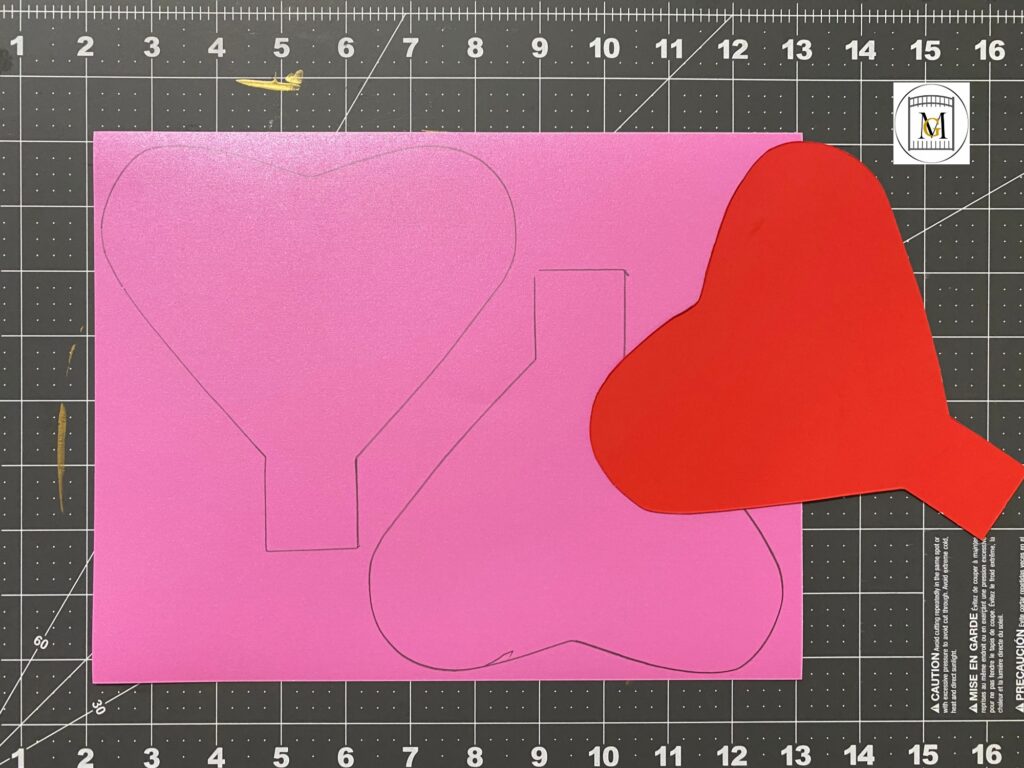
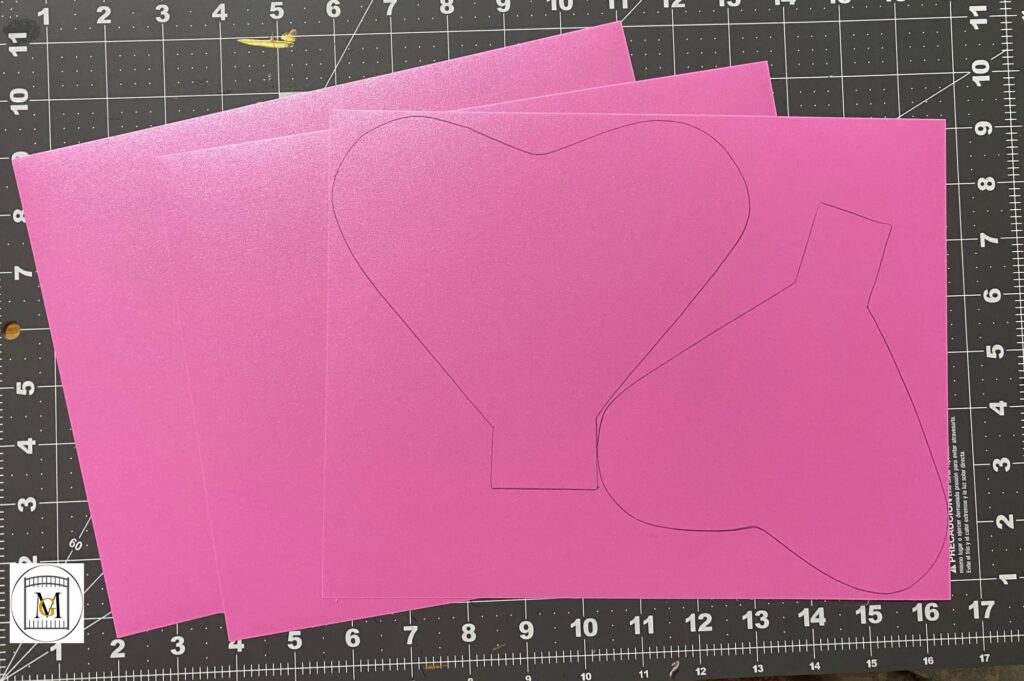
- Next, trace on the petals onto the desired colored card stock. Tip: Trace as close to the edges as possible to get more petals per page. You will use 16-18 sheets of 8 1/2in x 11in pages of colored card stock per rose. The fuller the rose, the more sheets you will use.
-
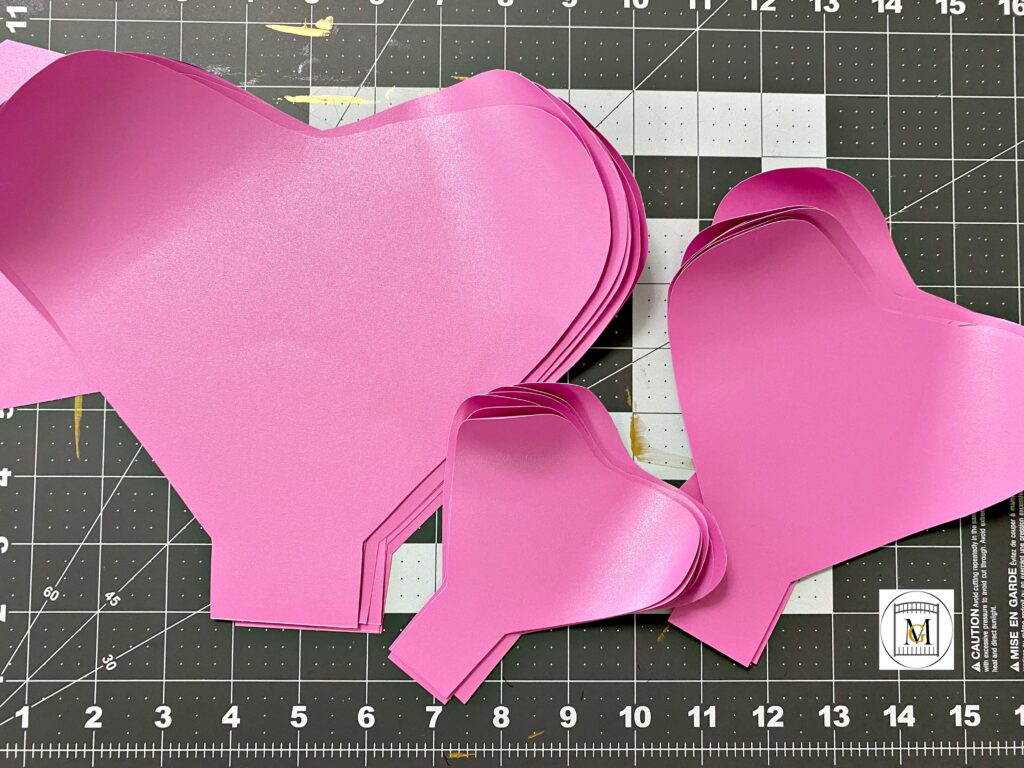
- Small (need 10) – trace a small and a large on a paper and then add 2 papers underneath. Then, cut threw 3 sheets at a time. So you will only trace the patterns on 3 pages but will end up with nine when you are done cutting. Trace the other small pattern on the base page.
- Medium Wide (need 6) – trace 1 per page, very close to the edge, then turn the medium pattern upside down and trace. That is how to get both patterns on the page.
- Medium (need 6) – trace with the other medium pattern upside down so both patterns fit on the page.
- Large (need 9) – trace with the smallest pattern
- Base – (need 1) – trace 2 per page
- Cut out all petals. So try to cut out the petals, just inside the trace marks so the pencil/pen marks do not show on the petals.
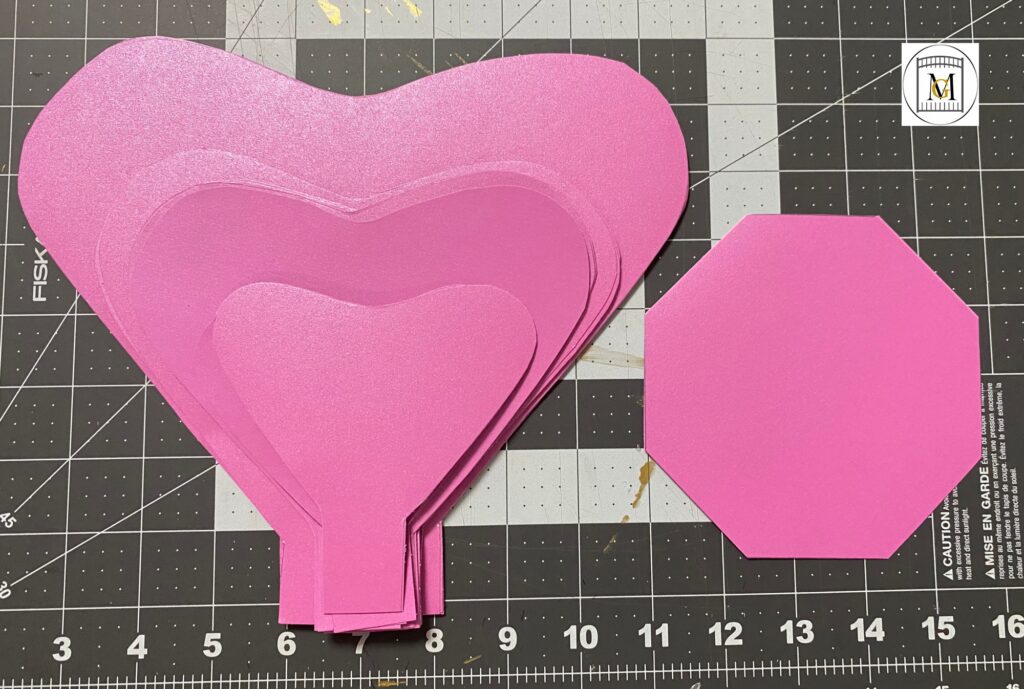
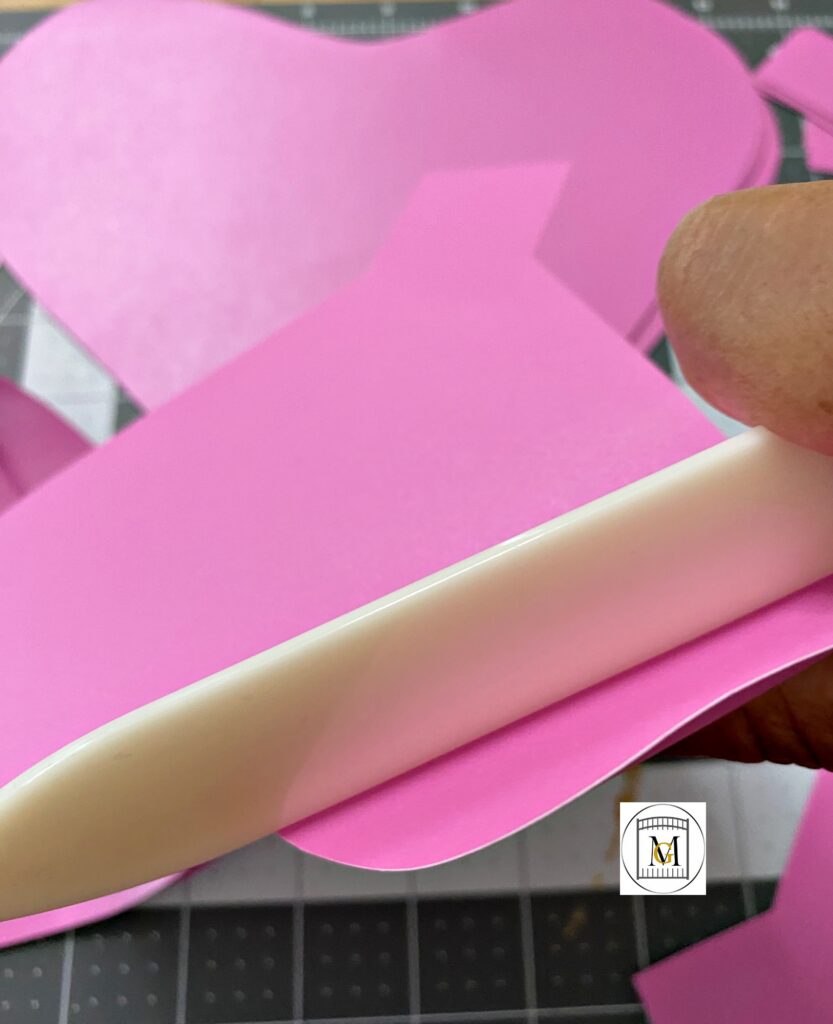
- Then, using the bone folding tool, curve the edges of the petals on all.
- Turn on hot glue gun to the low setting.
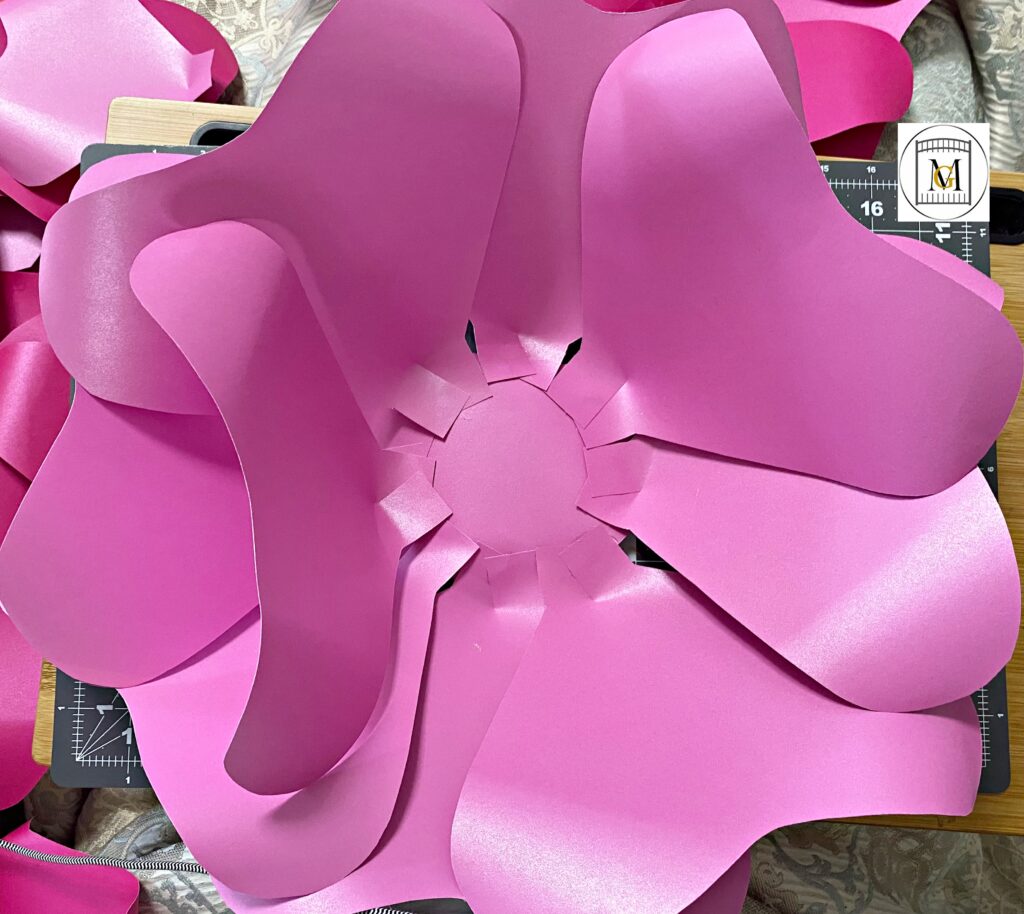
- Then, on the base, start glueing the outer large petals to the edges of the base. I like to start off glueing the large petal, opposite sides first and then filling in with the remaining petals. This prevents the base from flipping over and you can better place the petals. These can be made with just 8 large petals, but if you have any gaps, fill in with the extra petal or two.
- Next, starting with the smallest petals, glue two ends together and gently fold the tops to start to form a bud.
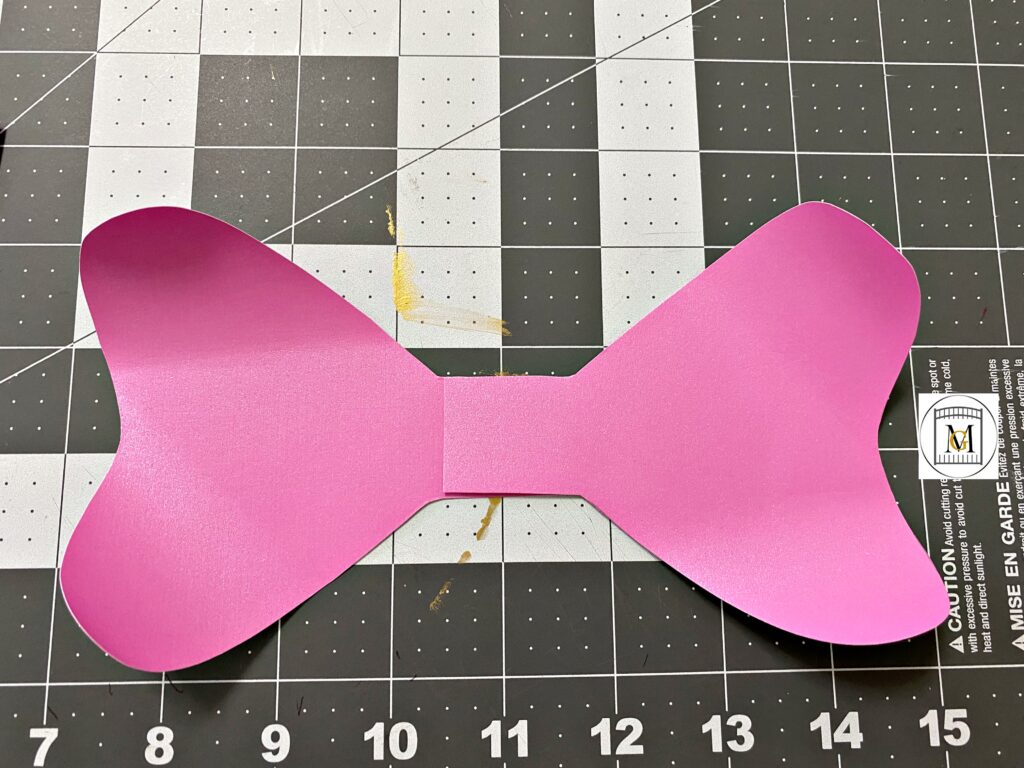
- Then, glue another pair together and glue on the first bud.
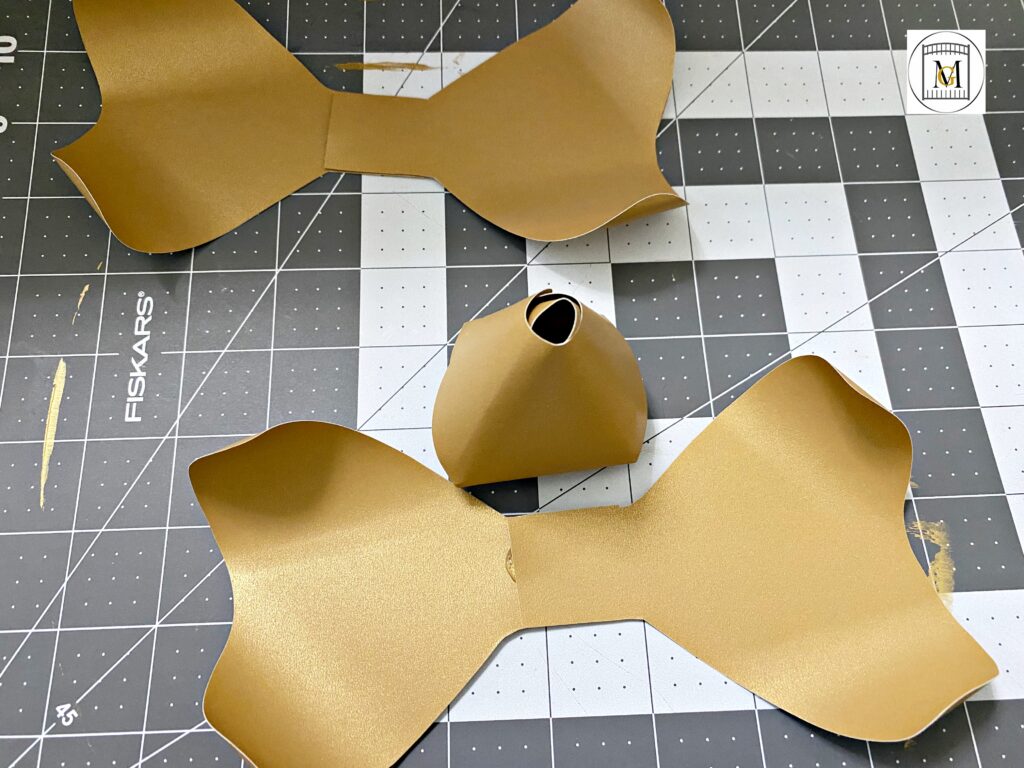
- Keep adding glued pairs until you get the size inner flower you want.
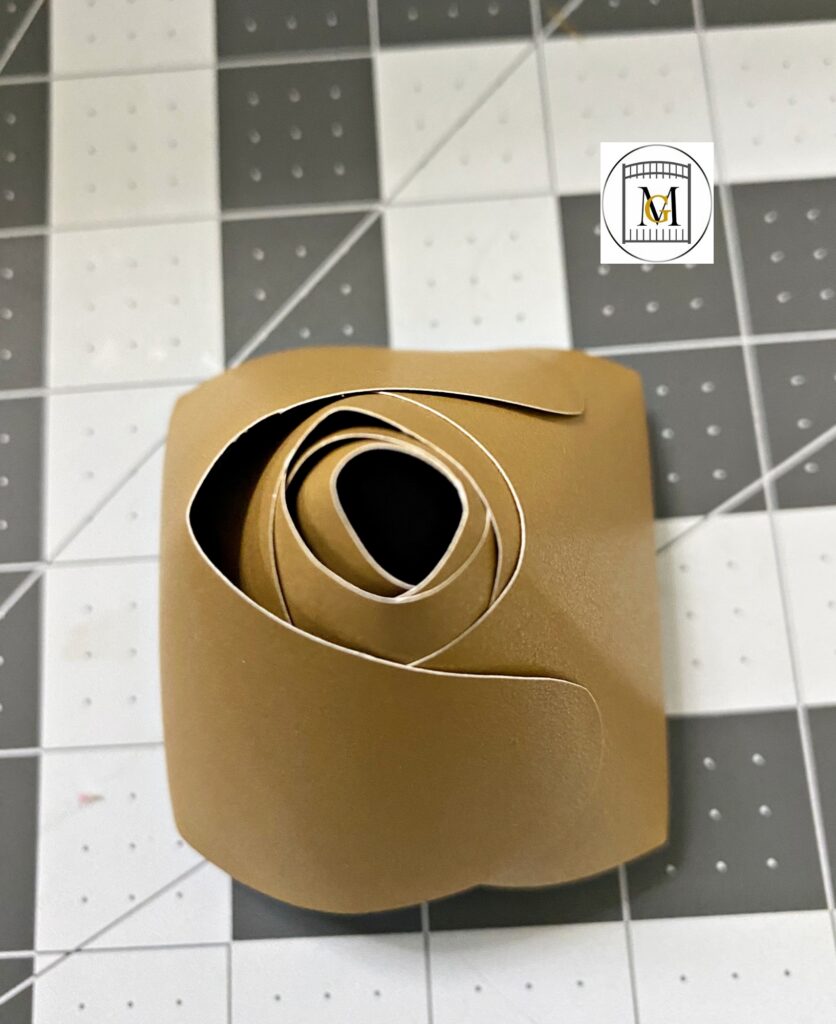
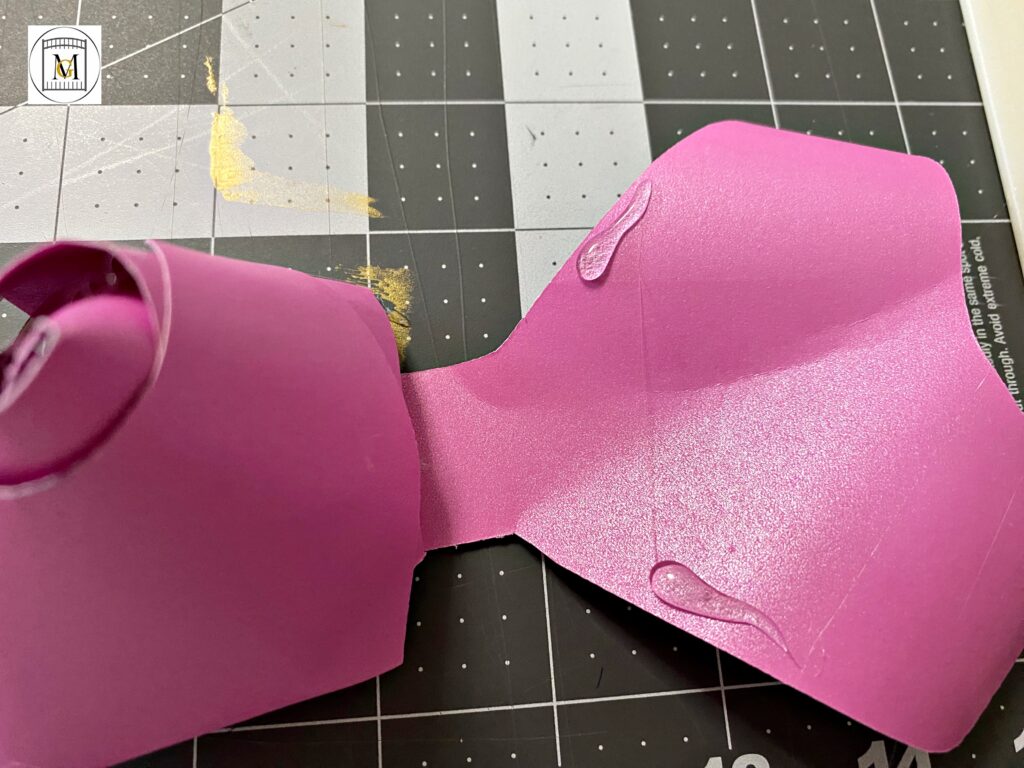
- Now, with the medium sized petals, fold them onto the bud. Continue to build around, offsetting as you glue the petals.
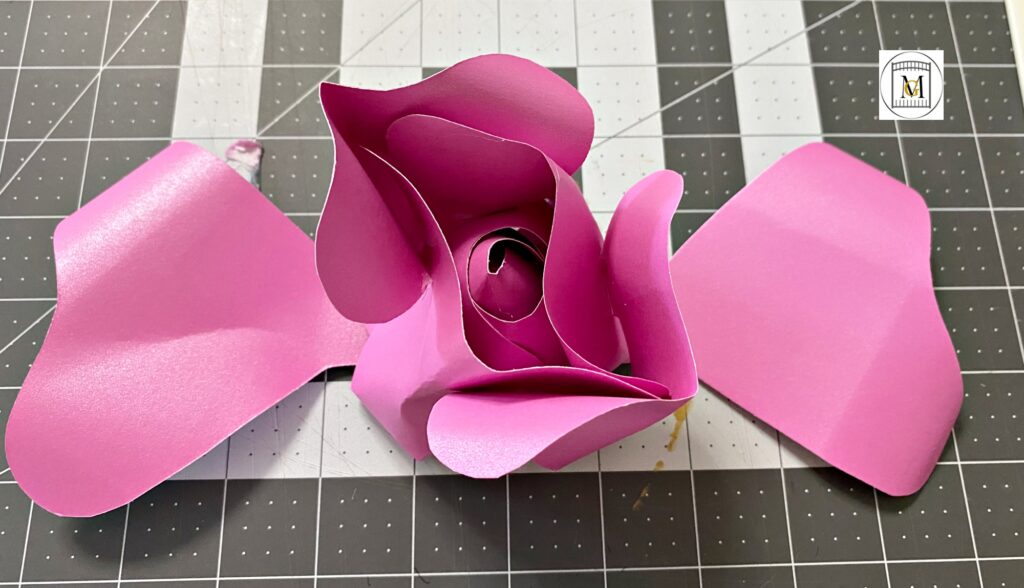
- Then, glue inside the larger base of petals and you are done.
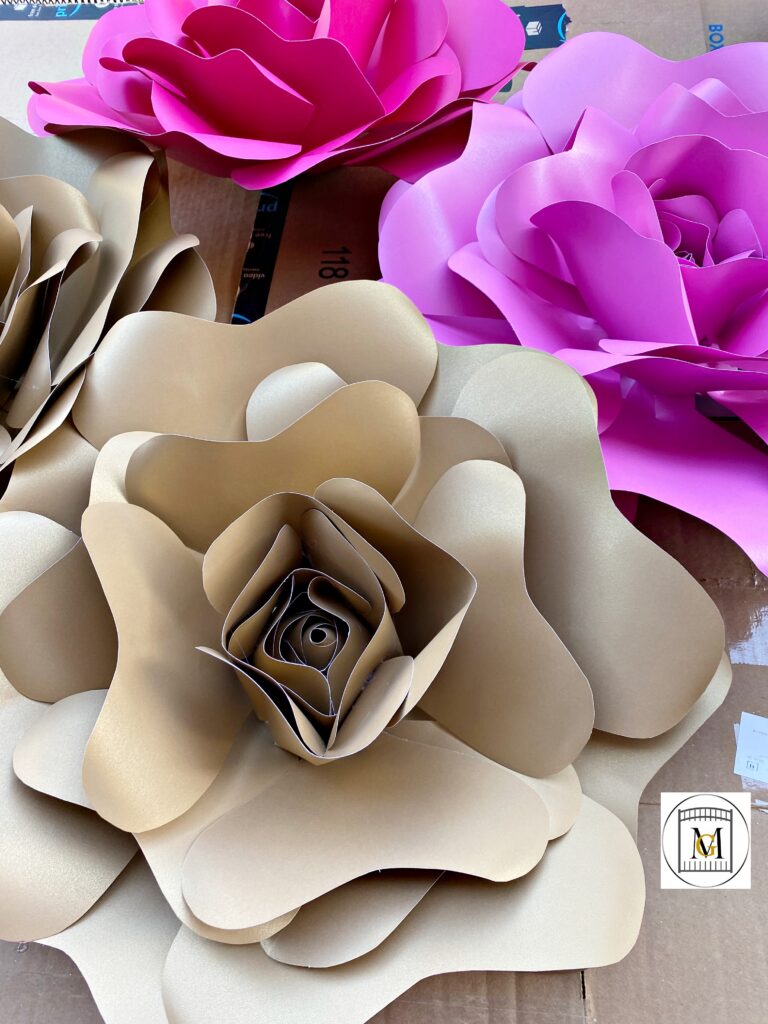
- The flowers are ready to use or you can add glitter to them if you need some sparkle.
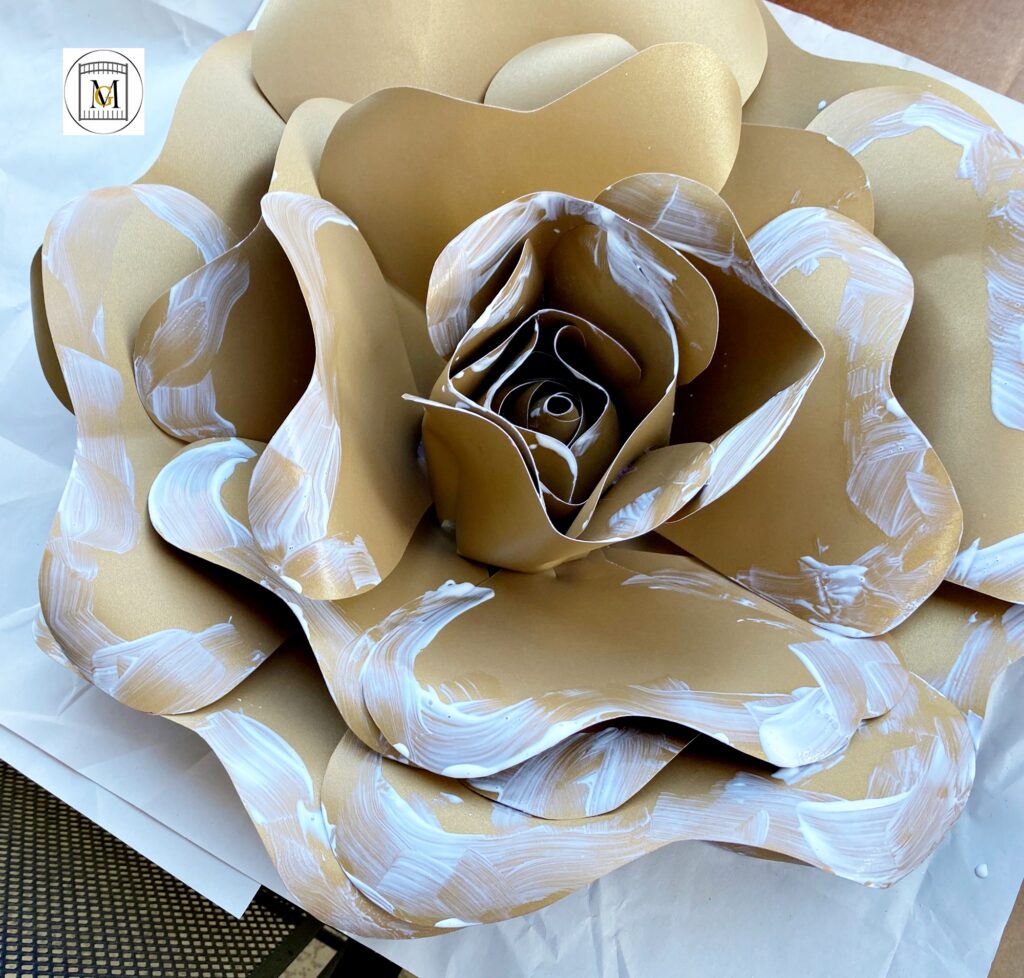
- To add glitter, paint the Mod Podge on the edges and shake on the glitter. Make sure you wear disposable gloves for easier clean up. Also, shake on the glitter over cardboard or a disposable drop cloth.
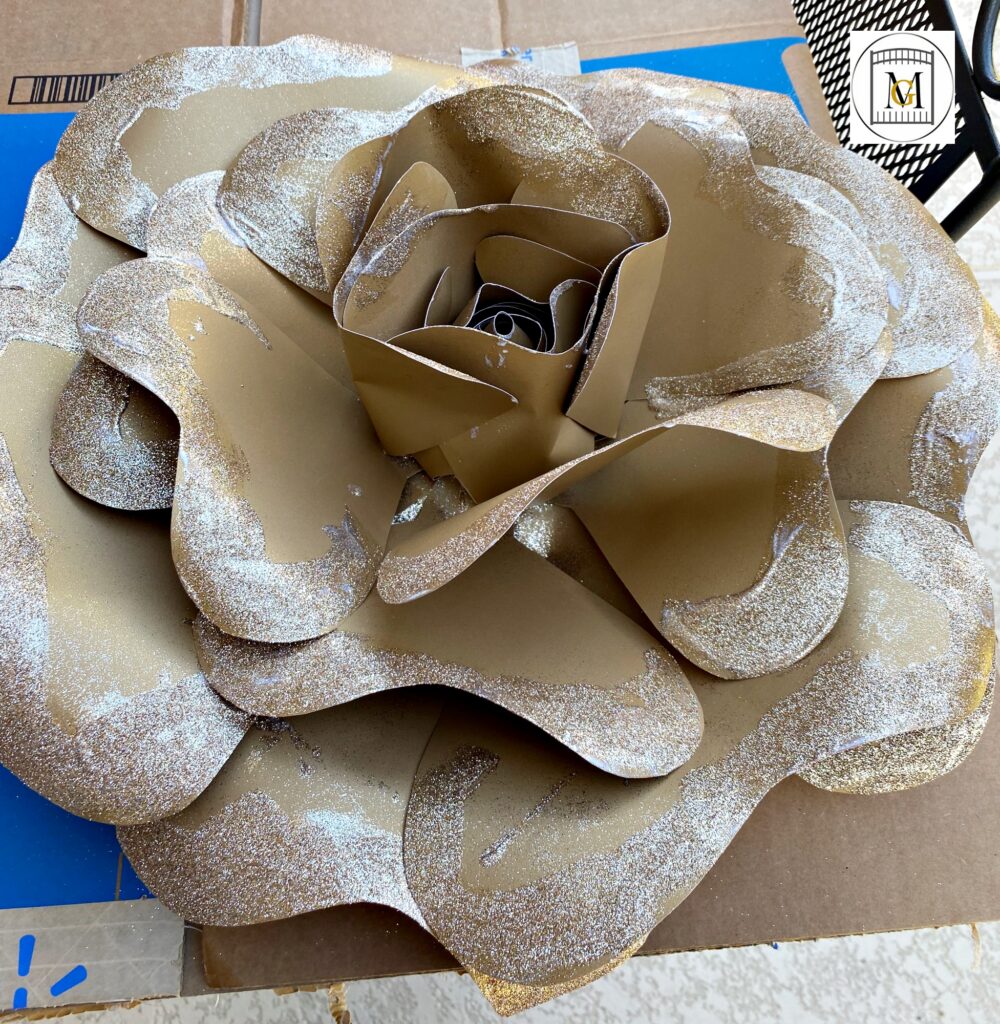
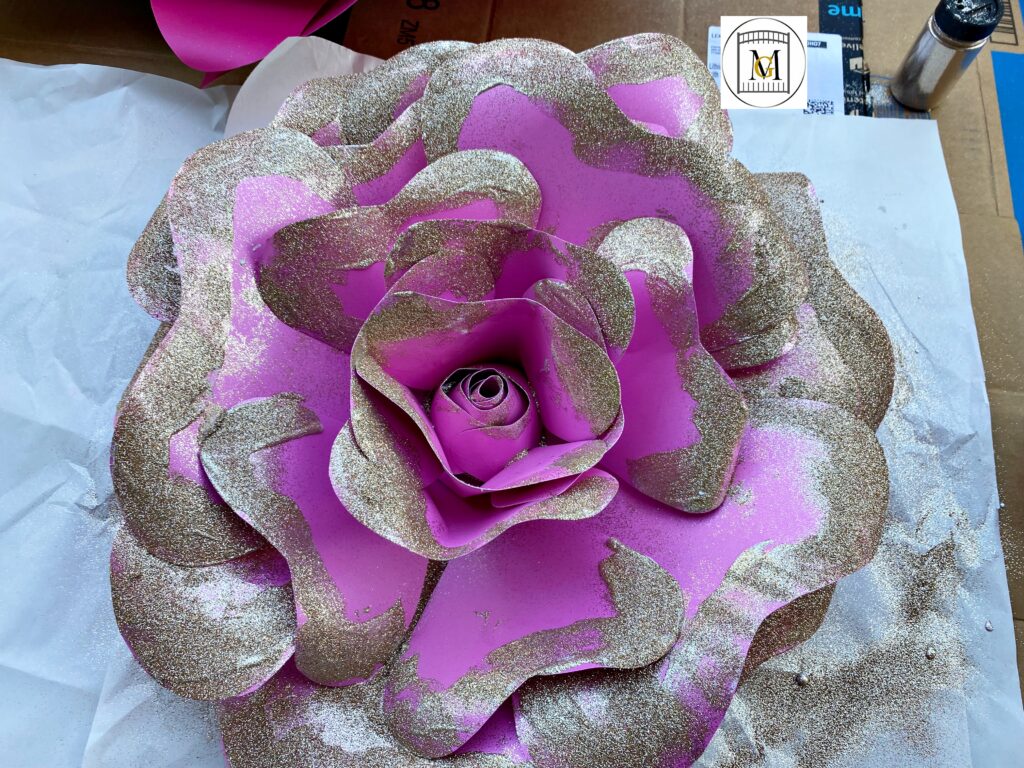
- Once dry, they are ready to add to your decorations. You can hang them or place in groupings on a table or floor. Also you can incorporate into balloon displays.
To see my available Jeopardy/Trivia Party Downloads, click here: https://majorgates.com/product-category/jeopardy-trivia/
