Frame A Bathroom Mirror
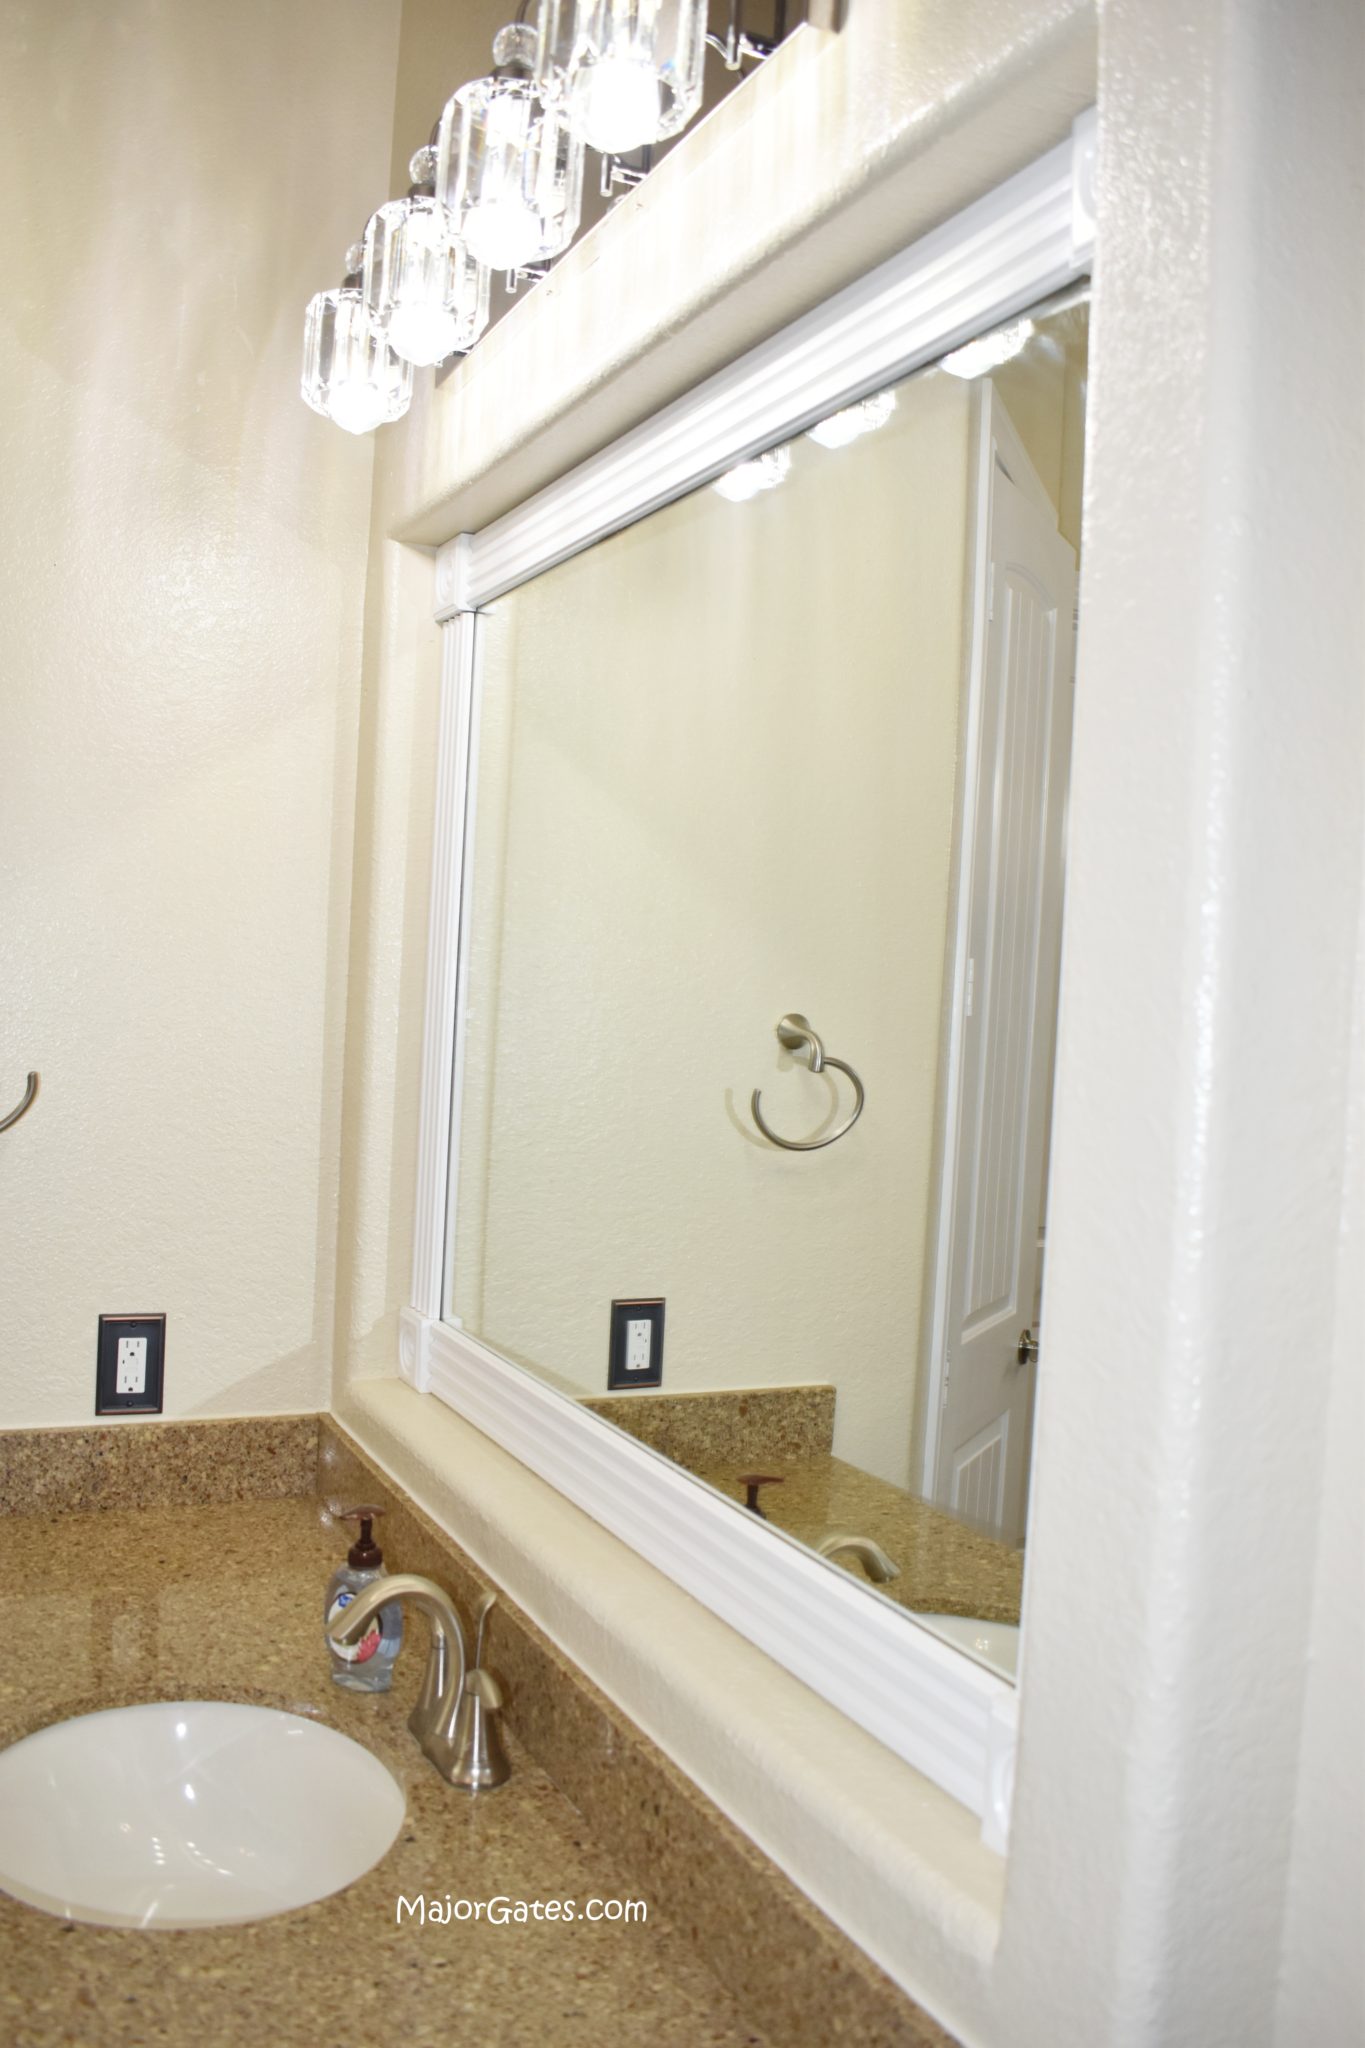
The easiest way to frame a bathroom mirror is to avoid angled miter cuts. So to do this, use decorative wood blocks, so all your cuts are straight 90 degrees. I decided to frame my large builder placed mirrors when I noticed the moisture lines starting on the mirror. It was pretty easy to do.
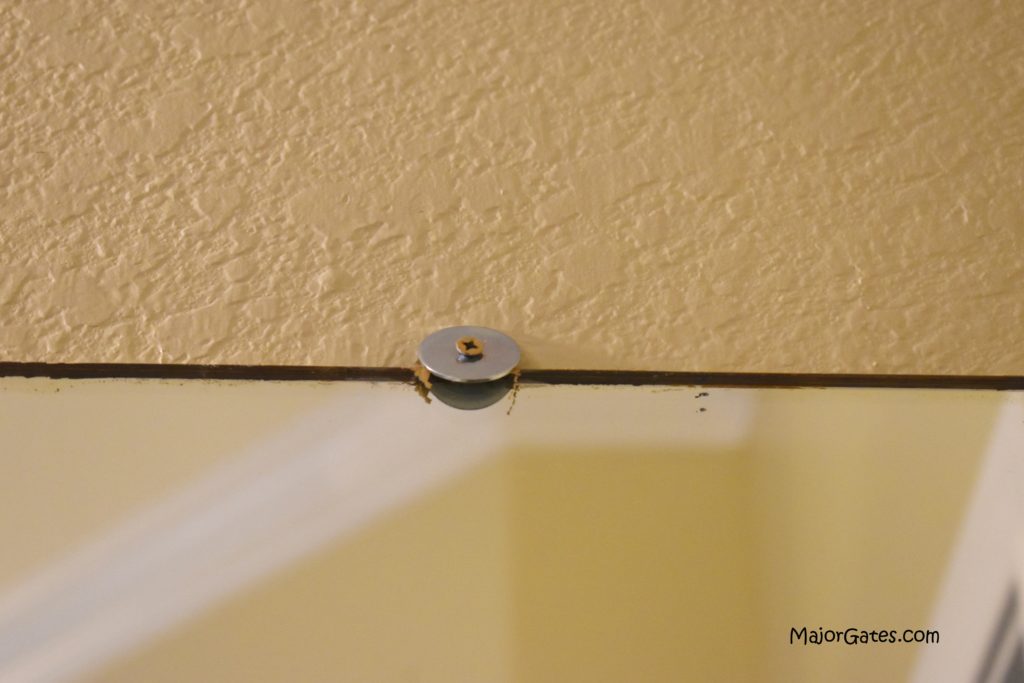
You only need some patience and painting skills. Many people avoid doing this project because of the mirror brackets at the top. Well there is a easy solution to this problem. Just replace the brackets with a 1 inch washer, so it holds the mirror in place, while laying flat. Then you can apply the casing right over the mirror for a clean look. I will walk through what to do, step-by-step in this post.
To see my available Party Label Bundle Downloads, click here: https://majorgates.com/product-category/party-bundles/
Don’t Forget To Follow Me On Pinterest!
For another great project, learn how to make your own Wood Christmas Yard Signs here: https://majorgates.com/do-it-yourself/harry-potter-christmas-yard-signs/

If you need 2 Liter Bottle Party Labels, click here: https://majorgates.com/product-category/potion-apothecary-labels/
Supplies
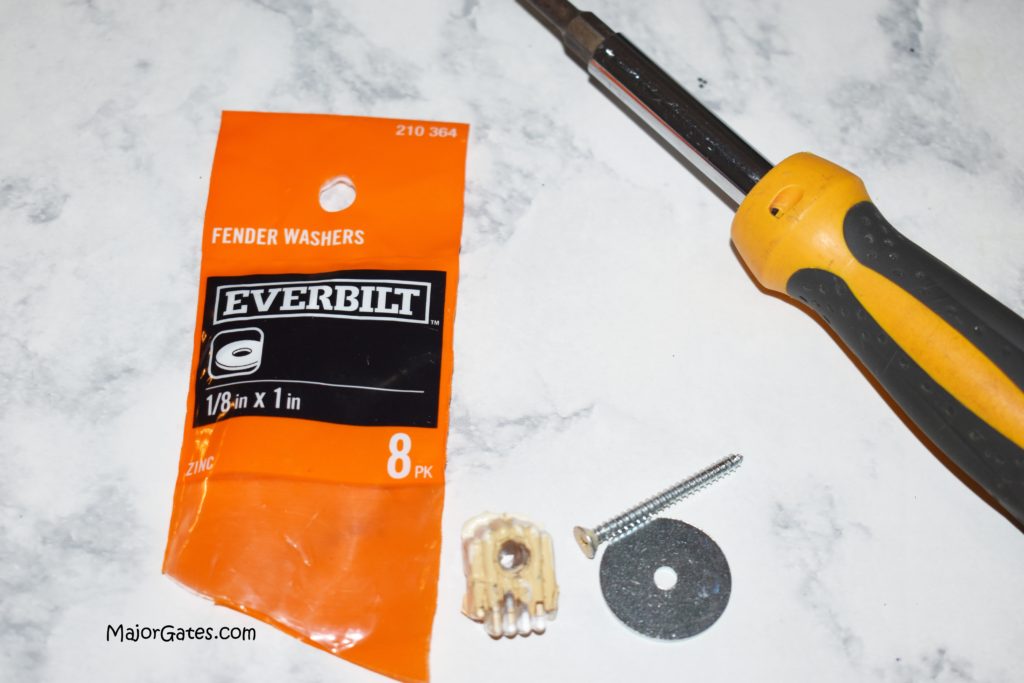
- 1 package of 1/8 in x 1 in fender washer (need 2-4)
- Screwdriver
- Drop cloth
- Painting tape
- Semi-gloss paint of your choice
- 1 1/2 inch angled paint brush
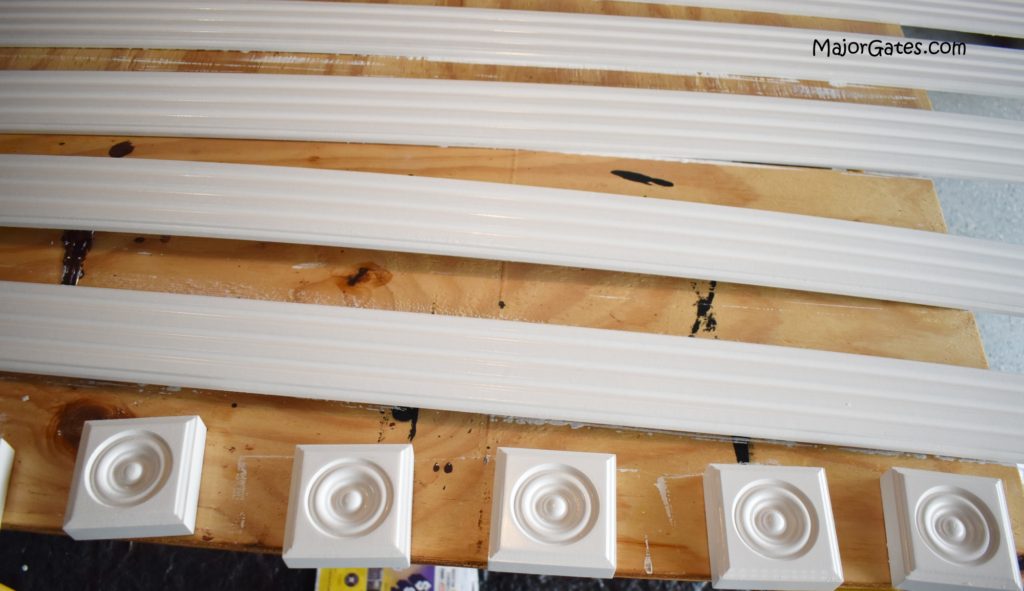
- 2 3/4 inch – 3 1/2 in x 1 inch wooden blocks – you need 4 for each mirror. Select the size based on the casing you purchased.
- Casing (found at your local home improvement store)
- Miter saw or miter box with saw – the box will work just fine for this project
- Tape measure
- Pencil
- Construction adhesive – I used LOCTITE PL 530 Mirror, Marble & Granite
- Goo Gone and scraper
Directions For How To Frame A Bathroom Mirror
- Measure the length and height of the existing mirror or space.
- Cut off a small end of the casing so that it is straight (they are not straight at the ends). Then make your cuts with a manual or electric miter saw.
- Next, paint the casing and wood blocks in the desired paint color. Allow it to fully dry. If you paint before hanging, you will only have to do touch ups as you frame a bathroom mirror.
- Remove the mirror clips, one at a time. Then replace with a washer, so the casing will be a flat as possible.
- Start from the bottom and glue on the corner blocks. I painted my bathroom first and did not clean up the paint on the mirror, since I know the molding would cover it.
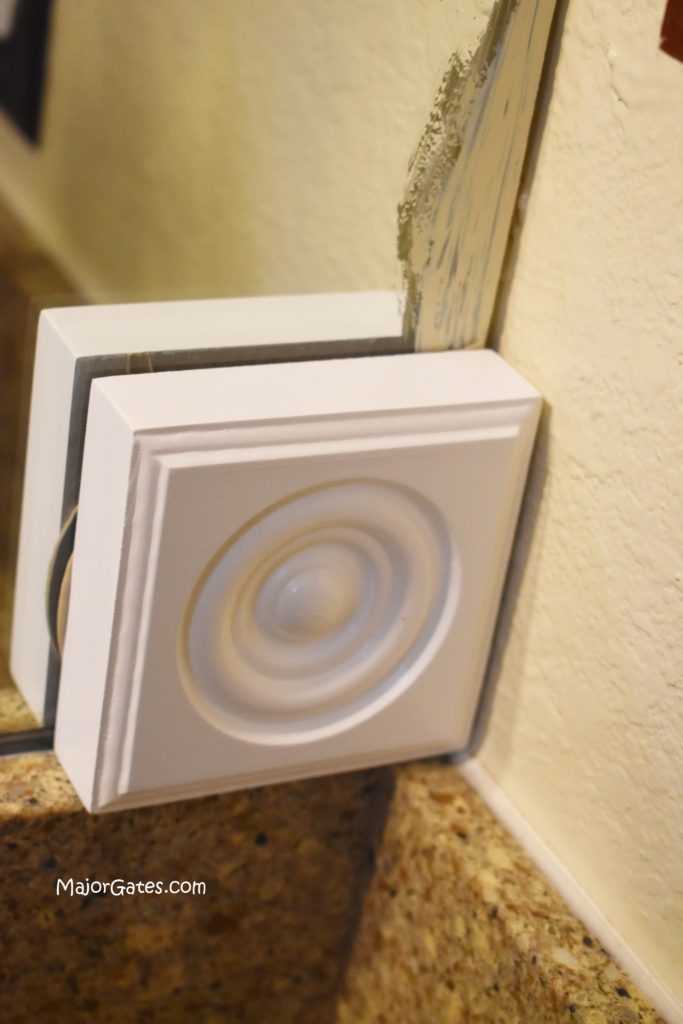
- Then apply the bottom piece of casing and the sides of the casing.

- So the last cut is the top piece, which is now easier to measure and cut.
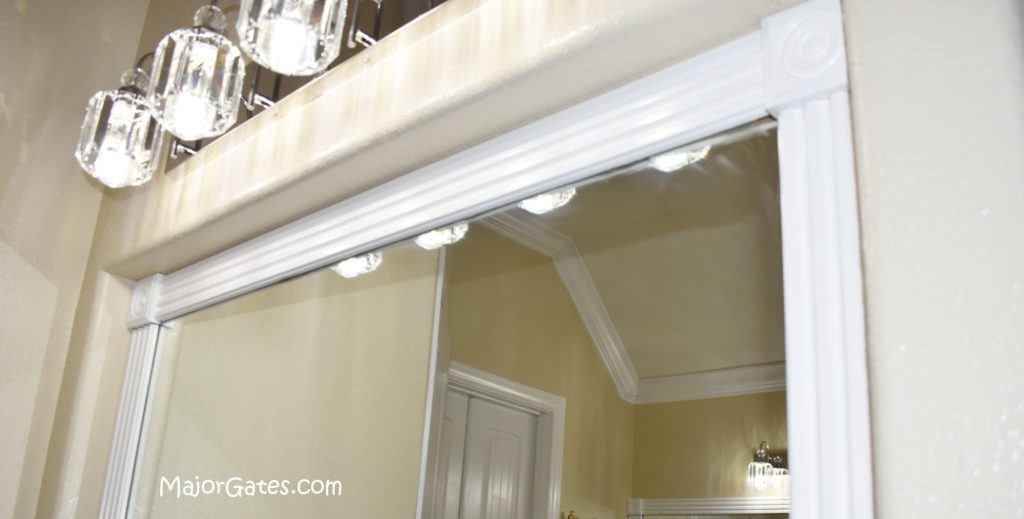
- Secure the top and sides of the casing with blue tape and allow to dry 6-8 hours or overnight before removing.
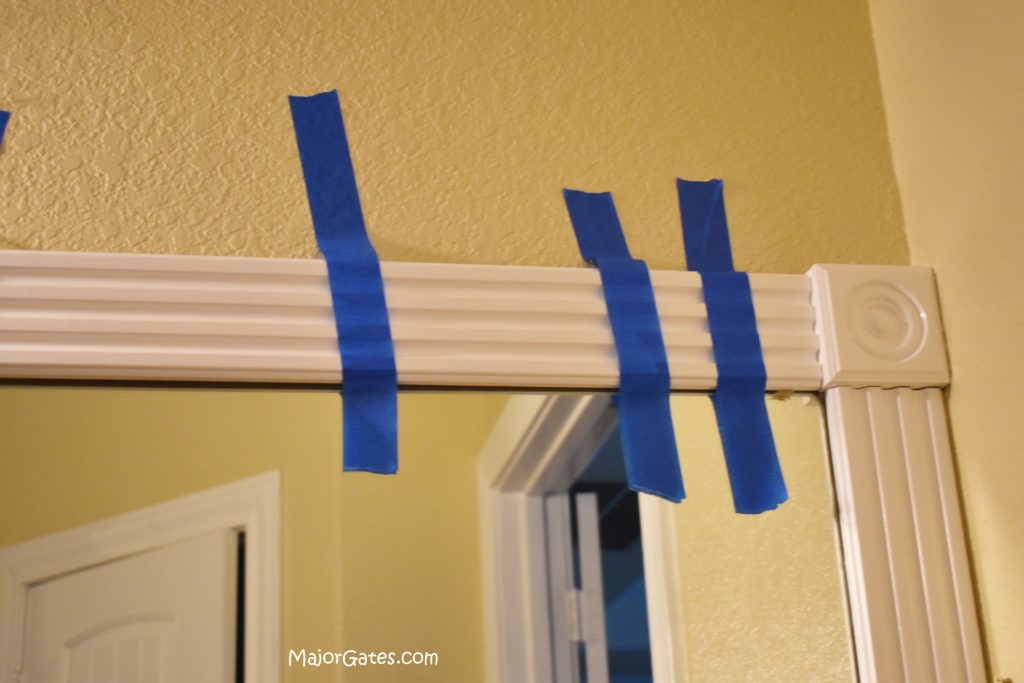
- Remove any excess adhesive with Goo Gone and a scraper.
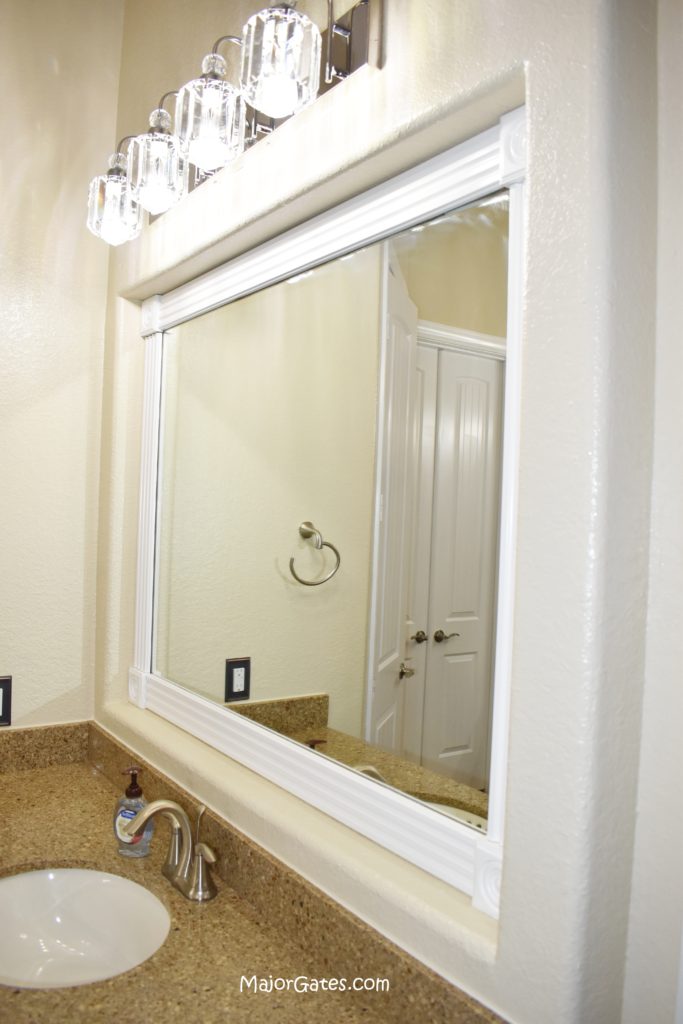
- You are done! Enjoy your new framed bathroom mirror.
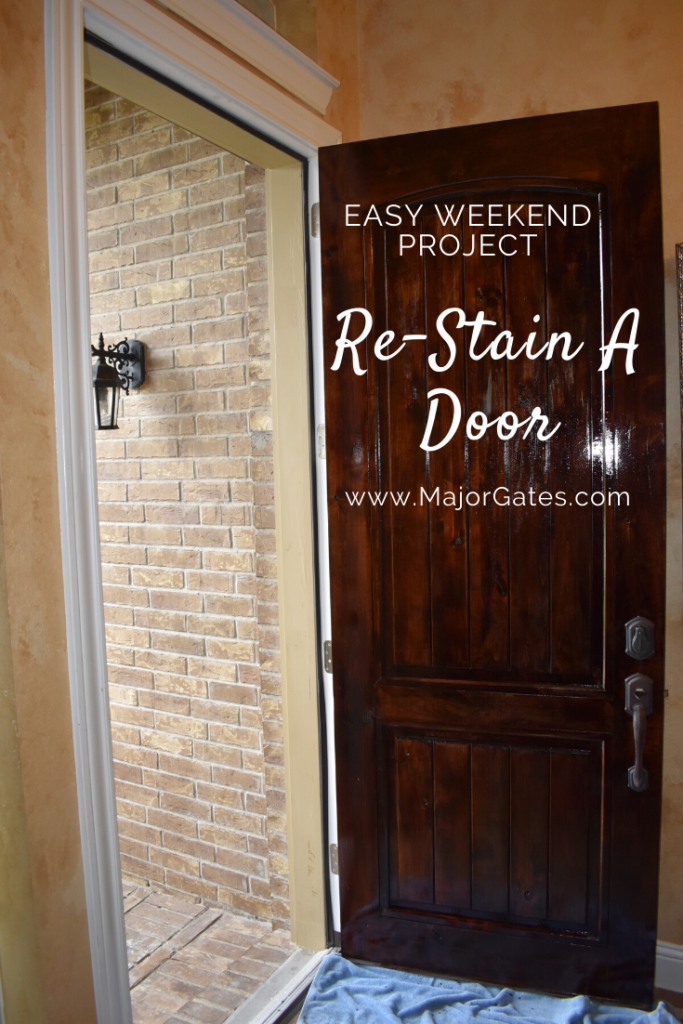
For another easy DIY home project, learn how to Re-Stain A Front Door here: https://majorgates.com/do-it-yourself/restaining-a-front-door/
To see my available Jeopardy/Trivia Party Downloads, click here: https://majorgates.com/product-category/jeopardy-trivia/
