Harry Potter Christmas Yard Signs
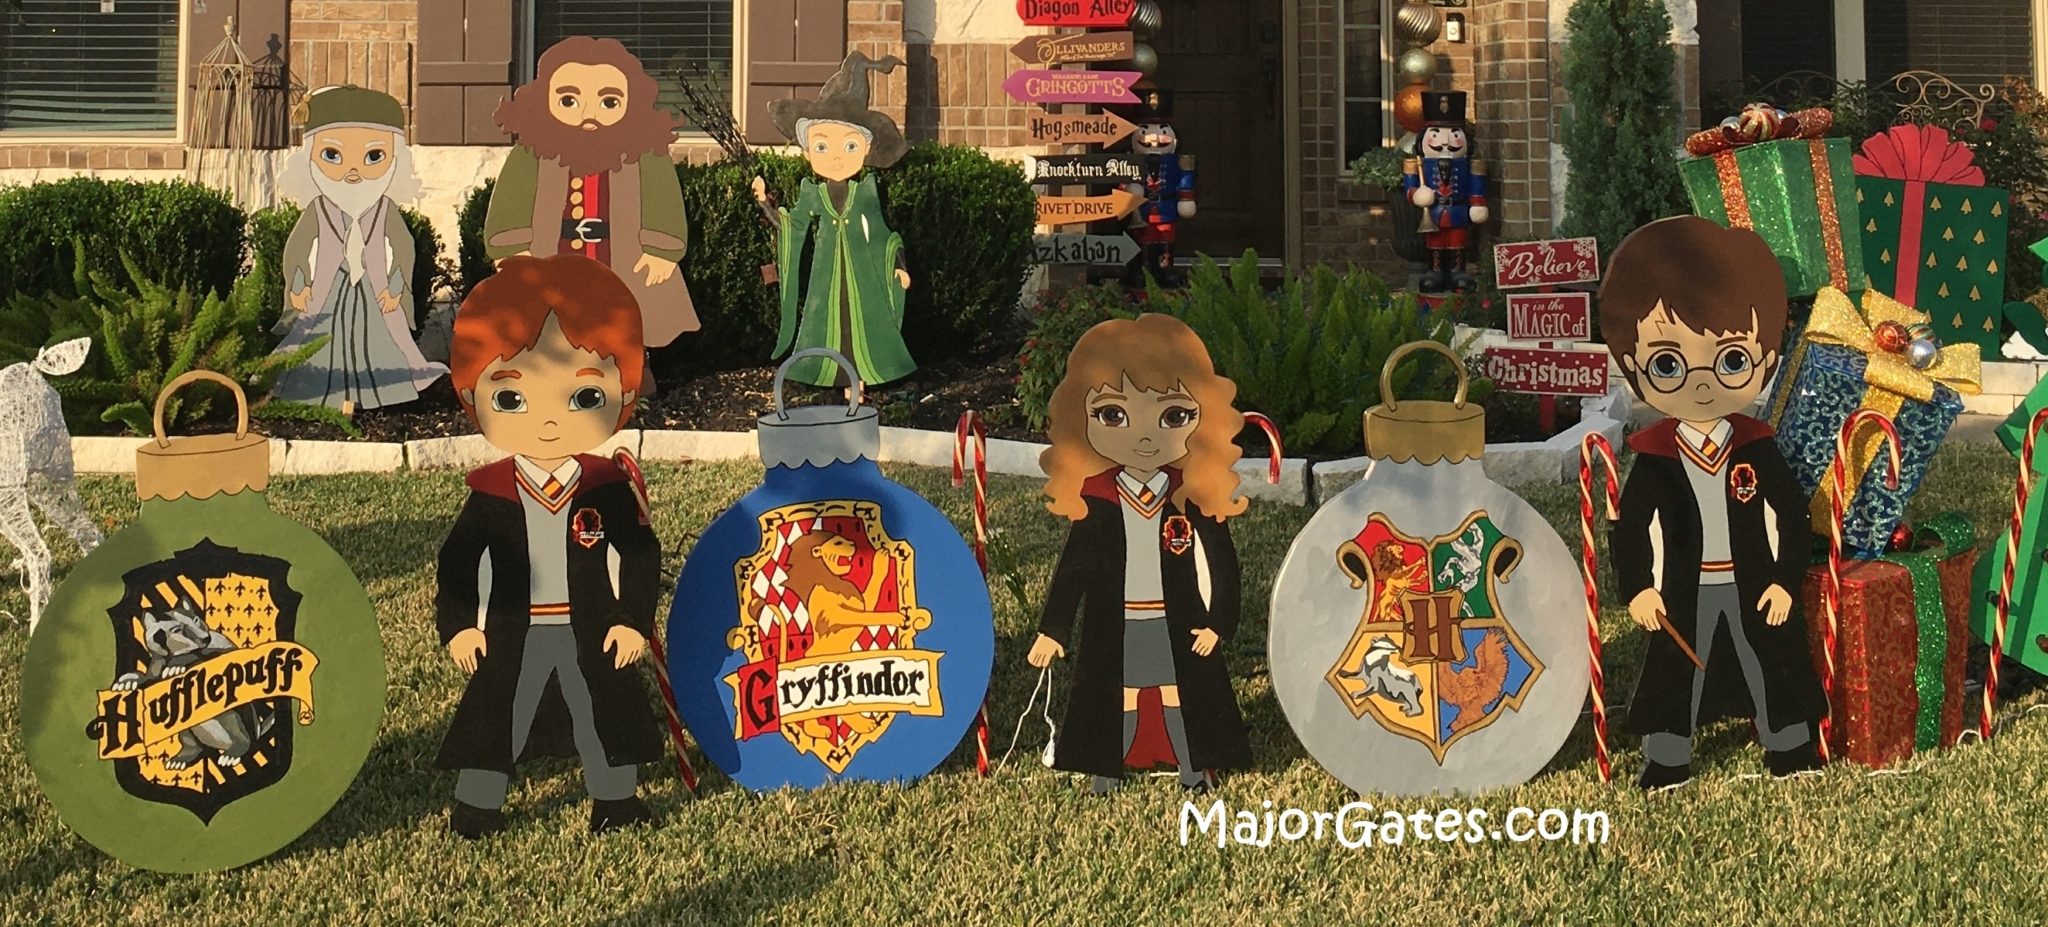
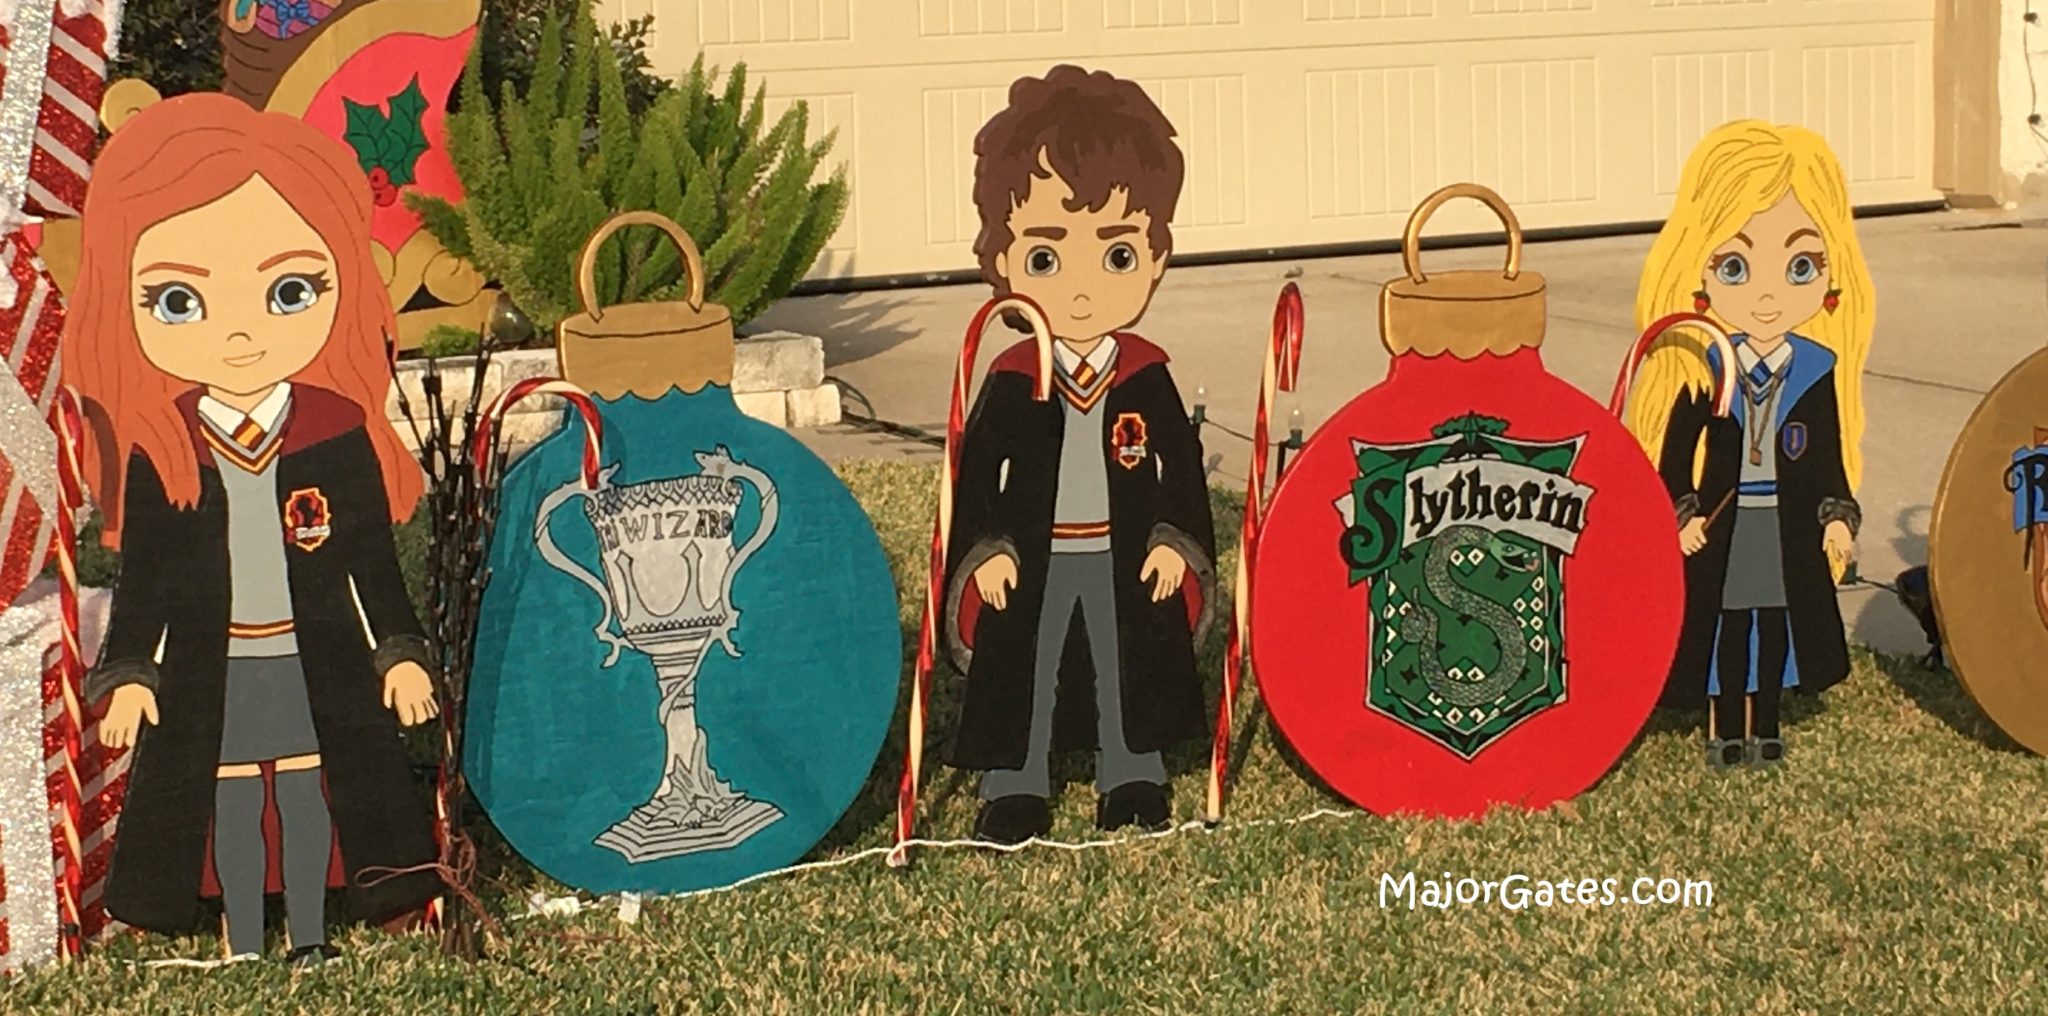
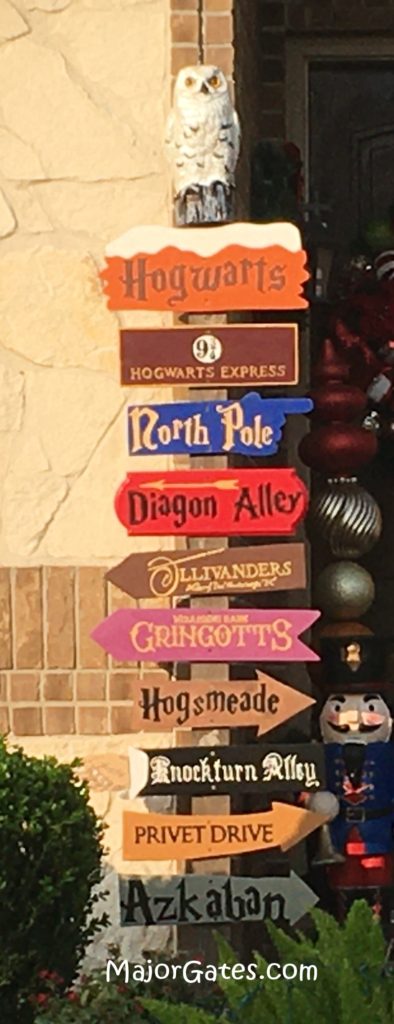
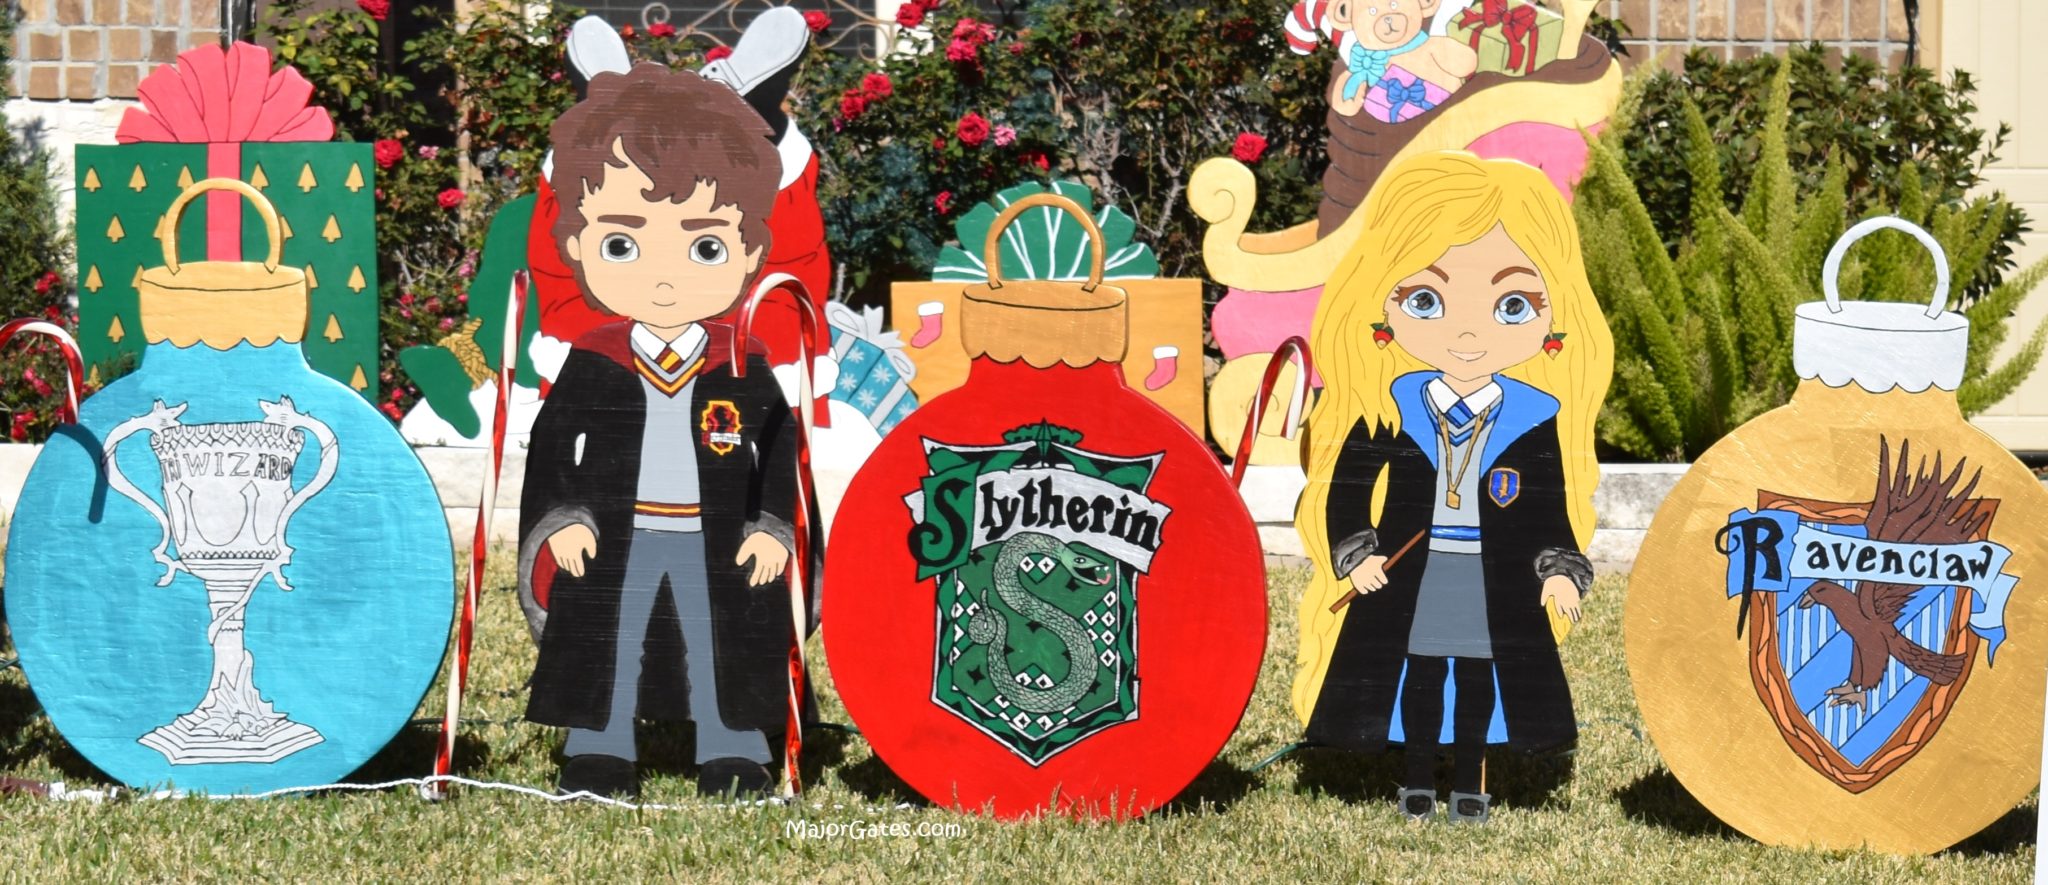
We are huge Harry Potter fans, so I decided to make Harry Potter Christmas yard signs. So this all started because my kids wanted to create Christmas at Hogwarts. Then the problem was it is very hard to find Harry Potter decorations, especially Christmas decorations. So, I set out on the mission to figure out how to make our yard into Christmas at Hogwarts. In this post, I will explain the steps for how to make these wood yard signs. You can also make these for any other theme you are interested in.
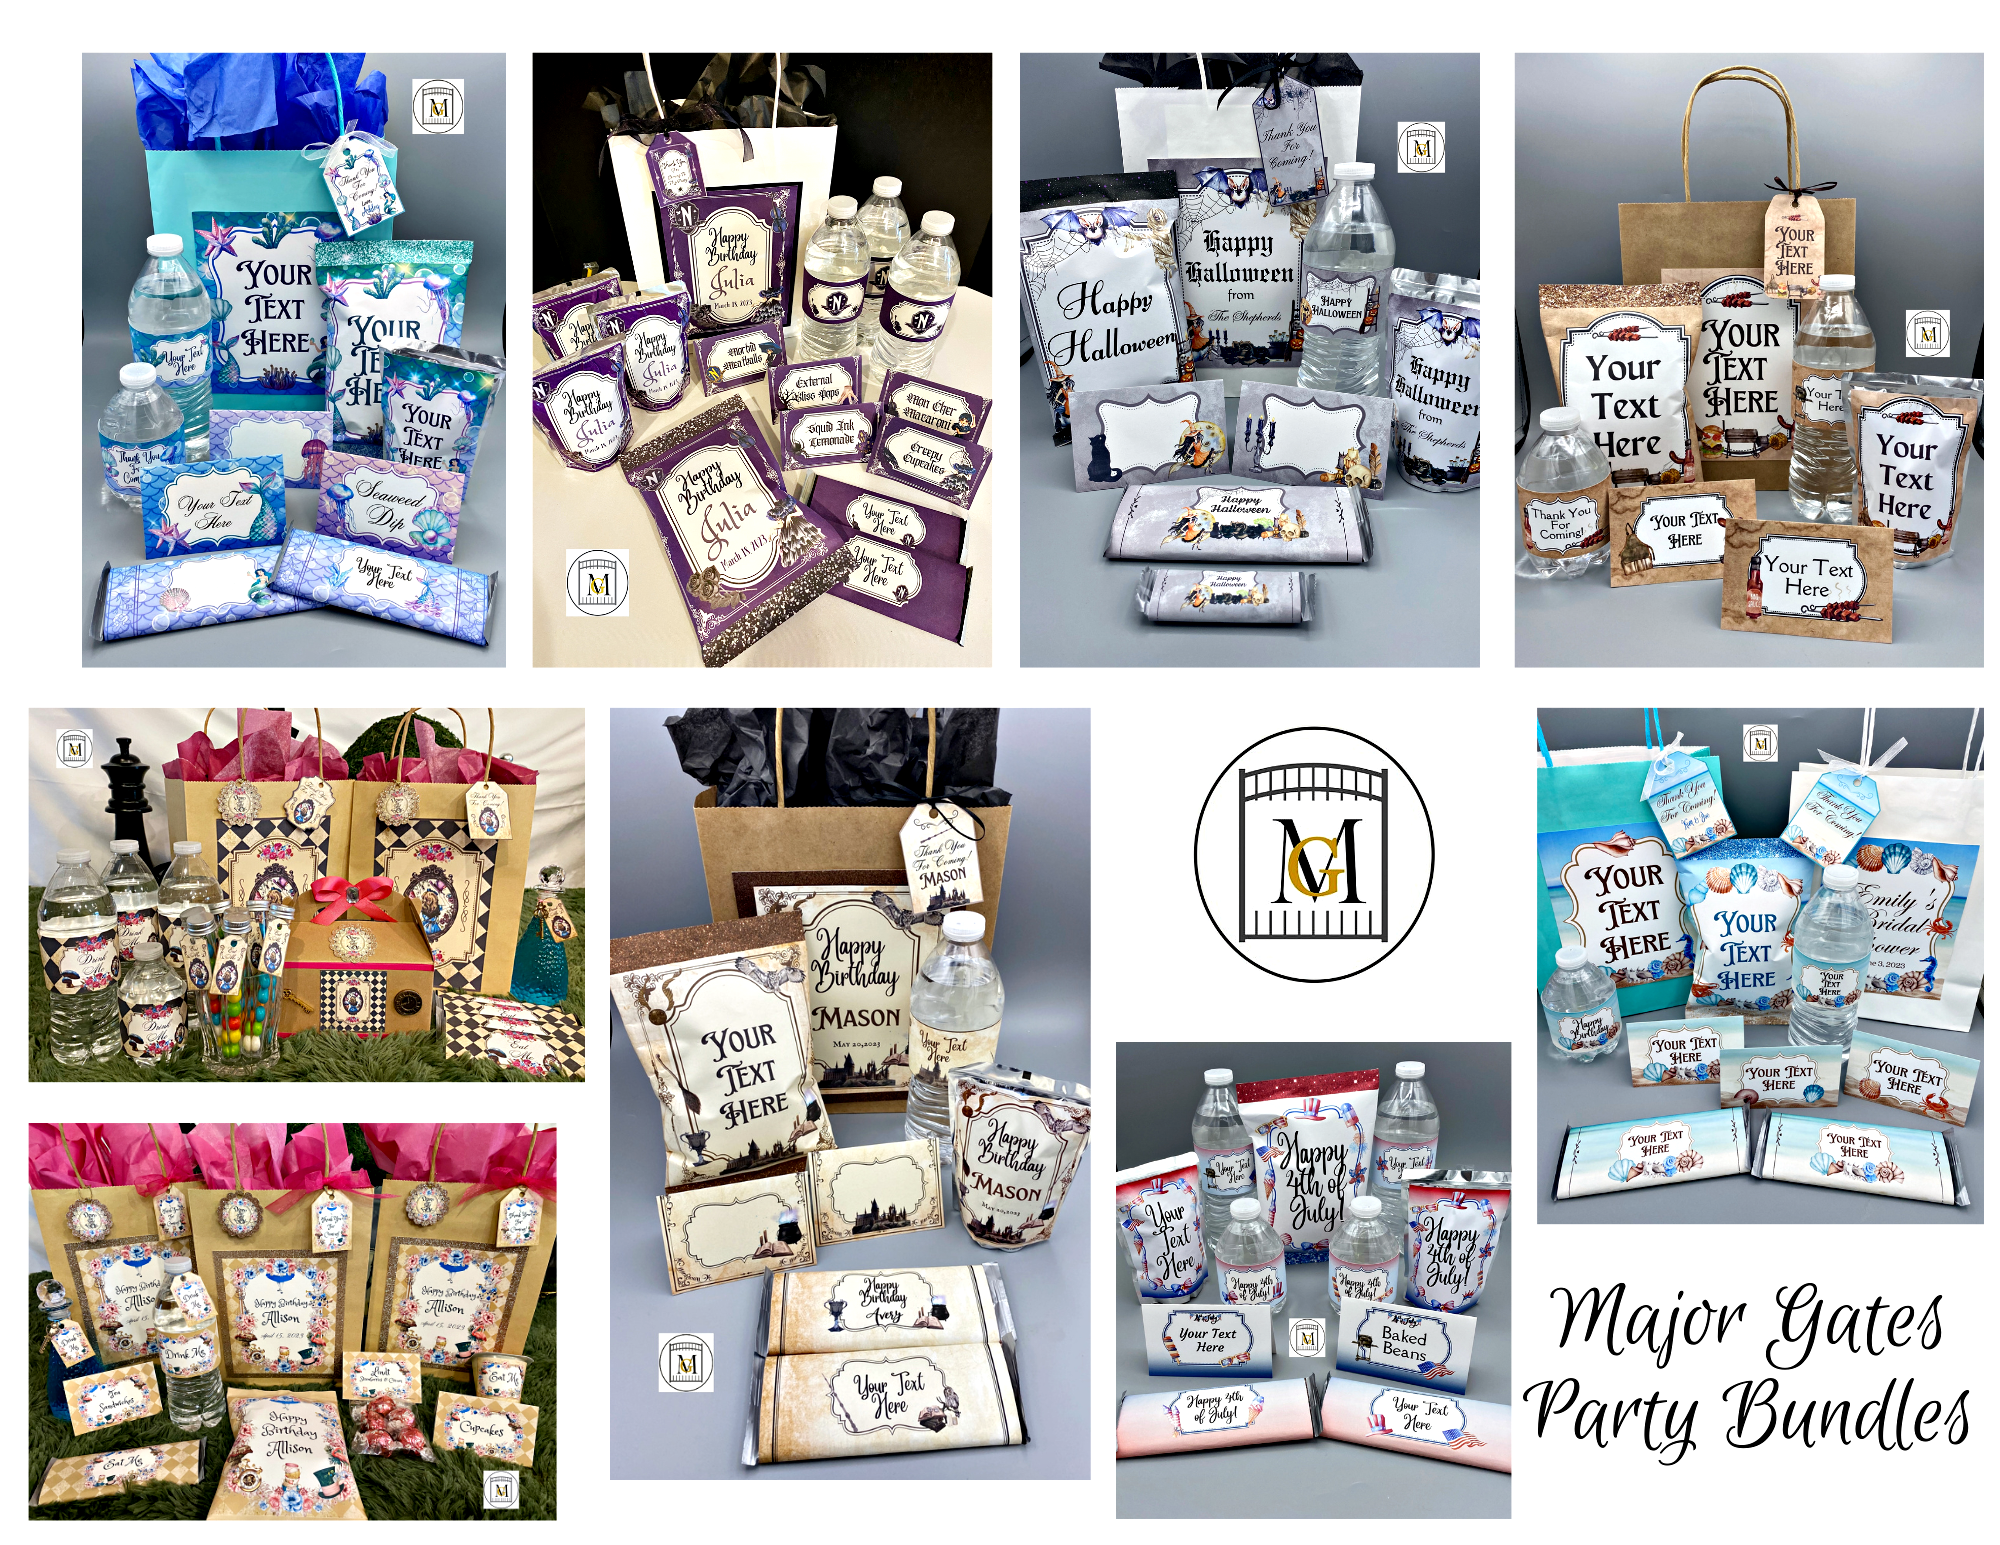
To see my available Party Label Bundle Downloads, click here: https://majorgates.com/product-category/party-bundles/
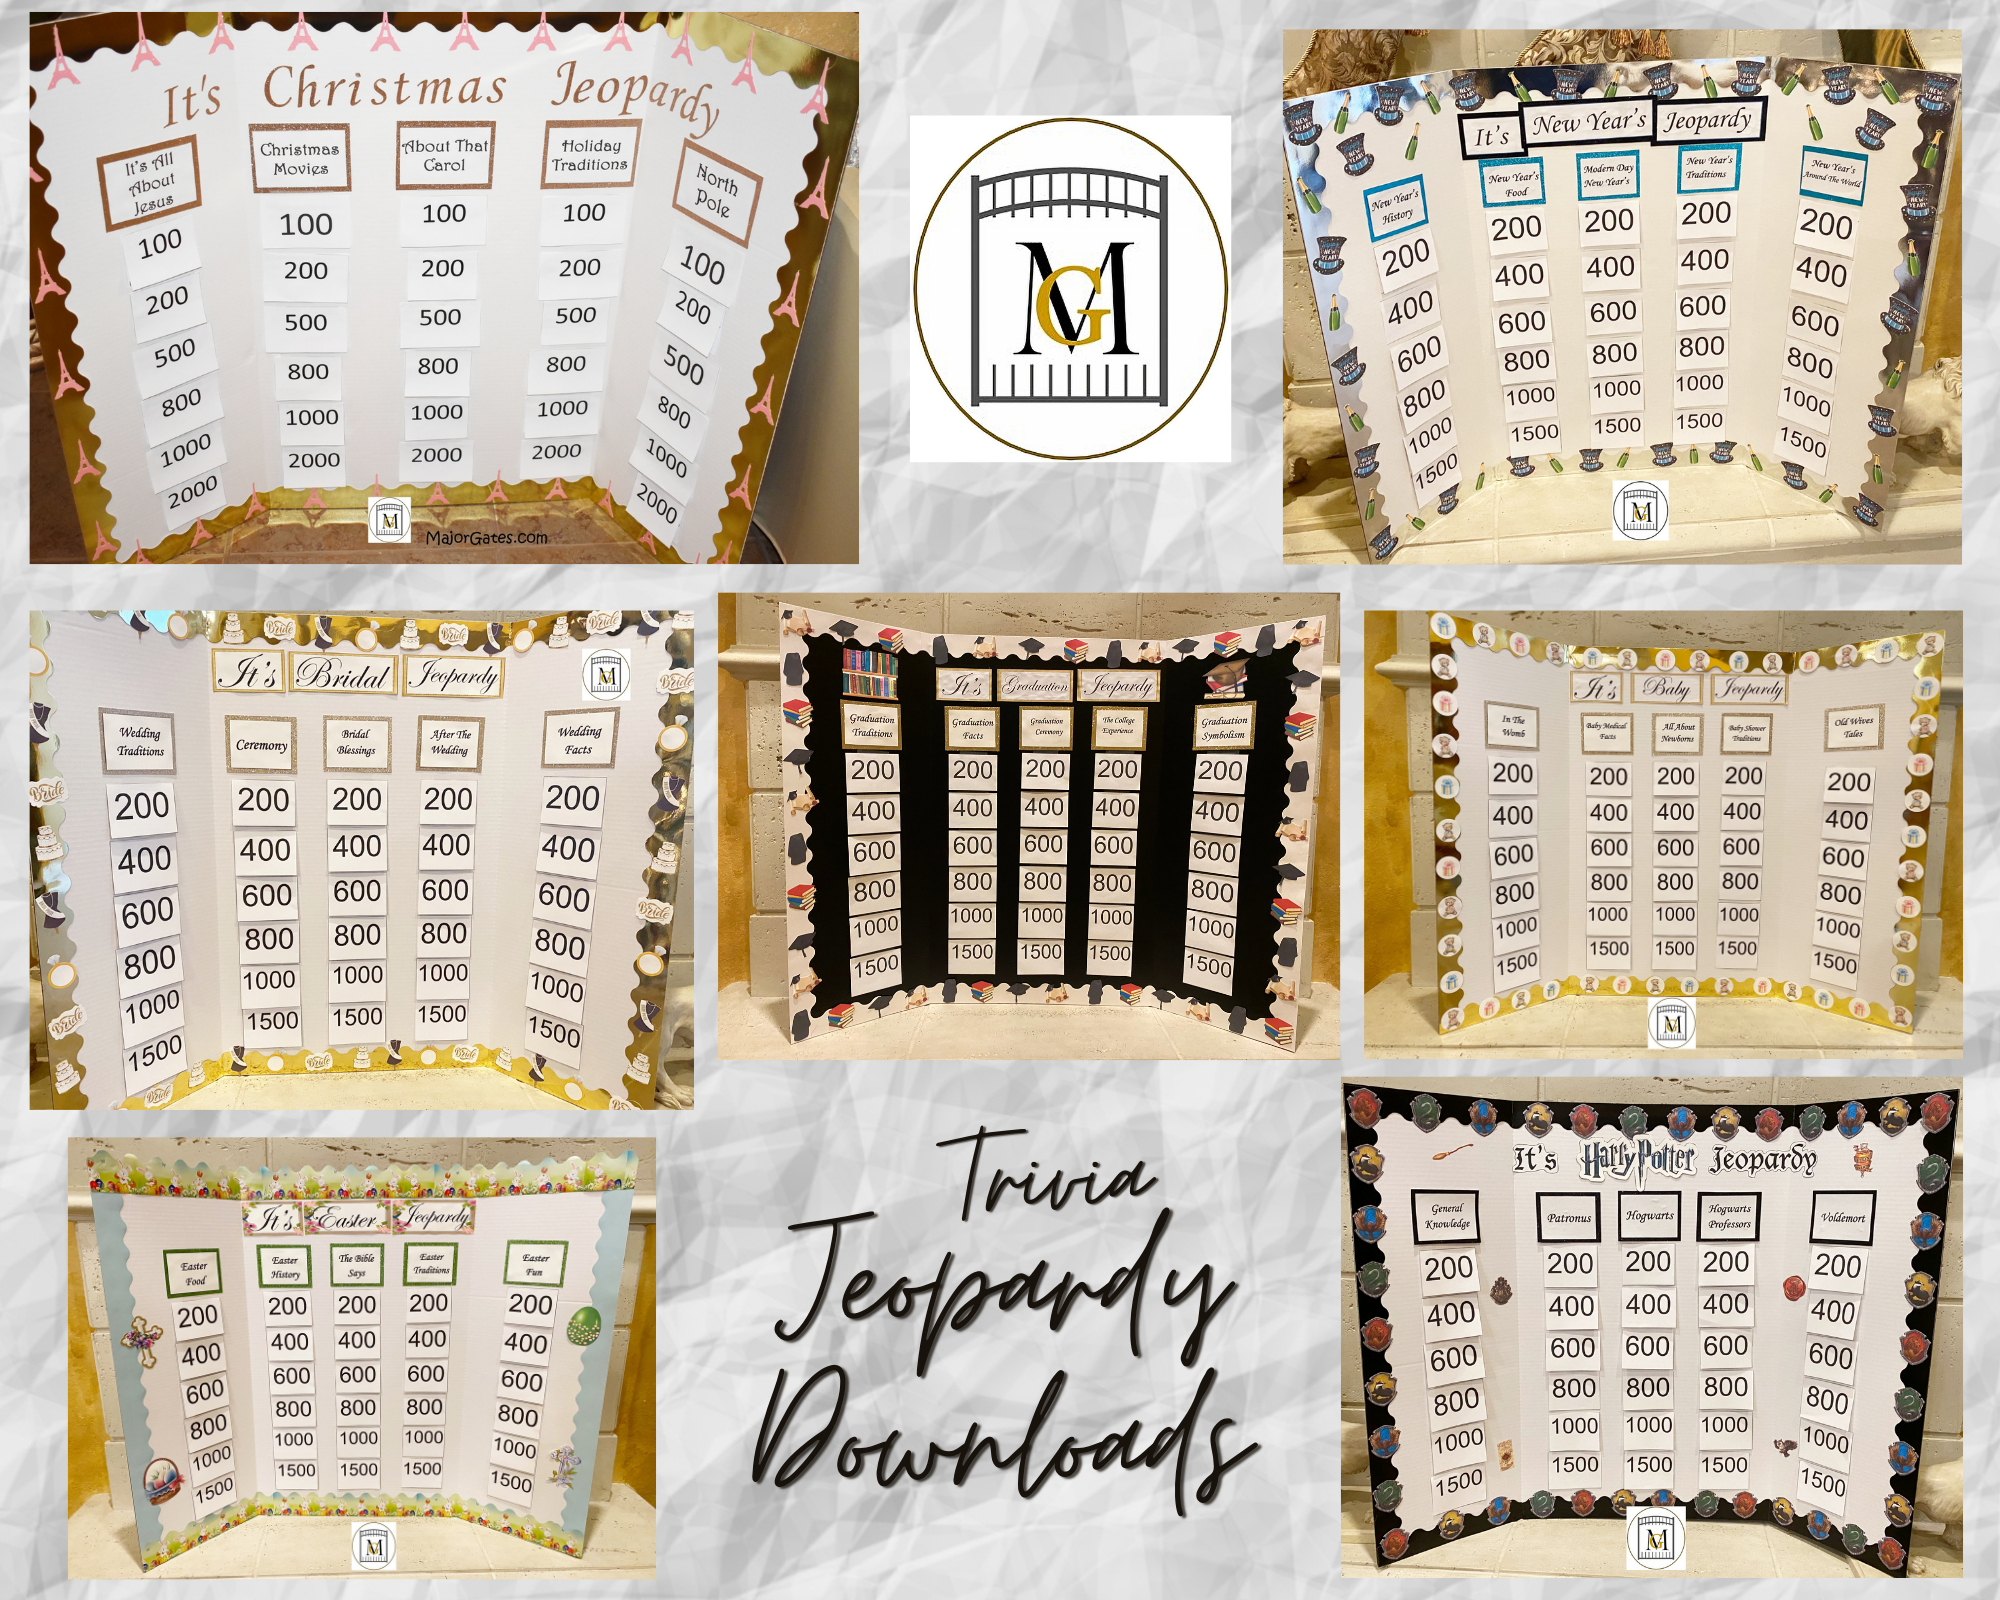
If you are making these for a party and would like some game options, see my Jeopardy/Trivia download options here: https://majorgates.com/product-category/jeopardy-trivia/
Then I first had to figure out what images I wanted to make for the Harry Potter inspired Christmas yard signs. So I looked at various clip art on Etsy and decided I liked these. Then I purchased the whole series. You can also purchase here: https://www.etsy.com/shop/Alefclipart?ref=simple-shop-header-name&listing_id=512842227

I also found clip art images on-line and created some of my own templates, like for the directional sign. It was also helpful to save a few free Harry Potter free fonts. I just did an on-line search and downloaded a few free fonts.
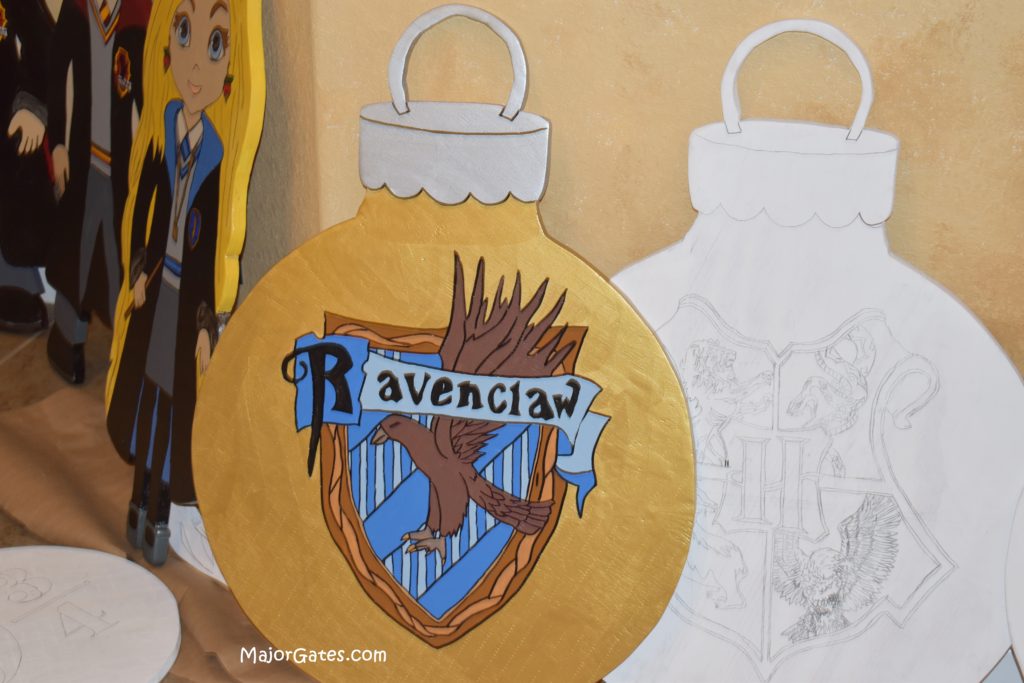
For the huge bulb ornaments, I ordered the pattern from The Winfield Collection here: http://www.thewinfieldcollection.com/.
Just use your own specific image on the bulb.
Winfield Collection sells woodworking patterns, tracing paper, tracing tools and non-yellowing sealer (the only one I have found that does not turn yellow over time). http://www.thewinfieldcollection.com/product/6378/Sealers I buy the gallon size to cover all my projects.
Don’t Forget To Follow Me On Pinterest!
Before You Get Started Making Harry Potter Yard Signs
- Decide the images you want.
- Purchase woodworking tools if you don’t have them already.
- Allow for ample time to make the signs (1-2 months before Christmas).
- Find out where to print the templates. If you have access to a plotter or have a friend that has access to one, just email or save the images to a flash drive and they can print them for you.
- Have a large work surface that can get paint on it. Make sure you cover surrounding surfaces before you paint.
- Purchase the primer, acrylic paints and non-yellowing sealer.
- Purchase tracing tools, tracing paper, paint pens, yard sticks and screws
- Create a sketch plan of your yard and determine the signs to make and mix in with other Christmas decorations.
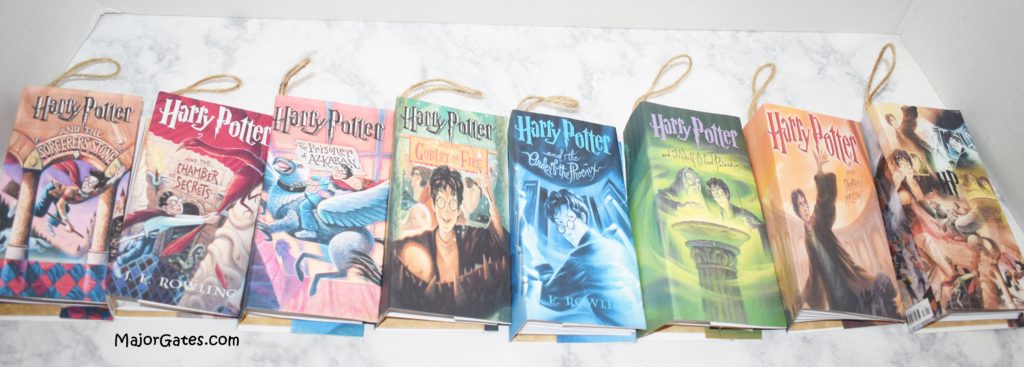
For another great idea, learn how to make Harry Potter Book Ornaments here: https://majorgates.com/do-it-yourself/harry-potter-book-ornaments/
Supplies Needed For Christmas Harry Potter Yard Signs
- 3/4 inch Exterior Plywood (Home Depot and Lowes will cut the large sheets smaller so you can get them into your car or truck) – make sure the wood is Exterior. I usually measure out the size of my images so I can maximize the whole plywood sheet.
- Jigsaw or scroll saw
- Fold-able Sawhorse(2)
- Power Sander
- Sand paper for sander (medium and fine grit)
- Primer
- Tracing Stylus Pens
- Tracing Paper
- Paint Pens
- Wood Putty/Filler
- Acrylic Paints in desired colors – I purchase at my local craft store but they do sell on-line. Purchase the 2-4 ounce sizes.
- Wood yard stakes
- 1 1/2 inch wood screws
Directions
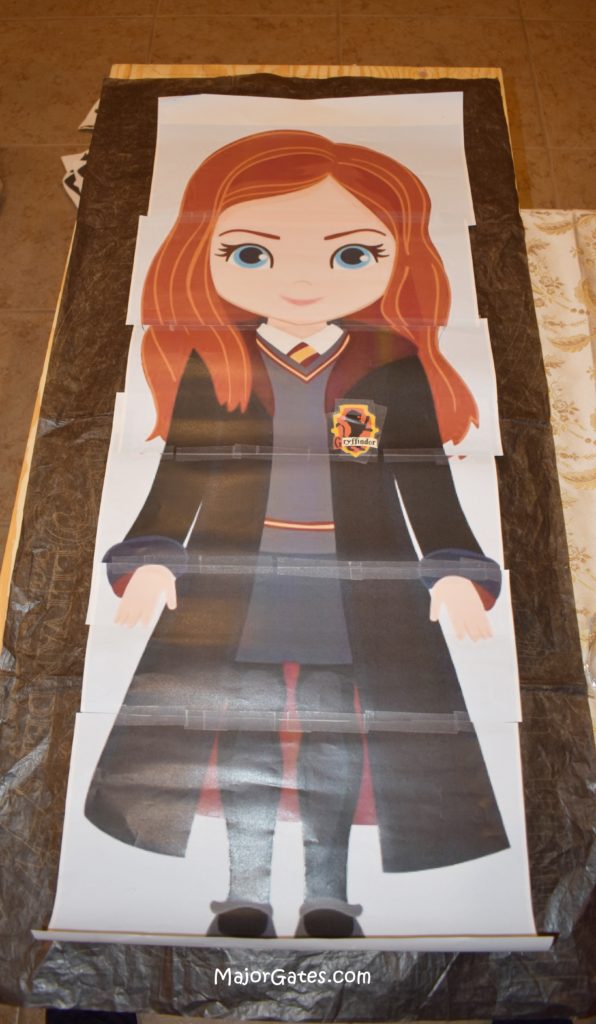
- Print patterns. So print the patterns at the local printer, on a plotter or by cropping sections of the image and then taping them together to make a large pattern. I made the images between 39 – 45 inches tall except for Hagrid, McGonagall and Dumbledore which were taller. The average width was between 18-24 inches. Then I taped on the house crests onto the robes.
- Purchase the exterior plywood. Plywood is sold in 6-8 foot sheets. Most hardware stores will cut them into smaller sections so you can transport them. Also, I had them cut in 30 inch widths for the students.
- Trace the outside of the pattern onto the plywood with the tracing paper and the tracing pen.
- Cut the images out with the jigsaw or scroll saw. I used the jigsaw. Remember to follow ALL the safety procedures that came with the saw. Never drink alcohol or be impaired when operating a saw. Also, jigsaws can not go in curves so learn how to create relief cuts. Jigsaws can go forward and backward and need extra cuts or nodges to go around a curve. Learn how by watching a few videos on You Tube.
- Sand the images with the power sander. First with medium grit, then fill any holes or chipped wood with the wood putty. Allow the putty to dry and then sand again with the fine sand paper.
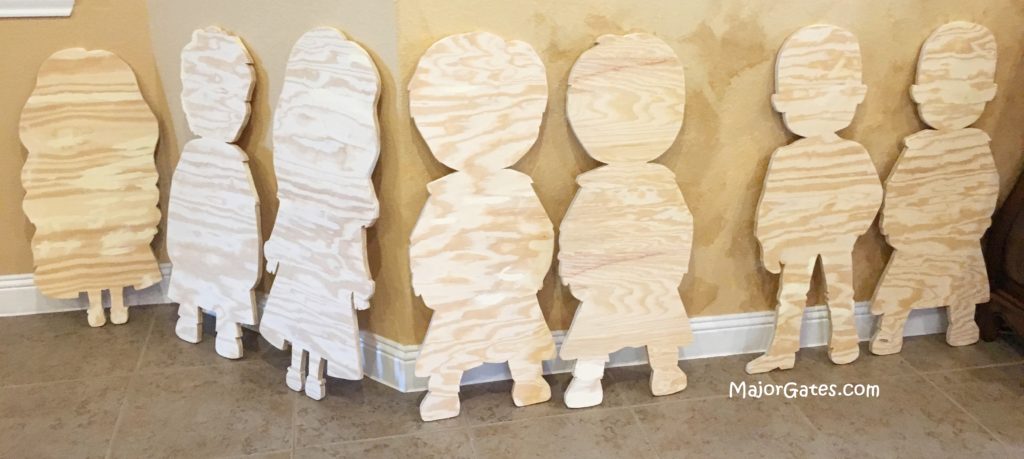
- Wipe cutouts with a moist cloth to remove any dust and allow to dry.
- Then prime cutouts and allow the dry. You only need to prime the side you intend to paint.
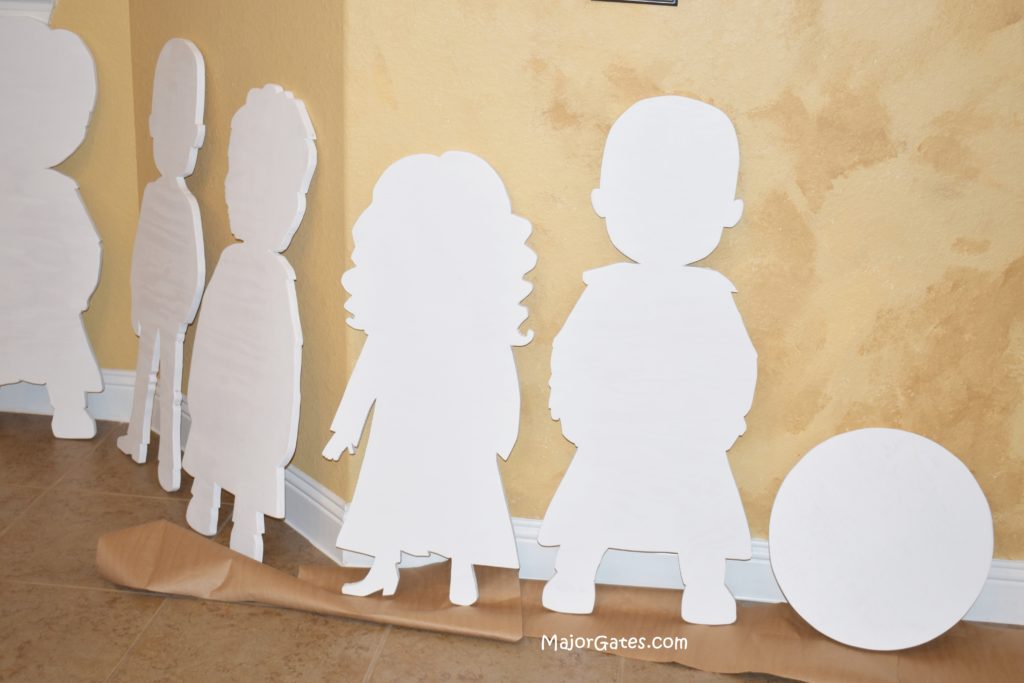
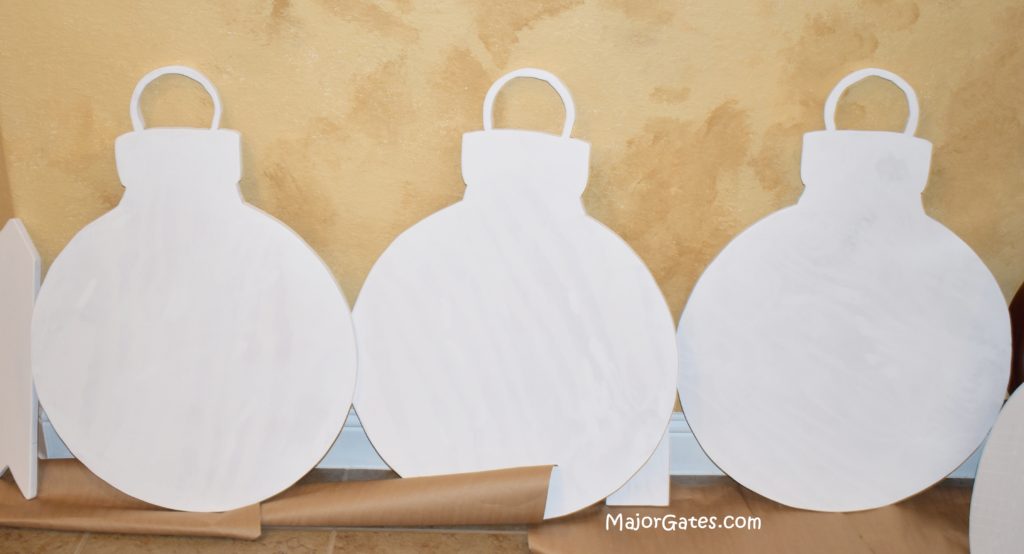
- Next trace the details of the image onto the cutout.
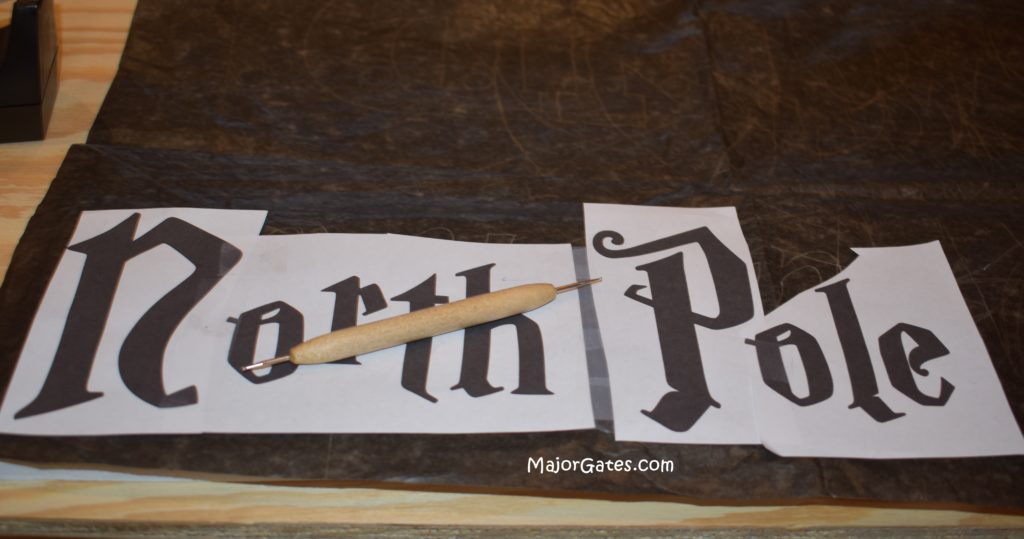
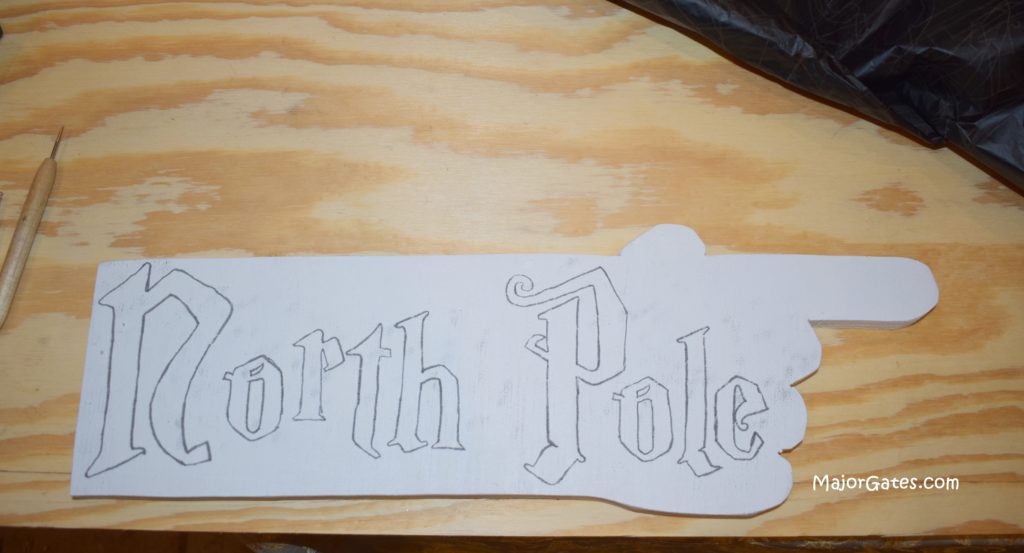
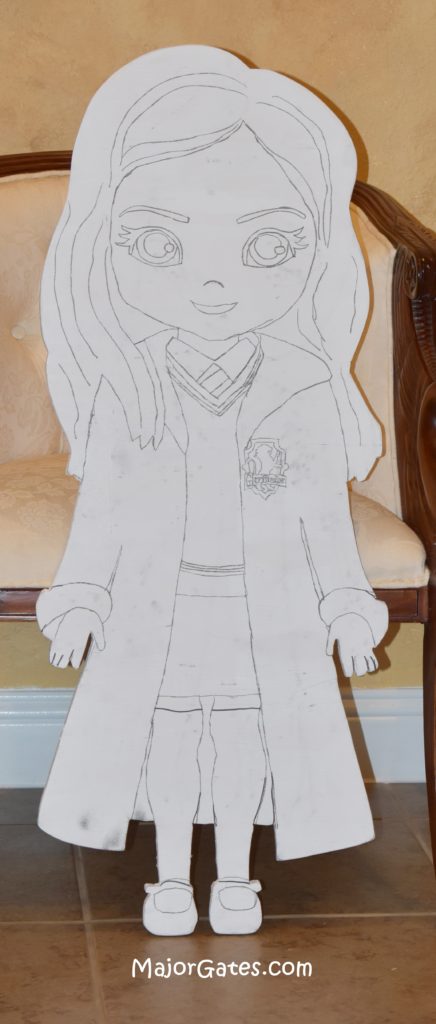
- Now outline the traced details with the paint pen.
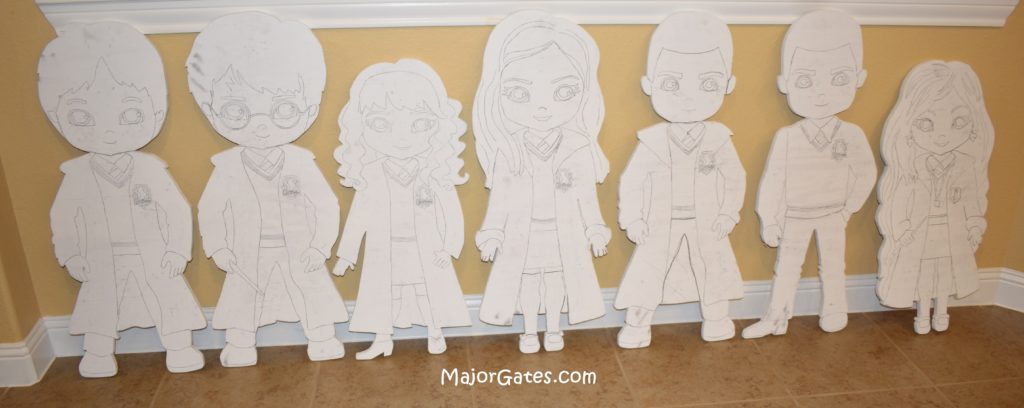
- Paint in the details.
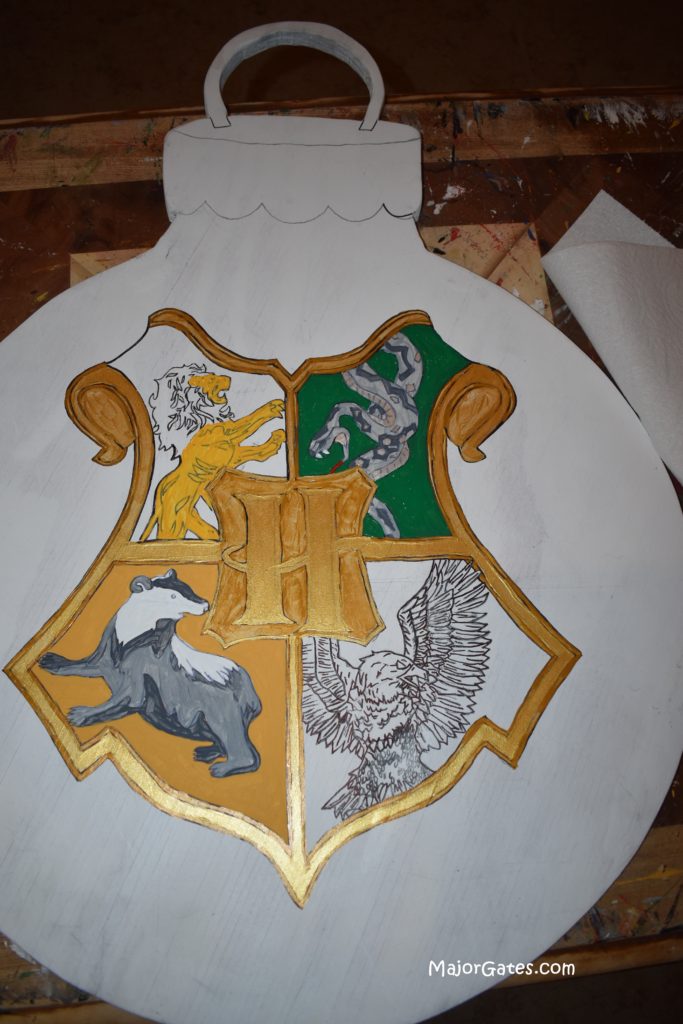
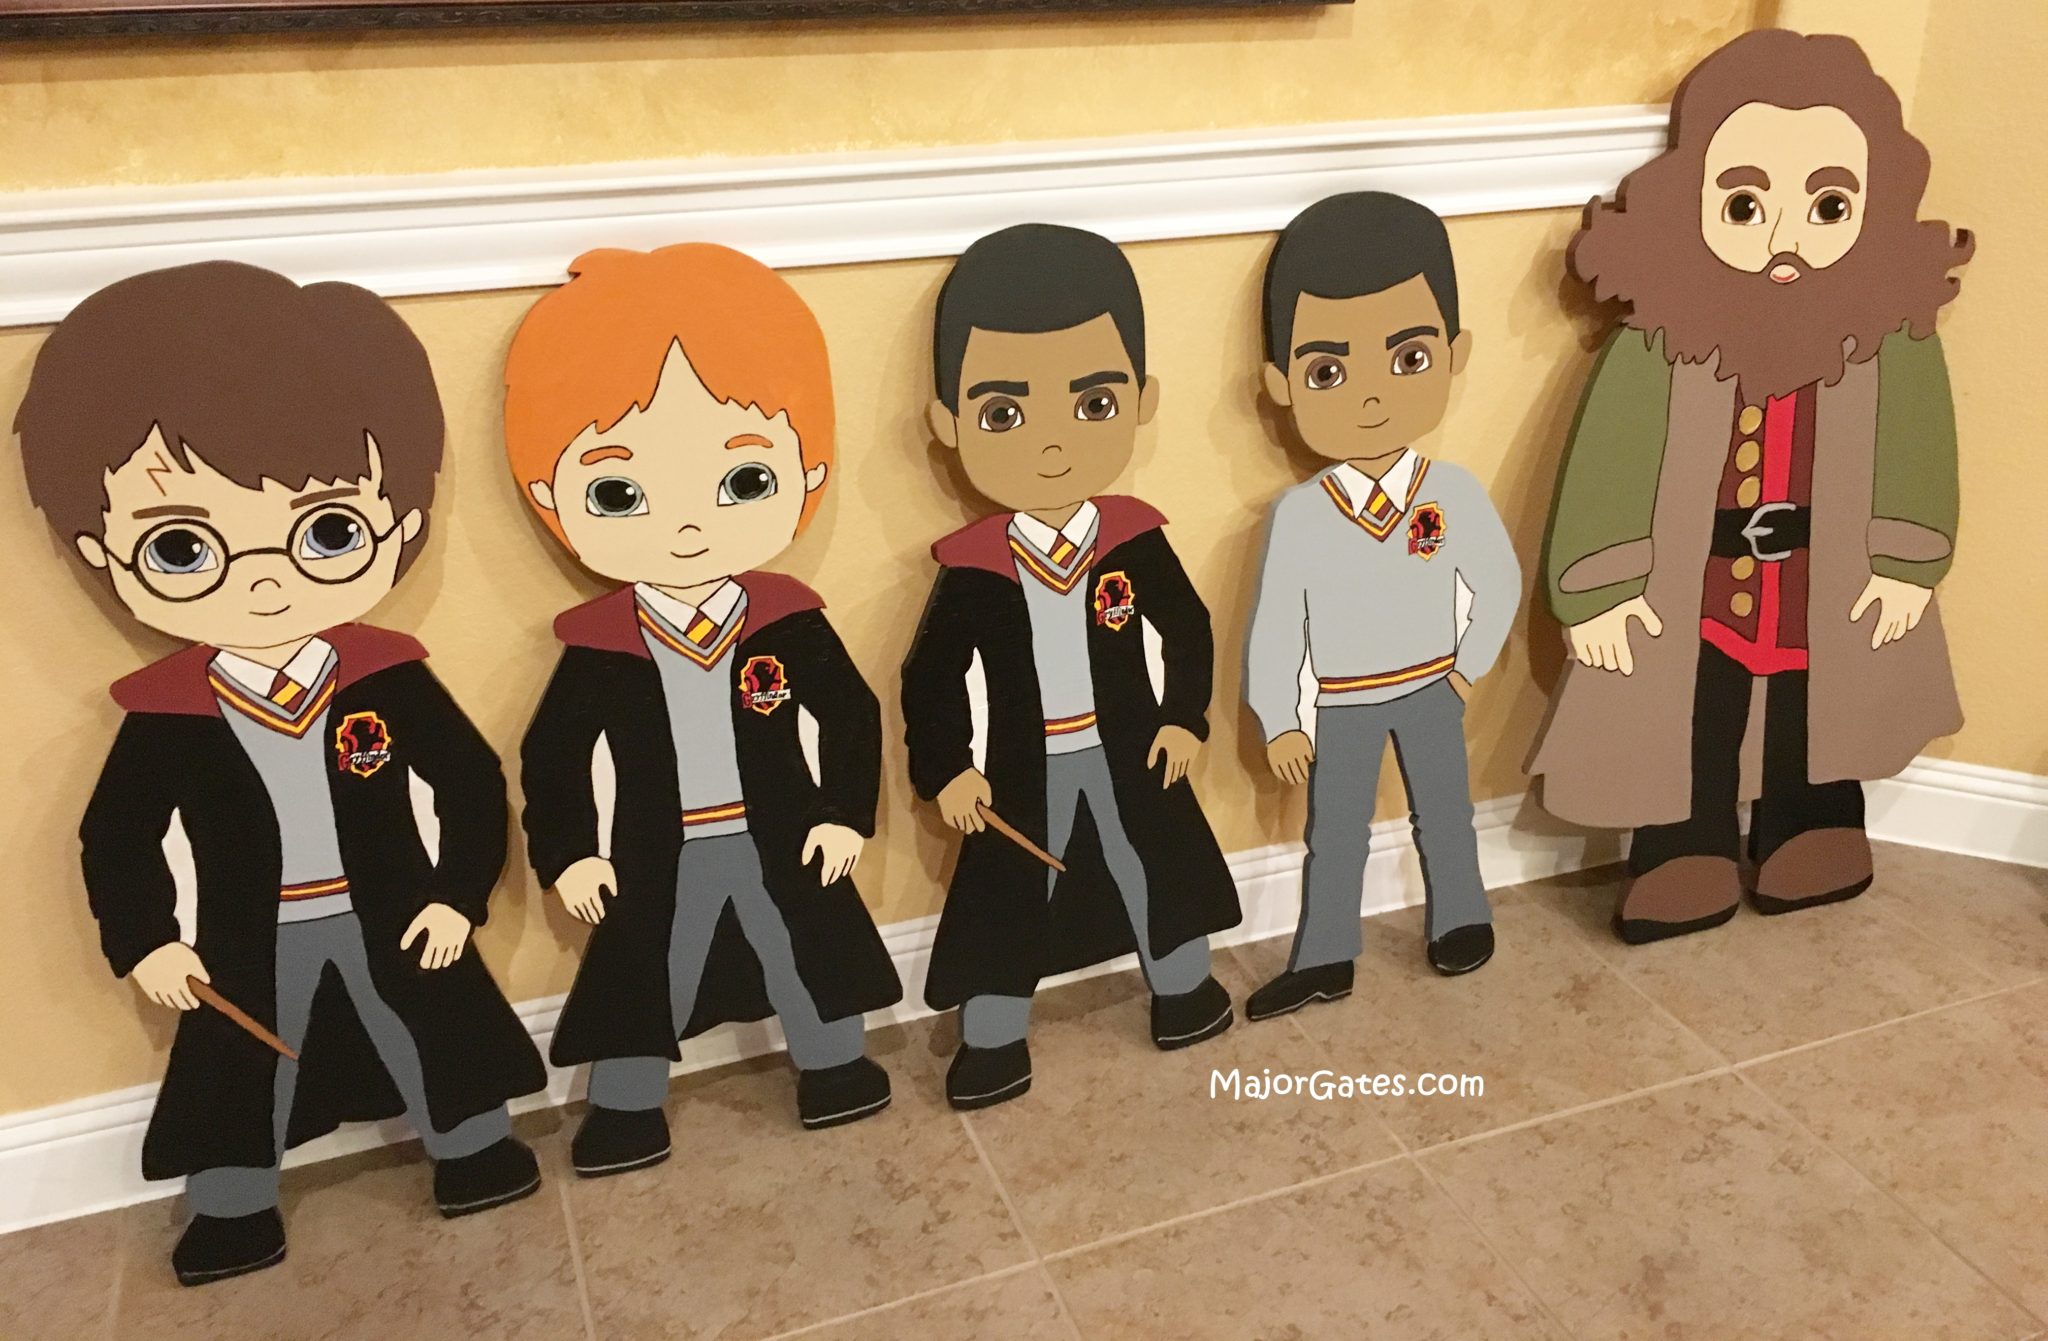
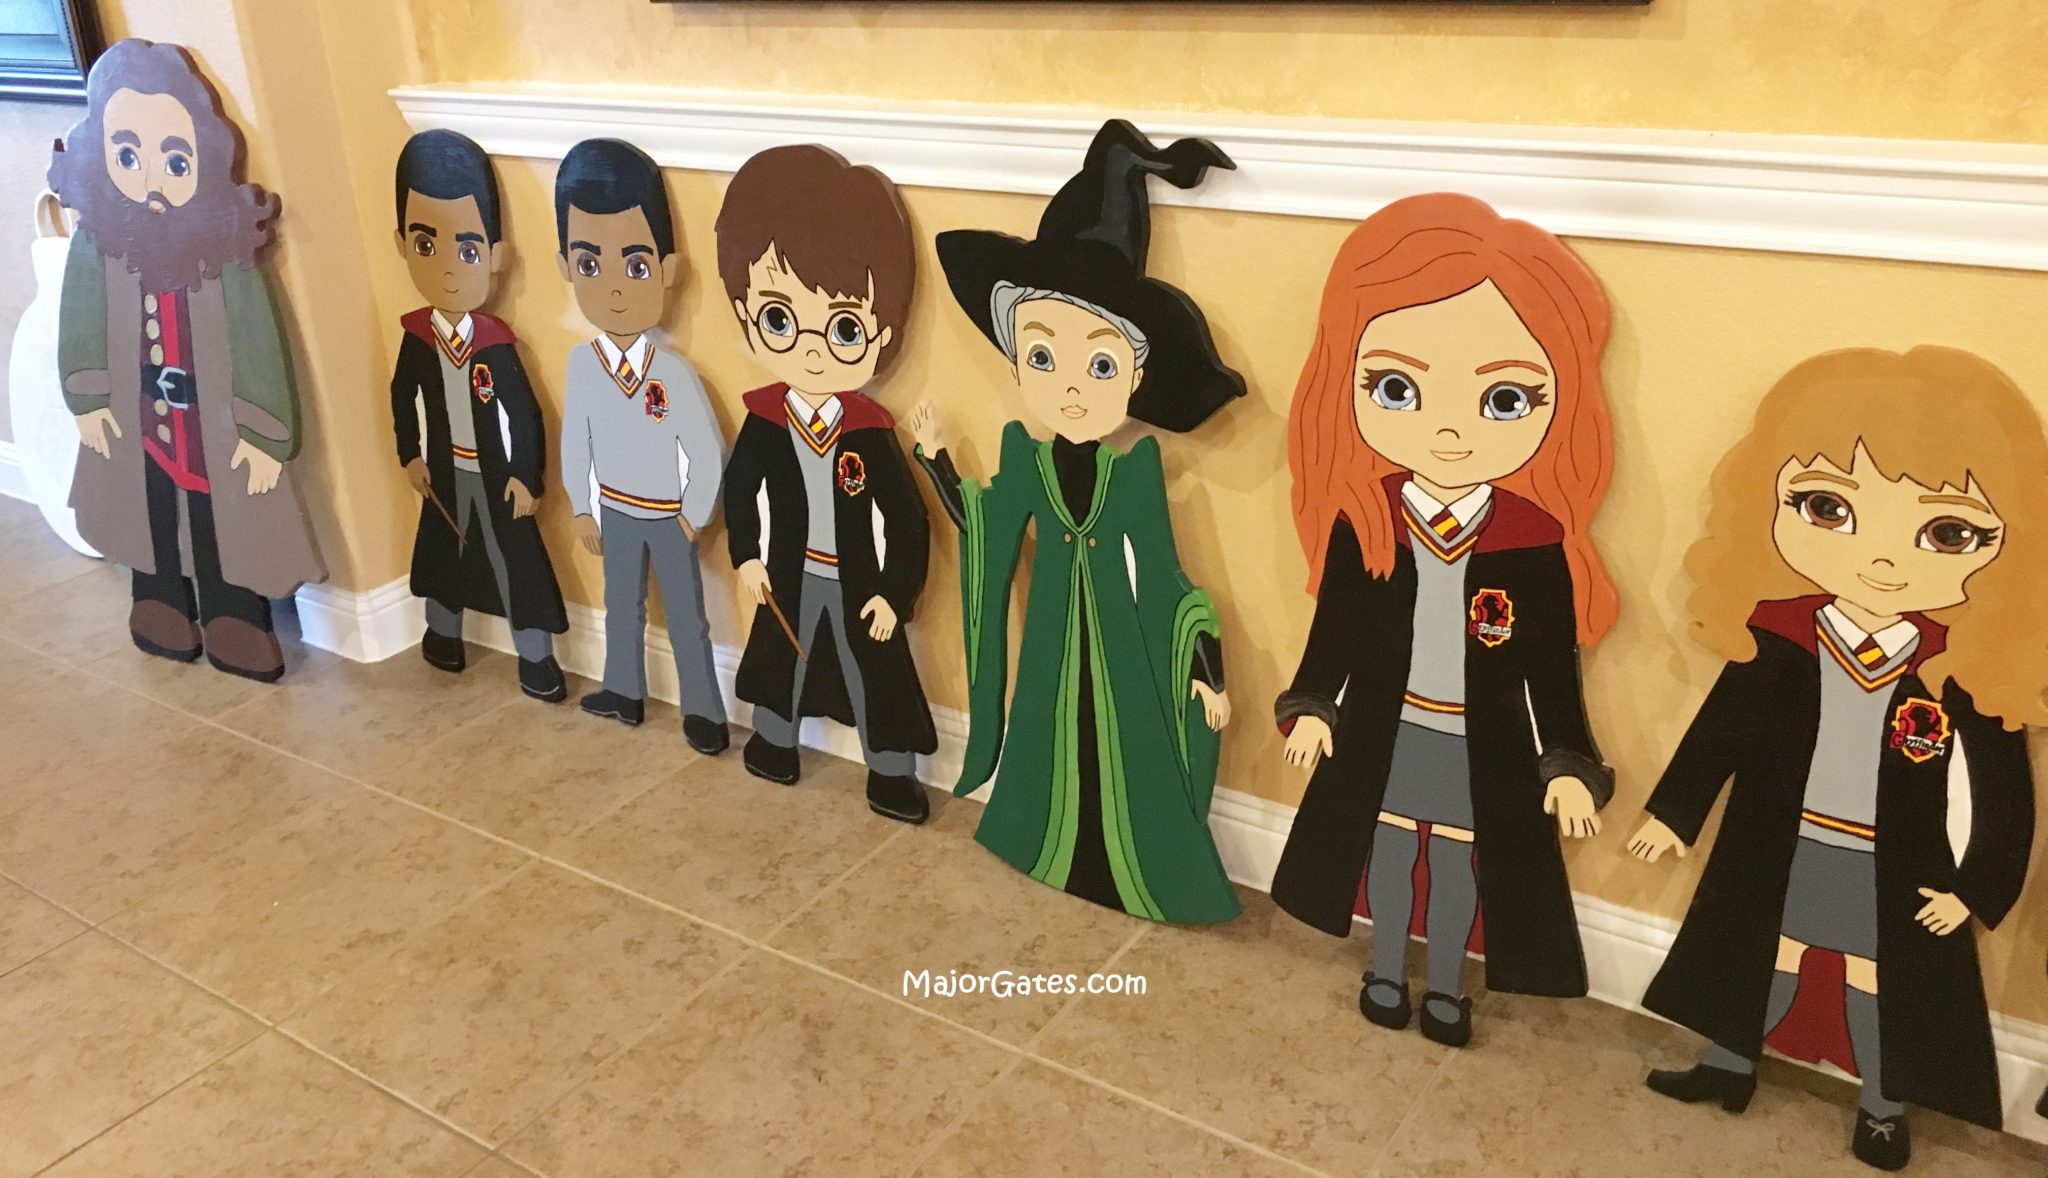
- Allow to dry at minimum 48 hours and seal before the 4th day the painting is completed. If you do not seal in the recommended time frame, the paint will chip off over the winter.

Contact me if you have any questions or need help.
For Harry Potter Christmas ideas inside, learn how to make Potion Bottle Ornaments here: https://majorgates.com/do-it-yourself/harry-potter-potion-bottle-ornaments/
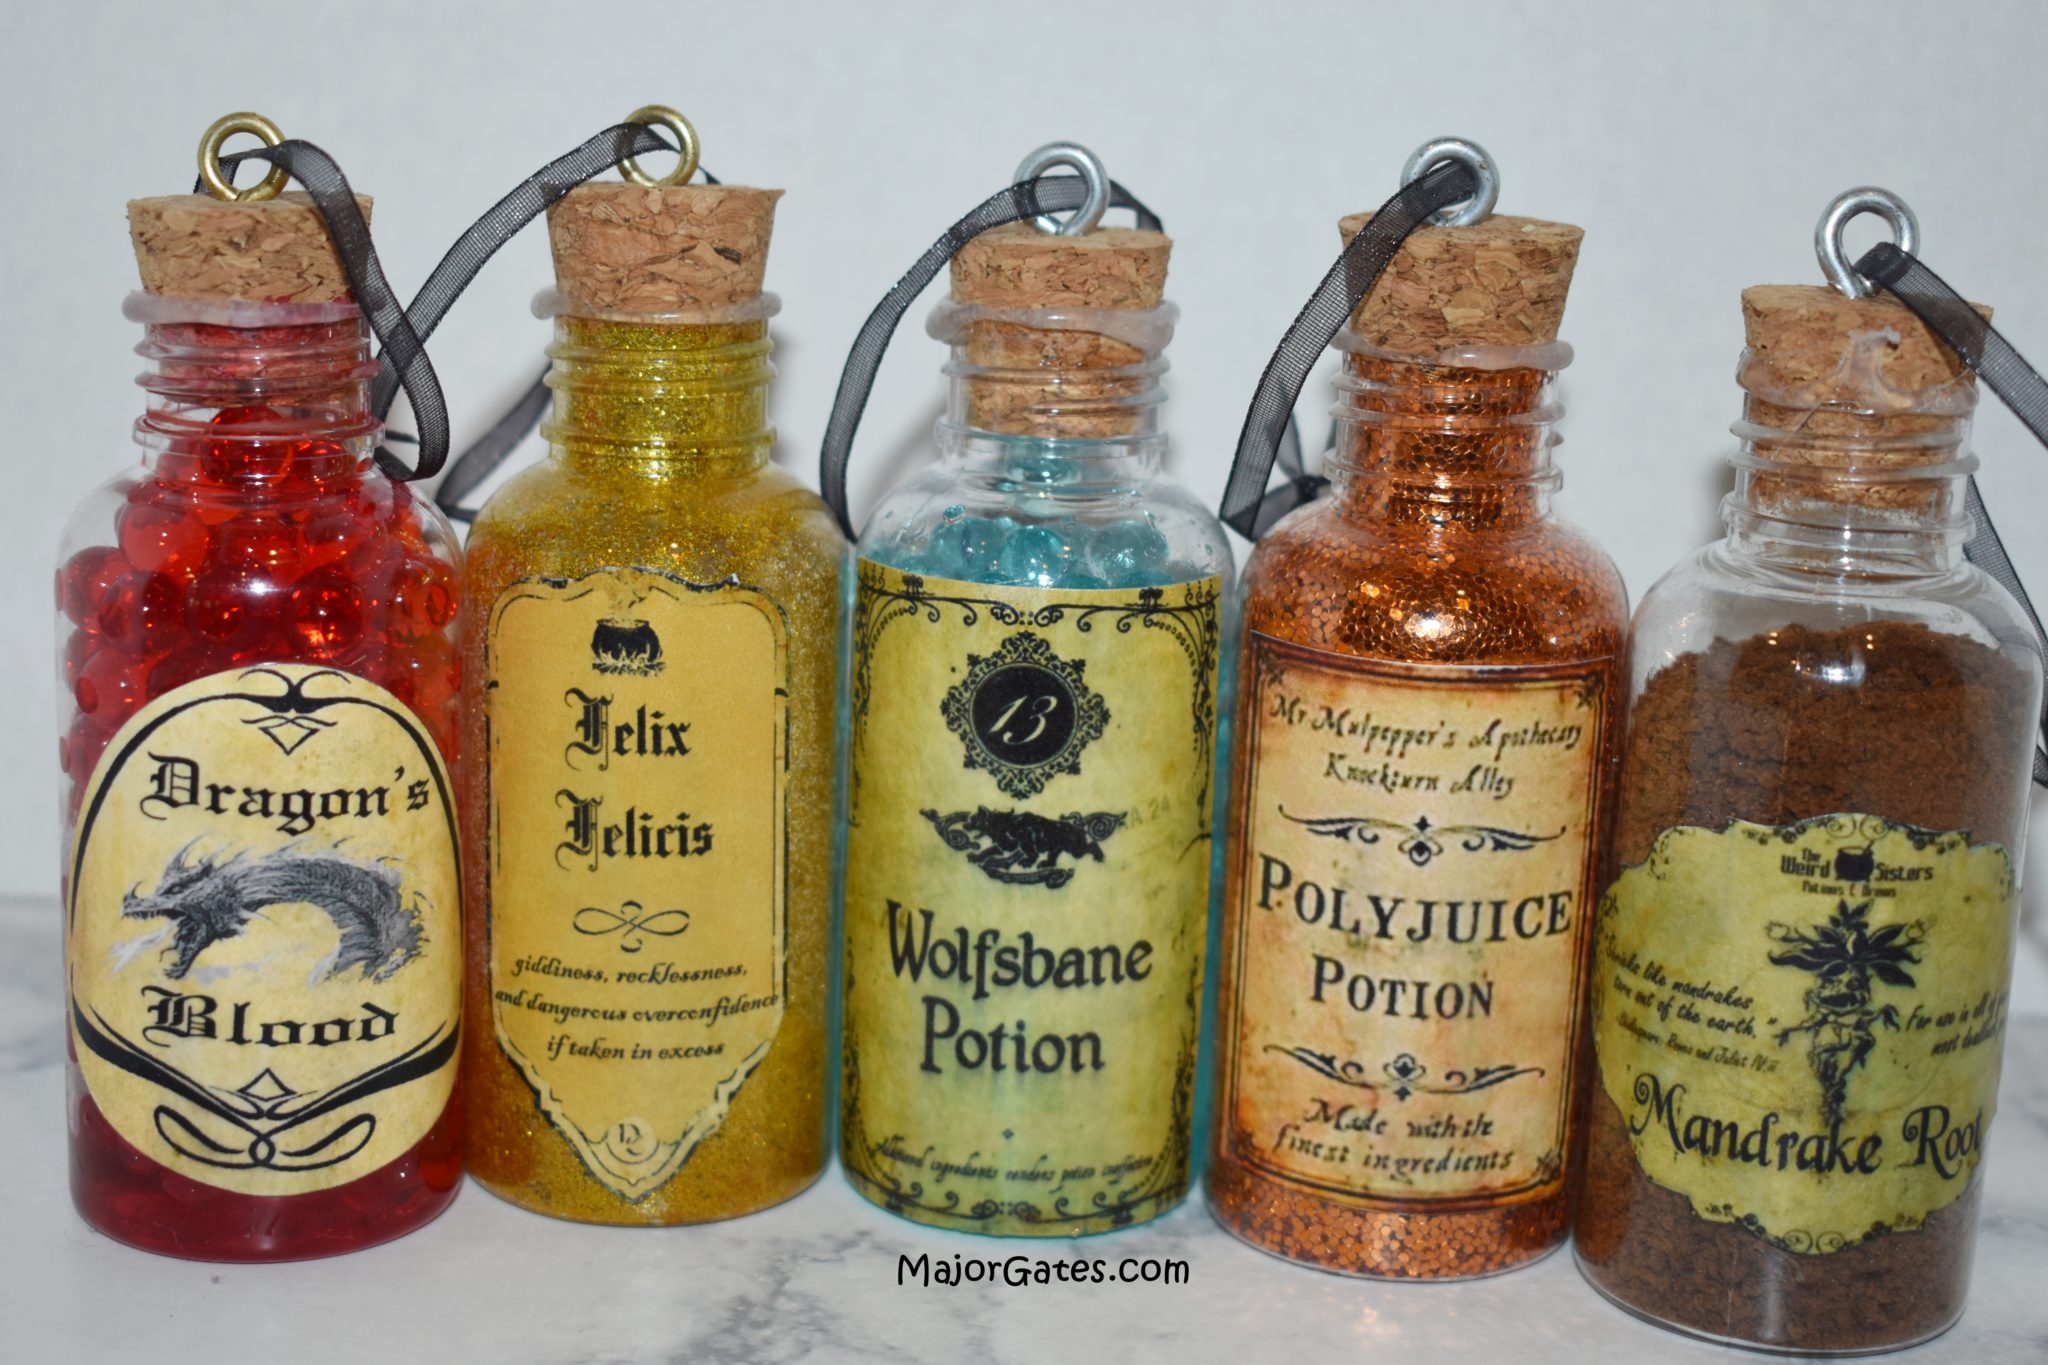
To see my available Potion/Apothecary Bottle Label Party Downloads, click here: https://majorgates.com/product-category/potion-apothecary-labels/
