Peppermint Sugar Scrub
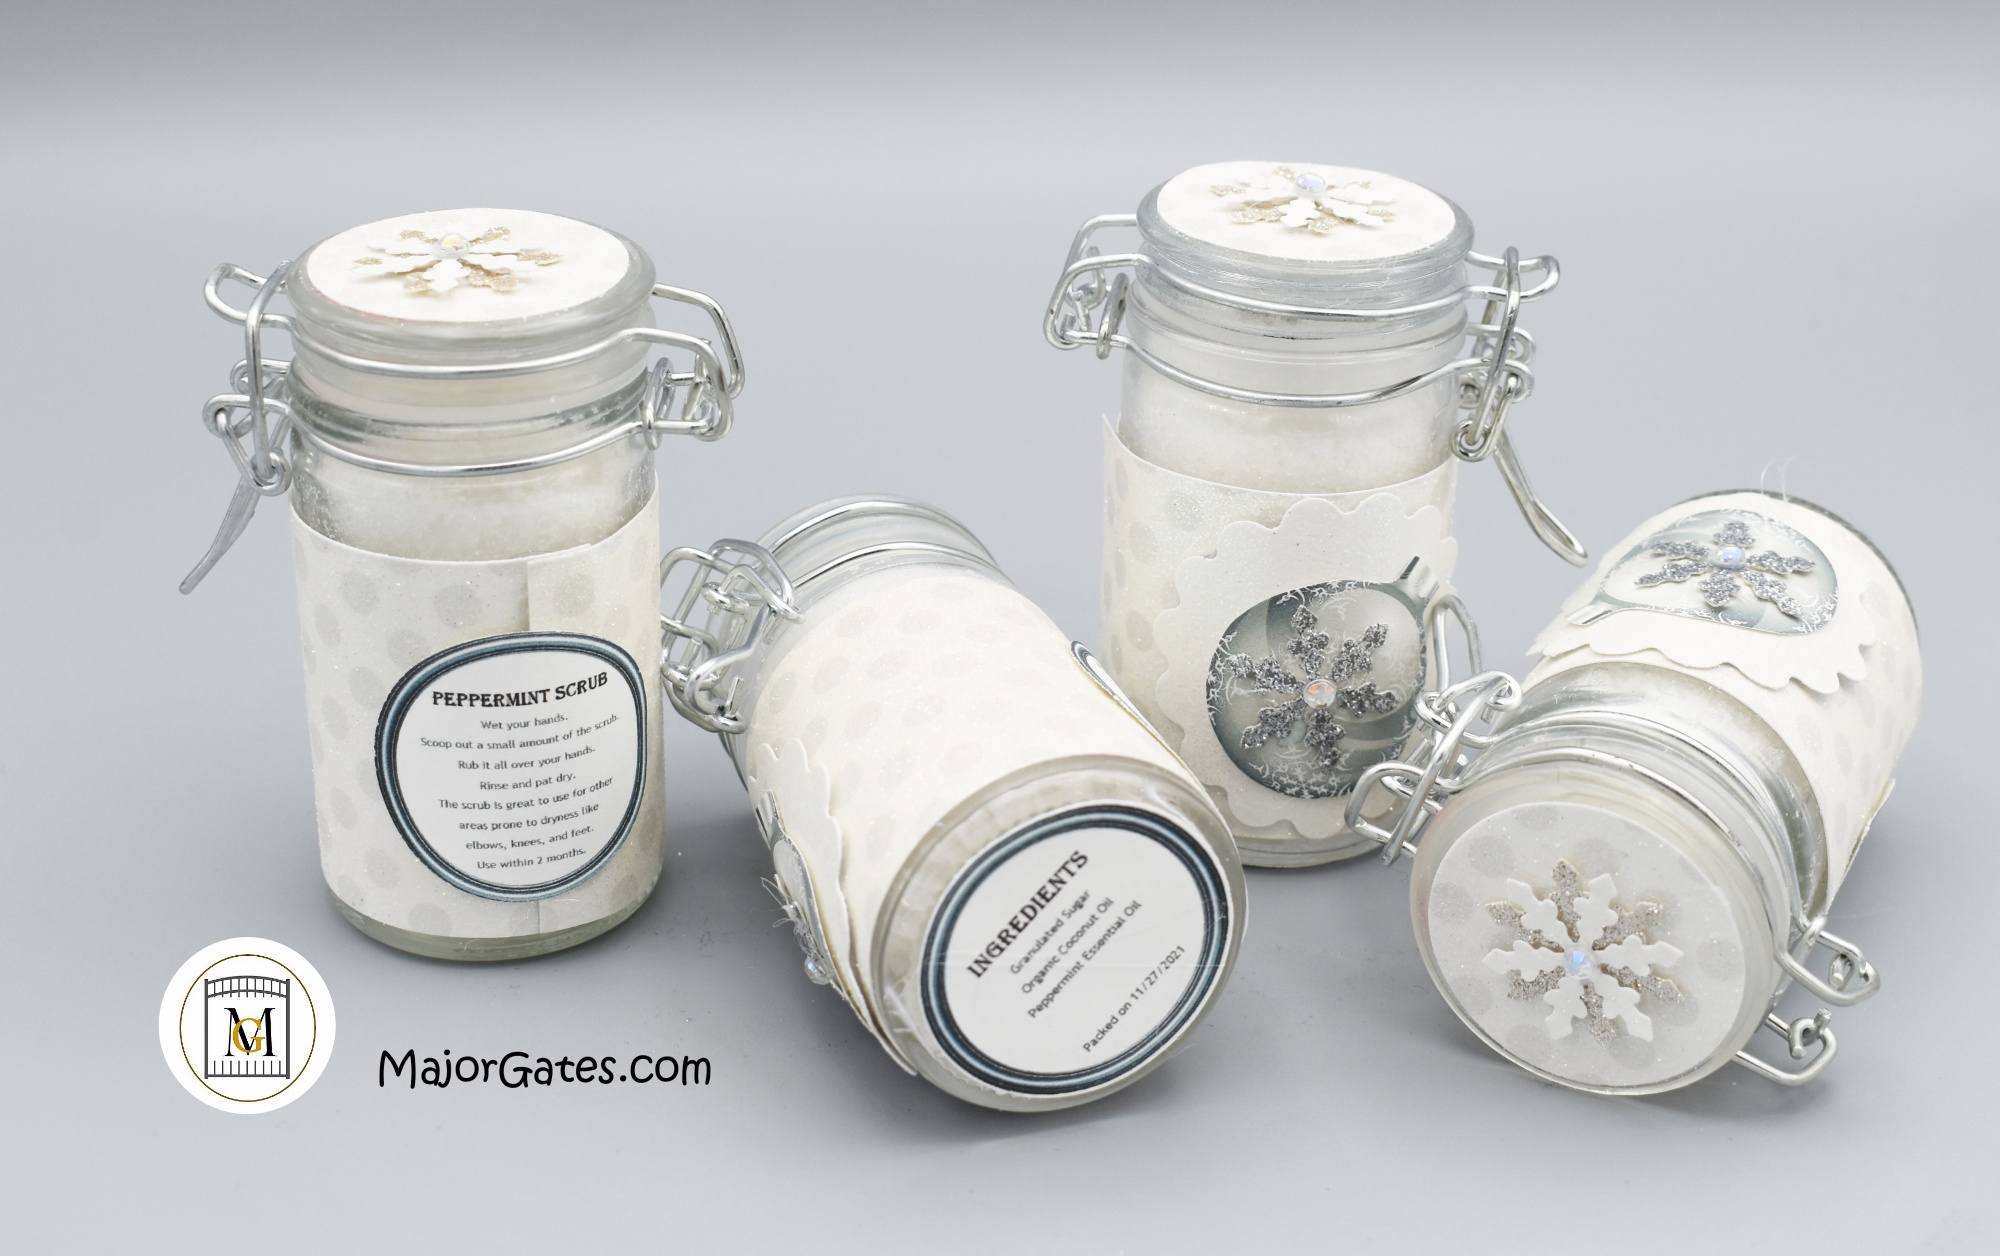
Peppermint Sugar Scrub feels so good on the skin and also smells fantastic. It leaves the feeling of a fresh perk, no matter where you use it. I like to apply it to my face for a soft refreshing glow.
This sugar scrub is so easy to make and only uses a few ingredients that I love. So you basically just mix everything together and put in an air tight jar. Then I like to give these out as party favors or gifts. The scent can vary based on the essential oil you use. Also, you can add food coloring to tint the sugar scrub to match any theme or preference.
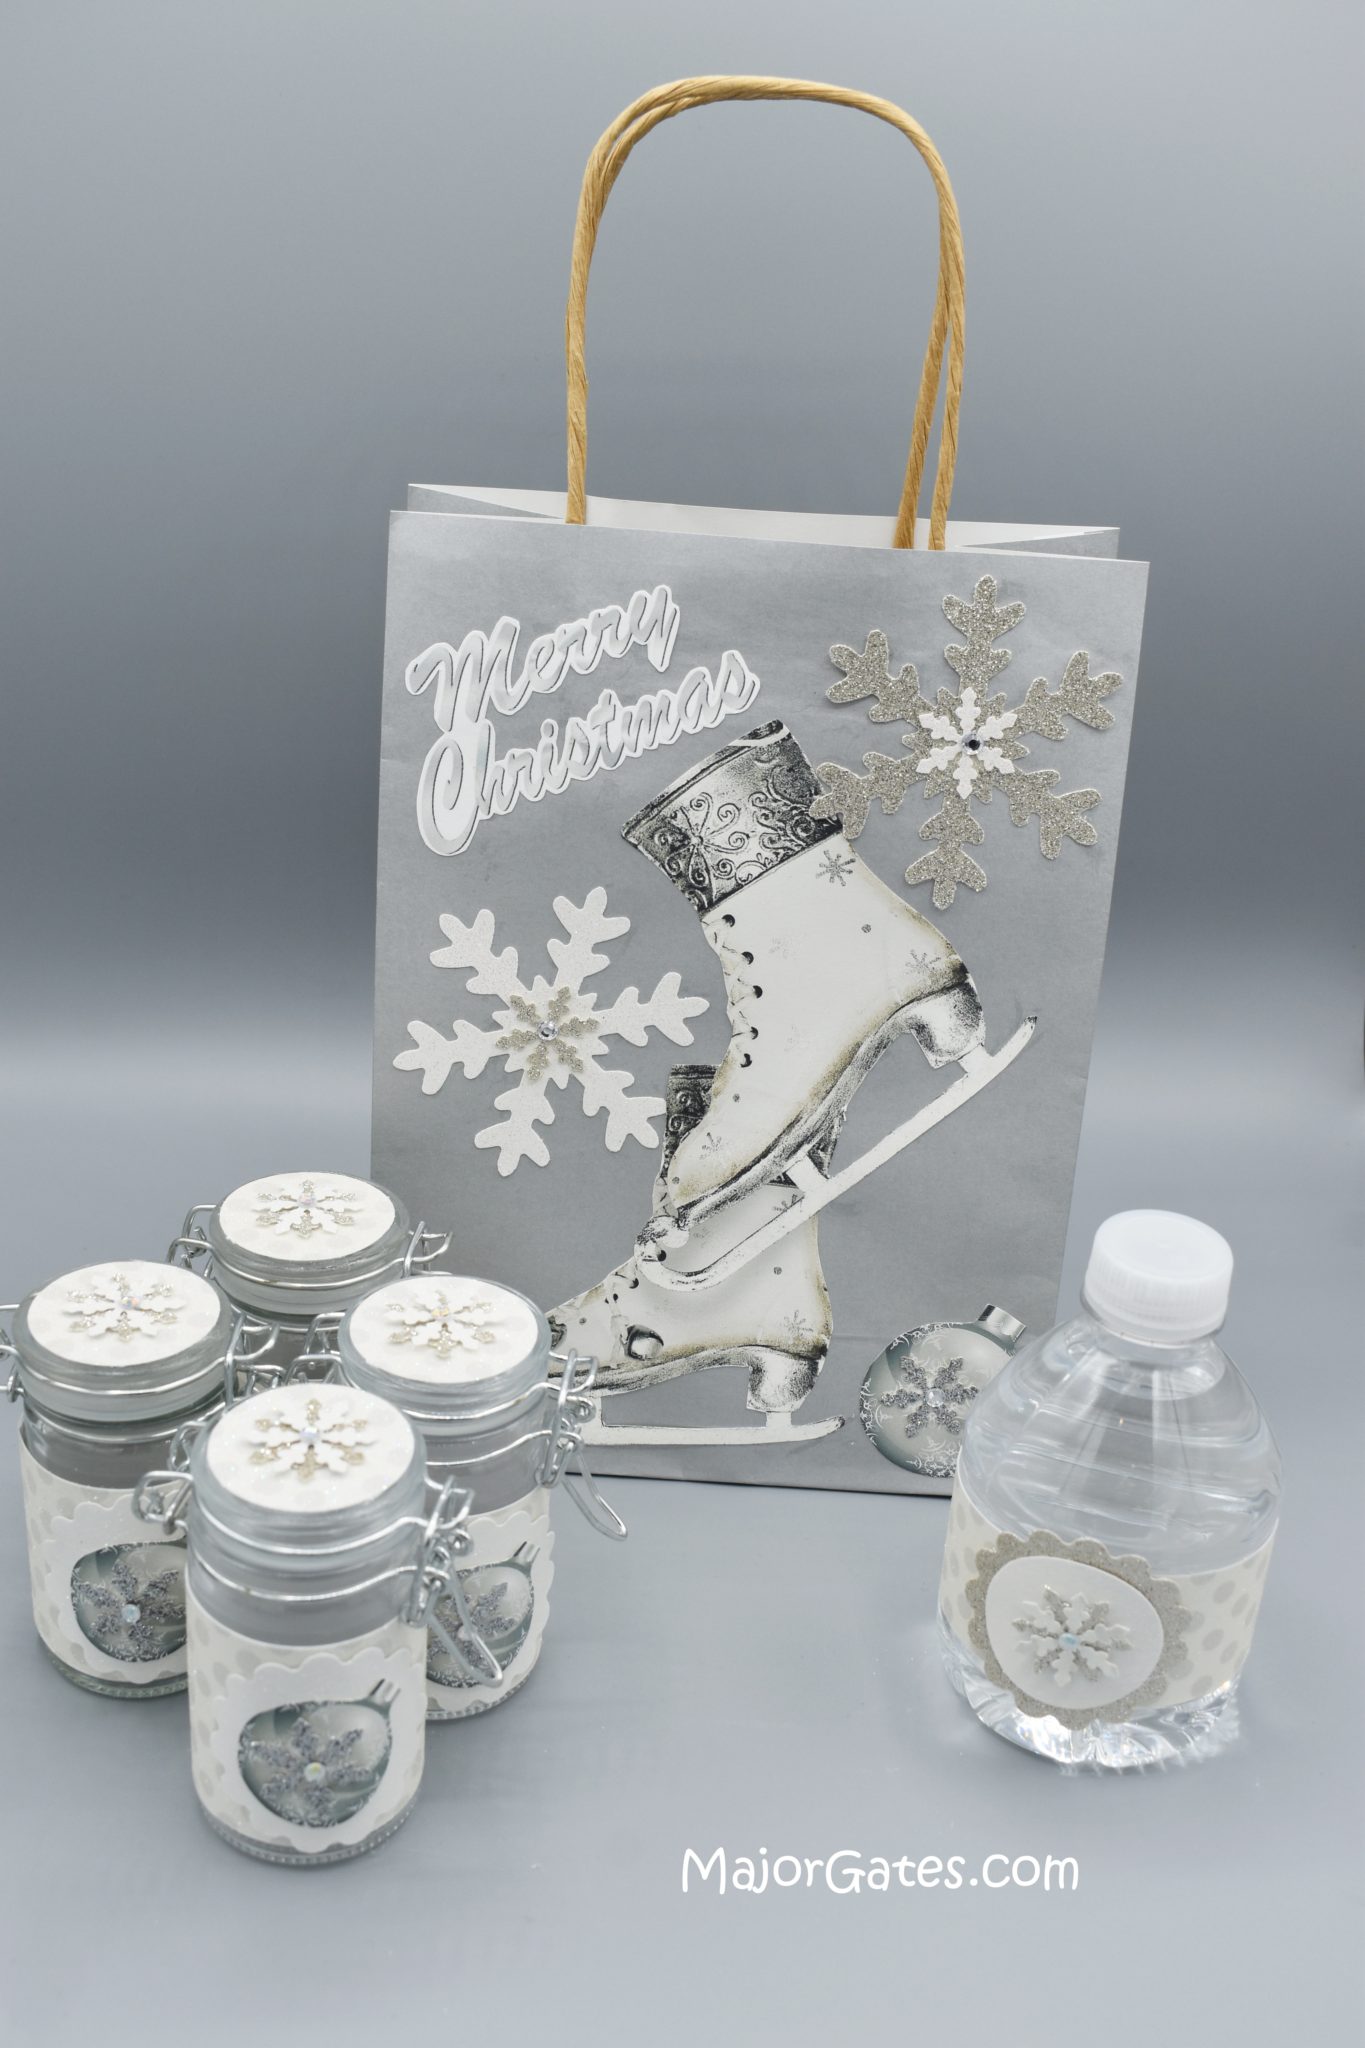
In this post, I also share how I decorated the air tight jar for the peppermint sugar scrub. This time, I made jars to accompany a Winter Wonderland theme. But you can decorate your jars to match any theme, so be creative!
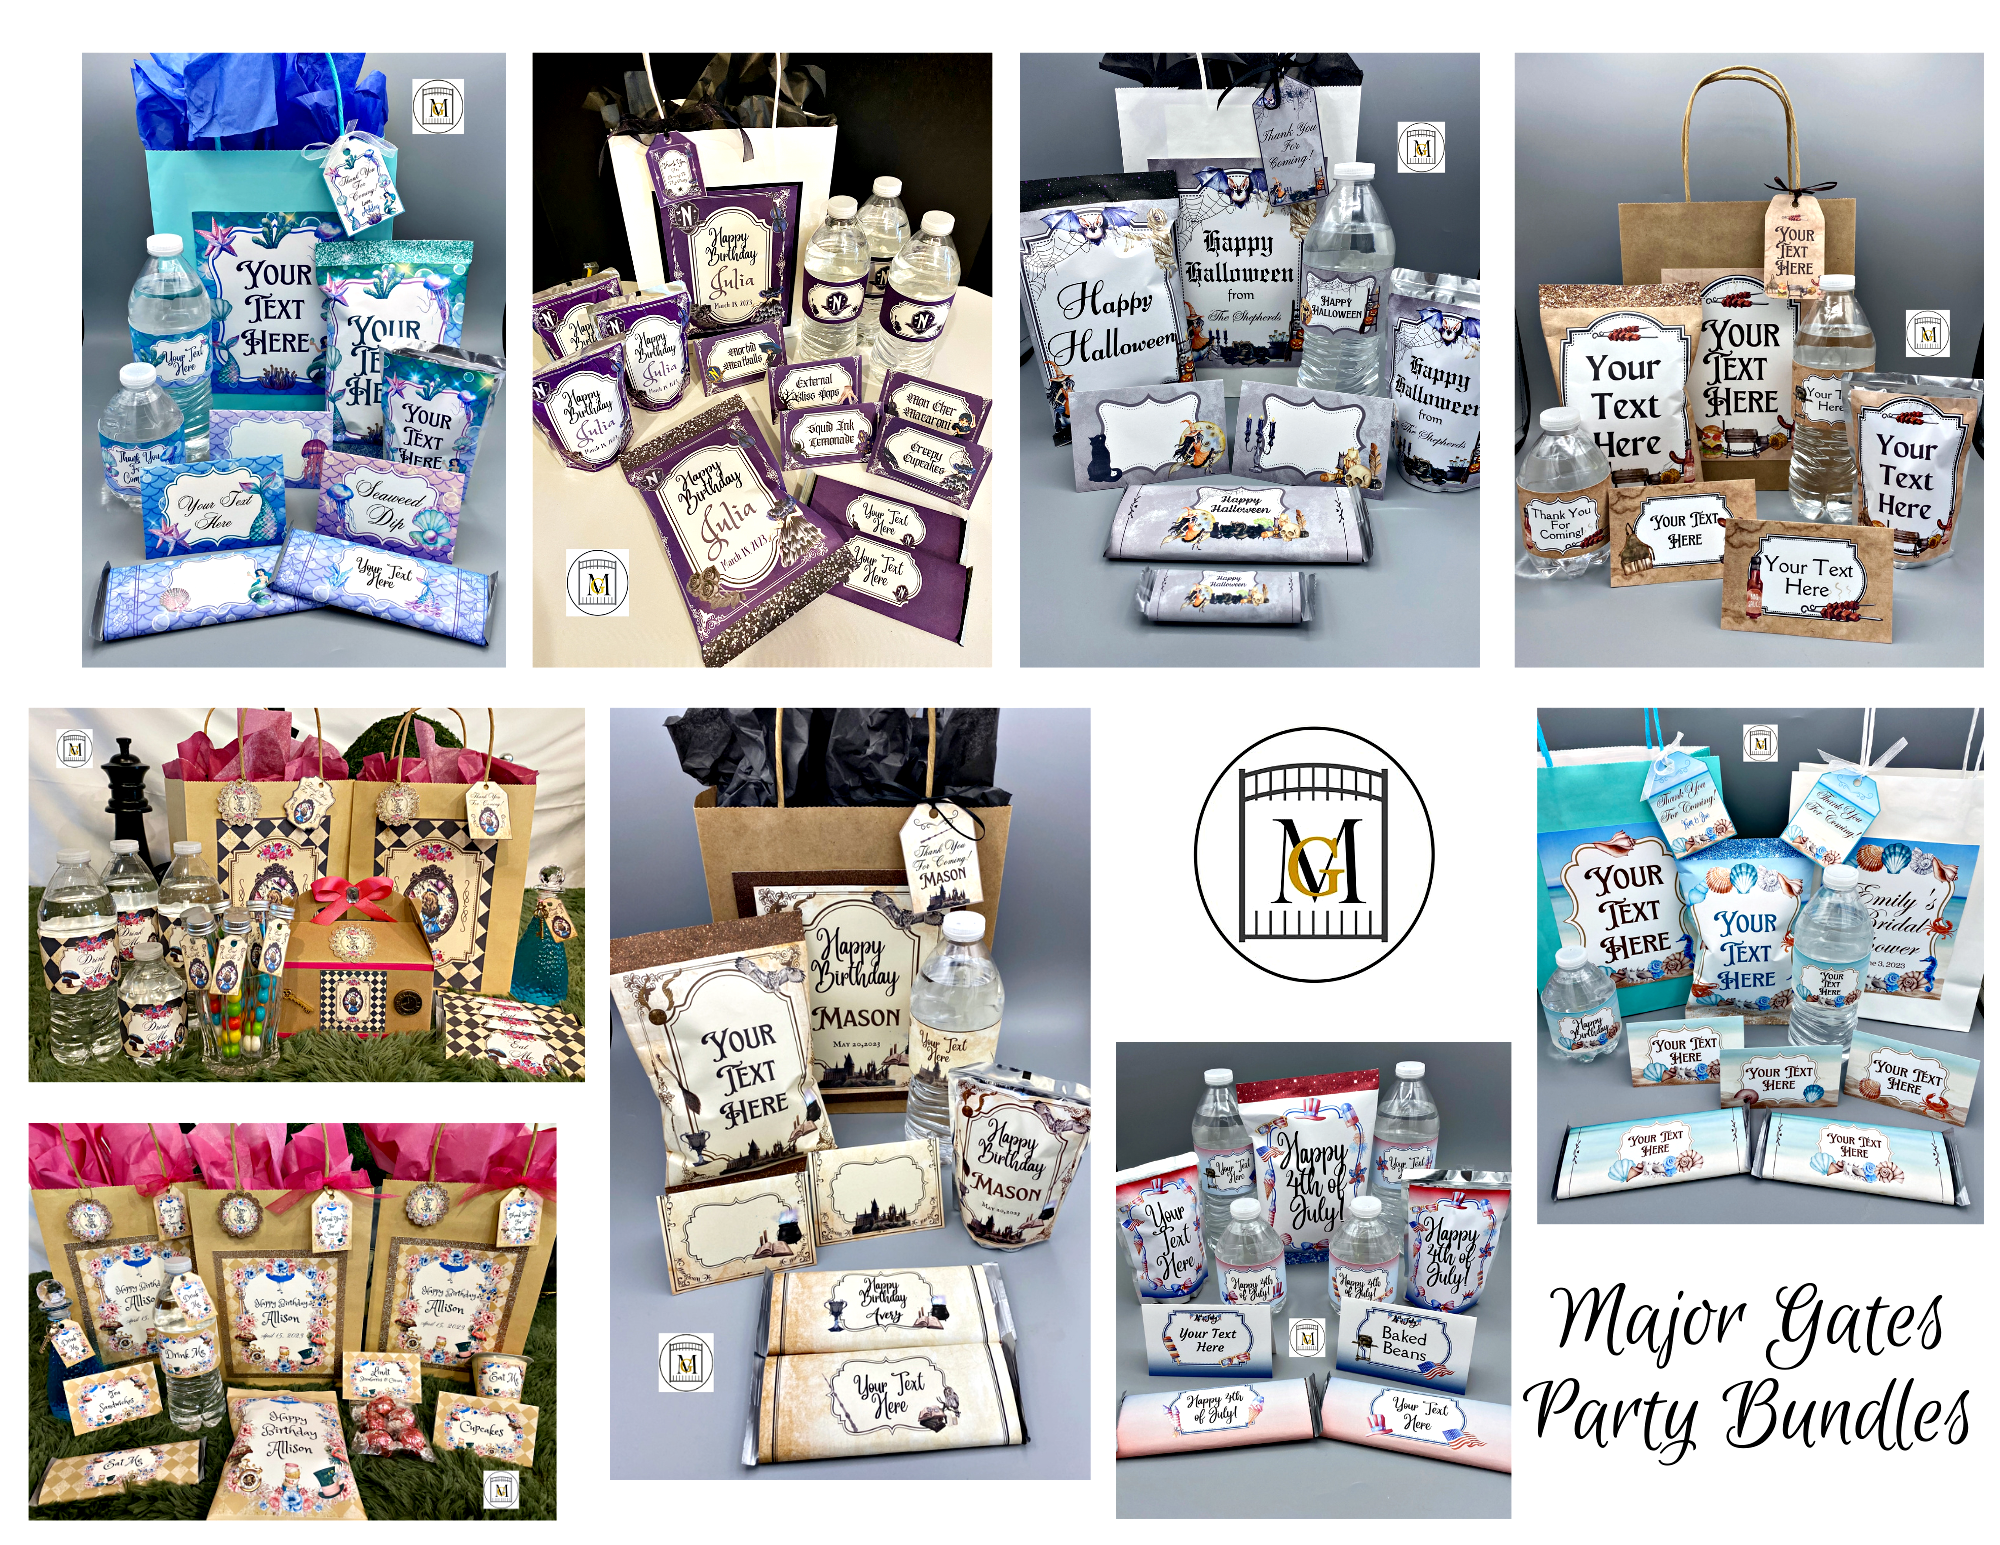
To see my available Party Label Bundle Downloads, click here: https://majorgates.com/product-category/party-bundles/
Don’t Forget To Follow Me On Pinterest!
For more DIY and Craft ideas, visit my craft section here: https://majorgates.com/category/do-it-yourself/
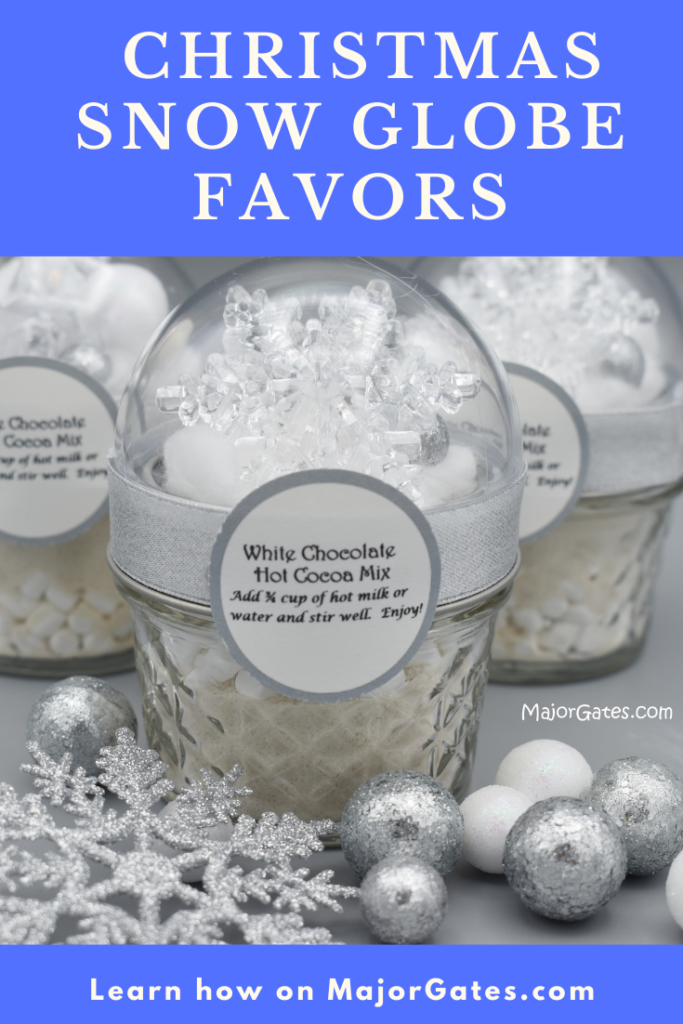
For another great craft idea, try making Snow Globe Favors here: https://majorgates.com/do-it-yourself/snow-globe-favors/
To see my available 2-Liter/Wine Party Label Downloads, click here: https://majorgates.com/product-category/potion-apothecary-labels/
Supplies
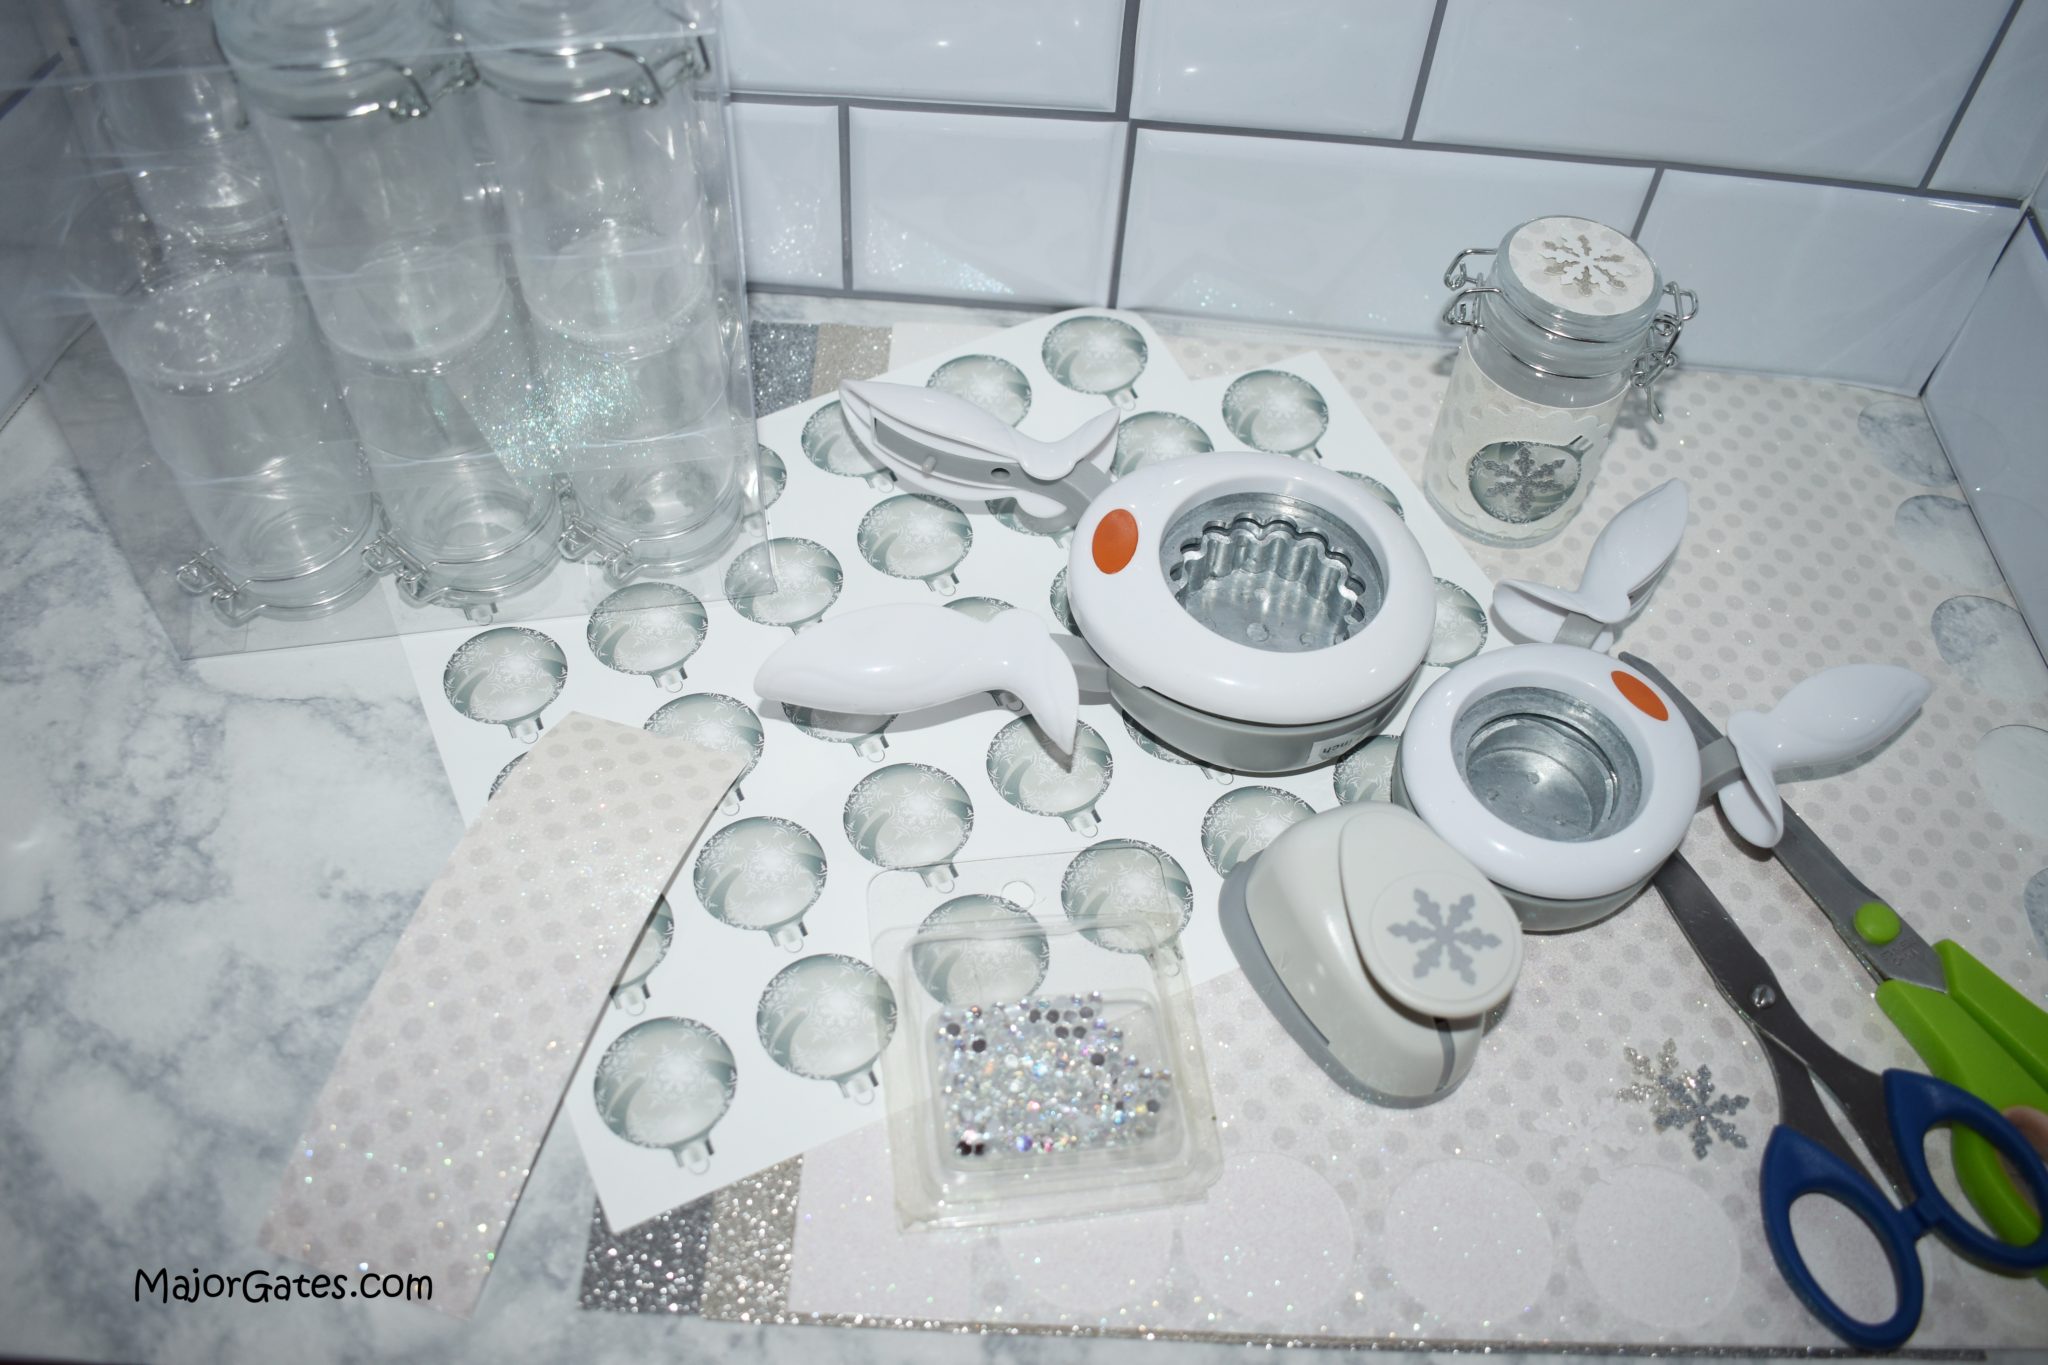
- 2.37 – 4 ounce Air Tight Jars
- Craft Punches – 1.5 in Circle, 2 in Scallop, snowflake or theme craft punch to match your theme
- Scoring board and paper folding tool
- Scissors
- Multi-temperature mini glue gun and glue sticks
- 12 x 12 crafting card stock in the pattern of your choice. Try your local craft store as well for options.
- Regular 65 lb white card stock
- Color printer
- Self-sticking flat backed gems (optional)
Scrub Ingredients
-
- 2 cups of Regular Granulated Sugar
- 1/2 cup of Organic Coconut Oil
- 15-20 drops of Peppermint Essential Oil or essential oil of your choice
Directions For Peppermint Sugar Scrub
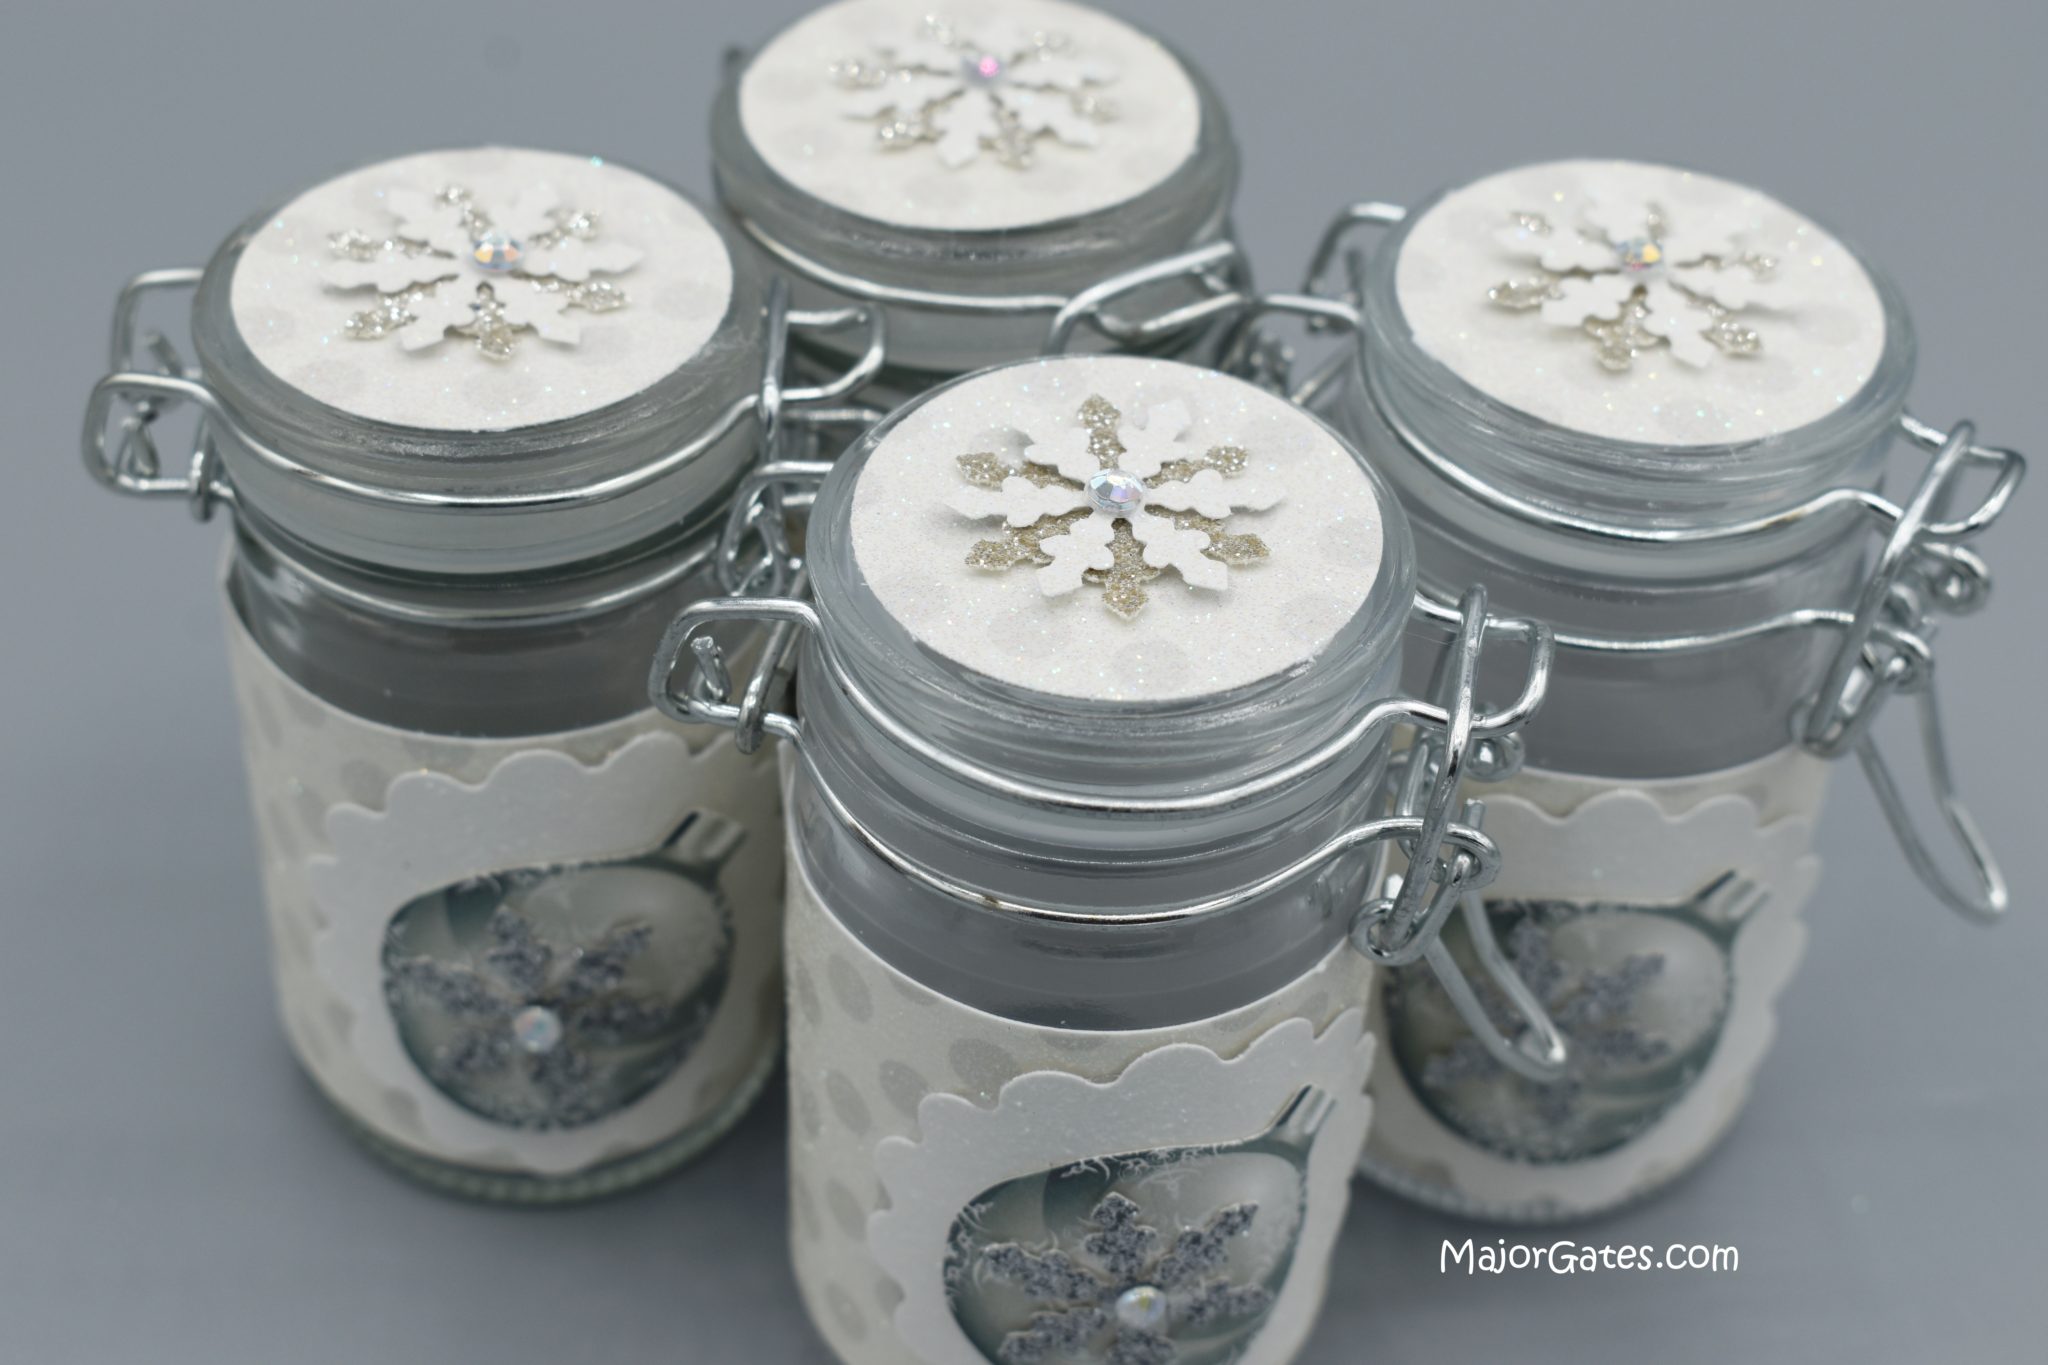
- Decorate the outside of the air tight jars. For this winter wonderland theme, I used polka dot white glitter card stock. For the jars, I used 2.37 ounce. So, I cut the card stock 6 inches long by 2 inches wide, using a paper folding tool and a scoring board.

- So you are measuring the size of your jar, and then cutting the card stock to fit the air tight jar.
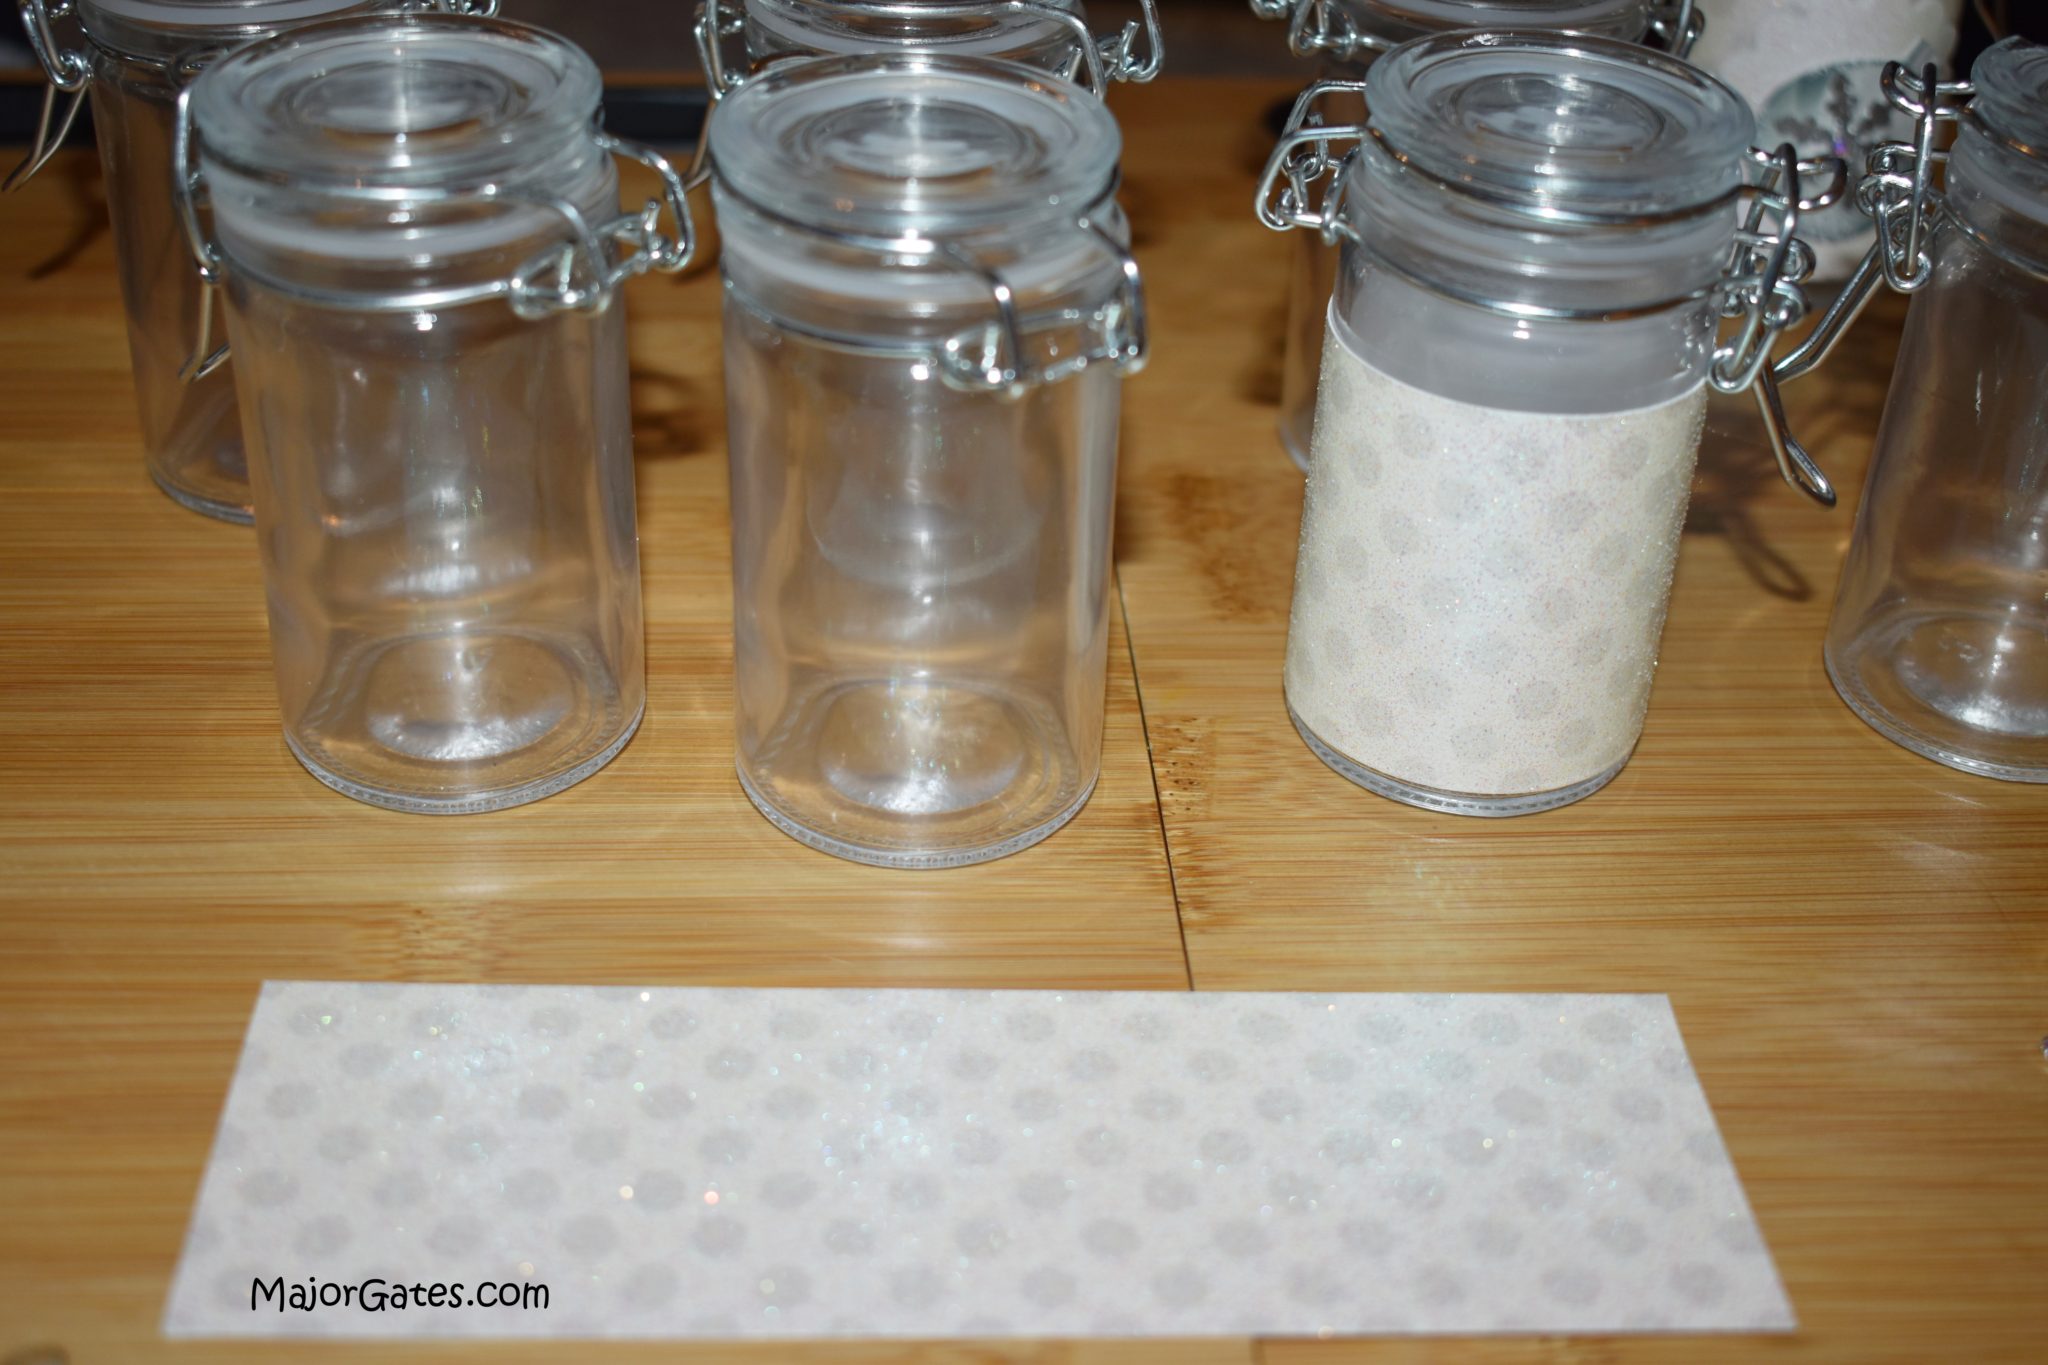
- Then apply a line of hot glue on one end of the cut strip and secured it to the jar. Next, apply a thin line on the opposite side of the strip, after wrapping it around the jar.

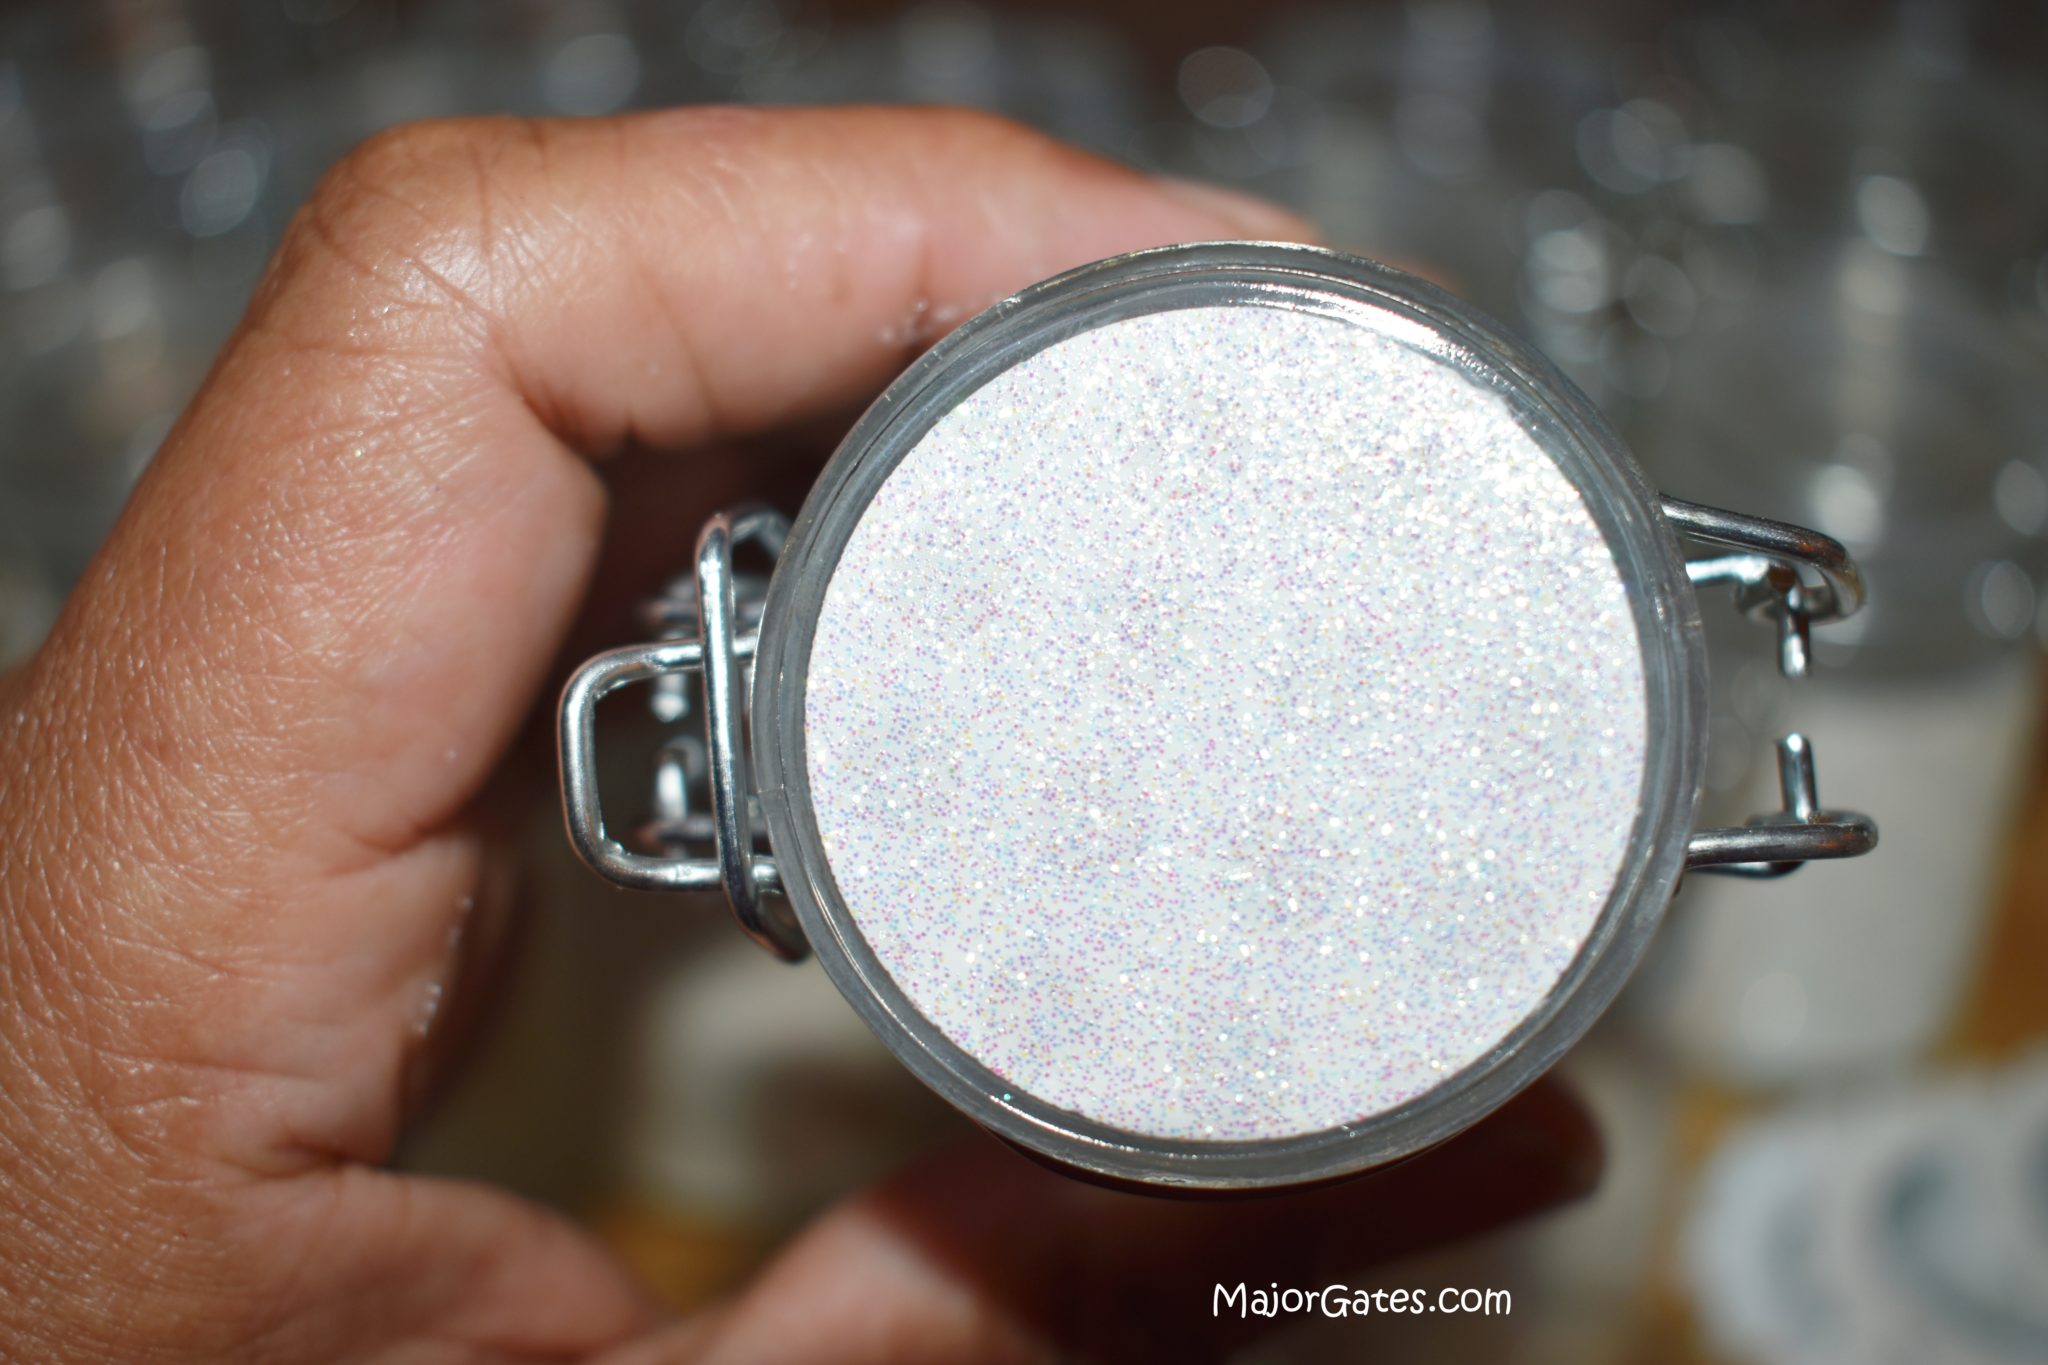
- Now, cut out circles for the top of the jar using the 1.5 inch circle craft punch. Then secure to the top of the jar with a circle of hot glue.
- Use the scallop punch to punch out the base to the decorative labels on glitter card stock.

- Then print out the image on regular white card stock to affix to the scallop. I printed 1 1/4 inch bulbs (7 rows x 5 columns). So I found the image by doing an internet search. Then I hand cut out each bulb with sharp scissors.
NOTE: Any image that you find on the internet is for personal use. If you plan to sell items with images, you need to get the permission of the image owner or only use images that are posted that they are free to use.
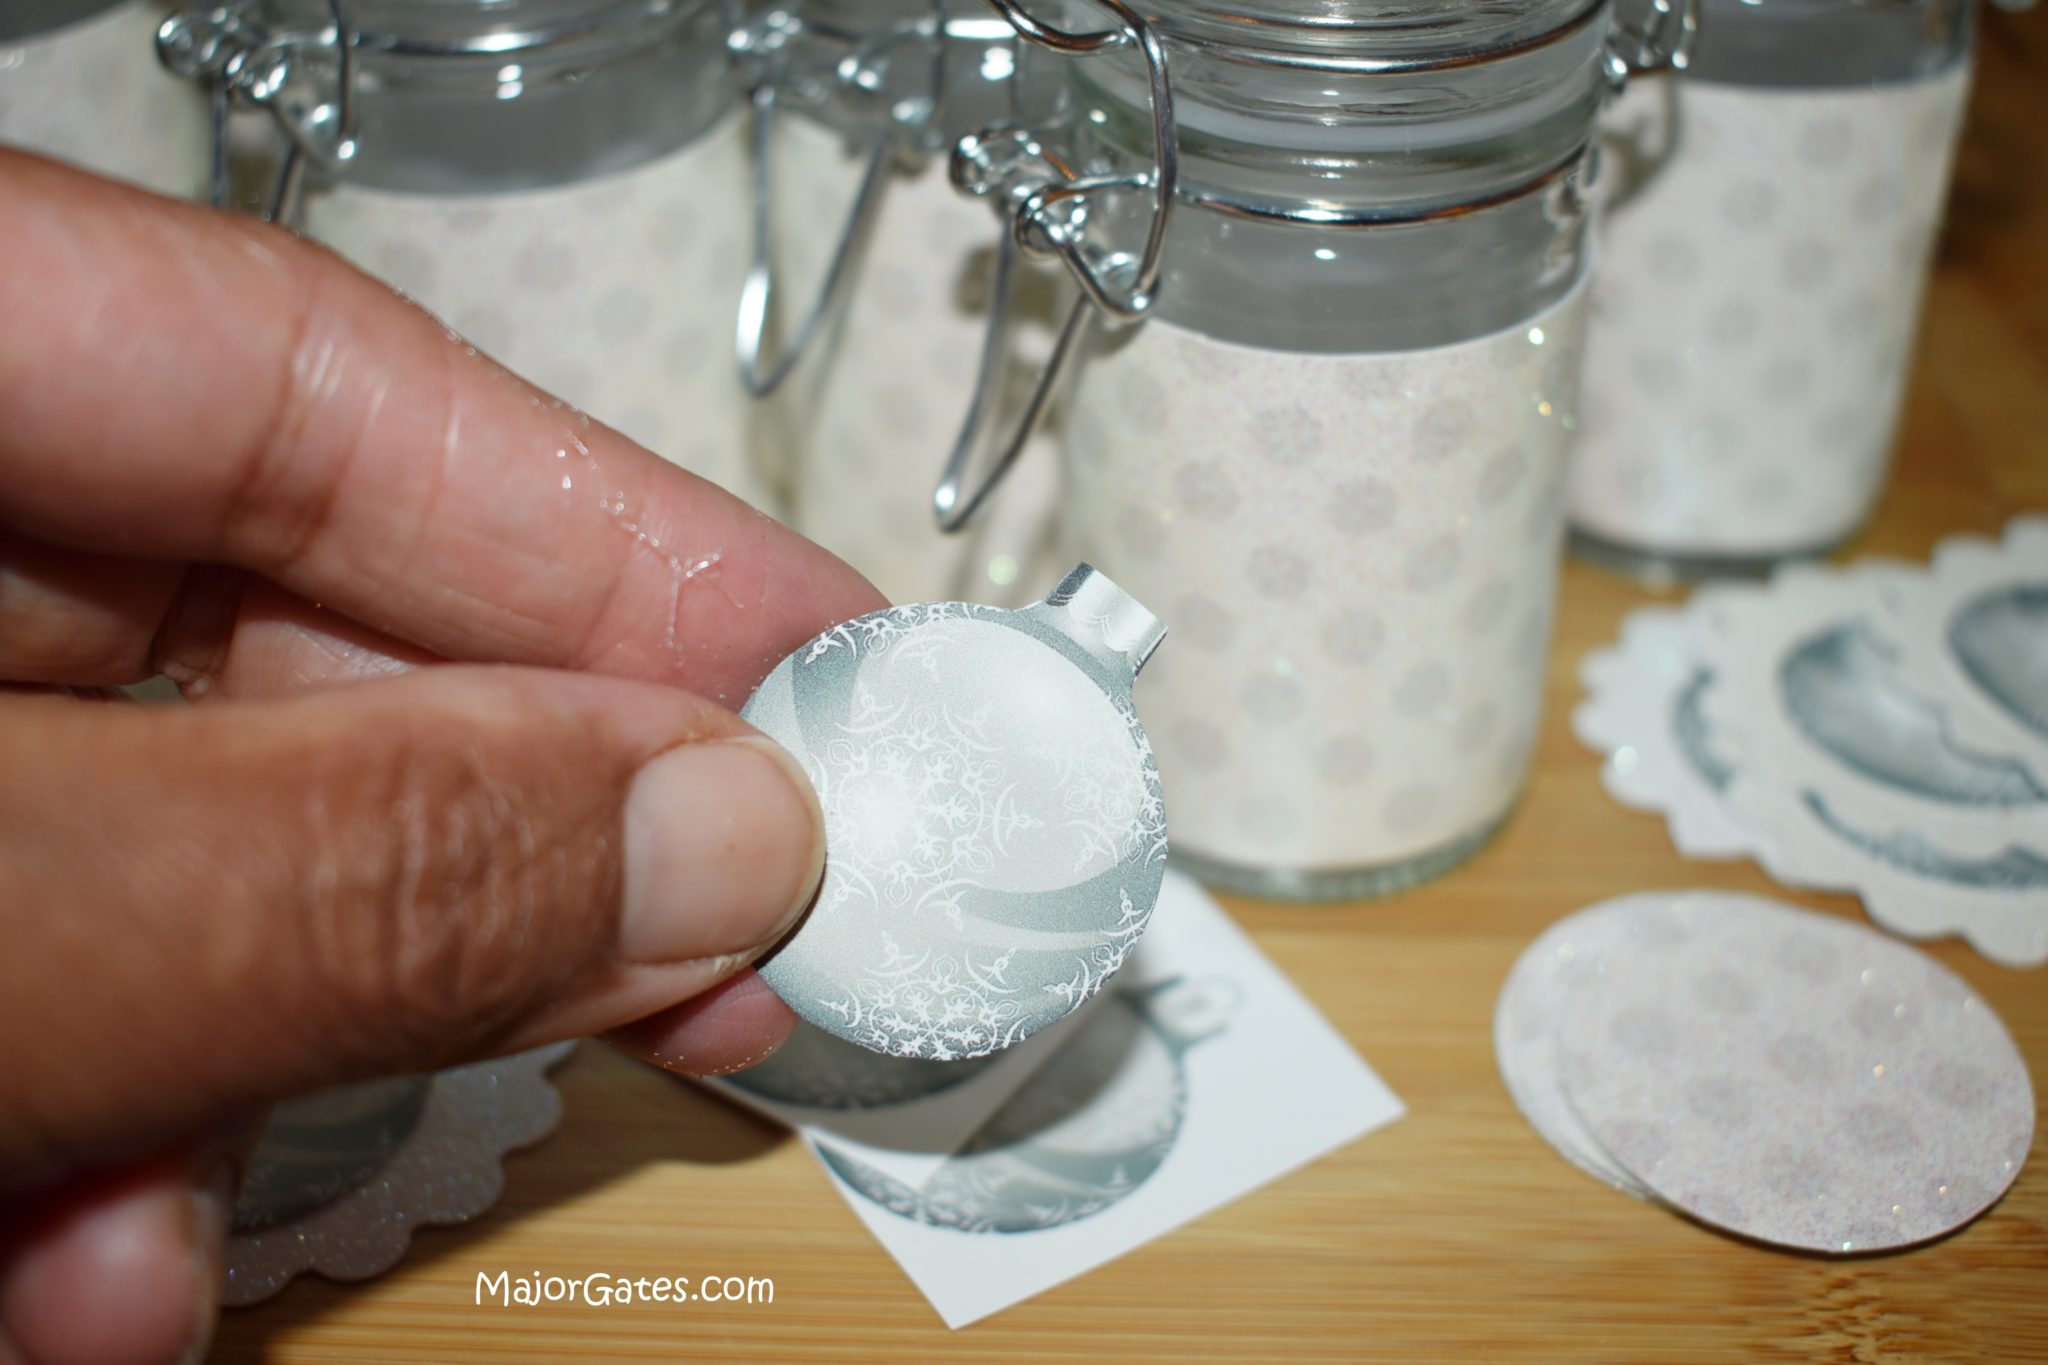
- Next, glue the image to the scallop punch out and then glue to the jar.

- Then add any extra embellishments to the jar. So I used the snowflake craft punch and punched multiple correlating colors of card stock to have different snowflakes. Next, I combined two different color snowflakes and glued them to the top. Then I glued one silver snowflake to the bulb on the side of the jar.

- Then I topped off the snowflakes with a gem embellishment.
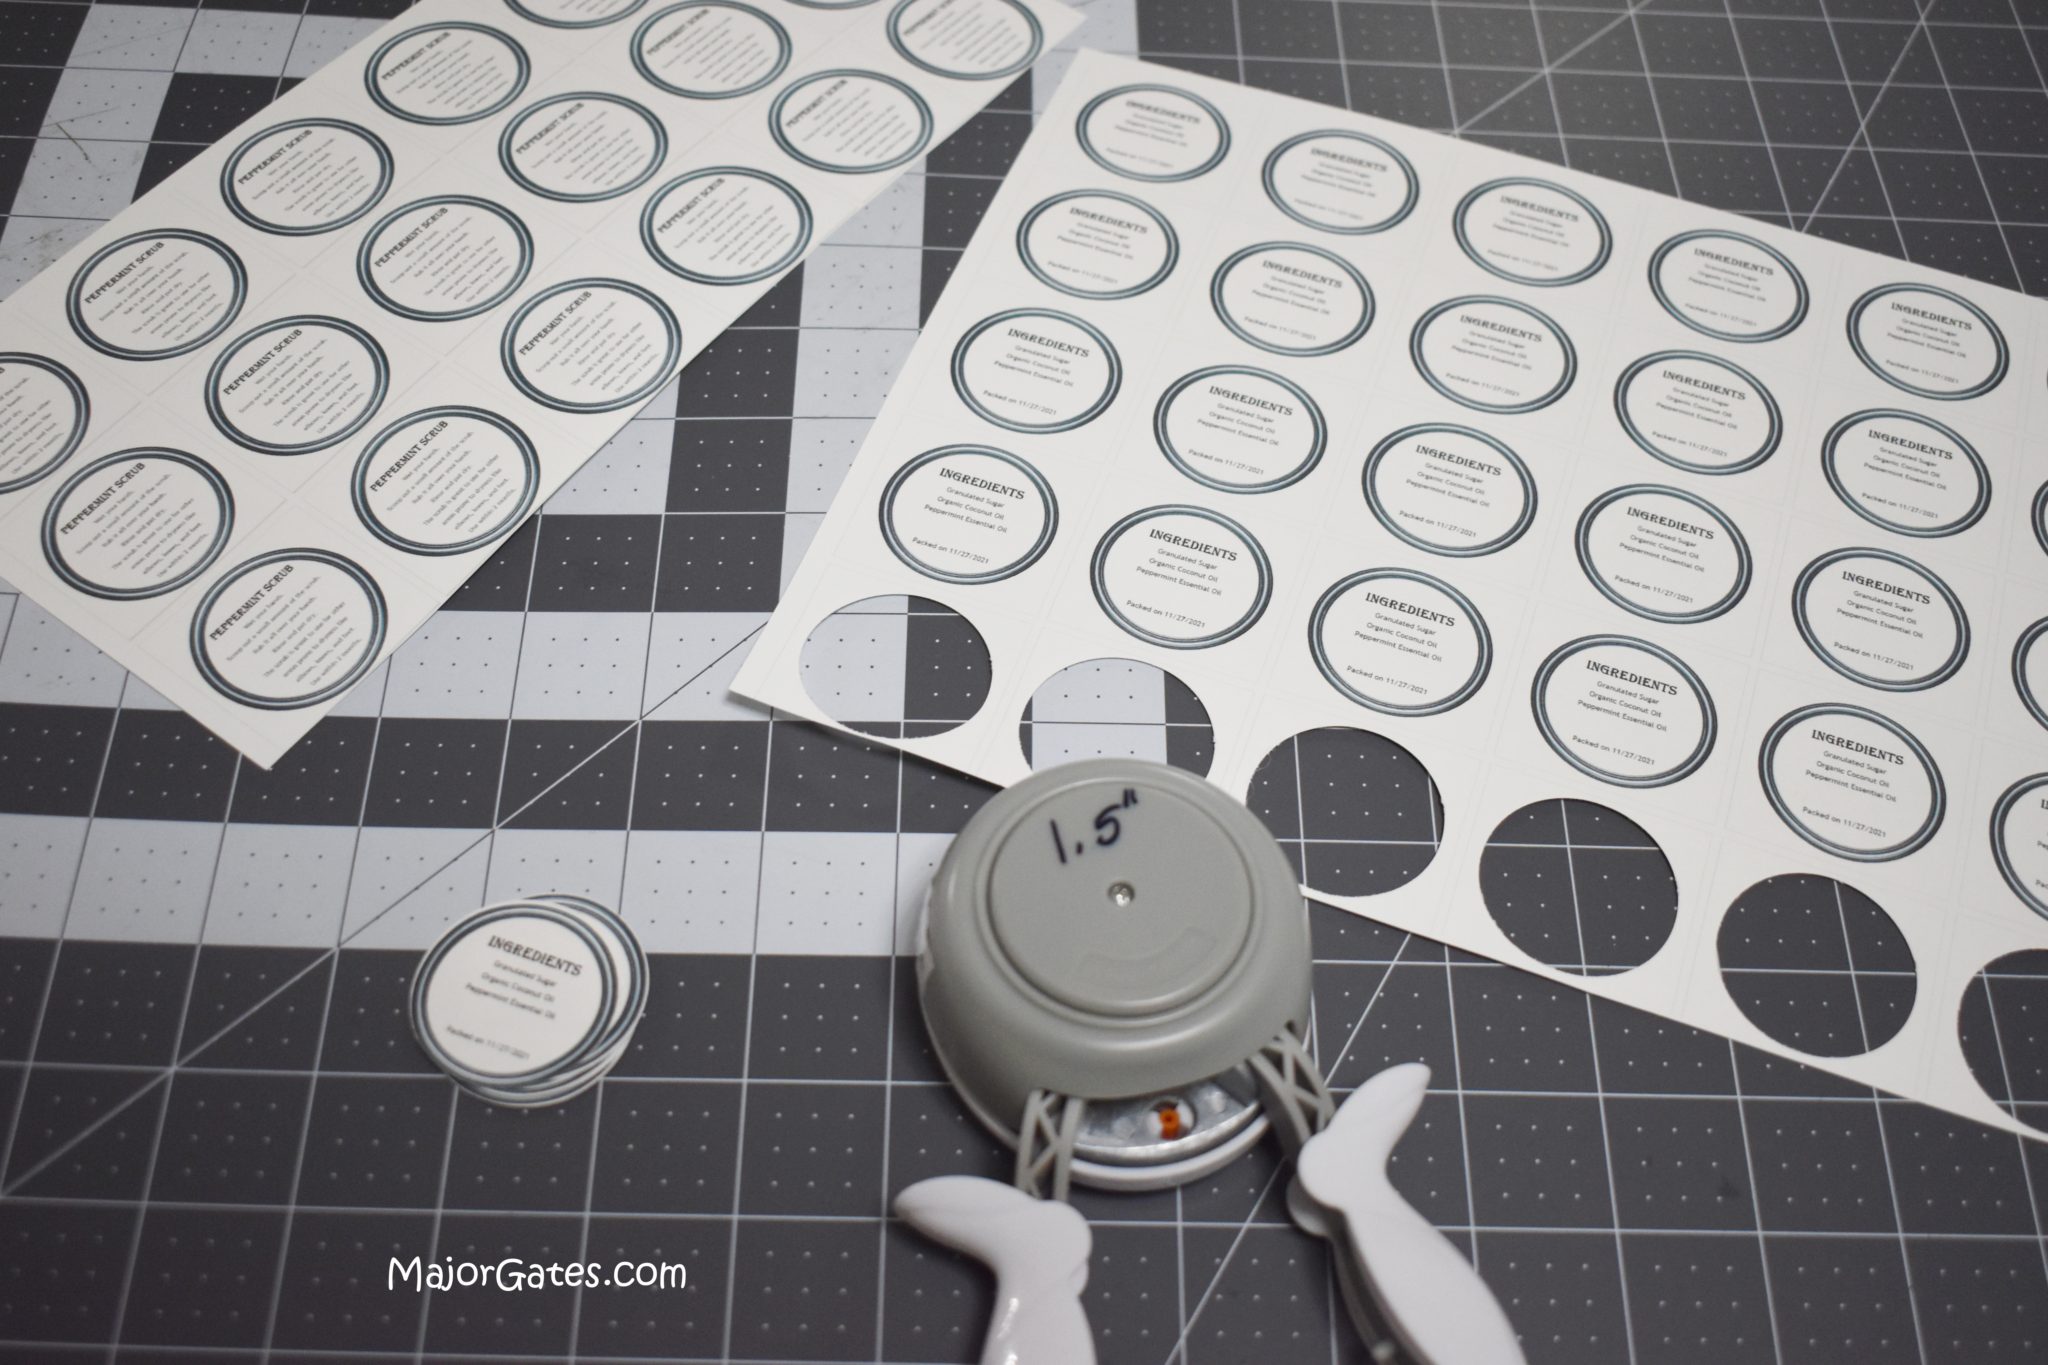
- Last, I made the ingredient labels and instructions labels. I printed them on regular white card stock. So I printed 6 rows x 5 columns (30 per page) and the labels should be around 1.5 inches. If you have larger jars, make adjustments to how many you print.
- I use a free software called PhotoScape X (I am not affiliated with them) but here is the link http://x.photoscape.org/ in case you are looking for something simple that is free. They do have a paid version with more functionality but the free one works well for me so far.
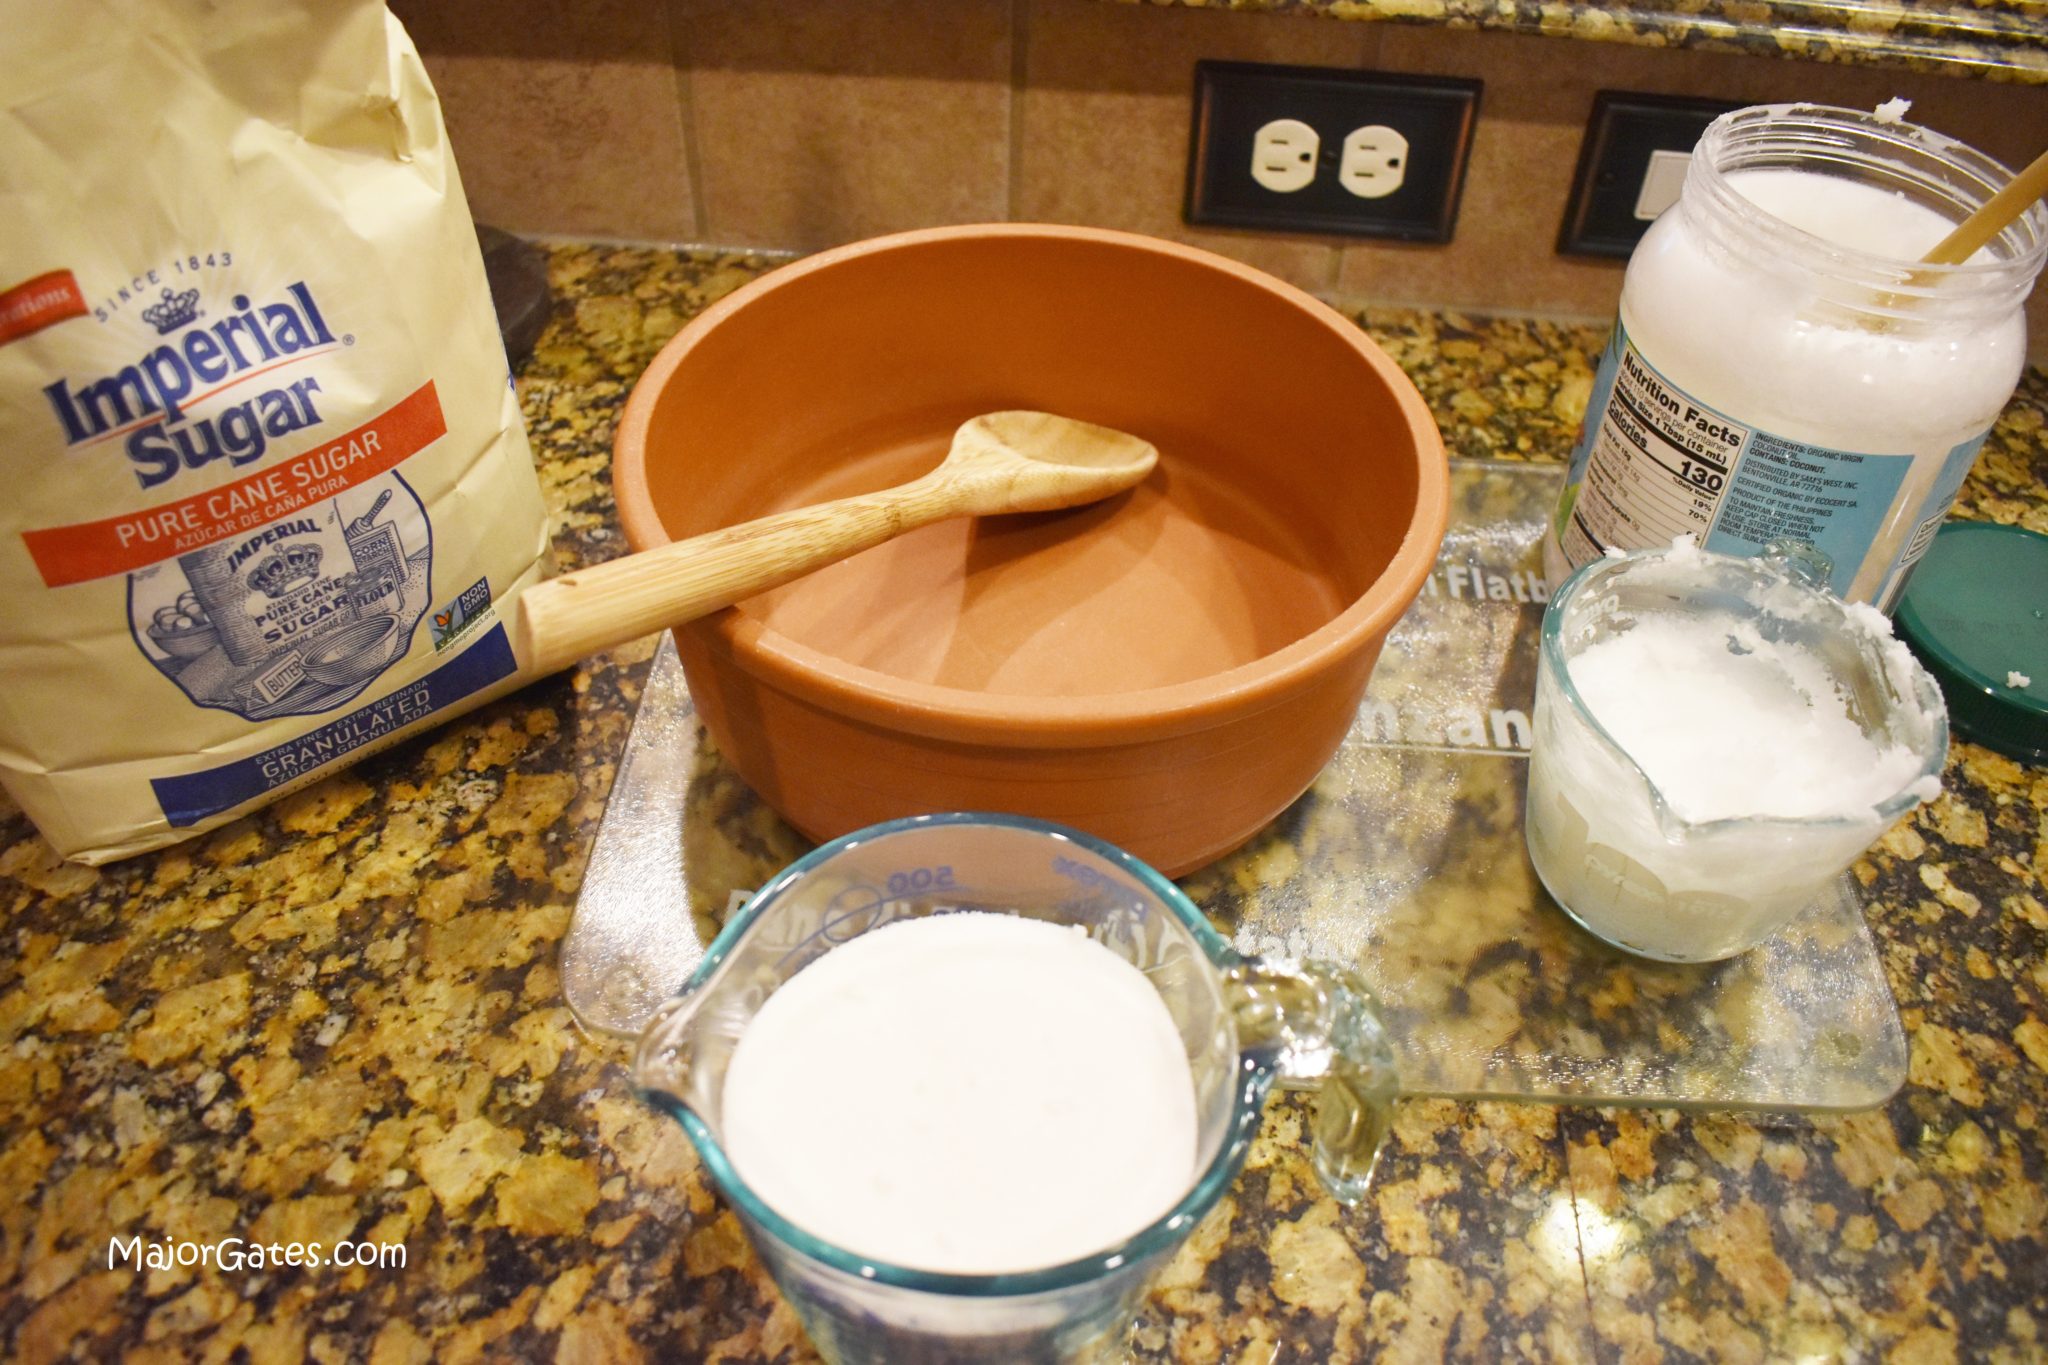
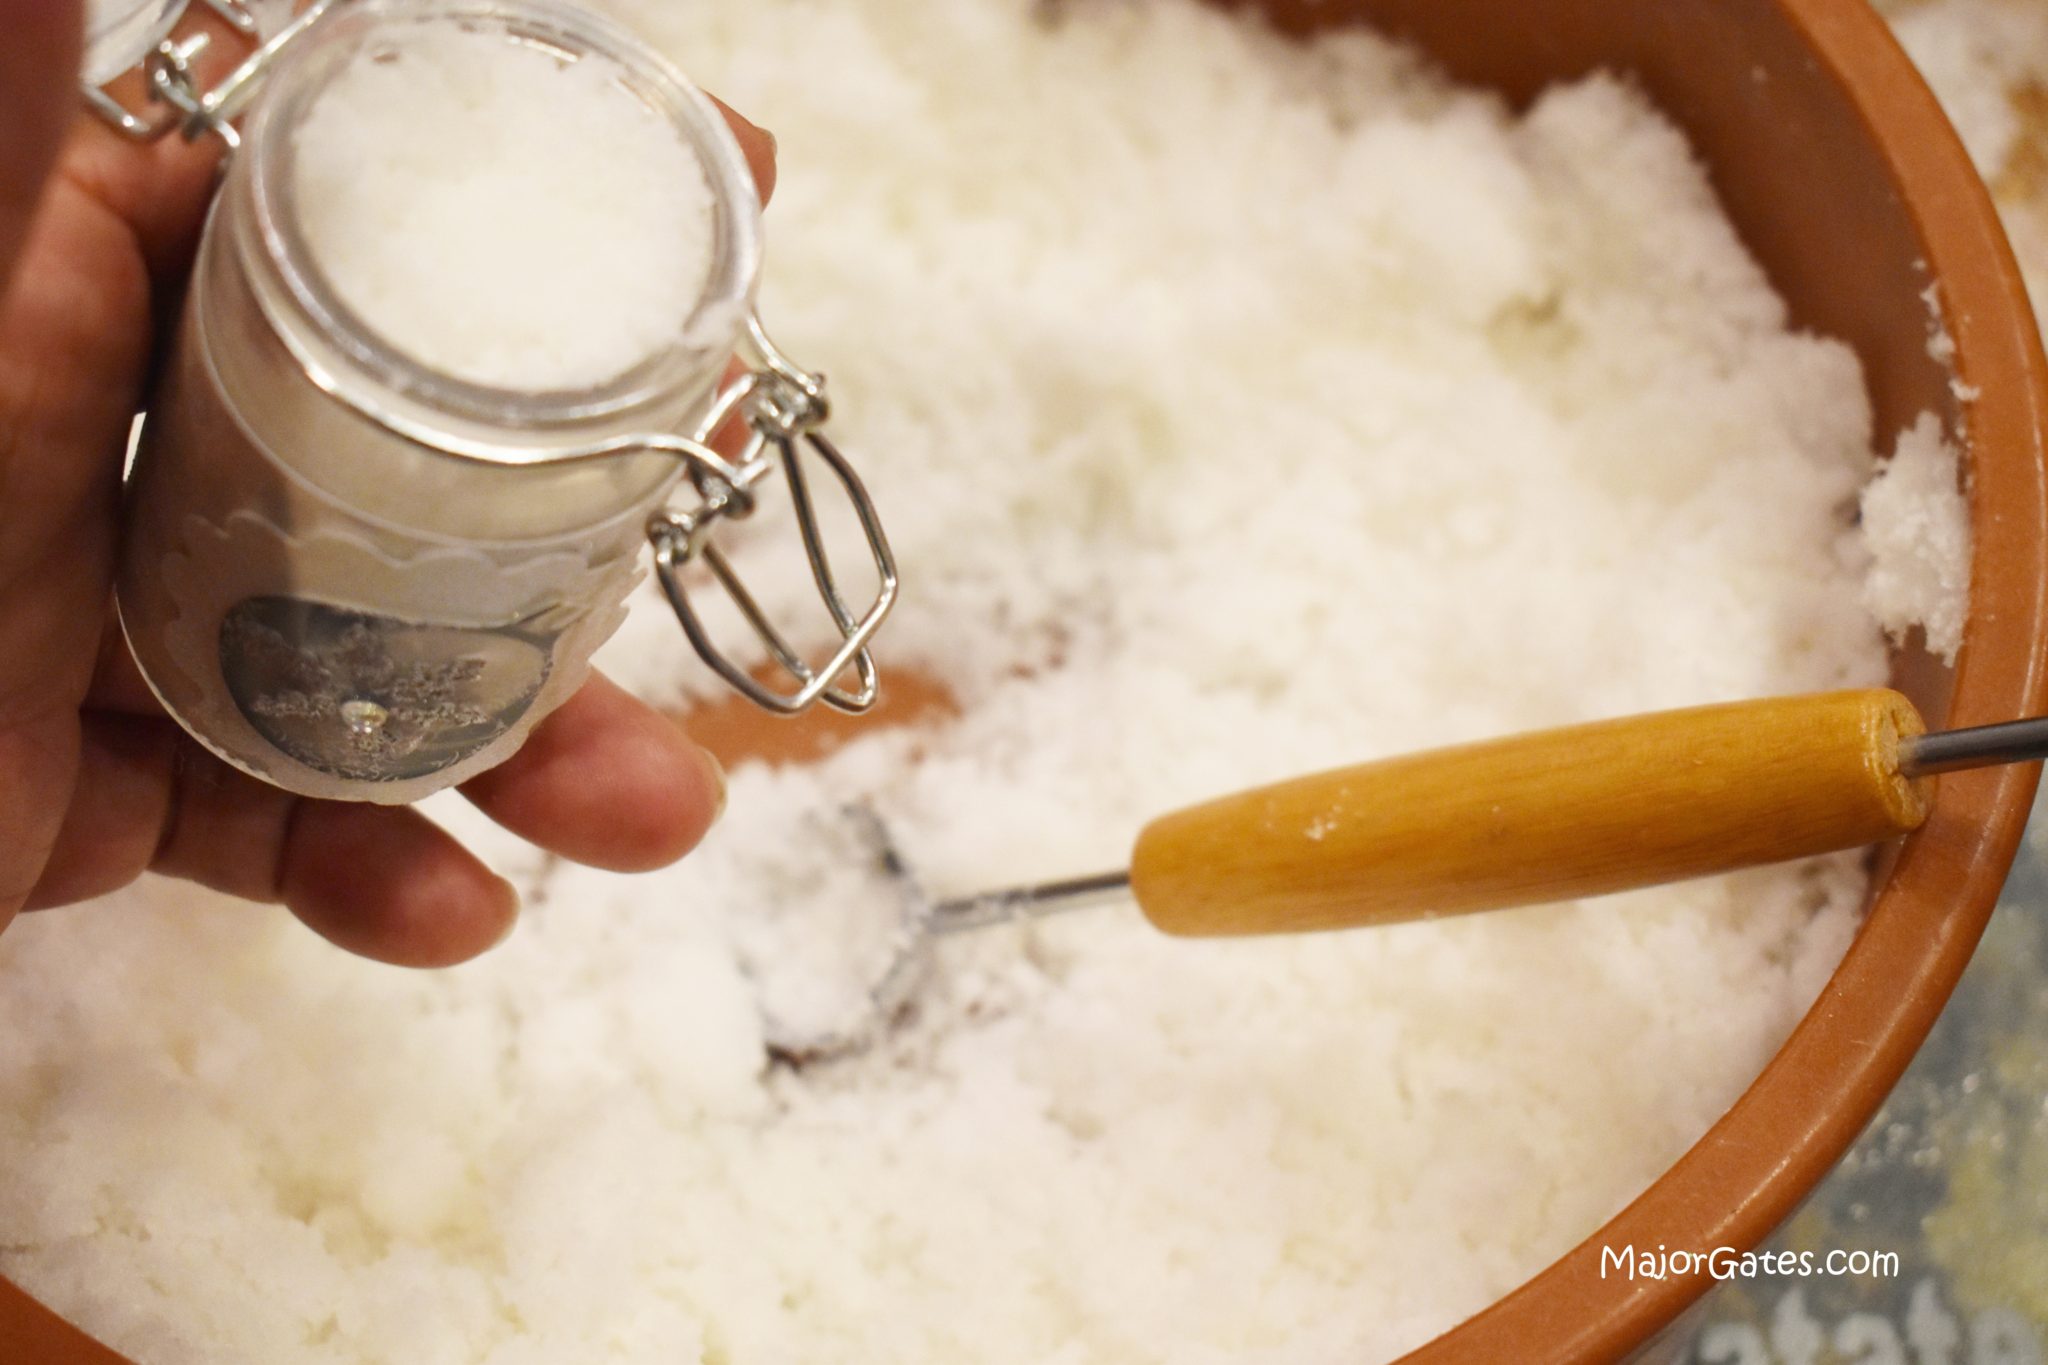
- To make the sugar scrub, measure out 2 cups of granulated sugar, 1/2 cup coconut oil and mix in the bowl.
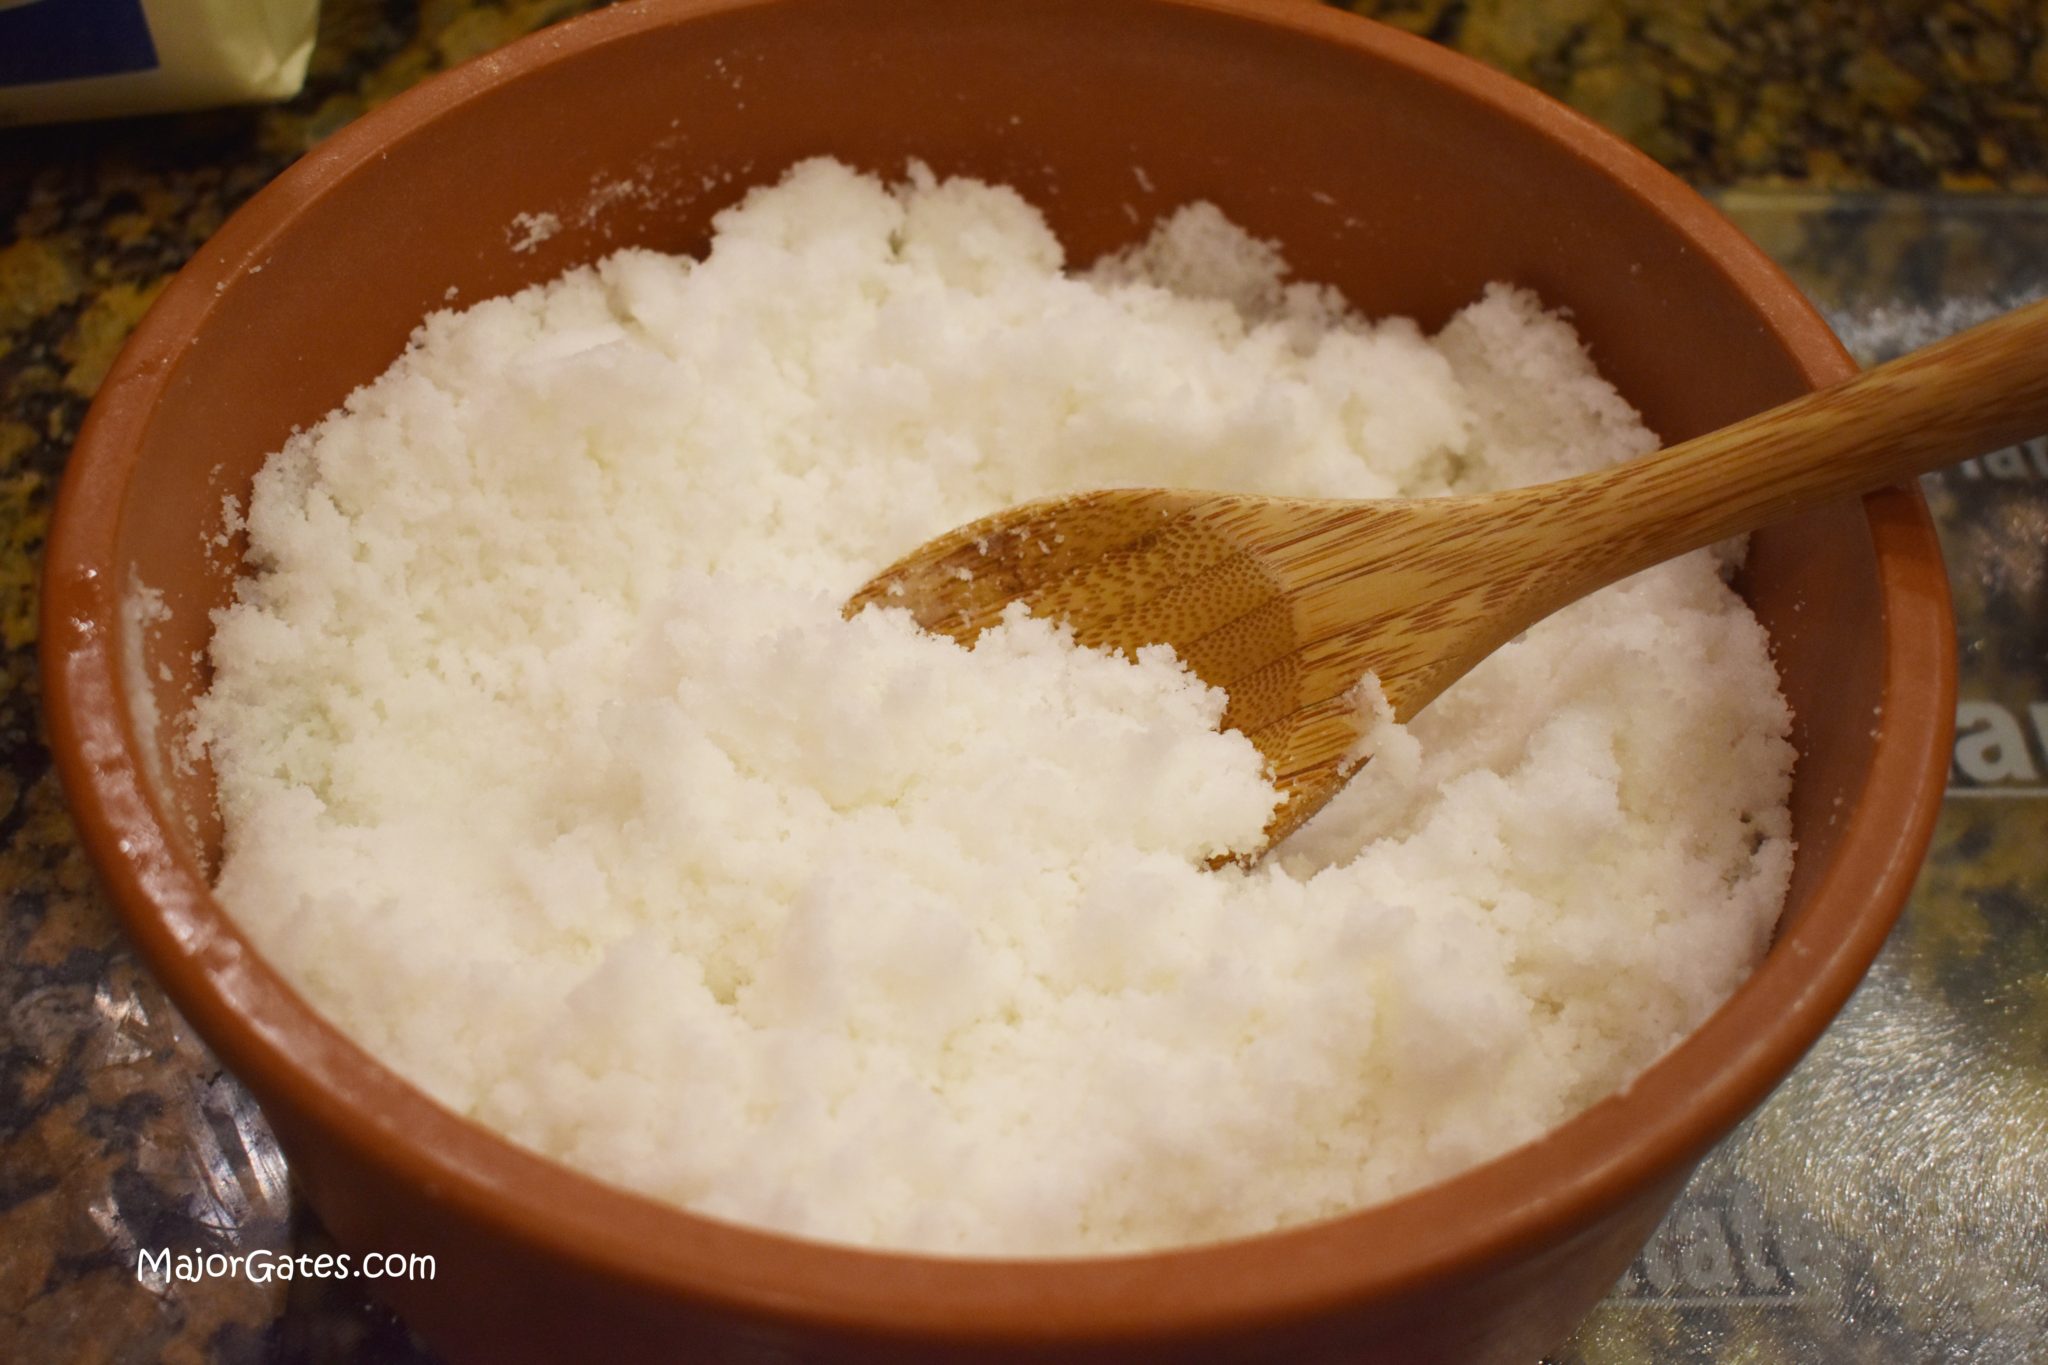
- Use a large spoon an mix well. Then add in the essential oil. So I like to add at least 15-20 drops, but if you would like a stronger scent, add more drops (5 at a time). Then make sure you mix well and then check if the scent is at the desired level.
- Now, scoop the peppermint sugar scrub into the jars and seal. Just be careful not to get the scrub on the sides so you don’t soil your labels.
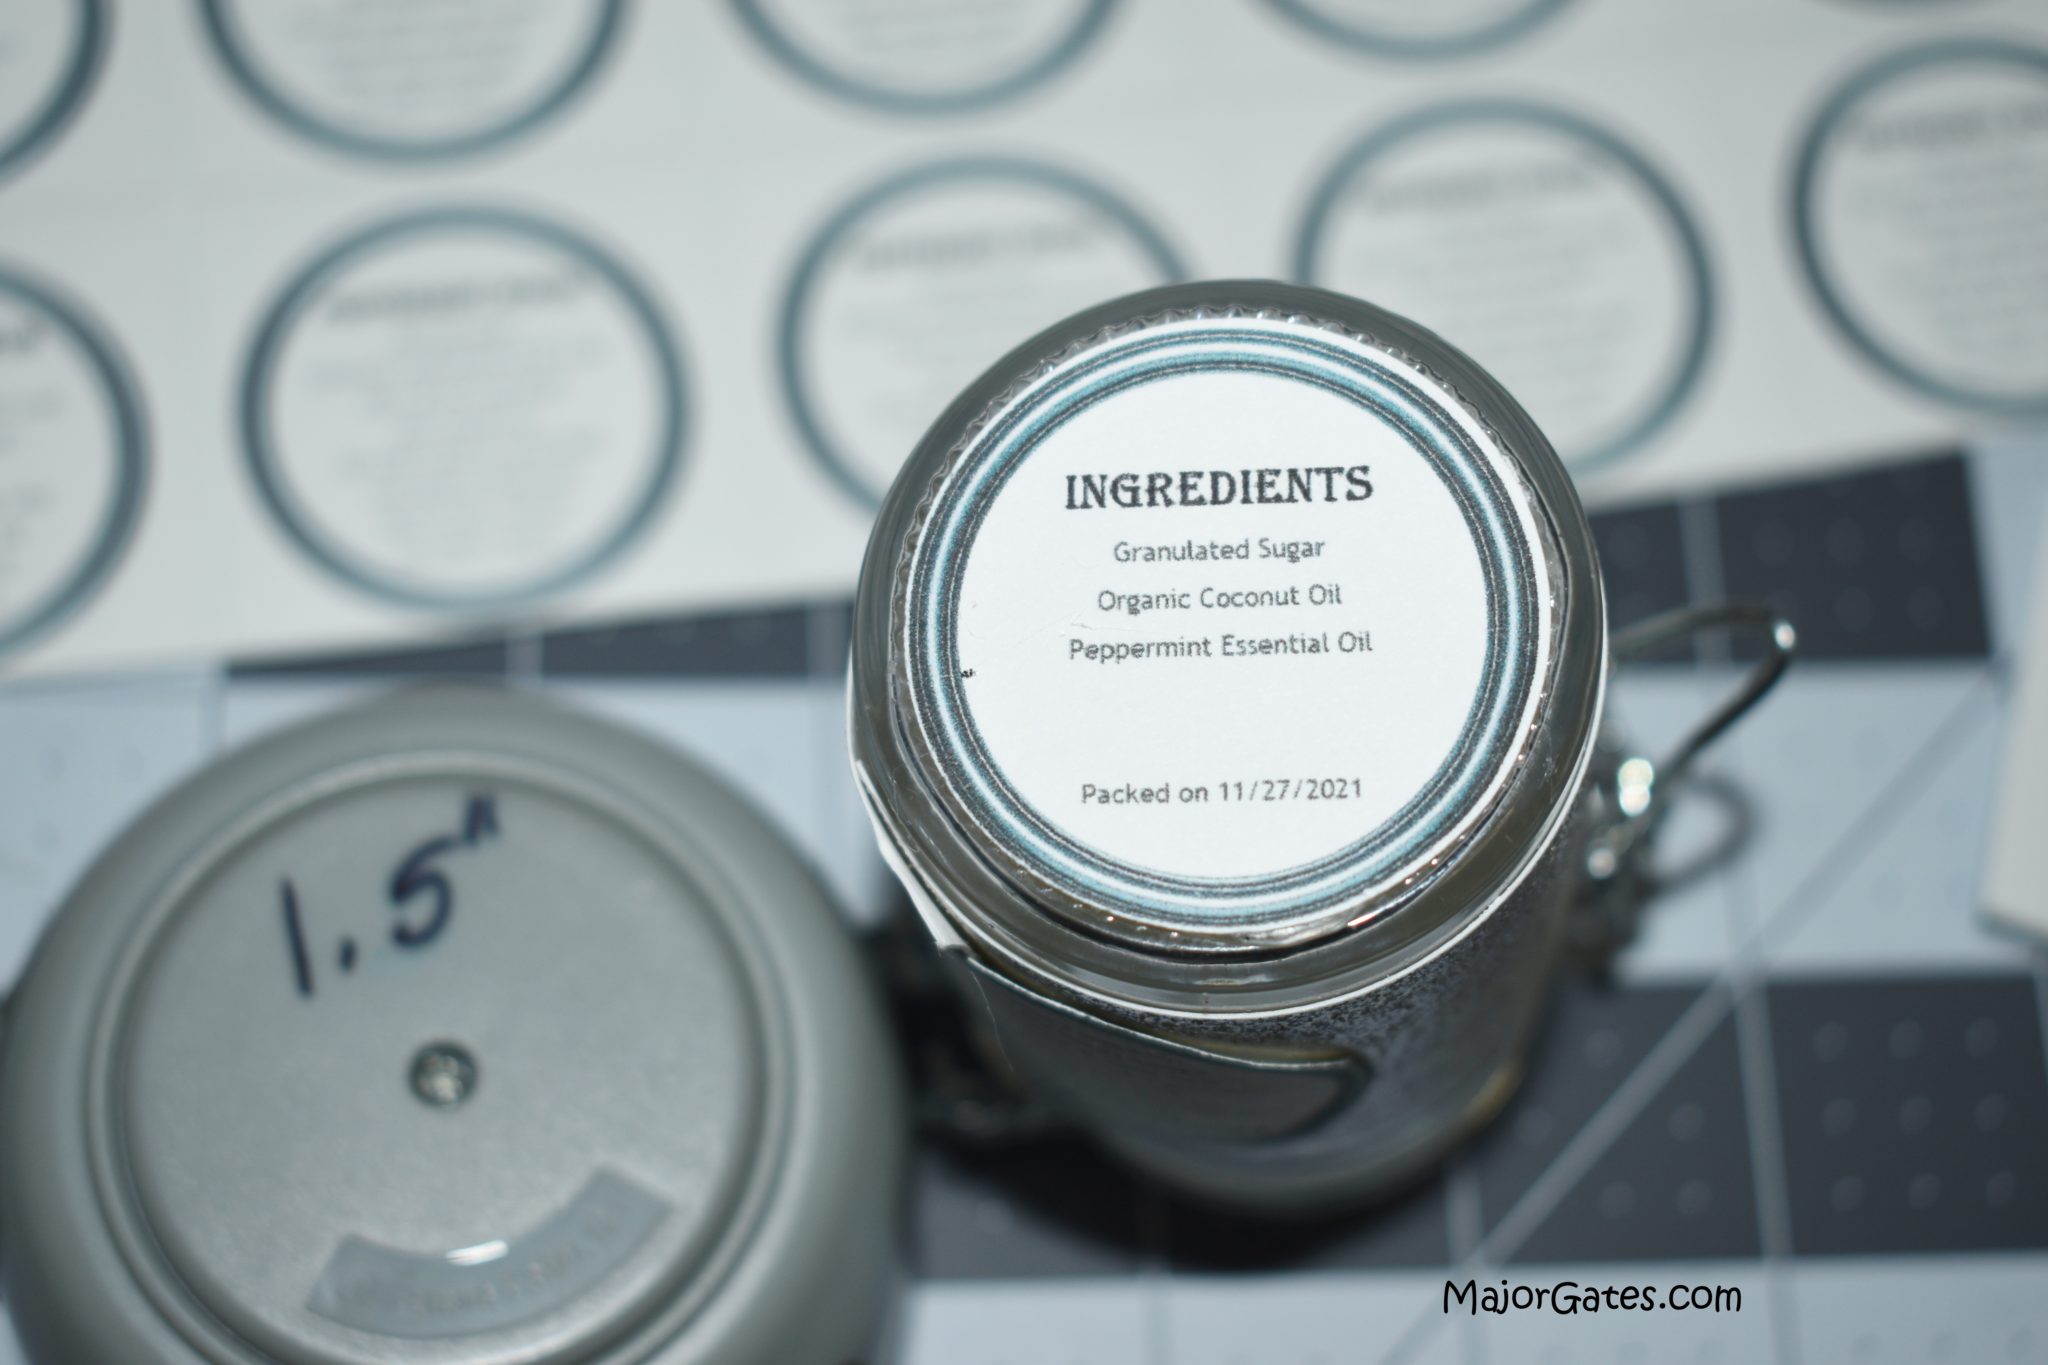
- For the ingredients label, list the ingredients and the packed on date. I glued the label to the bottom of the jar. So this is important in case someone has an allergy to what is in the jar or if it is ingested. The scrub should be used within 2 months.
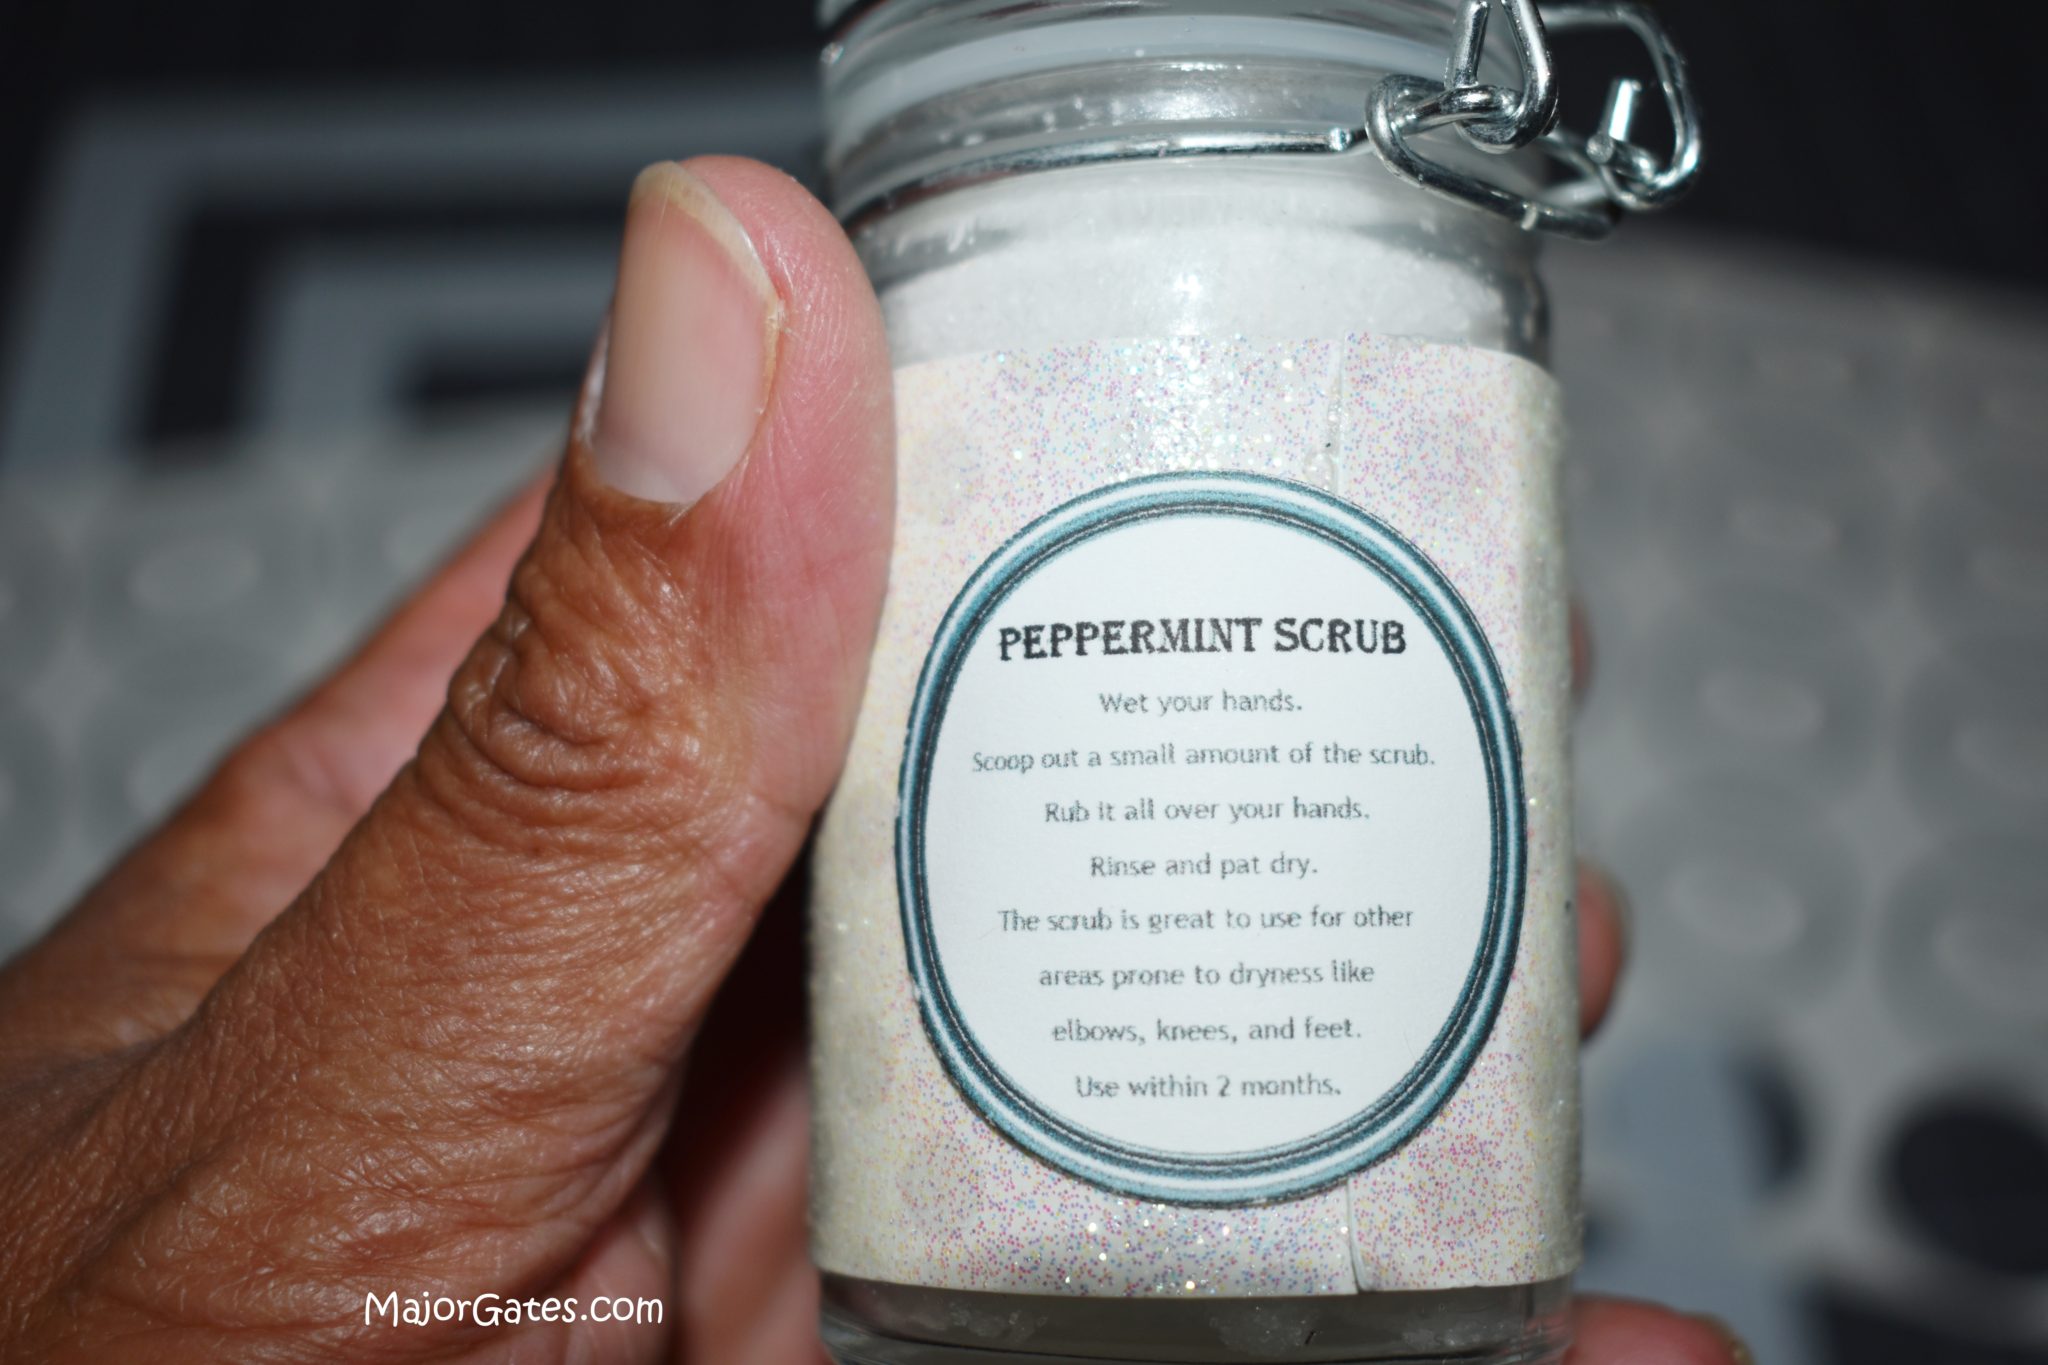
- Then for the instructions label, that is glued to the opposite side of the jar, I used the following wording:
Wet your hands. Scoop out a small amount of the scrub. Rub it all over your hands. Rinse and pat dry. The scrub is great to use for other areas prone to dryness like elbows, knees, and feet. Use within 2 months.
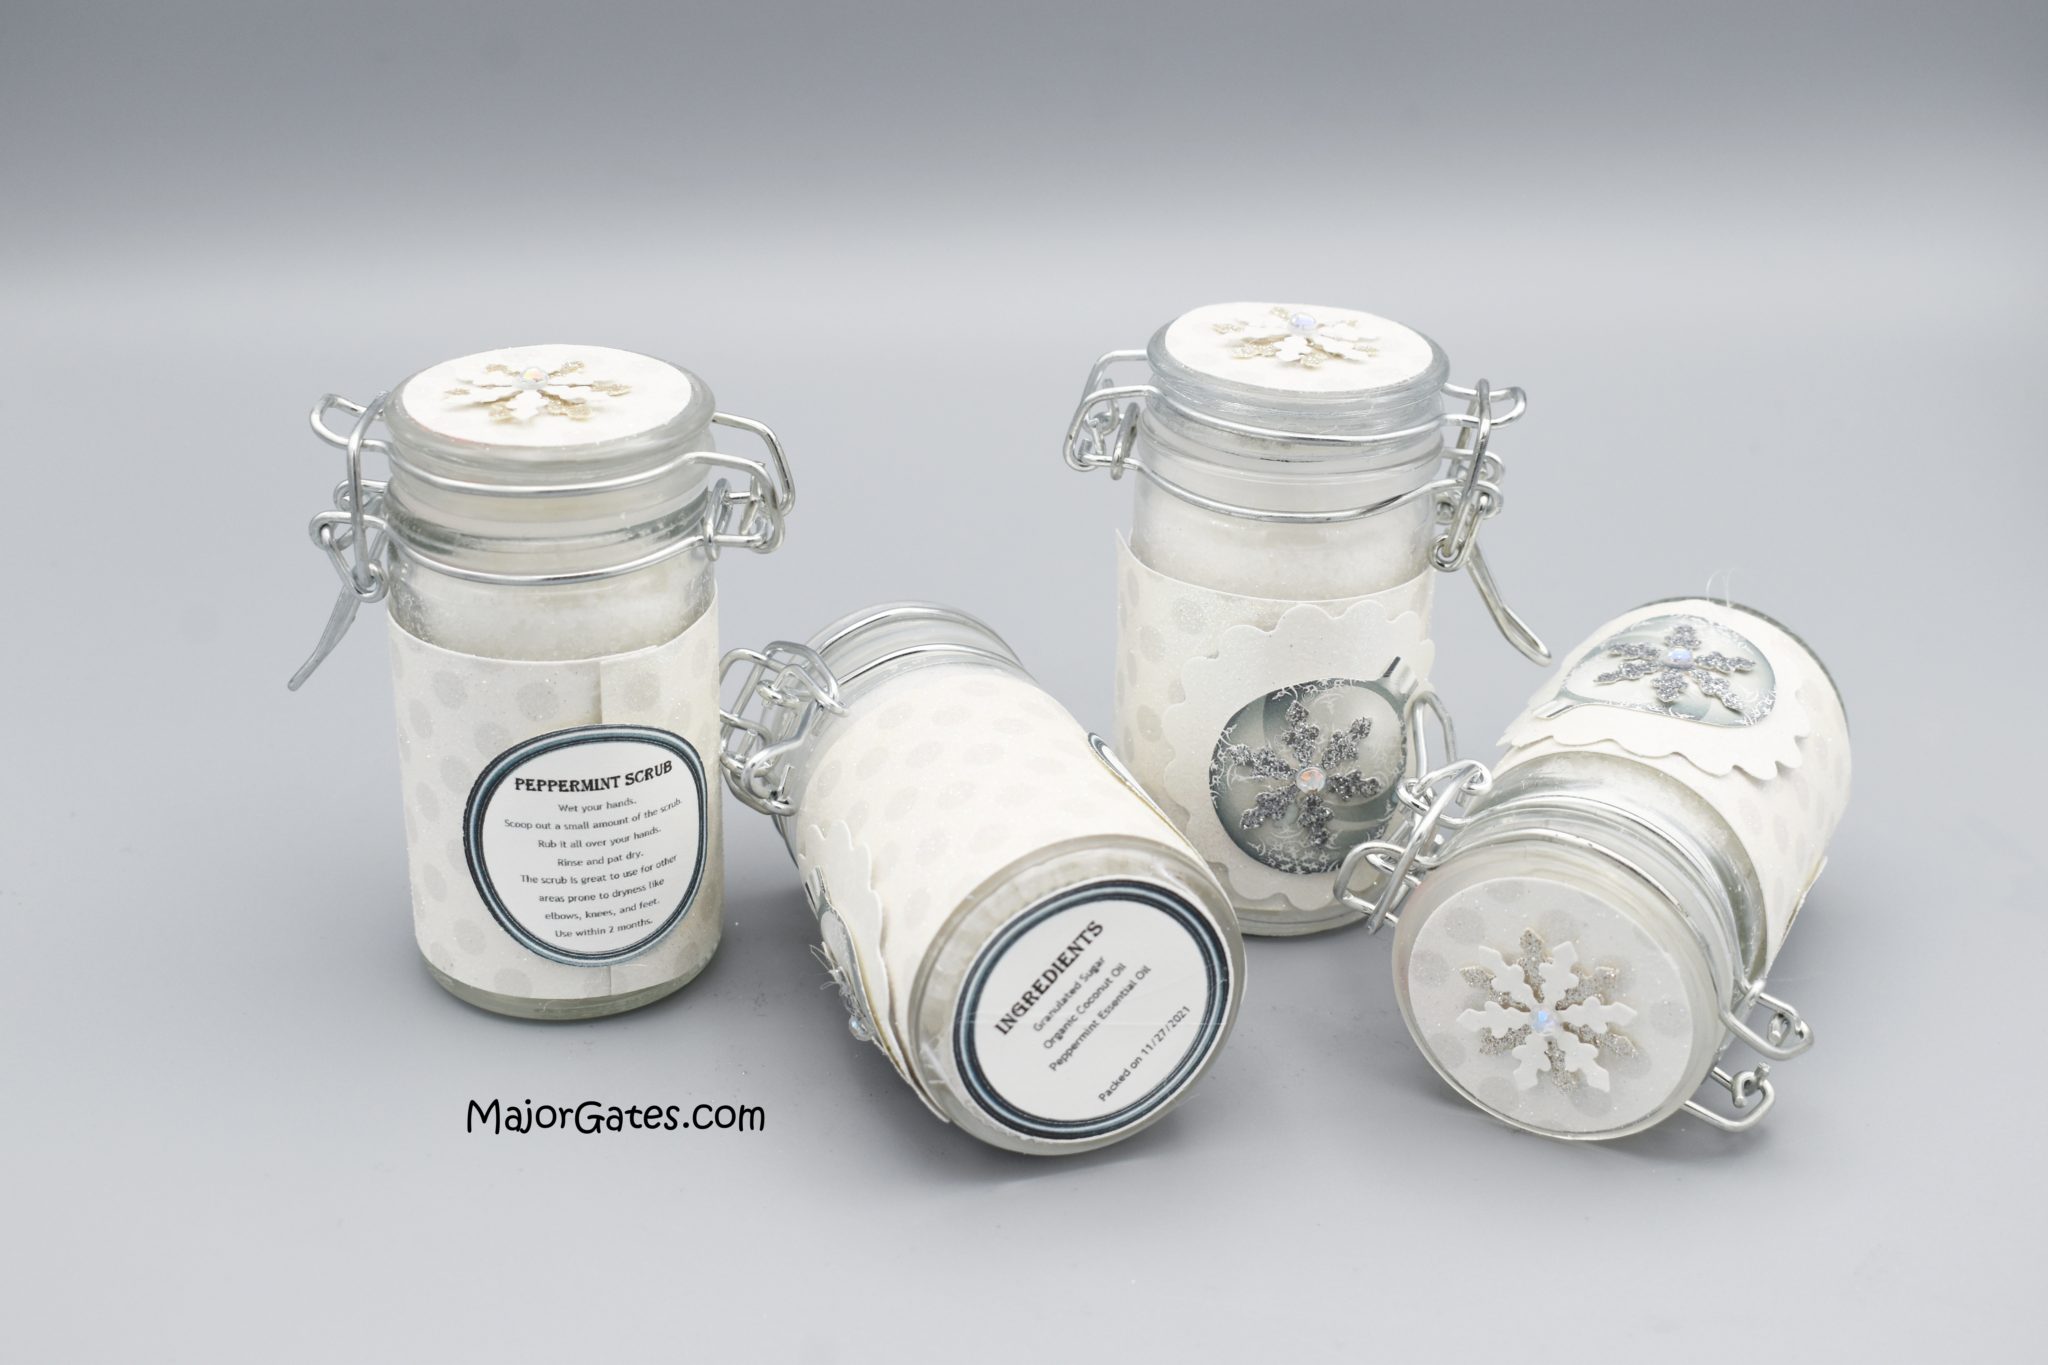
- Consider adding the Peppermint Sugar Scrub to a favor bag that matches your theme or just hand them out.
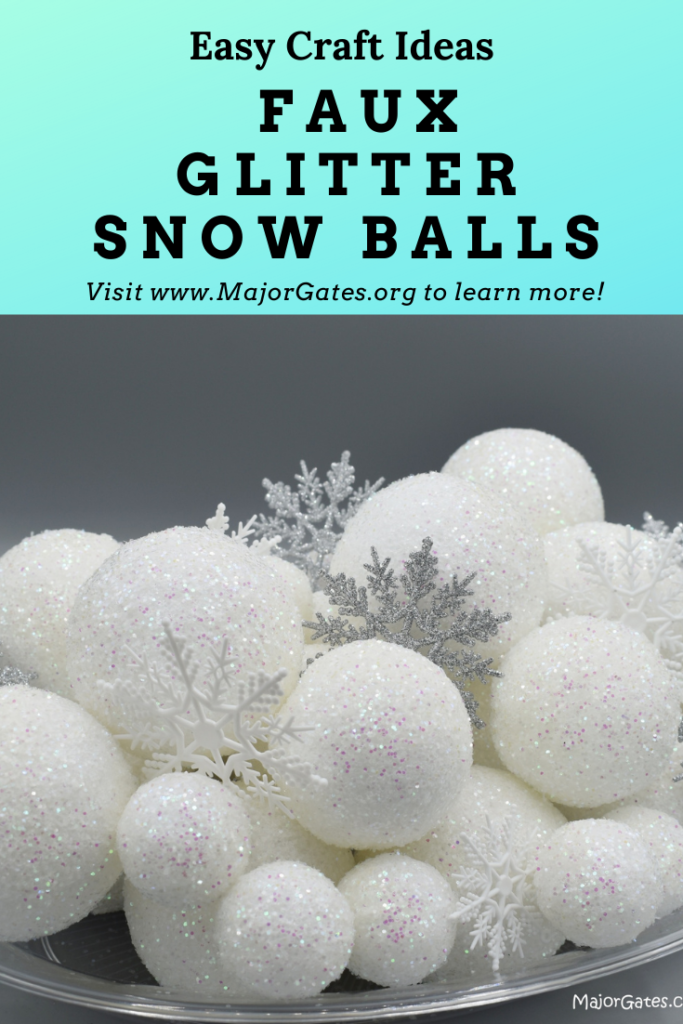
Get the instructions for making Faux Glitter Snow Balls here: https://majorgates.com/do-it-yourself/faux-snow-balls/
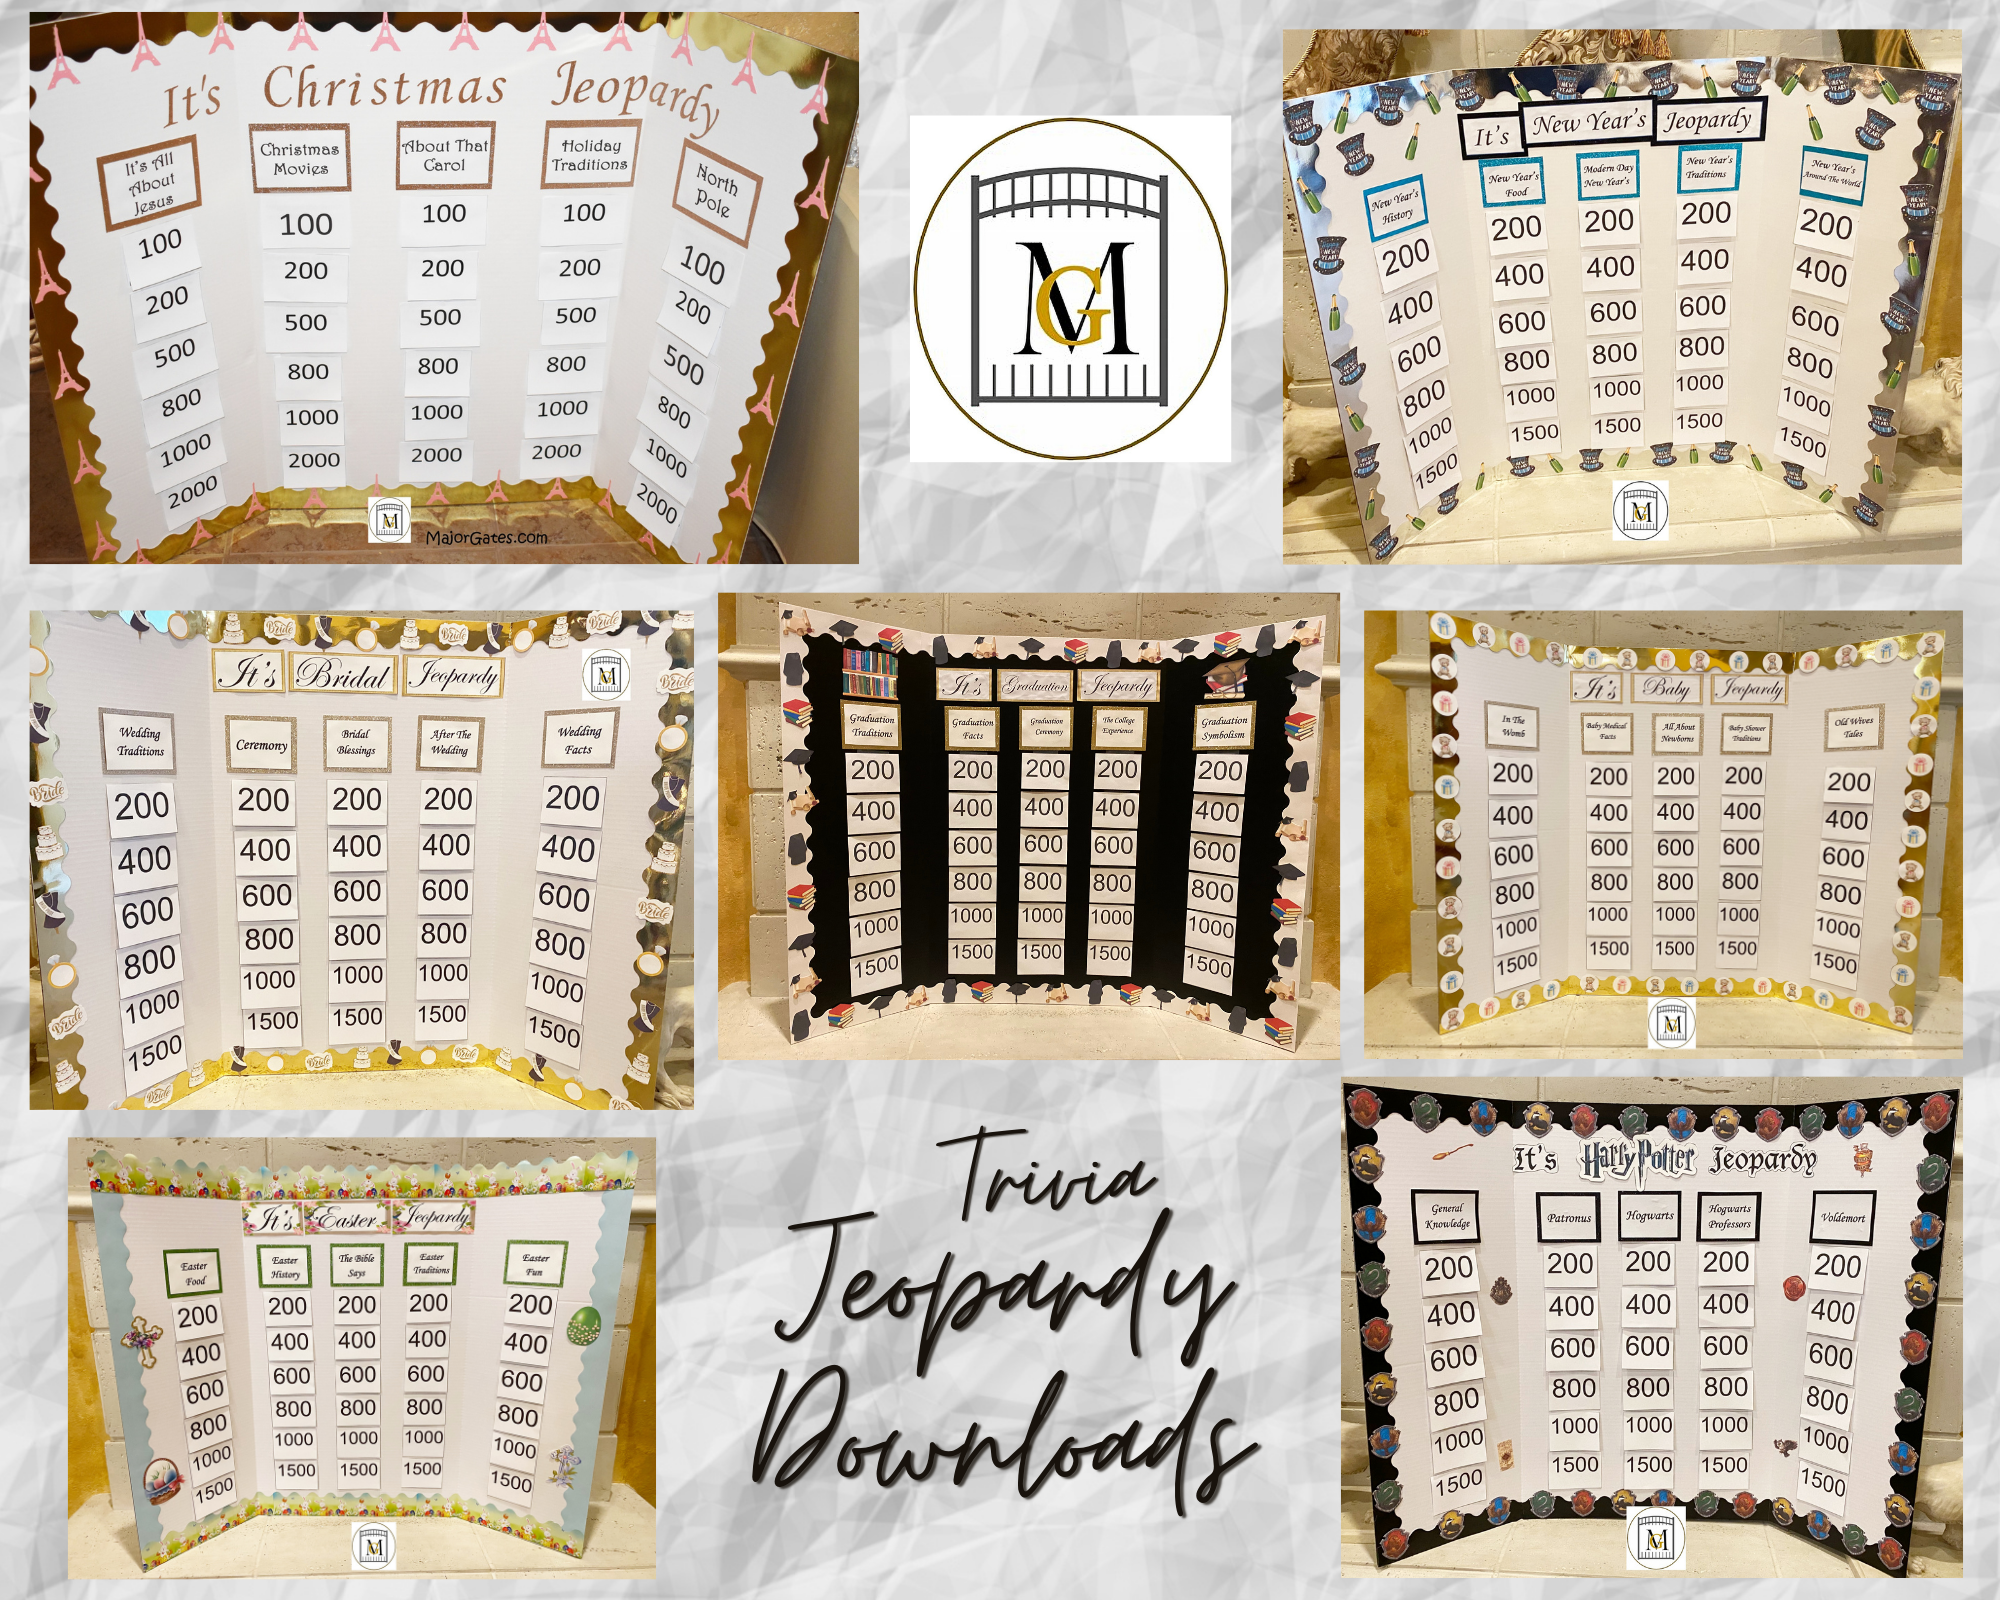
To see my available Jeopardy/Trivia Party Downloads, click here: https://majorgates.com/product-category/jeopardy-trivia/
