Alice In Wonderland Hat Box Decoration
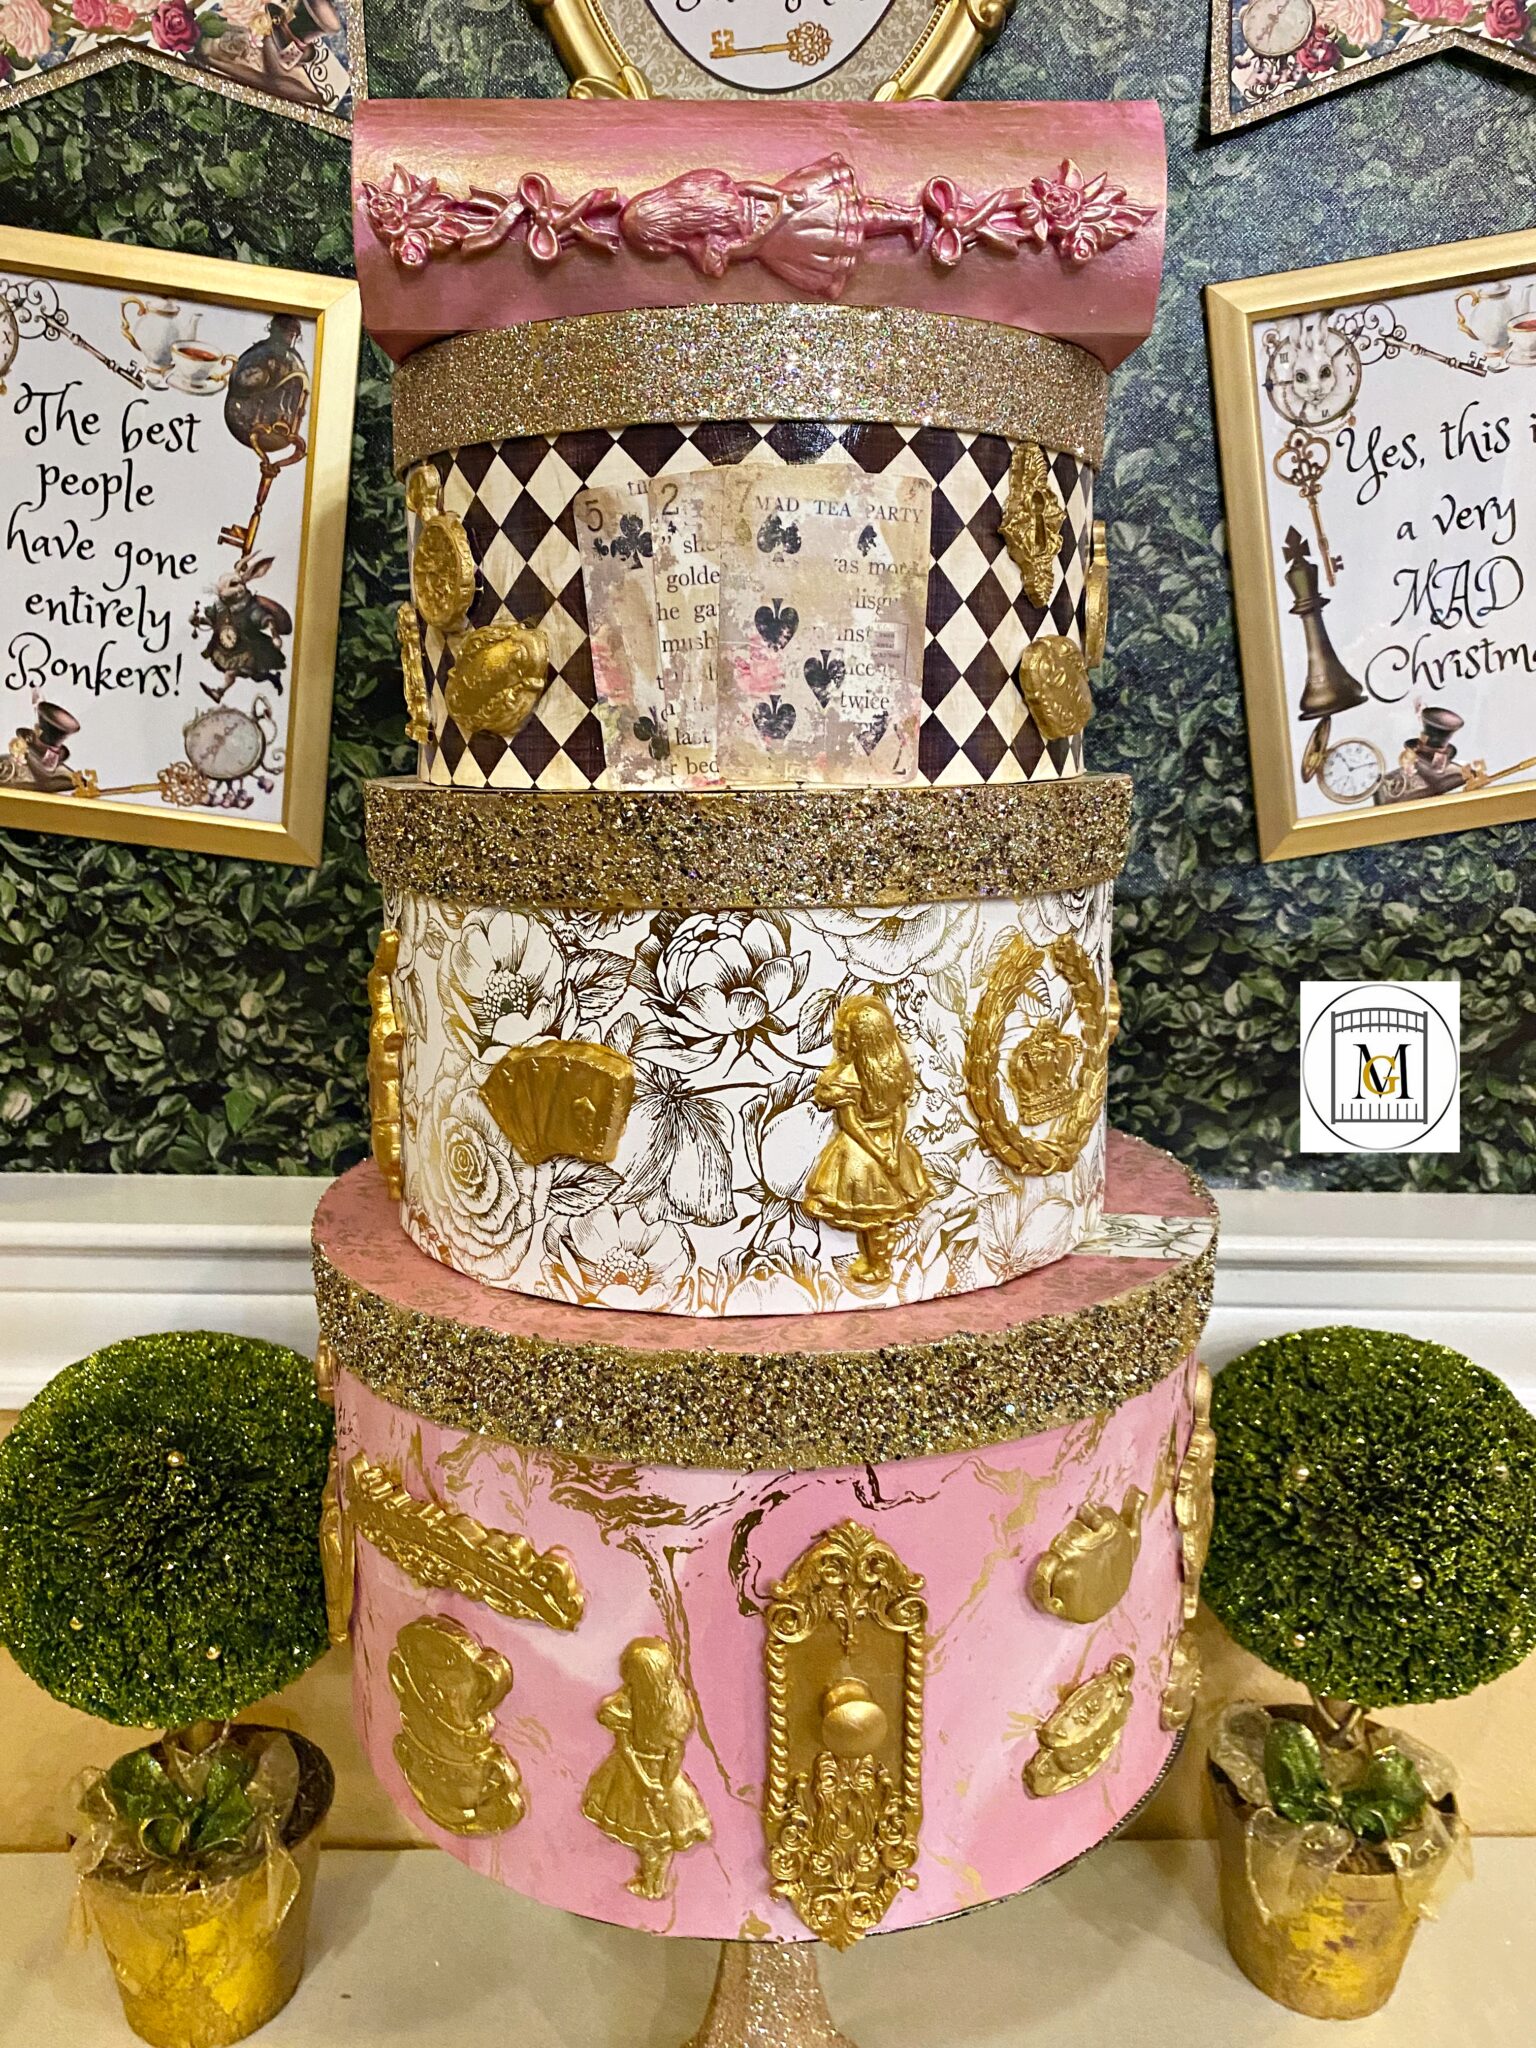
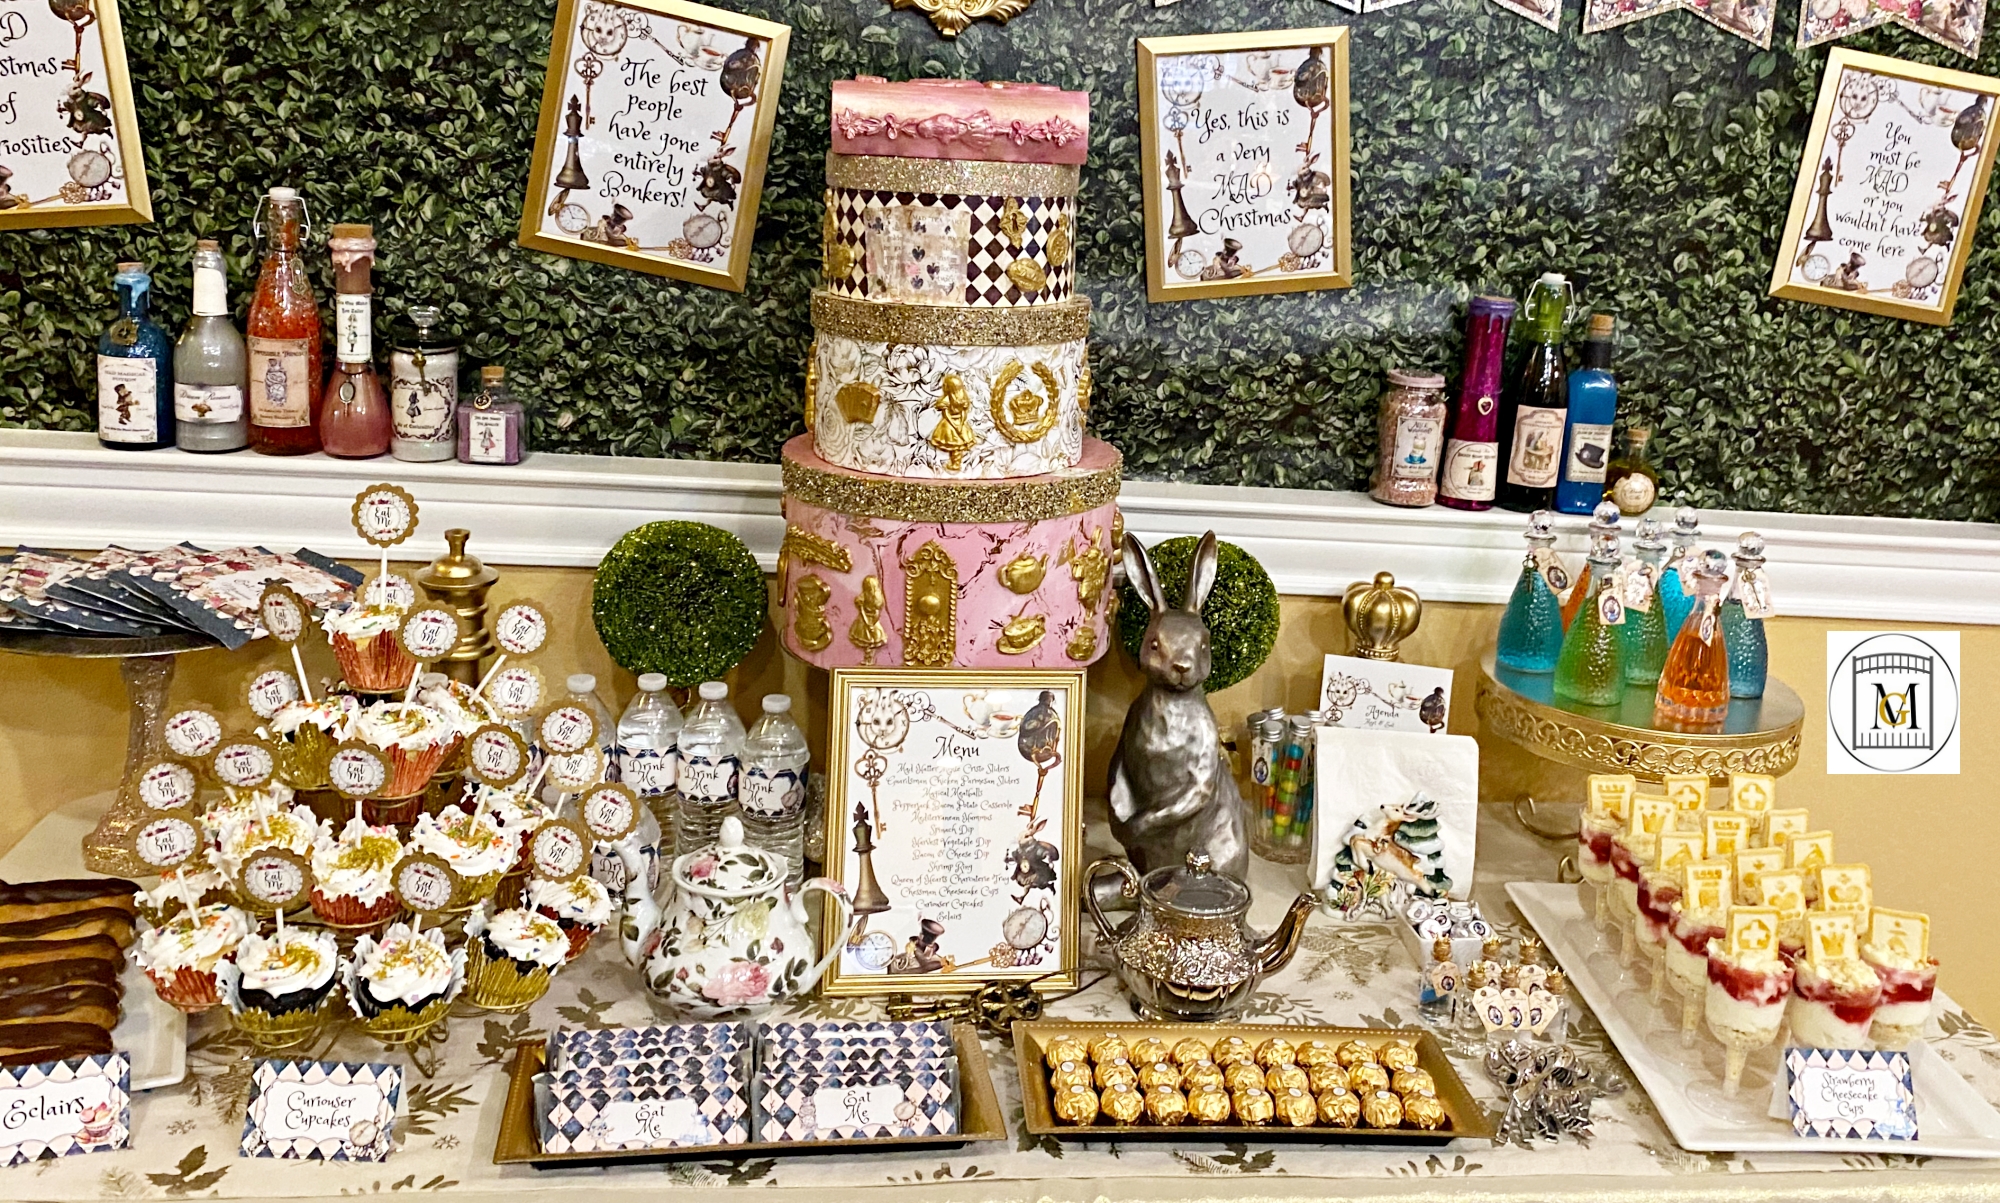
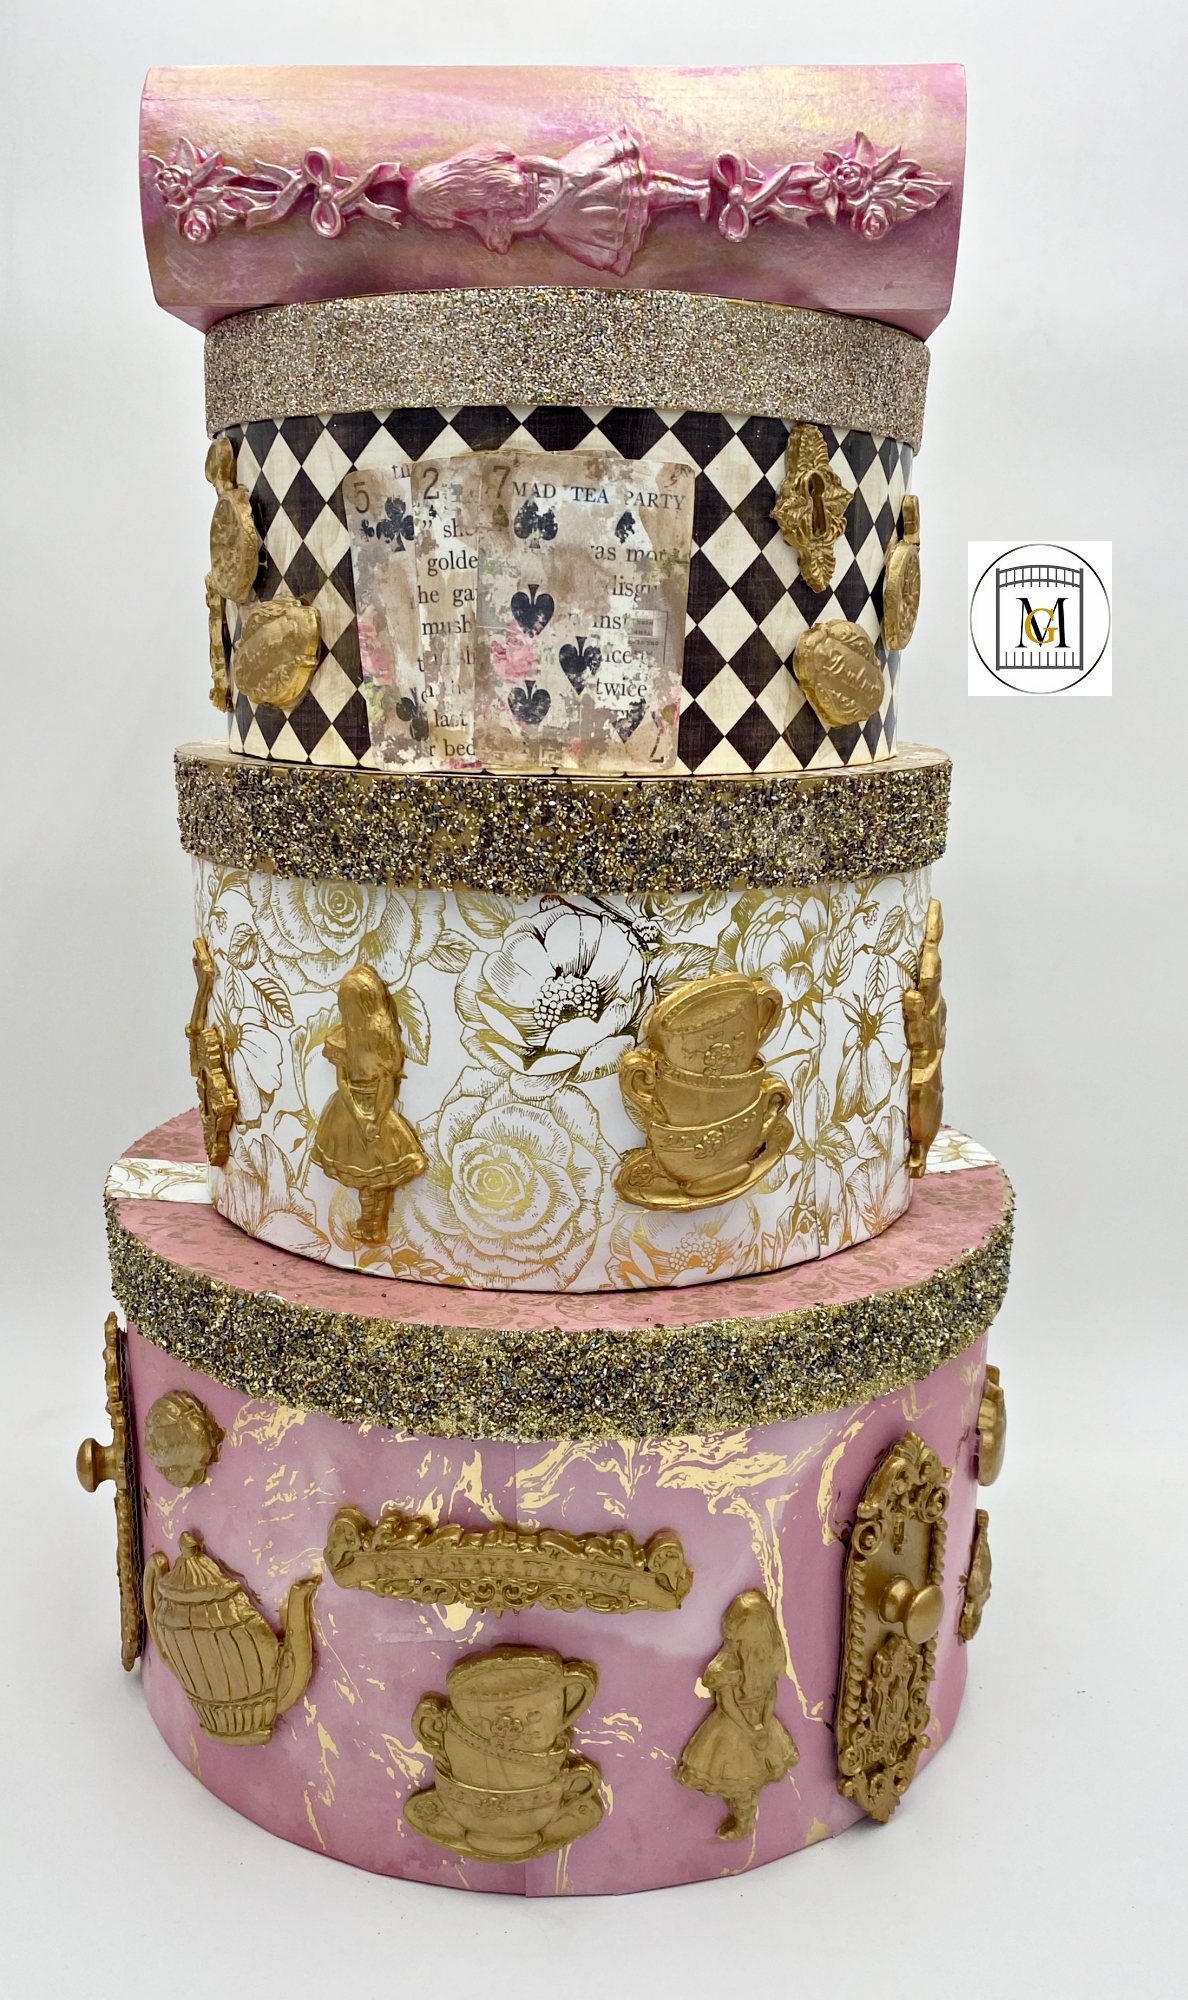
This Alice In Wonderland Hat Box Decoration was fun to make and reusable. I wanted a nice centerpiece that reminded me of a tied cake but did not want to get a cake. So if you love beautiful Alice in Wonderland tiered cakes, but do not want to spend hundreds of dollars on a cake, or your party is small in size, you can use hat boxes. Tiered hat boxes will give you the similar whimsical look for a fraction of the cost. And when you are done with the party, you can use the hat boxes to store things. For example, toys, hair bows, craft items, cards, letters, trinkets, etc.
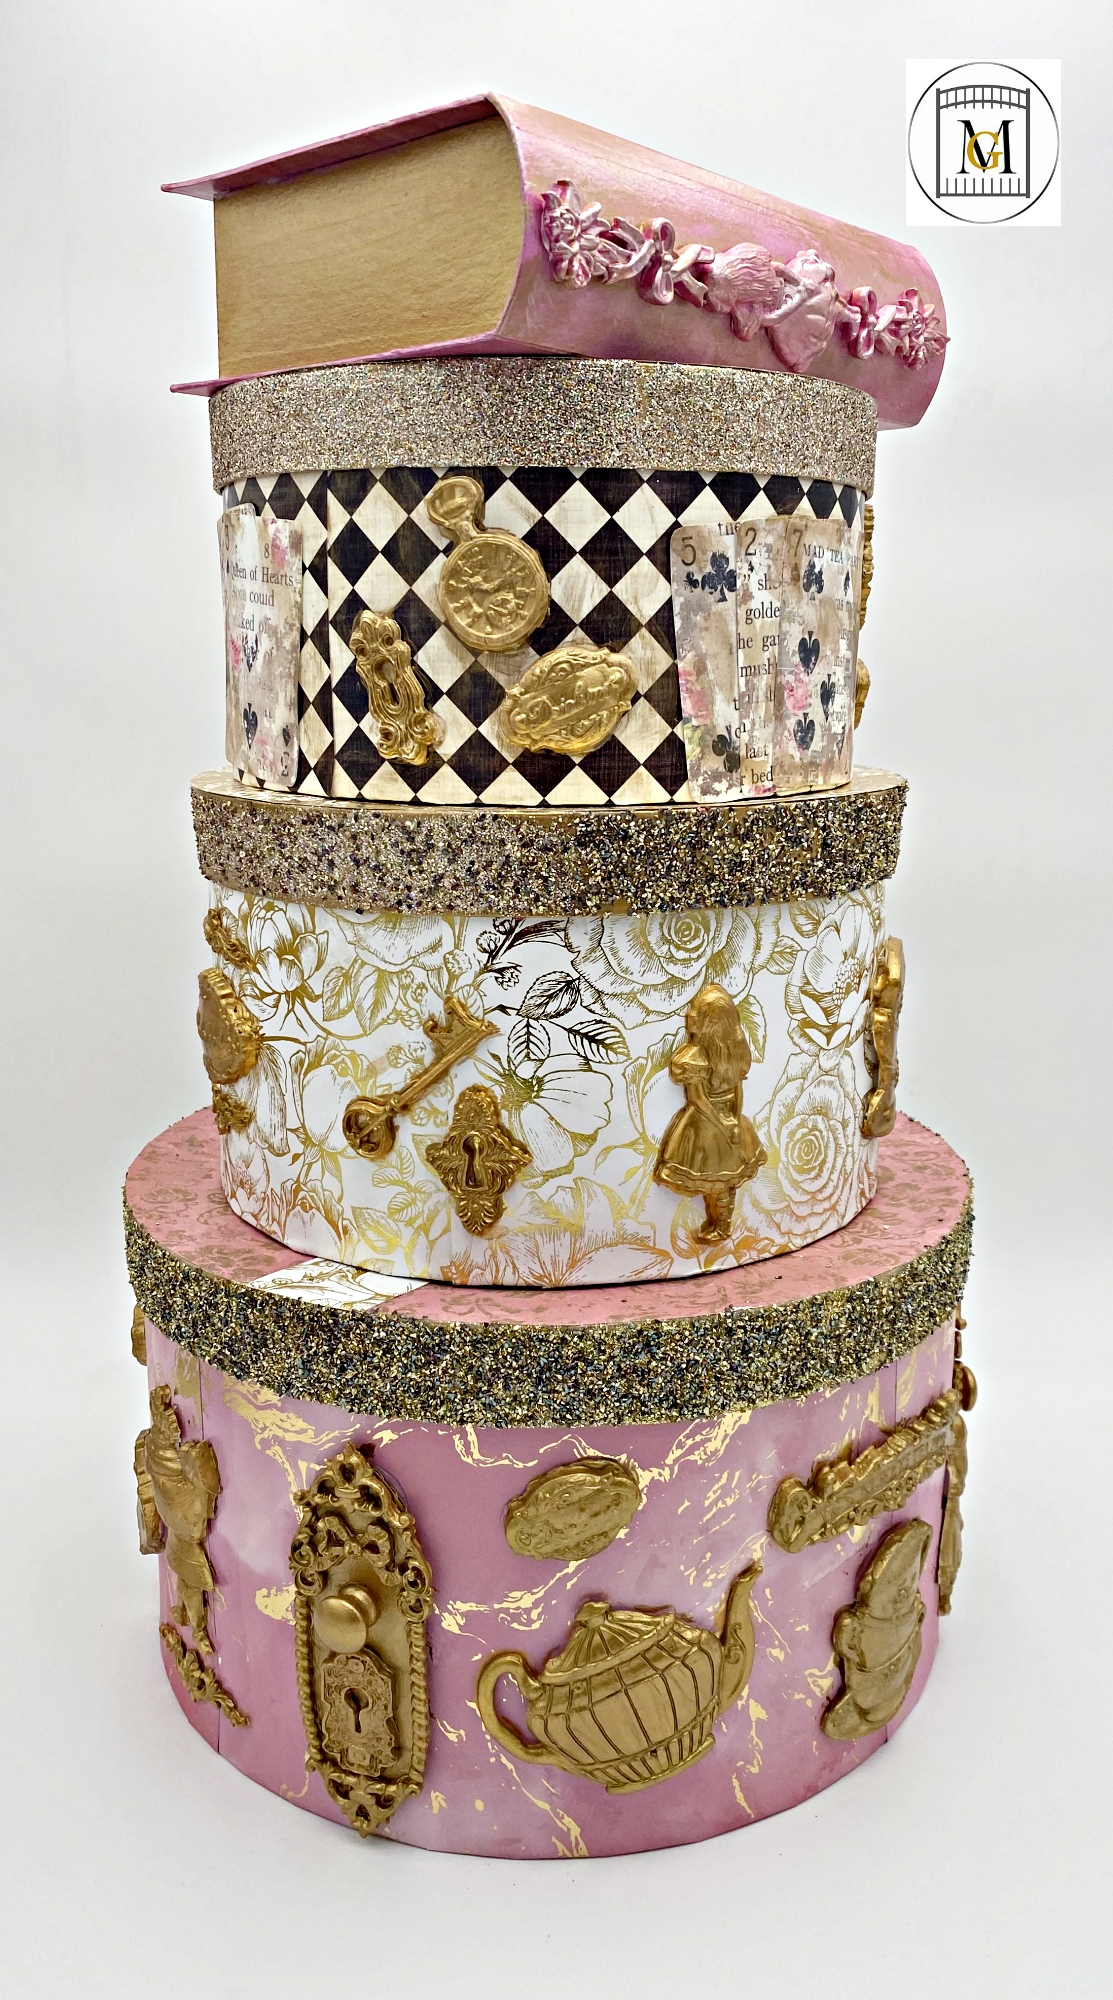
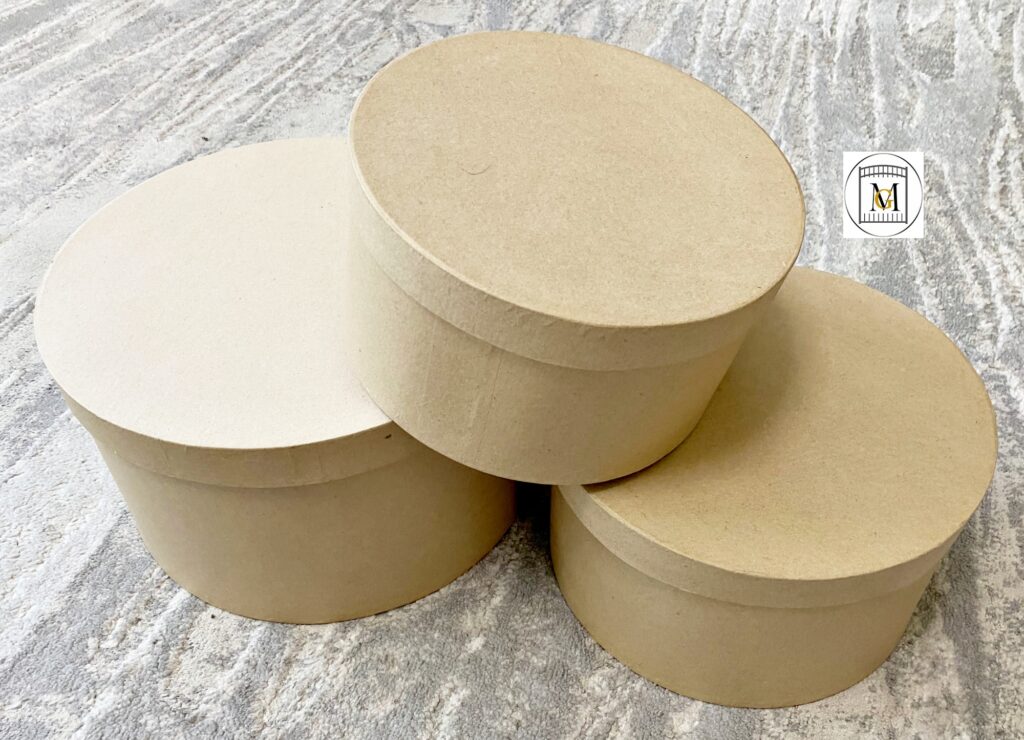
I purchased a set of tiered paper mache circular boxes from my local craft store. Then I decorated the boxes with scrapbook paper, paint, clay, and glitter. The set turned out wonderful and perfect for my table display. So since my party was small, I served several smaller desserts but this was perfect as the centerpiece. I will explain in this post step-by-step how to make an Alice In Wonderland Hat Box Decoration.
Don’t Forget To Follow Me On Pinterest!
To see my Party Bundle Label Downloads, click here: https://majorgates.com/product-category/party-bundles/
Supplies
- 3 piece Paper Mache Round Box Set – 13in (33cm), 10.5in (26.6cm) and 9.5in (24.1cm) or similar sizes
- 12 x 12 Scrapbook paper (you will need about 16 sheets of scrapbook paper – a couple extra for mistakes)
- Scissors
- Mod Podge
- Mini dual temperature glue gun and glue sticks
- Paint brushes and paint tray
- Metallic Acrylic paint – I used DecoArt glorious gold
- Super light air dry clay – I used ACTIVA Hearty white
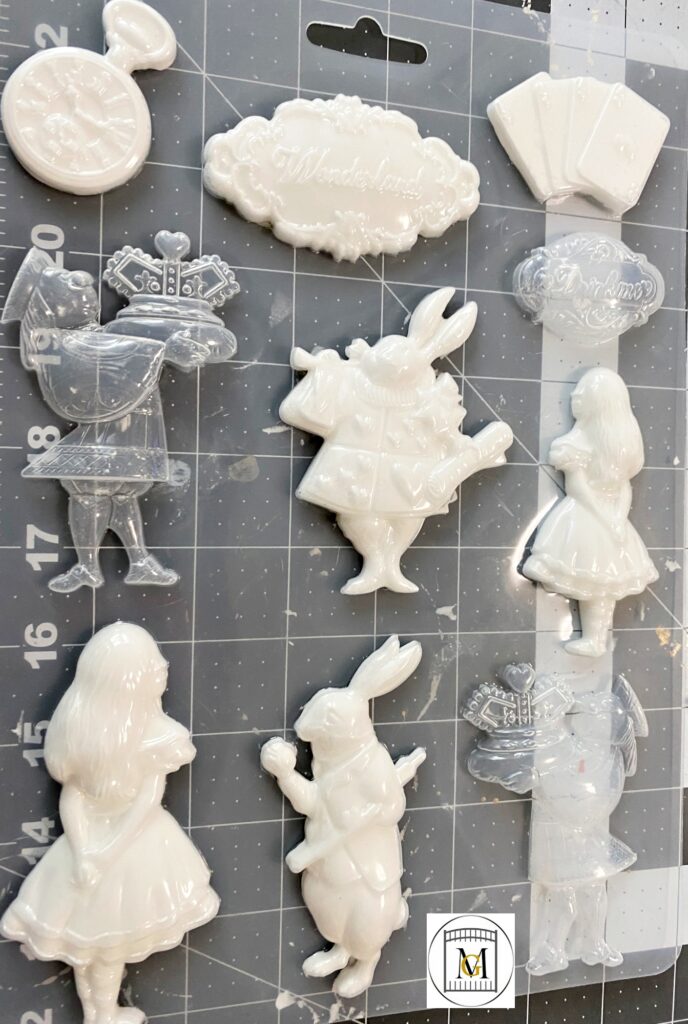
- Cake or craft molds in the theme of your choice – I got the Alice In Wonderland mold from Etsy years ago
- Champagne fine, extra fine glitter, or chunky glass glitter
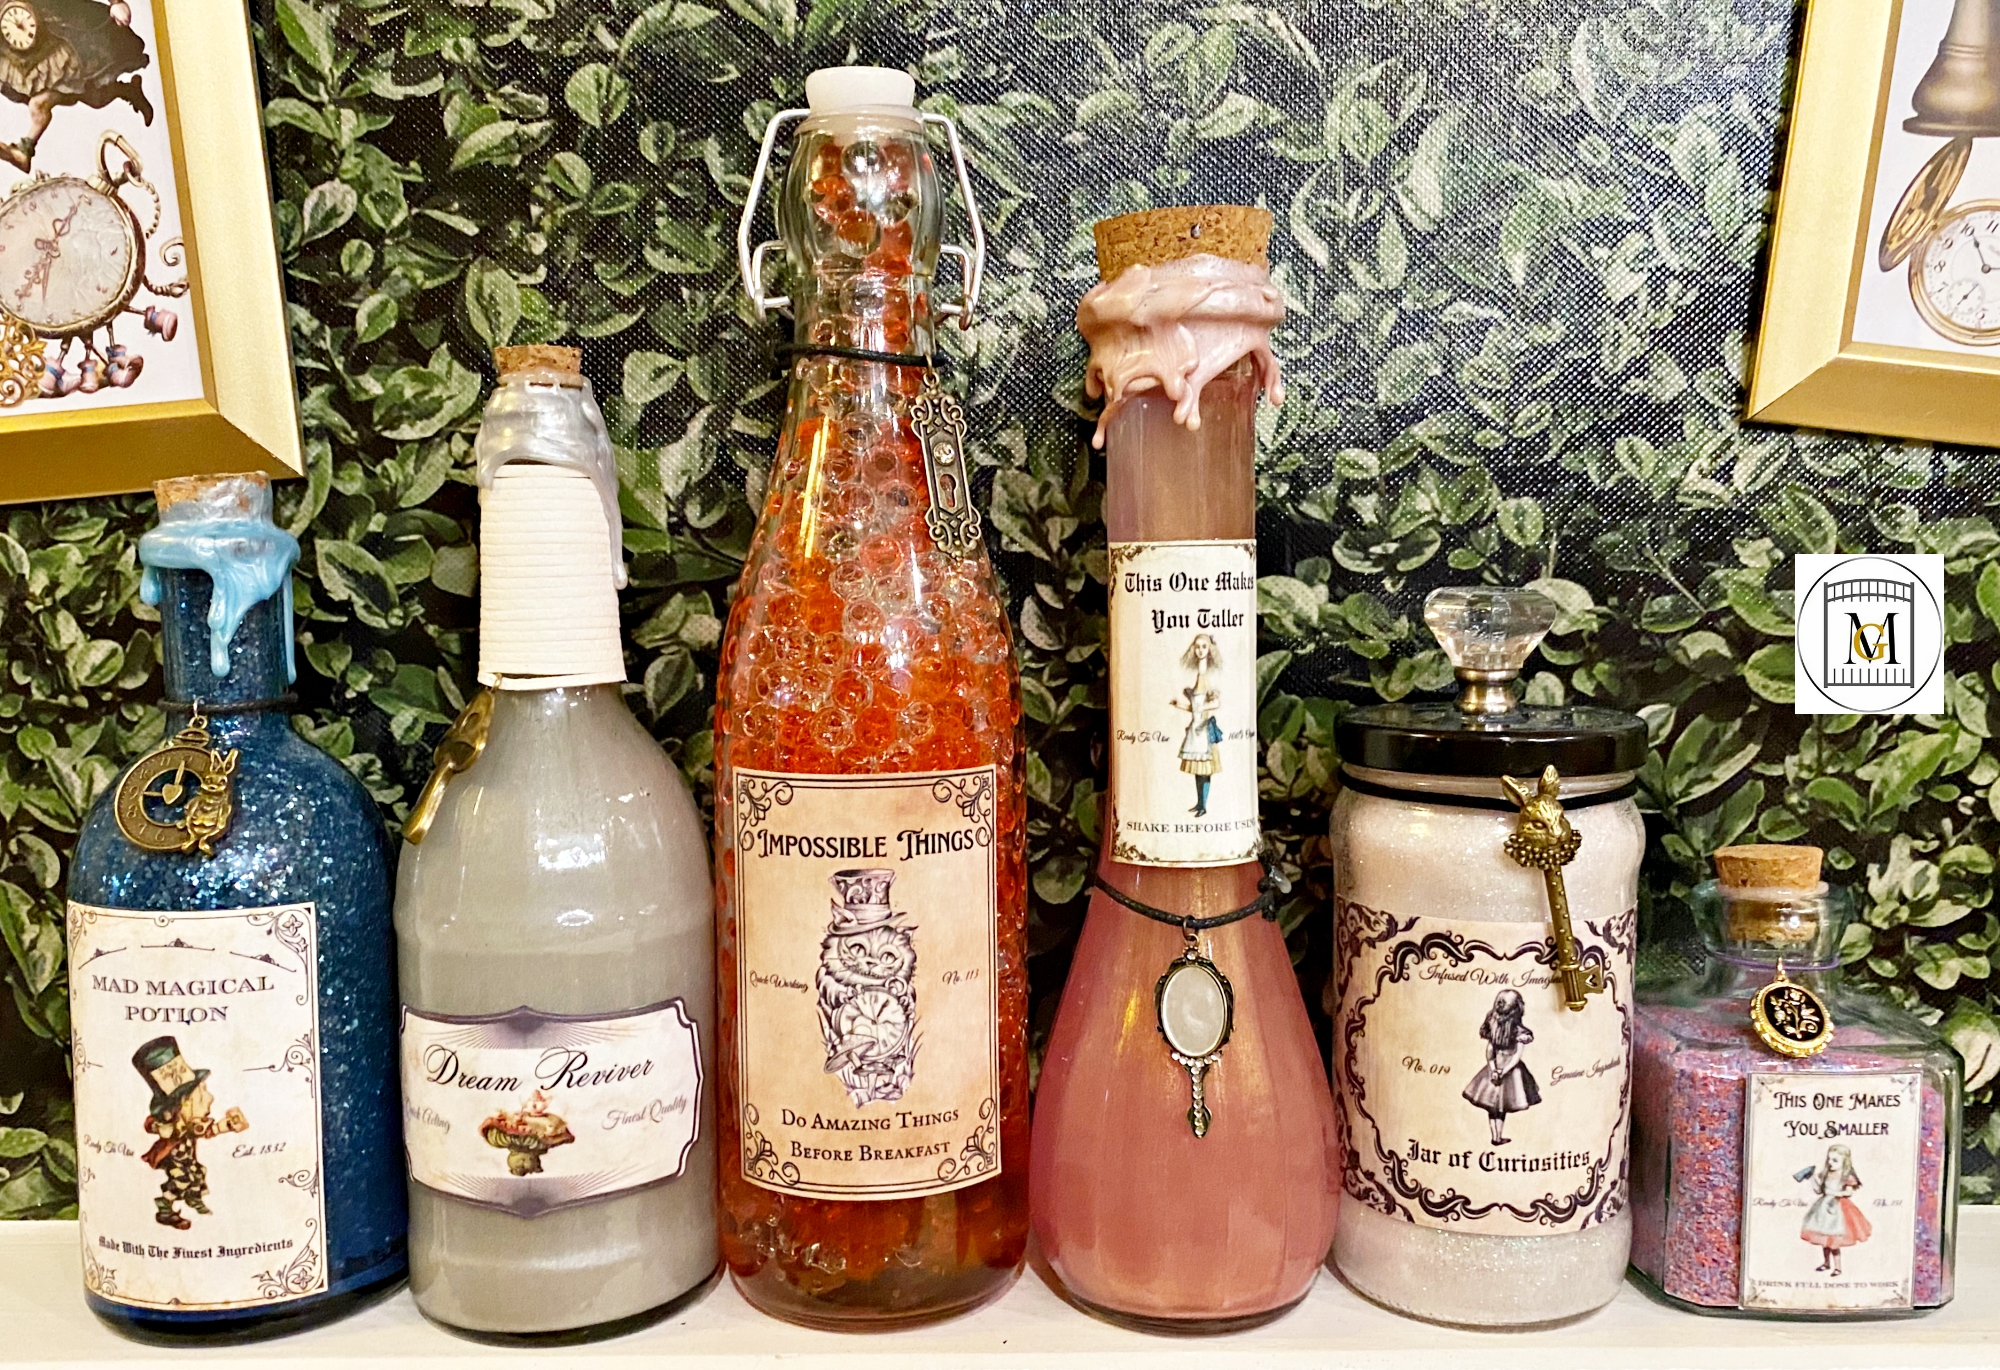
For Alice in Wonderland Potion Bottle Labels, click here: https://majorgates.com/product/alice-in-wonderland-magical-potion-bottle-label-bundle-download/
Directions for Alice In Wonderland Hat Box Decoration
For this project, I used 4 sheets of scrapbook paper to cover the 13 inch hat box and 2 sheets for the top. I then used 3 sheets of scrapbook paper for the medium sized 10.5 inch hat box and 1 sheet for the top. Also, 3 sheets of scrapbook paper for the small sized 9.5 inch hat box and 1 sheet for the top. It is optional if you want to cover the bottom or not.
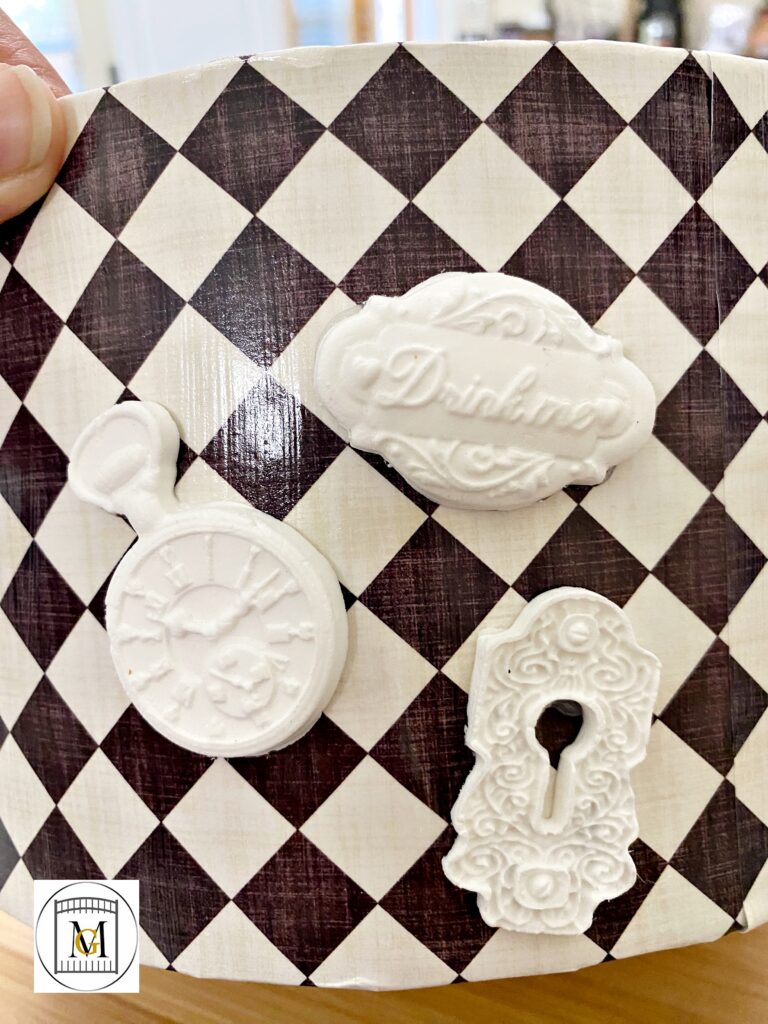
- If you are going to decorate the boxes with clay, press the clay into the molds and allow them to mostly dry. The timing of this will vary due to temperature and humidity. I made these boxes in the middle of summer in south Texas. So it was very humid and hot. My clay took about 8 hours to mostly dry that I could un-mold them easily. So the clay should be dry enough that you can remove them from the molds and still be bendable that fit on a curved surface. To prevent the clay from sticking to the molds, lightly brush with some corn starch.
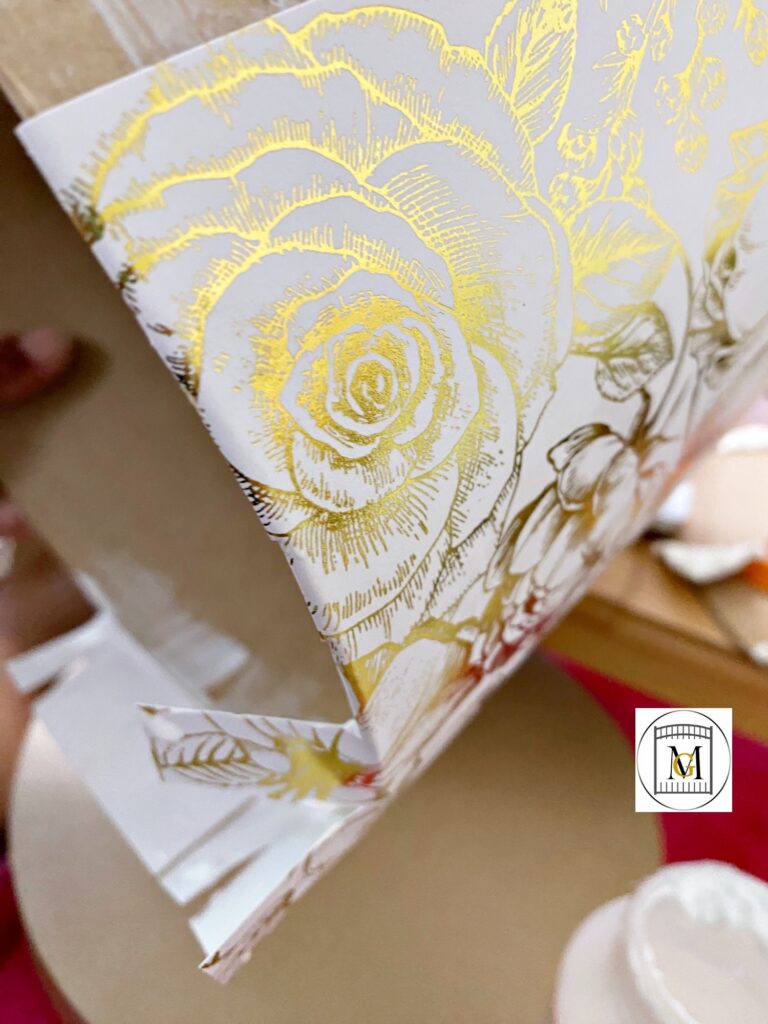
- Next, start working on the hat boxes by brushing on a generous amount of Mod Podge to the side of the hat box and add the scrapbook paper. Use as much paper as you need to cover the box. Depending on the length of the paper you are using, you should have a 1-2 inch overhang at the top and bottom.
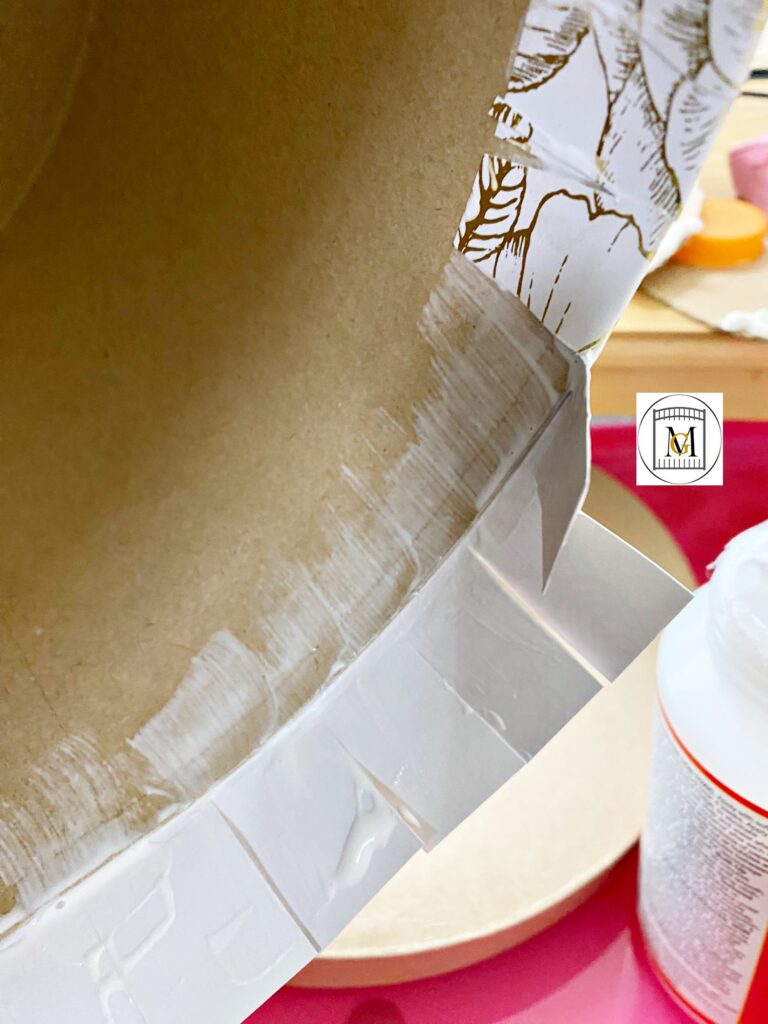
- Then cut slits on the overhang that are about 2cm apart. Then apply more Mod Podge to the flaps and fold them over and secure to the hat box.
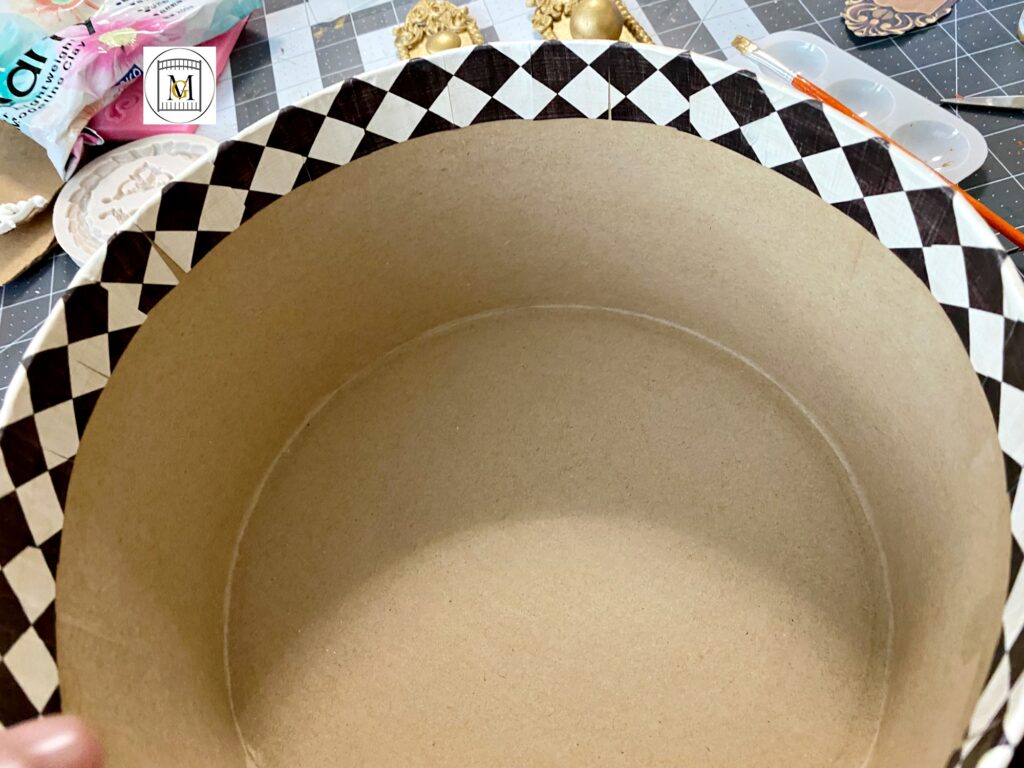
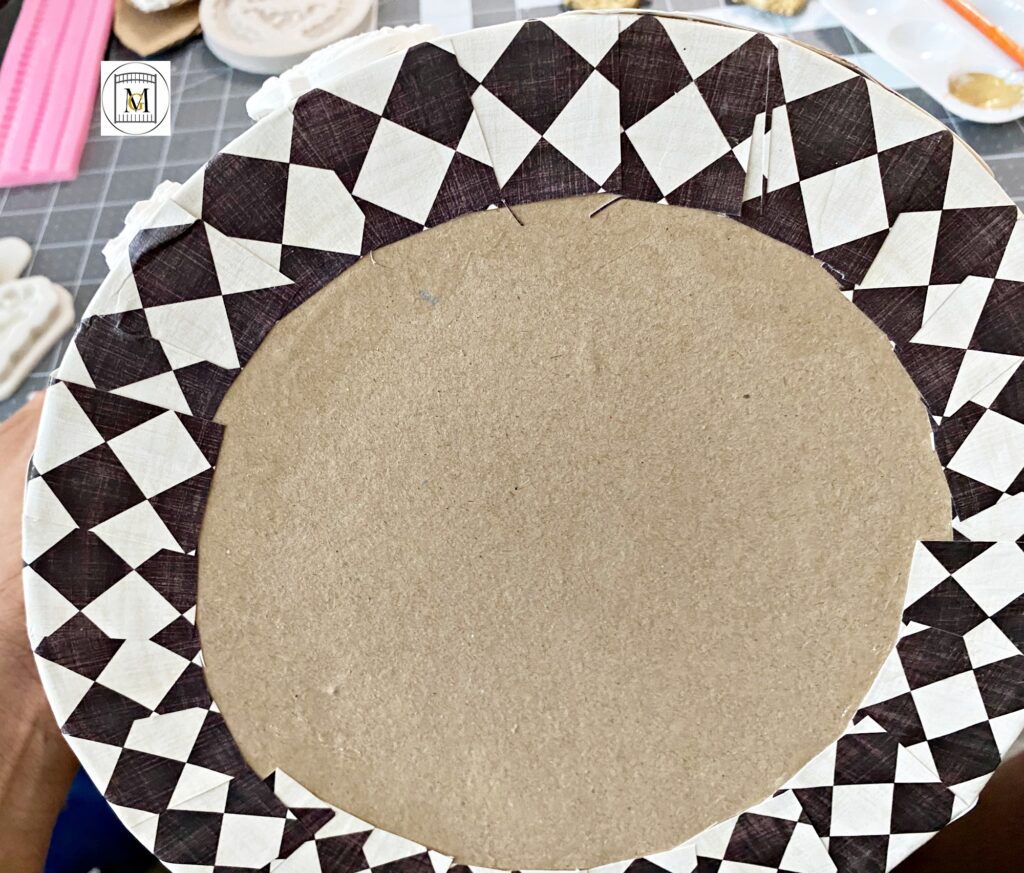
- Next, trace the lid of the hat box on scrapbook paper and cut out. I chose to do matching but different patterns for the tops of the box. Then apply Mod Podge to the top of the hat box and affix the cut out scrapbook paper.
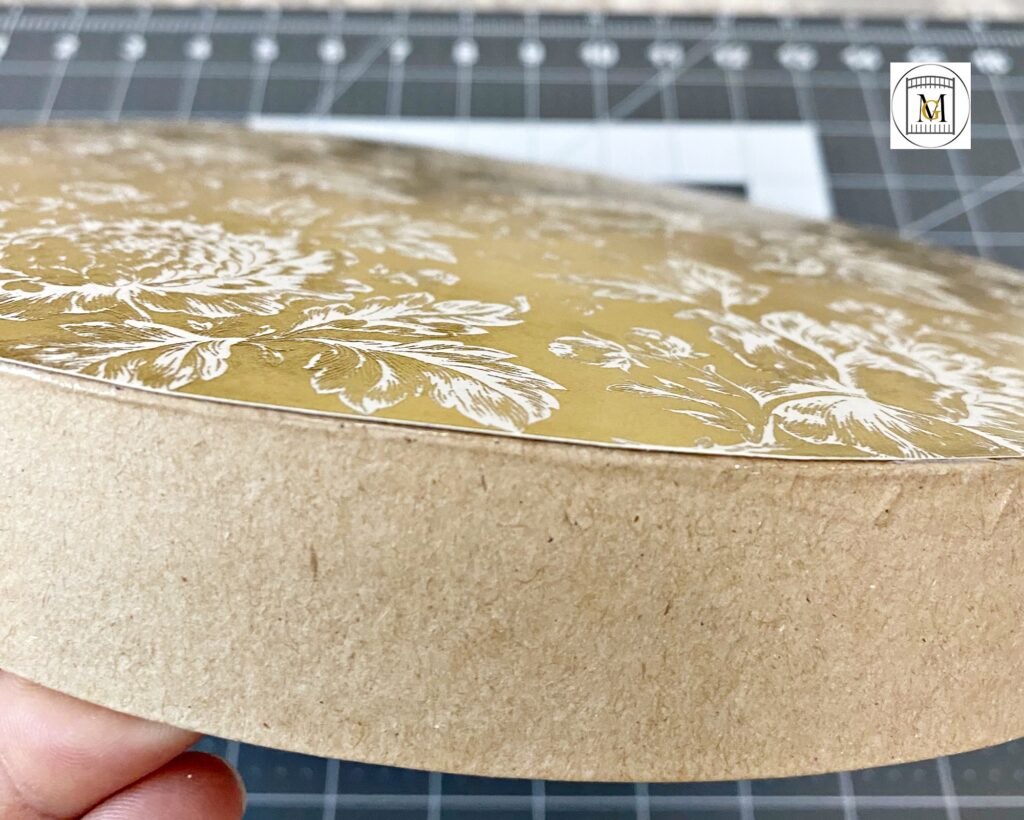
- Now, decorate the box, apply the clay decorations with hot glue or tacky glue.
- Then paint the decorations.
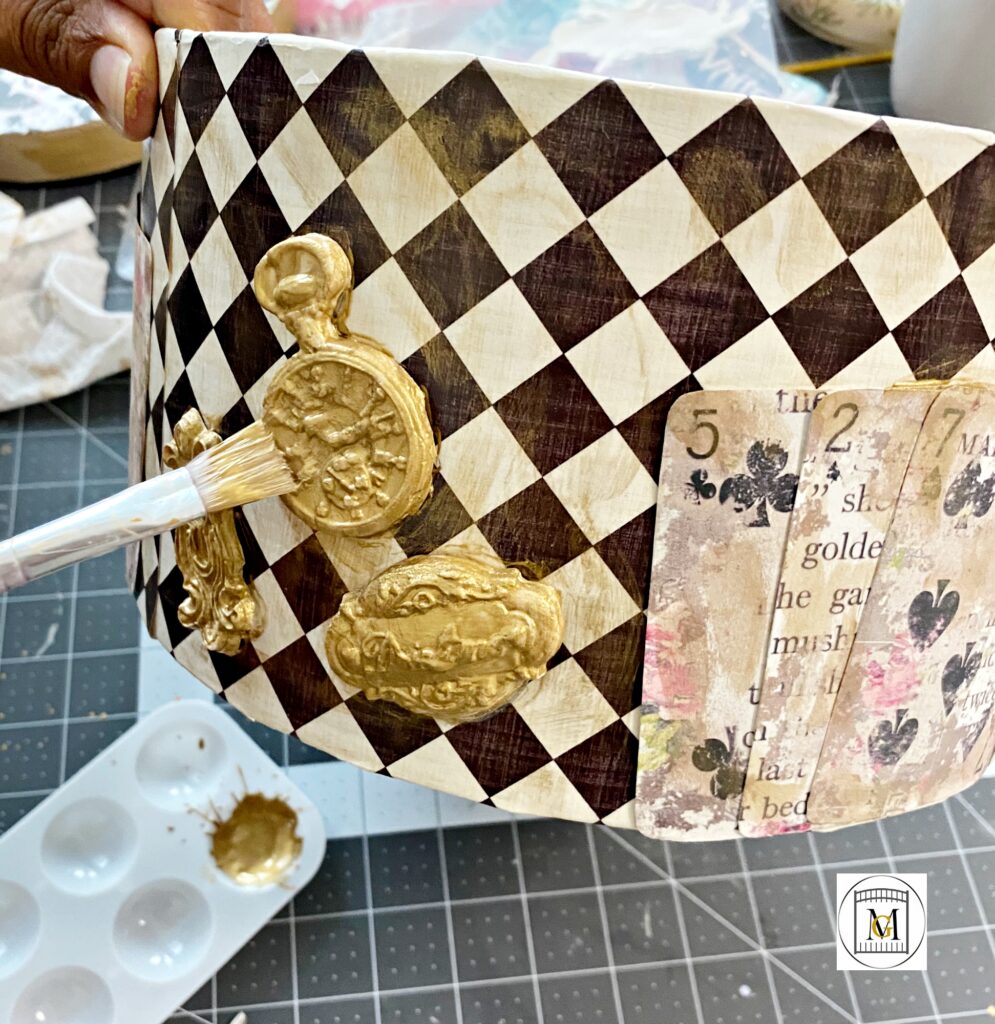
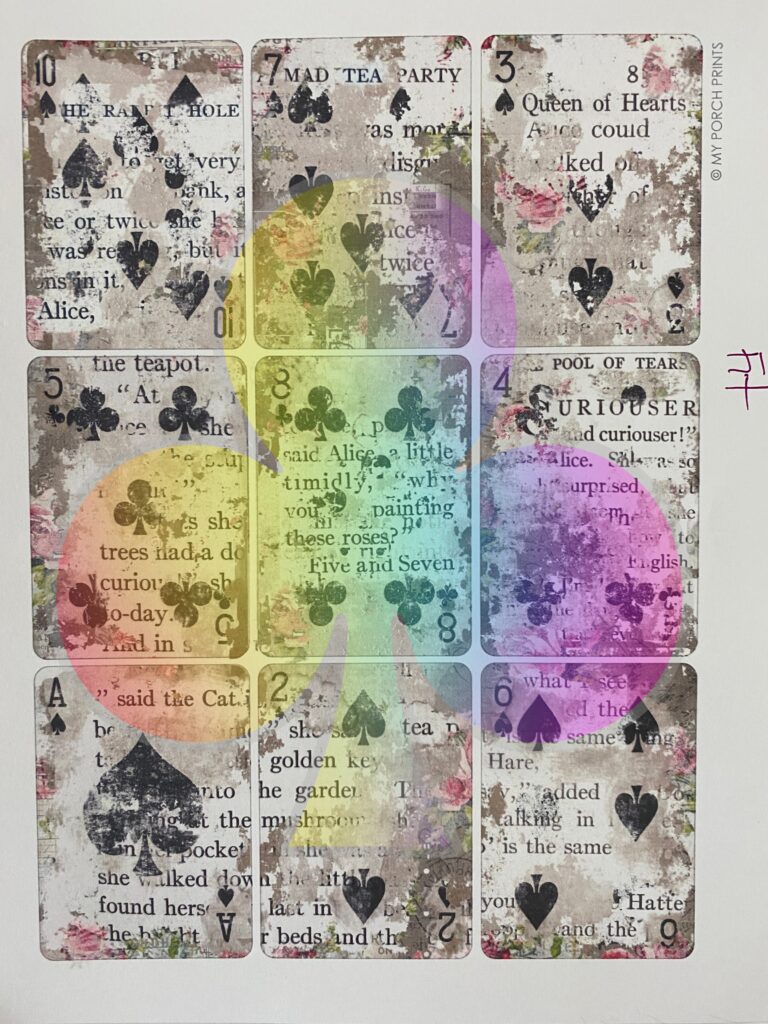
- I purchased a download for Alice In Wonderland playing cards from Etsy and the printed them on white regular card stock before cutting them out. I also added some gold to the cards so that they blended in well.
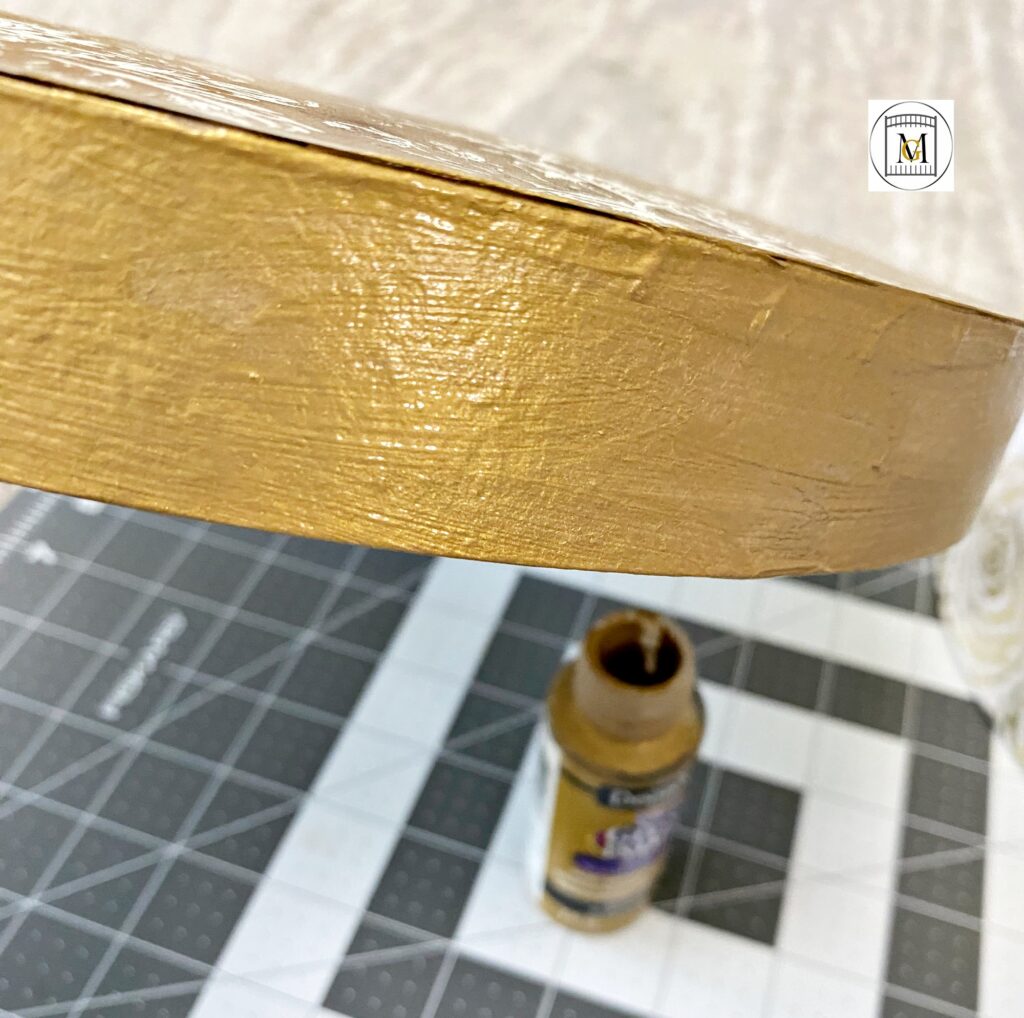
- Next, paint the rim of the top of the hat box and allow it to dry.
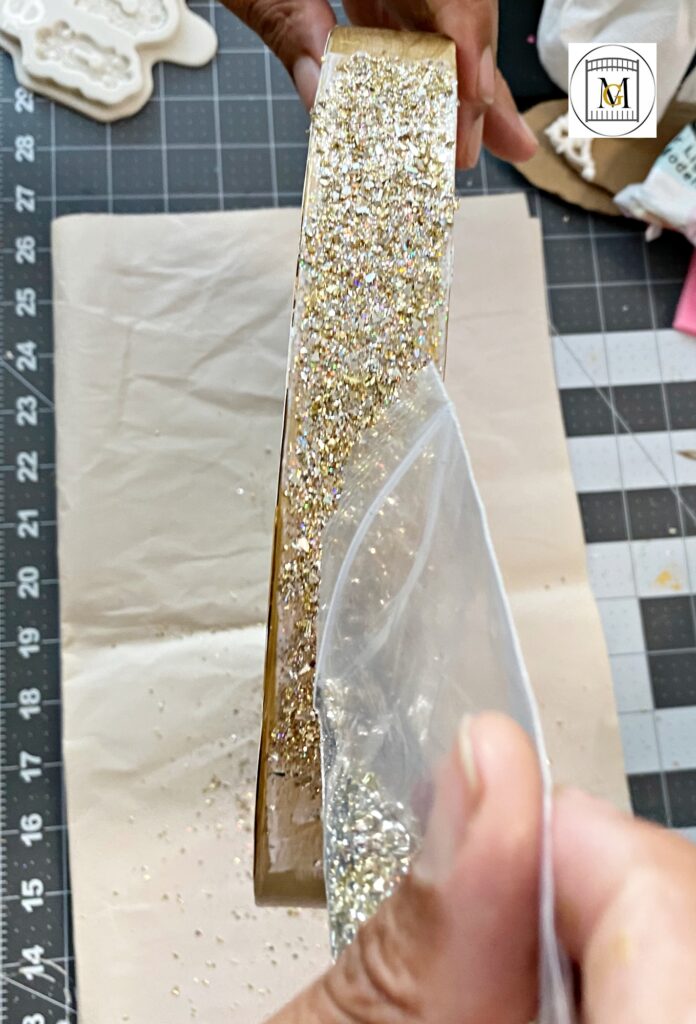
- Now add on the glitter by brushing on Mod Podge and then gently shaking on the glitter.
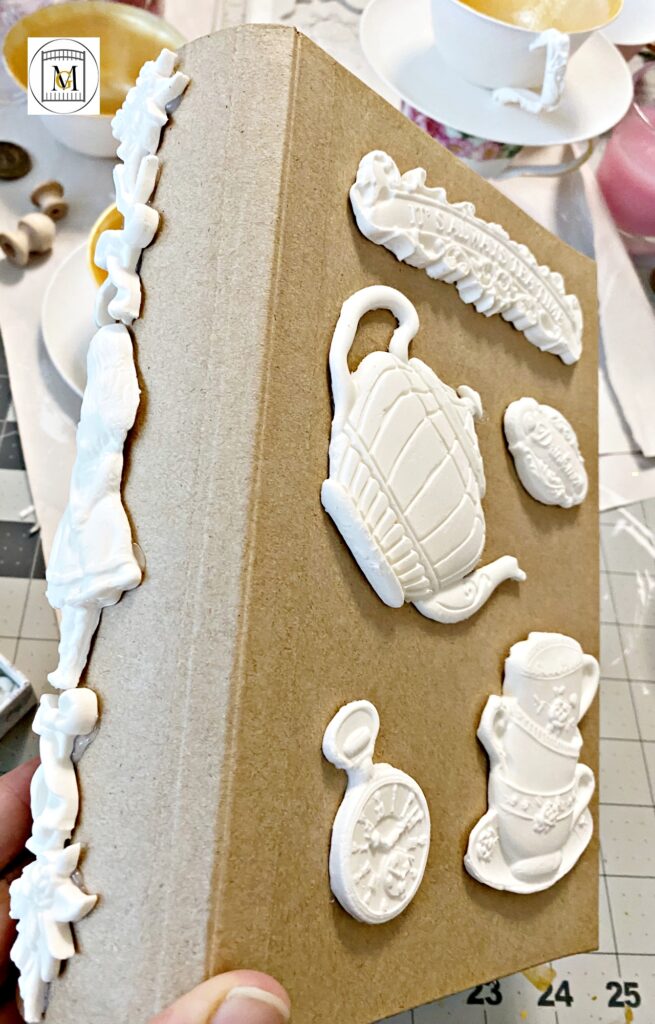
- So I did similar steps to decorate the paper mache faux book. I glued on the clay decorations and then painted the book. For the colors I used on the book, I did a blending technique where I would brush and dab the colors and wipe off with a baby wipe. The color are: Metallic Pearl Pink (Anita’s), Metallic Rose Shimmer (FolkArt), Metallic Glorious Gold (DecoArt), and Metallic Champagne (FolkArt).
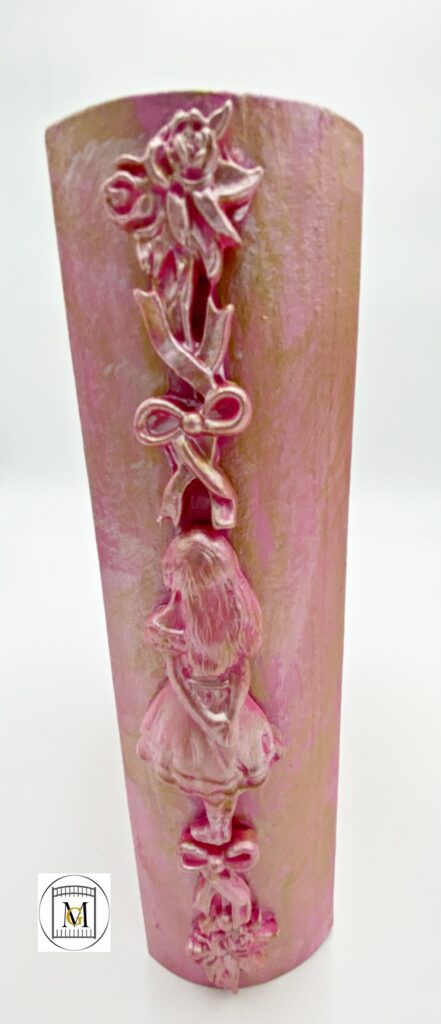
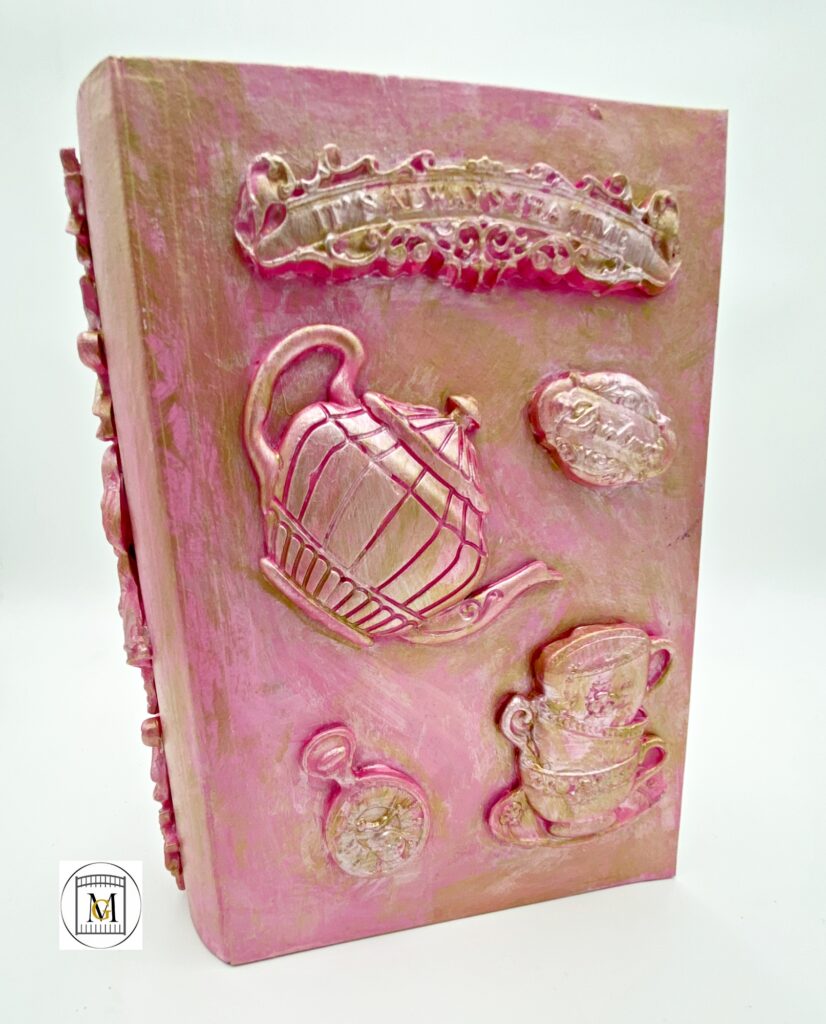
- Once everything is dry, stack them. Now, if you plan to use the hat boxes after the event, do not glue them together. These are lovely in a girls room or closet to use daily. Have fun making this project!
To see my available Jeopardy/Trivia Party Downloads, click here: https://majorgates.com/product-category/jeopardy-trivia/
