Alice In Wonderland Mad Hatter Headbands
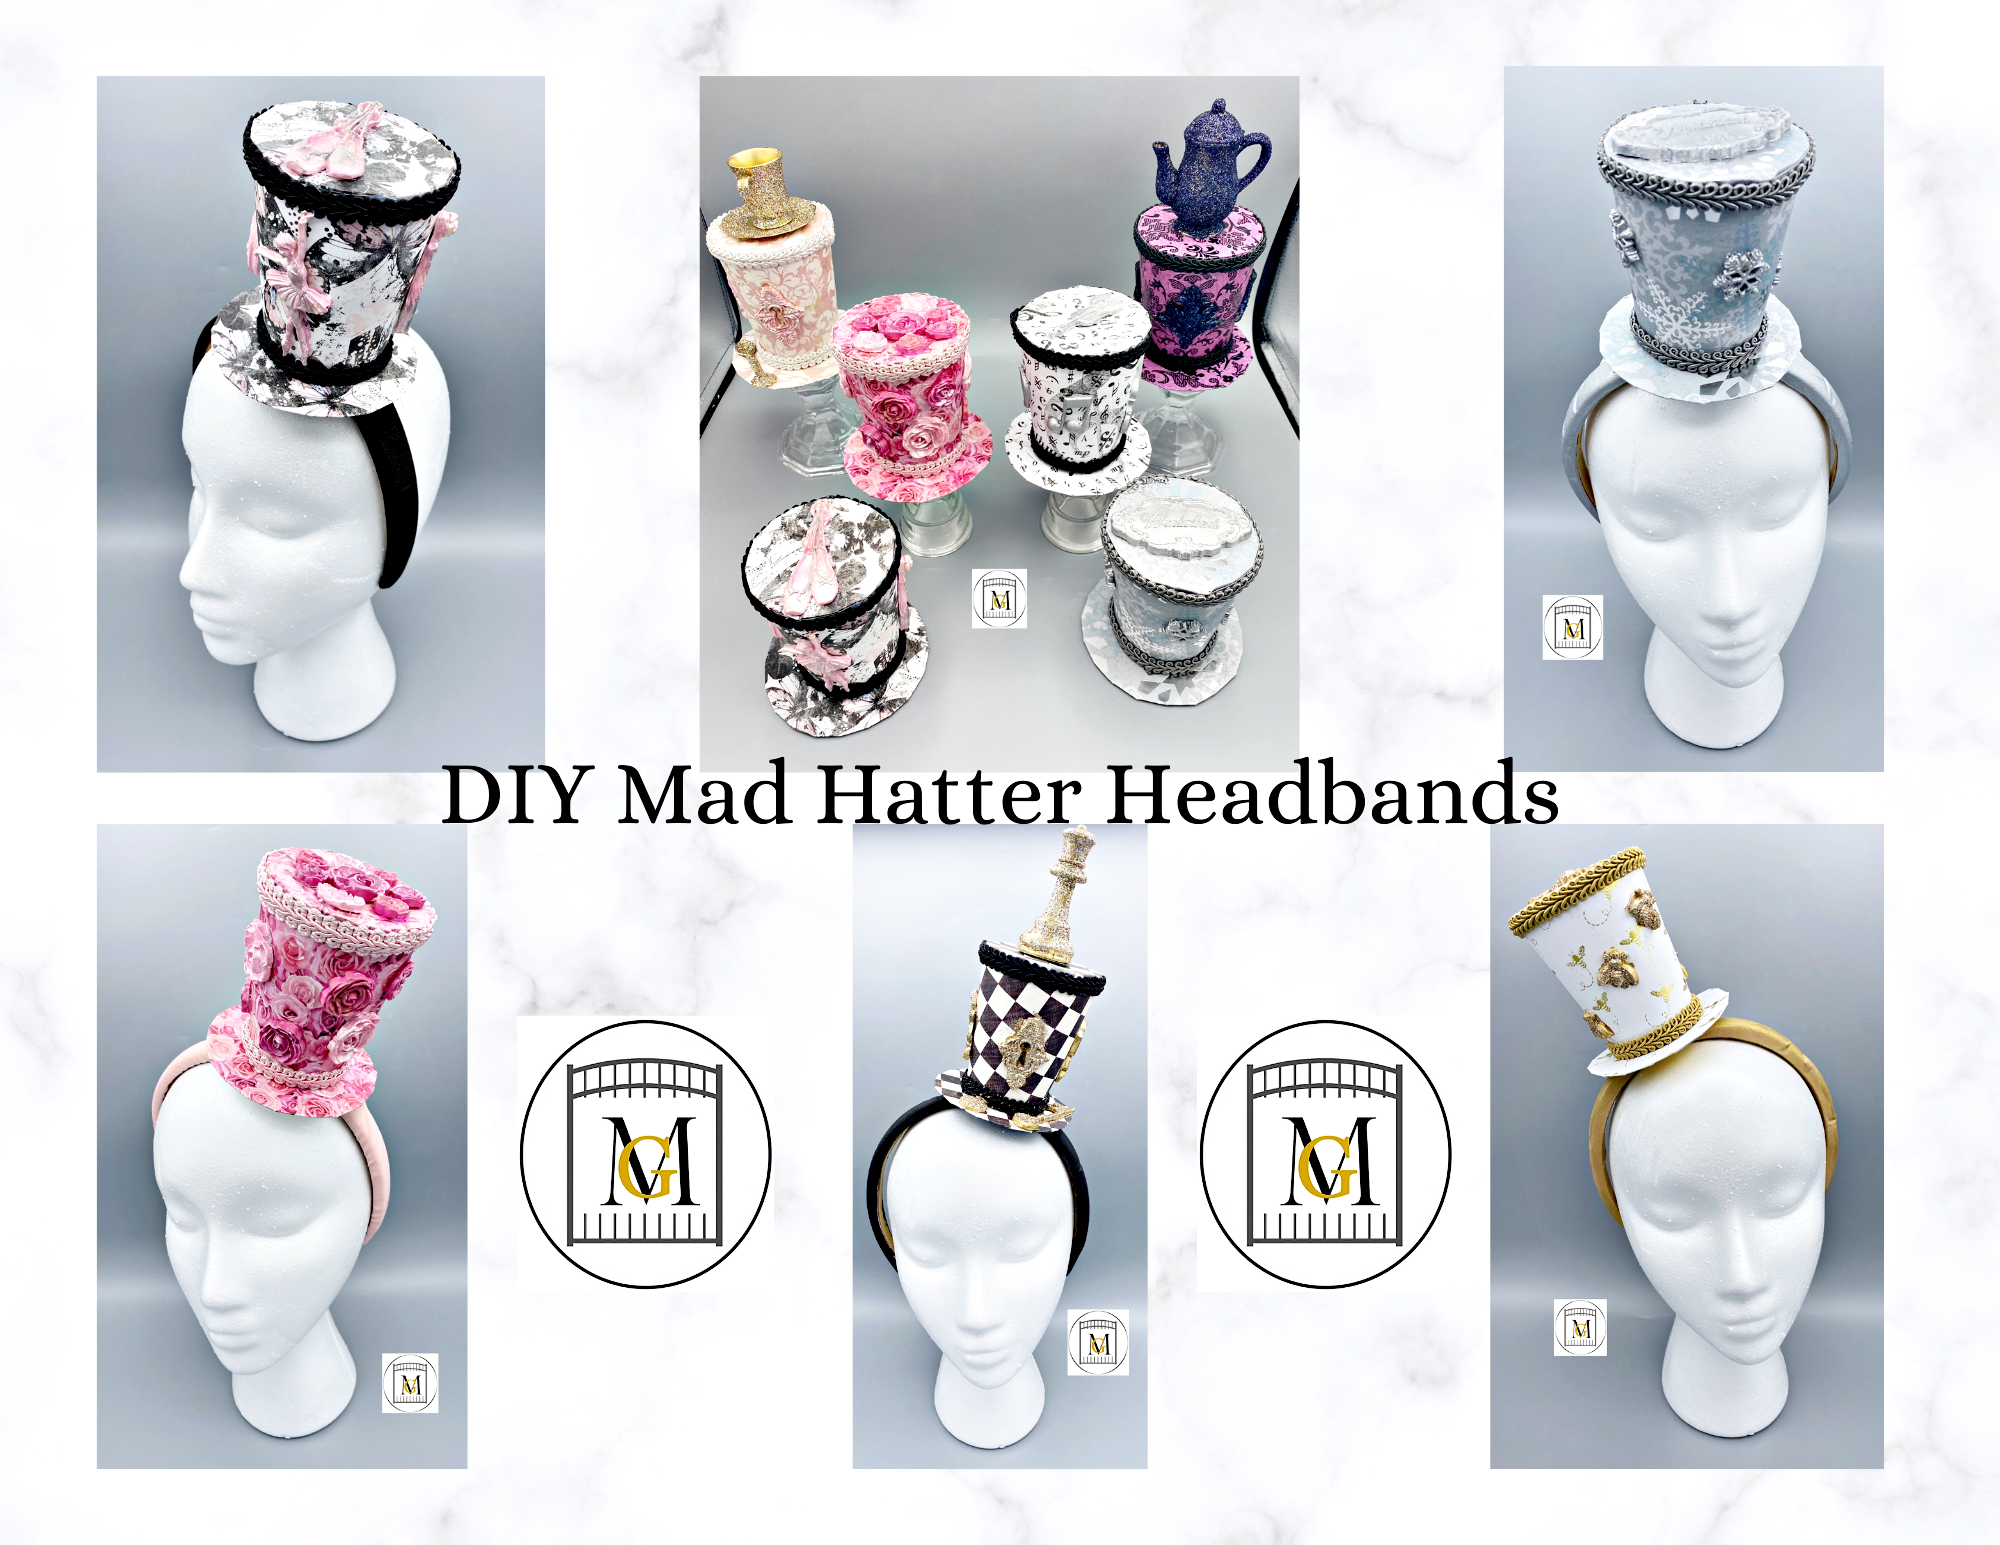
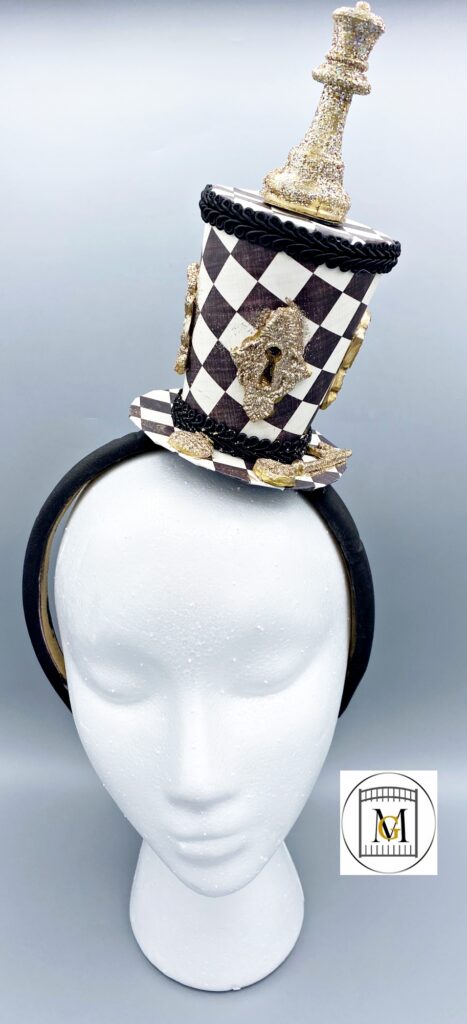
Alice in Wonderland Mad Hatter Headbands are a great party addition. This is a perfect way to make sure all the guests have a wonderful memory from the party. For my party, I took on the challenge to make an Alice in Wonderland Mad Hatter Headband for all my guests. These are so fun to make. Also, I was able to make each one unique and the guests got a chance to choose one that was perfect for them. So, I decided to make them in various colors so that guests could even match their outfits if they wanted to.
This craft is a no sew craft. The mini hats are made with scrapbook paper, paper cups and paper plates. So being a great high skilled crafter is not required. I took the mini hats to another level by decorating them with air dry clay and furniture trim. I also chose to use padded headbands, so they were more comfortable to wear.
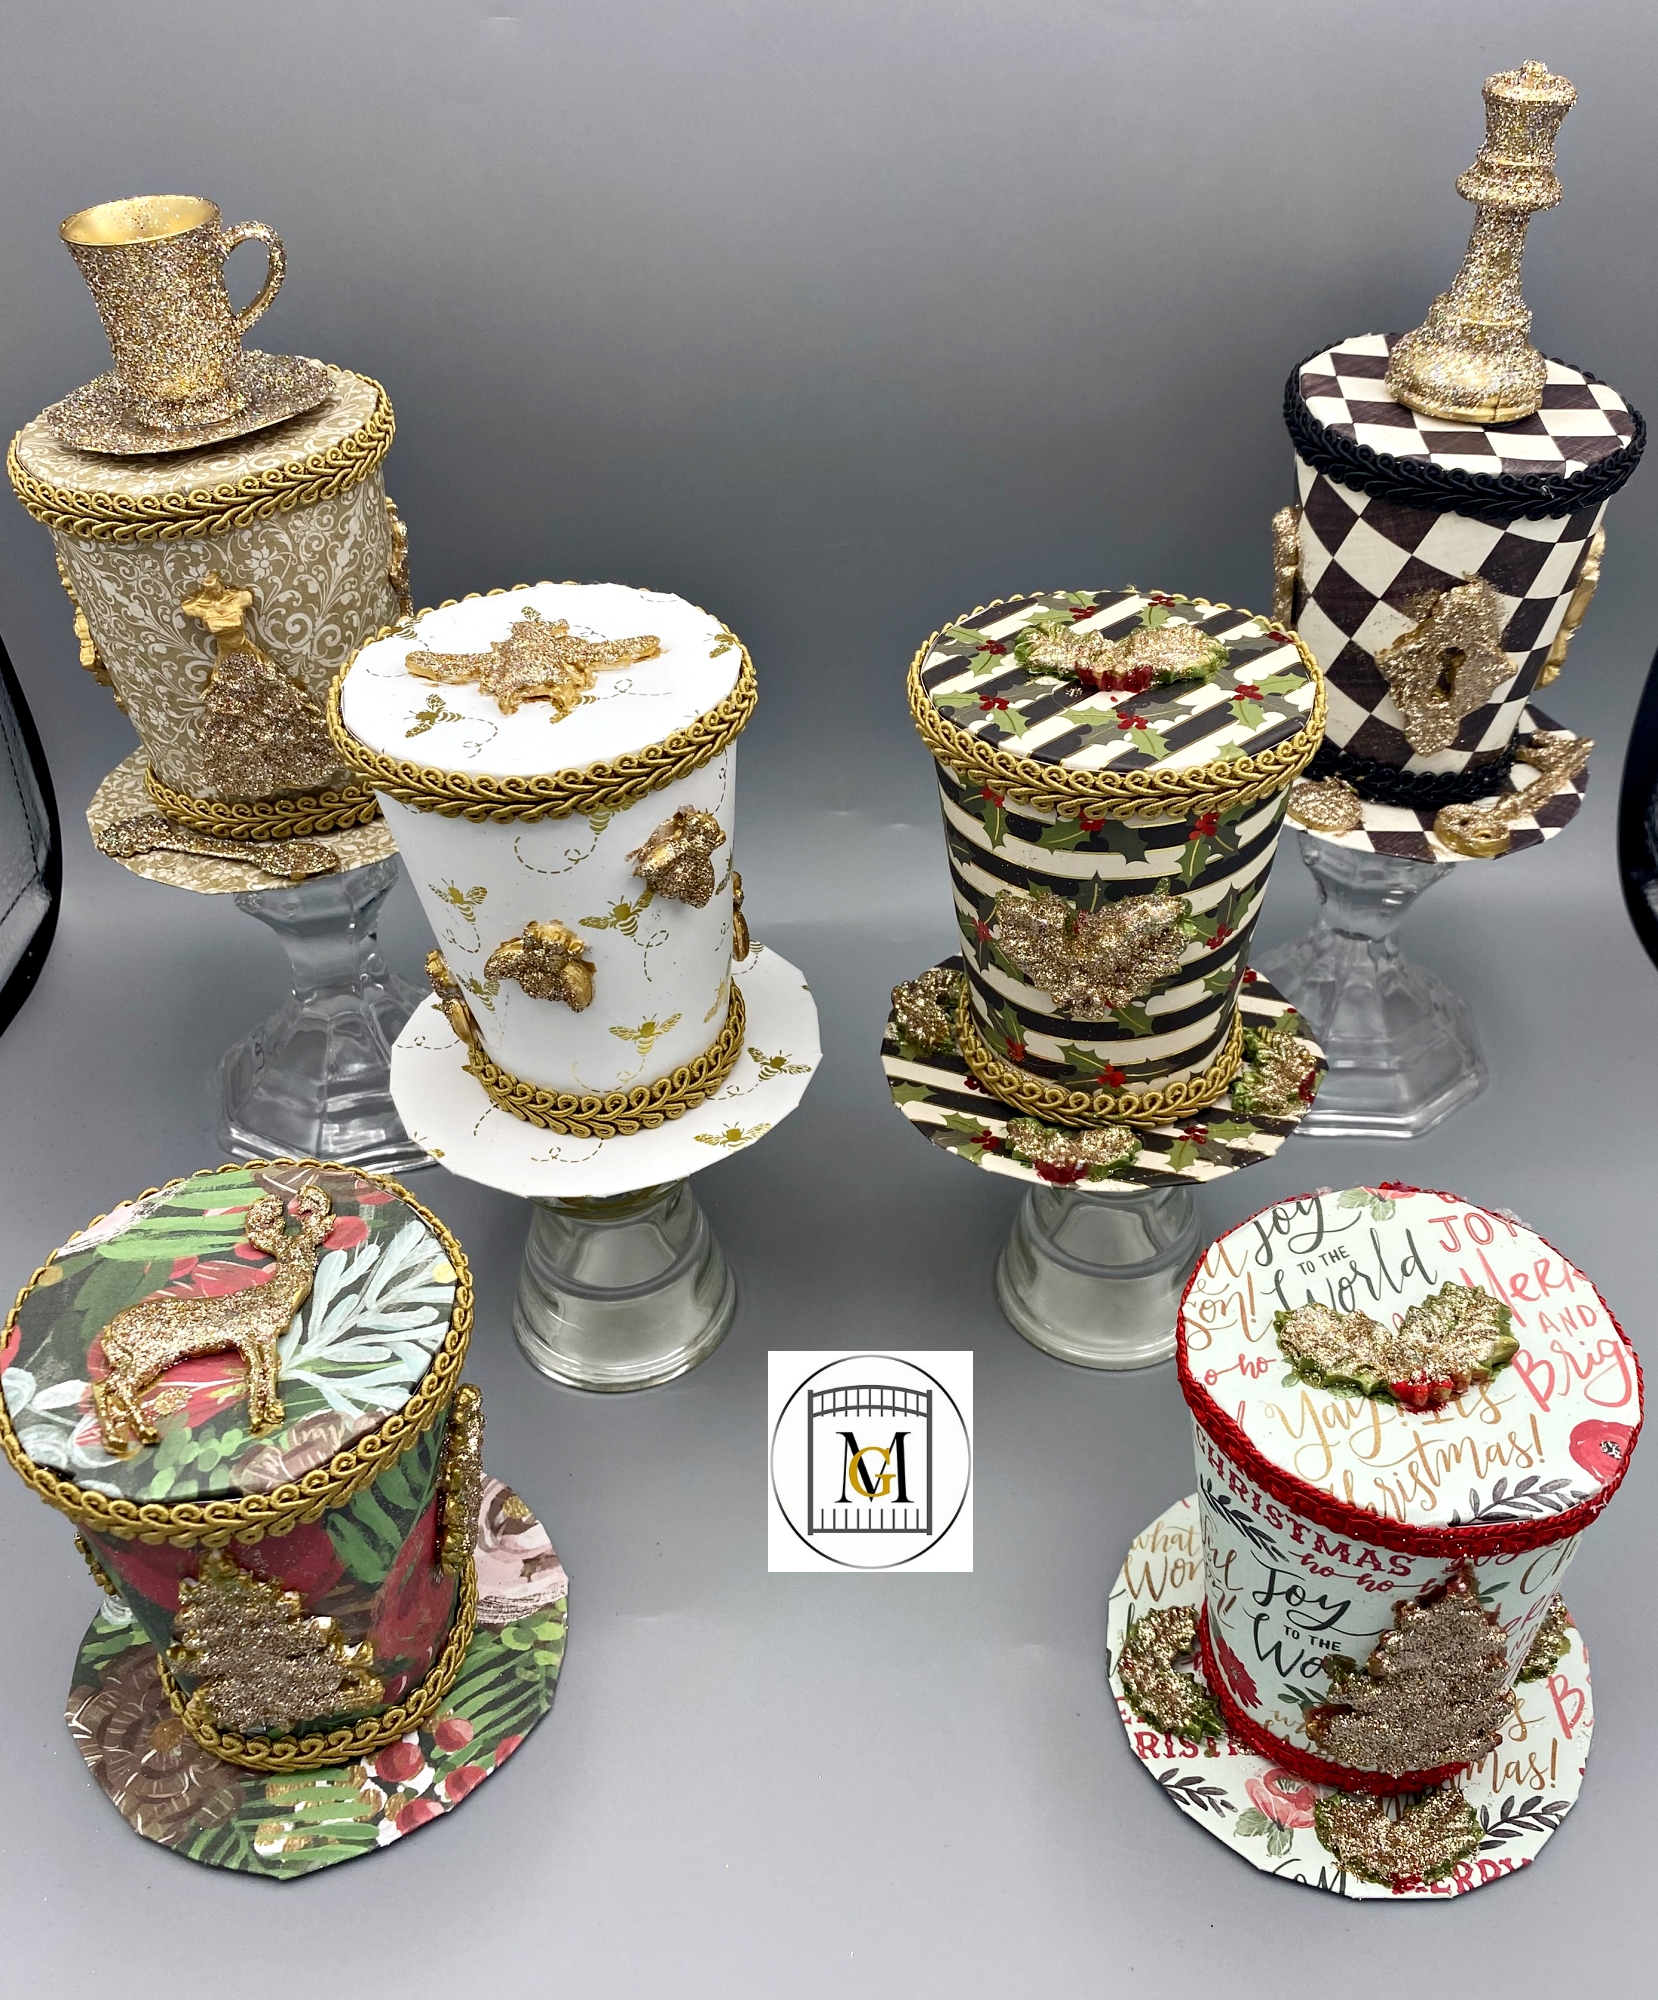
These are also great to make as Christmas tree ornaments. The size is perfect and you just have to add hanging string or ribbon.
Don’t Forget To Follow Me On Pinterest!
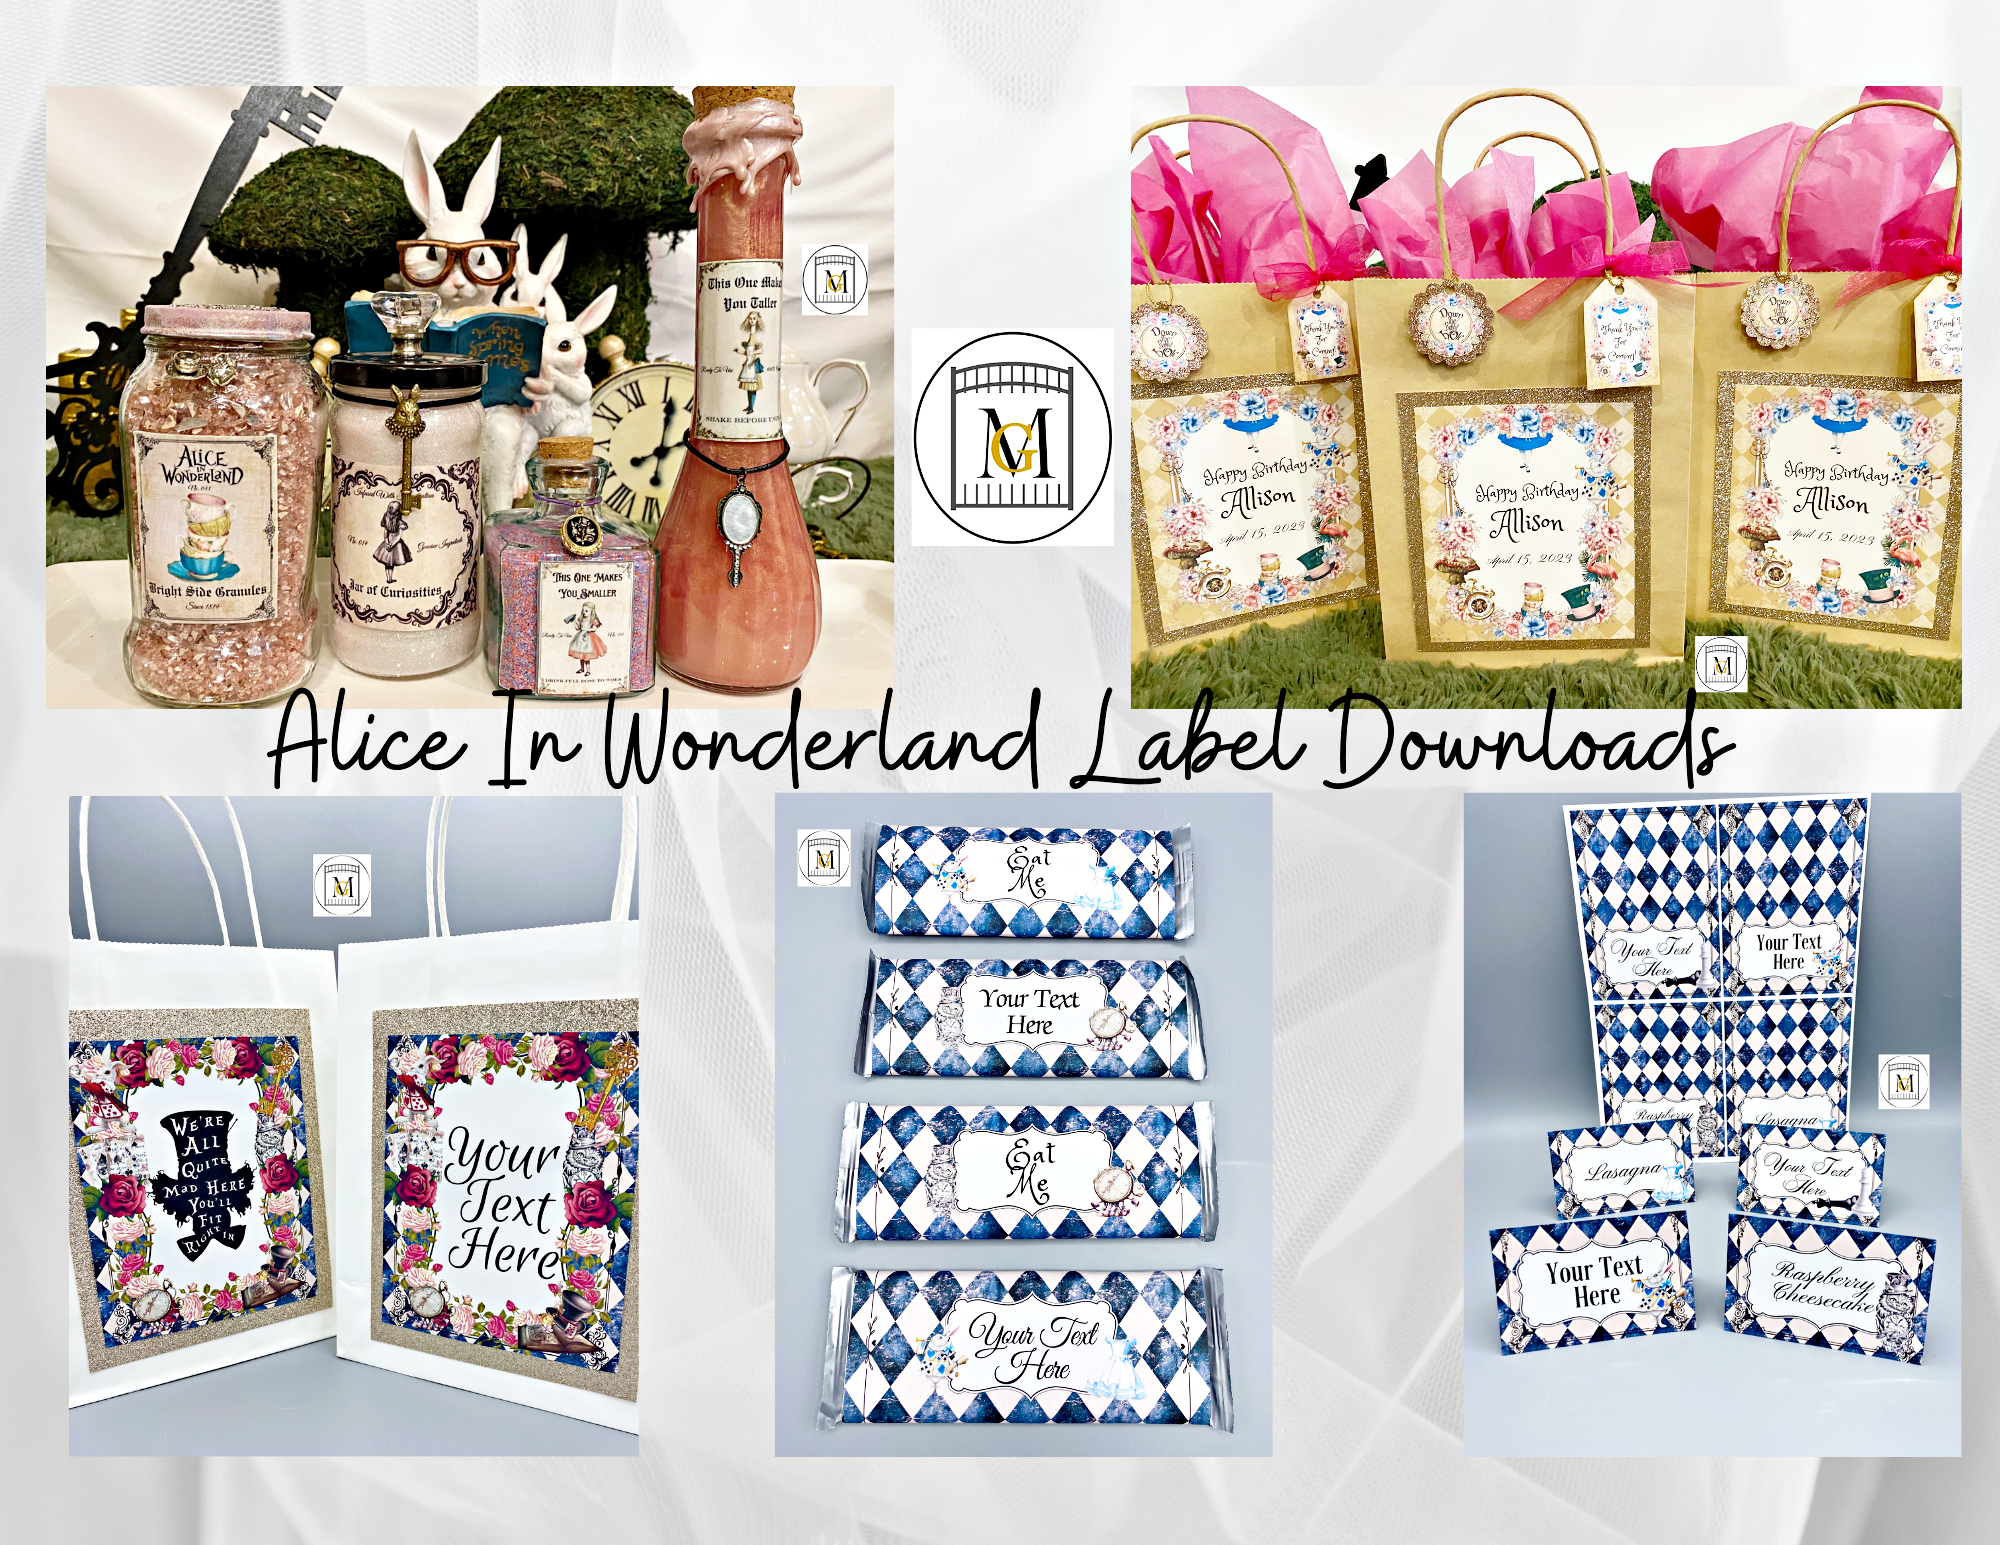
To see my available Party Label Downloads, click here: https://majorgates.com/product-category/party-bundles/
Visit my shop for my Alice In Wonderland available party label downloads here: https://majorgates.com/blog-2/shop/
Supplies
- 9 ounce (266ml) paper cups
- 7 inch (1.77 cm) round paper dessert plates (heavy duty) – cut down to 3.75 inch circle
- 12 x 12 inch scrapbook paper of your choice
- Dual temperature mini glue gun and glue sticks
- Glue sticks
- Scissors
- Poster board -1-2 sheets in the color of your choice – needed to create patterns and underside of hats
- Ruler
- Extra light air dry clay
- Cake or craft molds of your choice
- Acrylic paint
- Paint brush and paint tray
- Upholstery trim
Directions For Alice In Wonderland Mad Hatter Headbands
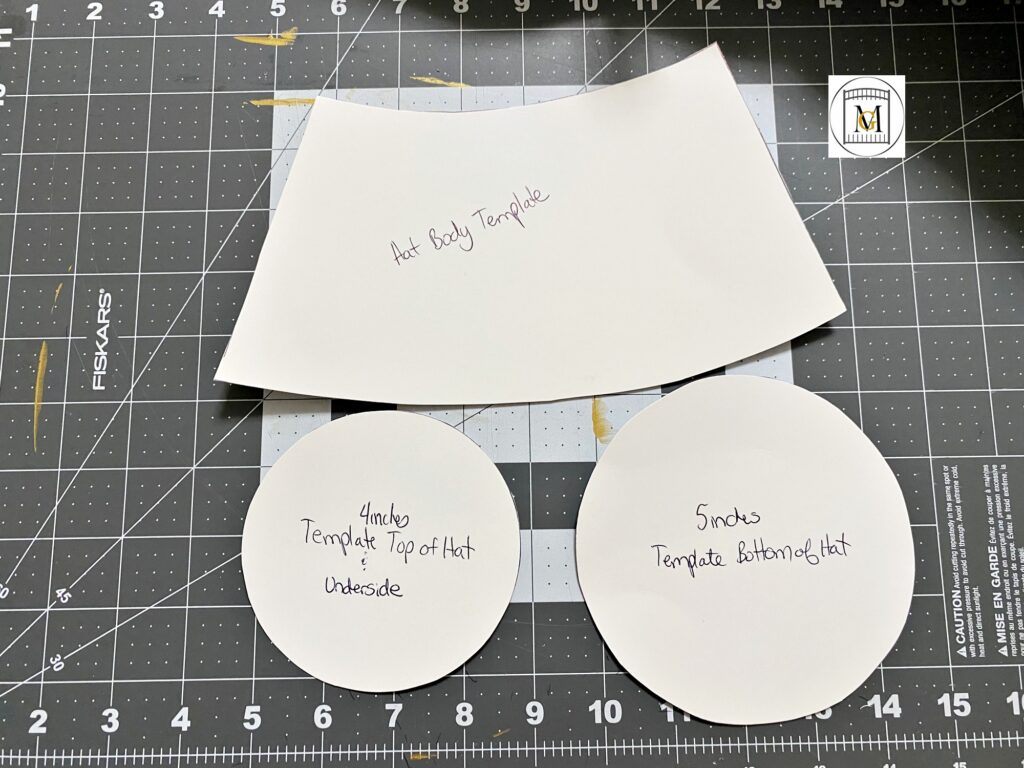
- Start by creating the templates for the Mad Hatter headbands. Trace a 5 inch circle on a poster board and cut out. Then trace a 4 inch circle on the poster board and cut out. Next, create your cup template. To do this, take one of the paper cups and cut it apart, so the you can get the width and height of the body of the hat. Then, add 1 1/4 inches to the width and cut out. So the height of the pattern stays the same, you just extend the width. The cups I used were 9 ounce and they were 3.75 inches tall. The width of the pattern cut out at the top is 10.1 inches and the bottom is 7.6 inches. It is an arched pattern, so the width measures differently depending where you set the ruler. Just trace the pulled apart cup, and you will be just fine.
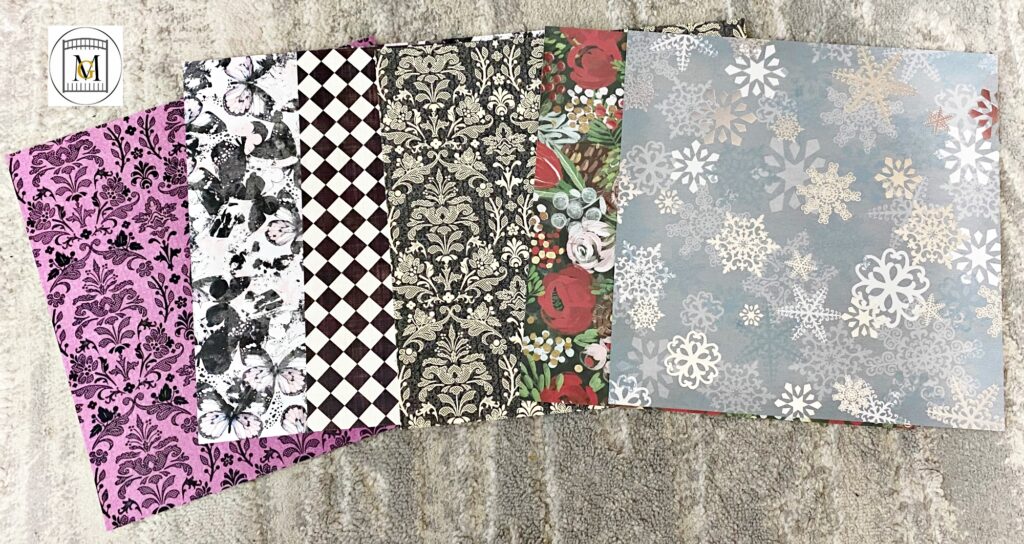
- Next, pick out your 12 x 12 inch scrapbook paper patterns for the mini hat headbands for the number of hats you are making. You can purchase a scrapbook paper pack or buy the sheets individually at your local craft store. Also, for a garden tea party or spring time party, consider flower patterns or bright, spring, pastel colors and themes.
- Then, trace out all 3 patterns on the backside of the scrapbook paper and cut out.
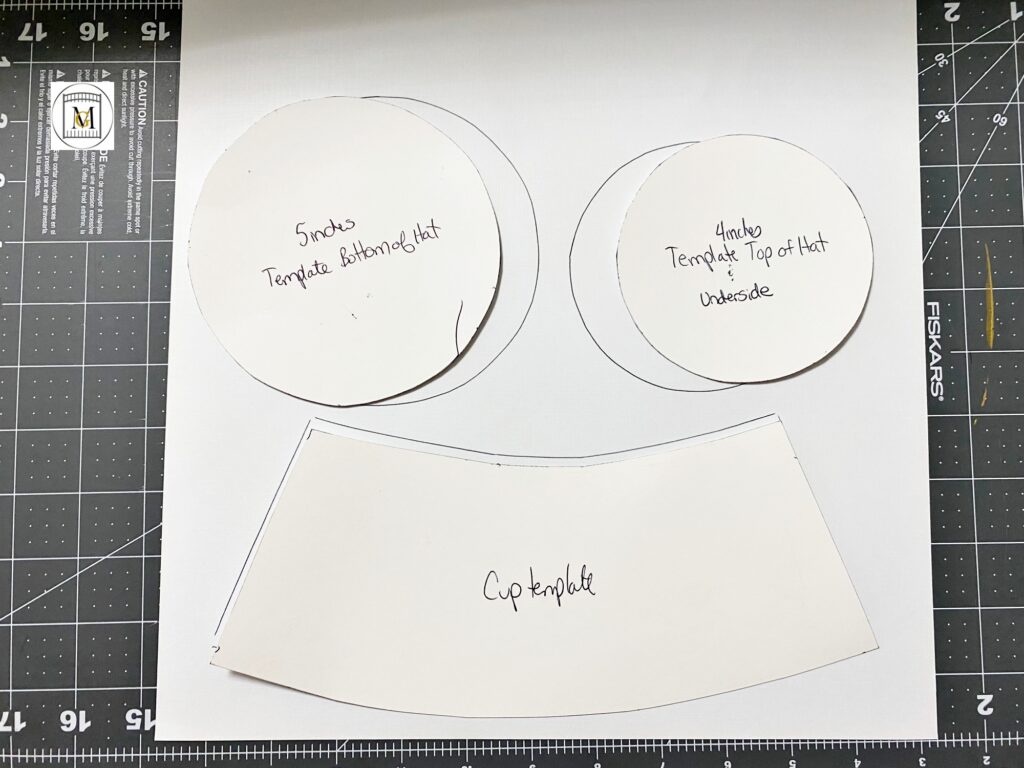
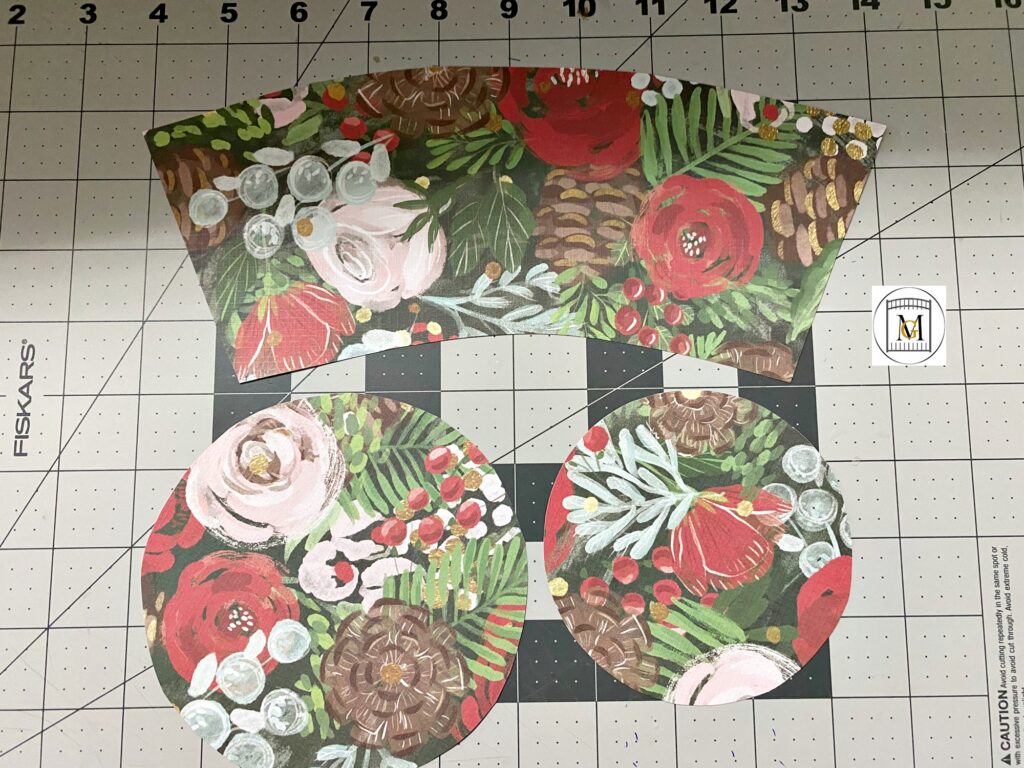
- Next, cut out your paper plate to 3.75 inches. So this is just the inner portion of the plate without the rim.
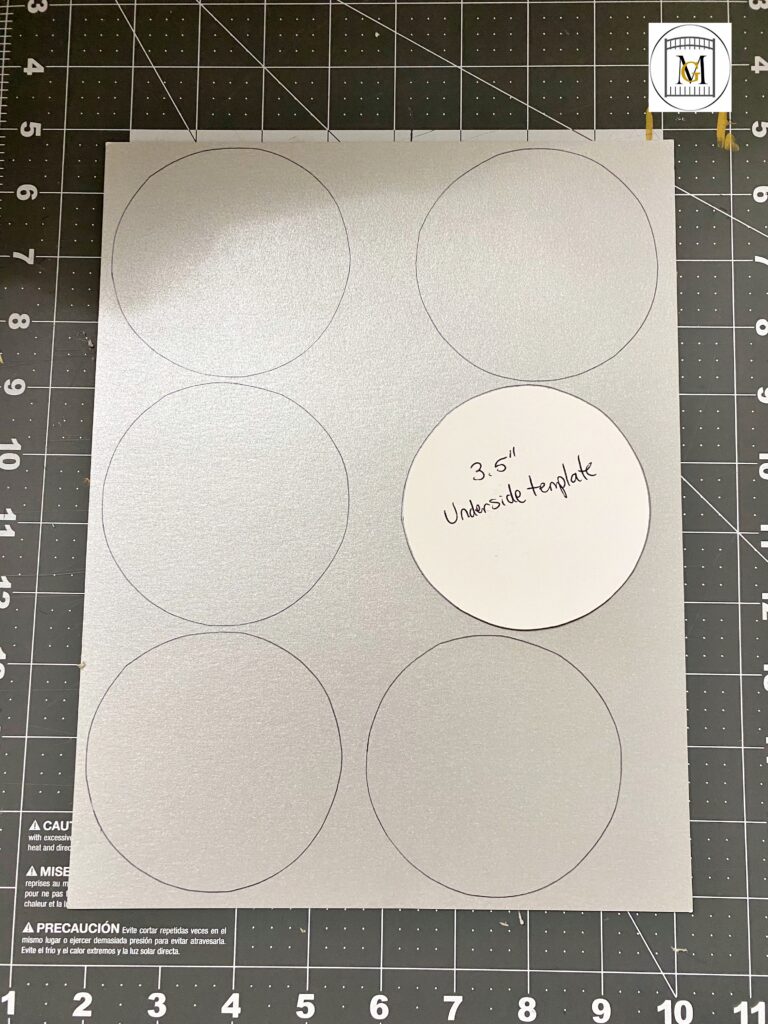
- Then, cut out the underside of the hat on poster board to 3.5 inch circle. So with will cover up the folded sections of the paper. I used a gold, white and silver poster board, since my event is at Christmas, but use what ever color you like.
- Now, glue the 3.75 inch cut out of your paper plate to the backside, in the center of the 5 inch scrapbook paper cutout with a glue stick. So make sure this step is with a glue stick and not hot glue, so it is smooth.
- Then, cut 1 cm slits of the paper around the glued plate. So you will glue the slits around the circular paper plate. I typically work in sections so that the hot glue does not try, so try gluing 5-7 slits at a time until you complete the circle.
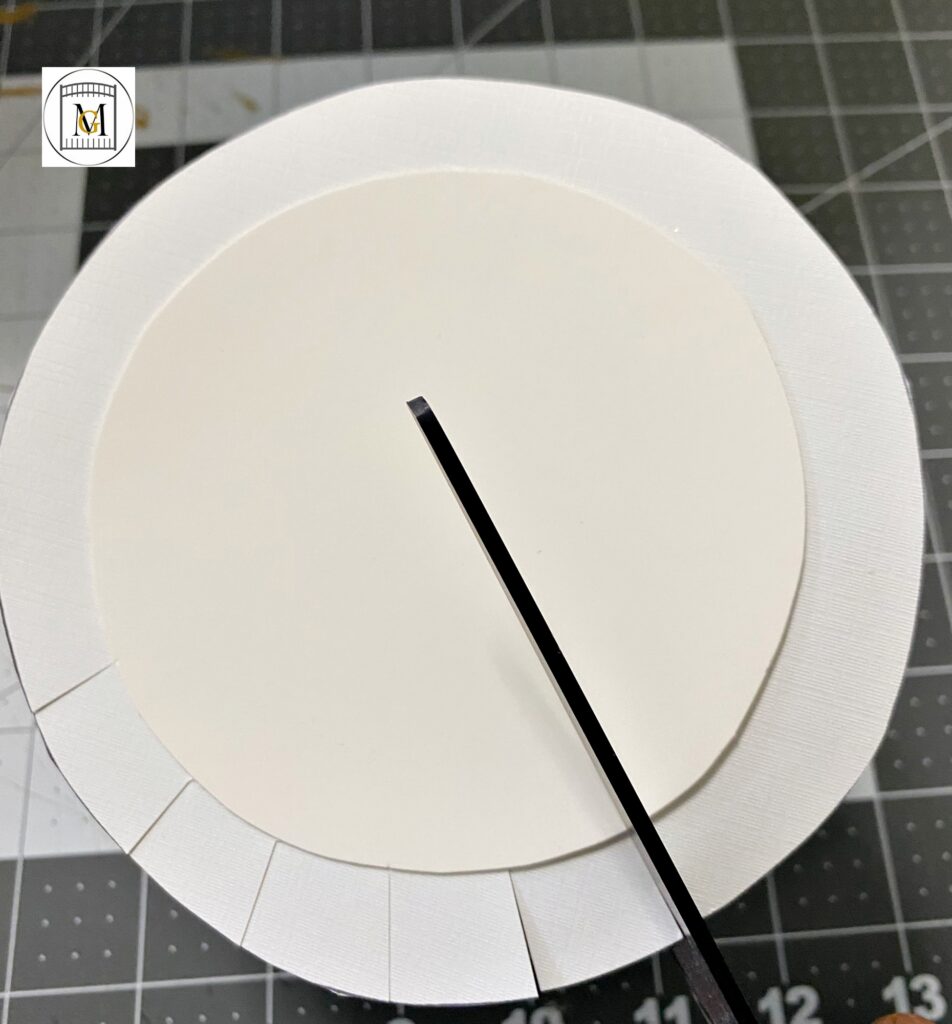
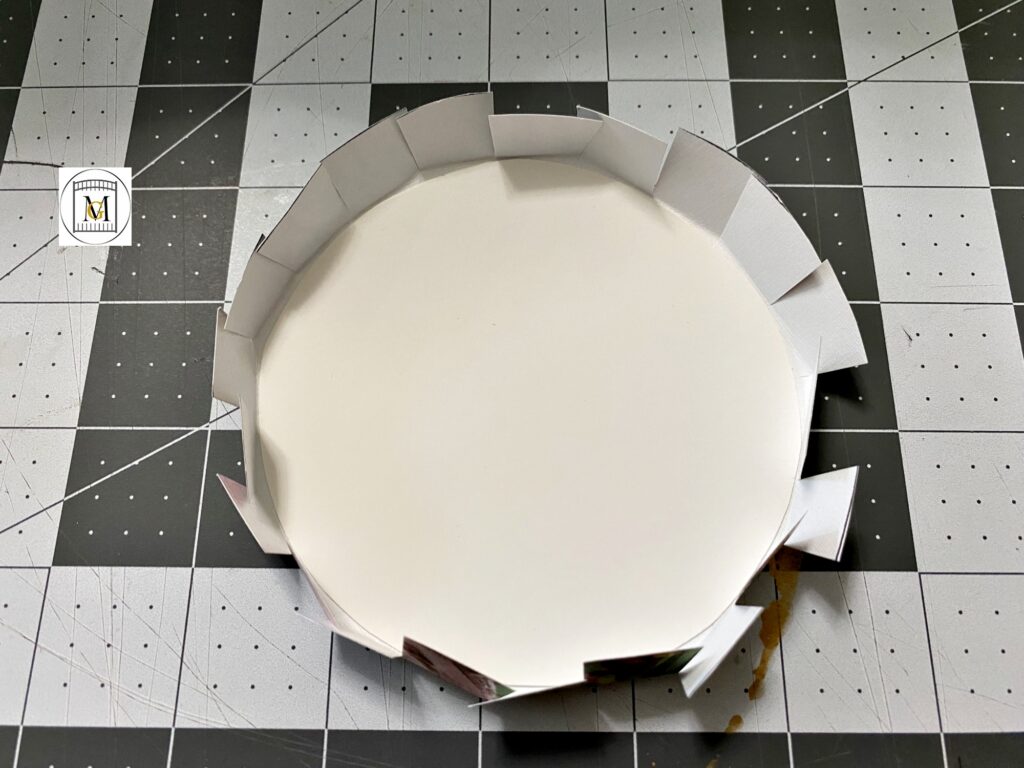
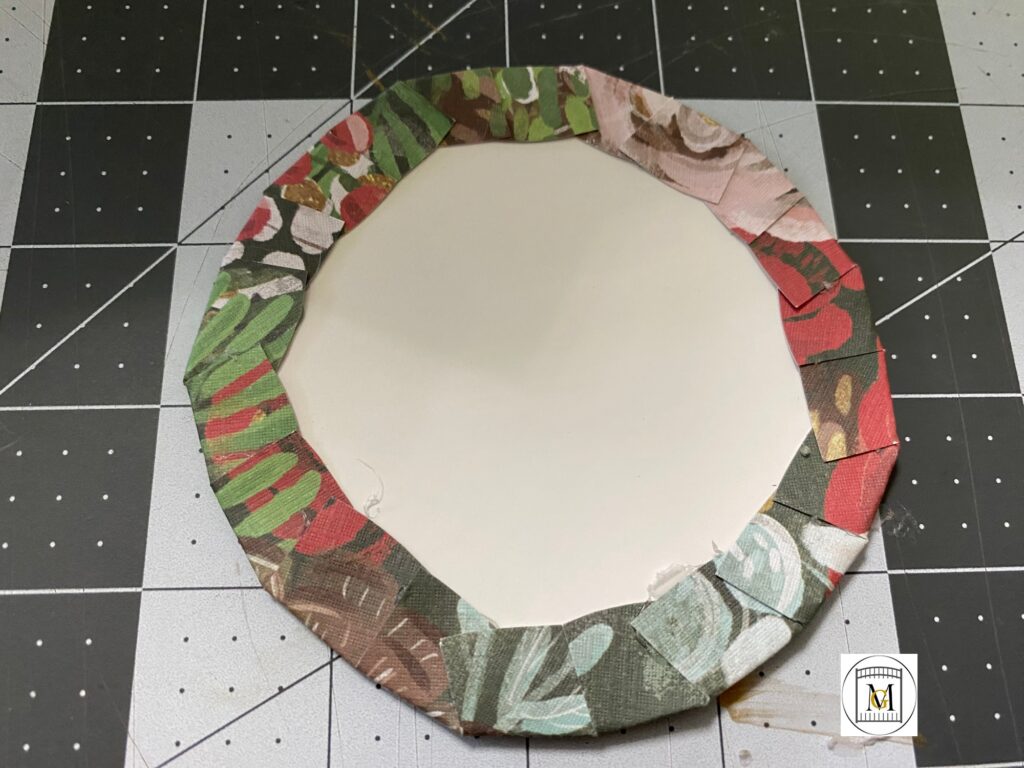
- Next, clue the 4 inch scrapbook paper cutout to the open mouth of the cup with hot glue. Go around the mouth of the cup with hot glue. So be careful to place in the center of the paper and remember the glue dries fast. Then cut 1 cm slits around the mouth of the cup like you did with the plate. Then glue and fold down on the cup.
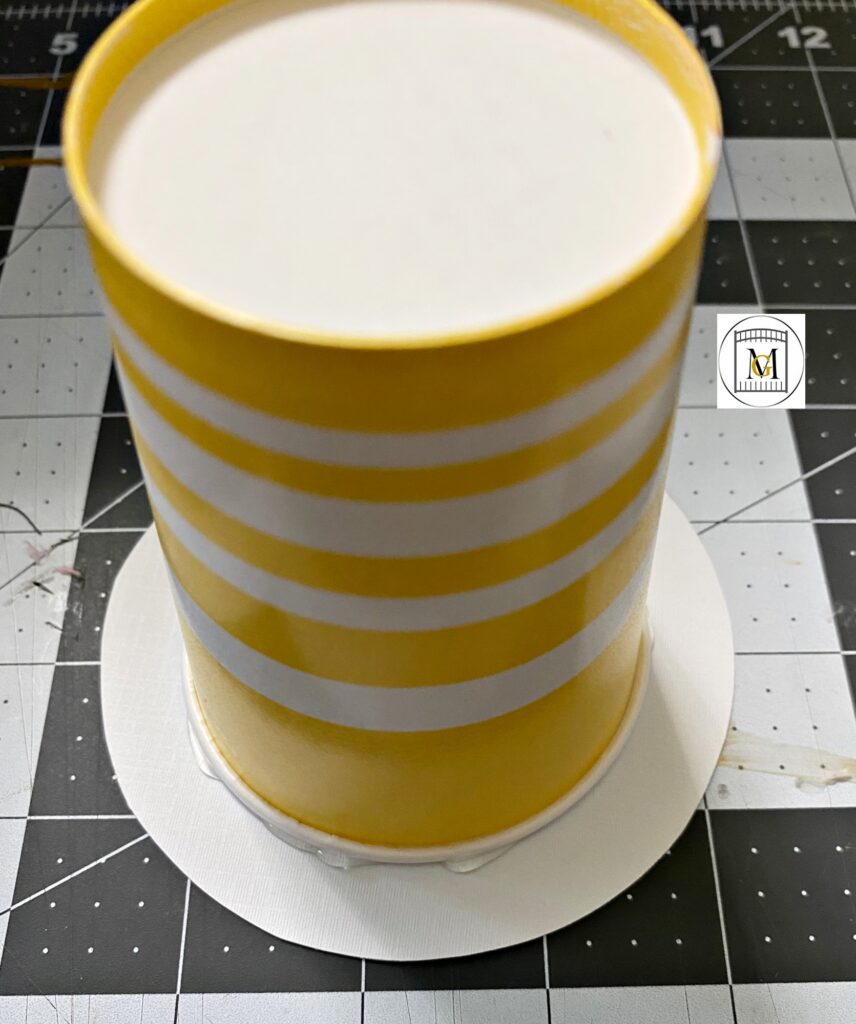
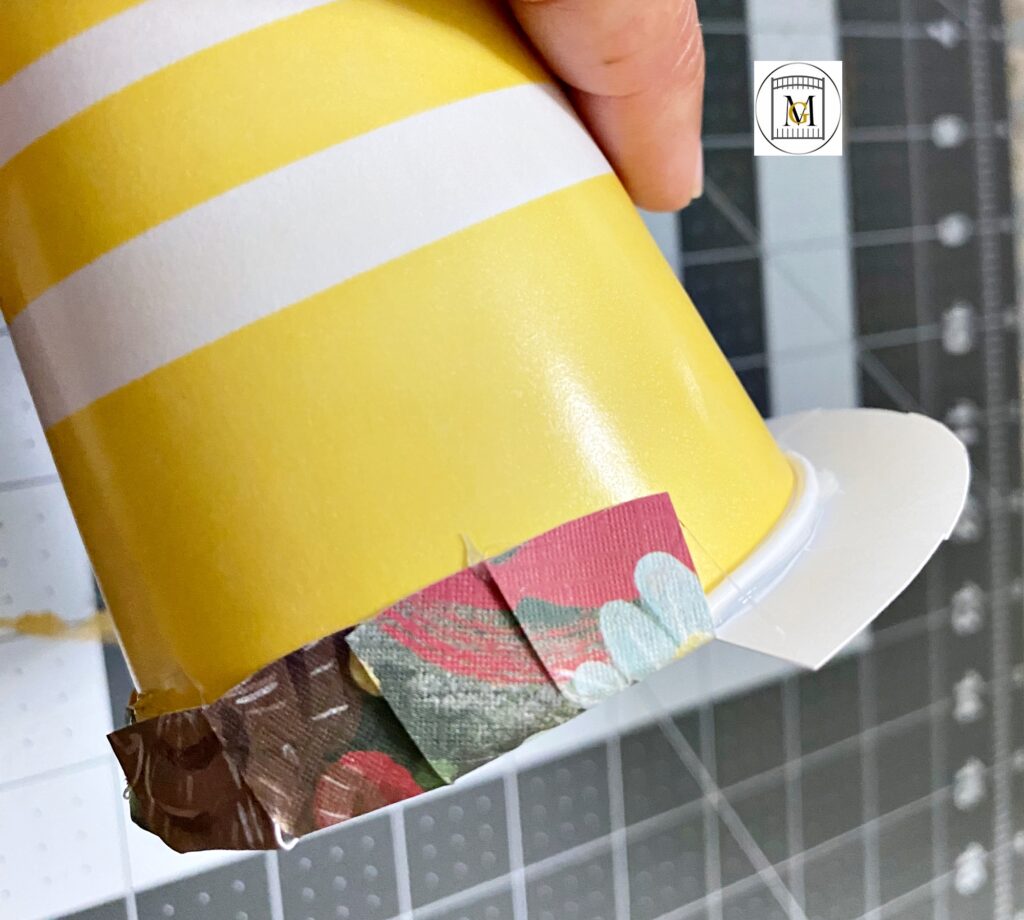
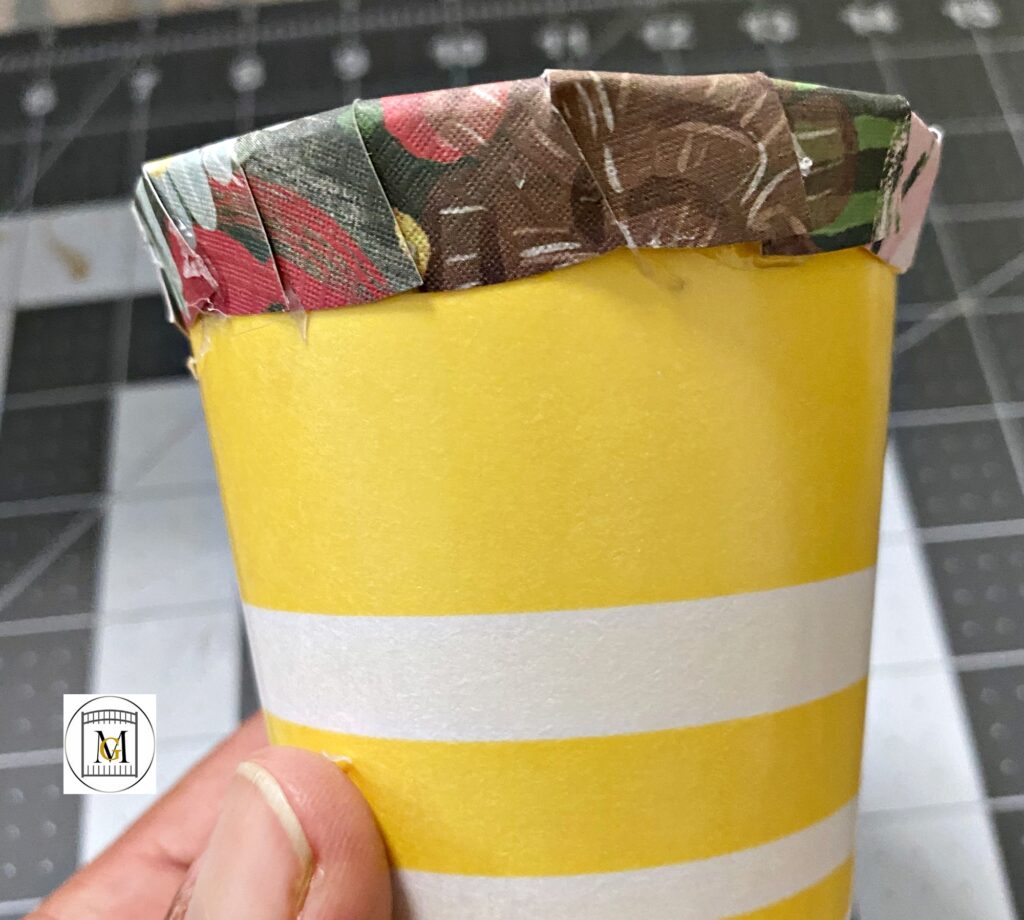
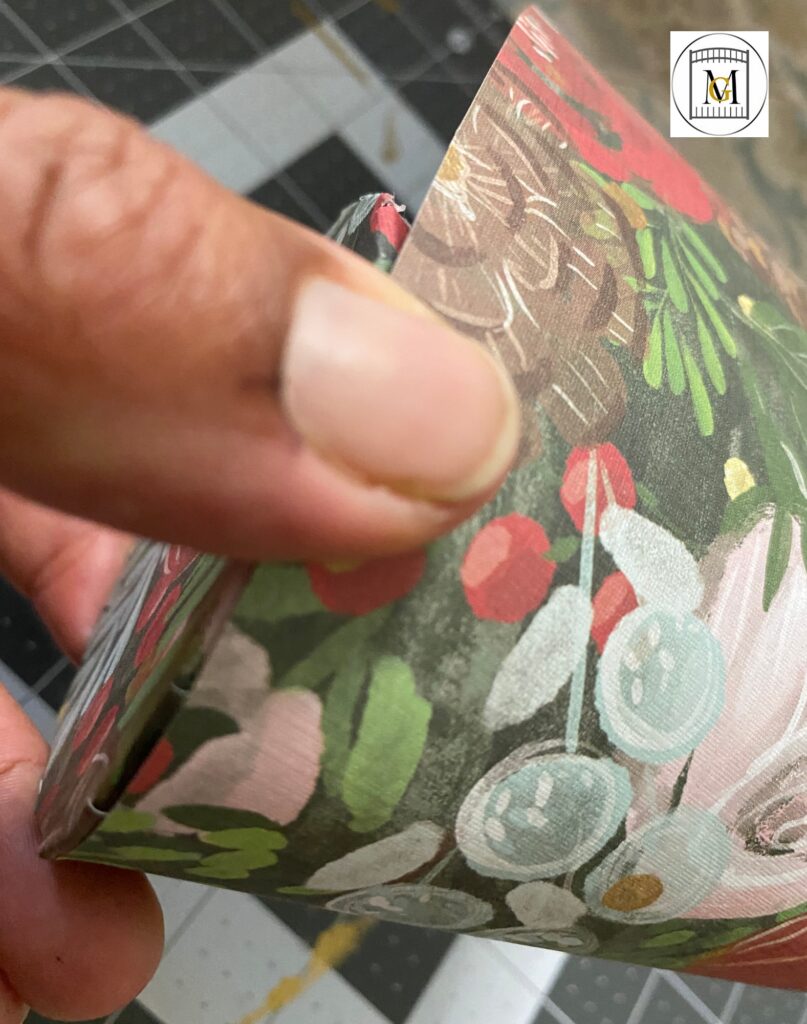
- Now, apply the hat body. Do a dry fit and wrap around the cup. Then glue, starting at the end and wrap around the cup. There is a little over hang at the bottom. Just fold it over and glue to the base that you already created. Try to center on the base and then press down.
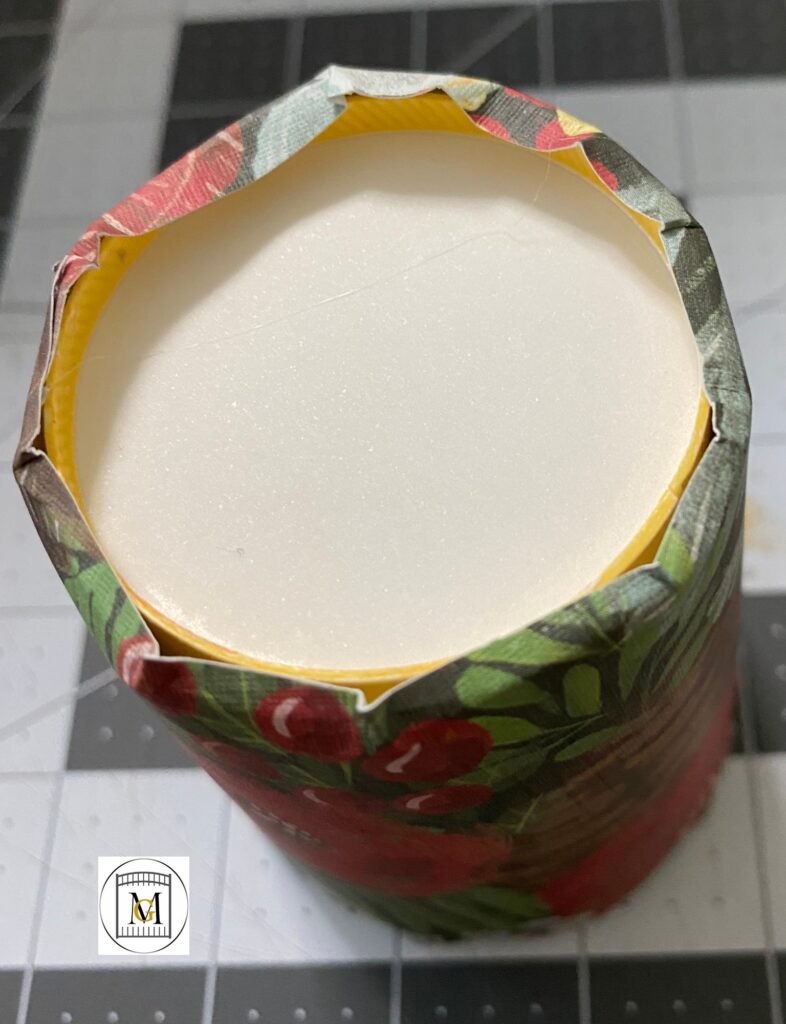
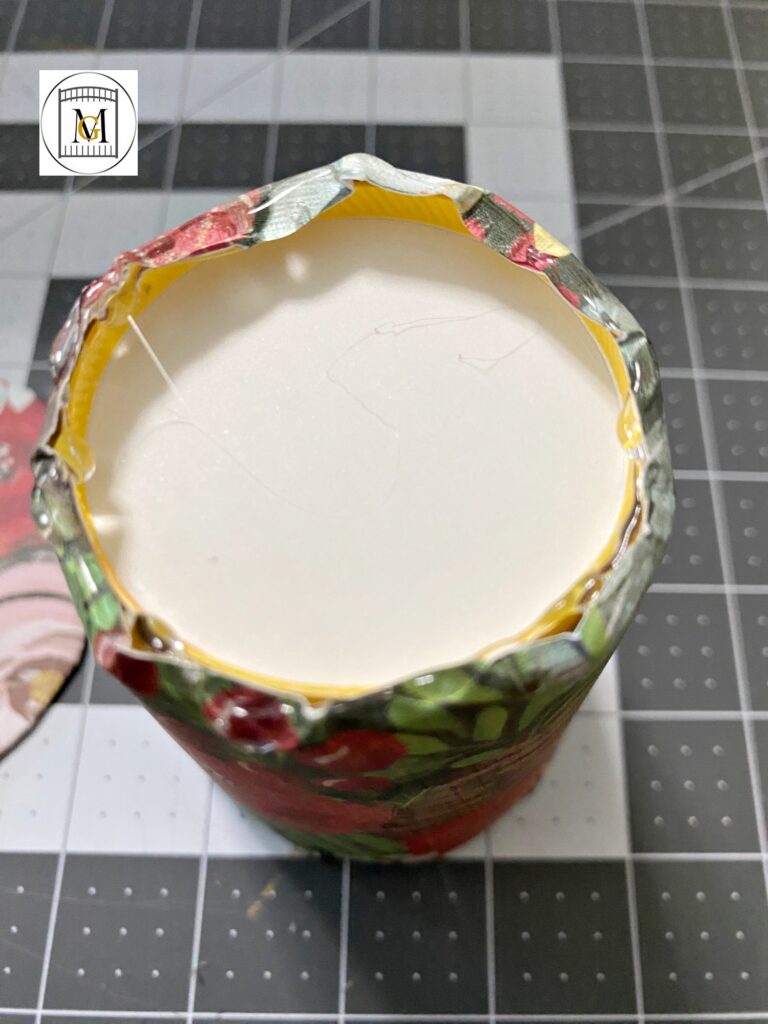
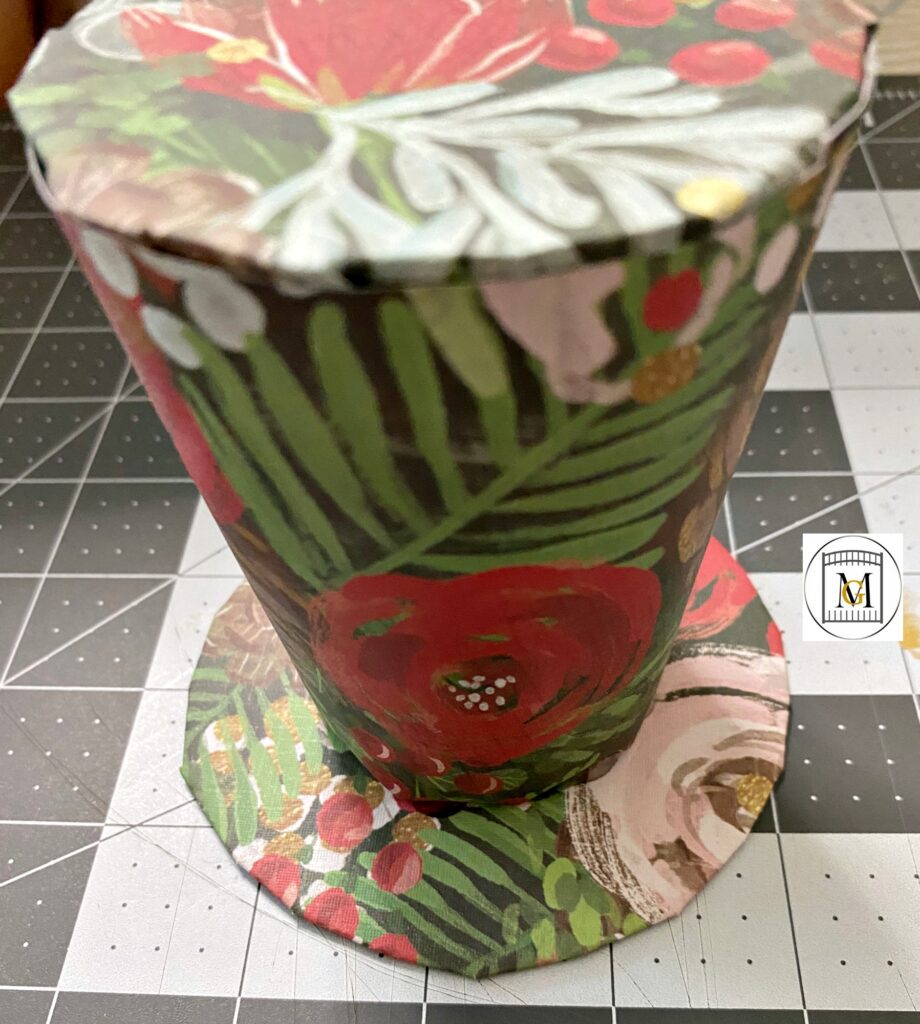
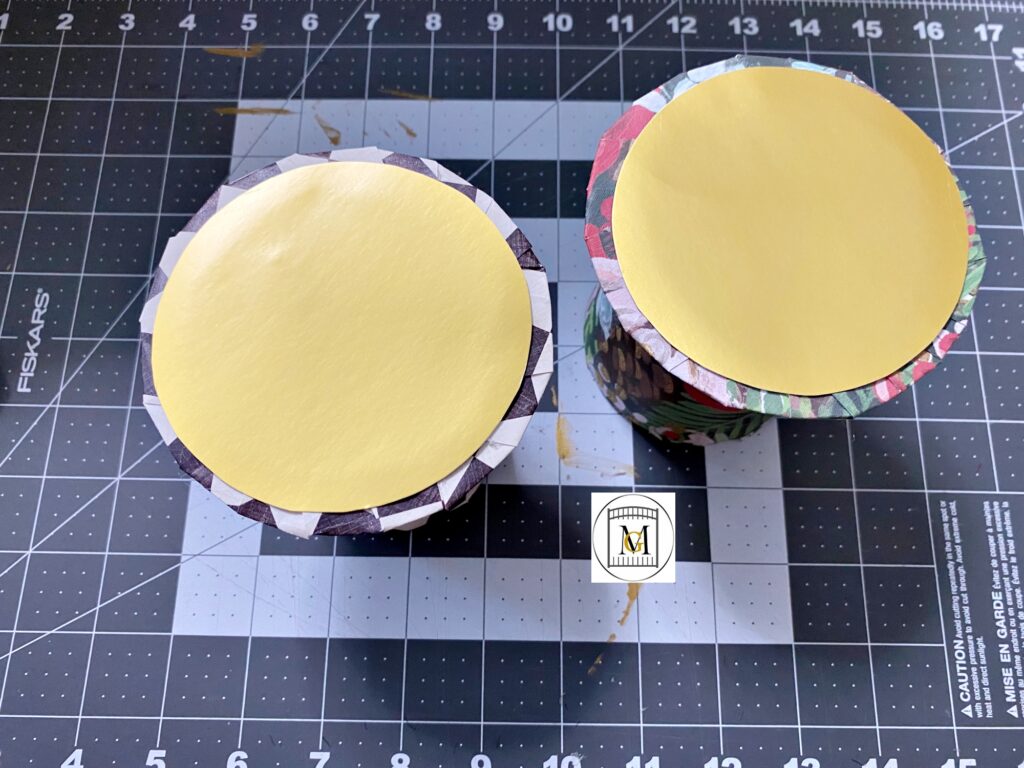
- Next add the 3.5″ underside cover that you cut out of poster board with hot glue.
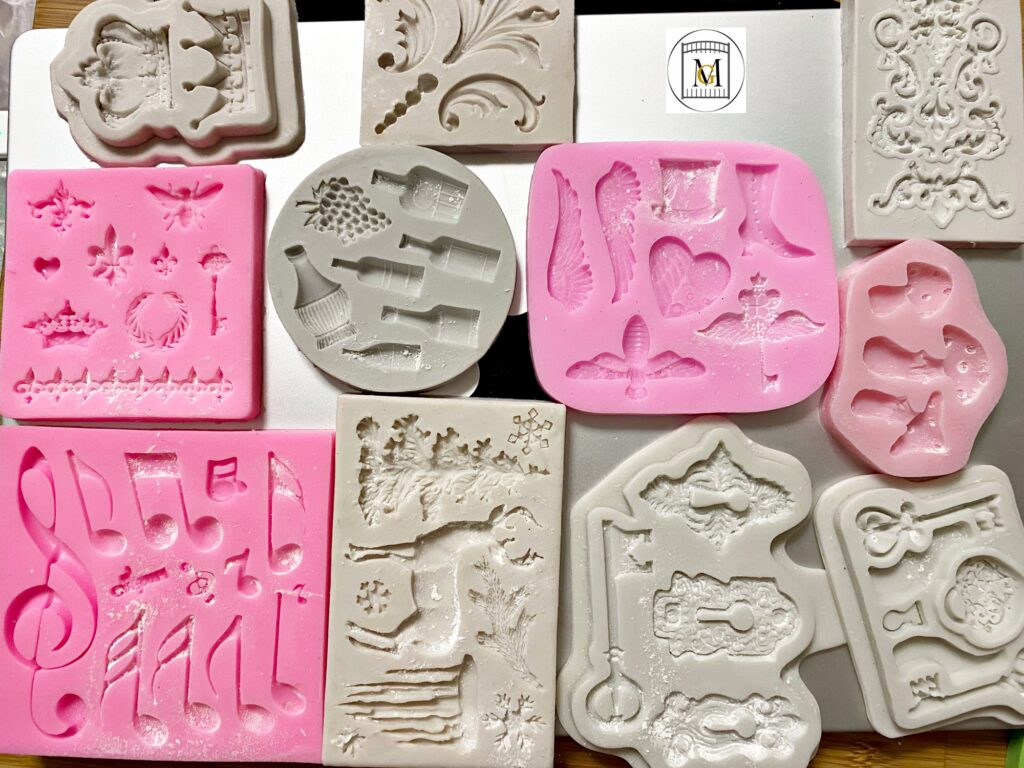
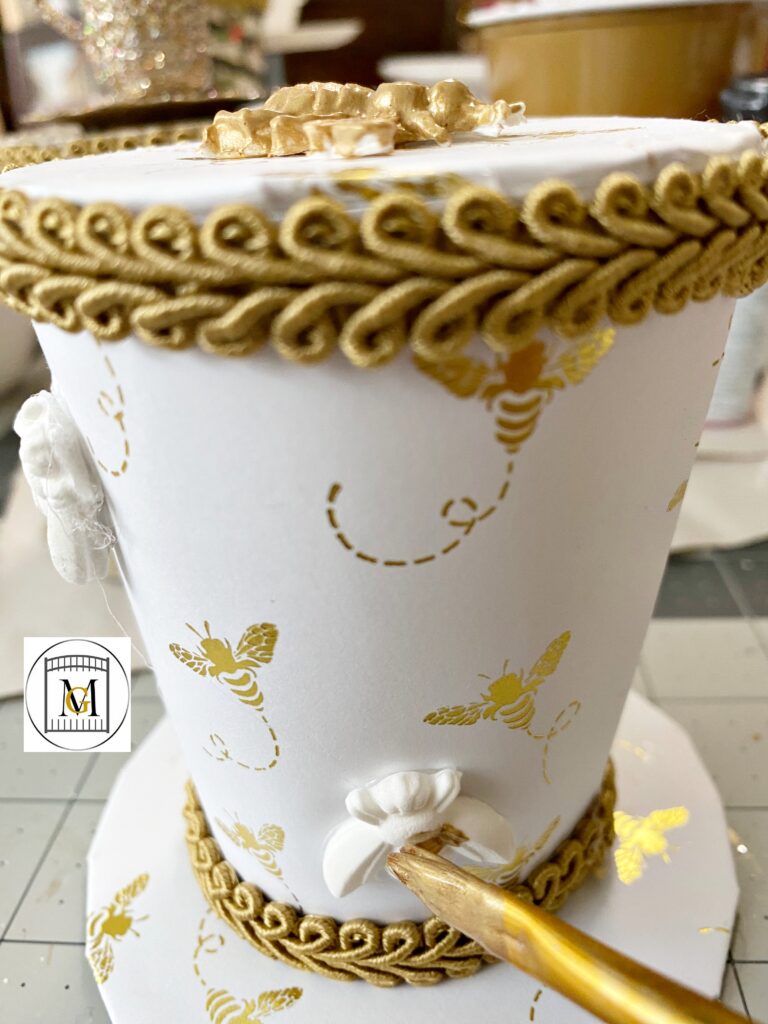
- Now it is time to decorate by adding embellishments, small faux flowers, gems, glitter, gold foil, metallic paint, ribbon or trim, anything you can think of. I decorated the hats with clay, and painted them with acrylic paint. Some, I added glitter for that extra sparkle.
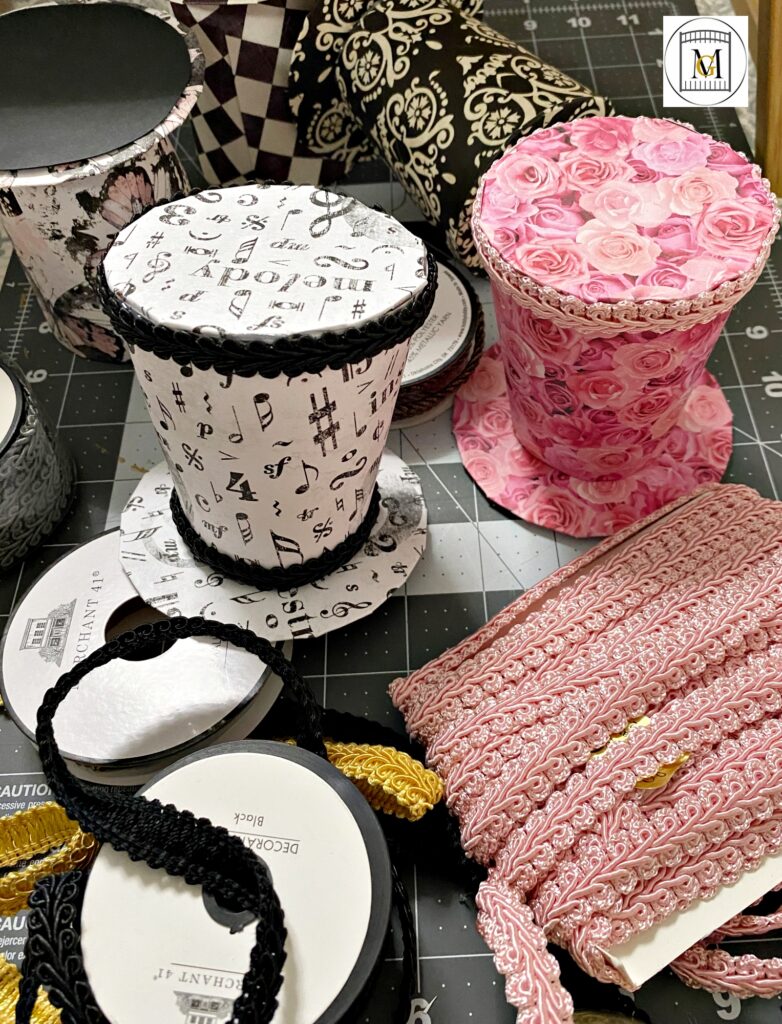
- Next, add the hat to the headband with hot glue. You can also save a few as accent decorations or Christmas tree ornaments.
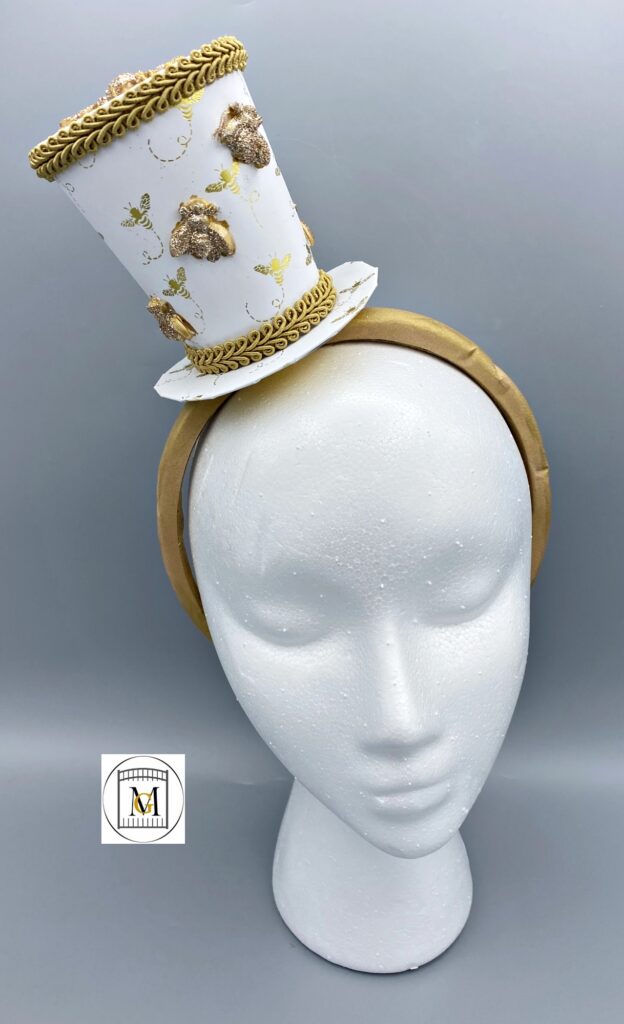
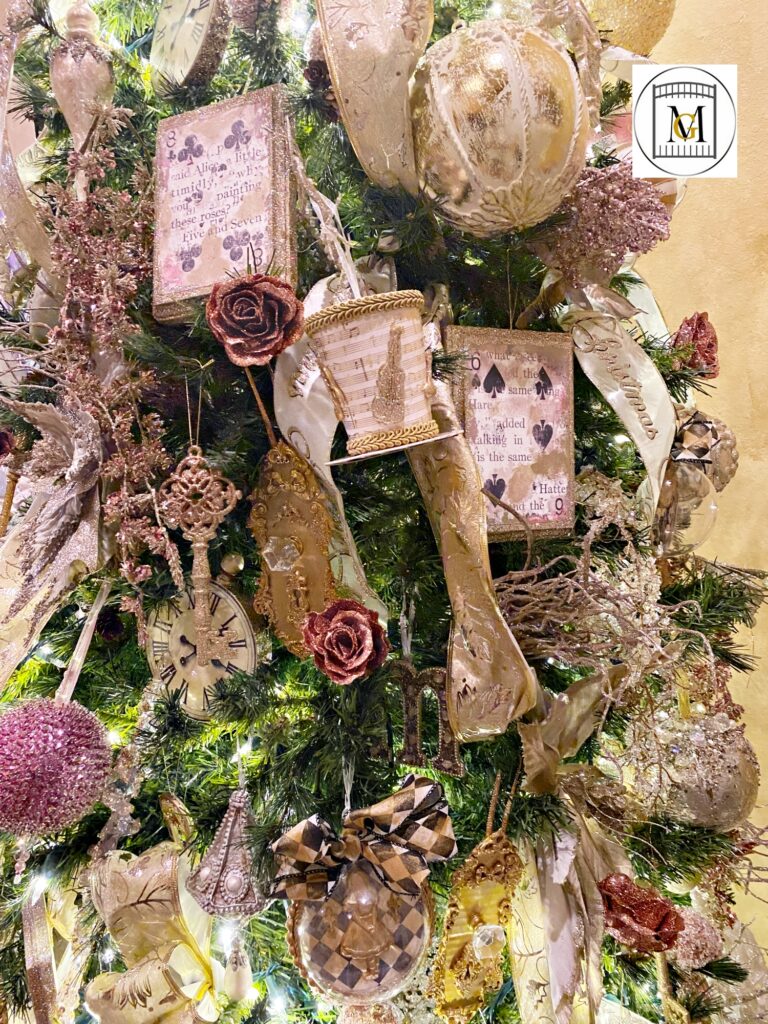
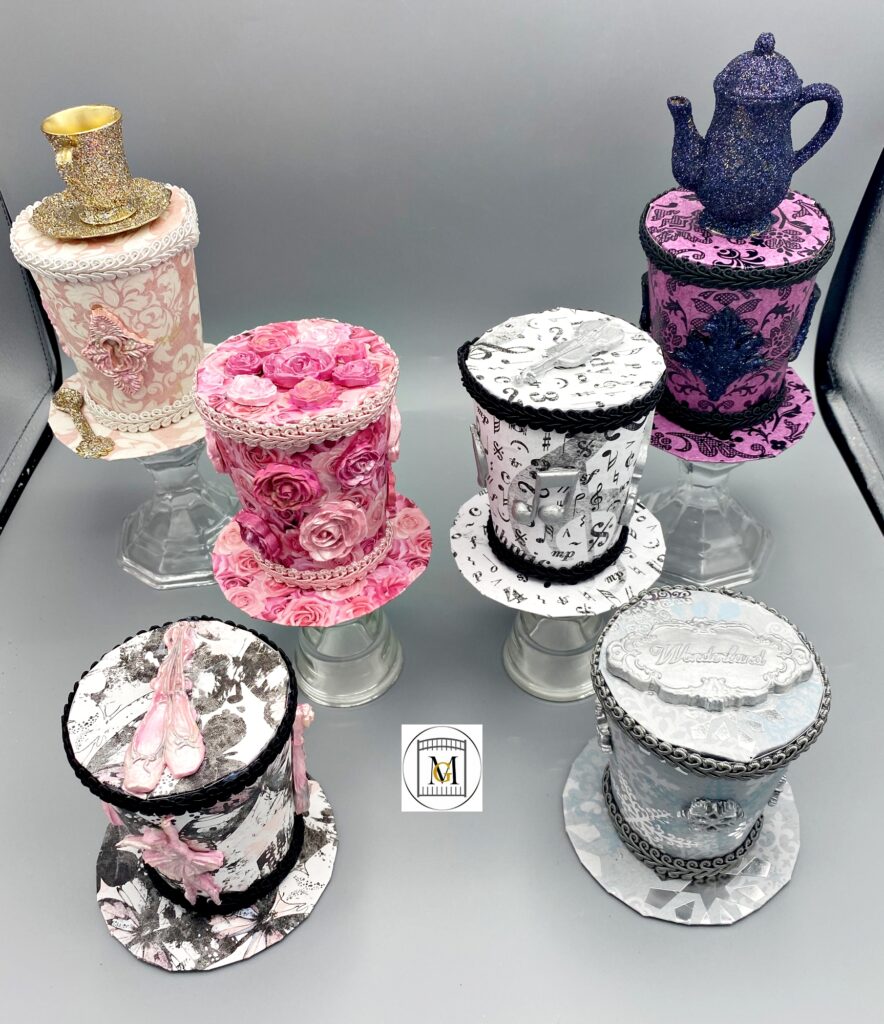
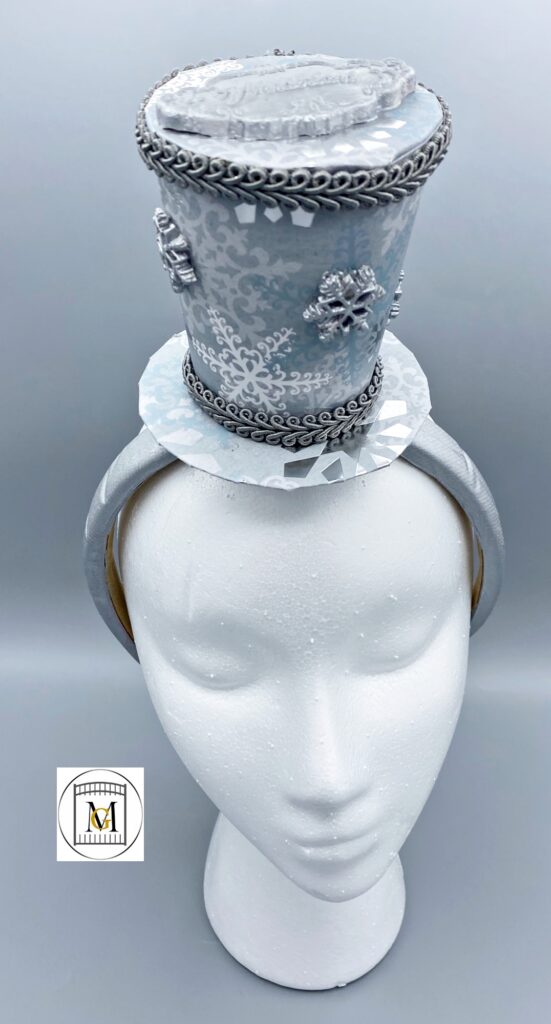
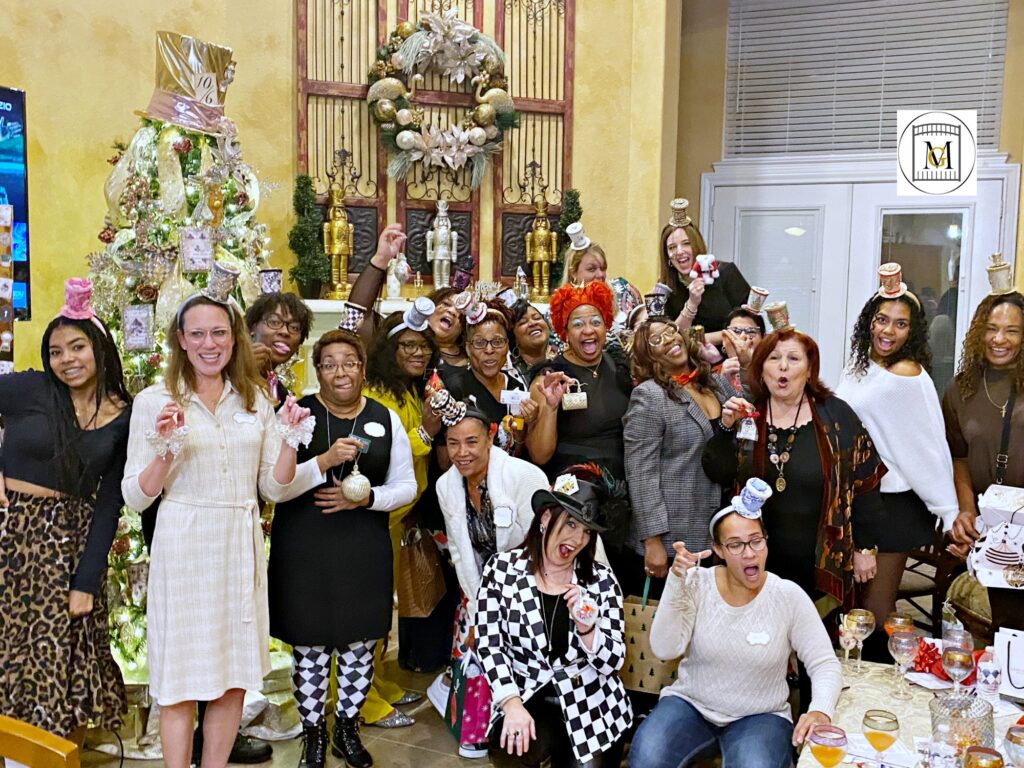
Have a great time! I made these for my Ladies Night Christmas Mad Hatter Tea Party but these are great for tea parties, garden tea parties, Alice in Wonderland parties, no matter the age. They were fun to make and wear.

To see my available Jeopardy/Trivia Party Downloads, click here: https://majorgates.com/product-category/jeopardy-trivia/
