Candy Tube Favors
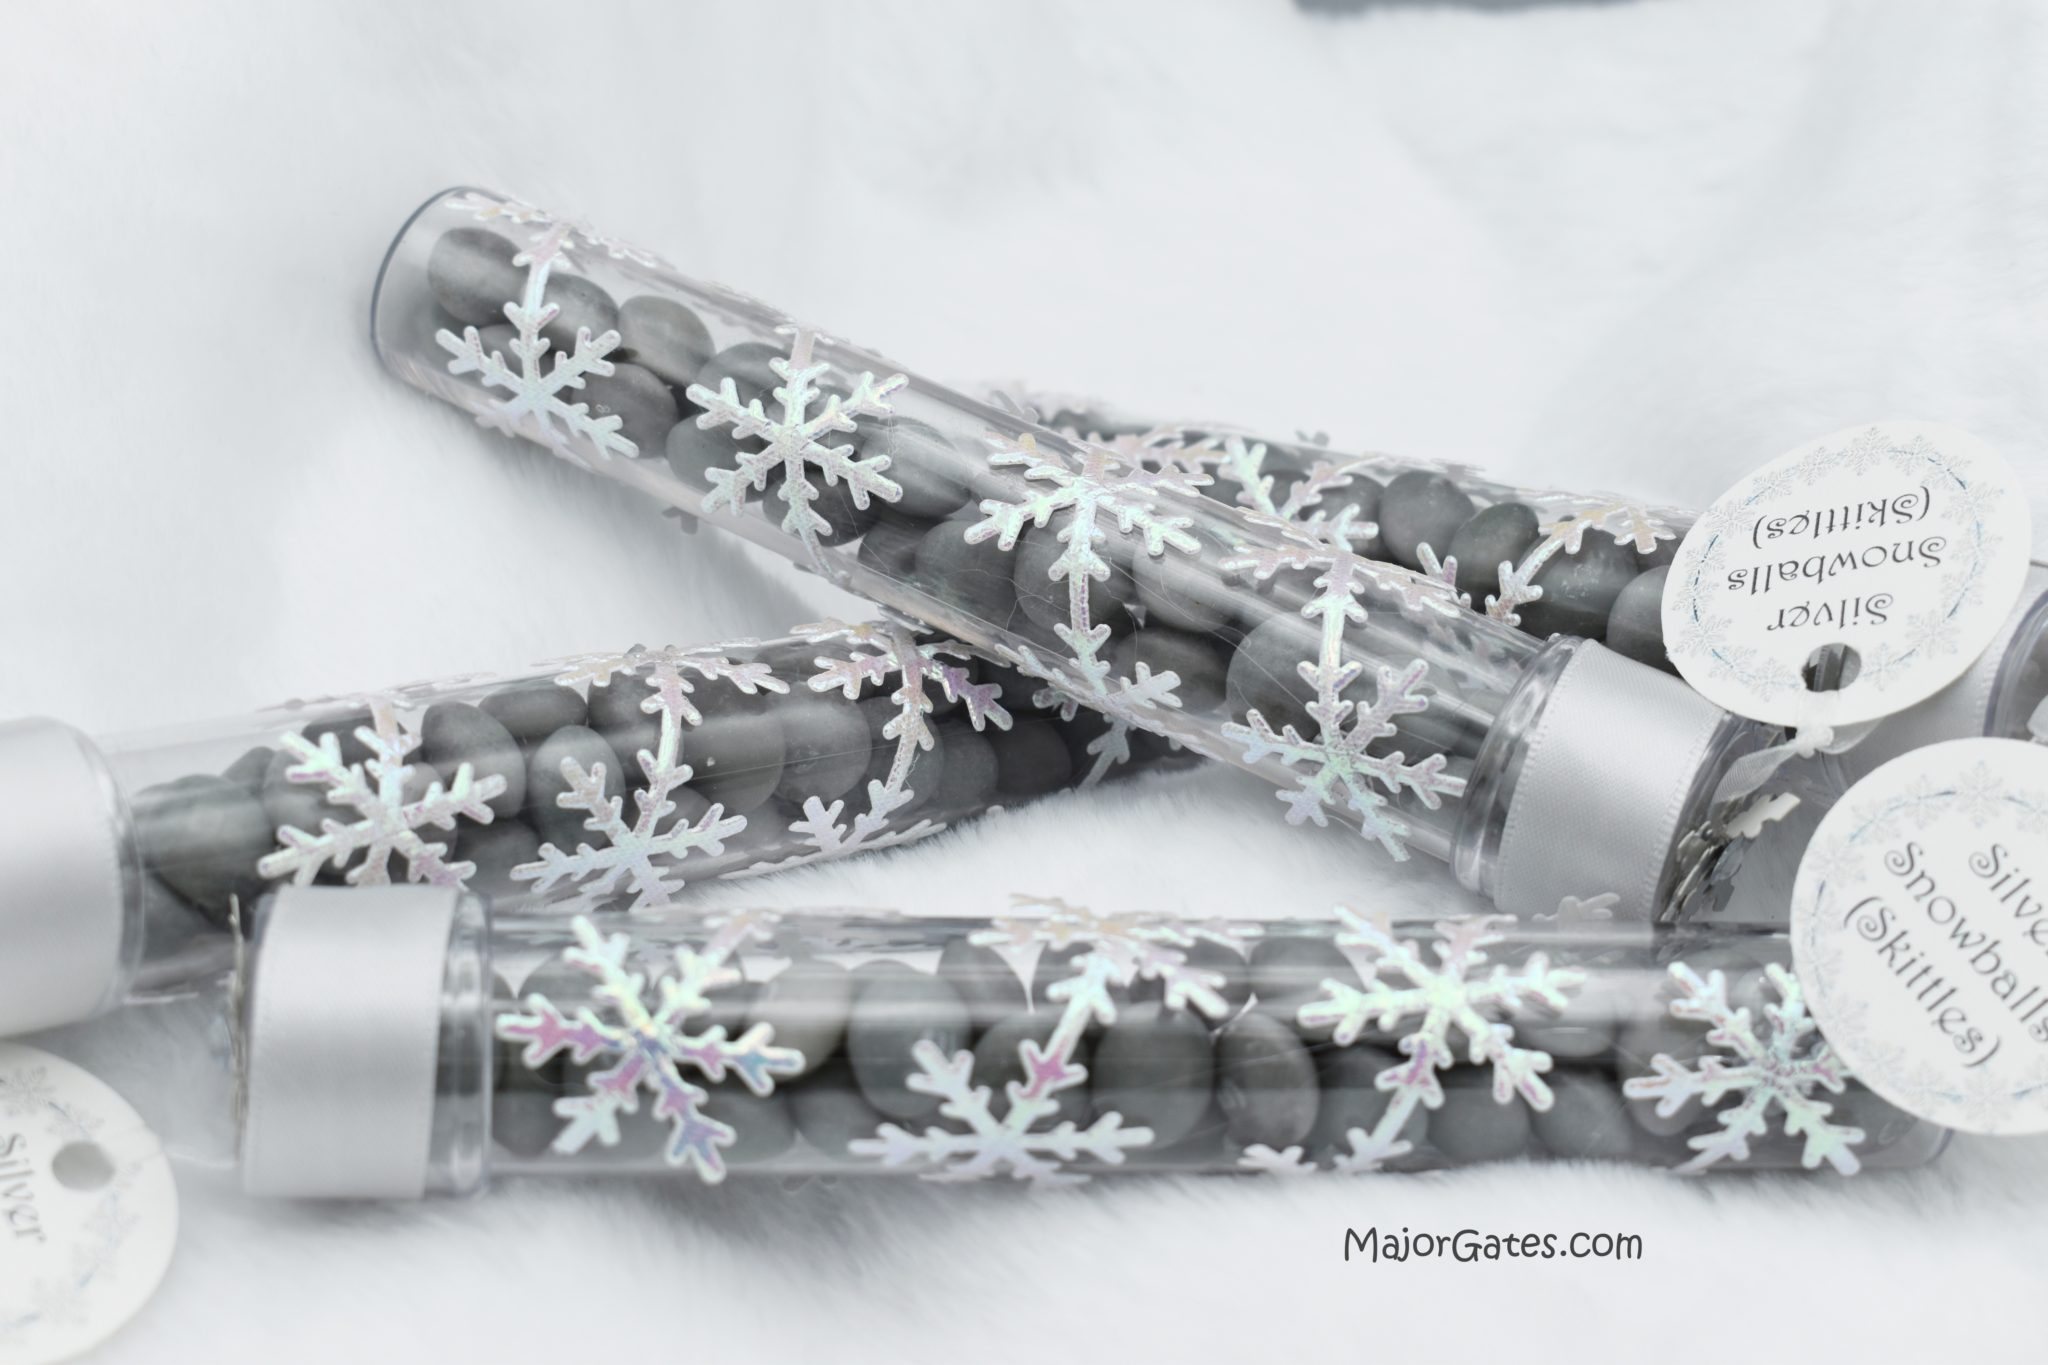
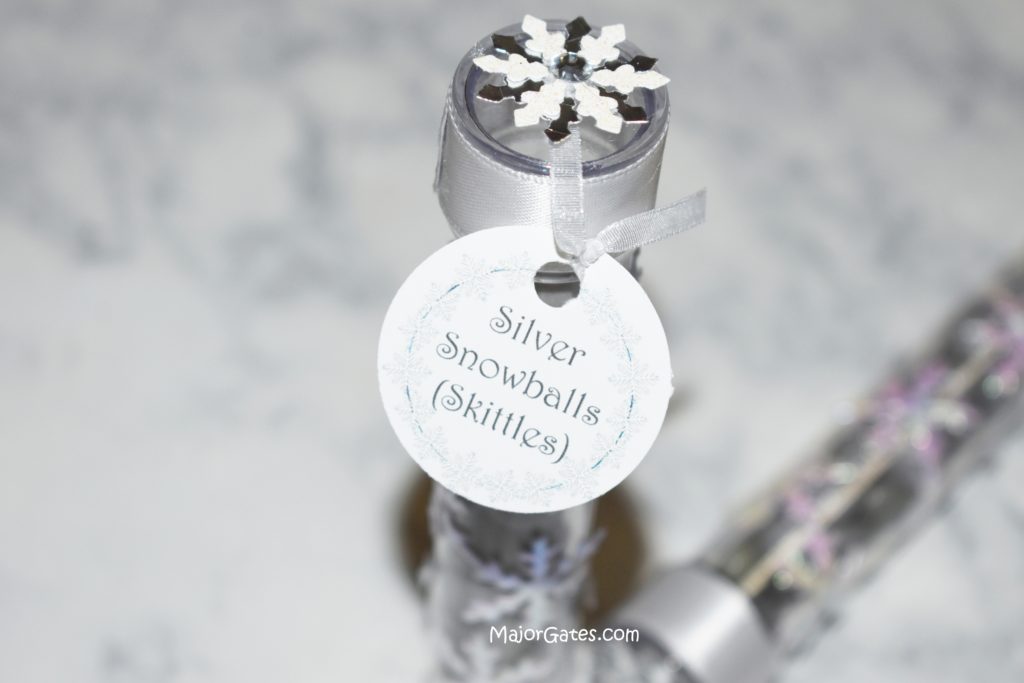
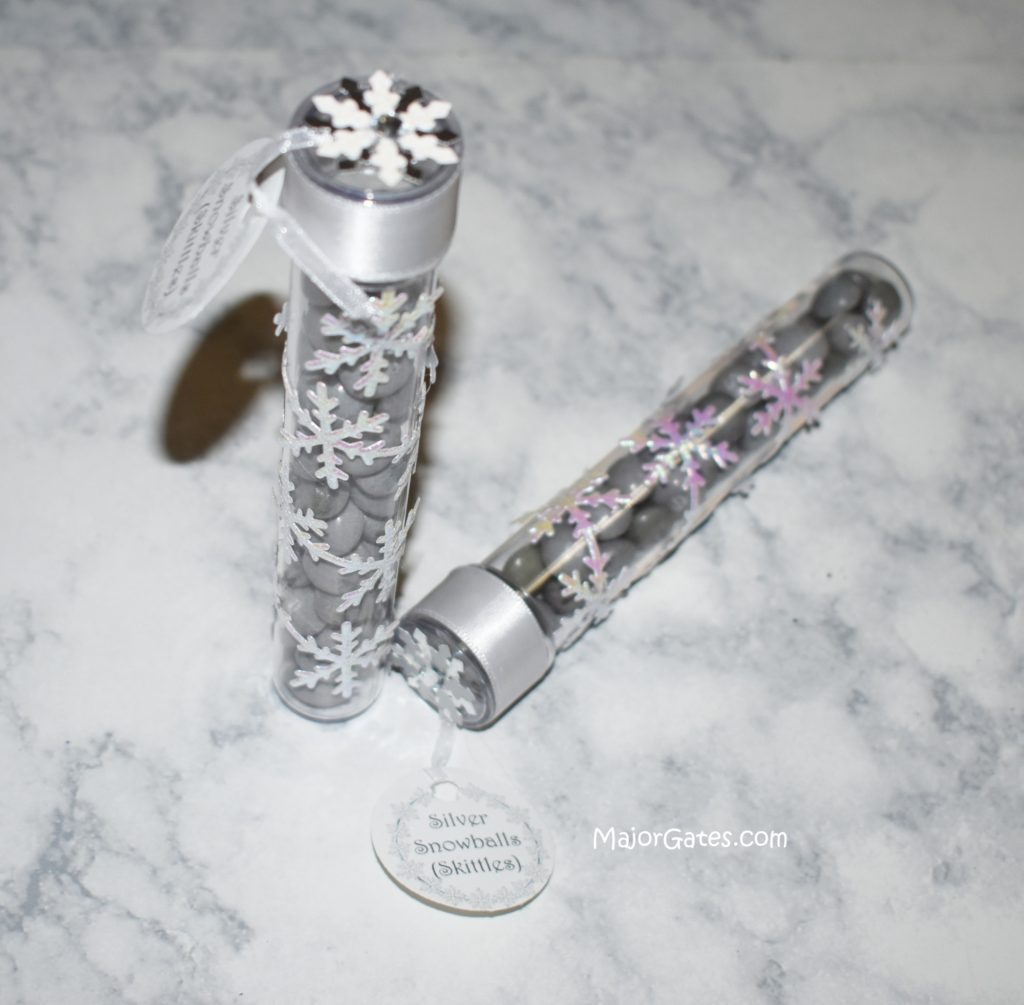
Candy Tube Favors are a simple and cute favor idea. These are great for parties, events, weddings, baby showers, and treat bags. All you need is the appropriate sized tube, fill with candy, decorate the tube and they are ready to go. You can customize the candy favor tubes with tags to match your event.
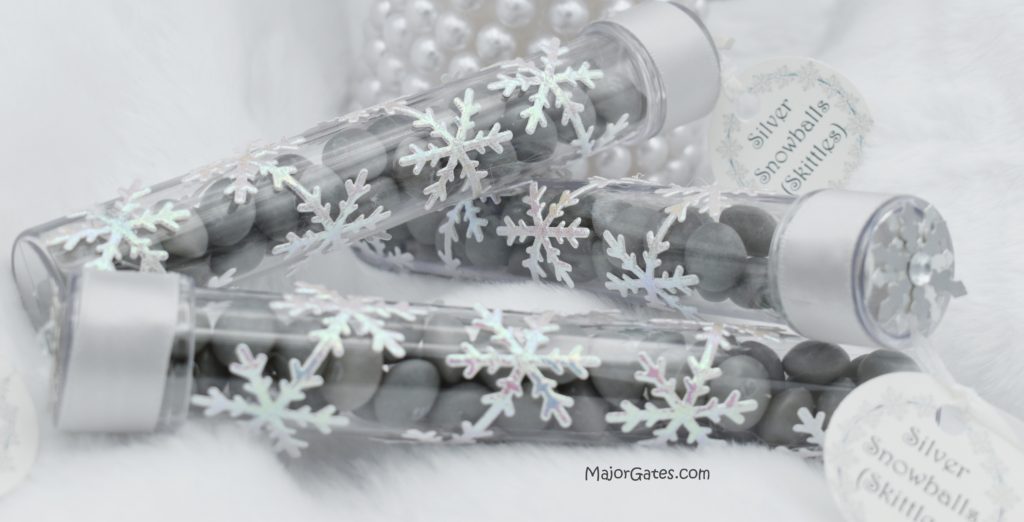
I decided to make these for a Winter Wonderland party and put them in the favor bags. So I also made a few extra and placed them on white foam on the treats table. This is such a cute idea. I suggest buying the candy tubes in large batches because they are cheaper that way. You can use extras later and fill with hot cocoa, seasoning mixes, baths salts or anything small or powdery. I will show you the step-by-step instructions in this post.
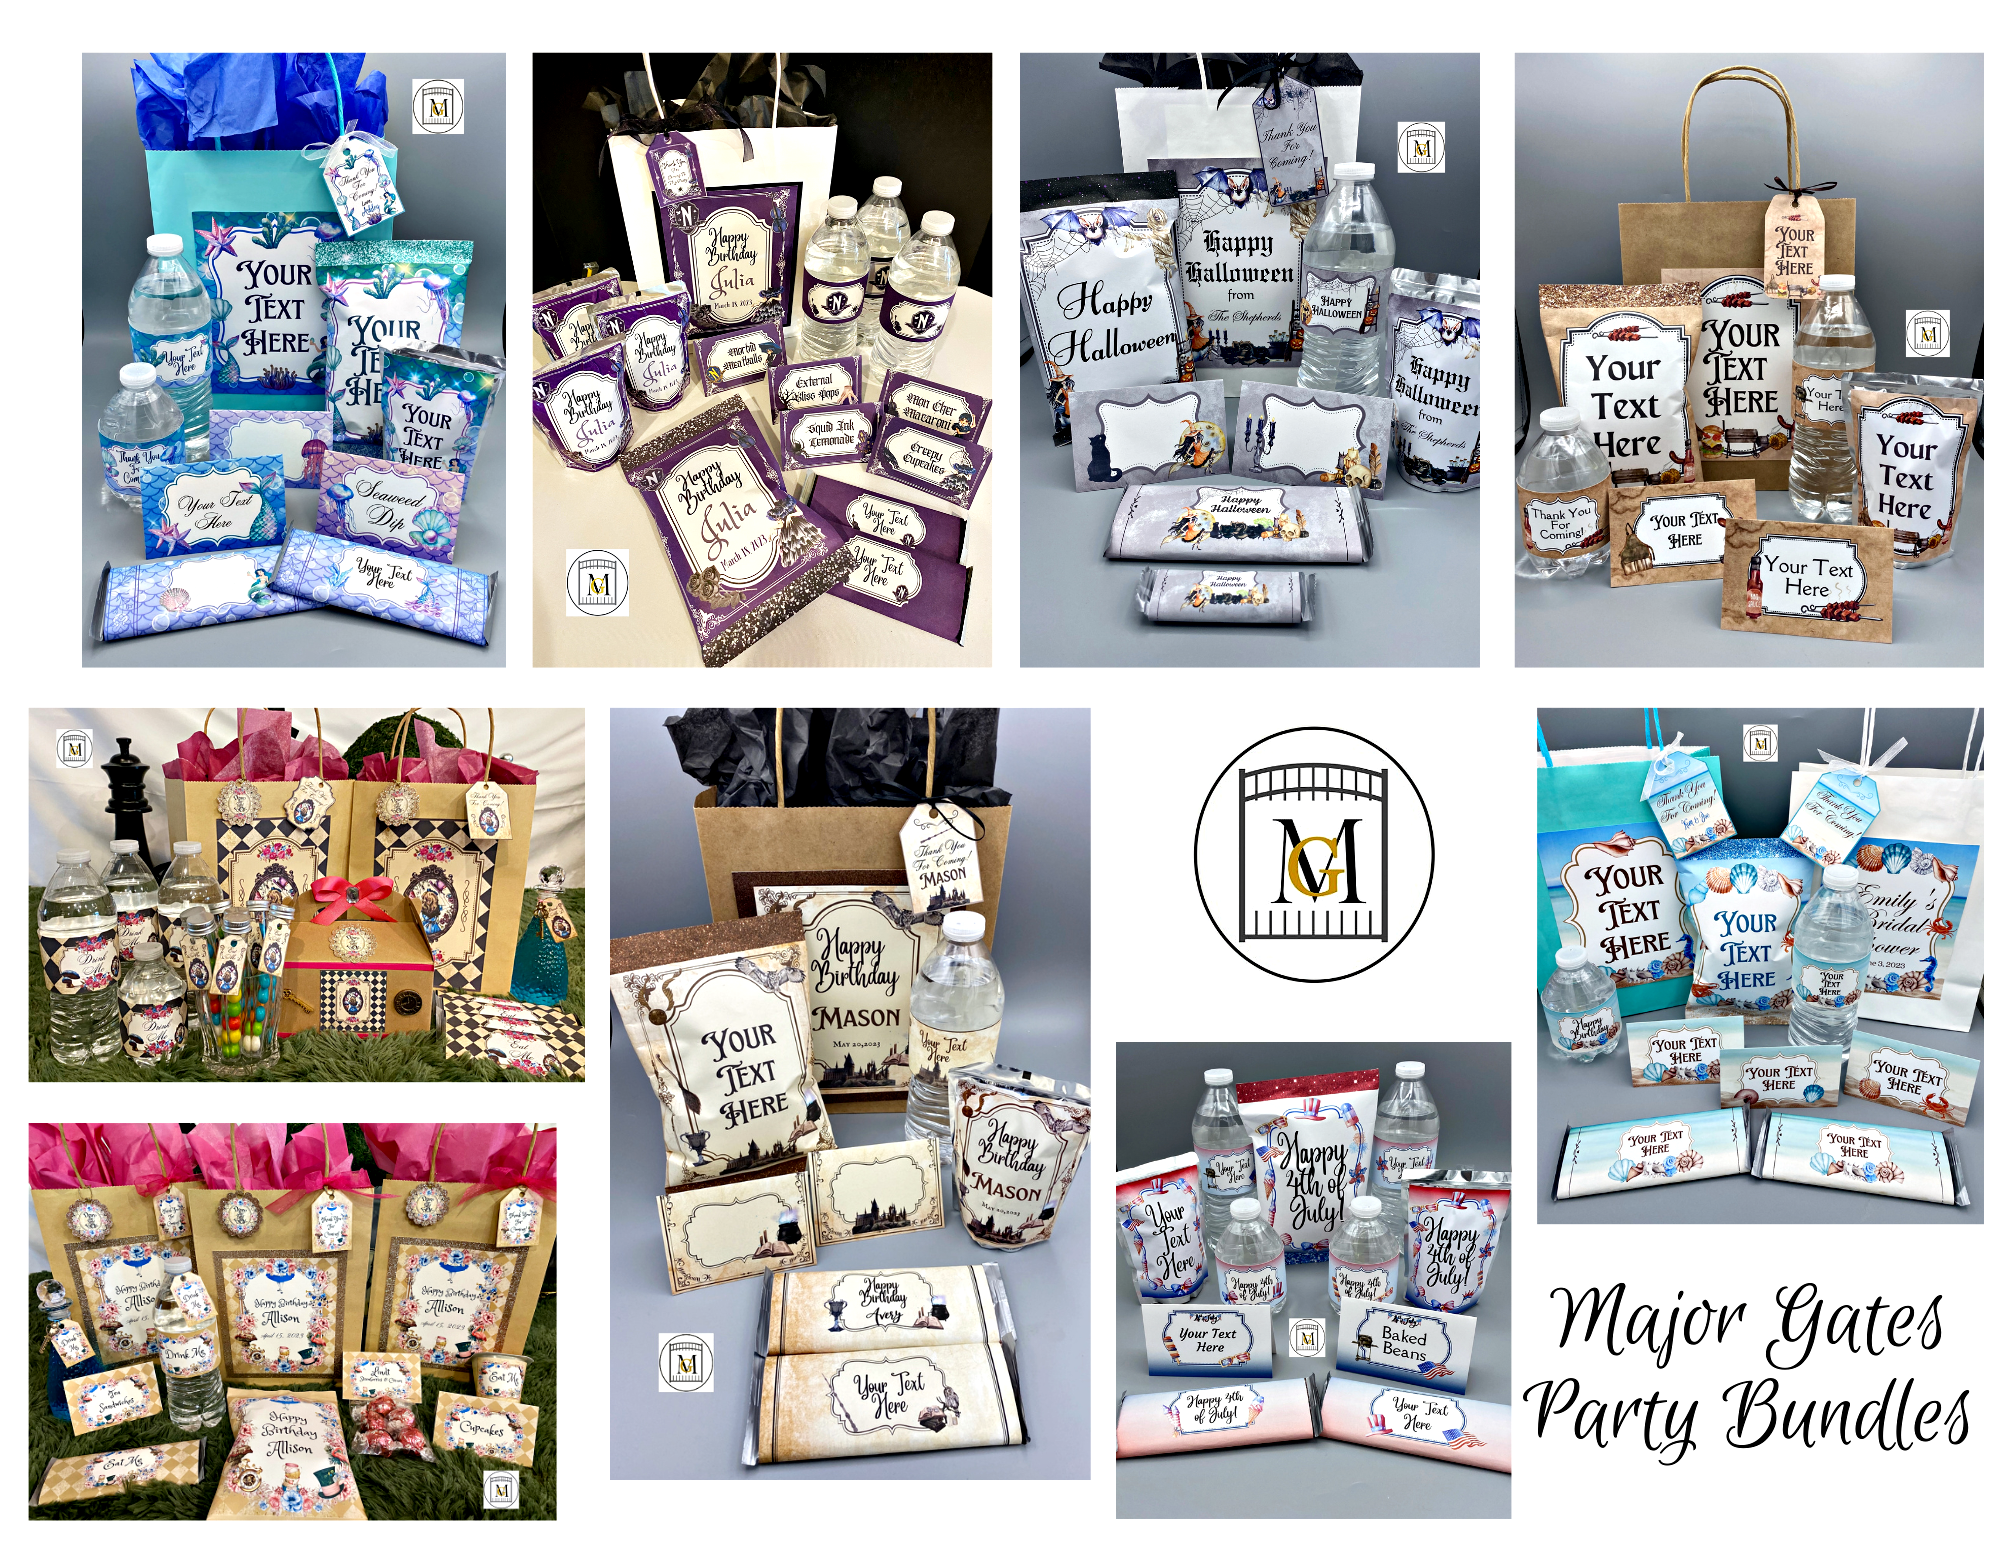
To see my available Party Label Bundle Downloads, click here: https://majorgates.com/product-category/party-bundles/
Don’t Forget To Follow Me On Pinterest!
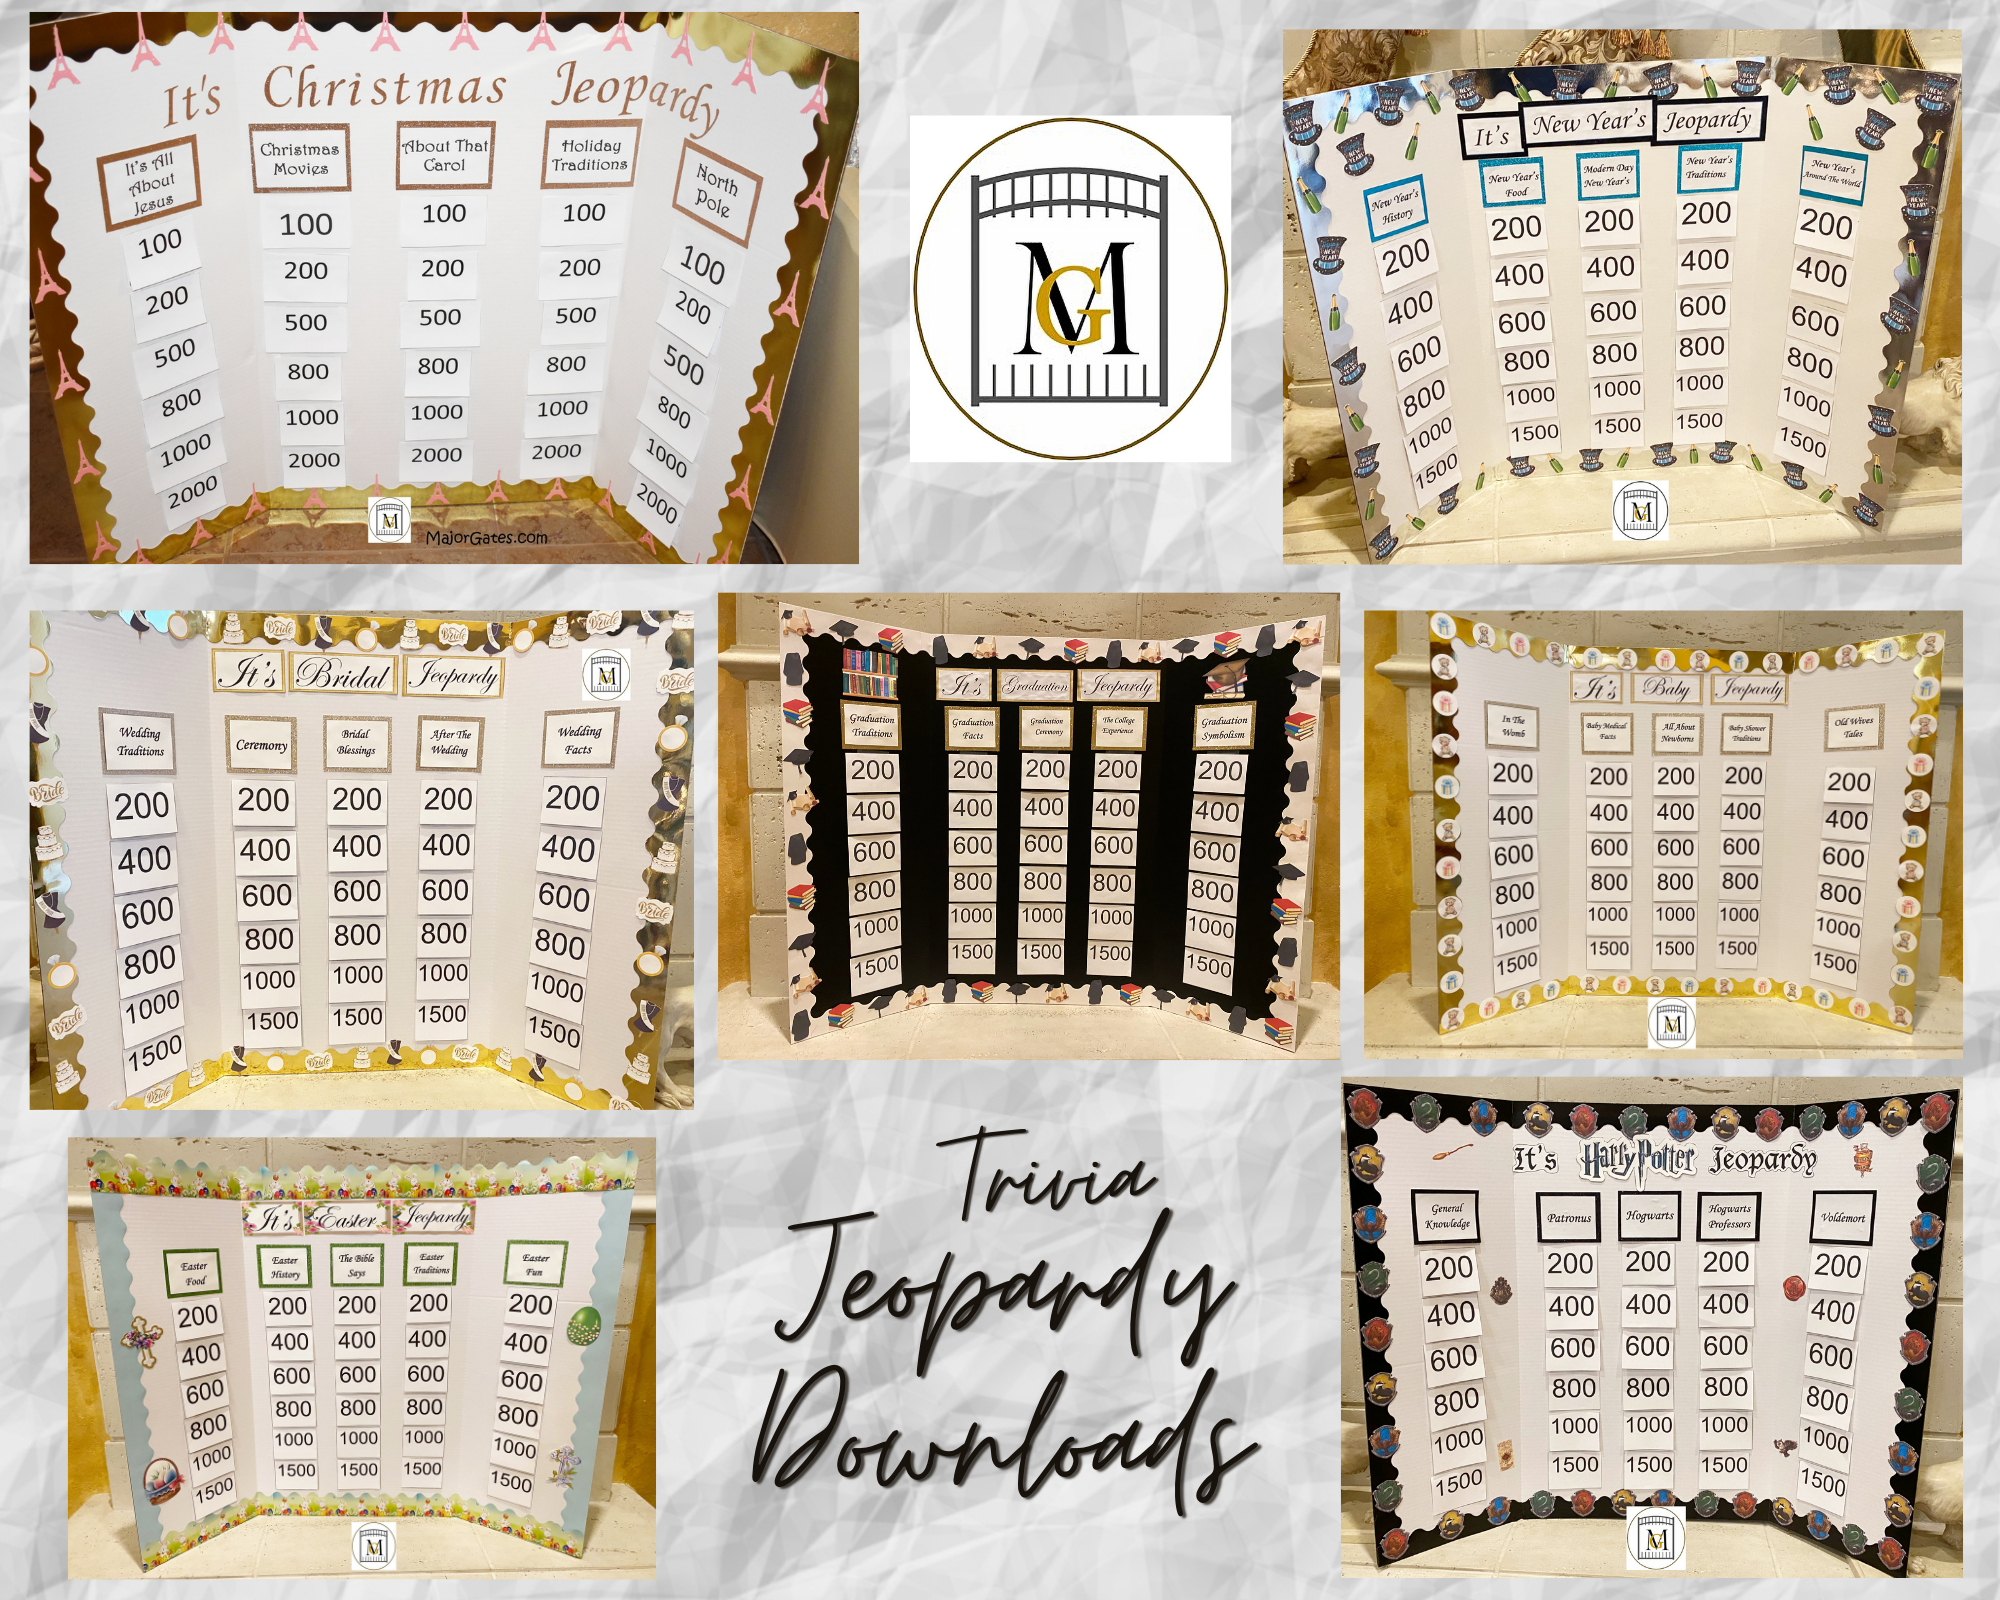
If you need a great party game that you can engage and play with large groups of people, try one of my trivia jeopardy games. I have one for Christmas, New Year’s, Easter and more. So check out my available Jeopardy/Trivia Party Downloads here: https://majorgates.com/product-category/jeopardy-trivia/
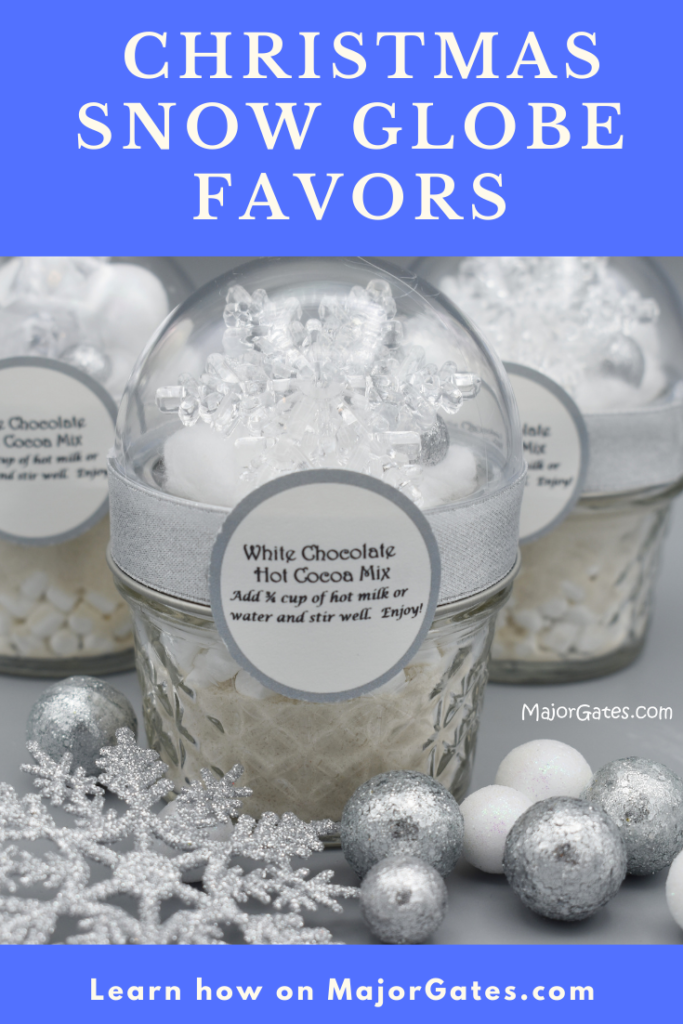
For another great party idea, see my Snow Globe Favors here: https://majorgates.com/do-it-yourself/snow-globe-favors/
Supplies
- Flat bottom candy tubes
- Ribbon – 5/8 inch for the caps or top of the test tube and 1/8 inch to attach the labels- purchase in the colors of your choice
- Snowflake ribbon
- Flat back adhesive gem
- Skittles, M&M’s or Sixlets
- Multi-temperature mini glue gun and glue sticks
- White card stock
- Color Printer
- Scissors
- 1.5 inch craft punch
- Single hole punch
- 1 inch snowflake craft punch
Directions For Candy Tube Favors
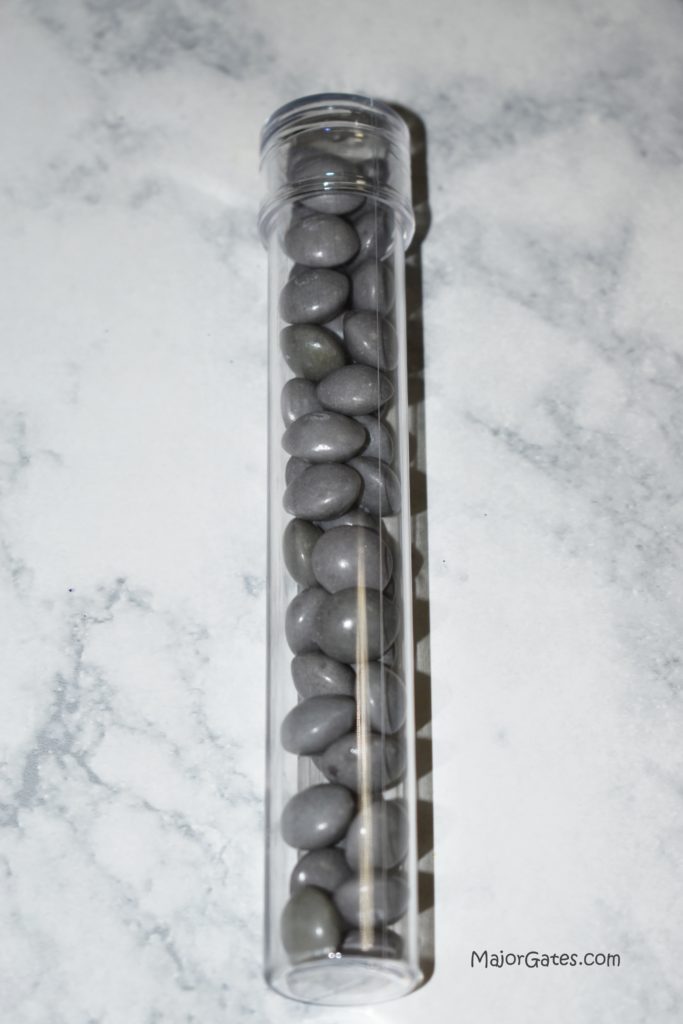
- Fill the candy tubes with Skittles or M&M’s, etc. in the color of your choice.
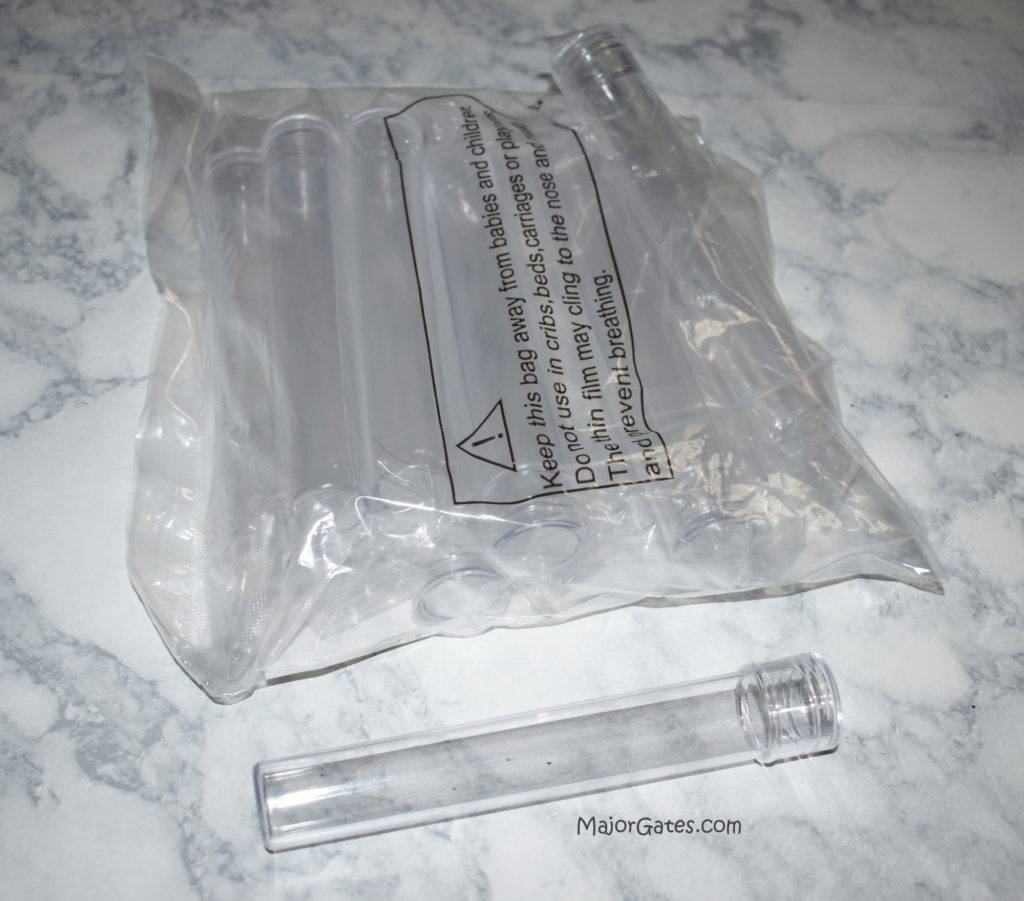
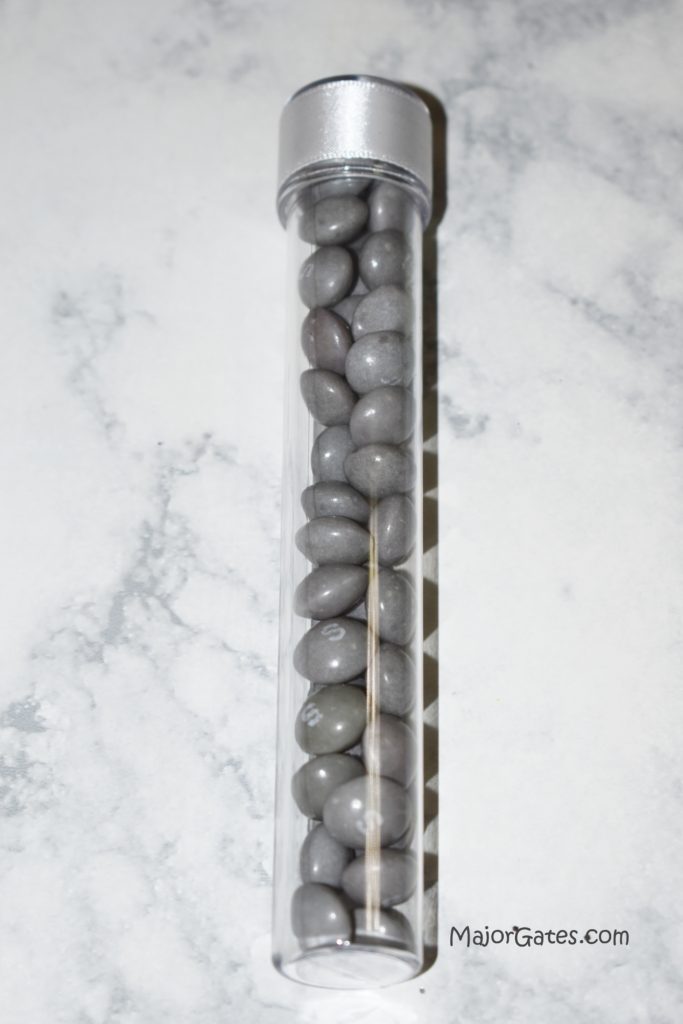
- Then attach the ribbon around the top of the candy tube. So if the caps are smaller or thin, purchase thin ribbon to fit or omit the ribbon.
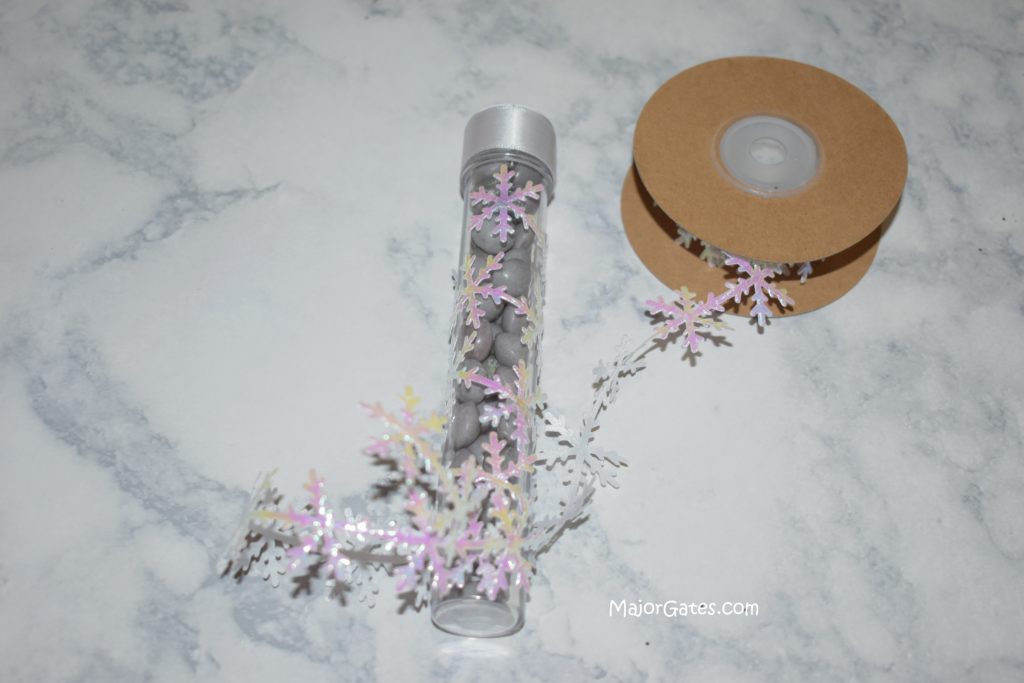
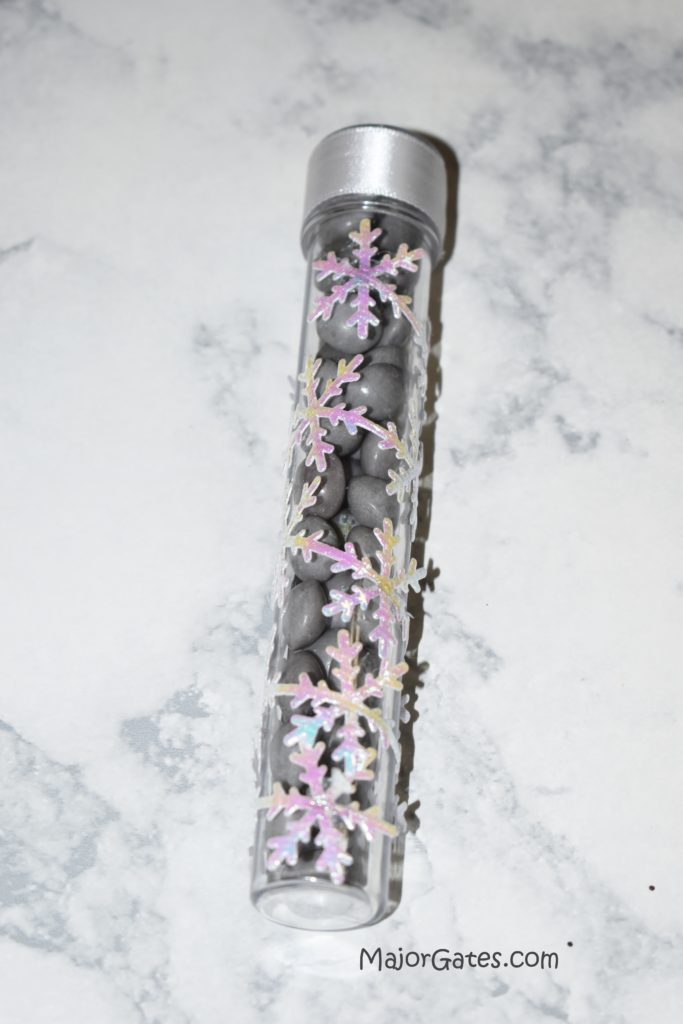
- Next, attach the snowflake ribbon by winding up the sides of the candy tubes. So start at the top and hot glue a dab on the ribbon and affix to the tube. Then twist the tube winding the ribbon around it and then cut and glue to affix the bottom.
- Create content labels and punch them out with a craft punch or if you have a cutting machine. You could also hand cut them out. I created the labels by using a circle template I found on the internet, Then I typed my wording and printed 25 per page. I use a free software called PhotoScapeX. They have a paid version but the free version works for my needs. Here is the link and I am not affiliated with them. http://x.photoscape.org/
- Print out the labels.
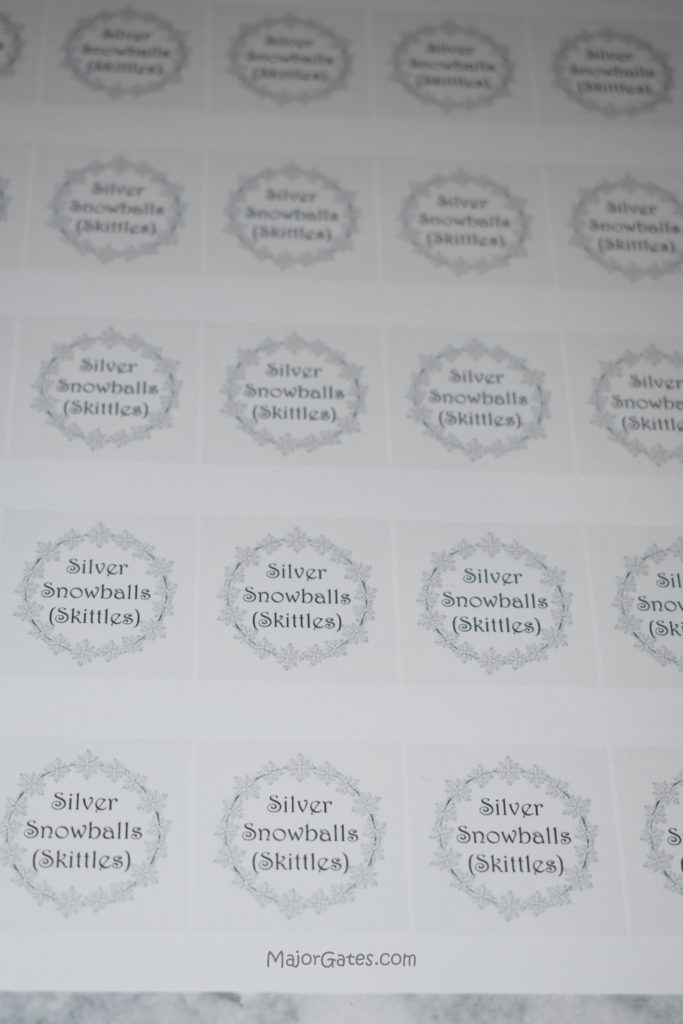
- Then punch out the labels and use the single hole punch in the top center, where you will attach the ribbon.
- Use the snowflake punch to cut out various color snowflakes. I did silver and white using scrapbooking cardstock but feel free to use any color. So you only need this to hide the top ribbon, you could also cover with stickers, circles or anything that fits the size of the tube. You could avoid this step by just tying to the favor tube.
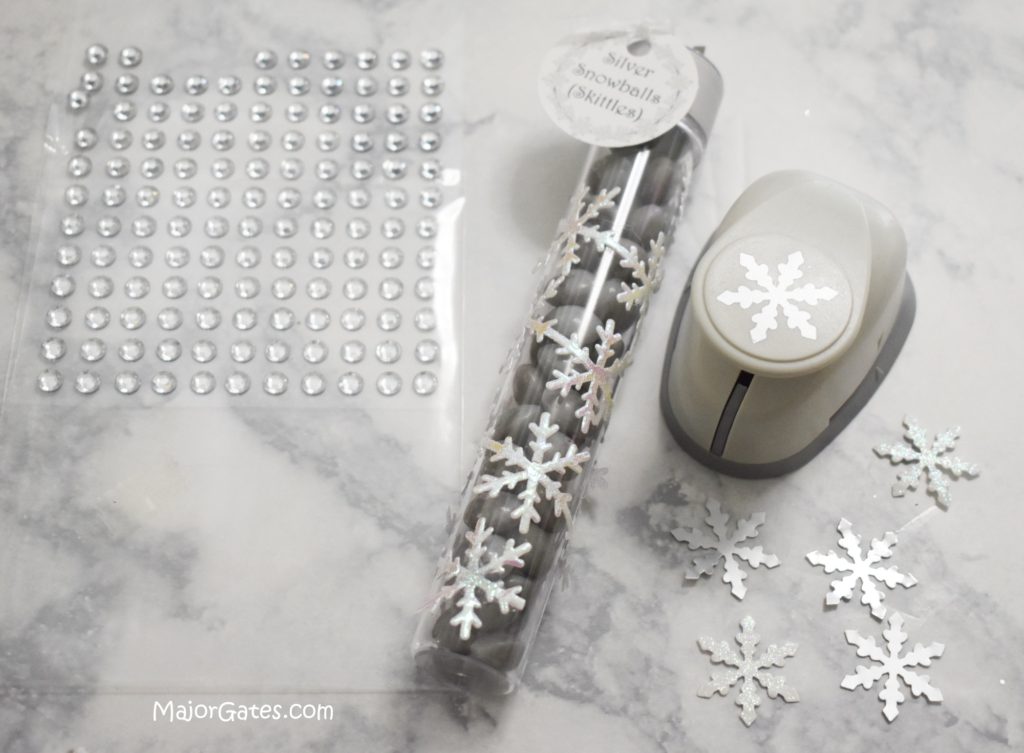
- Now tie on the ribbon to the label and glue to the top of the candy favor tube. Then glue on the punched snowflakes and then attach the gem in the center.

Your Candy Favor Tubes are ready!
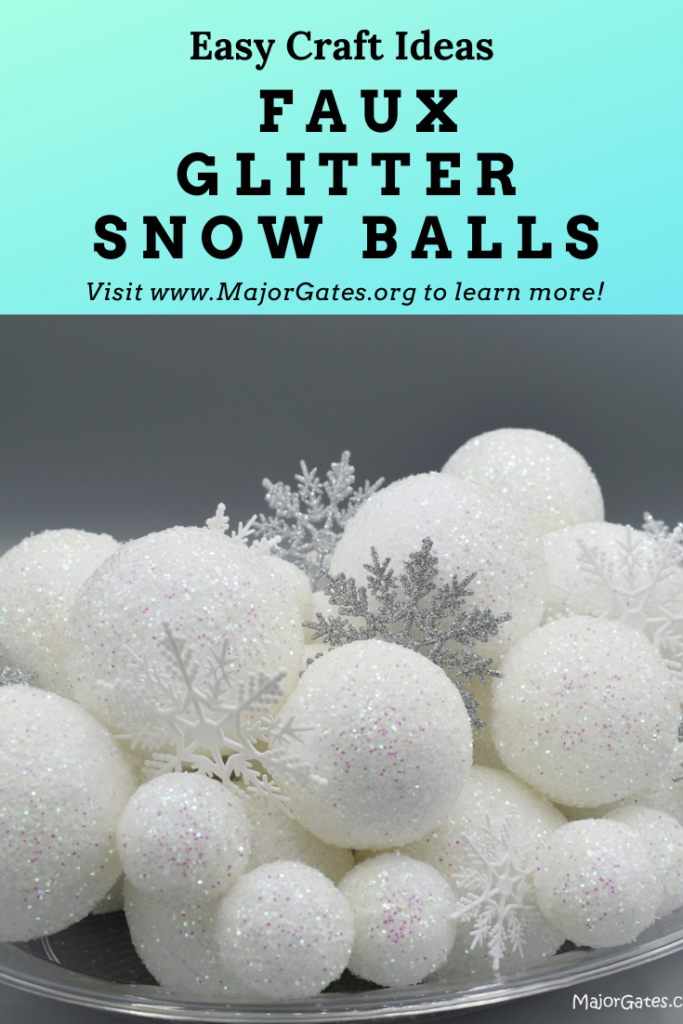
For another great party idea, see how to make Snow Faux Balls here: https://majorgates.com/do-it-yourself/faux-snow-balls/
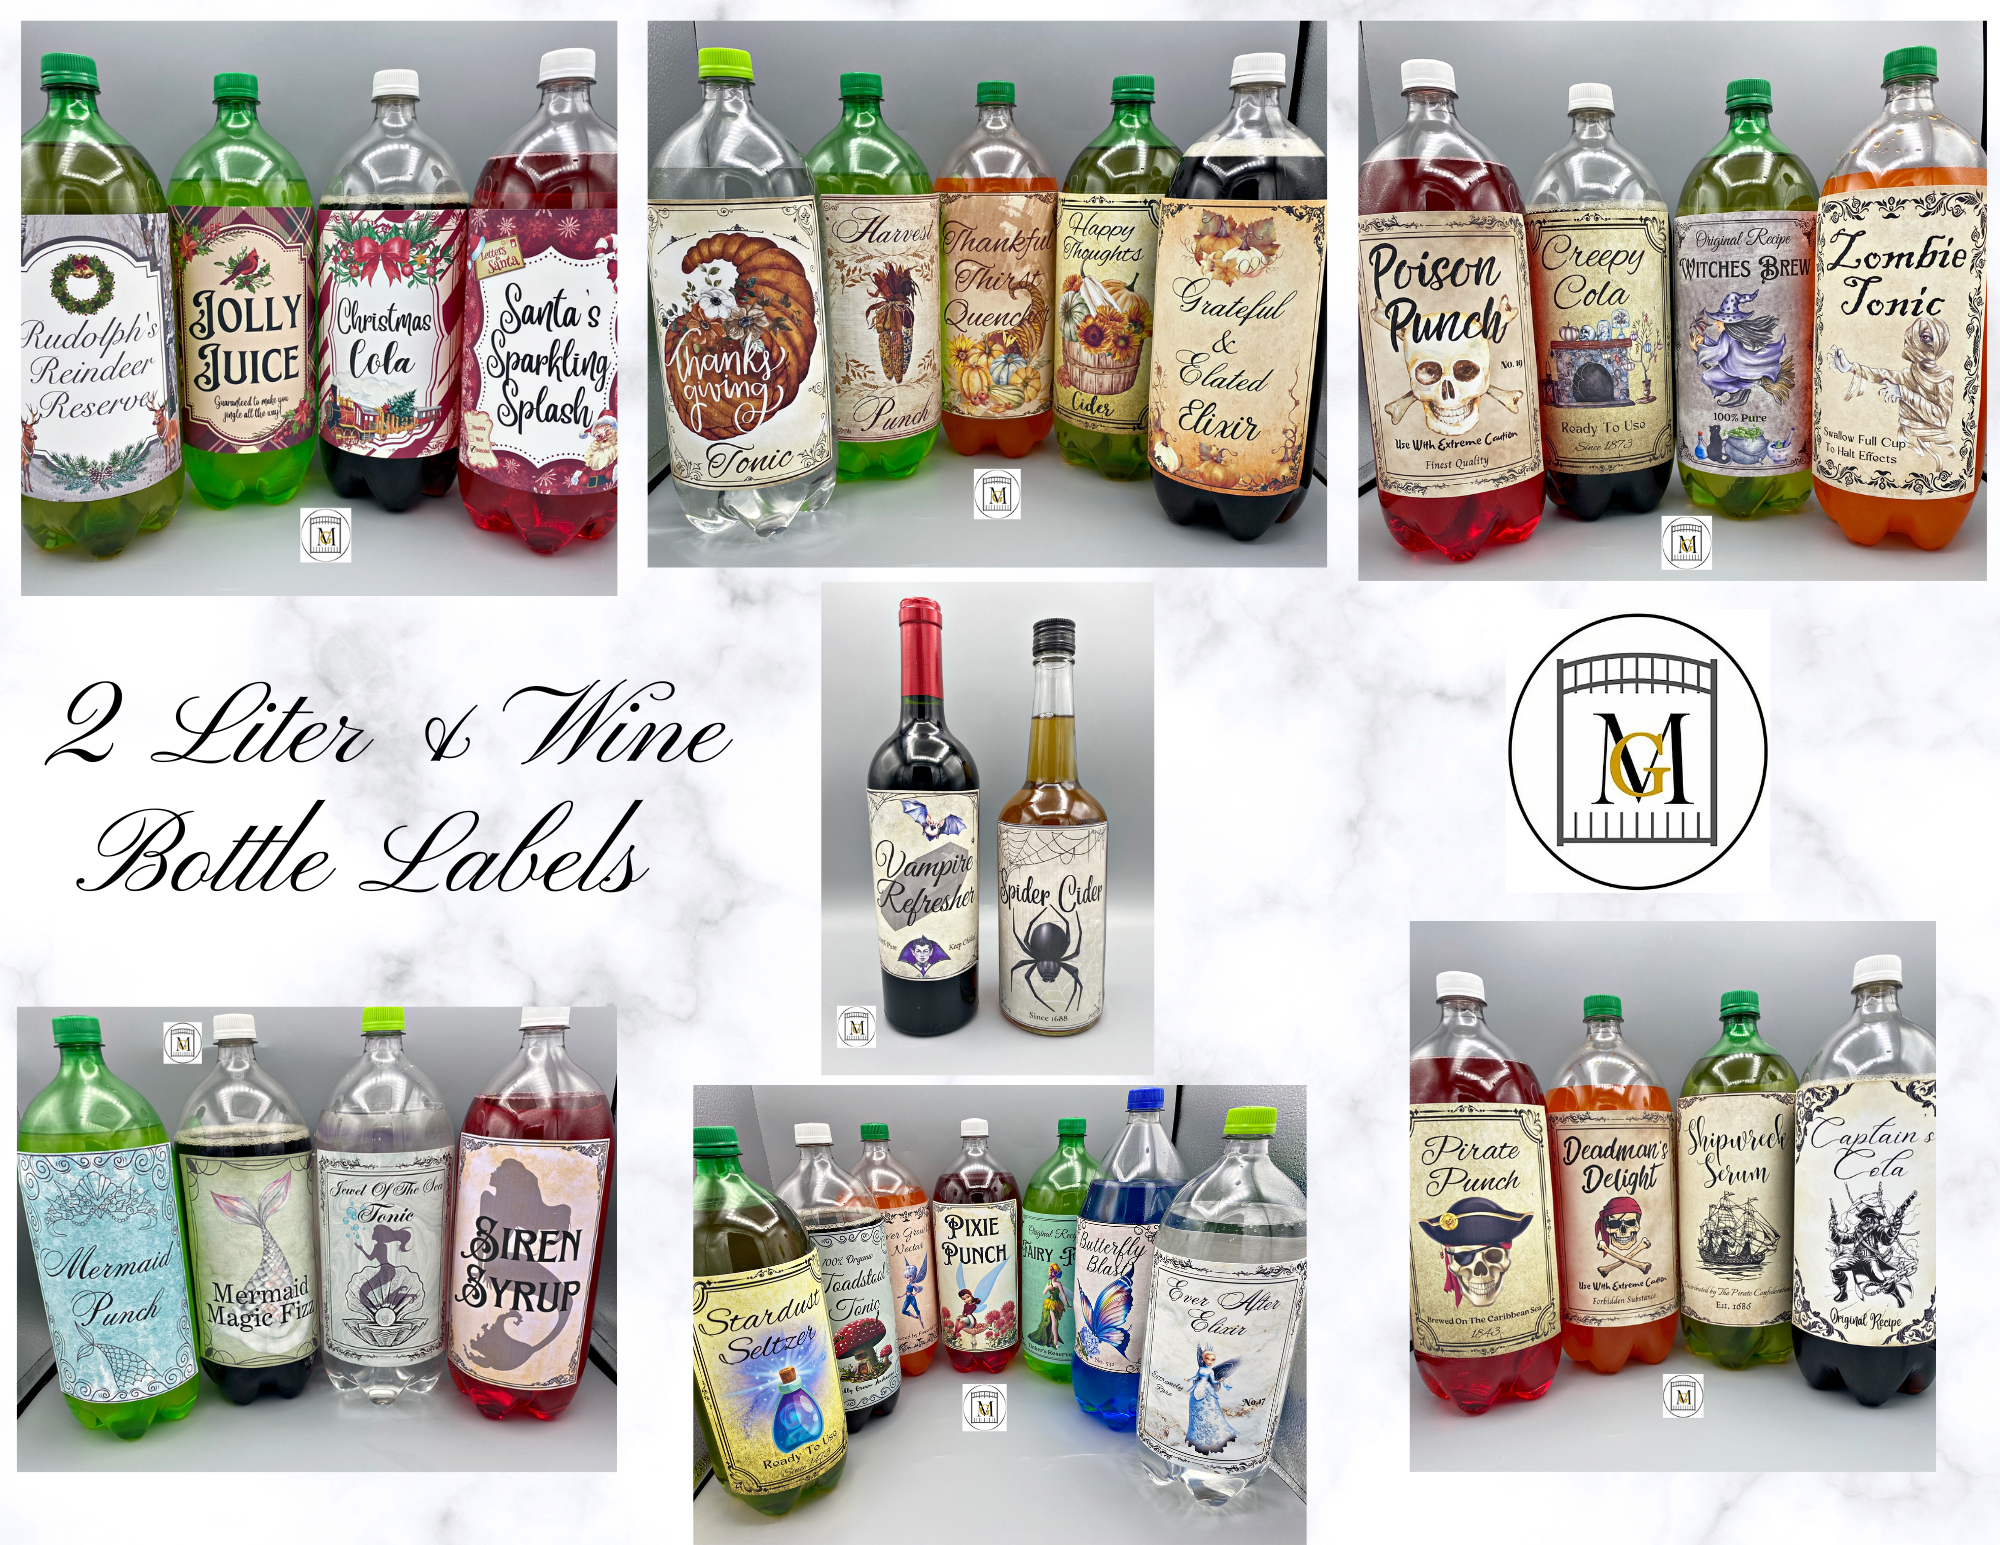
To see my available 2-Liter and Apothecary Party Labels, click here: https://majorgates.com/product-category/potion-apothecary-labels/
