Christmas Bauble Ornaments
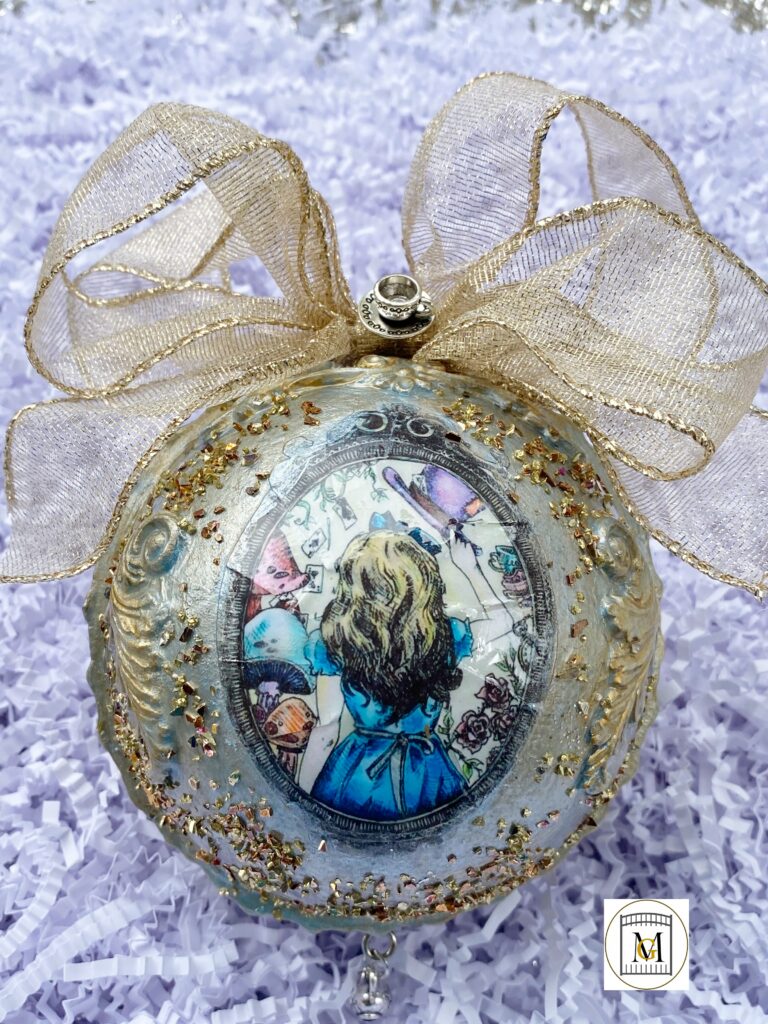
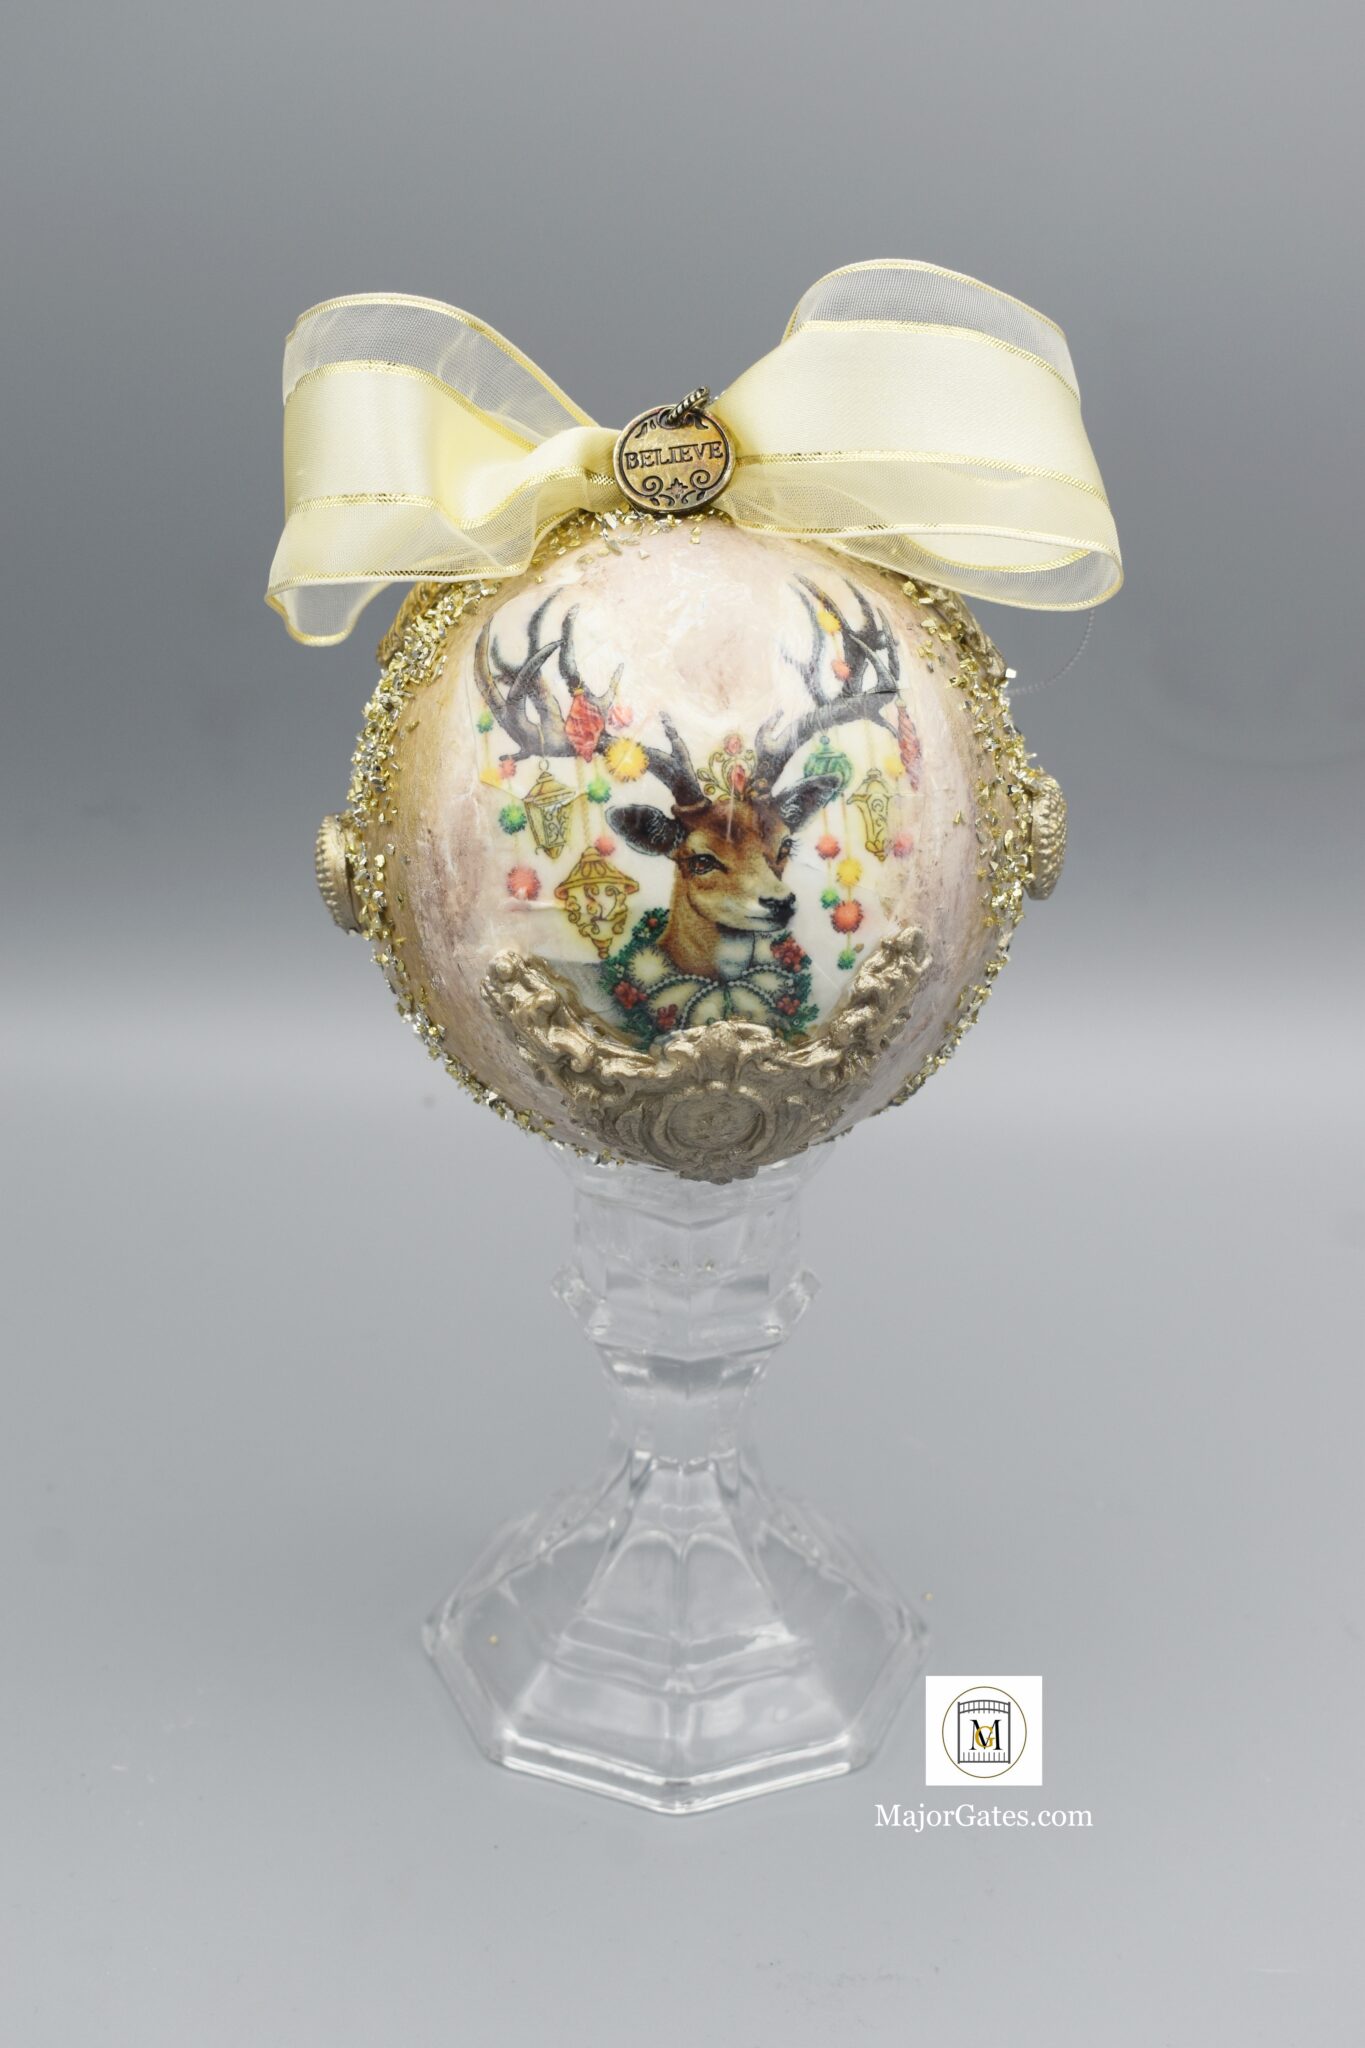
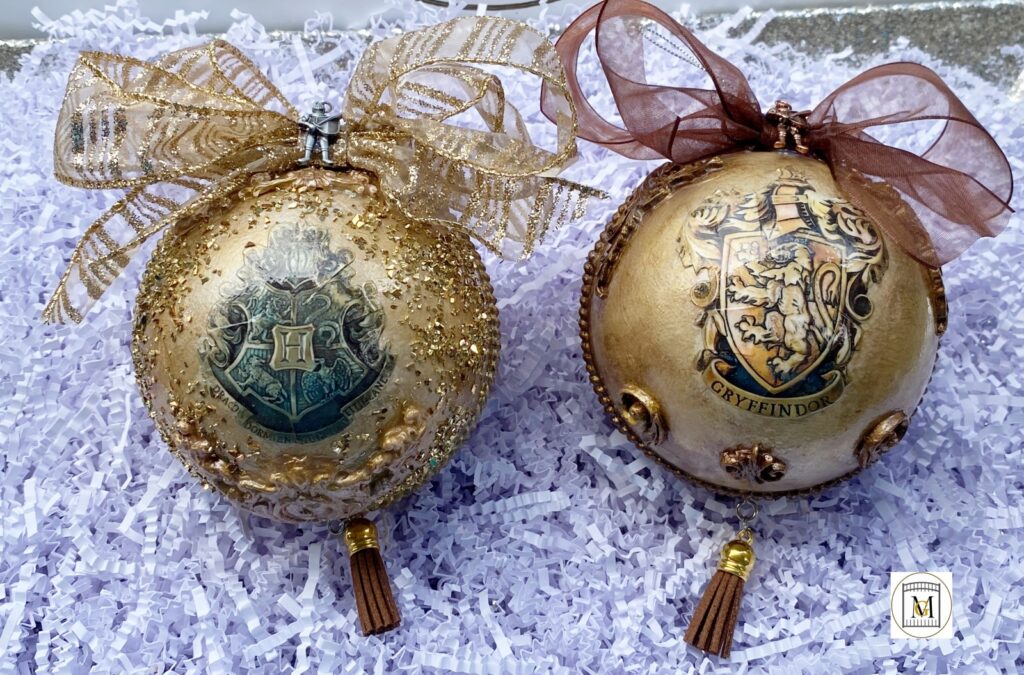
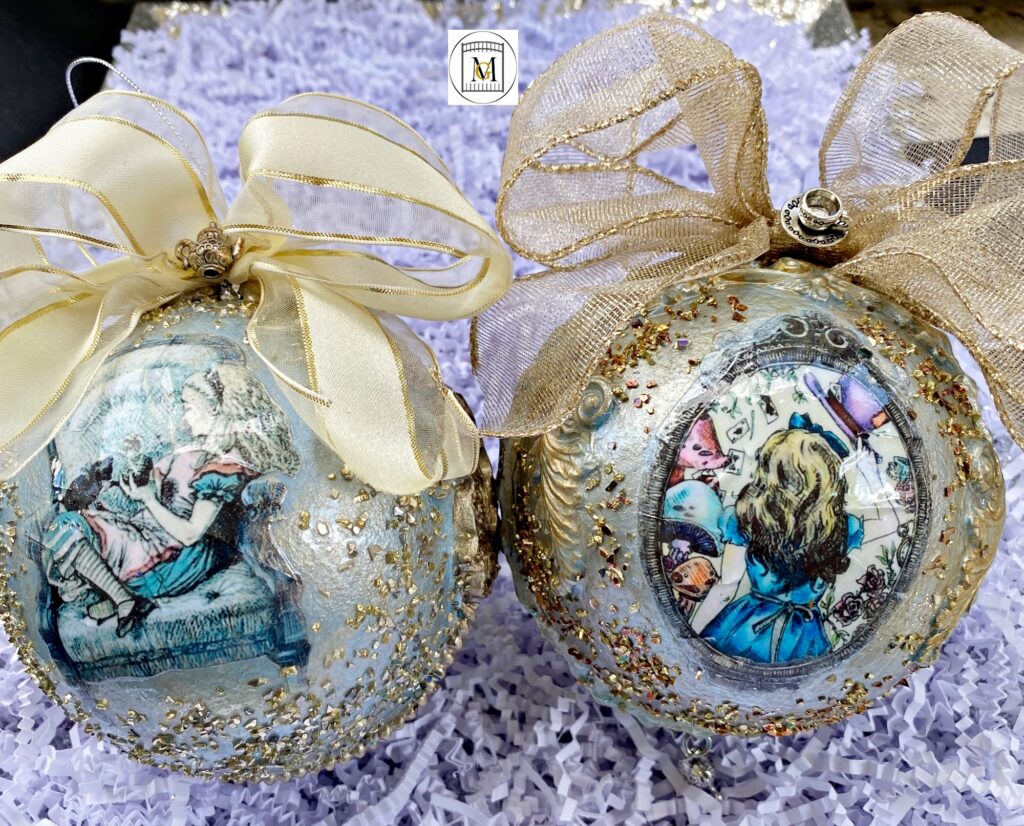
I love to make unique beautiful Christmas baubles or ornaments. The ones in this post are 4 inch balls made with plastic fillable ornaments. They are hand painted with paper appliques and clay appliques. I like how each ornament is unique. So I tend to tailor my bulbs to hard to find themes, like music, Harry Potter, old world, ocean/beach, Alice in Wonderland, bumble bees, ballet, etc. I make these as gifts and sell these.
I have realized over the years, that there are people that like to make things, and others that just want to buy something unique, lovely and handmade. A handmade gift is always appreciated and cherished. But deciding to make ornaments, you have to invest in buying crafting supplies. So if you are a common crafter, many supplies are already in your craft chest. But if you are new to crafting, purchasing all of the supplies can be costly.
So I recommend, if you are only looking for a couple of unique ornaments, it is more cost effective to just buy ones. But if you are planning to make a large group of ornaments for your tree, as gifts, or as a new hobby, then have fun getting the supplies.
Making ornaments is one of my favorite side hobbies. In this post, I will share how I make Christmas Baubles because, some artists do not share the full techniques. I found that they leave something out, even in You Tube videos. This can be frustrating, so I decided to give step-by-step instructions.
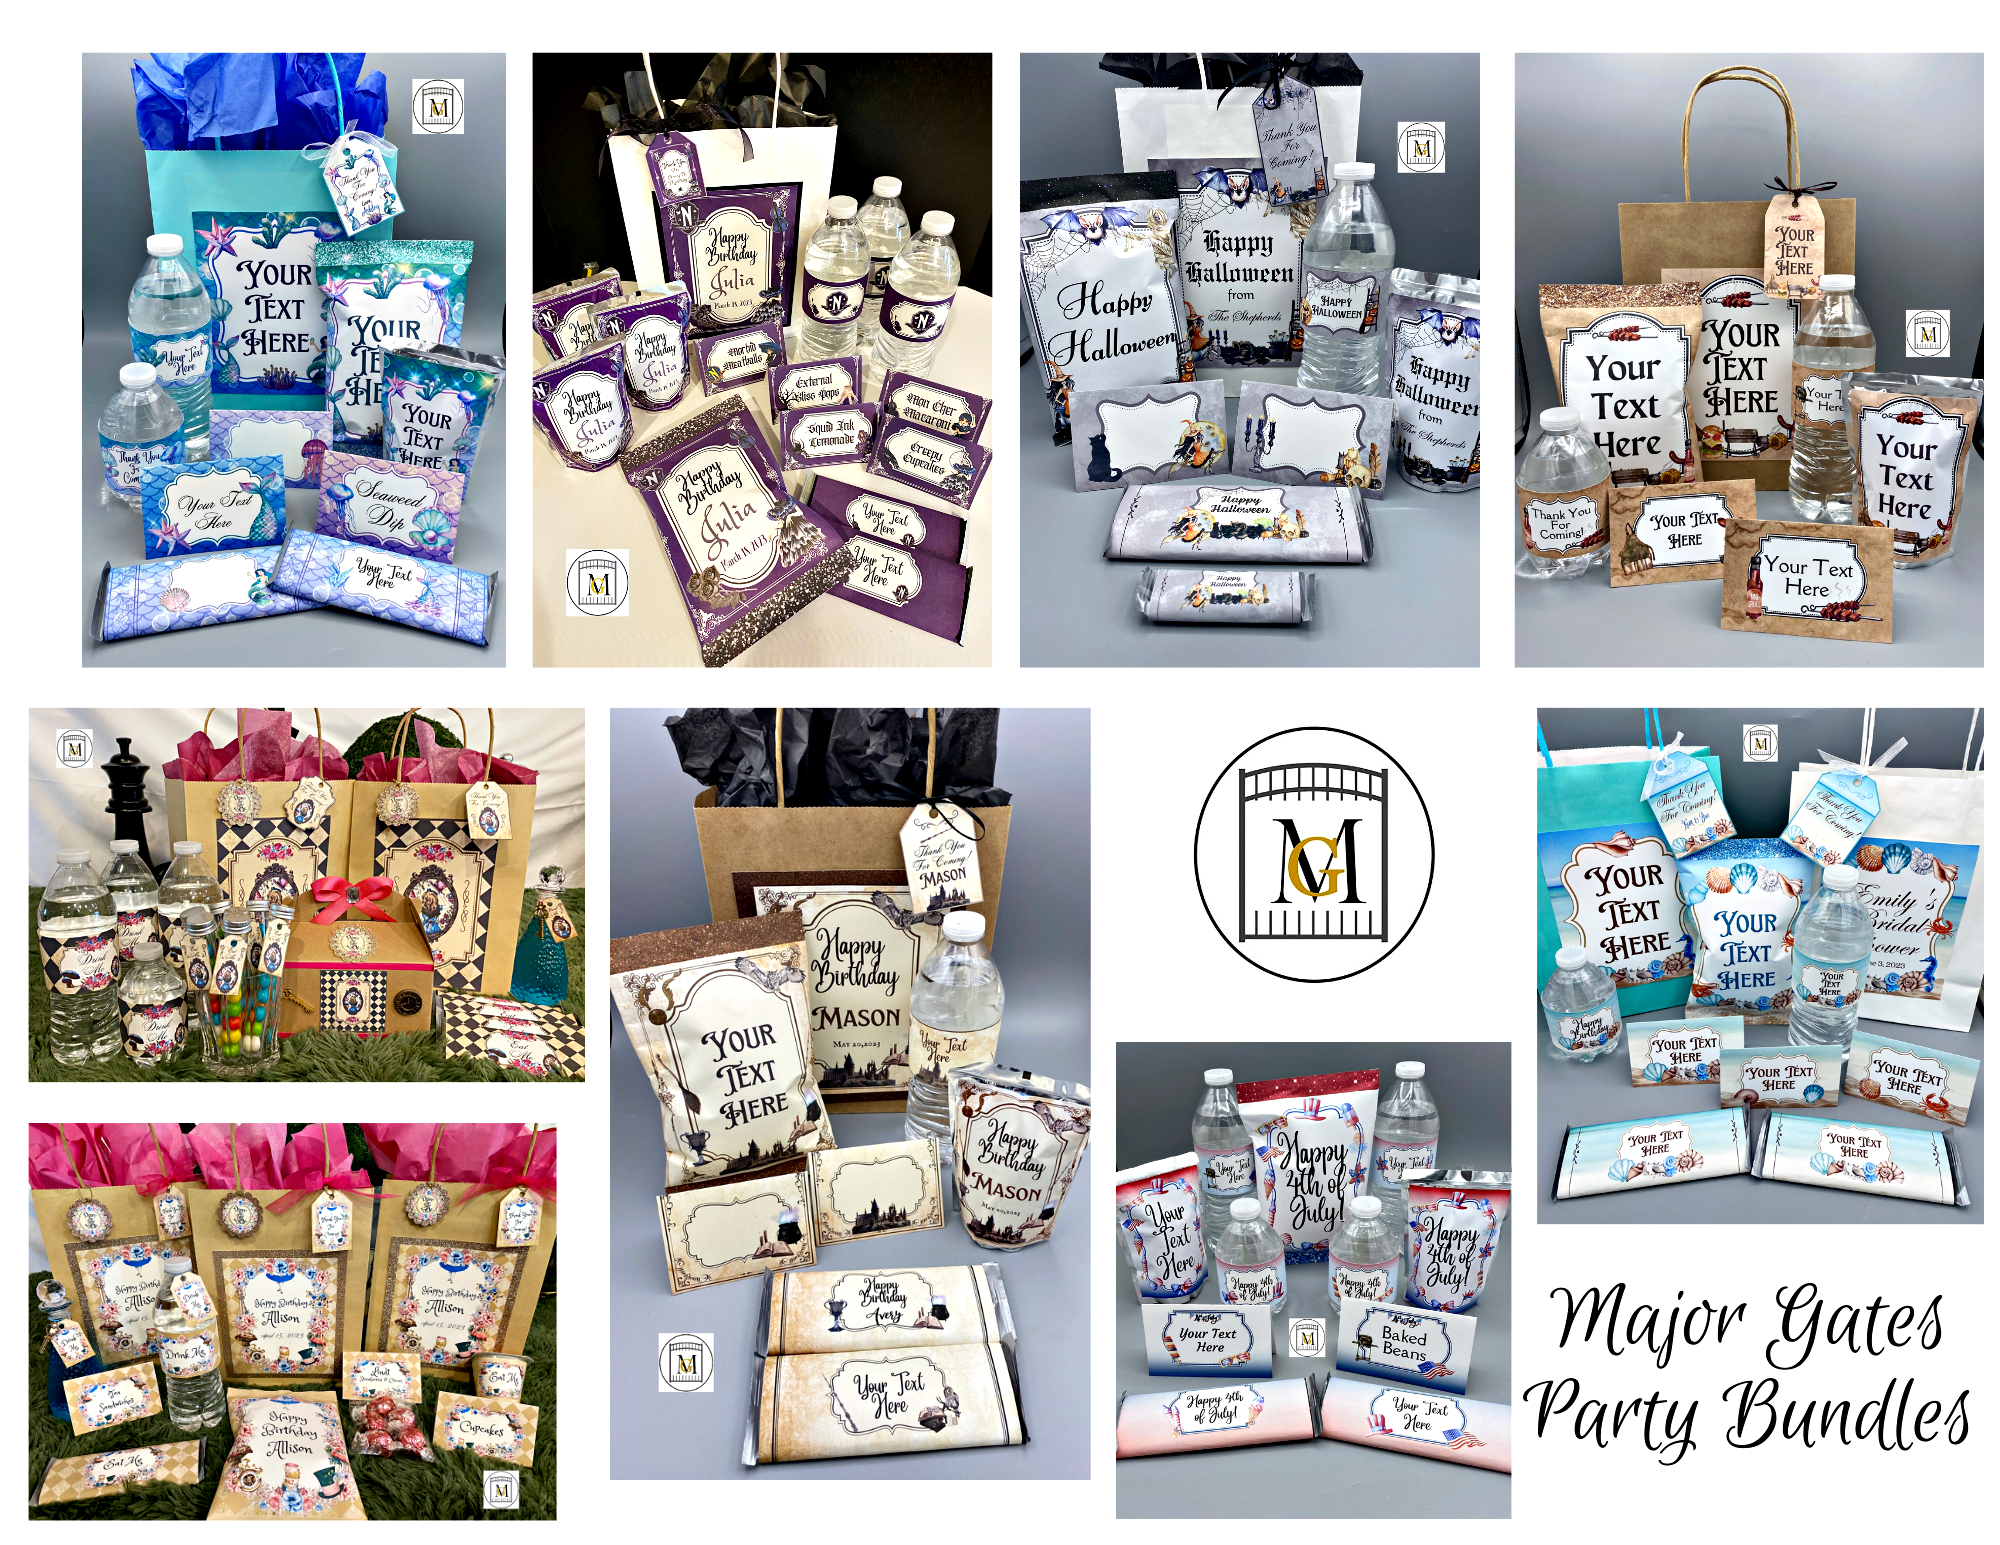
To see my available Party Label Bundle Downloads, click here: https://majorgates.com/product-category/party-bundles/
Don’t Forget To Follow Me On Pinterest!
For more great craft ideas, visit my DIY section here: https://majorgates.com/category/do-it-yourself/
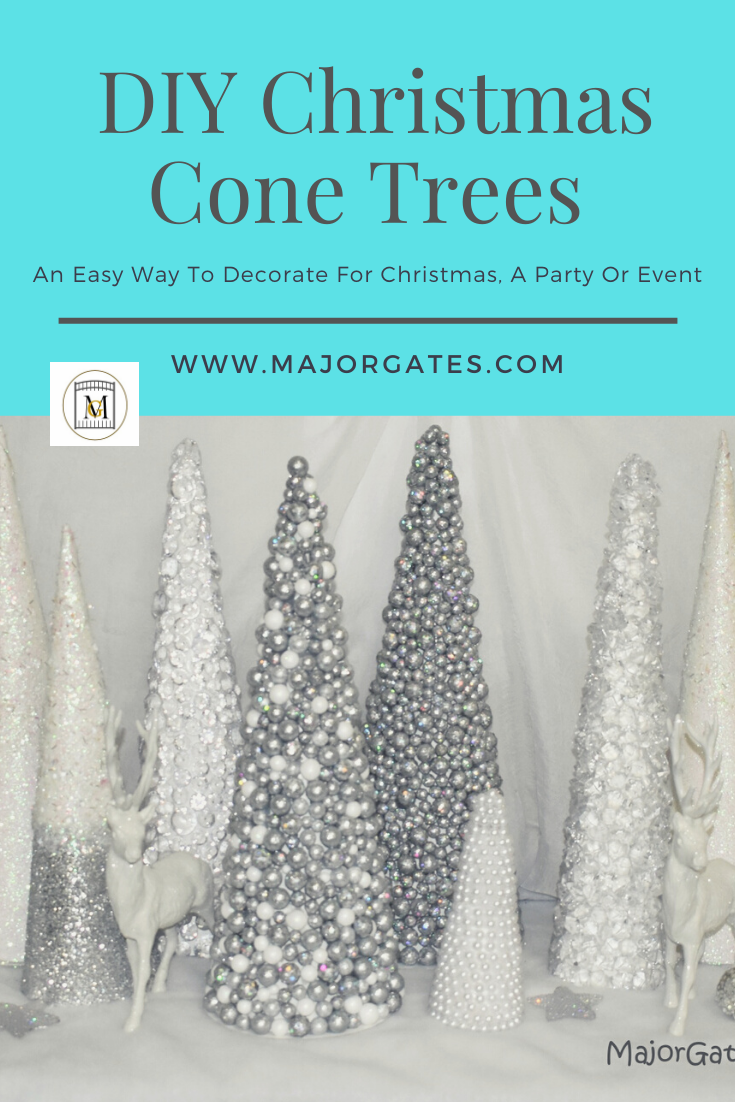
For another great Christmas idea, learn how to make DIY Cone Christmas Trees here: https://majorgates.com/do-it-yourself/diy-cone-christmas-trees/
Supplies
- 4 inch (100mm) clear fillable ornaments
- 1.5 inch wired ribbon
- Sharp scissors
- Tacky Glue
- Acrylic chalk paint
- Sponge brush
- Decorative gem or embellishment
- 1/16 inch (1.59mm) thin ribbon
- Variety of brushes and paint tray – make sure you have a fan brush in the set
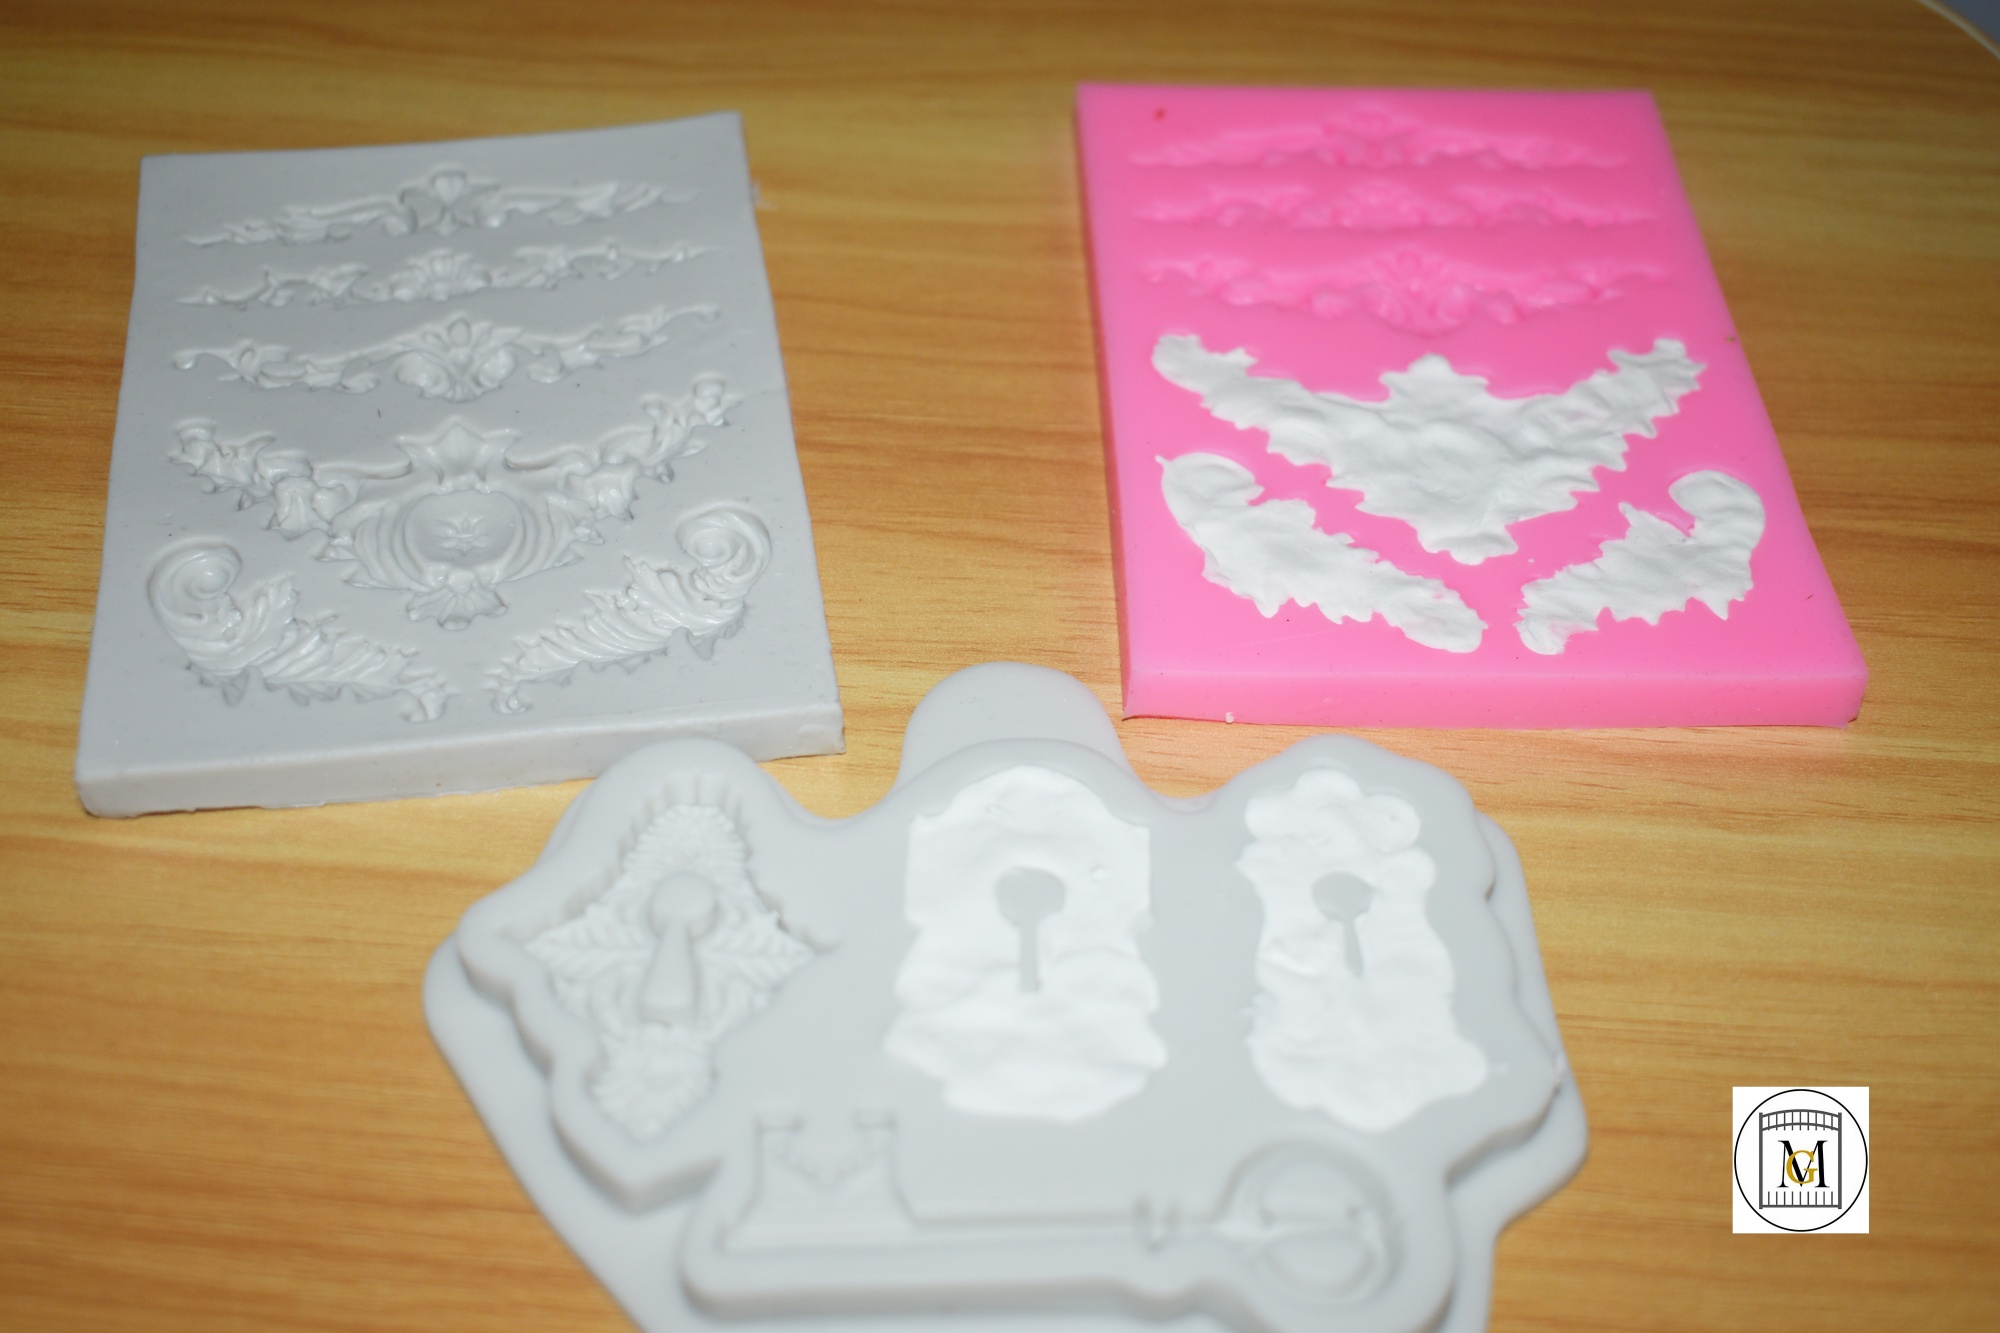
- Silicone molds (buy the ones that you like- there are plenty of options)
- Super light air modeling clay
- Various metallic acrylic paints
- Rice paper images or images printed on regular A4 paper
- Mod Podge
- Triple Thick Gloss Glaze
- Foil flakes or glass flake mix (optional)
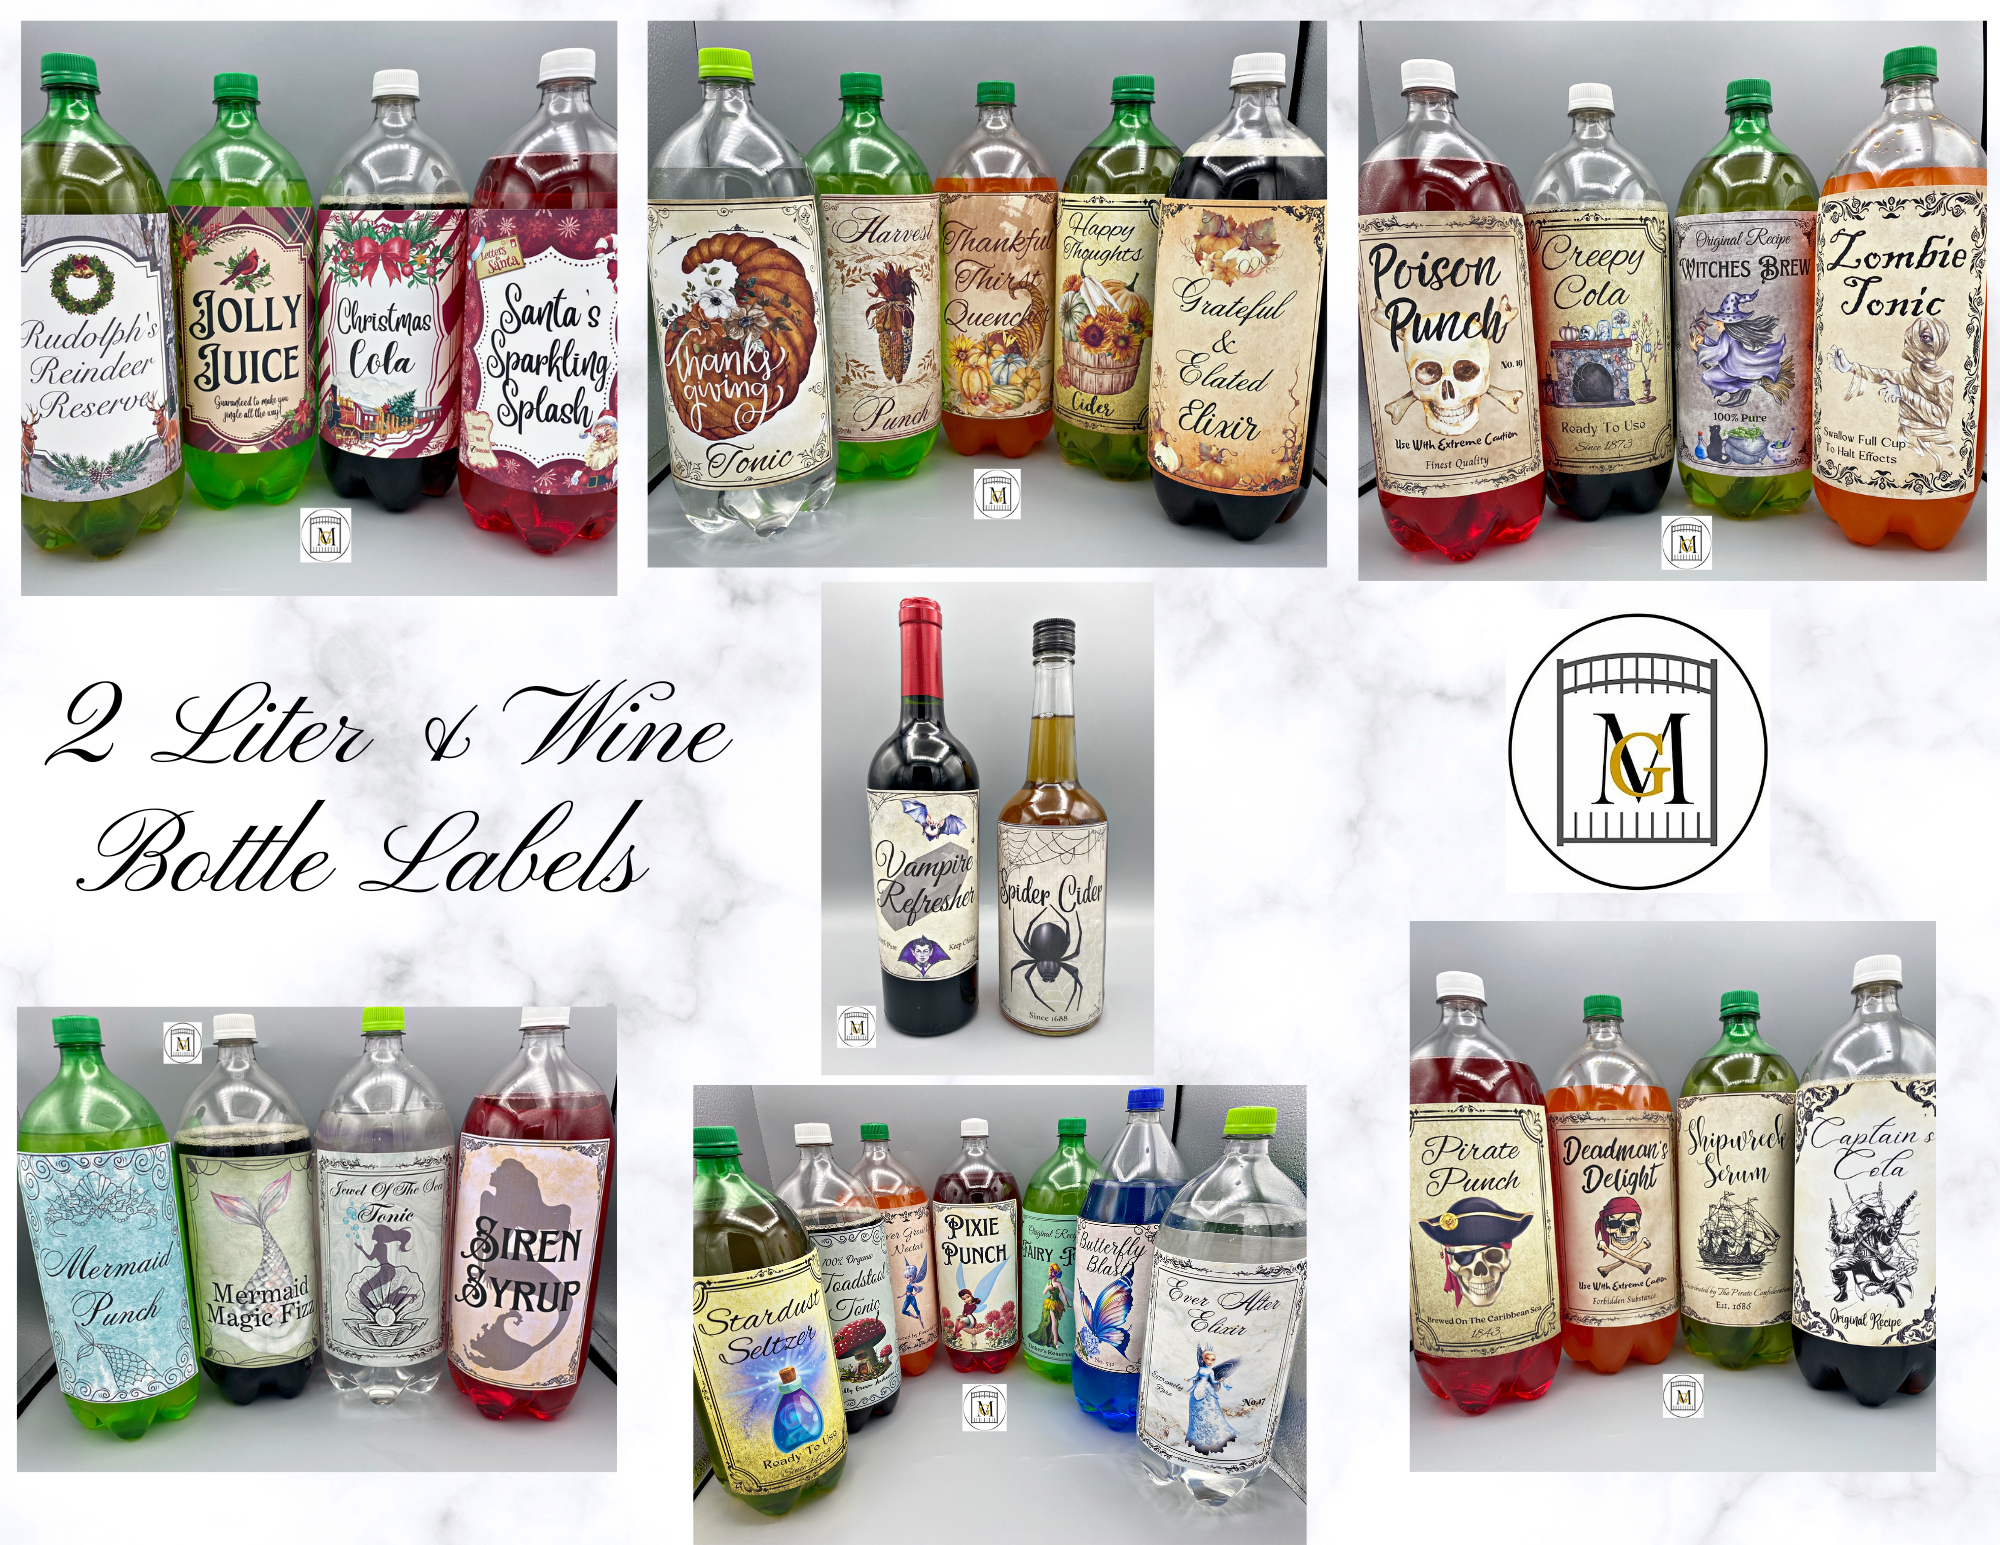
To see my available 2-Liter/Wine Bottle Labels, click here: https://majorgates.com/product-category/potion-apothecary-labels/
Directions For Christmas Bauble Ornaments
Another thing to keep in mind when making ornaments like these, is that they are time consuming. Not really to make them, but allowing for all the separate drying times. So I usually work on several at a time.
- Start by deciding what trim and clay embellishments you plan to use for the ornament and press the super light air dry clay into the silicone mold(s). These will need to dry at least 2 hours.
NOTE: When using the molds, lightly brush the molds with corn starch to easily lift the clay out of the molds. They smudge easily if they are not dry enough and you touch the front of the design.
- For images you use, you can either print them on regular copy (A4) paper or use images pre-printed on rice paper. So if you print them yourself, you have to ready the image to prevent bleeding and smearing of the image. To do this, cut out the image with fine scissors, as close to the image as possible. Then paint the backside first with Mod Podge and allow it to fully dry for about 2 hours. Then flip to the image side and paint the front side with Mod Podge and allow it to fully dry for about another 2 hours.
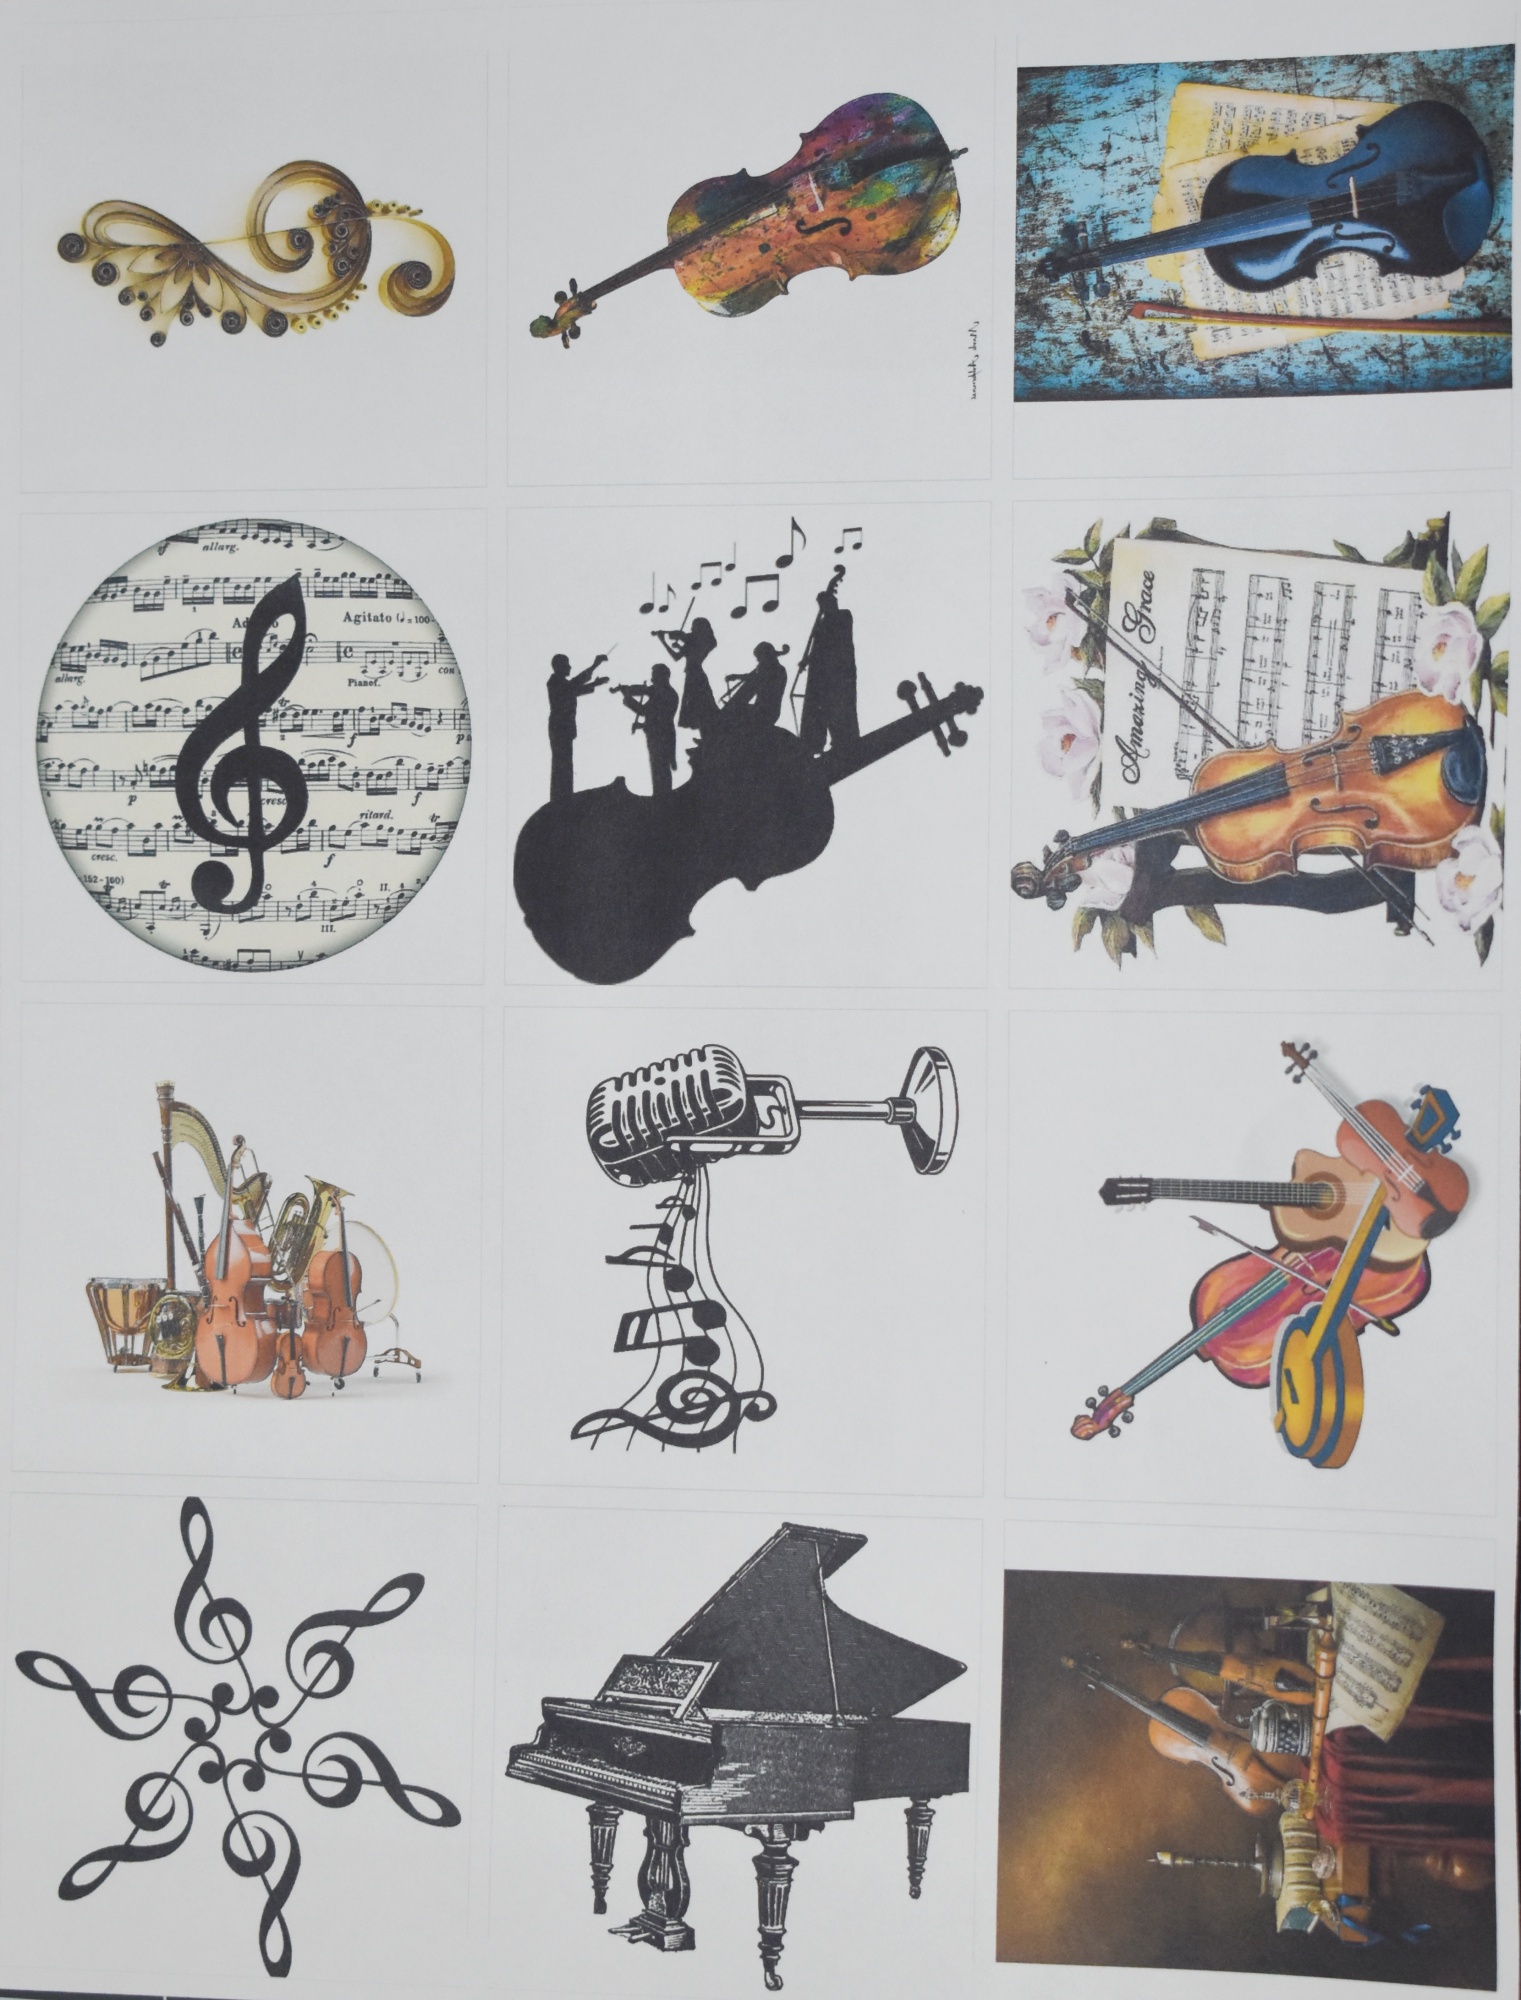
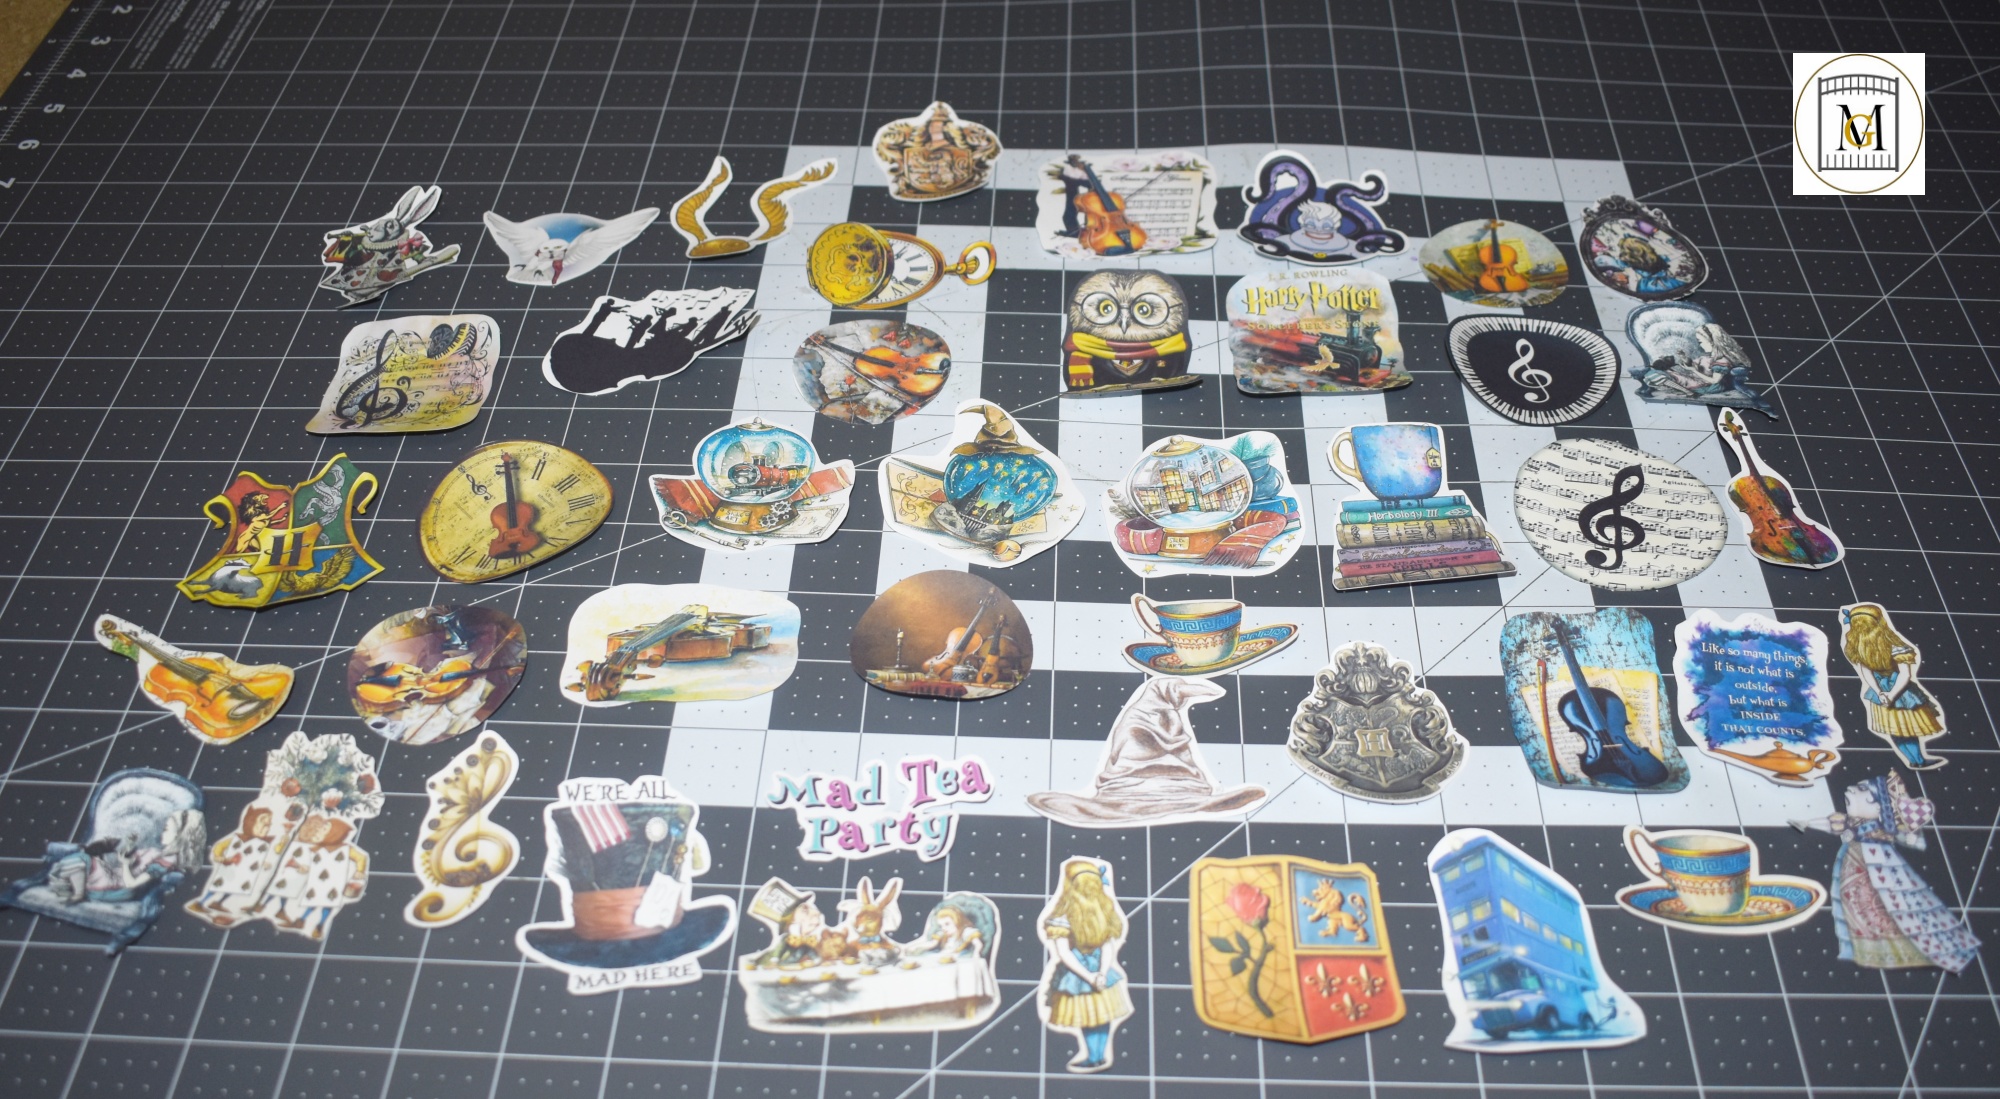
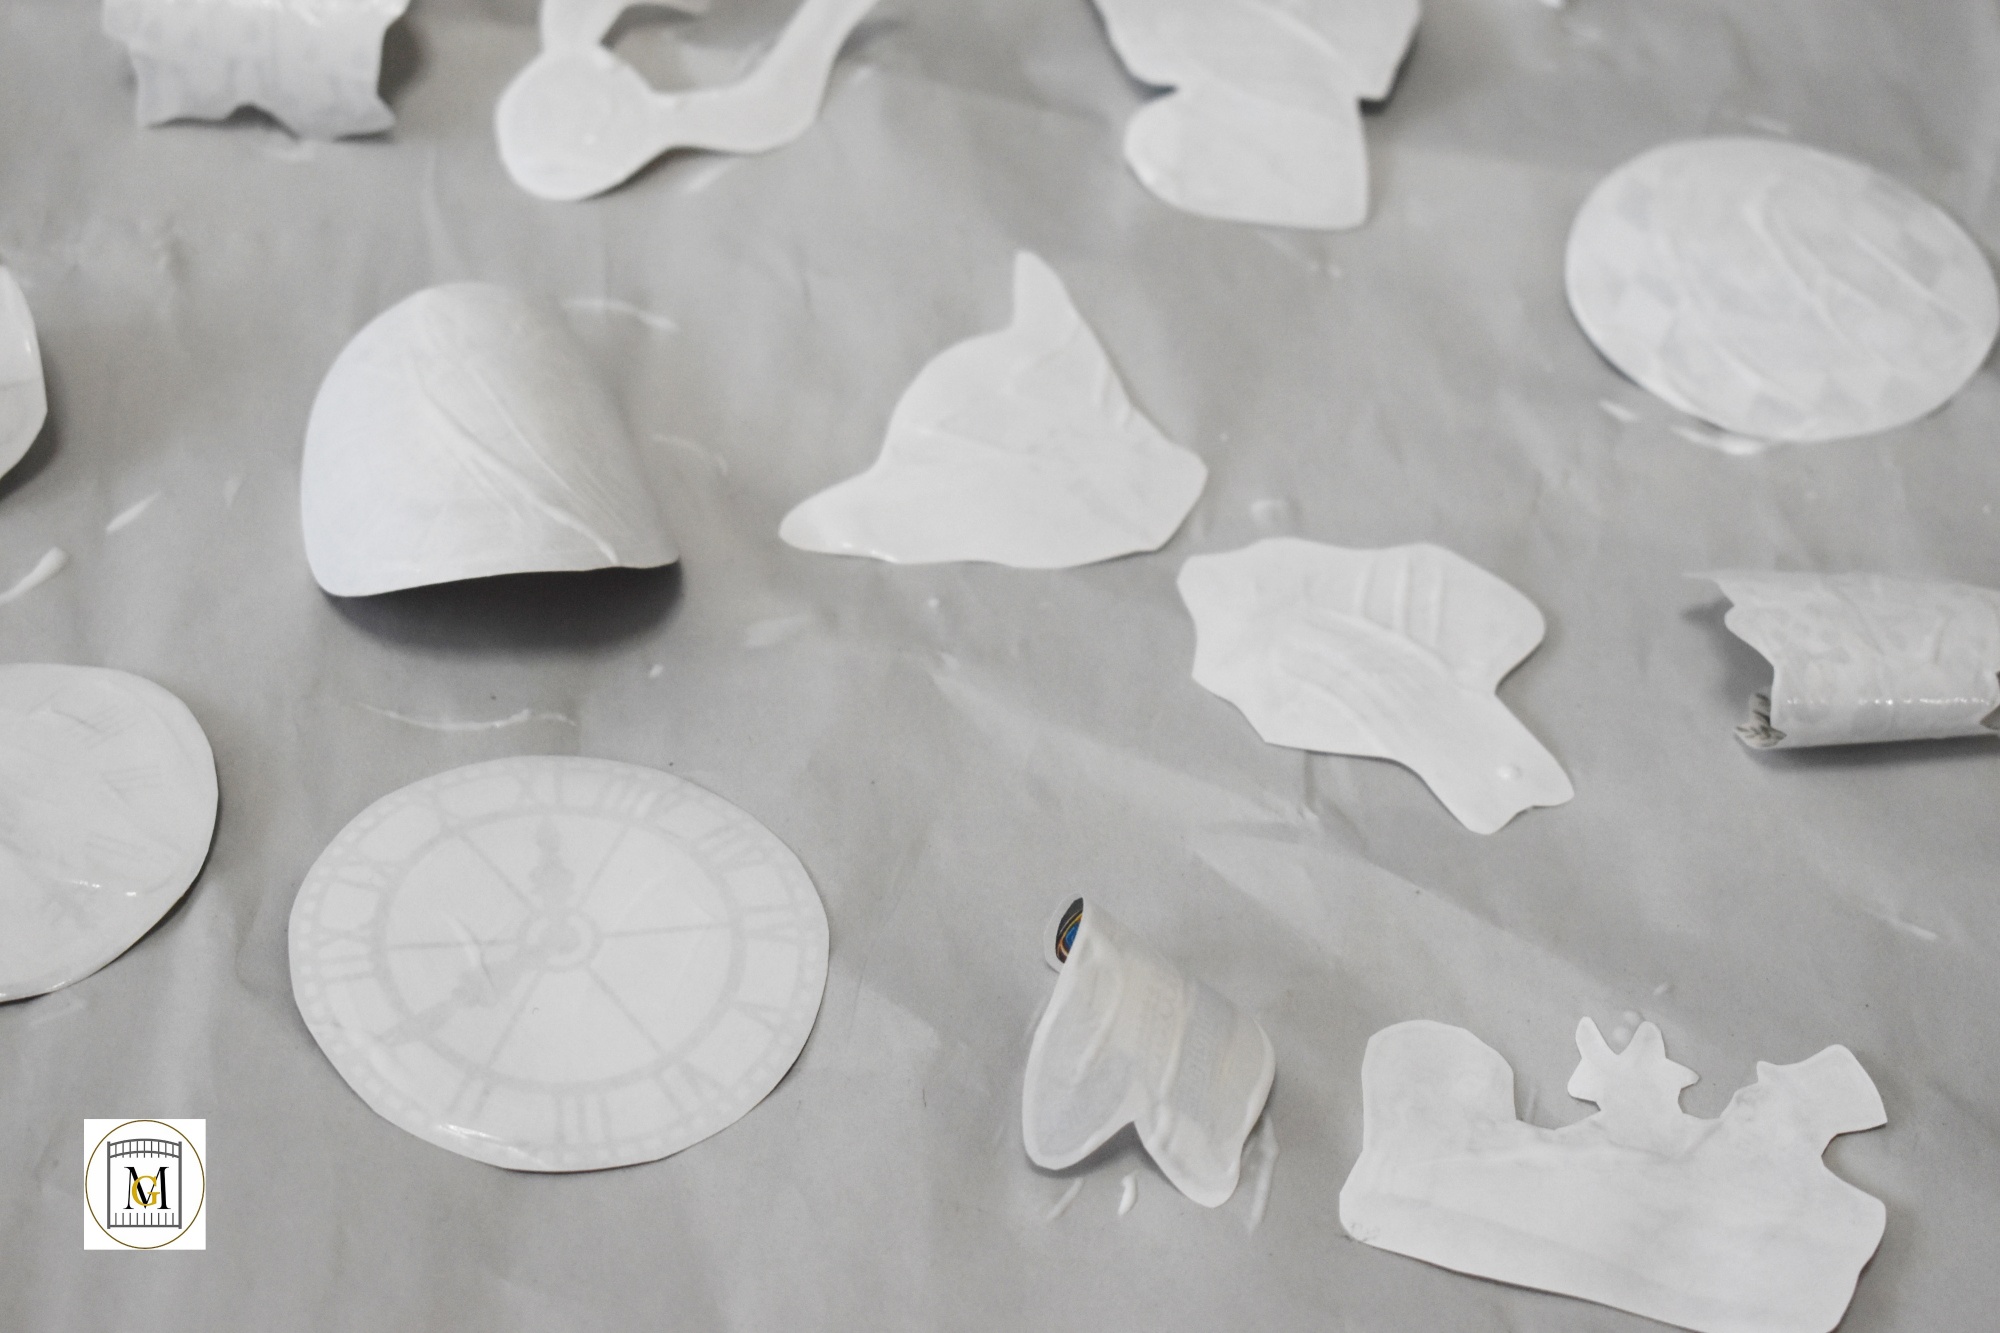
- Glue the backside of the image first and allow it to fully dry before flipping over and Mod Podge the other side. Trim off any excess white that you may have missed.
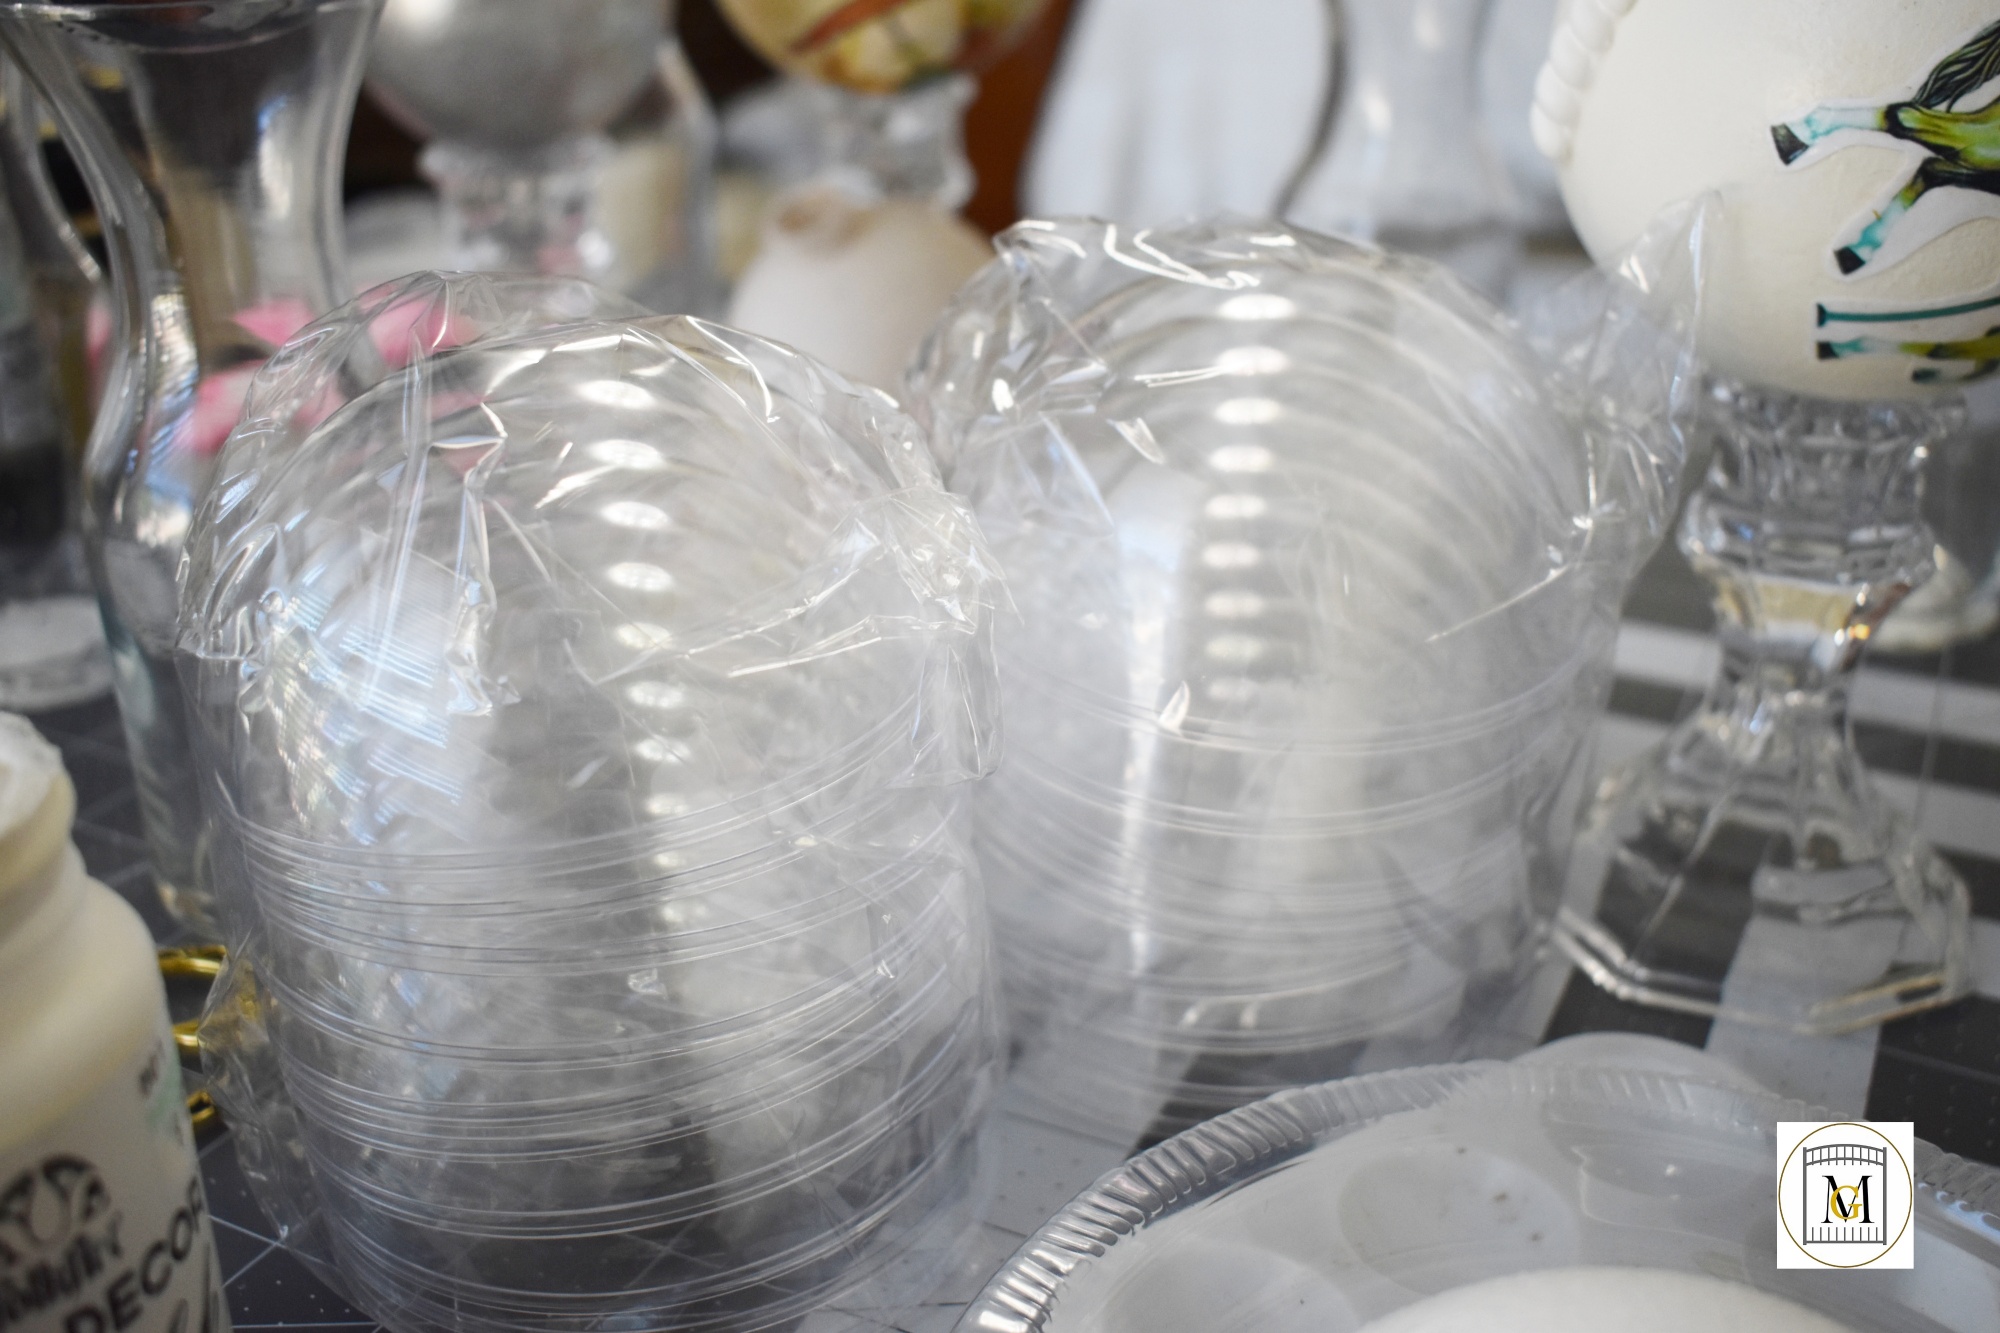
- Then dry fit the plastic bulb ends together to make sure they fit together.
- So while the clay and images are drying, apply a base layer of paint (I use chalk paint) with a round sponge brush. Then set on a paper or plastic plate to dry. I like to use acrylic chalk white, chalk linen or chalk grey paint for base coats.
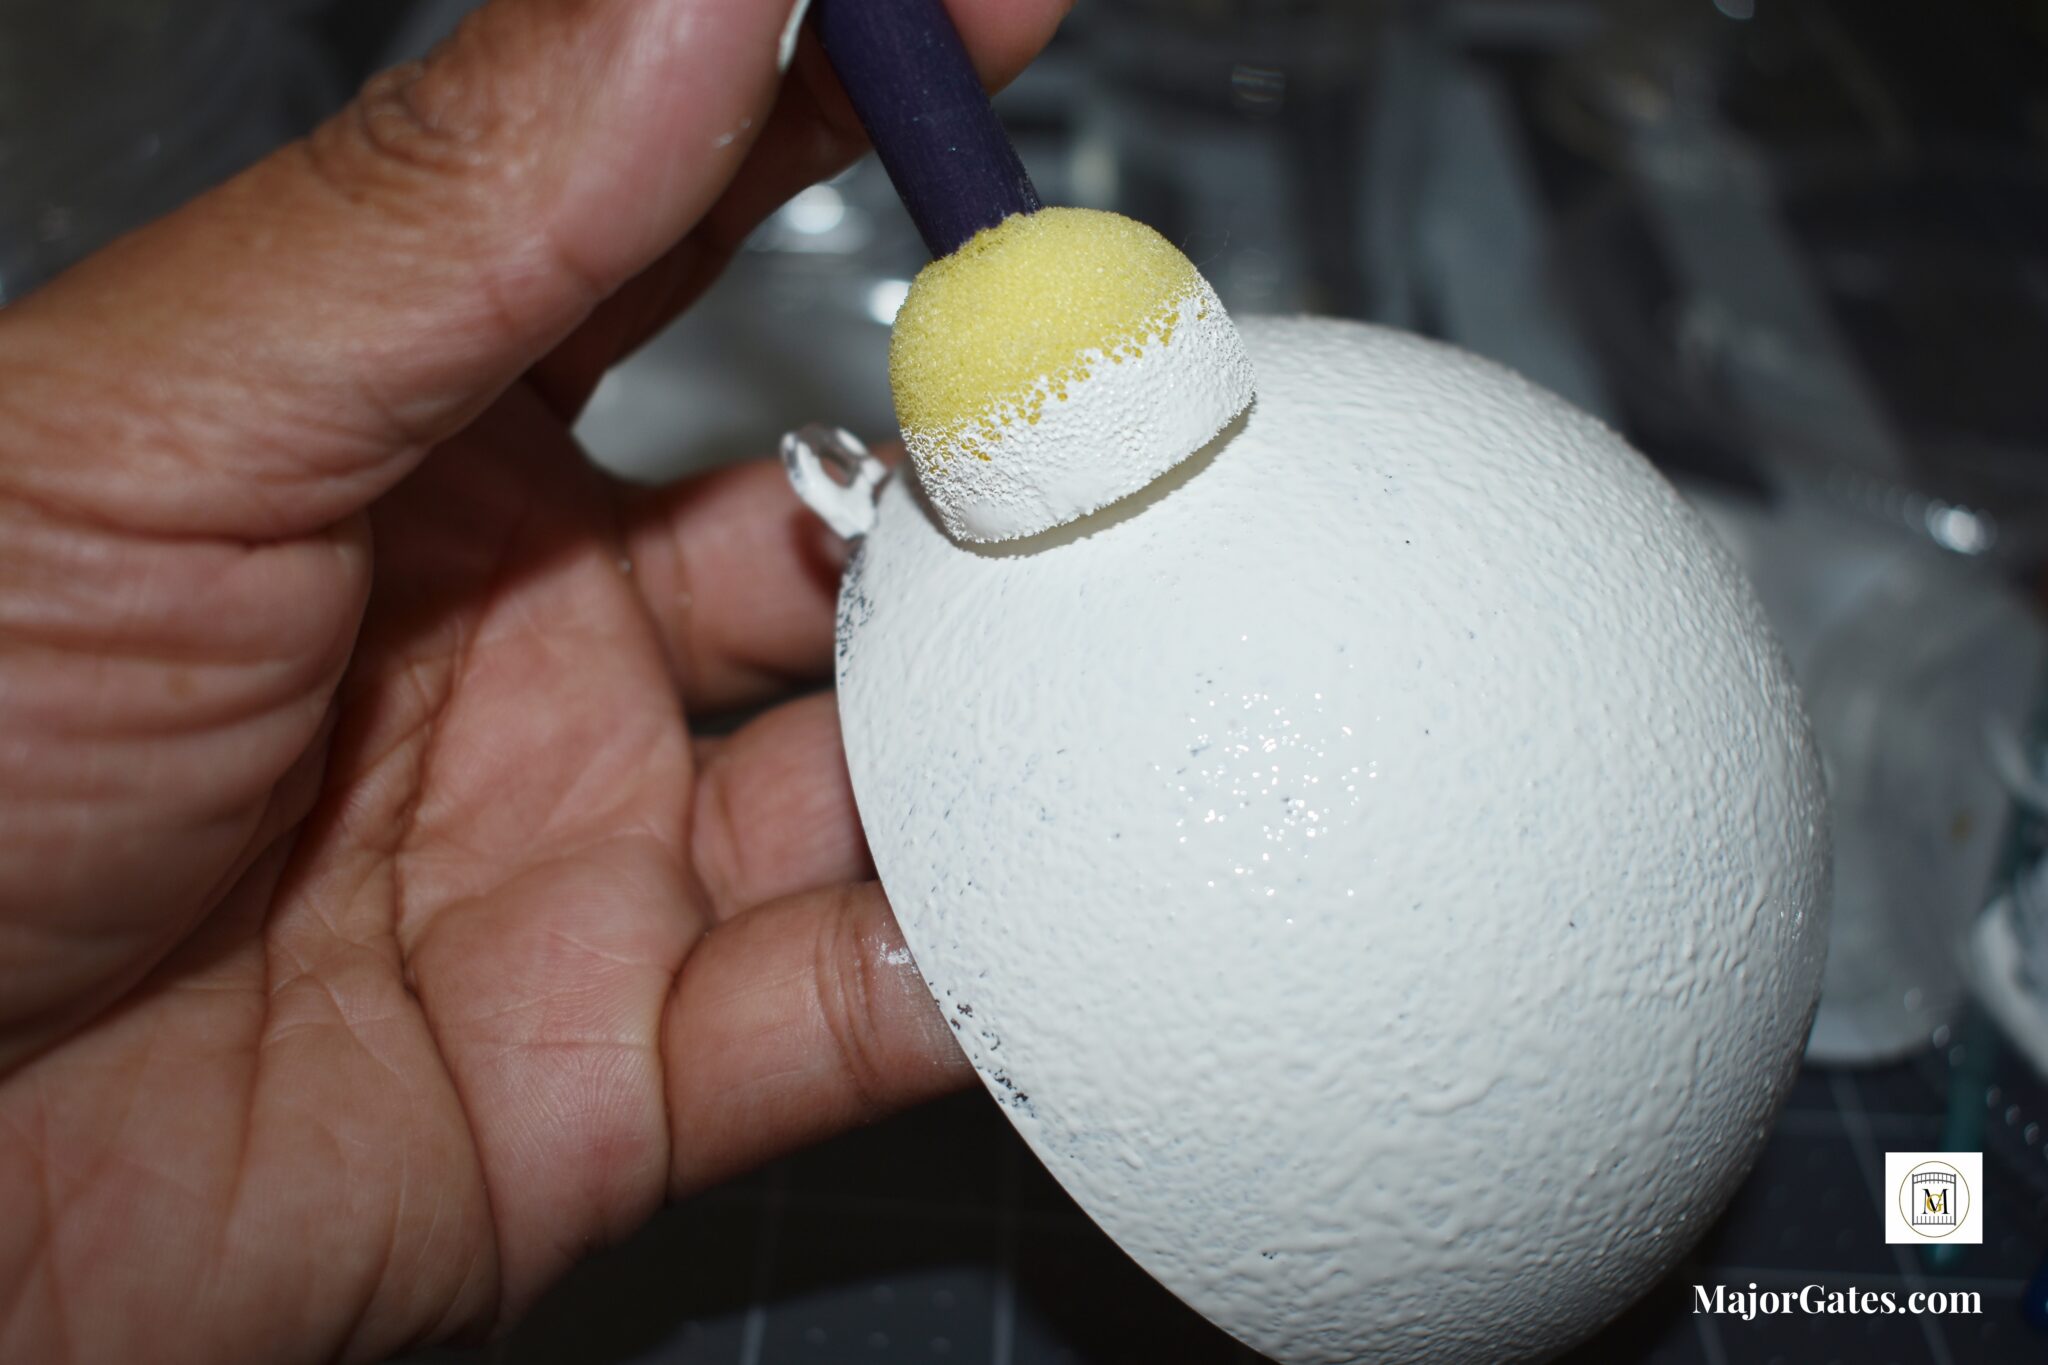
- Allow the primed bulbs to dry at least 2 hours to allow you to work with them without the paint coming off.
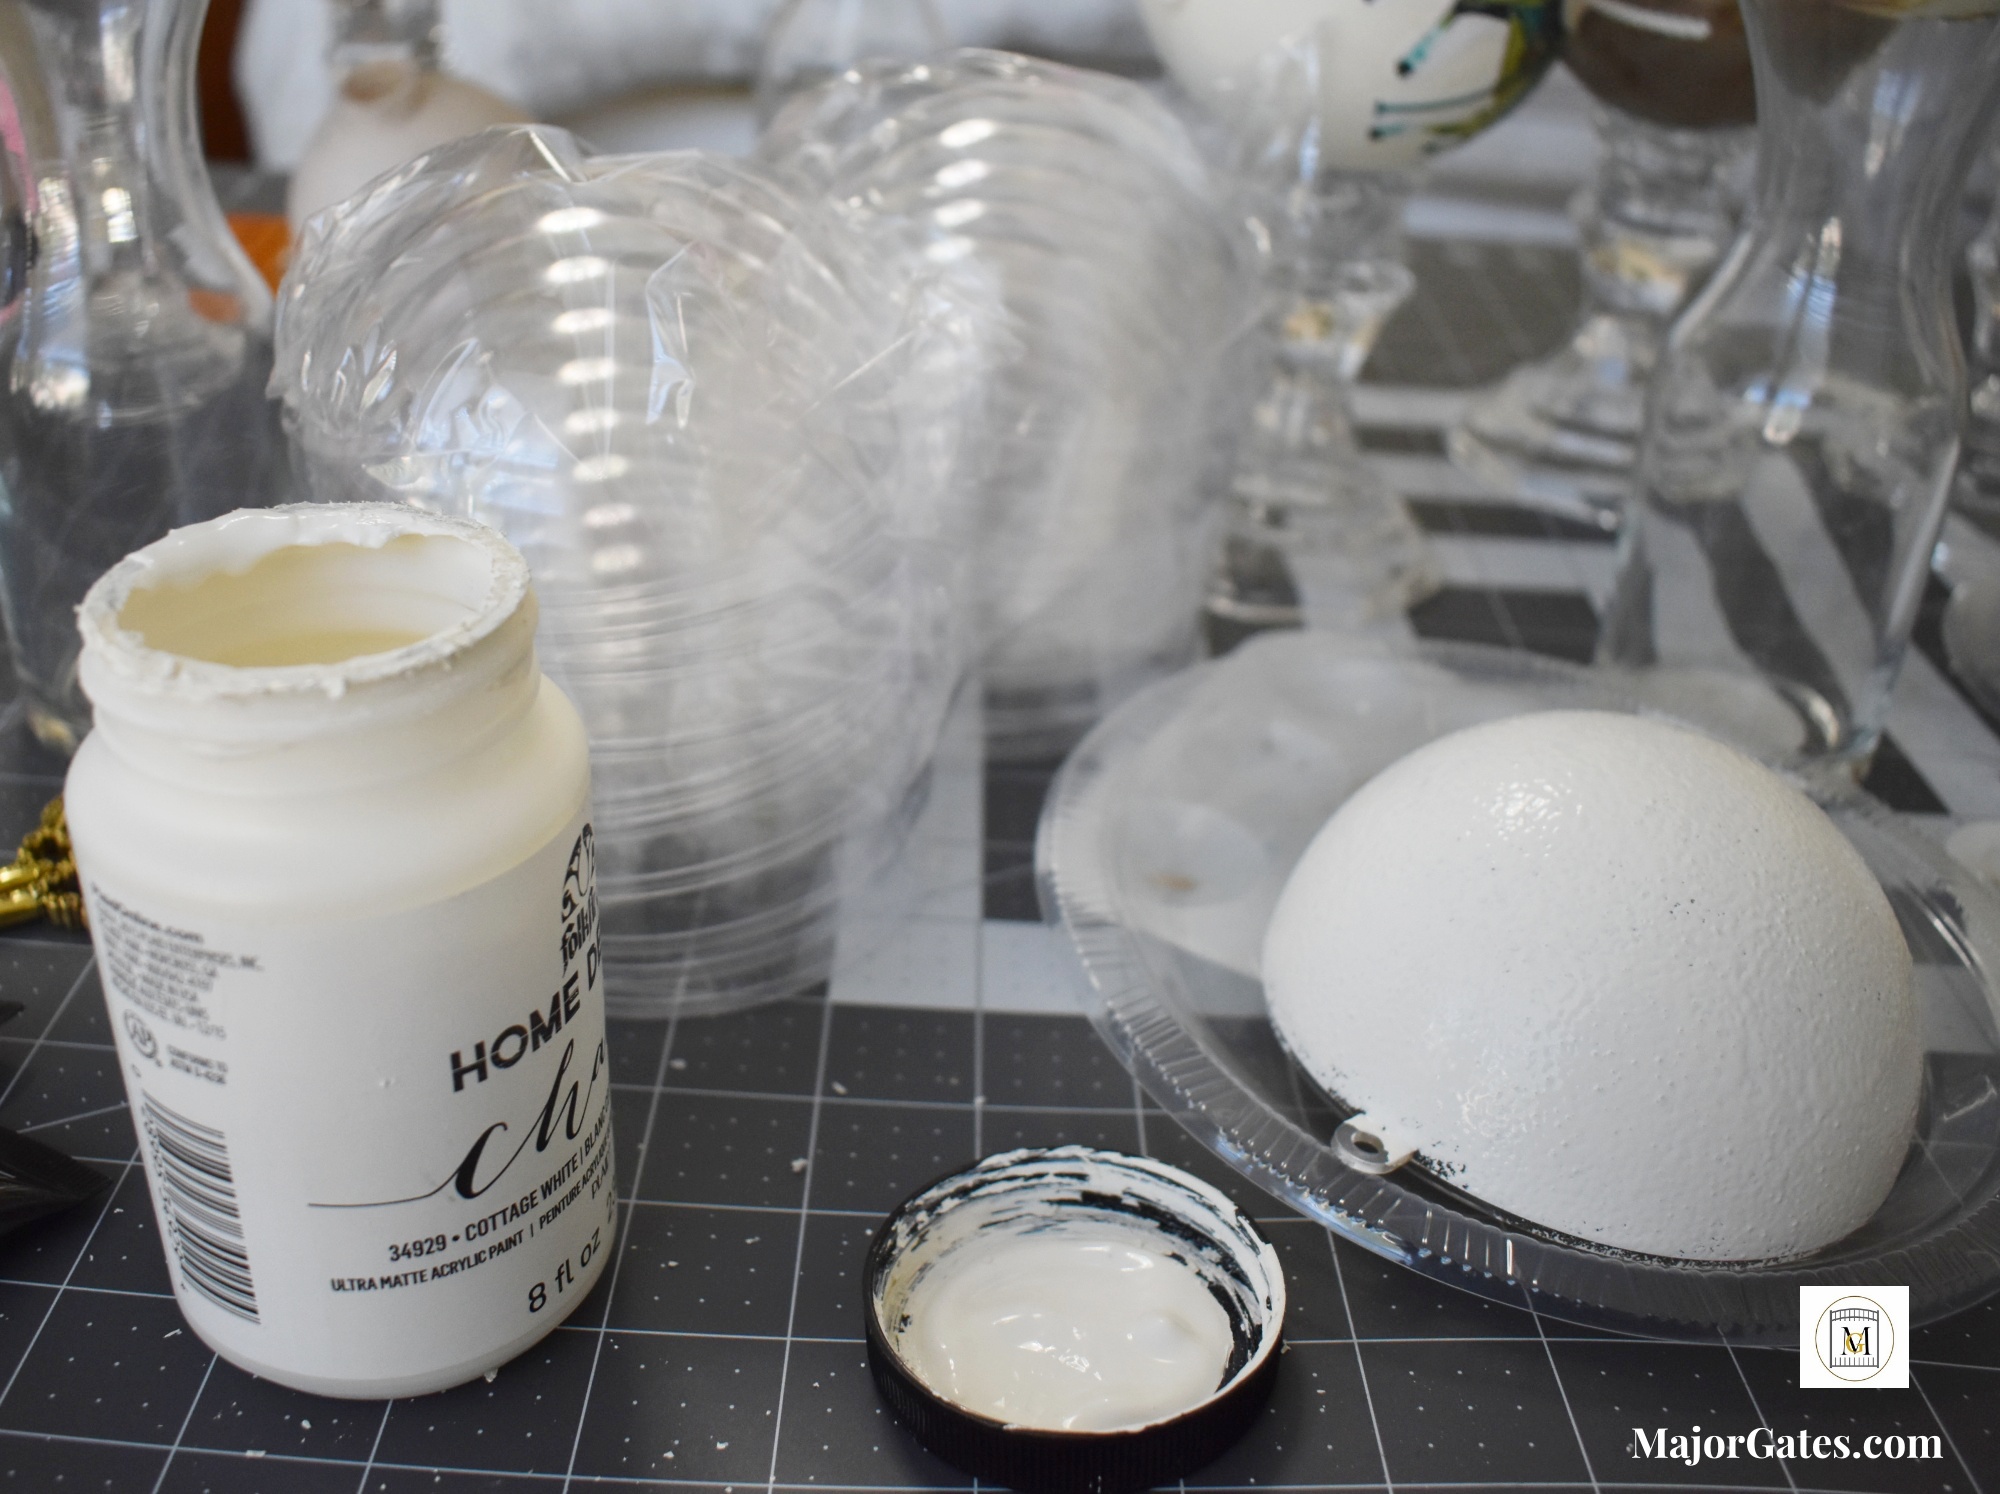
- Next, glue with crafting glue the matching bulbs together with Tacky glue.
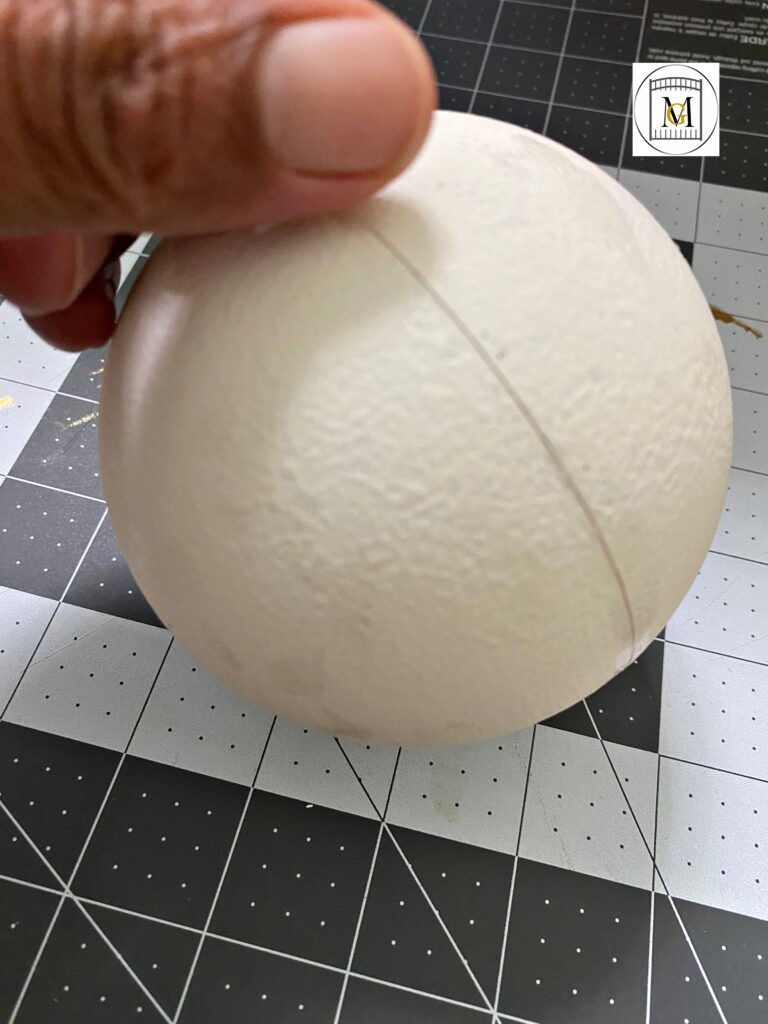
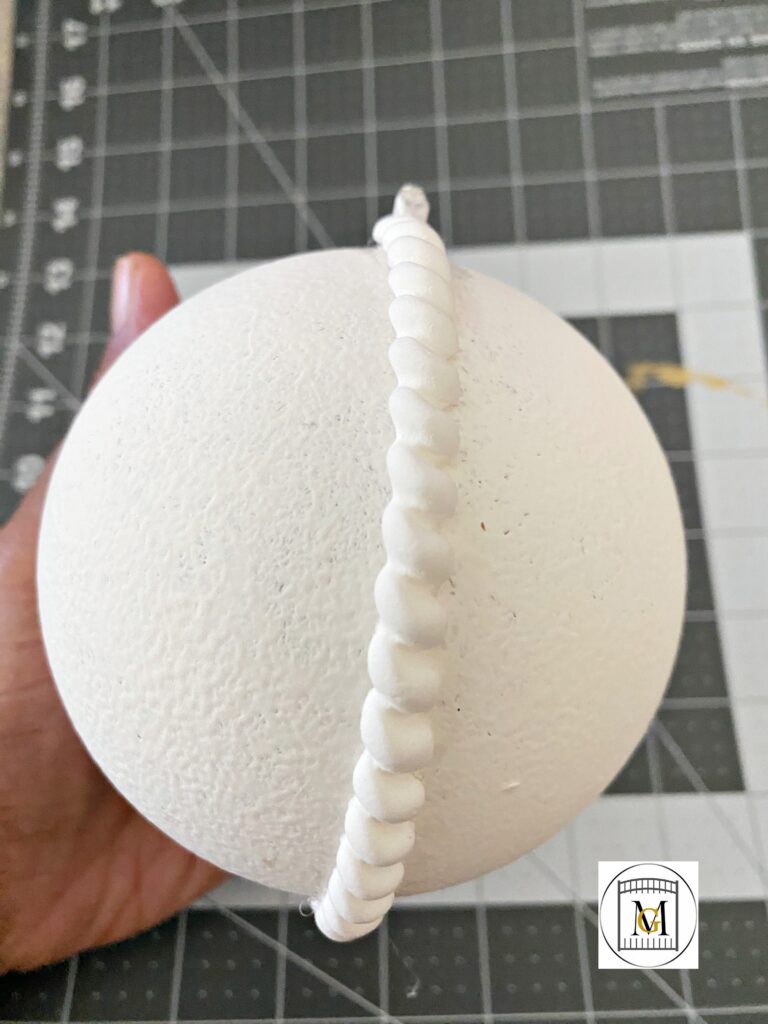
- Now add on the mostly dry clay border with Fast Grab Tacky Glue. After a few hours, it will be pliable to work with and bend easily around the ornament.
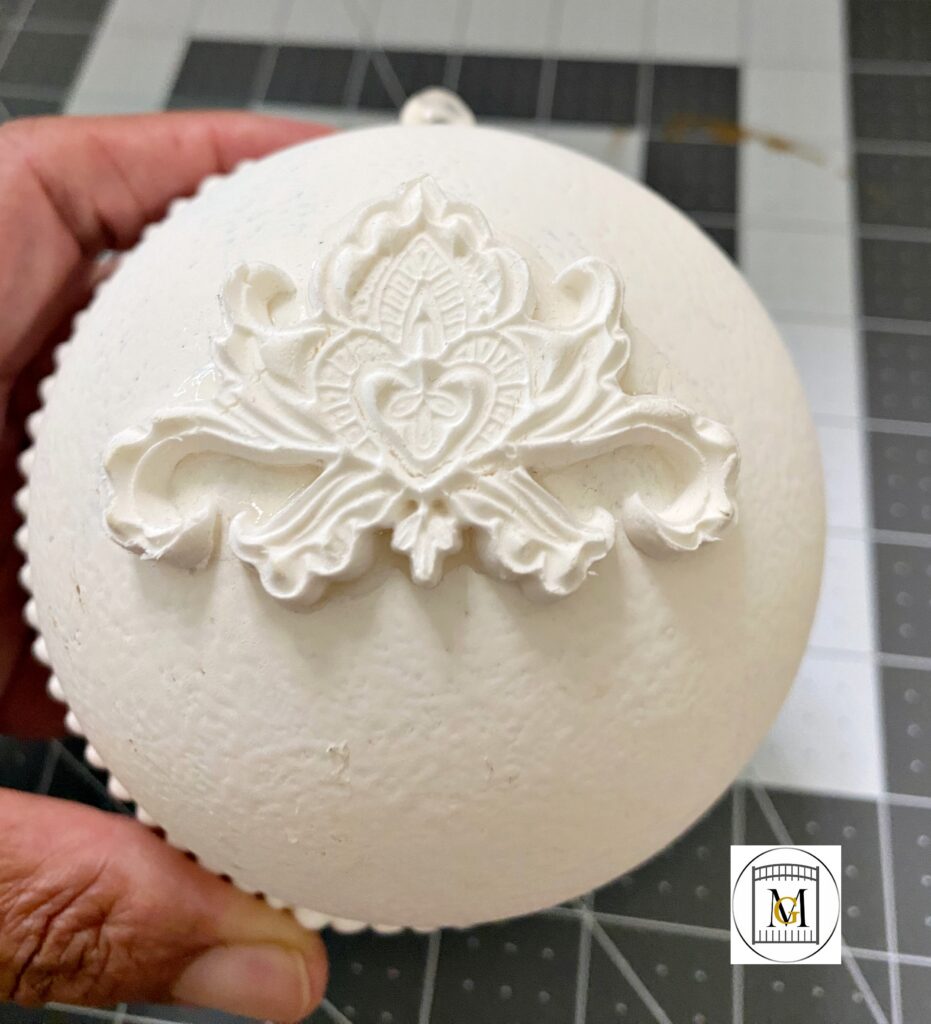
- Then add on the clay embellishments with glue and any images.
- Now paint the ornament with acrylic metallic paint with various techniques such as sponge, light brush with a fan brush, dabbing, wipe off and allow to dry. So I like to dry the bulbs on candle sticks that I got from the dollar store. Paint one side at a time and allow to dry.
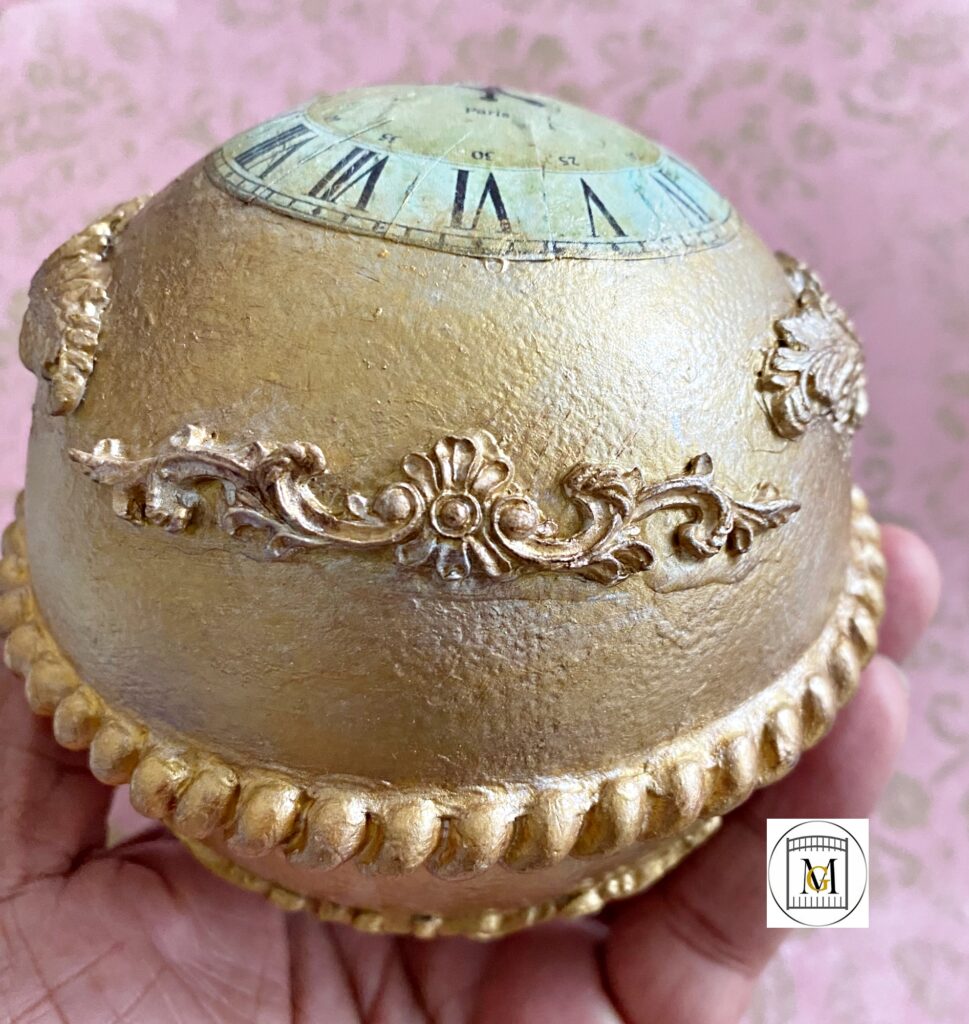
- Then add in the accent paints and create an aged look. Do this by wiping off pain and using metallic paints that are in aged colors. Then allow to dry. Also, don’t forget using baby wipes to wipe off mistakes works great.
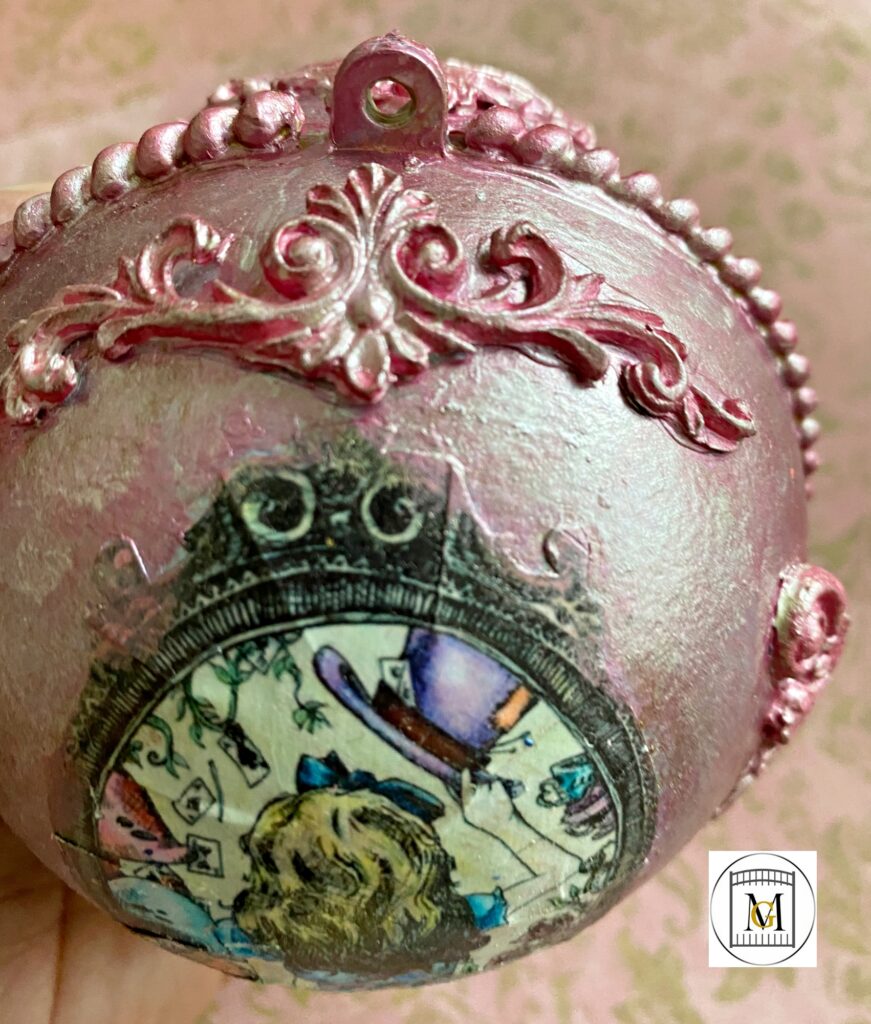
- Next, seal the ornament with triple thick. Also, while the triple thick is drying, you could also add glitter, crushed glass, or foil flakes. This step is optional. Then allow the ornament to fully dry about 2 hours on each side.
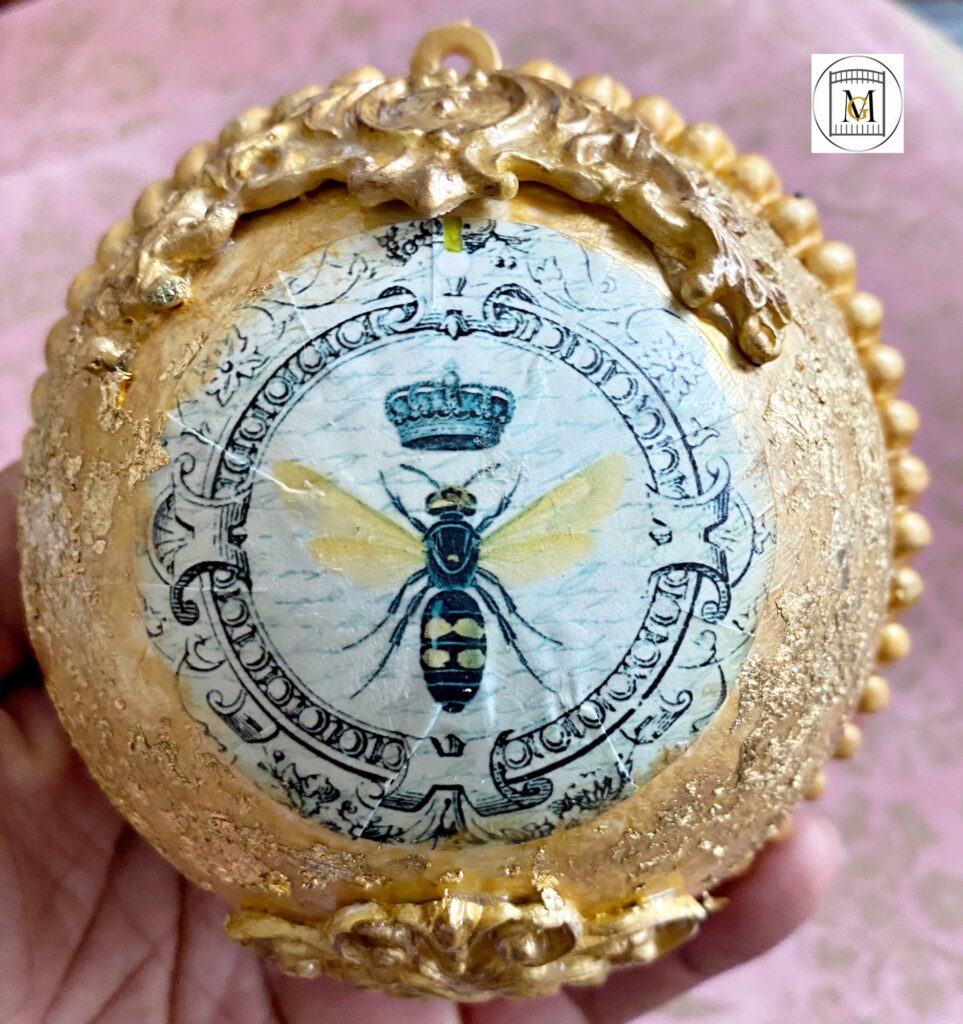
- Then add on the bow and embellishments.
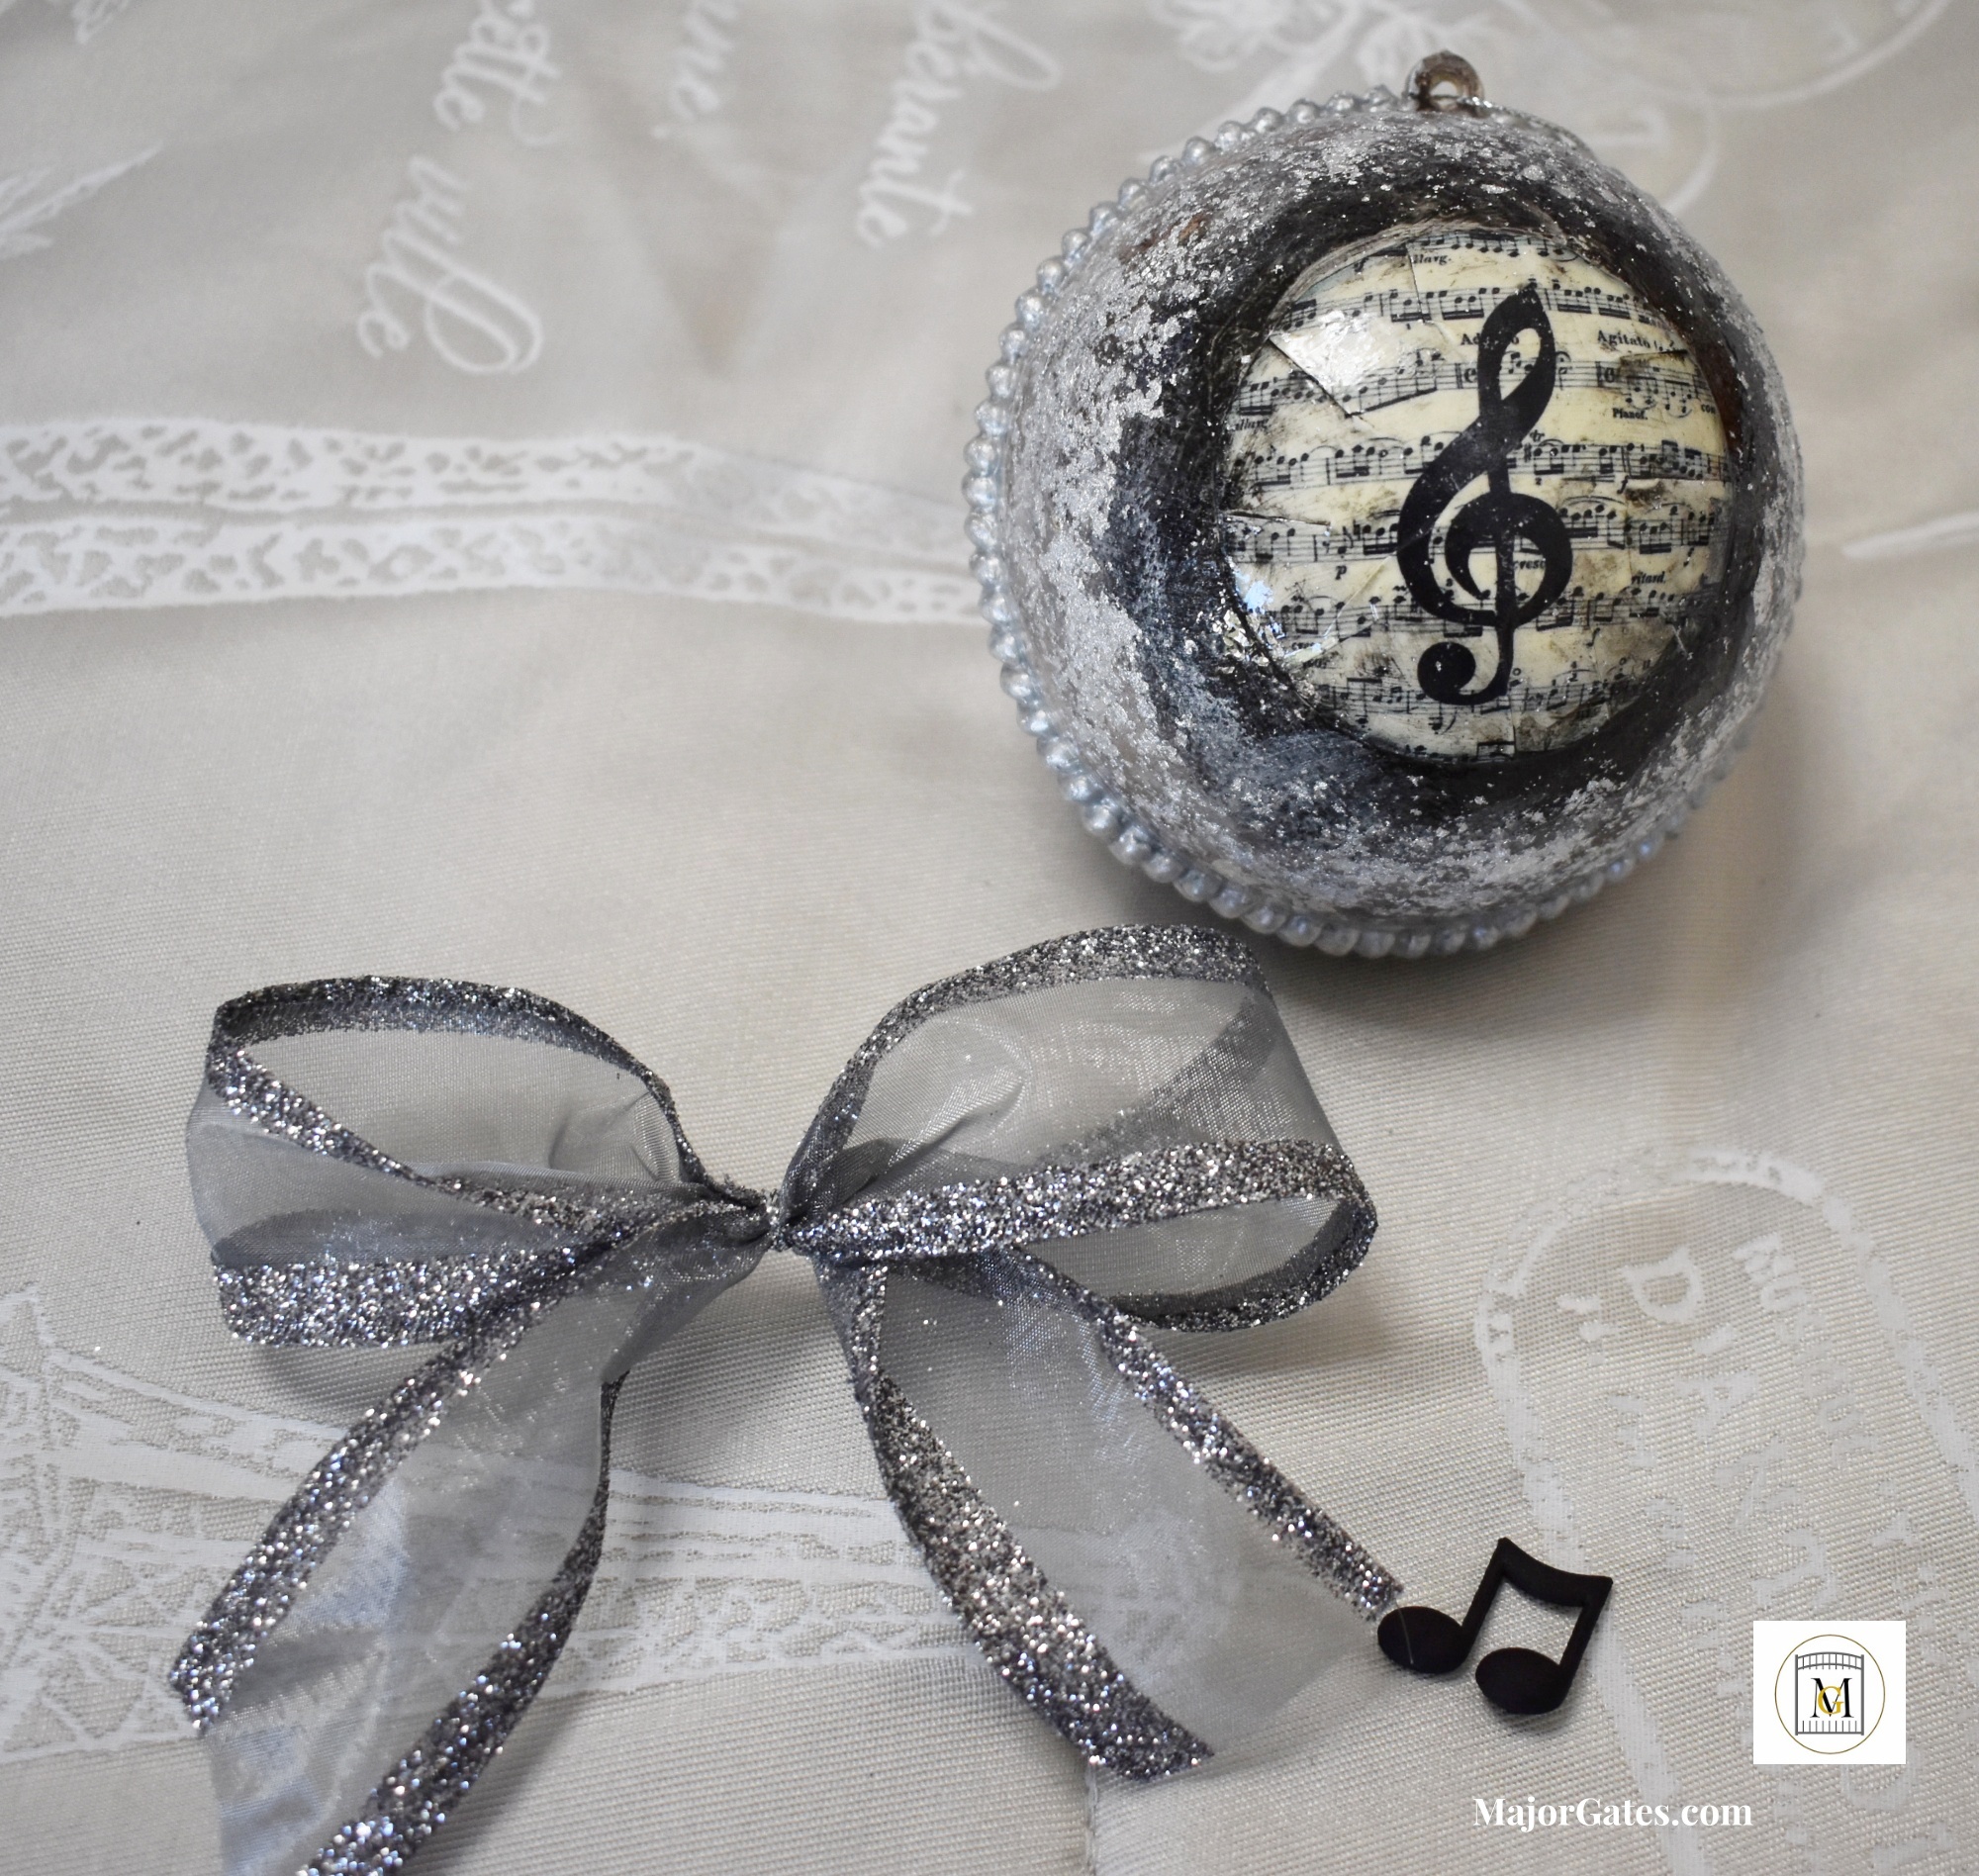
- Last, tie on the hanging string and your ornament is ready to hang on the tree or give as a gift. Visit my shop to see what ornaments I have available for sale.
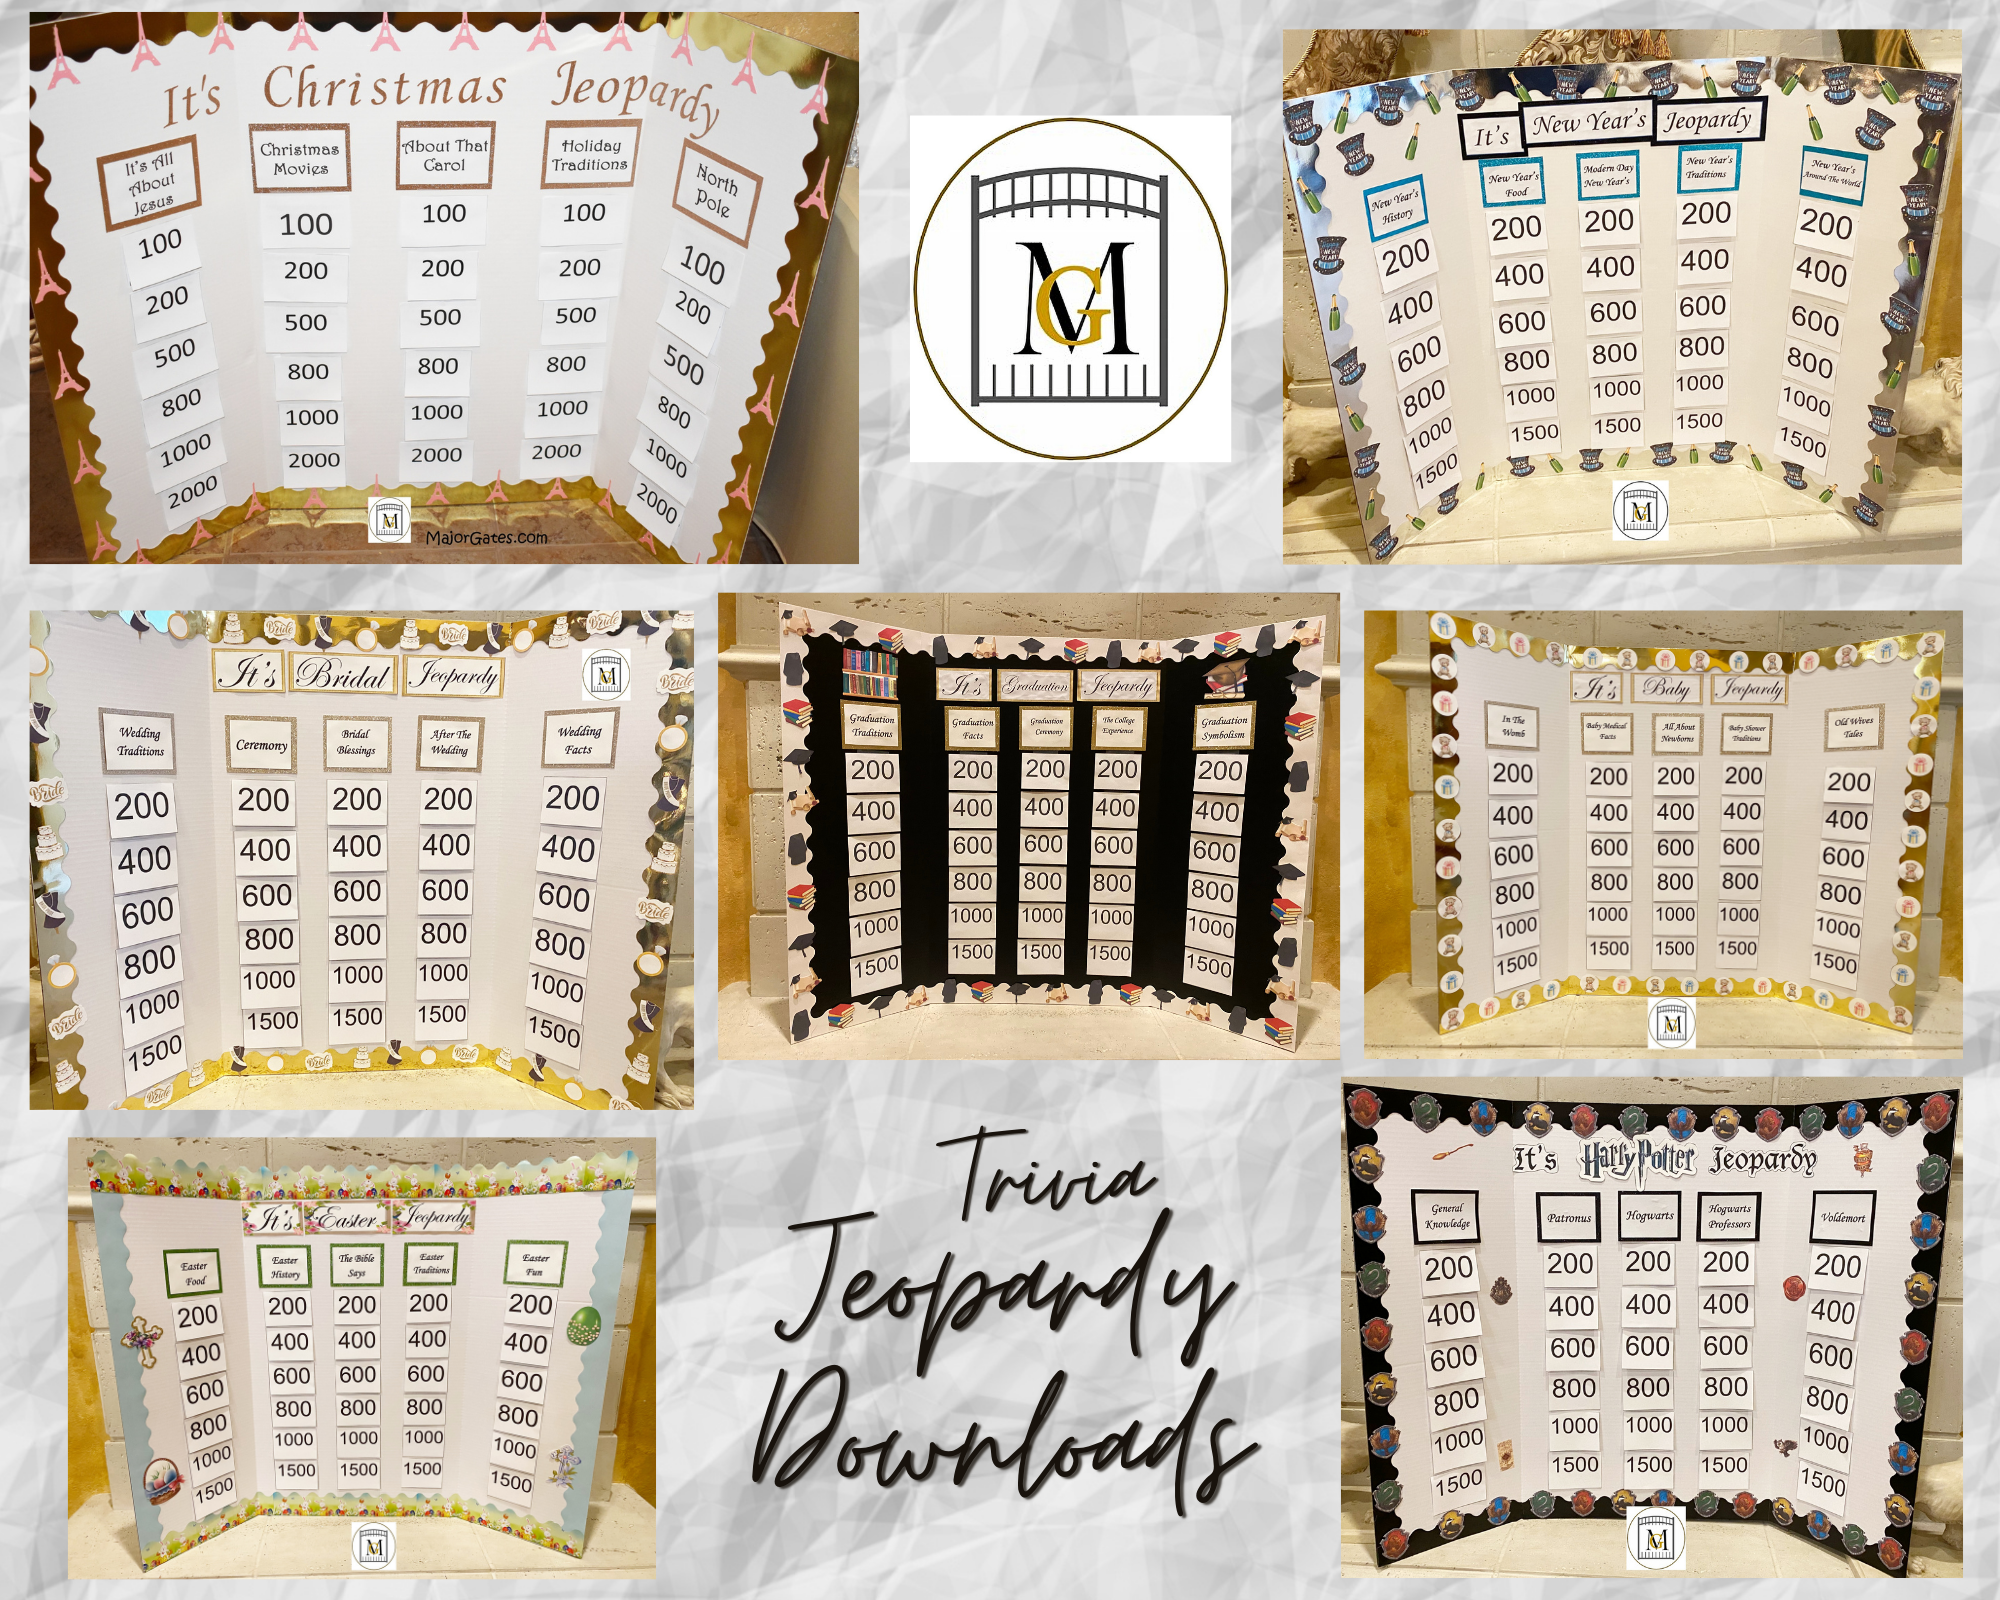
To see my available Jeopardy/Trivia Party Downloads, click here: https://majorgates.com/product-category/jeopardy-trivia/
