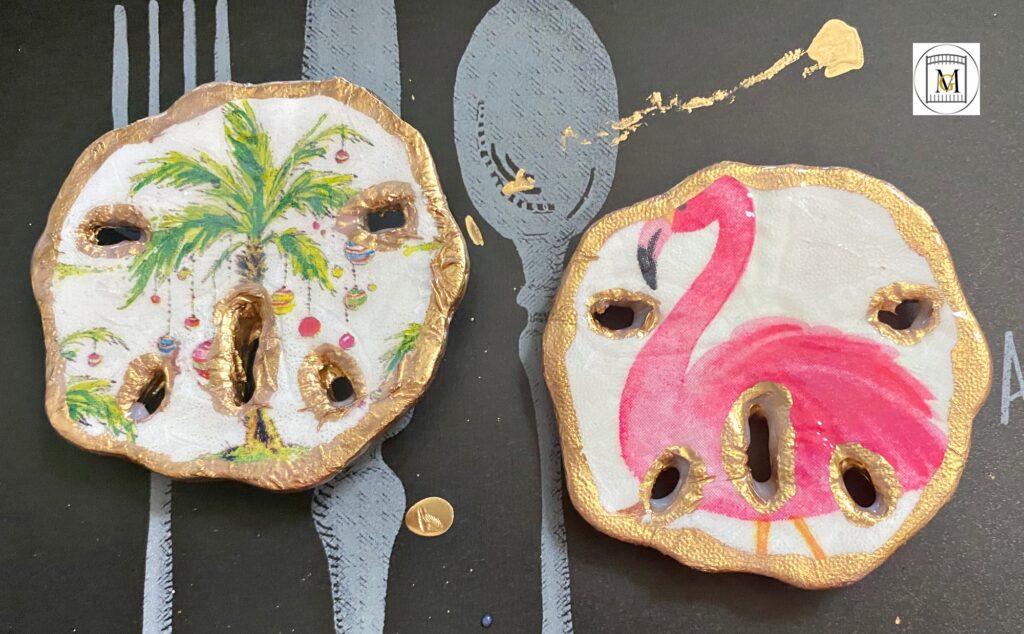
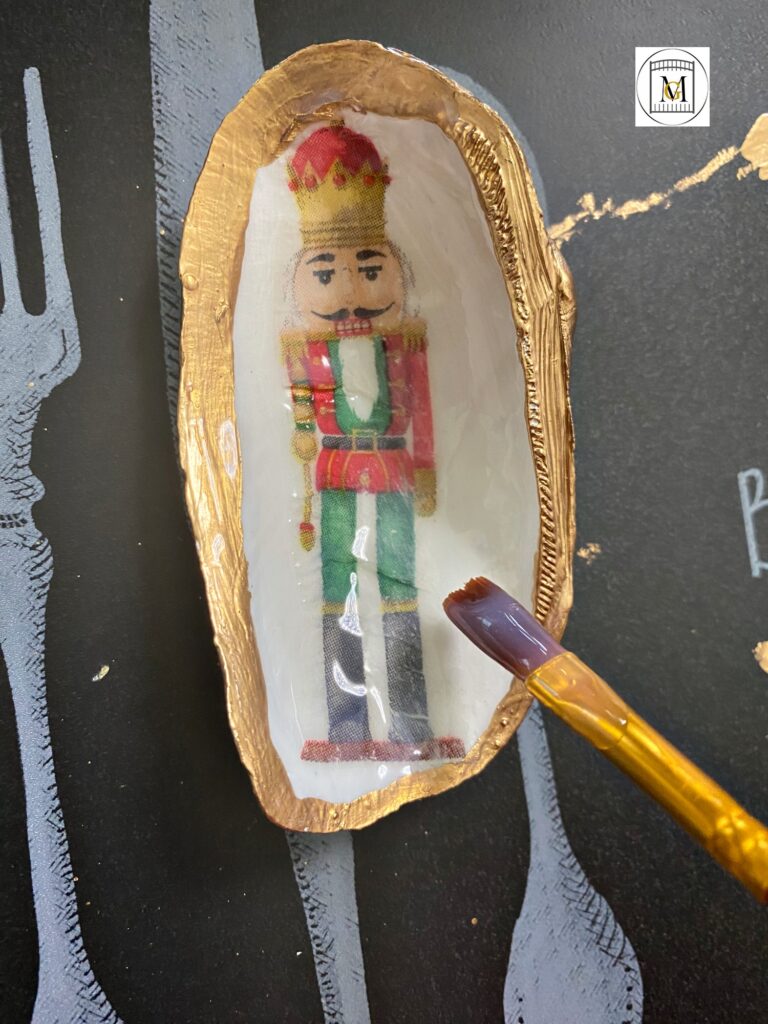
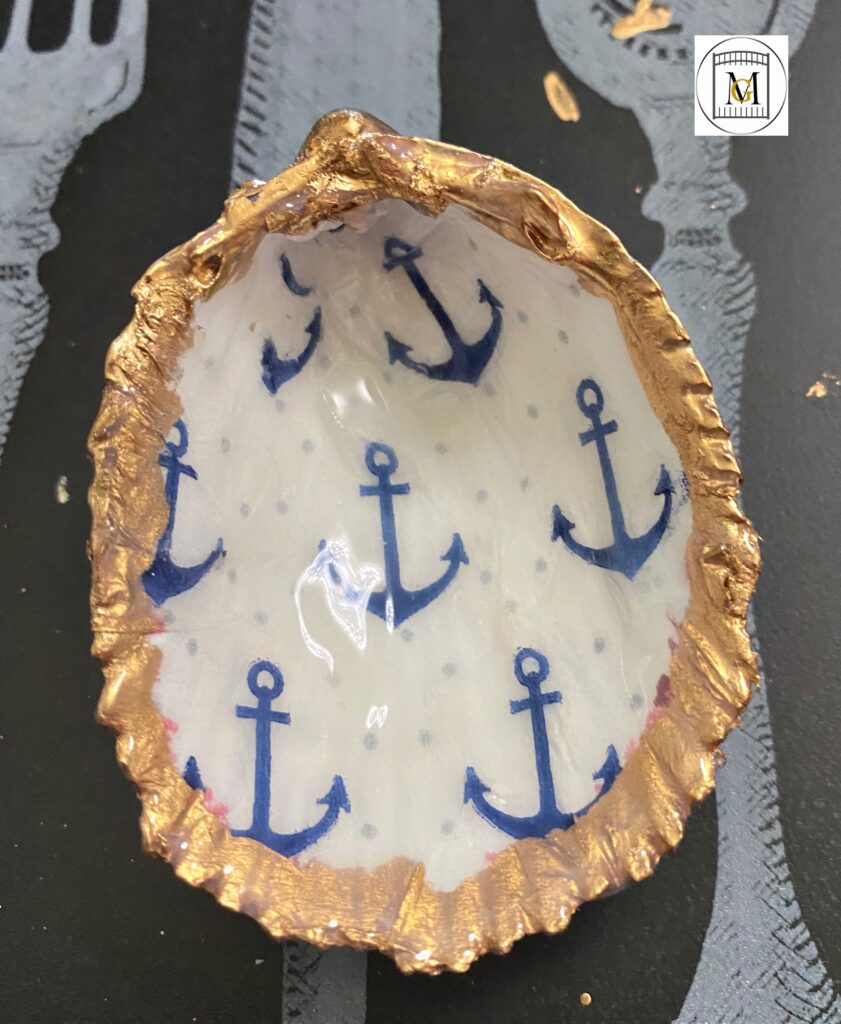
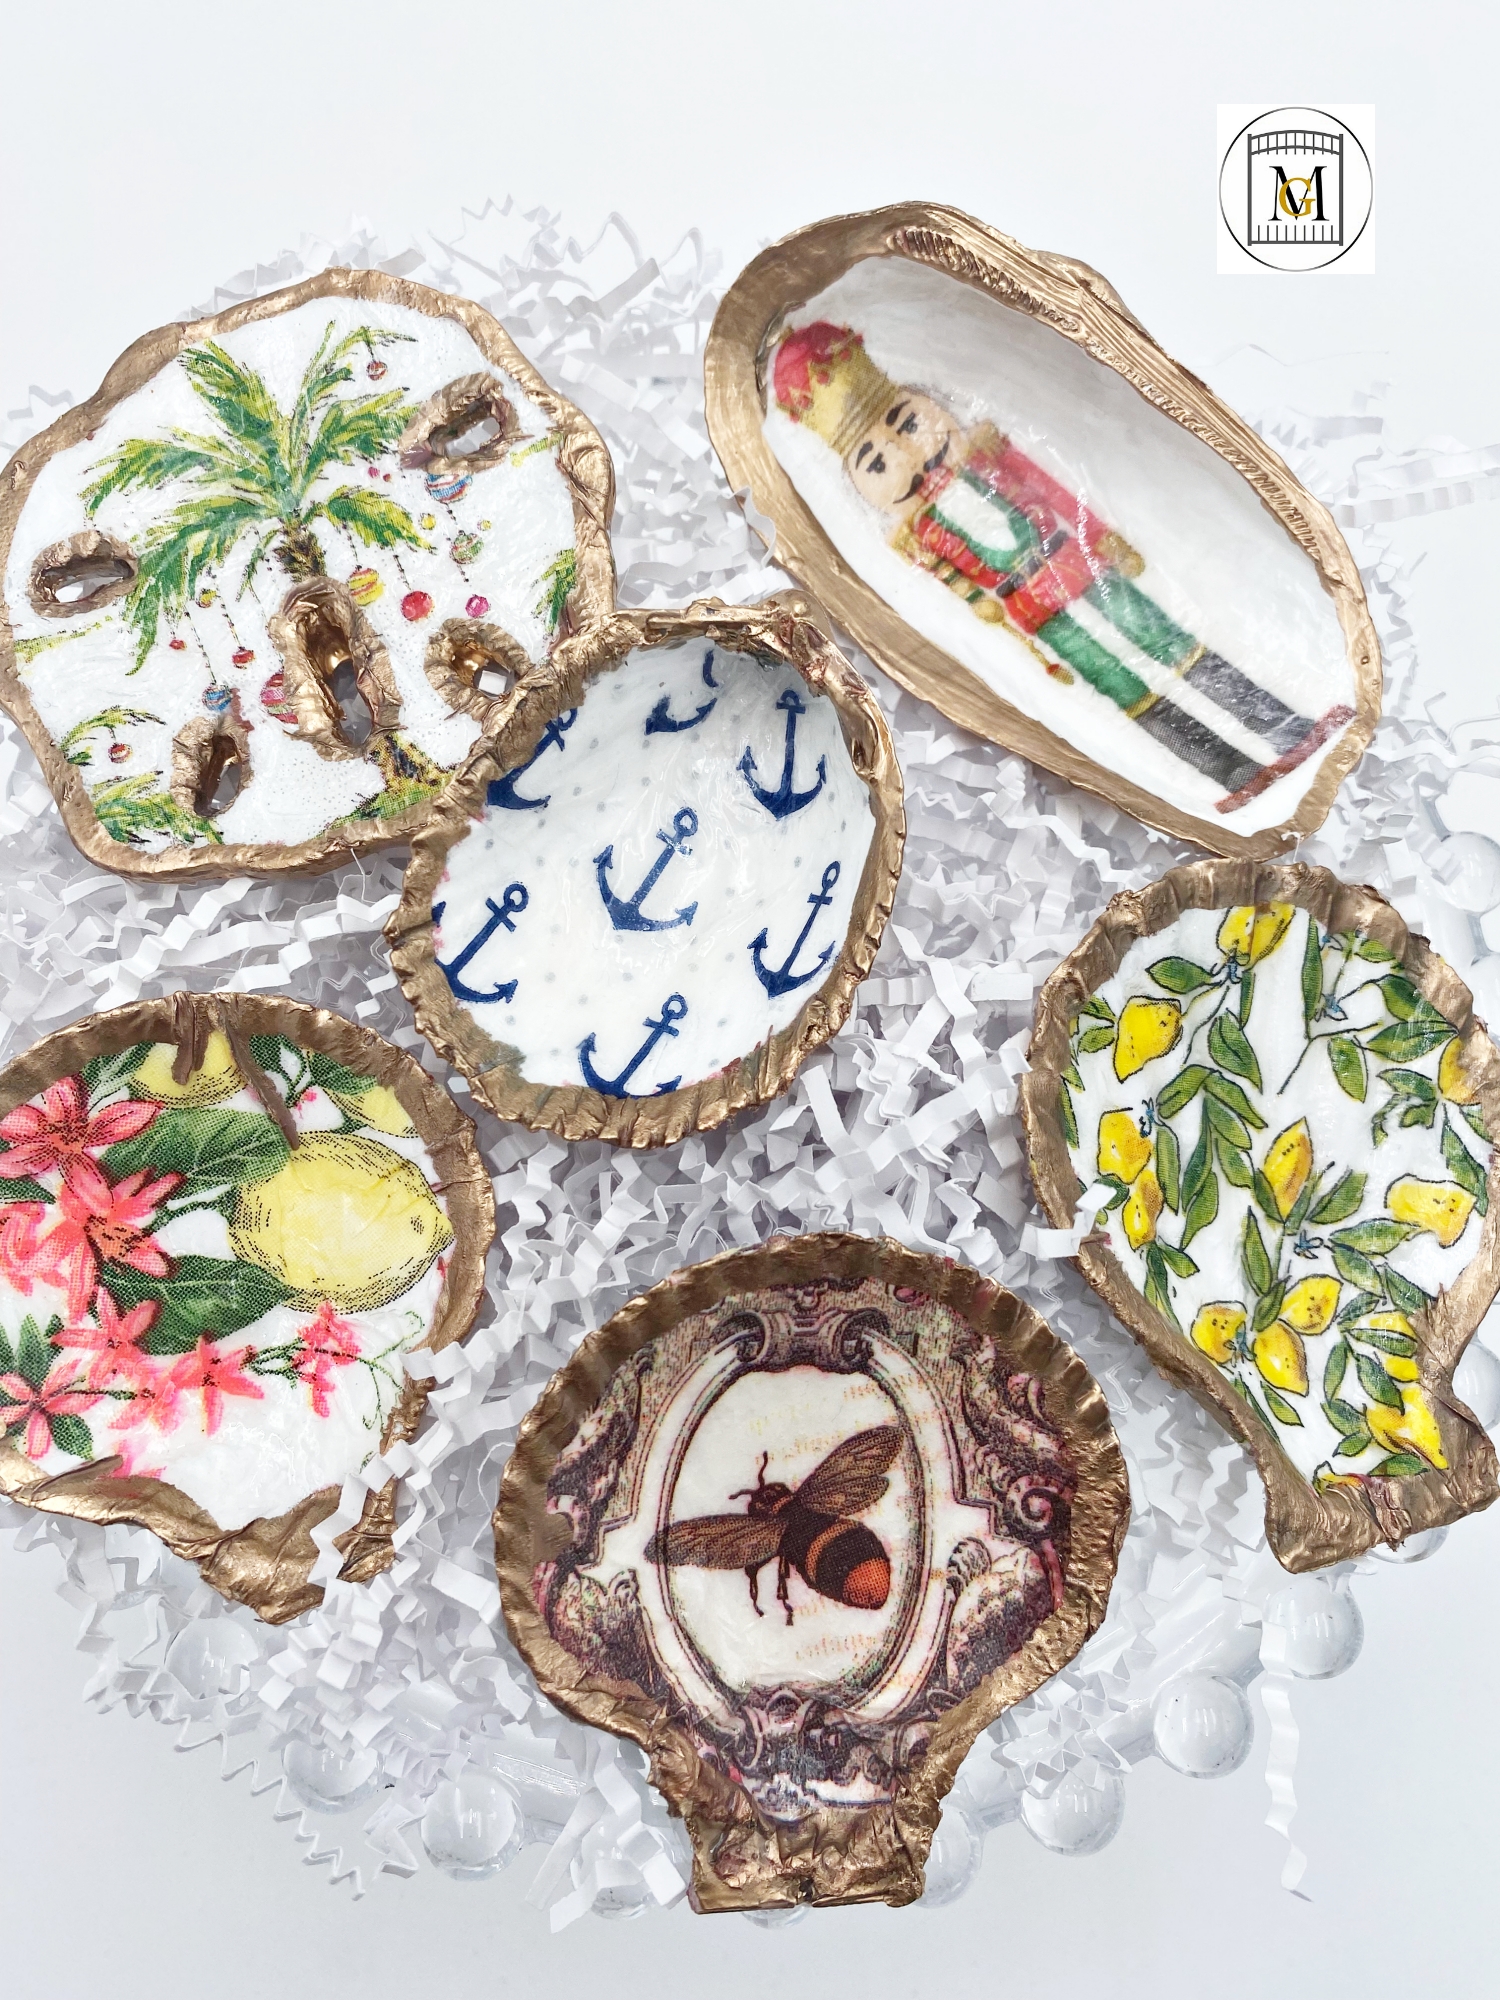
Decoupage Shells
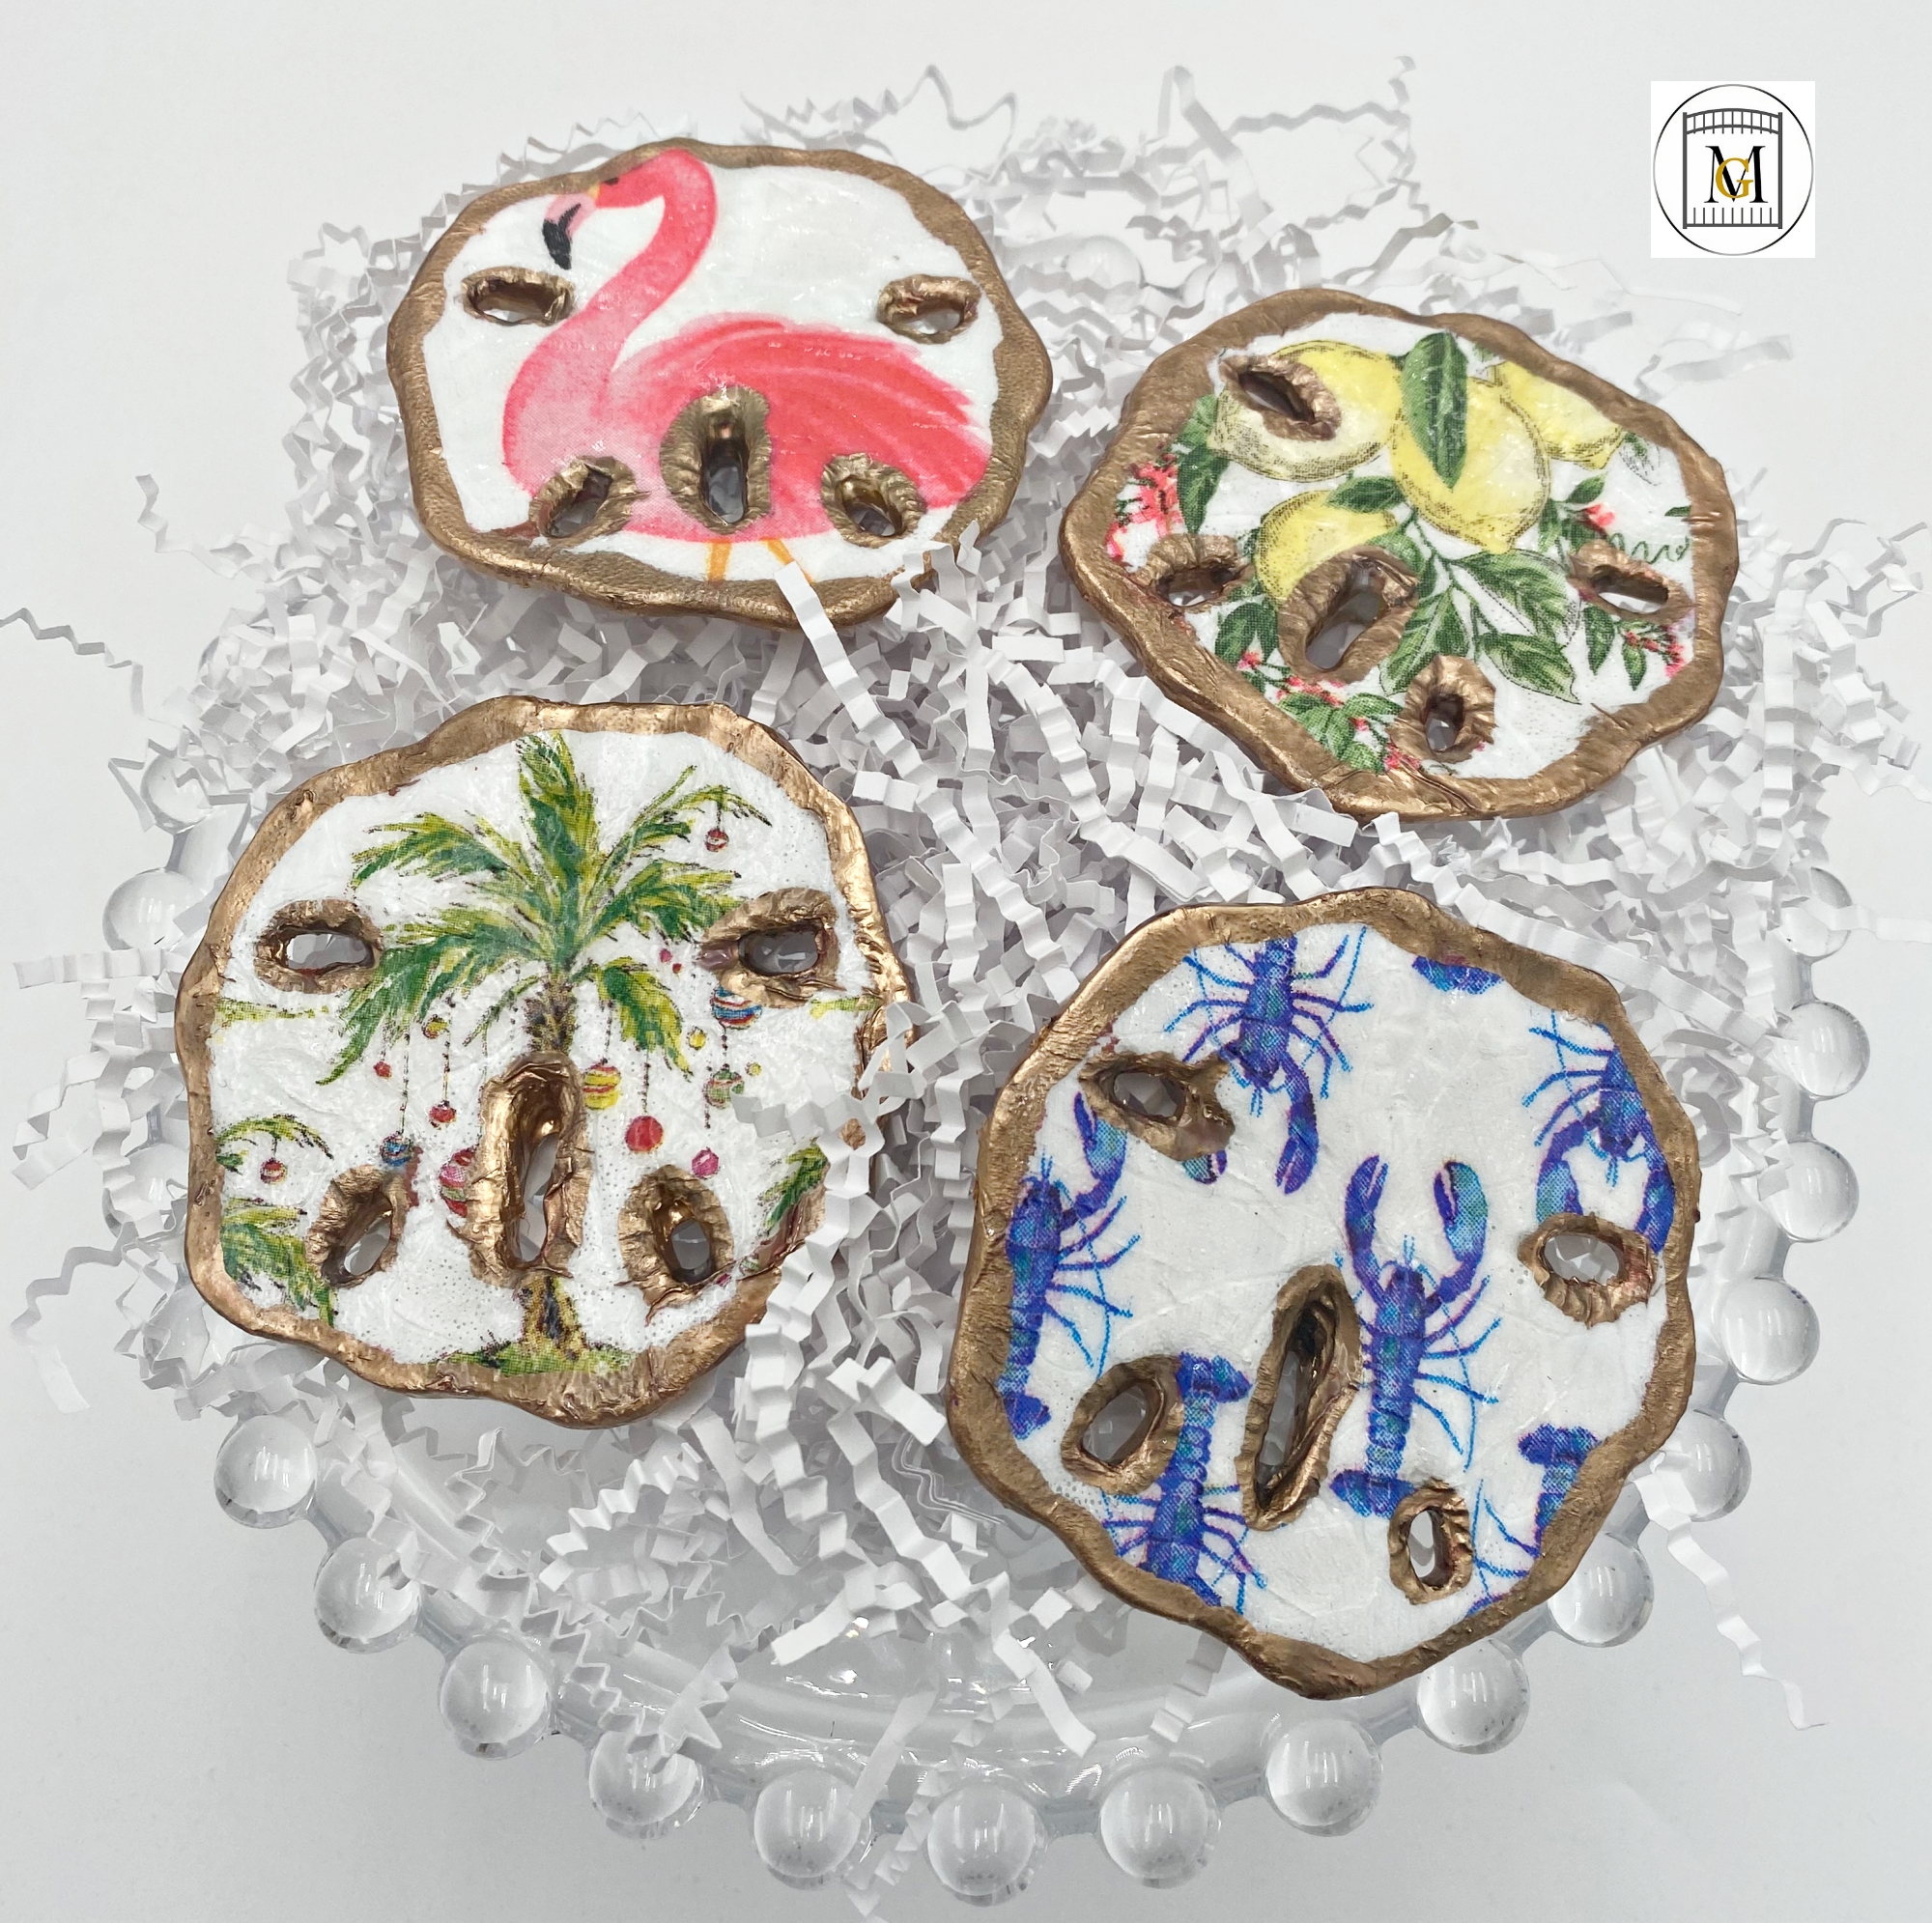
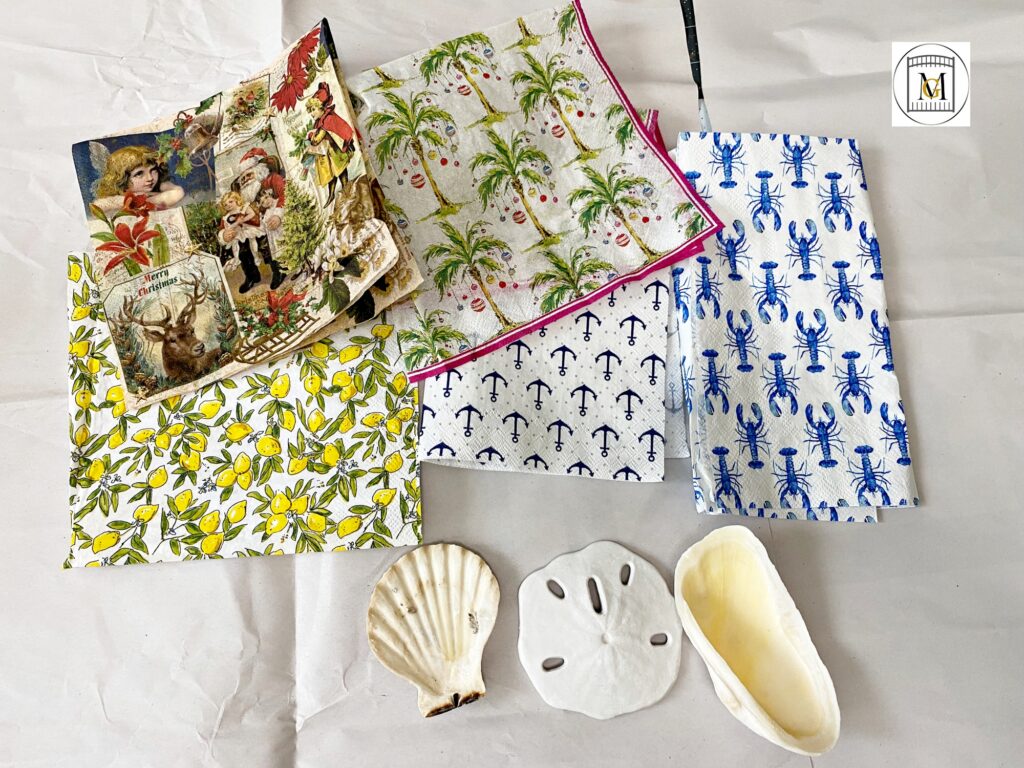
Making Decoupage Shells is a great craft to try at home. The results are beautiful and can be made with many options of patterns. When shopping for napkins, find a pattern that you like that will fit on a shell. So look for repeating patterns or smaller print patterns, so that they fit on the shell well.
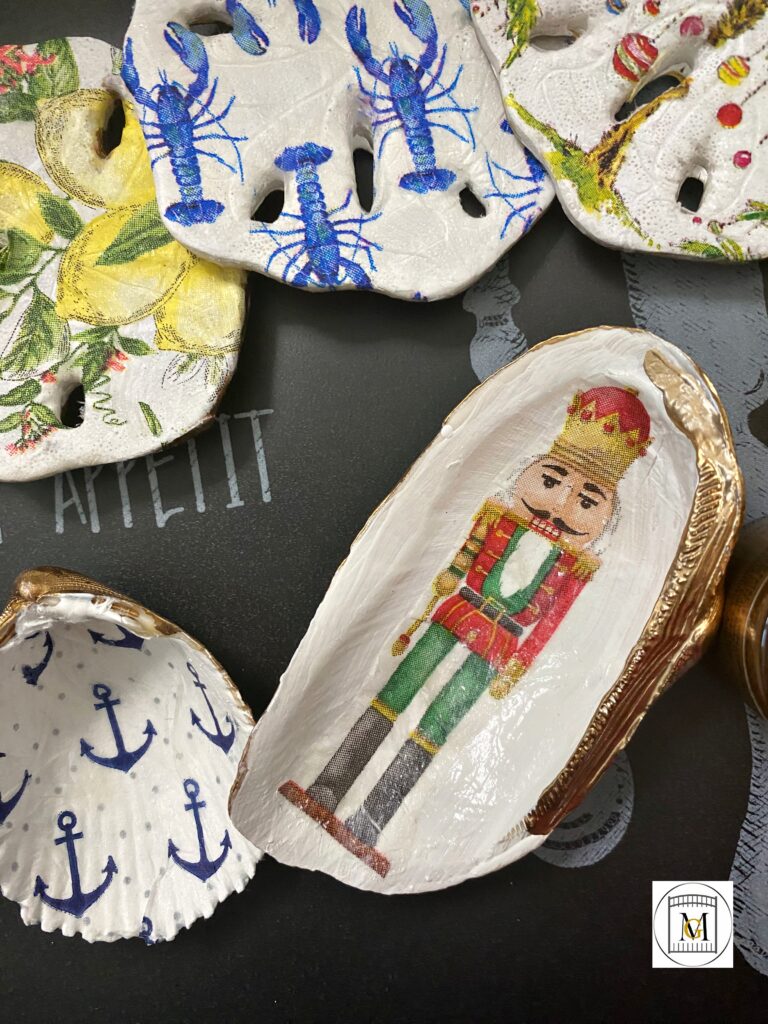
You can decorate with these shells as accents on tables, decorate the necks of wine bottles, make napkin holders, wine bottle stoppers, and make as Christmas ornaments. I made a variety of decorated shells for a few projects and to give as gifts. For this post, I made a few decoupage shells in several sizes. So don’t worry if you can’t find oyster or sand dollars, use the shells that you can find. Of course you can always order on-line the shells you need.
To see my available Potion/Apothecary Bottle Party Label Downloads, click here: https://majorgates.com/product-category/potion-apothecary-labels/

Tips
- I find my napkins at home stores or discount stores like Marshalls, Home Goods, At Home, TJ Max, Burlington, etc.
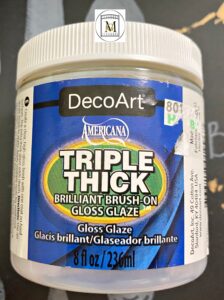
- Triple Thick is a glass sealer that gives amazing shine to crafts, so it really makes the shells shine.
- You can find craft shells at your local dollar store in late spring, craft stores, on beaches (do research as to where and best times), and seafood/oyster restaurants.
- Don’t be afraid to add embellishments, glitter, or make an ornament. Also, for larger shells, you can make jewelry or ring dishes.
Don’t Forget To Follow Me On Pinterest!
To see my available Party Bundle Label Downloads, click here: https://majorgates.com/product-category/party-labels/
Supplies
- Shells – oyster, sand dollar, scallop, etc. Try to find shells with a gently curved surface
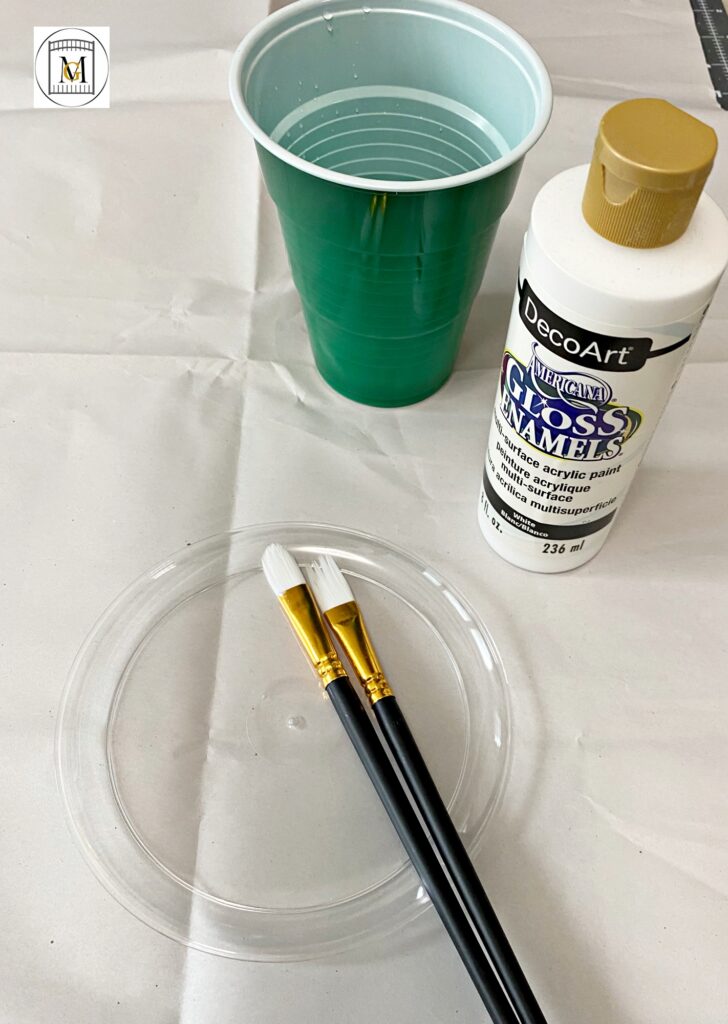
- Mod Podge Gloss
- Paint brushes and paint tray
- Plastic cup with water to rinse paint brushes
- Paper napkins in the pattern of your choice
- White acrylic craft paint
- Pearl white metallic paint
- Metallic gold or silver paint or liquid leaf one step leafing paint (I used Classic Gold Liquid Leaf)
- Triple Thick (gloss glaze)
- Paper plate or tissue paper for working surface
- Protected surface – ex. tissue paper, placemats from the dollar store, craft mat
- Scissors
- Disposable gloves (optional)
- Paper towels
- Optional Additional Decorative Supplies: glitter, gold/silver leaf flakes, chunky glitter, decorative gems, crystals, jewel embellishments, clay embellishments
Affiliate links are in this post. So, I may receive a small commission at no extra cost to you if you make a purchase through my affiliate link. Therefore, I only recommend products that I use or would use and love! So, I have saved you the time of searching for good products for you. As an Amazon Associate I earn from qualifying purchases.
To see my available 2-Liter/Wine Bottle Label Downloads, click here: https://majorgates.com/product-category/2-liter-wine-bottle-labels/

Directions Decoupage Shells
- Be sure to start with clean dry shells. If you buy craft shells, they should come already cleaned and ready to use. If you are using found shells, be sure to clean them well. If you don’t want to use bleach, you can clean them with vinegar (but don’t let them soak) and wash them with dish soap. Let them dry thoroughly in the sun before using.

- Next, gather supplies and set up your work area.
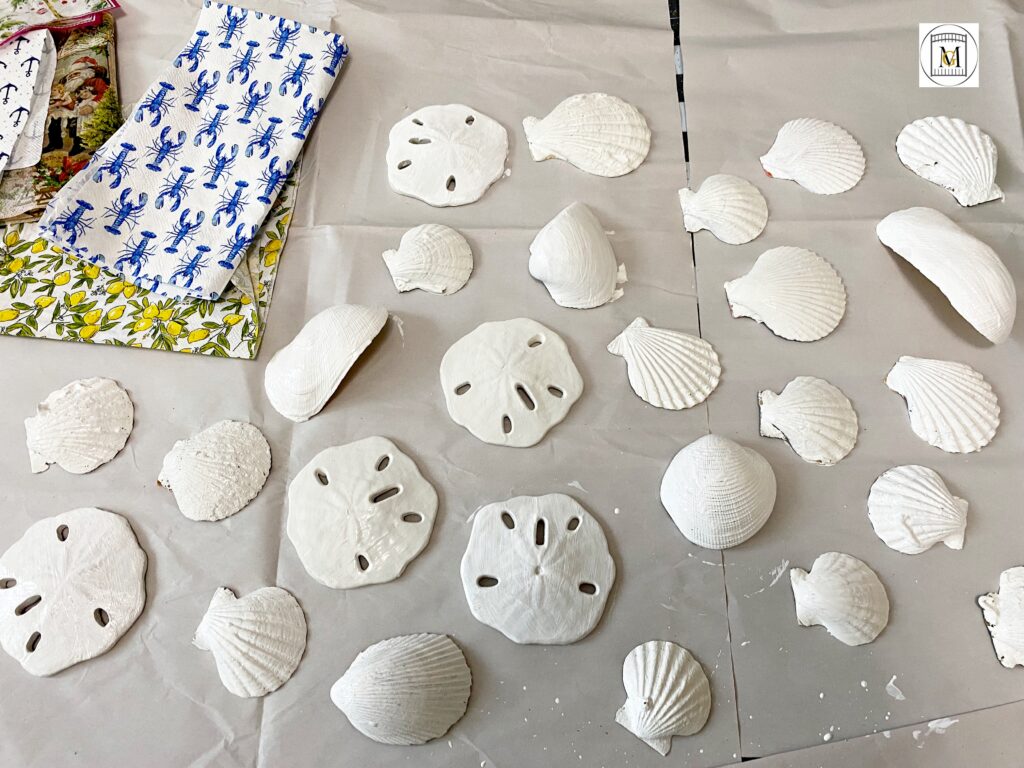
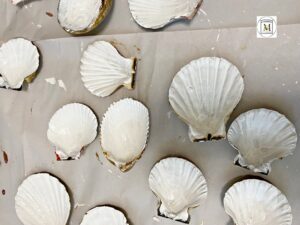
- So if you are prepping multiple shells, I recommend putting on some disposable gloves because paint gets on your fingers. Then paint the shell. I like to start on the back side and let it dry completely before painting the inside of the shell. Paint the shells with white acrylic paint, this provides a blank starting point and nothing shows through the napkin.
- Let the paint dry and repeat with a second coat if needed or for additional shine, paint with white pearl metallic paint. So, I choose to paint with the white metallic pearl paint because when I add the triple thick, the decoupage shell shines more.
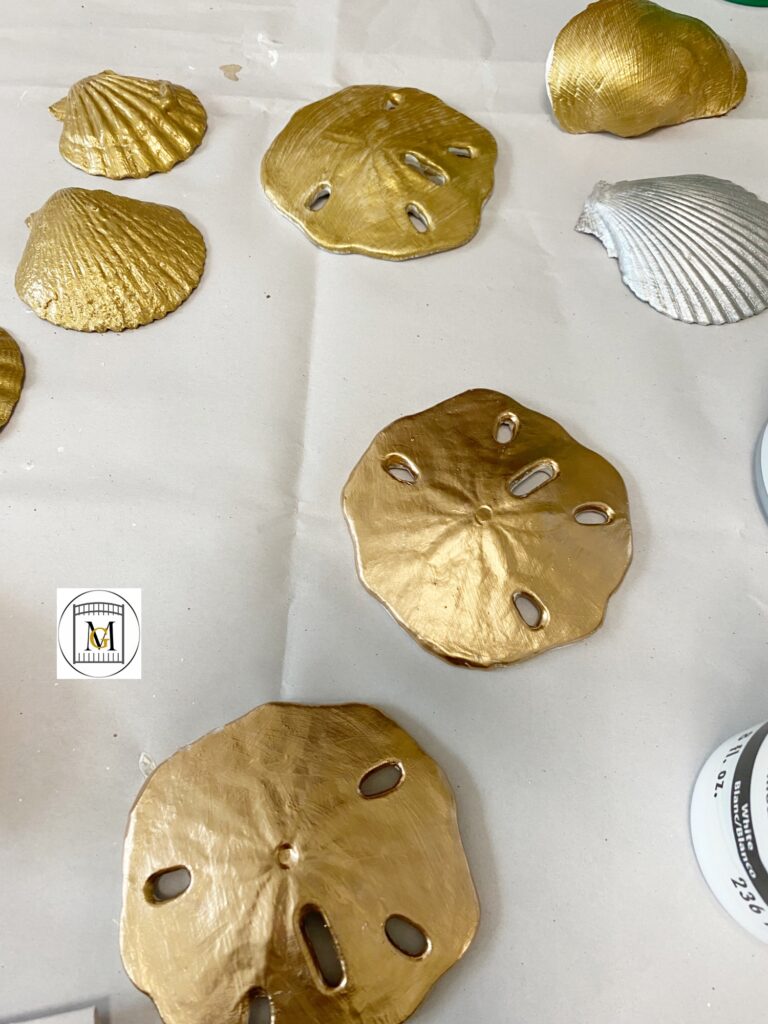
- Now, paint the back of the shell with metallic paint of your choice. You could also, paint with another color and accent with metallic paint or foil flakes.
- Then seal the back with Mod Podge or Triple Thick and allow to fully dry.
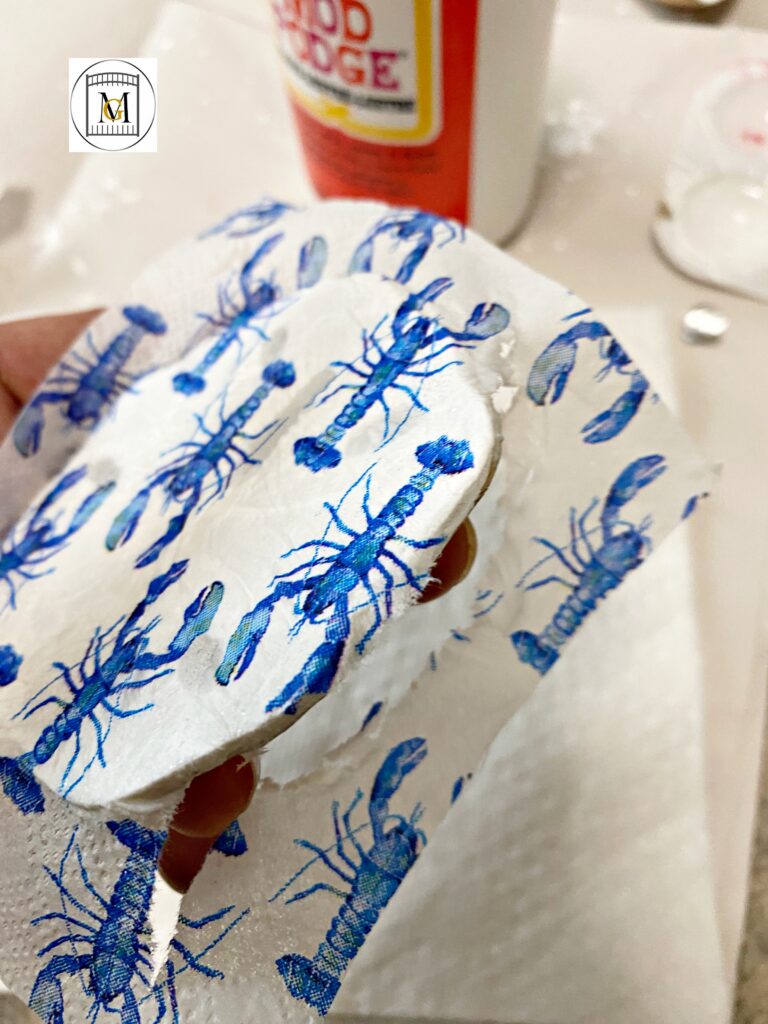
- Next, remove the extra layers to the napkin. So if you have 3-ply napkins, one layer is the design and two layers are typically white that need to be removed.
- Then, dry fit the top layer with the pattern on it to the inside of your shell. Cut it to the size of the outside edges of the shell.
- Once you cut the napkin to size, spread an even layer of Mod Podge Gloss over the painted inside of the shell.
- Then, carefully place the napkin inside of the shell, smoothing any wrinkles with your fingers. Trim any excess napkin around the edges (if applicable).
- Next, spread a thin layer of Mod Podge over the top of the napkin and let it dry. Repeat with one or two more coats, so the pattern does not bleed when you add the metallic paint.
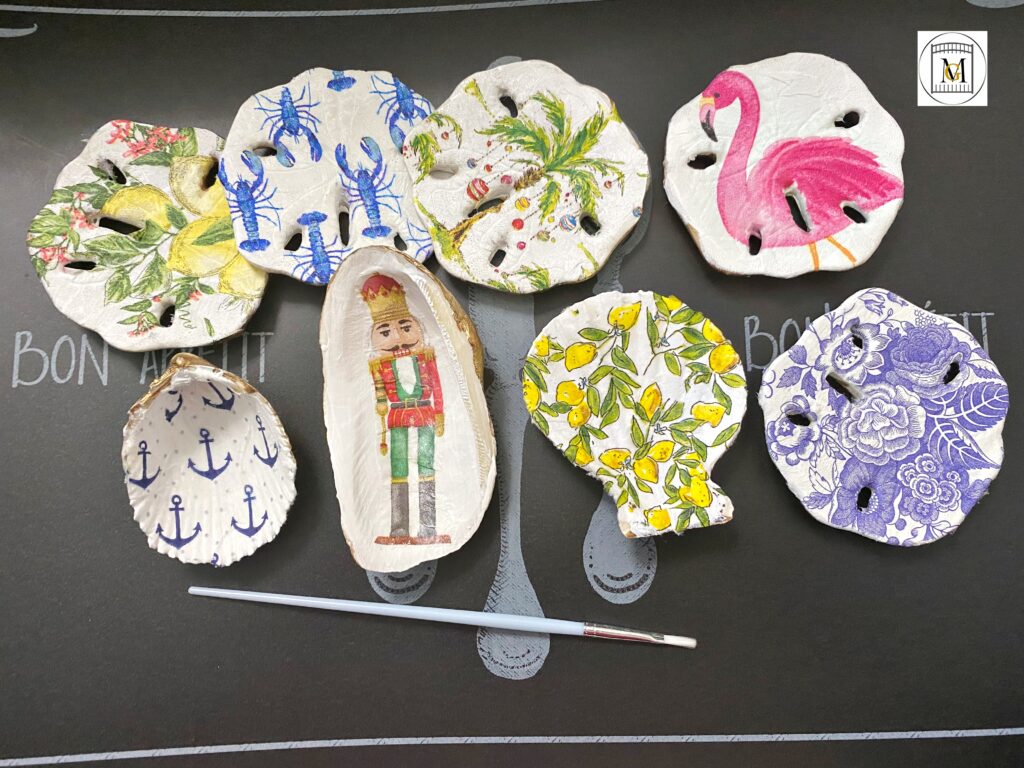
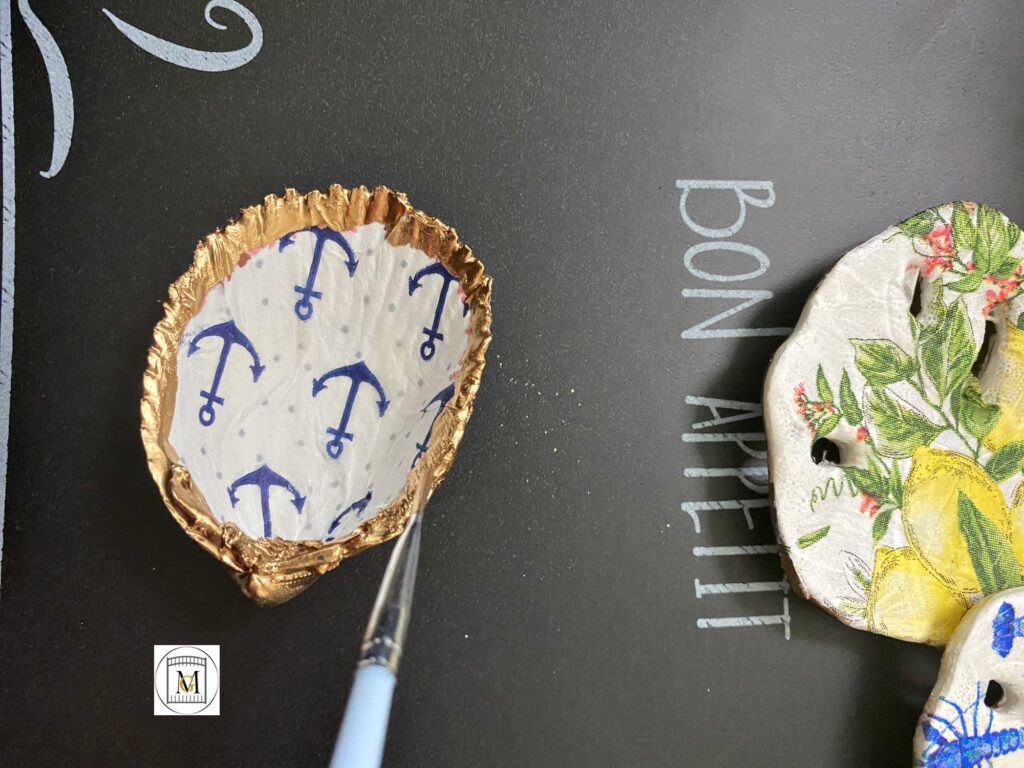
- Now, once it’s dry, add the metallic paint to the edges. Using a metallic paint marker is the easiest way to paint the edges of the shell gold or silver. This may take a couple of coats. I prefer to hand paint with gold liquid leaf to get the depth of color I am looking for. You can also add crystals, glitter, gem embellishments, etc.
- Last, apply a coat of Triple Thick gloss glaze by DecoArt to achieve the gloss look. Allow to fully dry (about 2-4 hours depending on humidity).
- If you are making an ornament, you can glue a string in a loop to the back so it can hang, or you can drill a hole with a rotary tool or a manual hand drill. Just be careful not to crack the shell. Drilling a hole makes the ornament look cleaner. Also, the sand dollars already have holes, so you can just add the string or ribbon.
- You are done! These make great gifts that are unique and beautiful.
To see my available Jeopardy/Trivia Party Downloads, click here: https://majorgates.com/product-category/jeopardy-trivia/
