DIY Baby Shower Sash
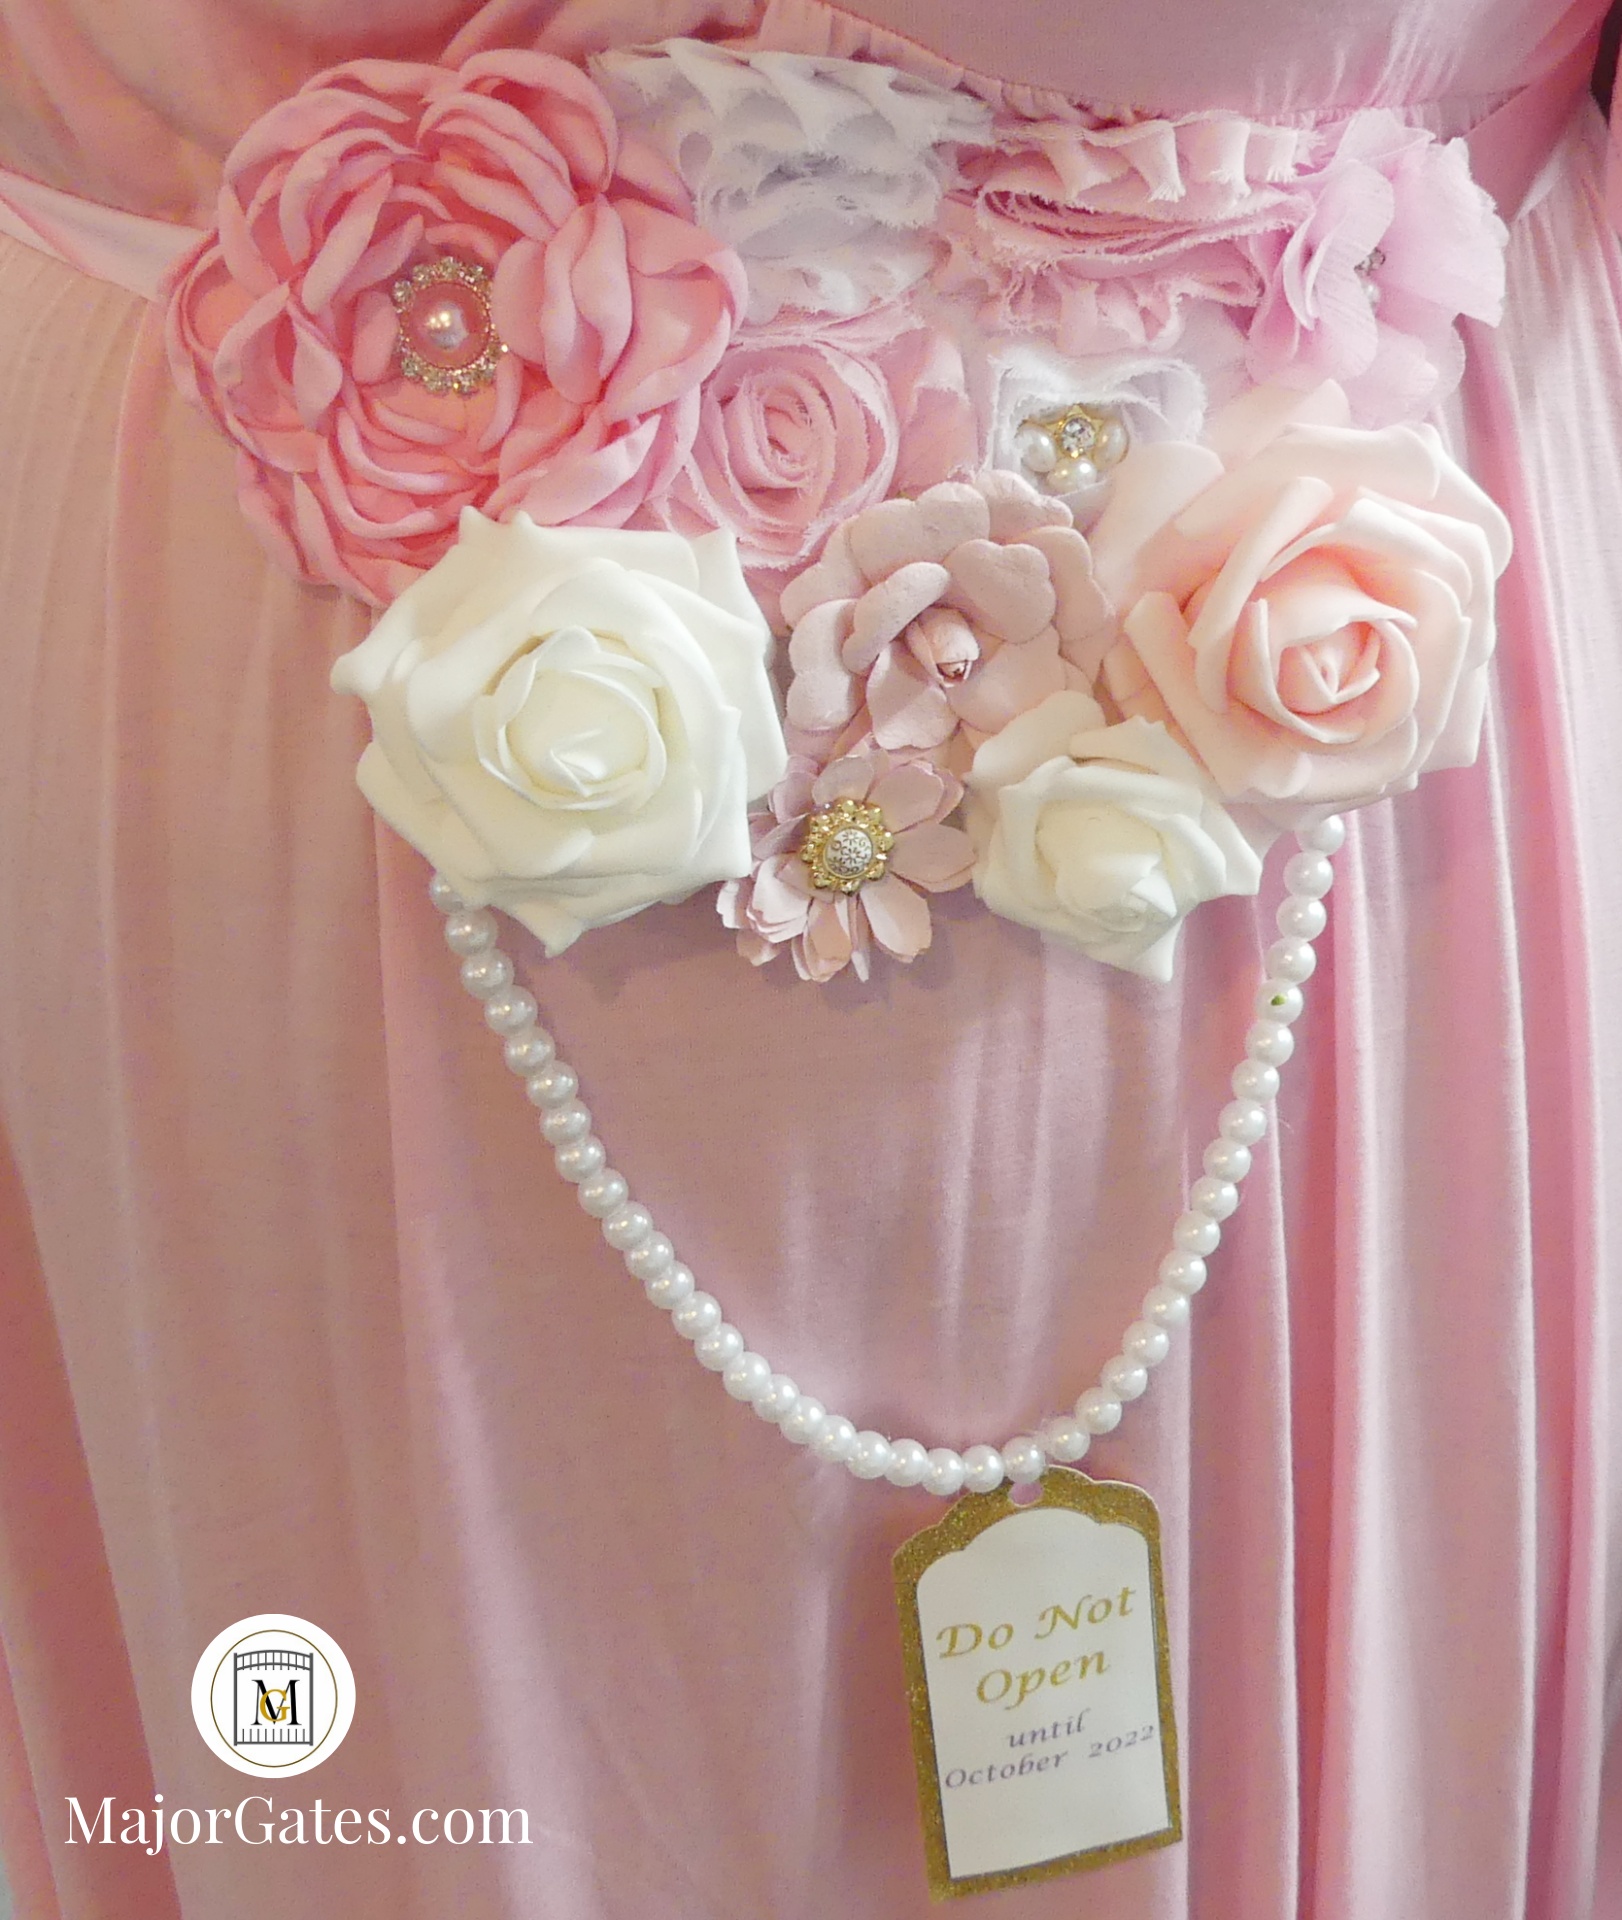
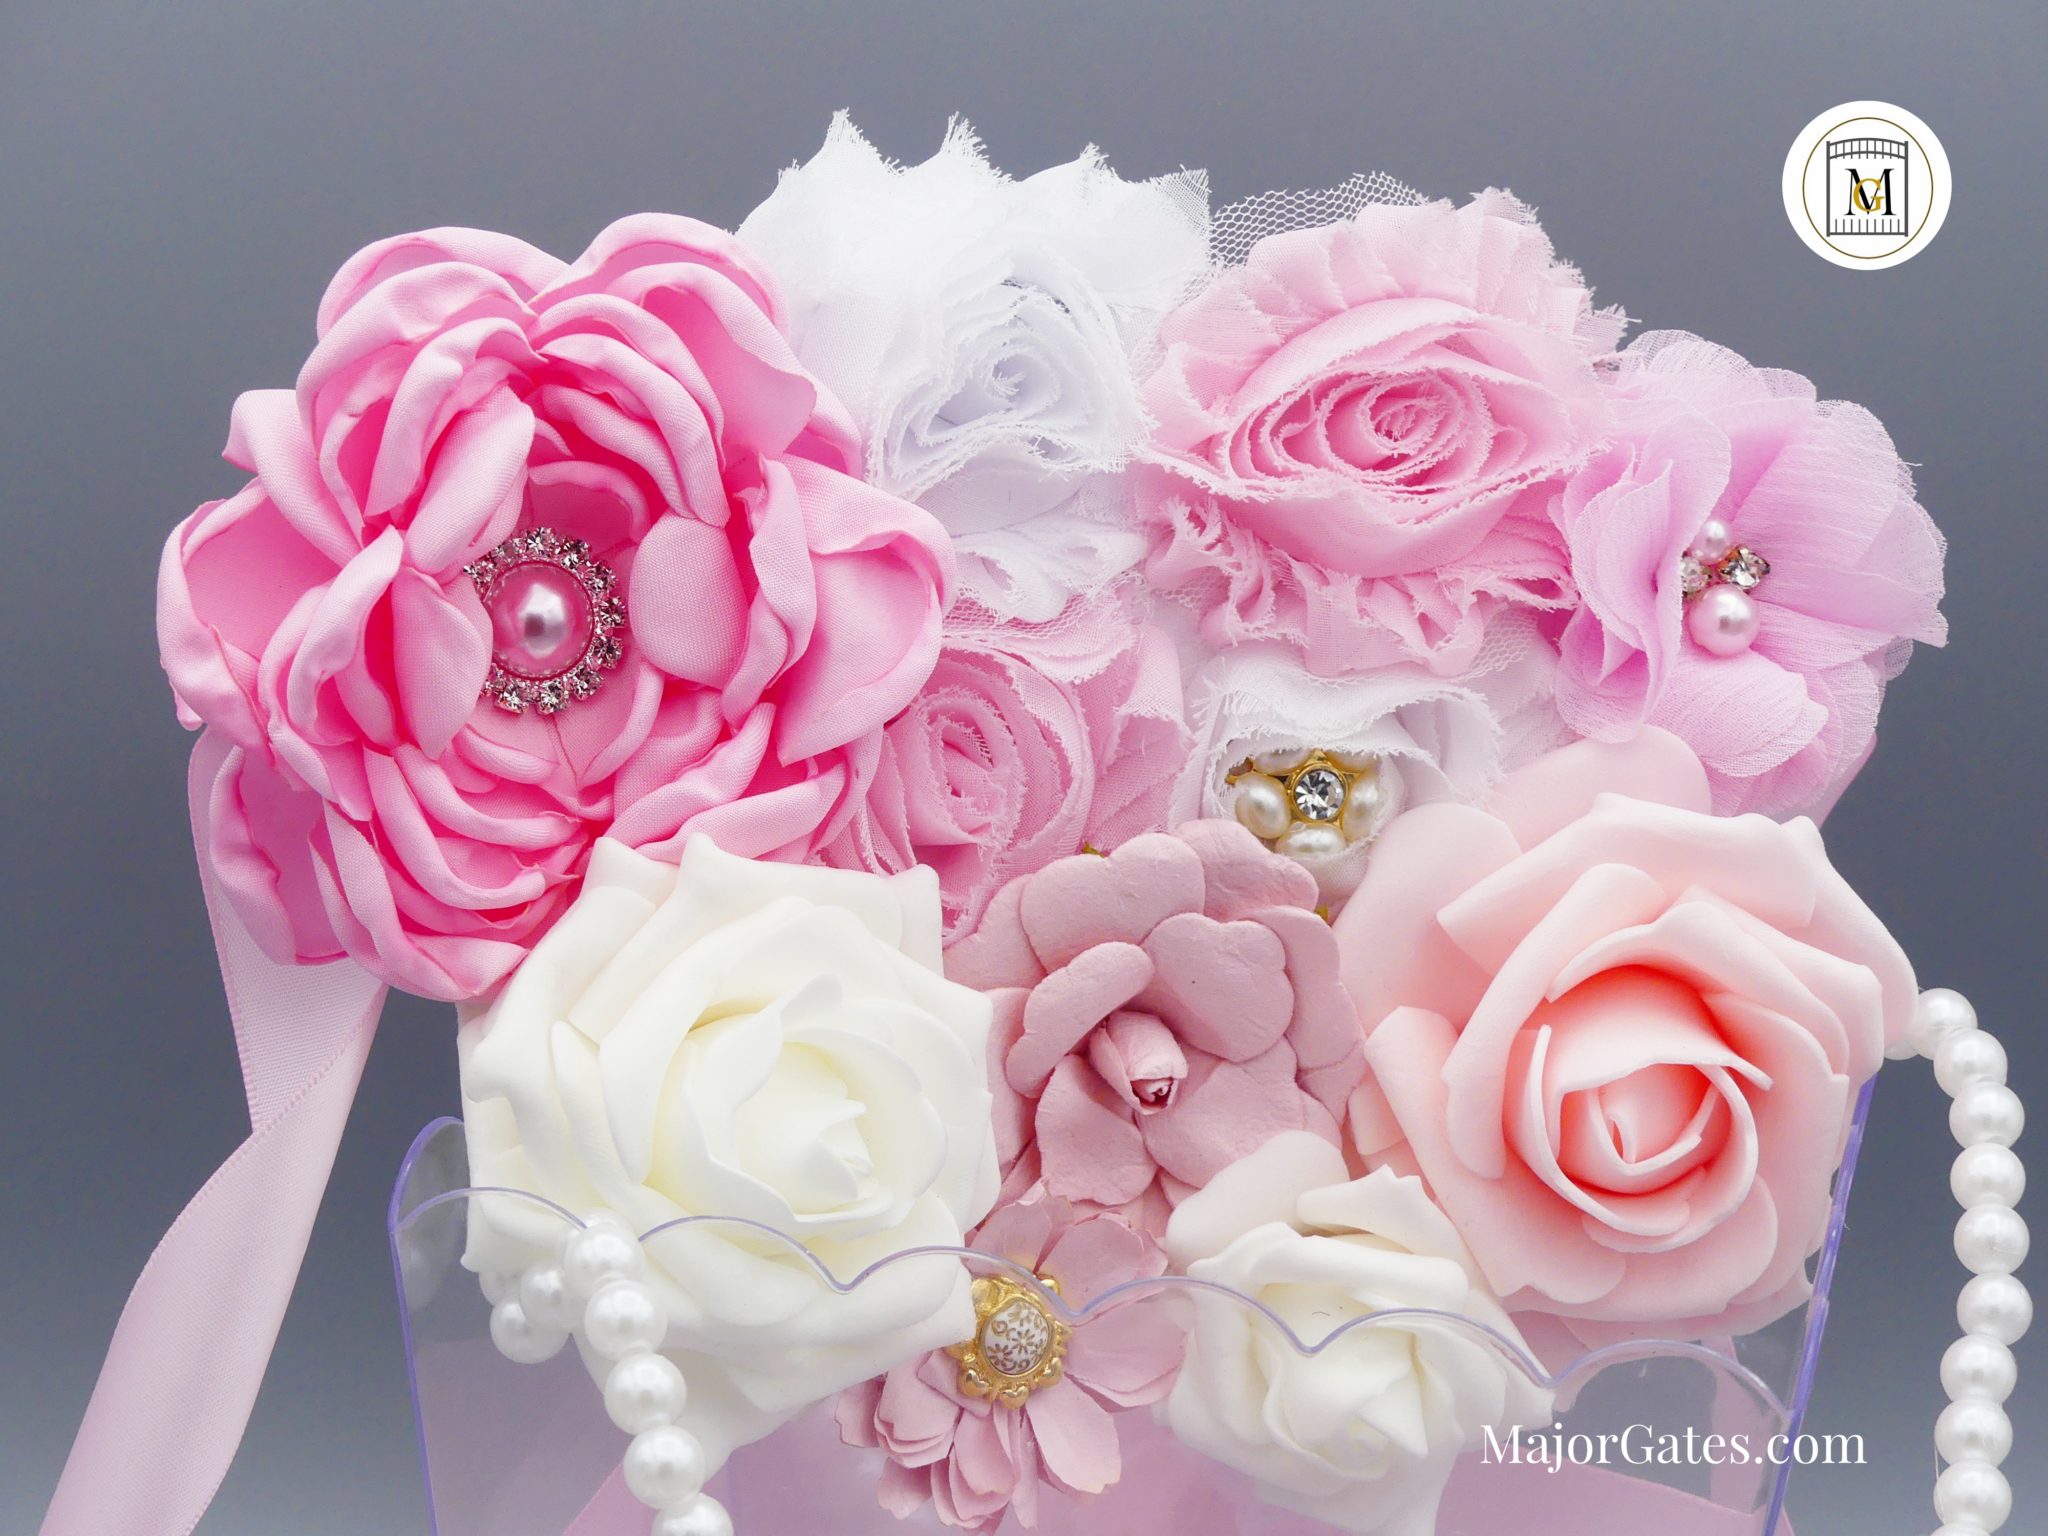
Make the mother-to-be feel extra special with a DIY Baby Shower Sash. This is pretty easy to make and the mommy-to-be will just love it. So you can enhance a pre-made basic baby sash or create one yourself. The sash can be as simple or ornate as your imagination allows. So you can make the perfect baby shower maternity sash to exactly match your theme.
In addition, this is a pretty easy starter craft to make. Also, few supplies are needed and the end result is lovely. You can make the baby shower sash to match a particular theme, gender neutral or traditional pink or blue. So this is a fun craft that anyone can do.
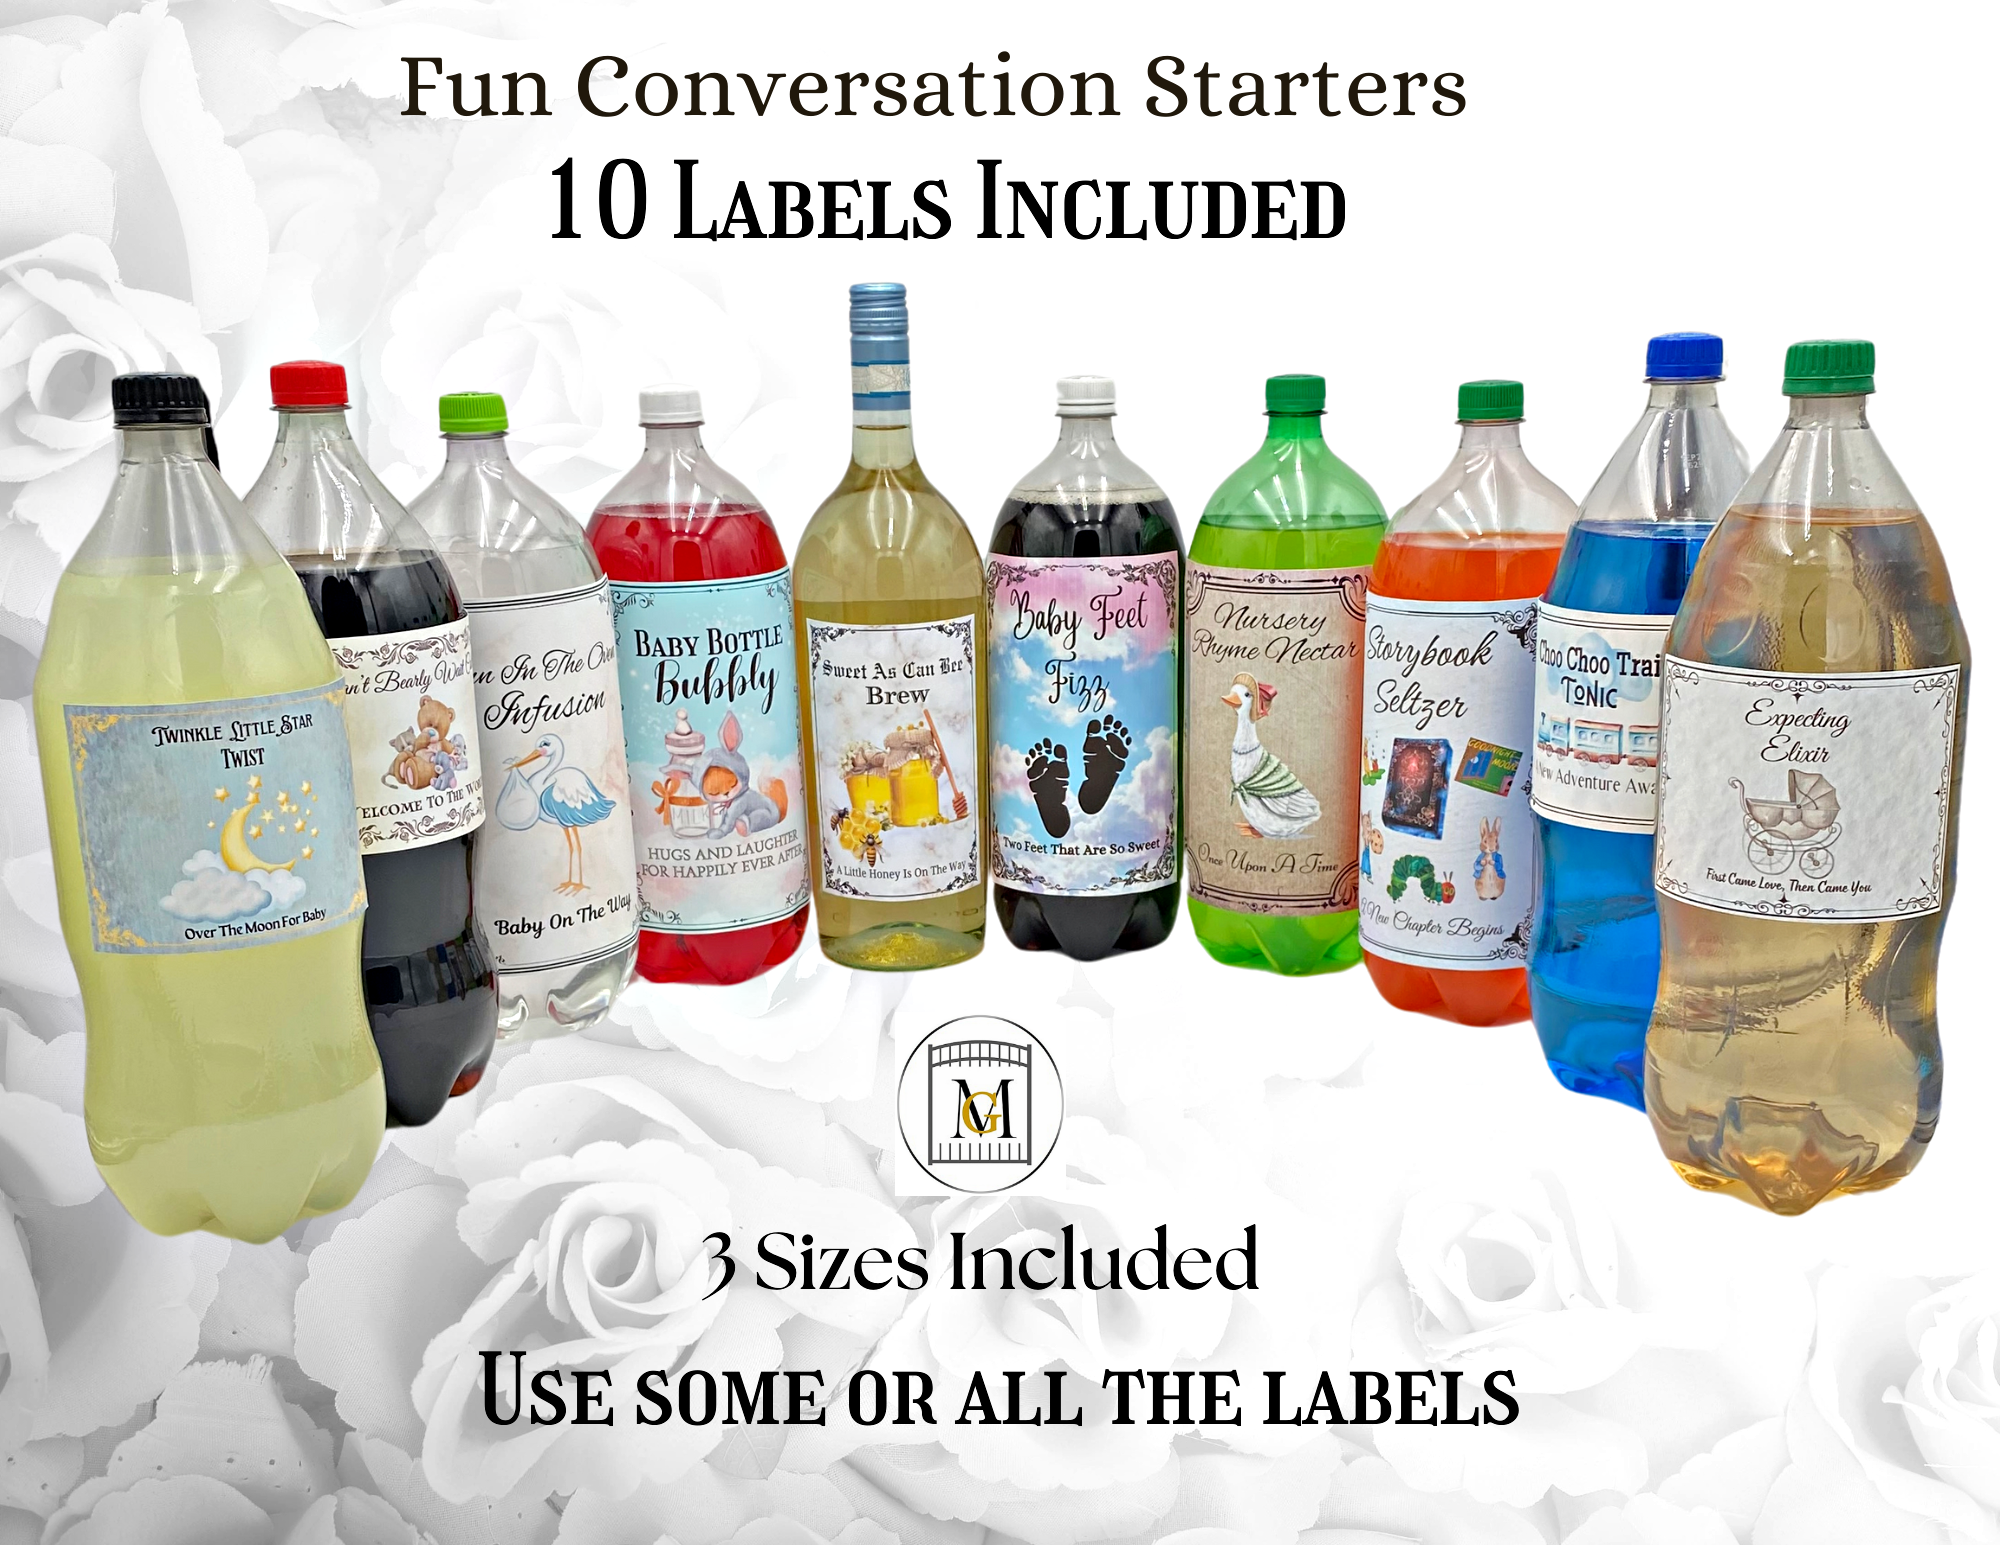
If you need Baby Shower 2-Liter/Wine Bottle Labels, click here: https://majorgates.com/product/baby-shower-party-2-liter-wine-bottle-label-bundle-download/
To see my available Party Bundle Label Downloads, click here: https://majorgates.com/product-category/party-bundles/
DIY Baby Shower Maternity Sash Highlights
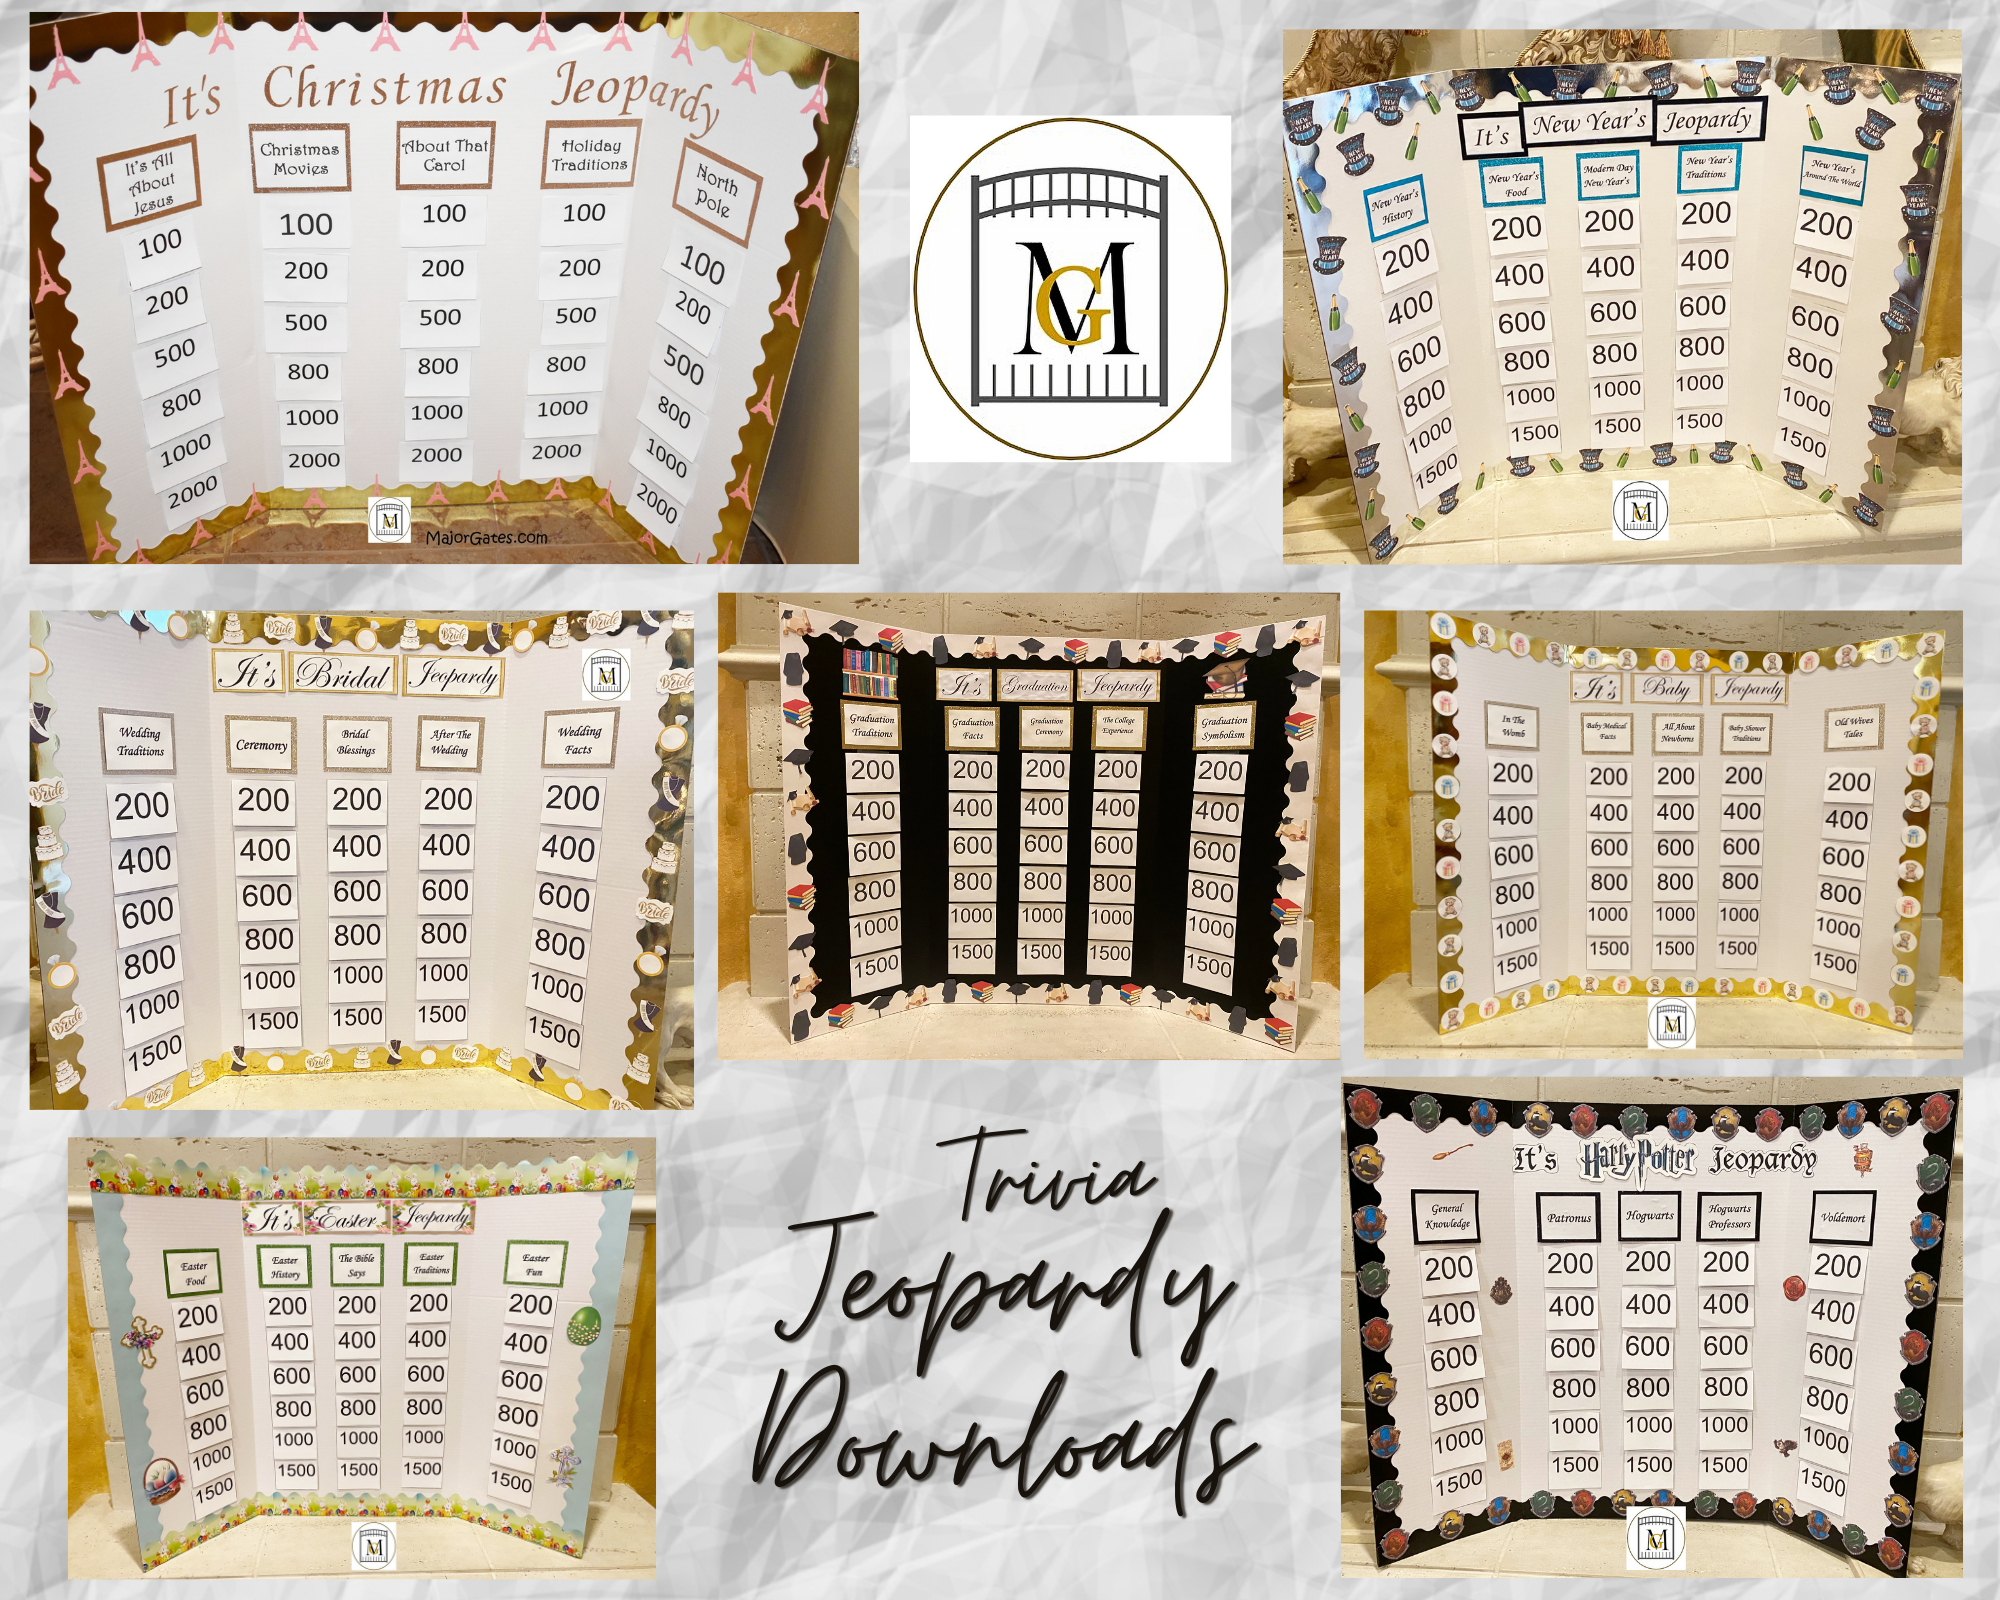
Also, for a great game to play at a Baby Shower, check out Baby Trivia Jeopardy here: https://majorgates.com/product/baby-shower-trivia-jeopardy-game-download/
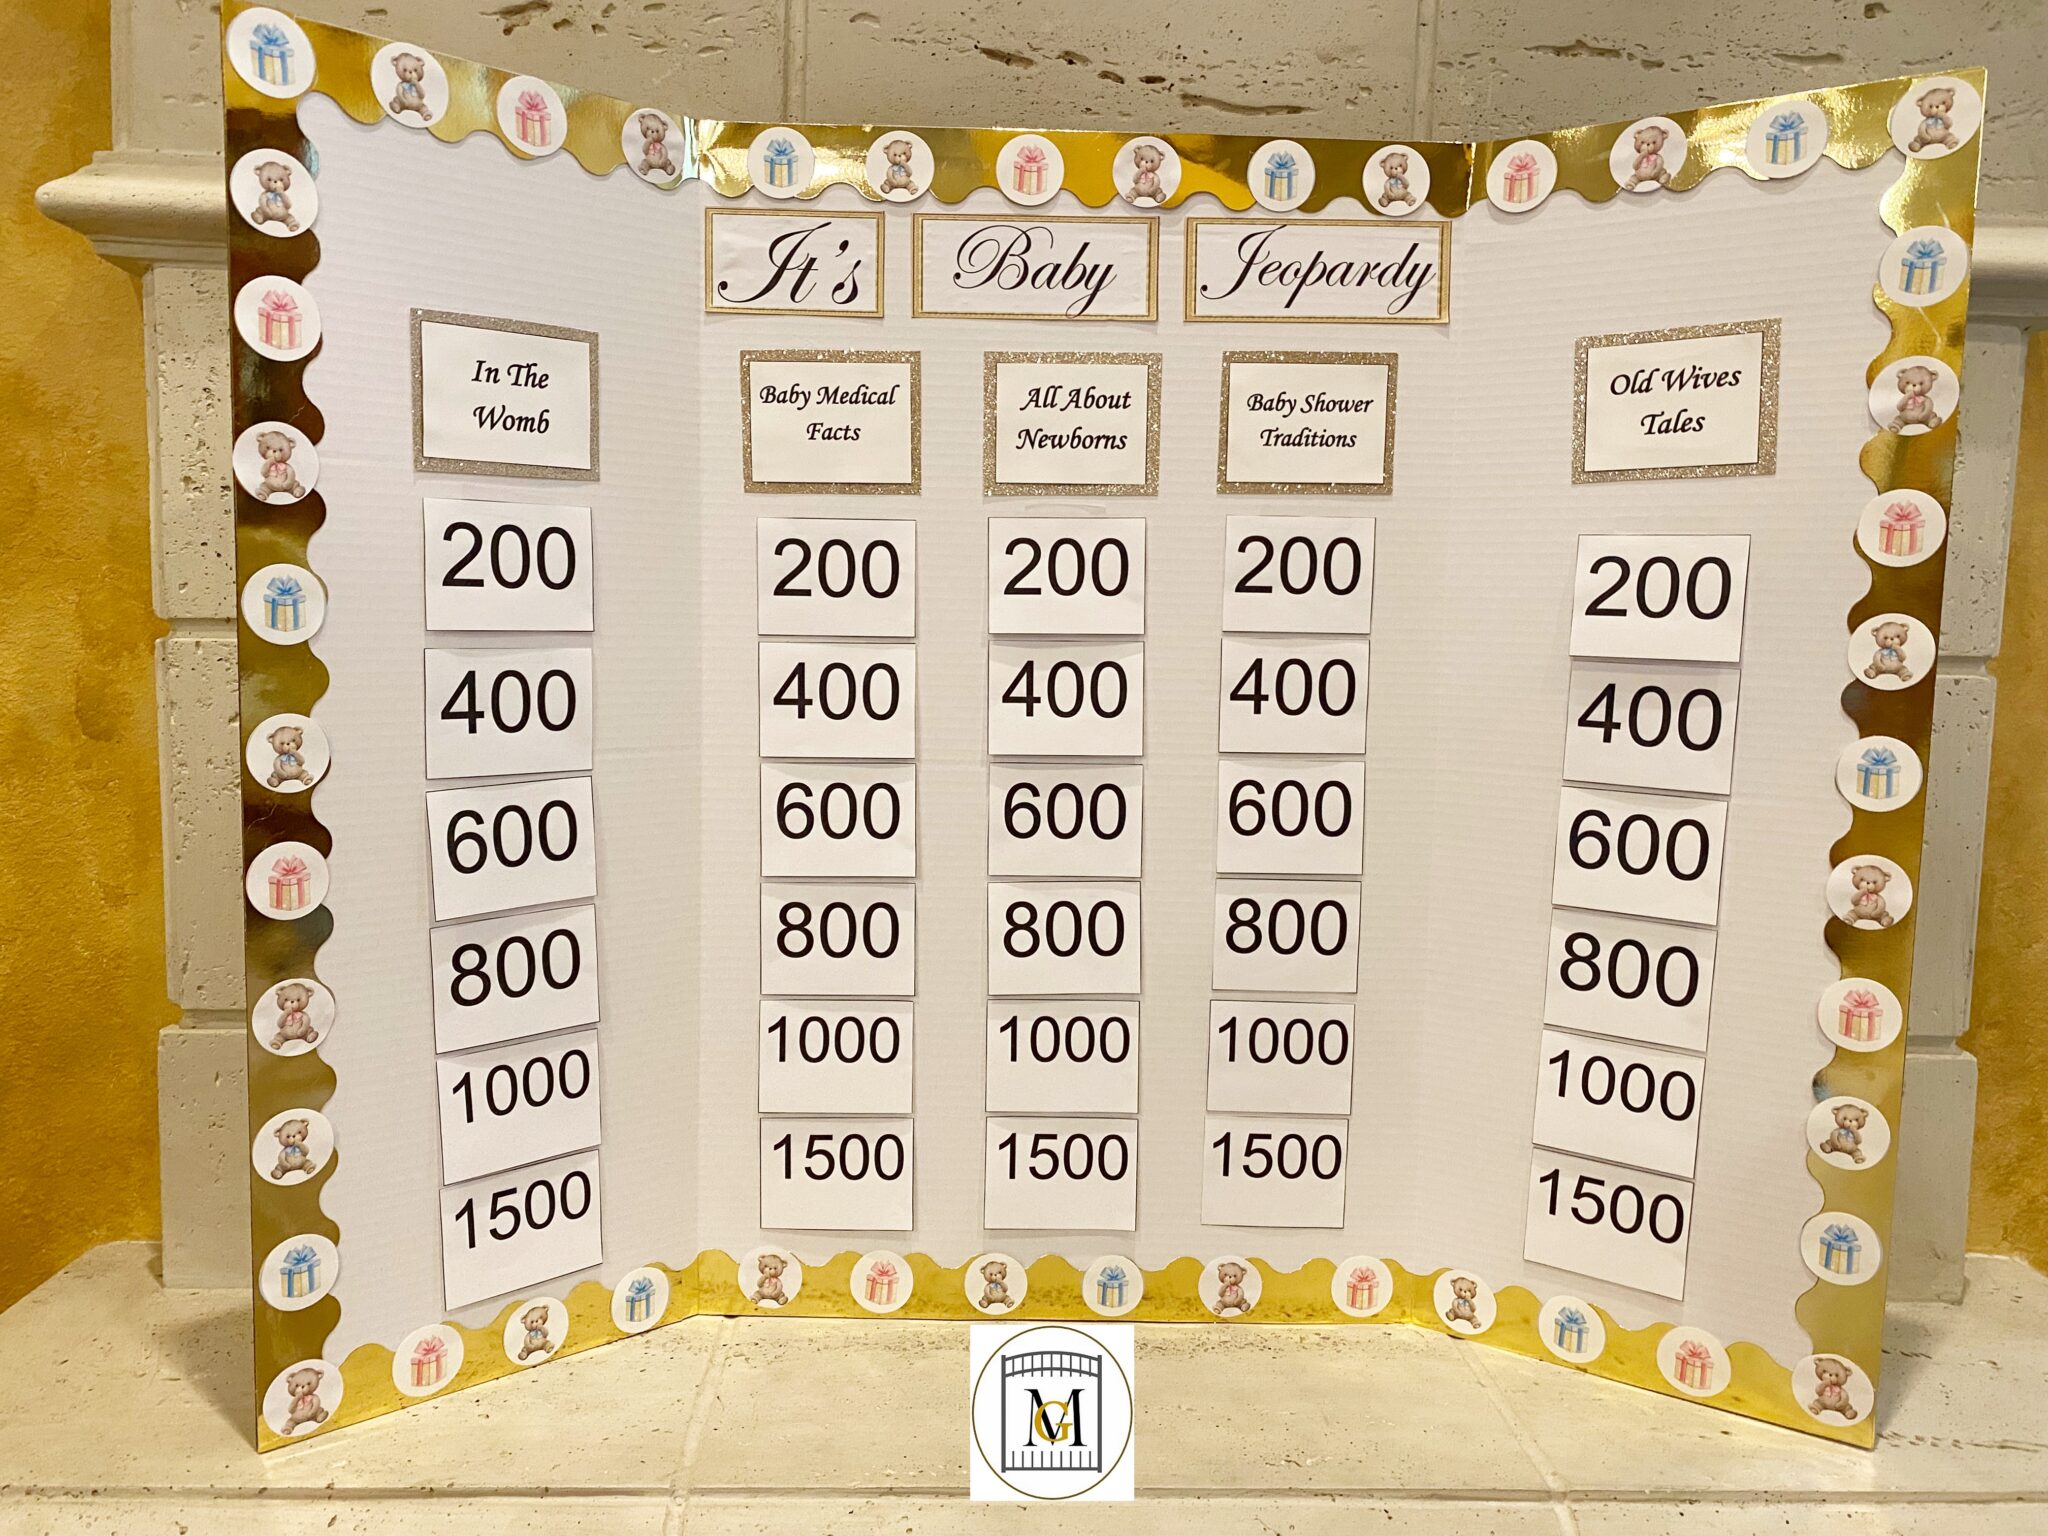
To see my other available Jeopardy Trivia Party Downloads, click here: https://majorgates.com/product-category/jeopardy-trivia/
Don’t Forget To Follow Me On Pinterest!
For more DIY Craft Ideas, visit my DIY section here: https://majorgates.com/category/do-it-yourself/
To learn how to make a custom Baby Diaper Cake, click here: https://majorgates.com/do-it-yourself/diaper-cake/
Supplies
- Thick sheet of white felt
- Dual temperature mini glue gun and glue sticks
- Faux pearls or beads
- Fishing line
- 1.5 inch wide ribbon (3.81 cm)
- Gem embellishments
- Silk, fabric, paper and/or foam flowers
- White card stock
- Glitter card stock
- Single hole punch
- Scissors
Directions For DIY Baby Shower Sash
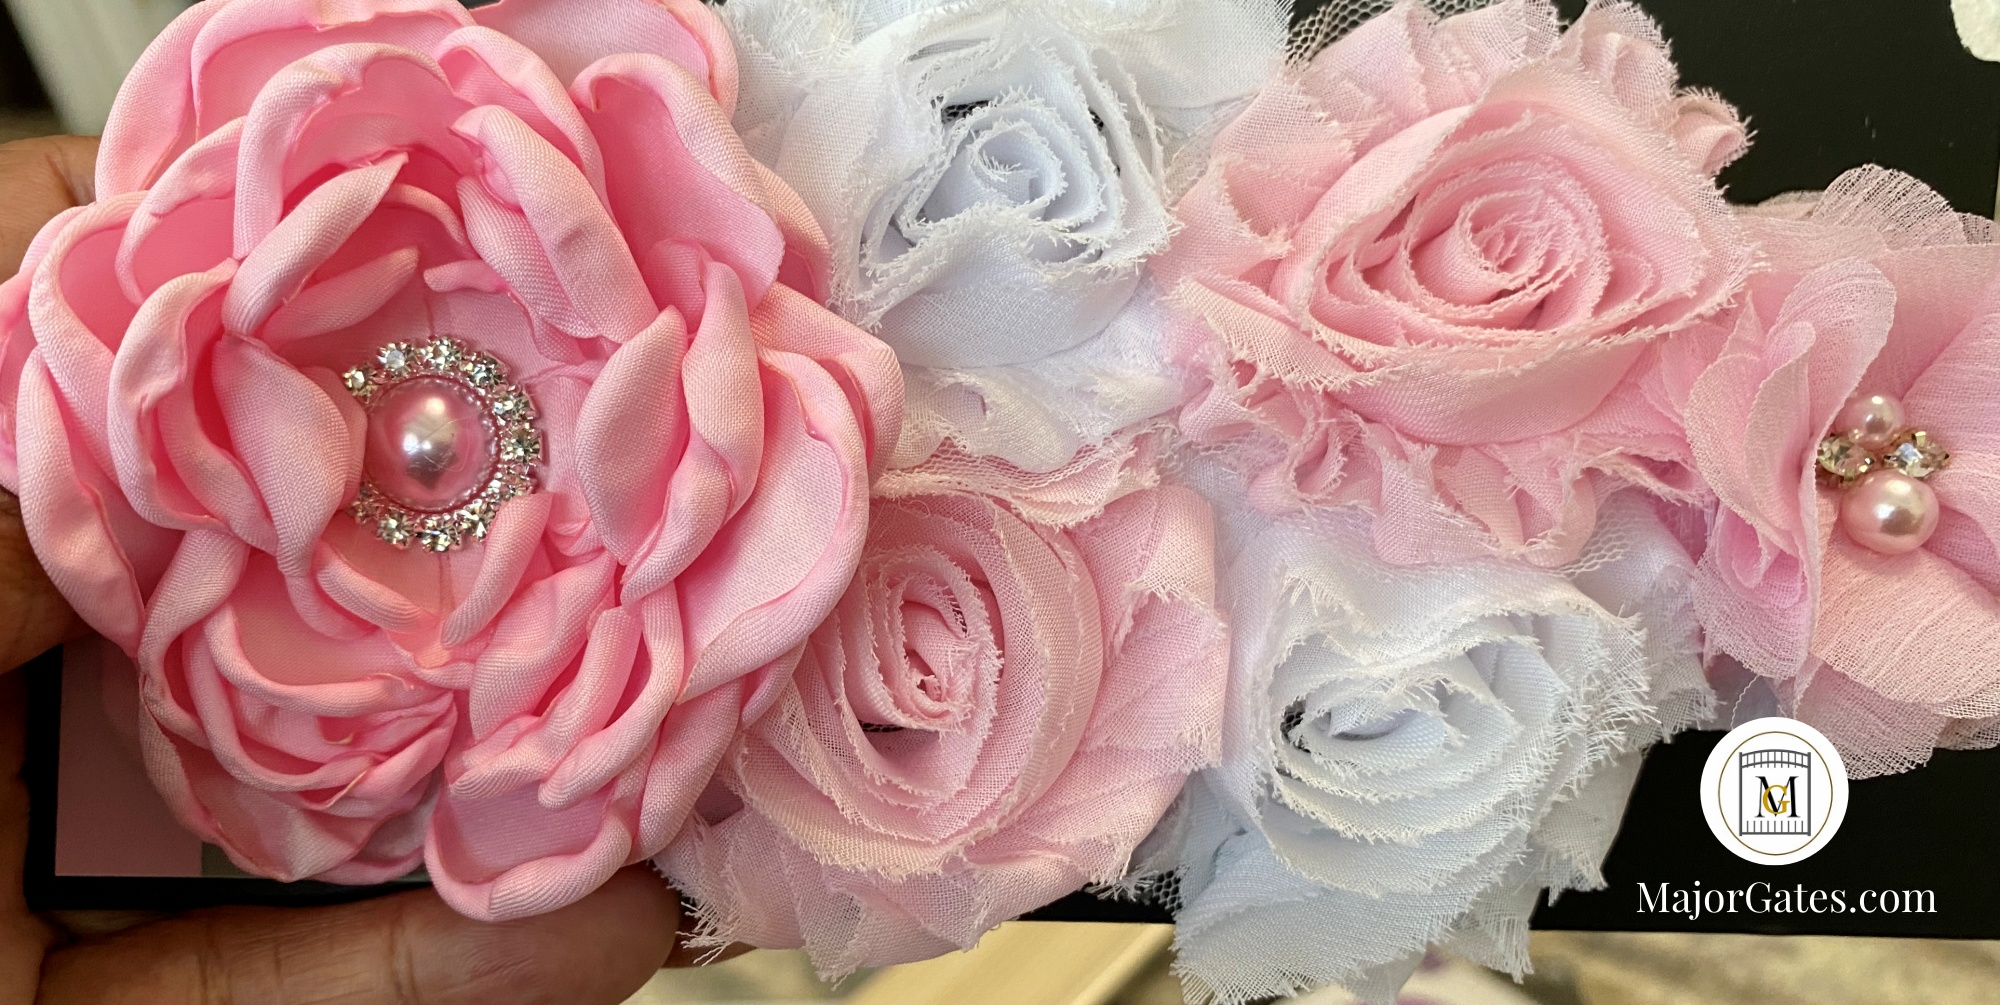
- You can start with a pre-made flower grouping or start with all individual flowers. So I started with a grouping of flowers that I liked to speed things up.
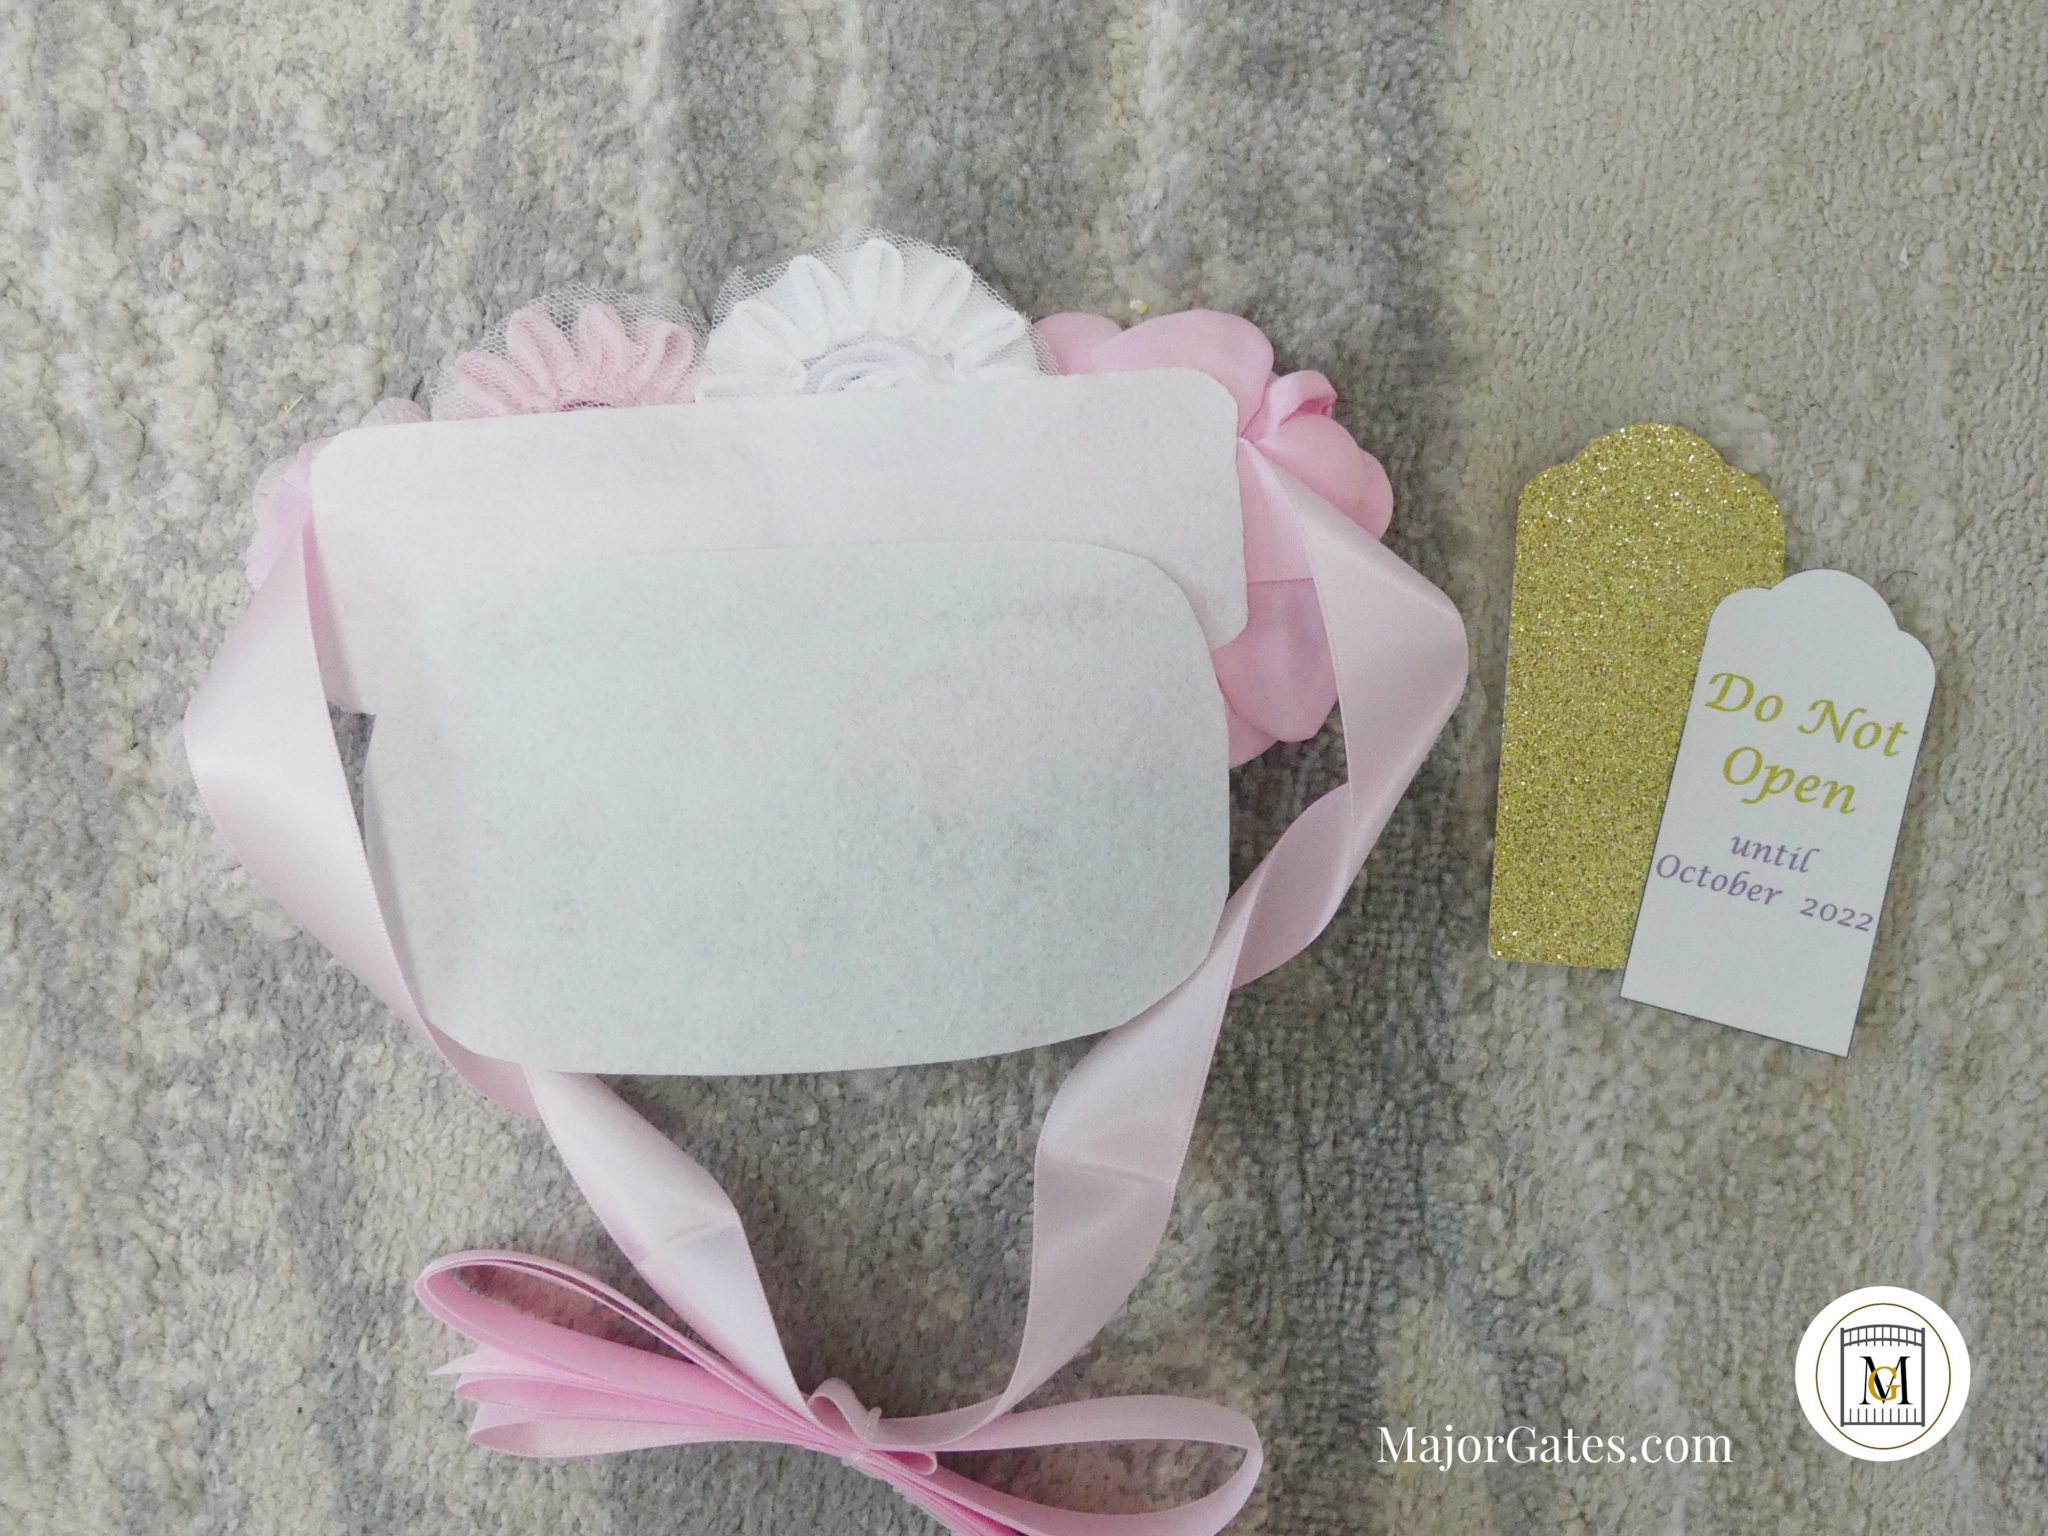
- So to start from scratch, cut out a piece of thick white felt to 8 inches long by 6 inches wide. Now you can cut this smaller for less flowers or larger for more flowers. Then glue on a long strip of ribbon, about 50-60 inches long, about 1/2 inch from the top of the felt.
- For a pre-made flower grouping, just add extra felt to the bottom with hot glue. So this strip should be about 8 inches long by 4 inches wide or the length of the flower grouping.
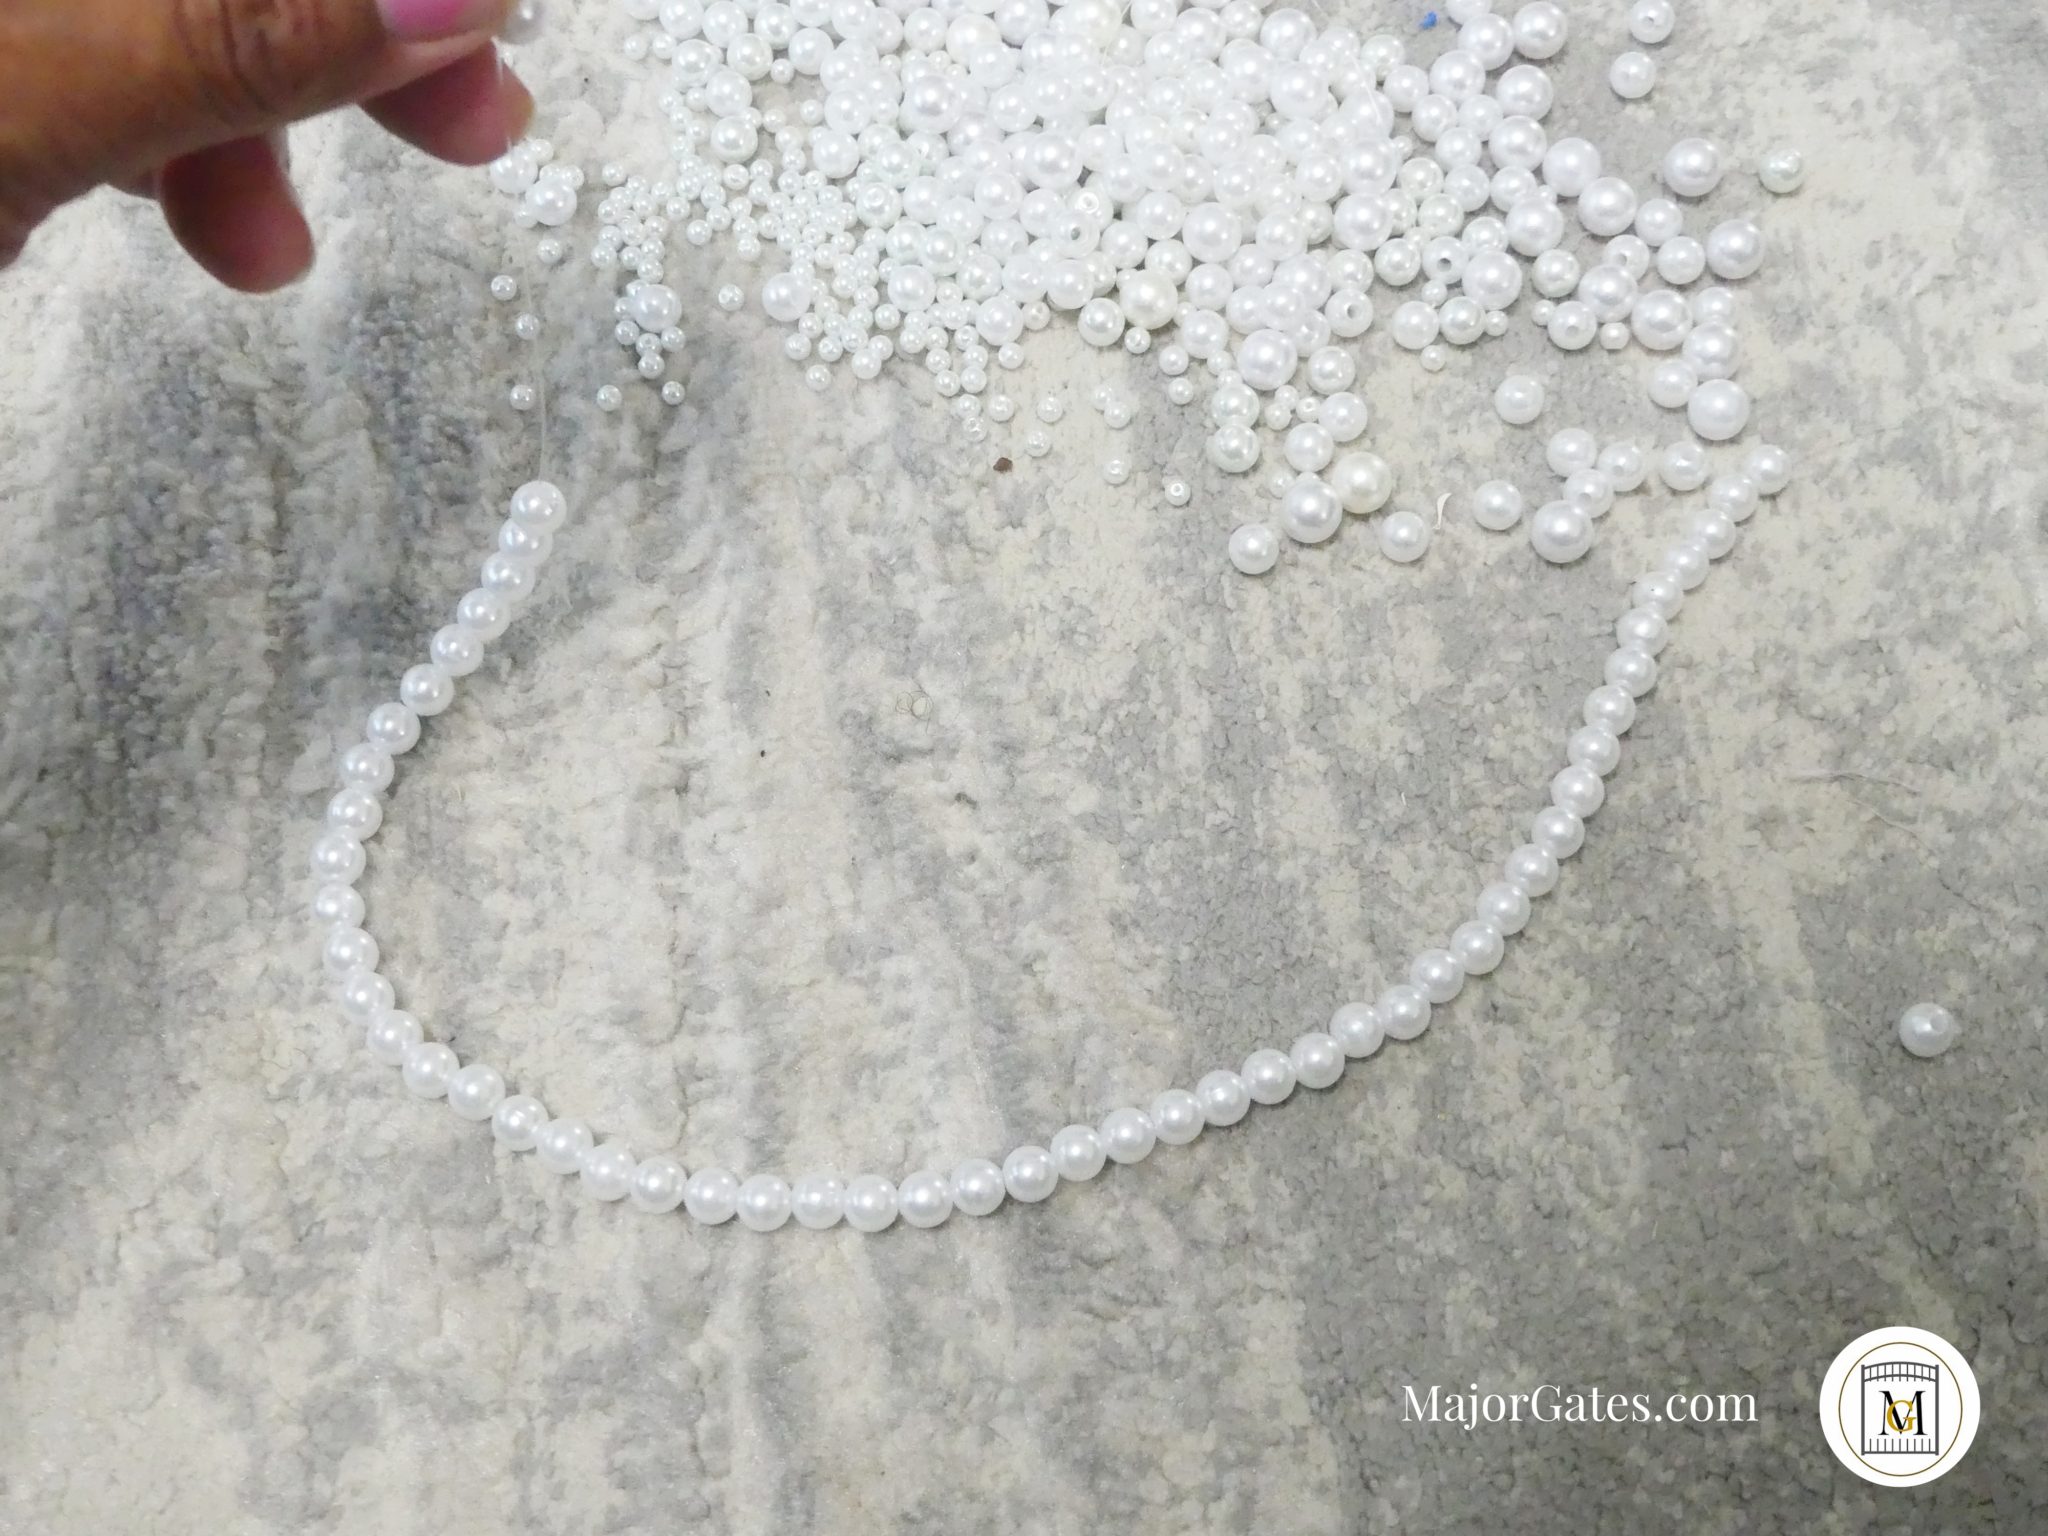
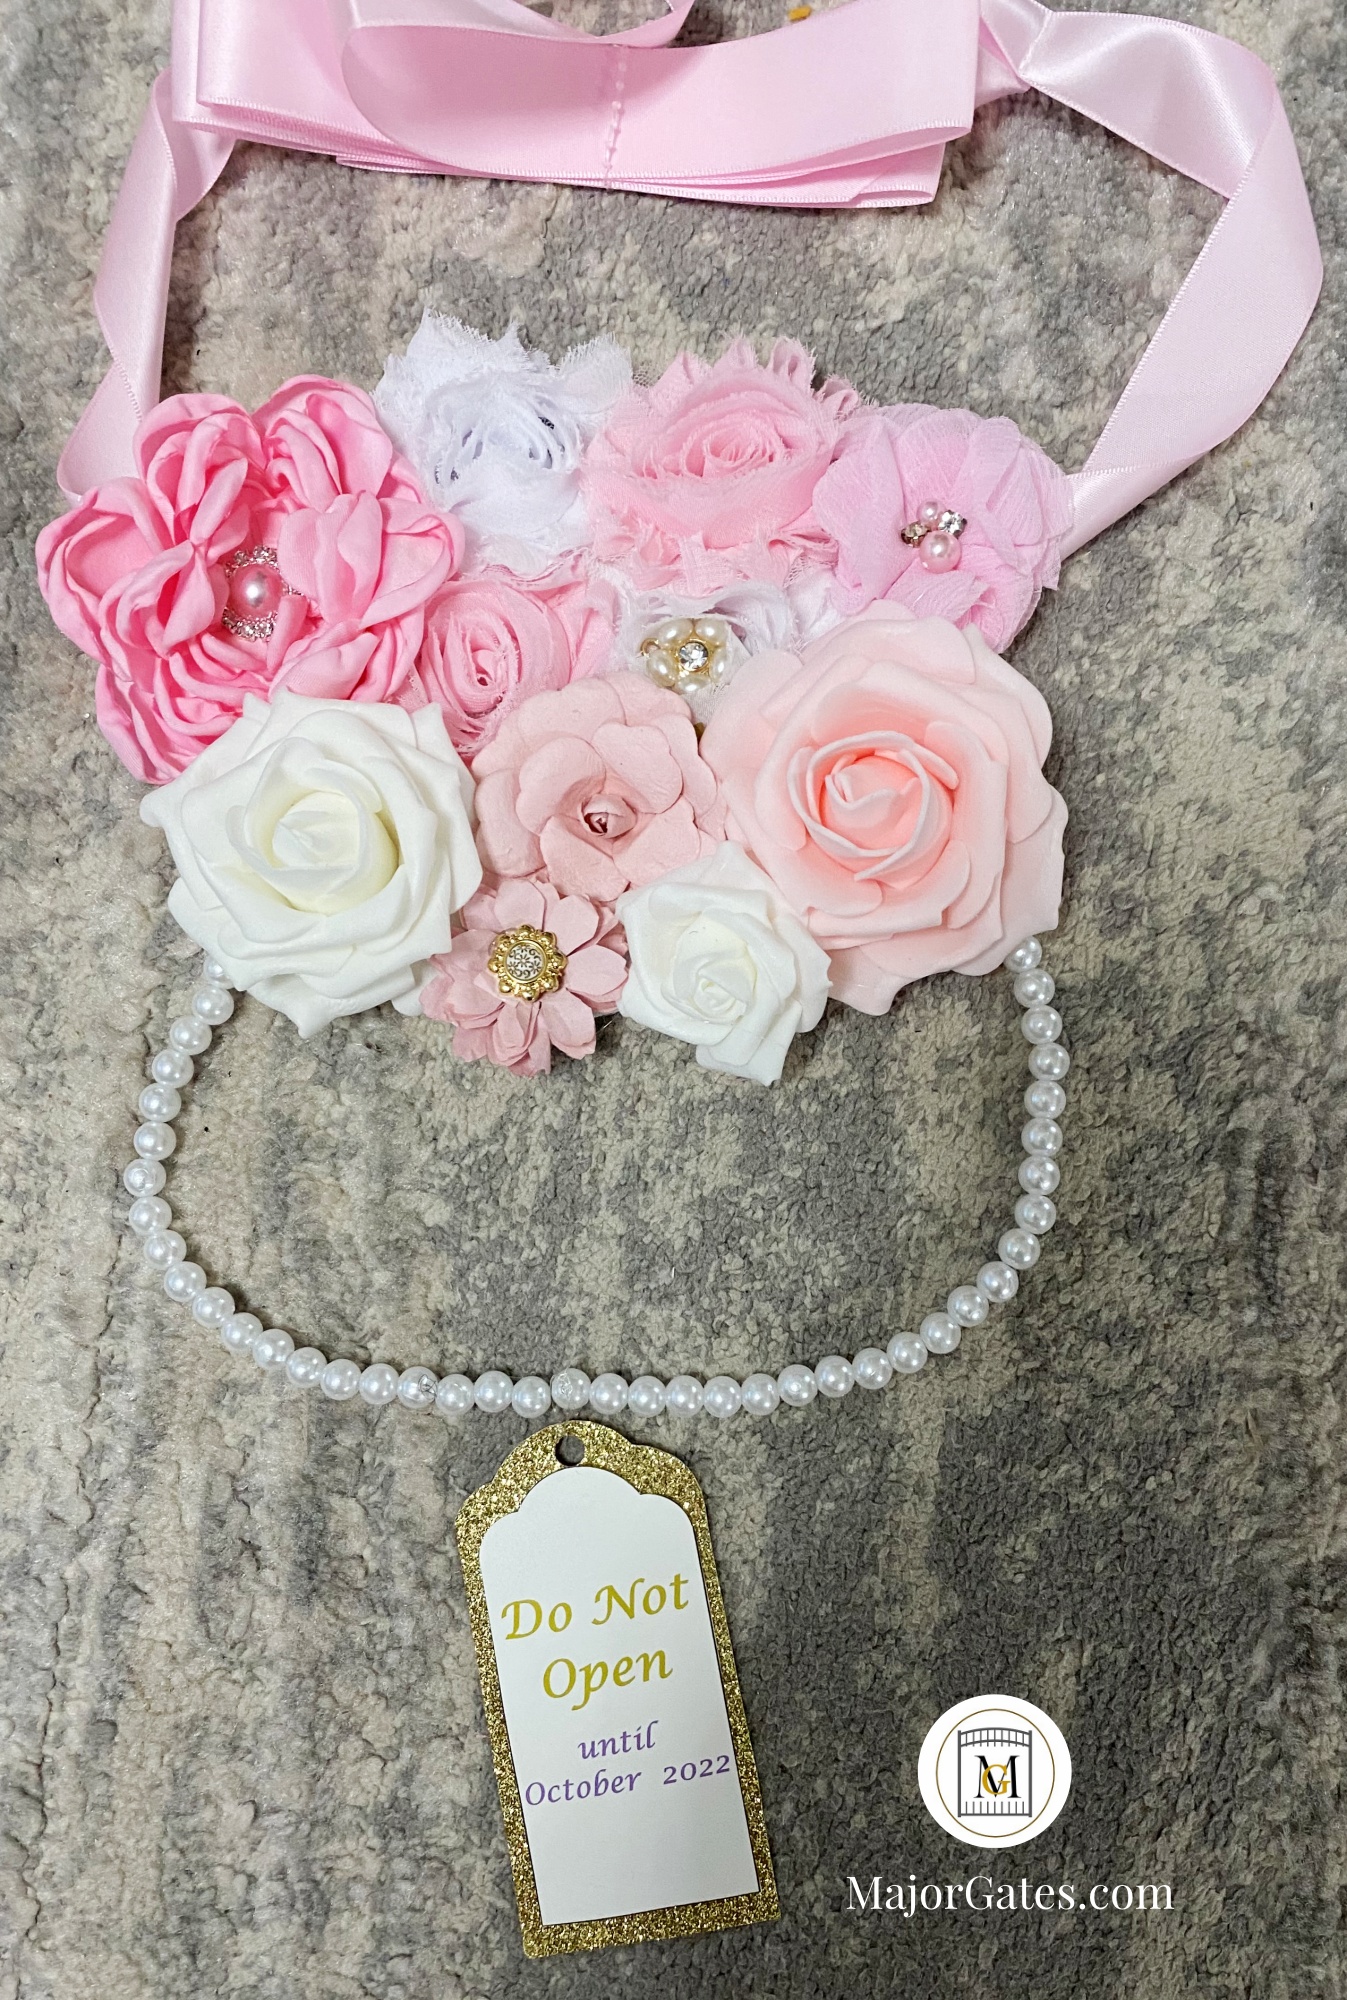
- Then hot glue on a row of flowers and then add the faux pearl beads. I could not find any pre-made faux pearl bead necklaces at the time I needed it, so I made my own. Just take a piece of clear fishing line in the desired length (about 12-14 inches), then tie one end to a pearl. Continue stringing the pearls until it is full and then tie the other end.
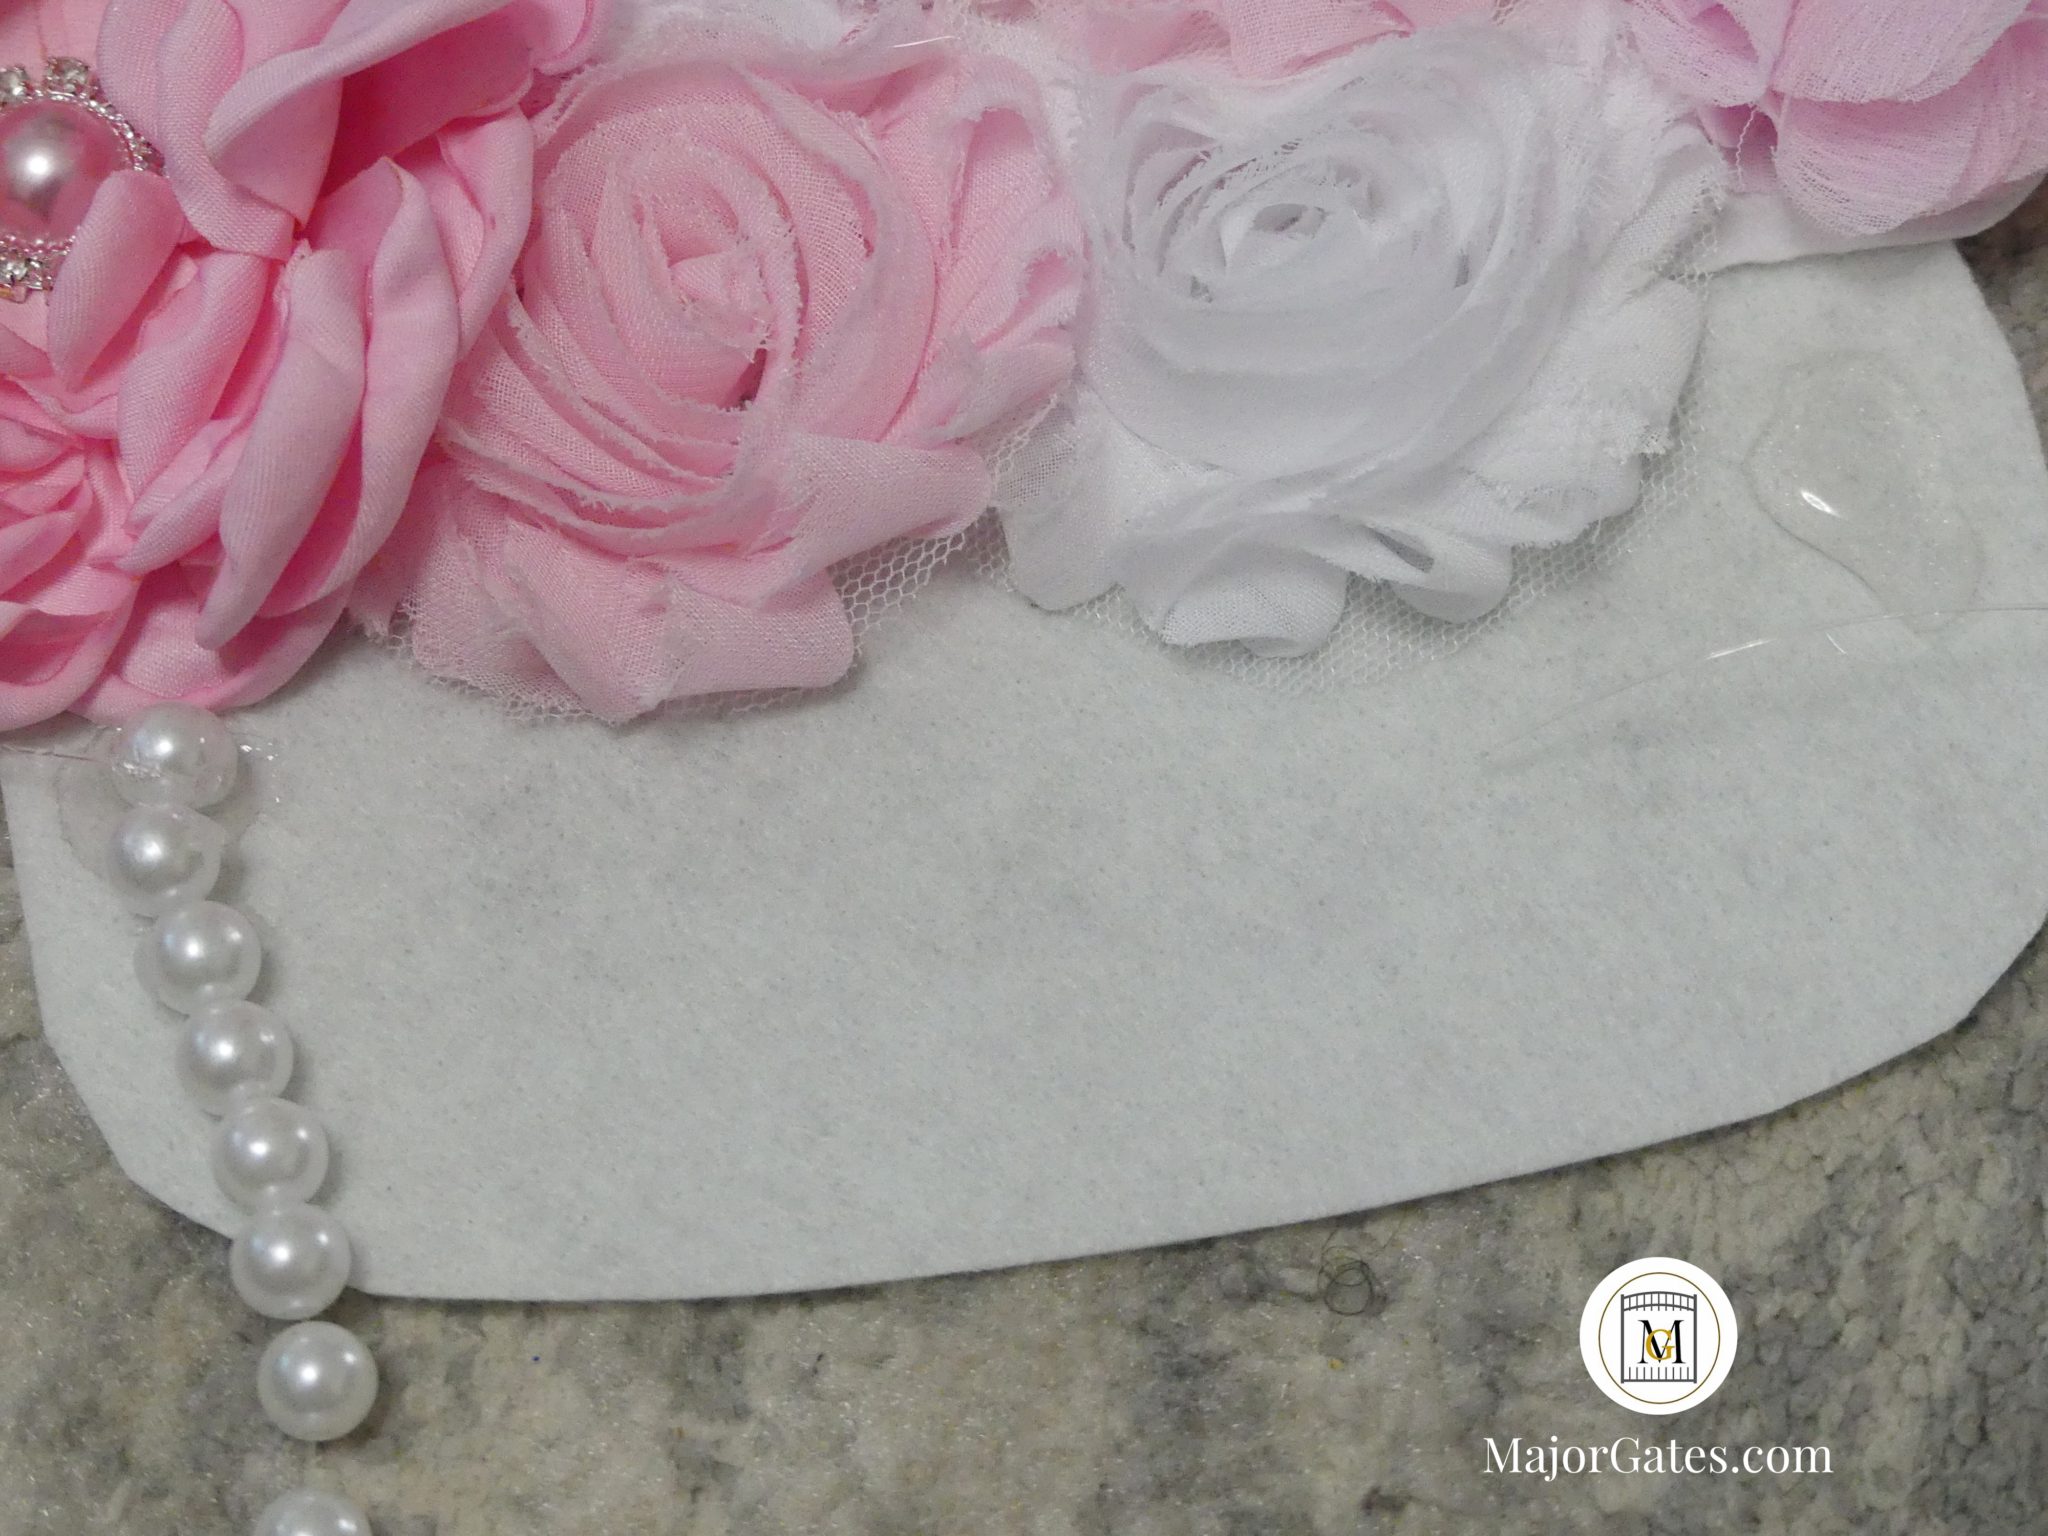
- Next, put two glue dabs on each side of the felt and affix the faux pearl necklace.
- Now, attach more flowers to fill up the felt.
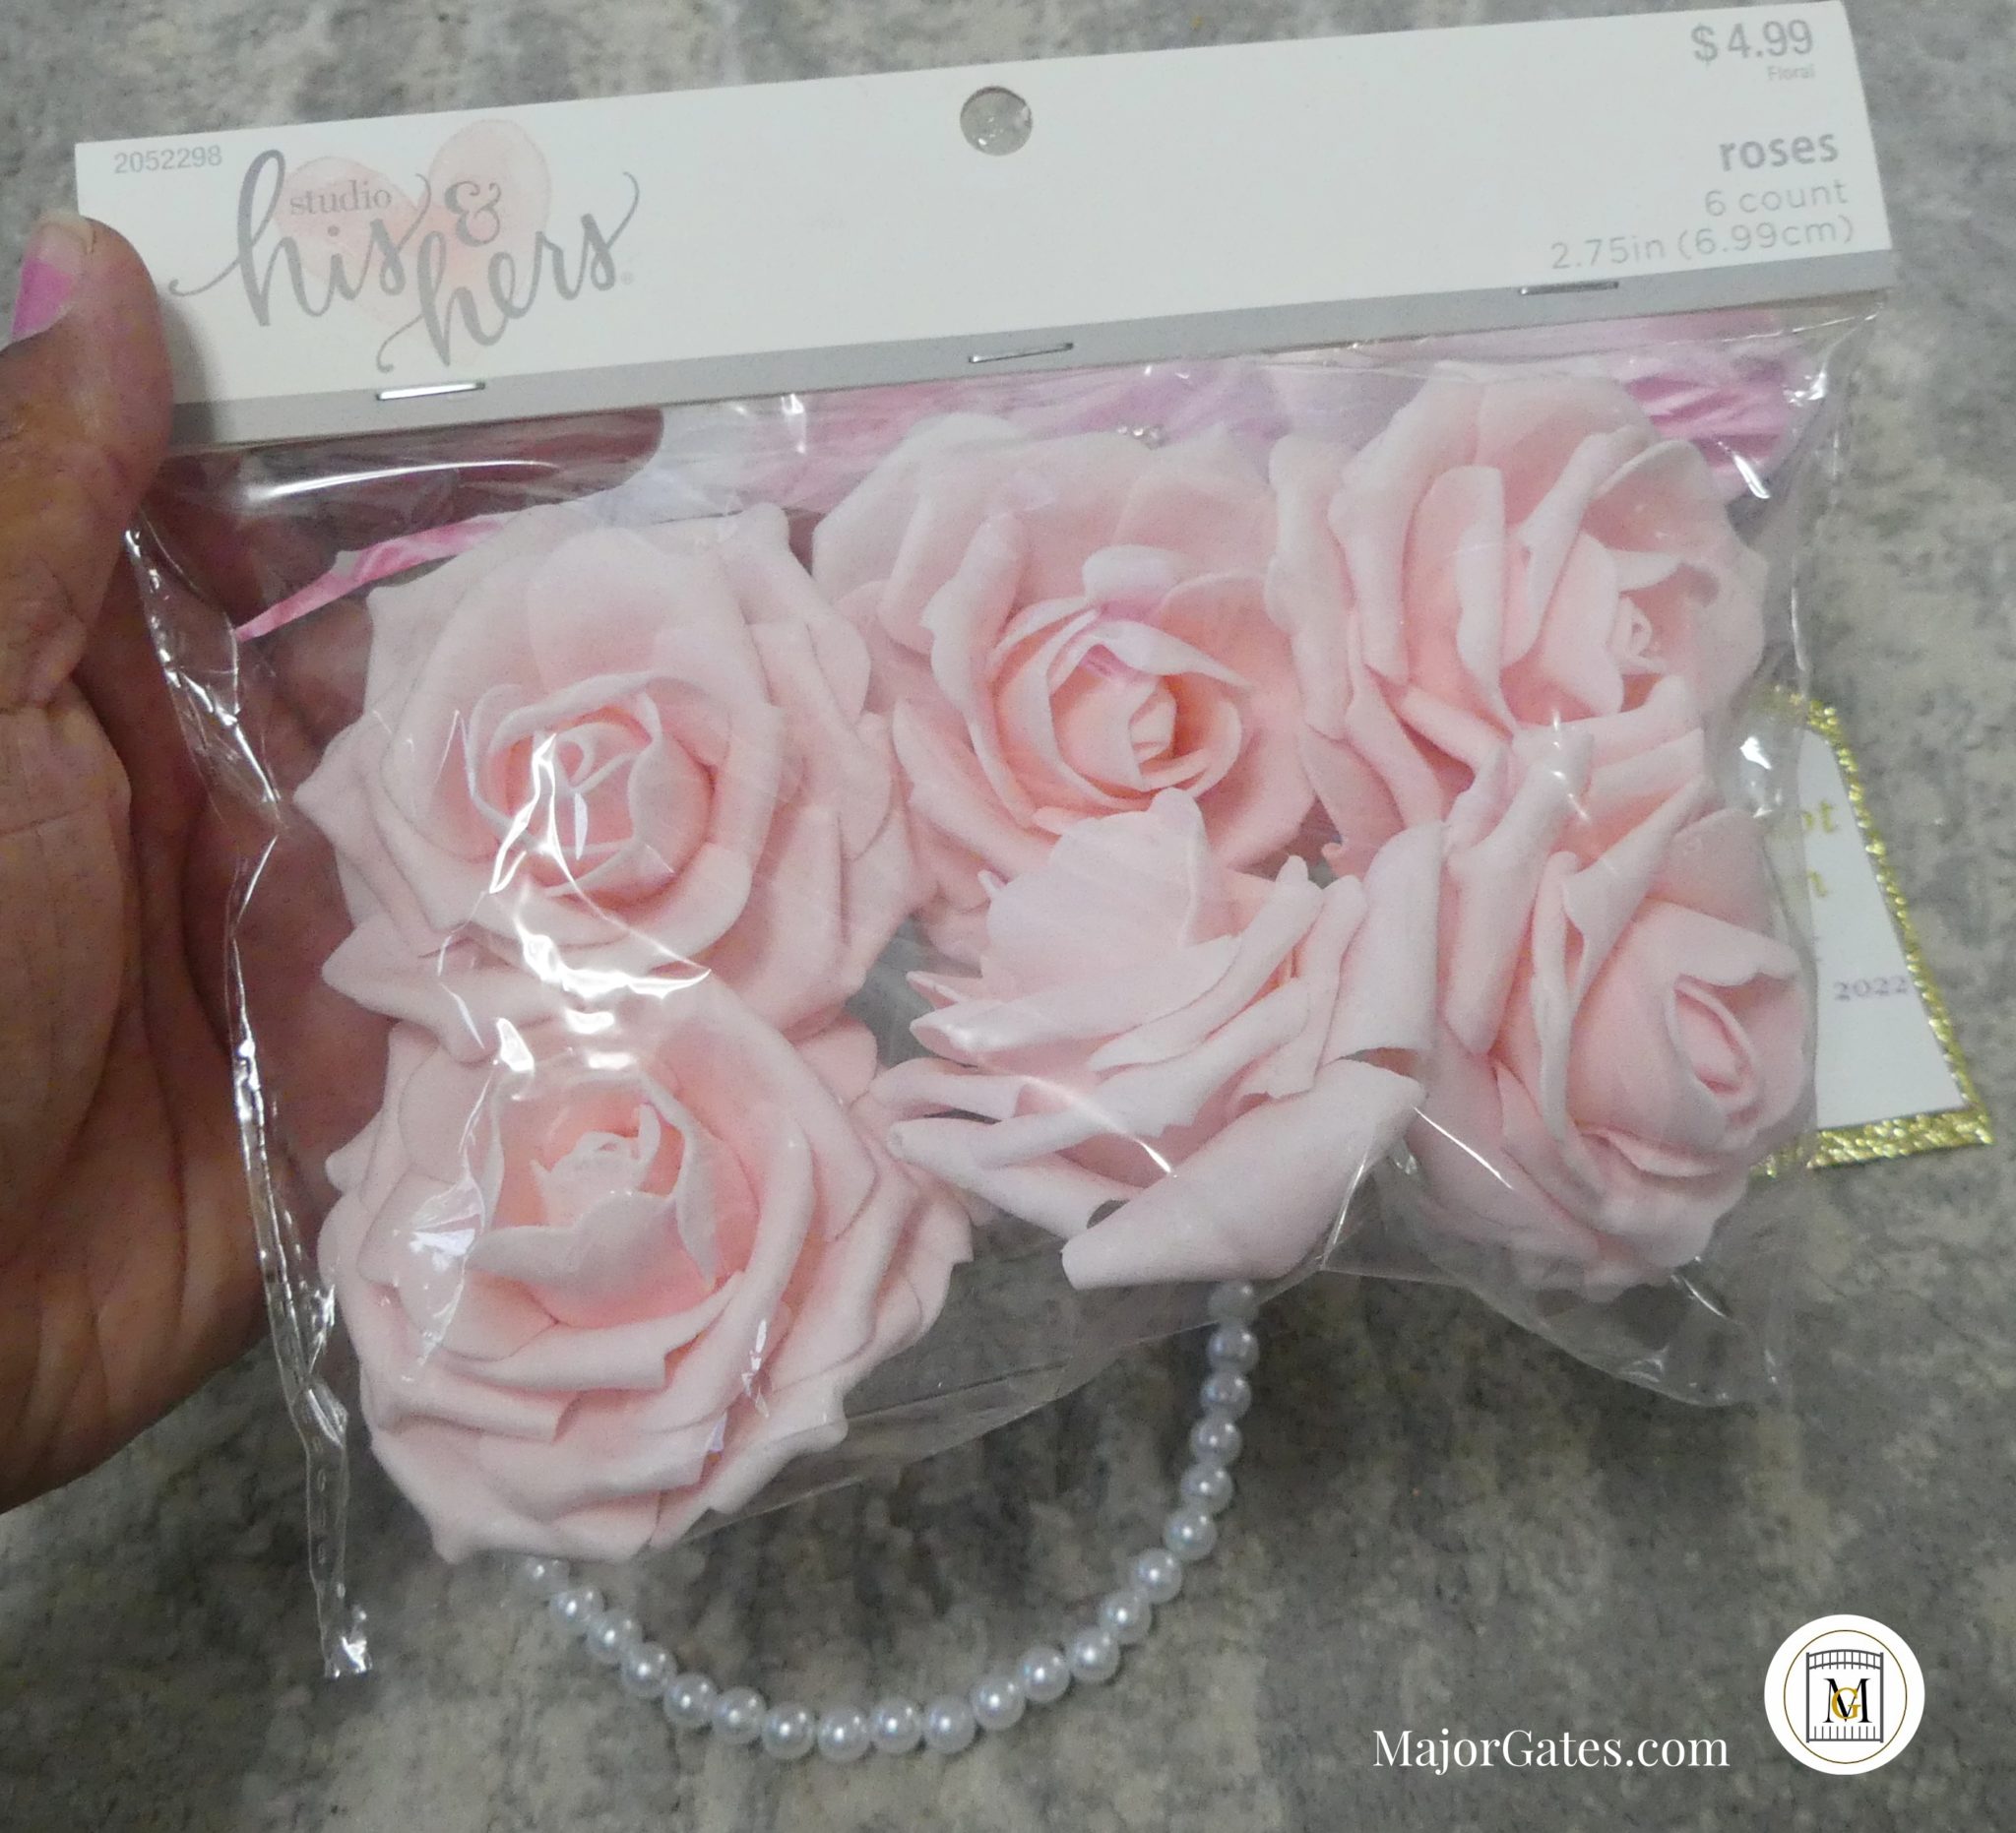
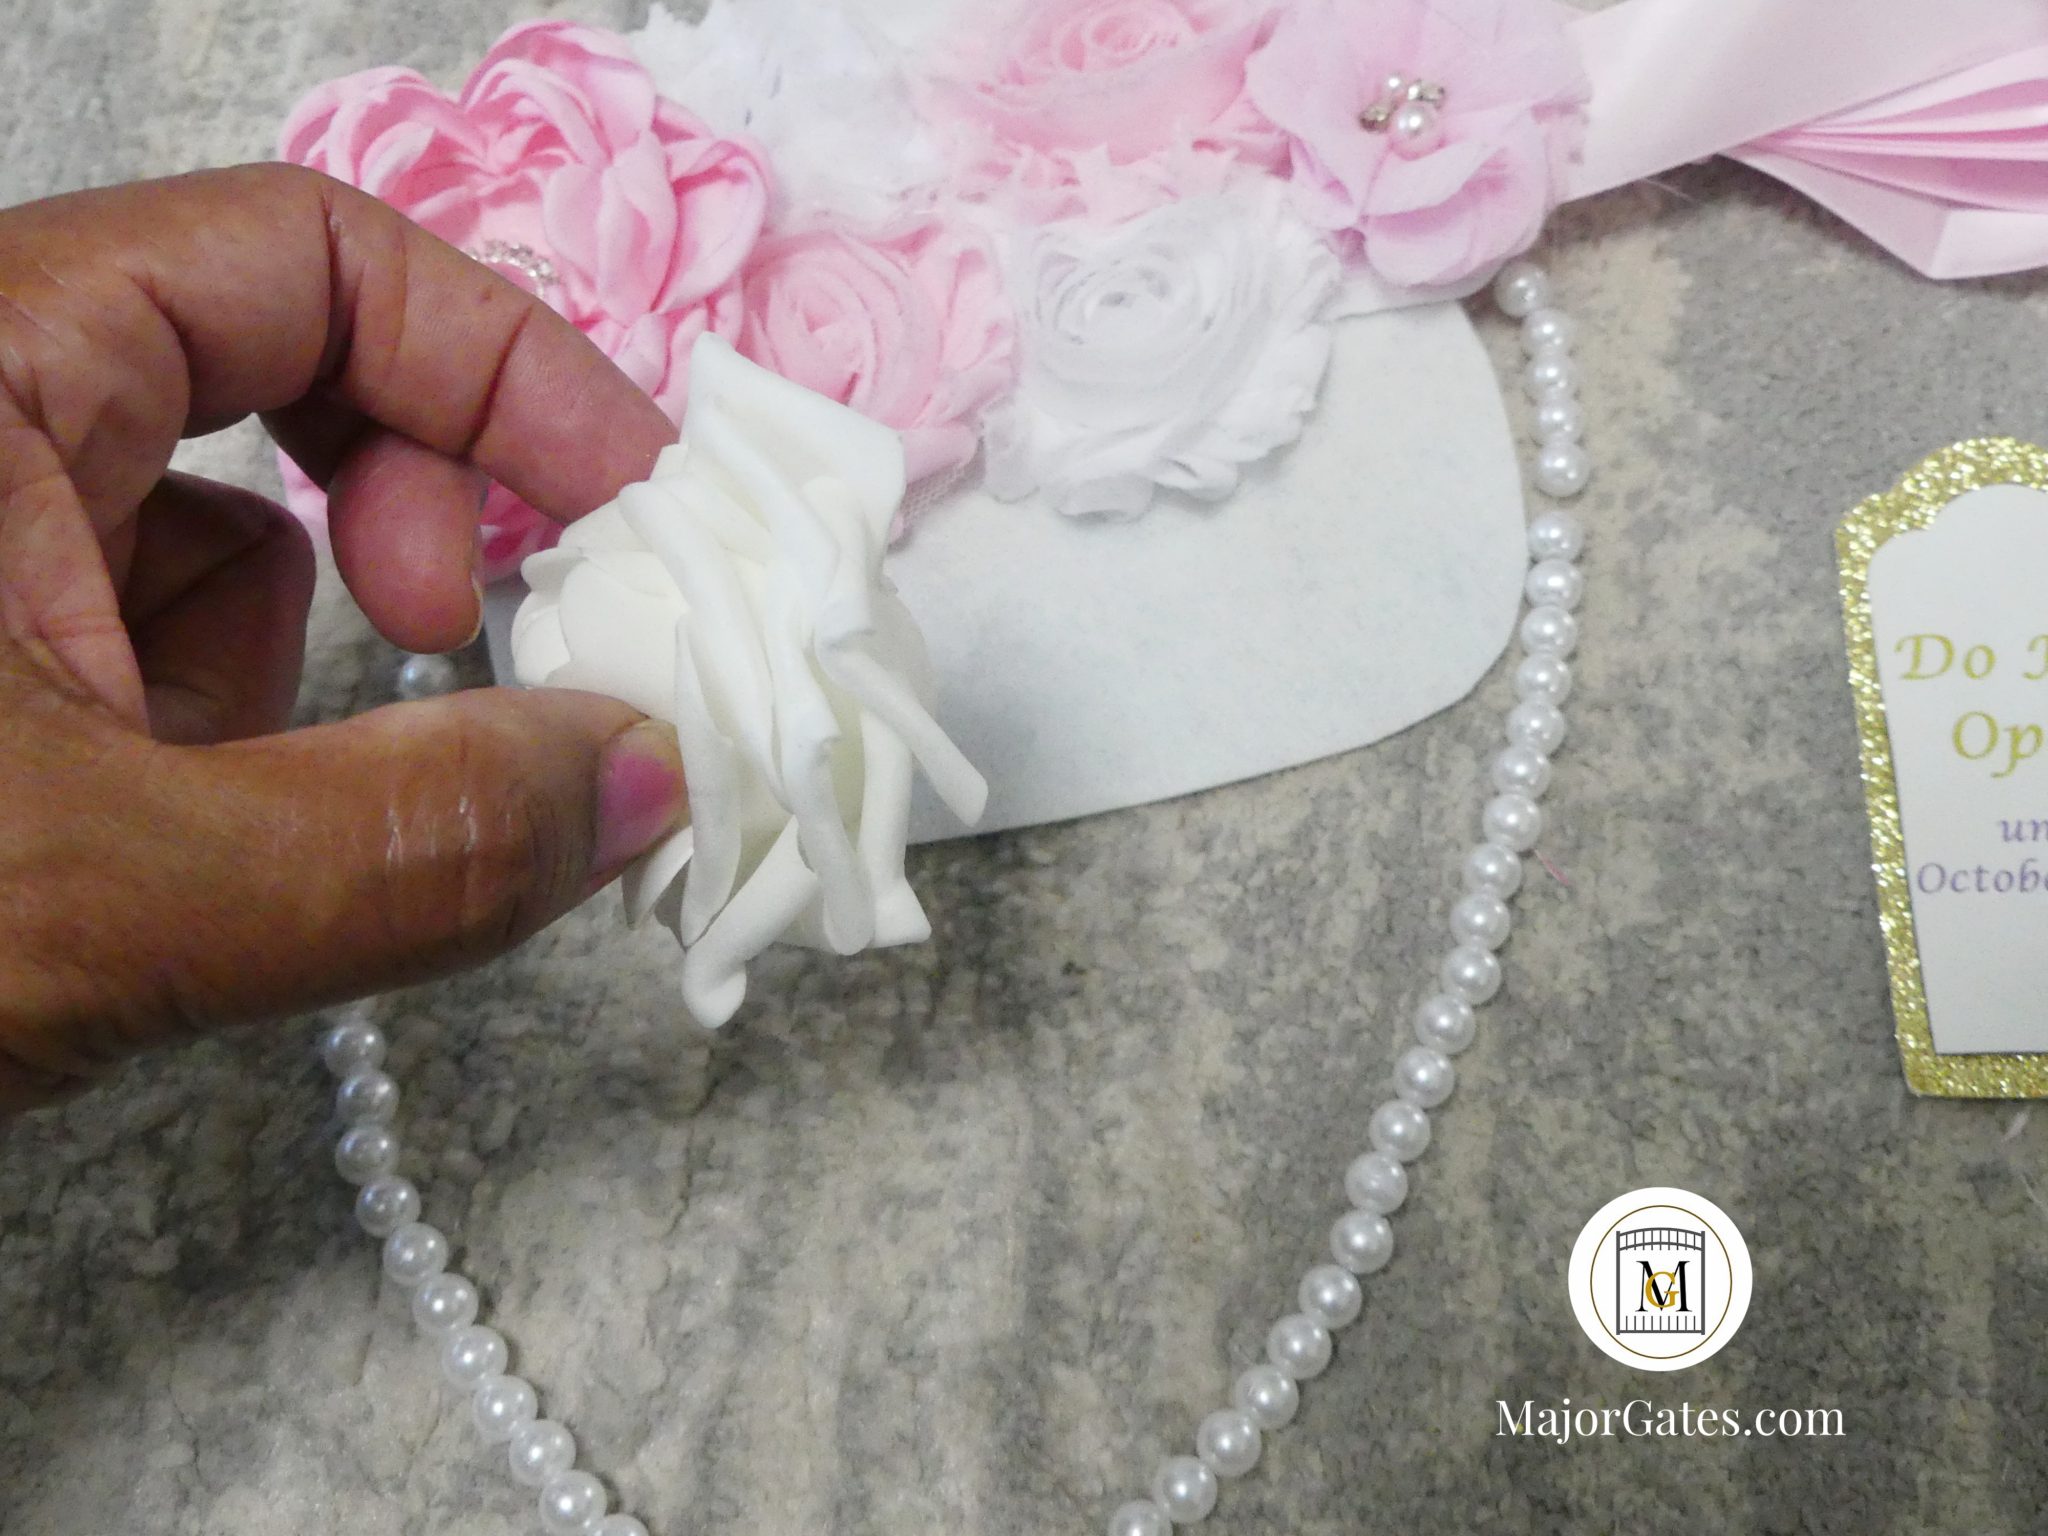
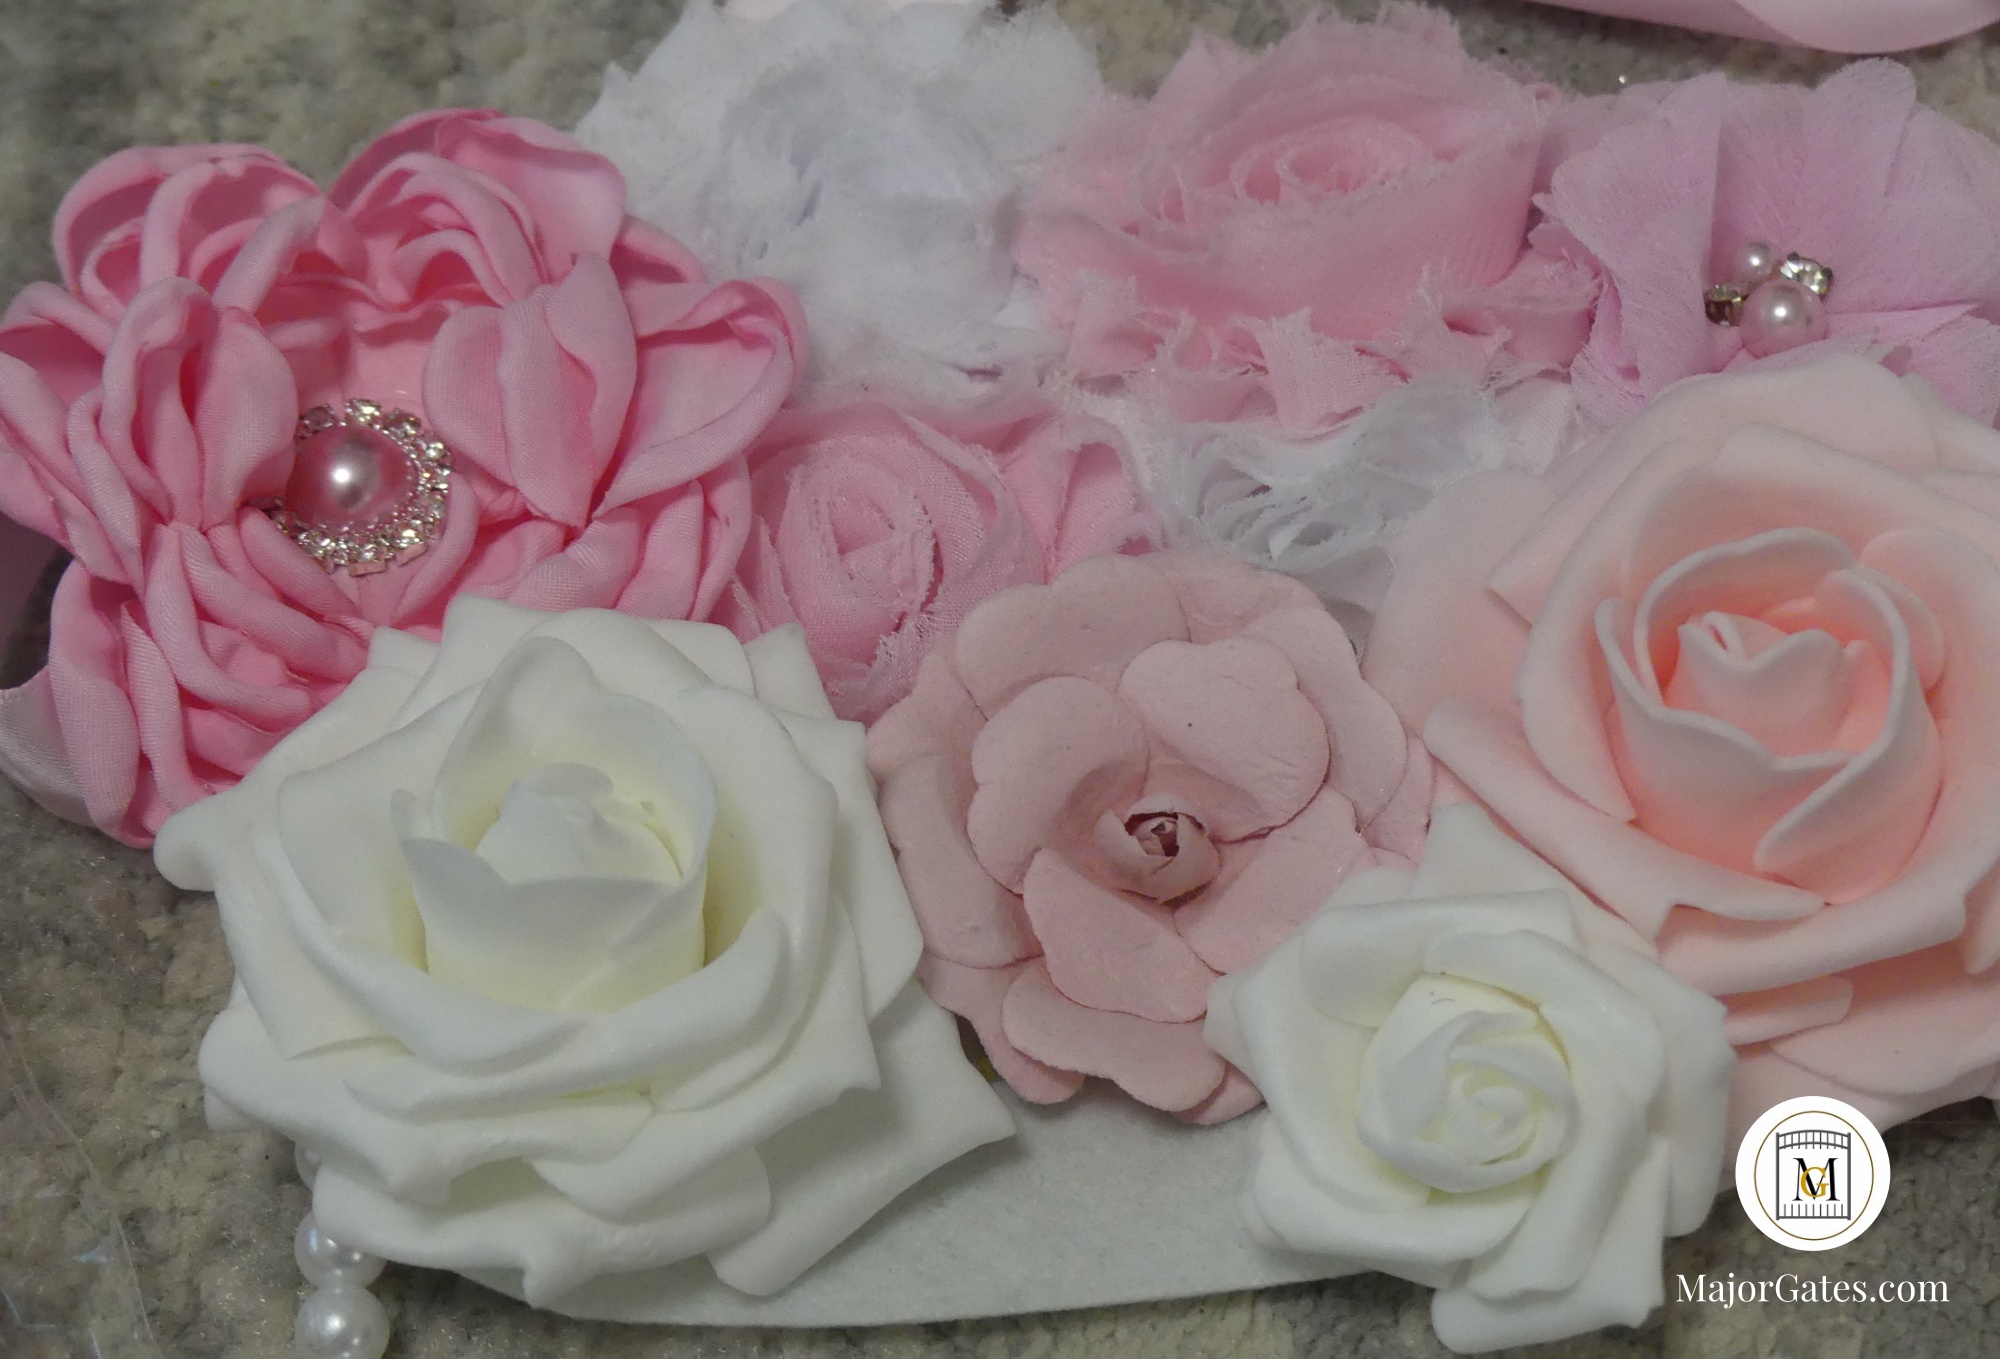
- In some of the flowers add some gem embellishments for that extra elegance.
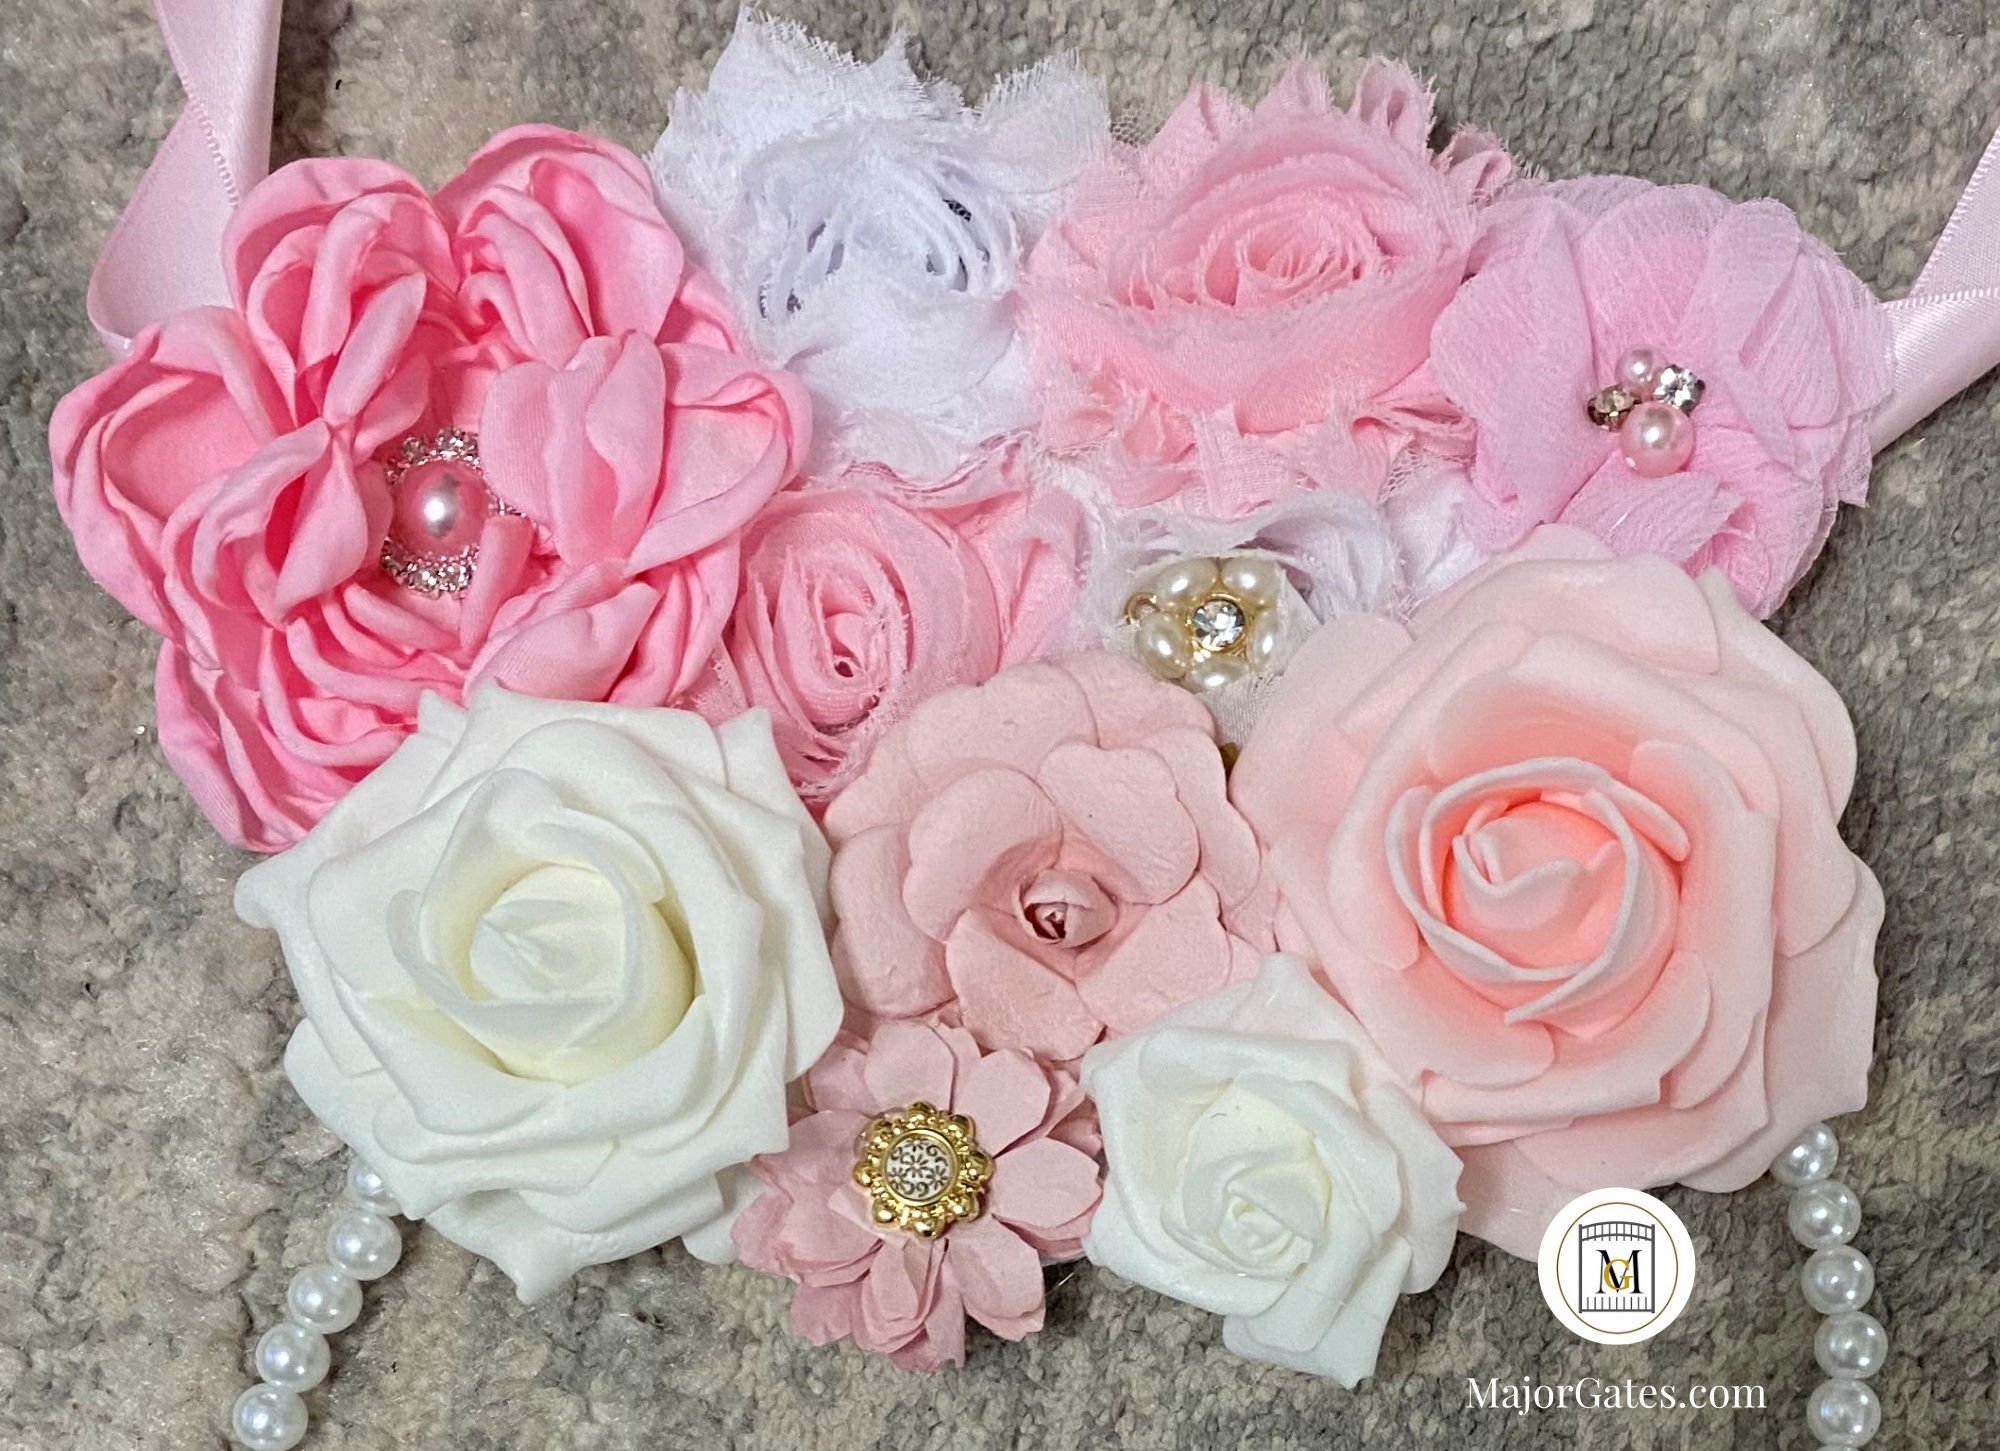
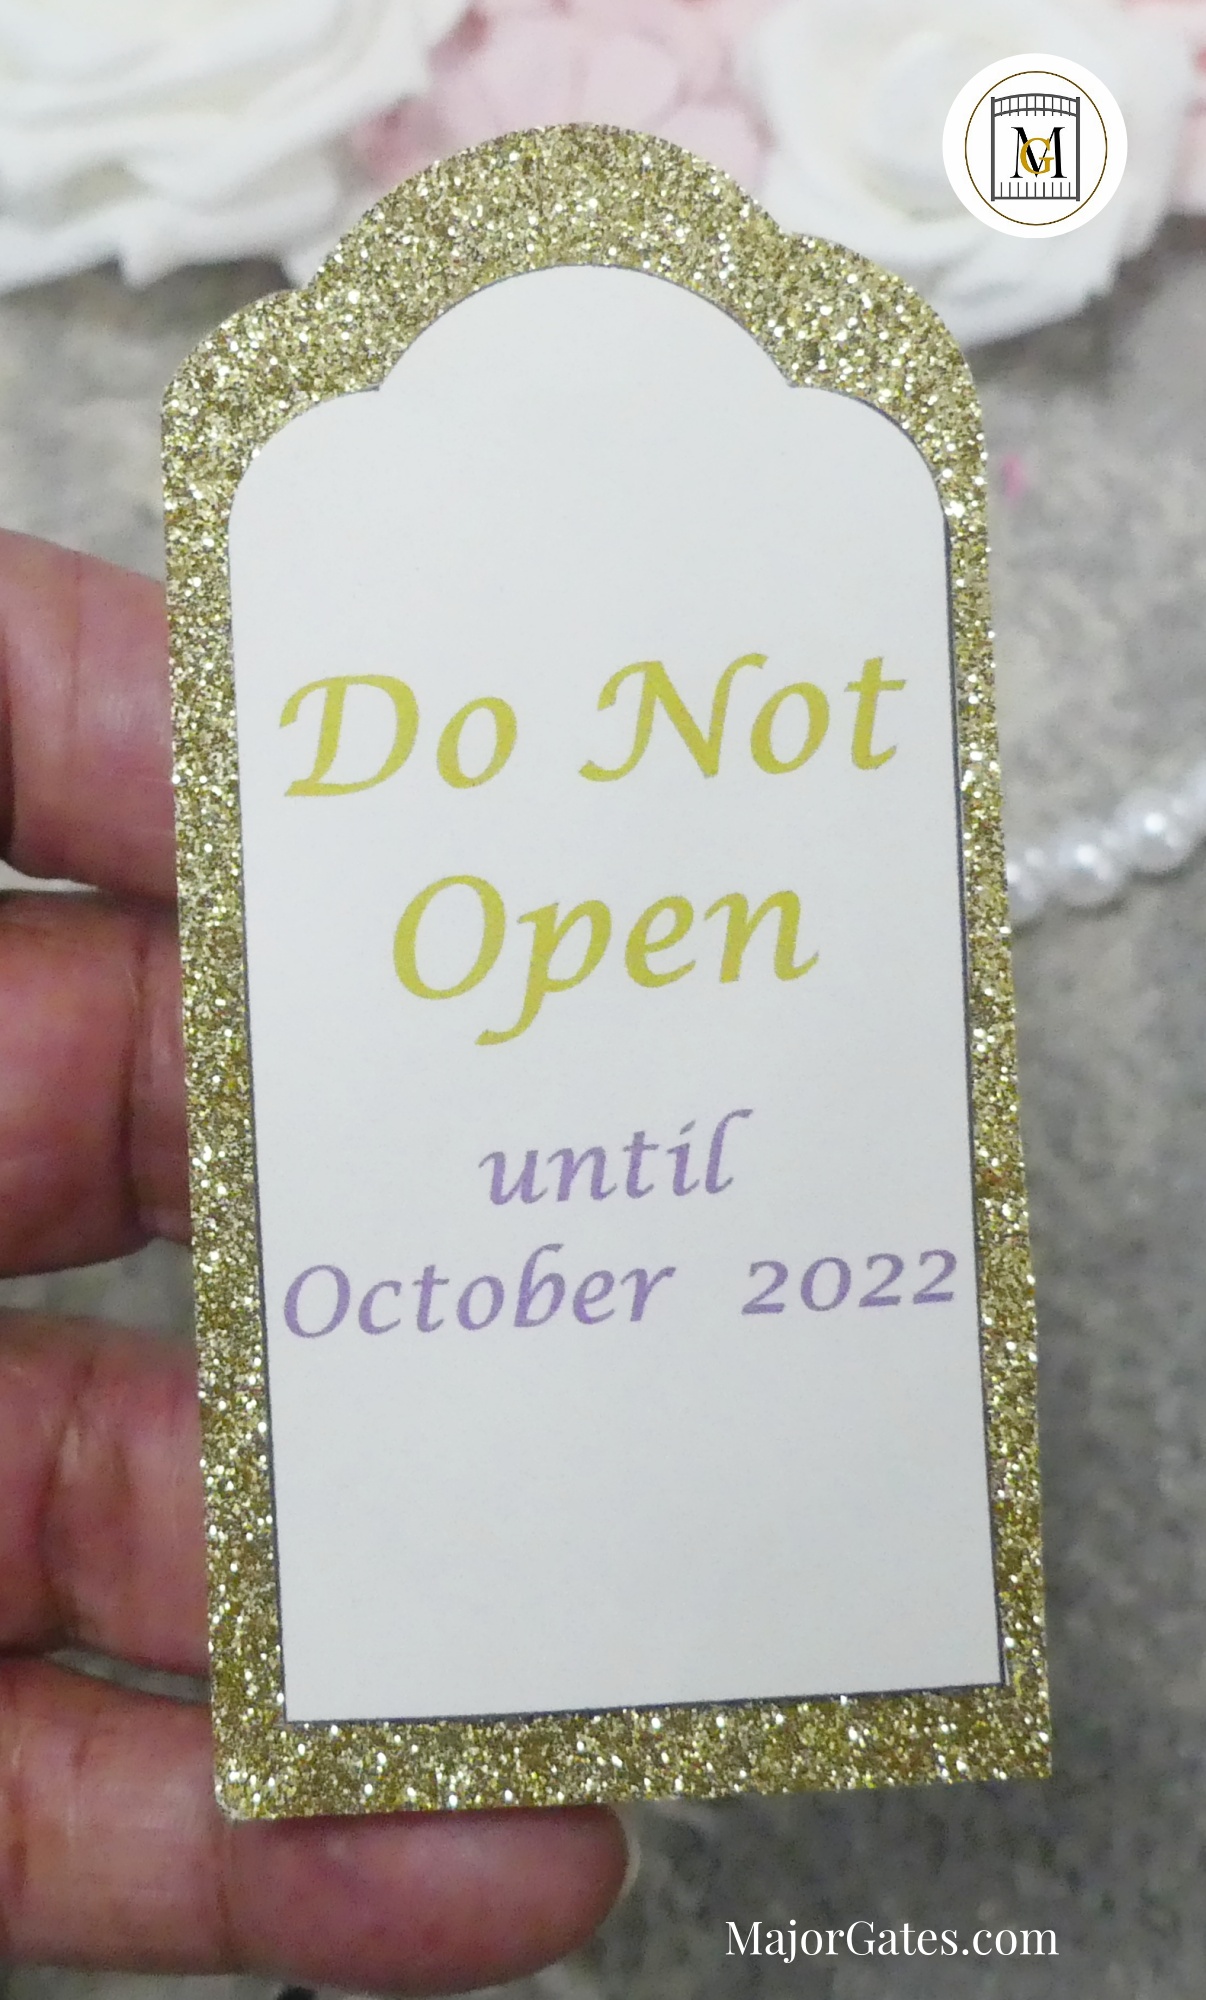
- Next, add on the “Do Not Open Until” tag. To create the tag, find a free template on the internet. and save it down to your computer. Then add the wording you like, print it, and then cut it out. Print out the image a little larger to make a template for the background. So just trace the larger template out on the back of glitter cardstock and cut it out. Then punch a single hole at the top and then tie to the bottom of the faux pearls with clear fishing line or thin ribbon.
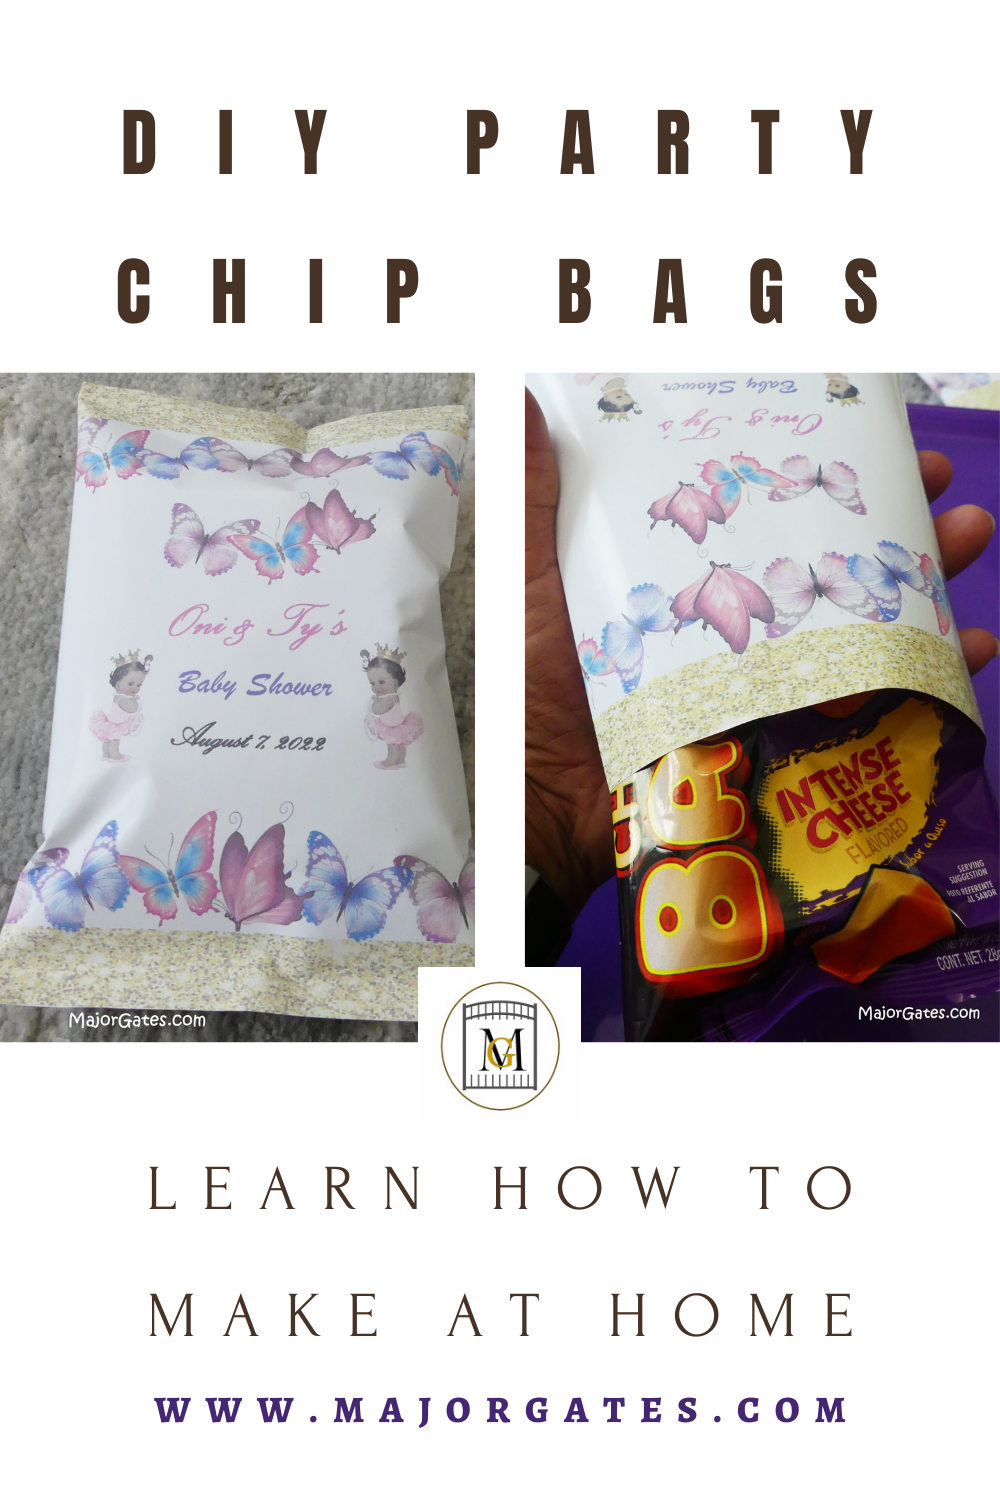
For another great baby shower idea, learn how to make Custom Chip Bags yourself here: https://majorgates.com/do-it-yourself/diy-party-chip-bags/
To see my available 2-Liter/Apothecary Label Downloads, click here: https://majorgates.com/product-category/potion-apothecary-labels/
