DIY Christmas Topiary
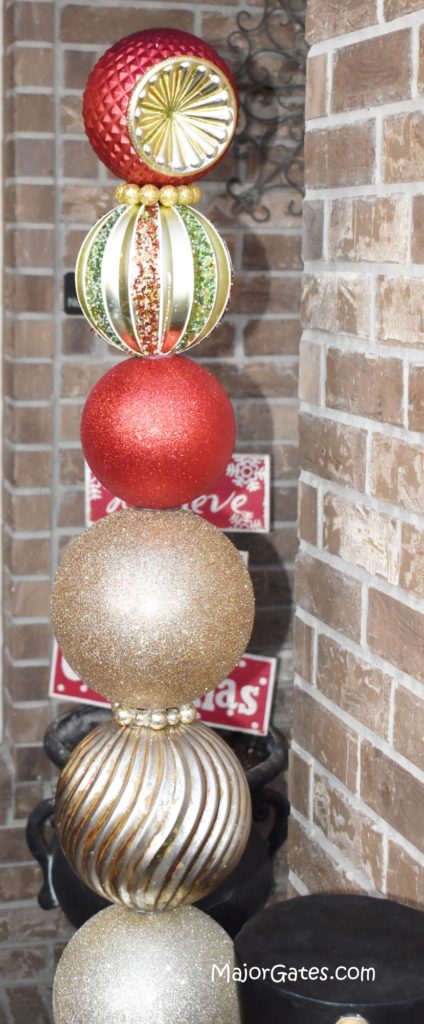
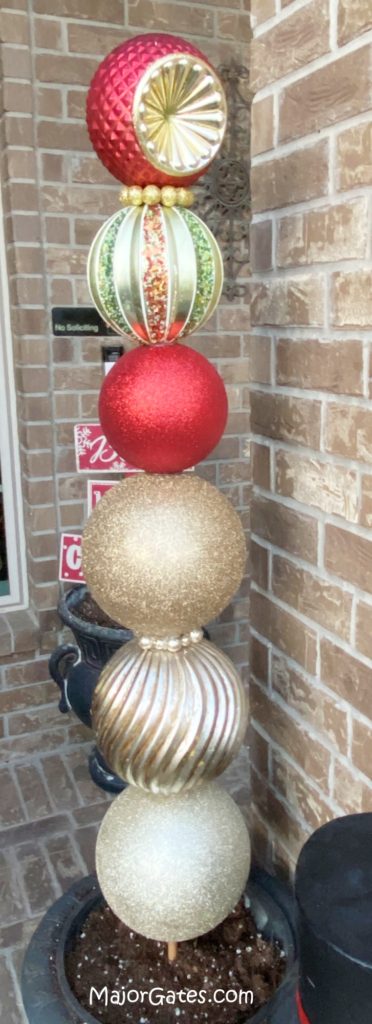
A DIY Christmas Topiary is pretty easy to make and they look great on a patio doorway. I got inspired to make these on my own after seeing how expensive they are pre-made. The only thing you have to remember is to buy your supplies early, like in late September or early October. Pretty much whenever you see Christmas supplies are available in stores or on-line. The reason is that the extra large ornaments sell out fast.
I like that for this craft, you can have minimal skills with crafting to achieve something beautiful. If you have ever wondered what to put in your planters after the flower plants have died for the season, then this is a great idea!
I have also changed the bulbs out several times to match my current decor or if I accidently break one. Even though they are plastic, they still can break if something heavy falls on them during storing. So if this does happen, just remove the ornaments and replace with a new ball.
Don’t Forget To Follow Me On Pinterest!
To see my available Party Label Bundle Downloads, click here: https://majorgates.com/product-category/party-bundles/
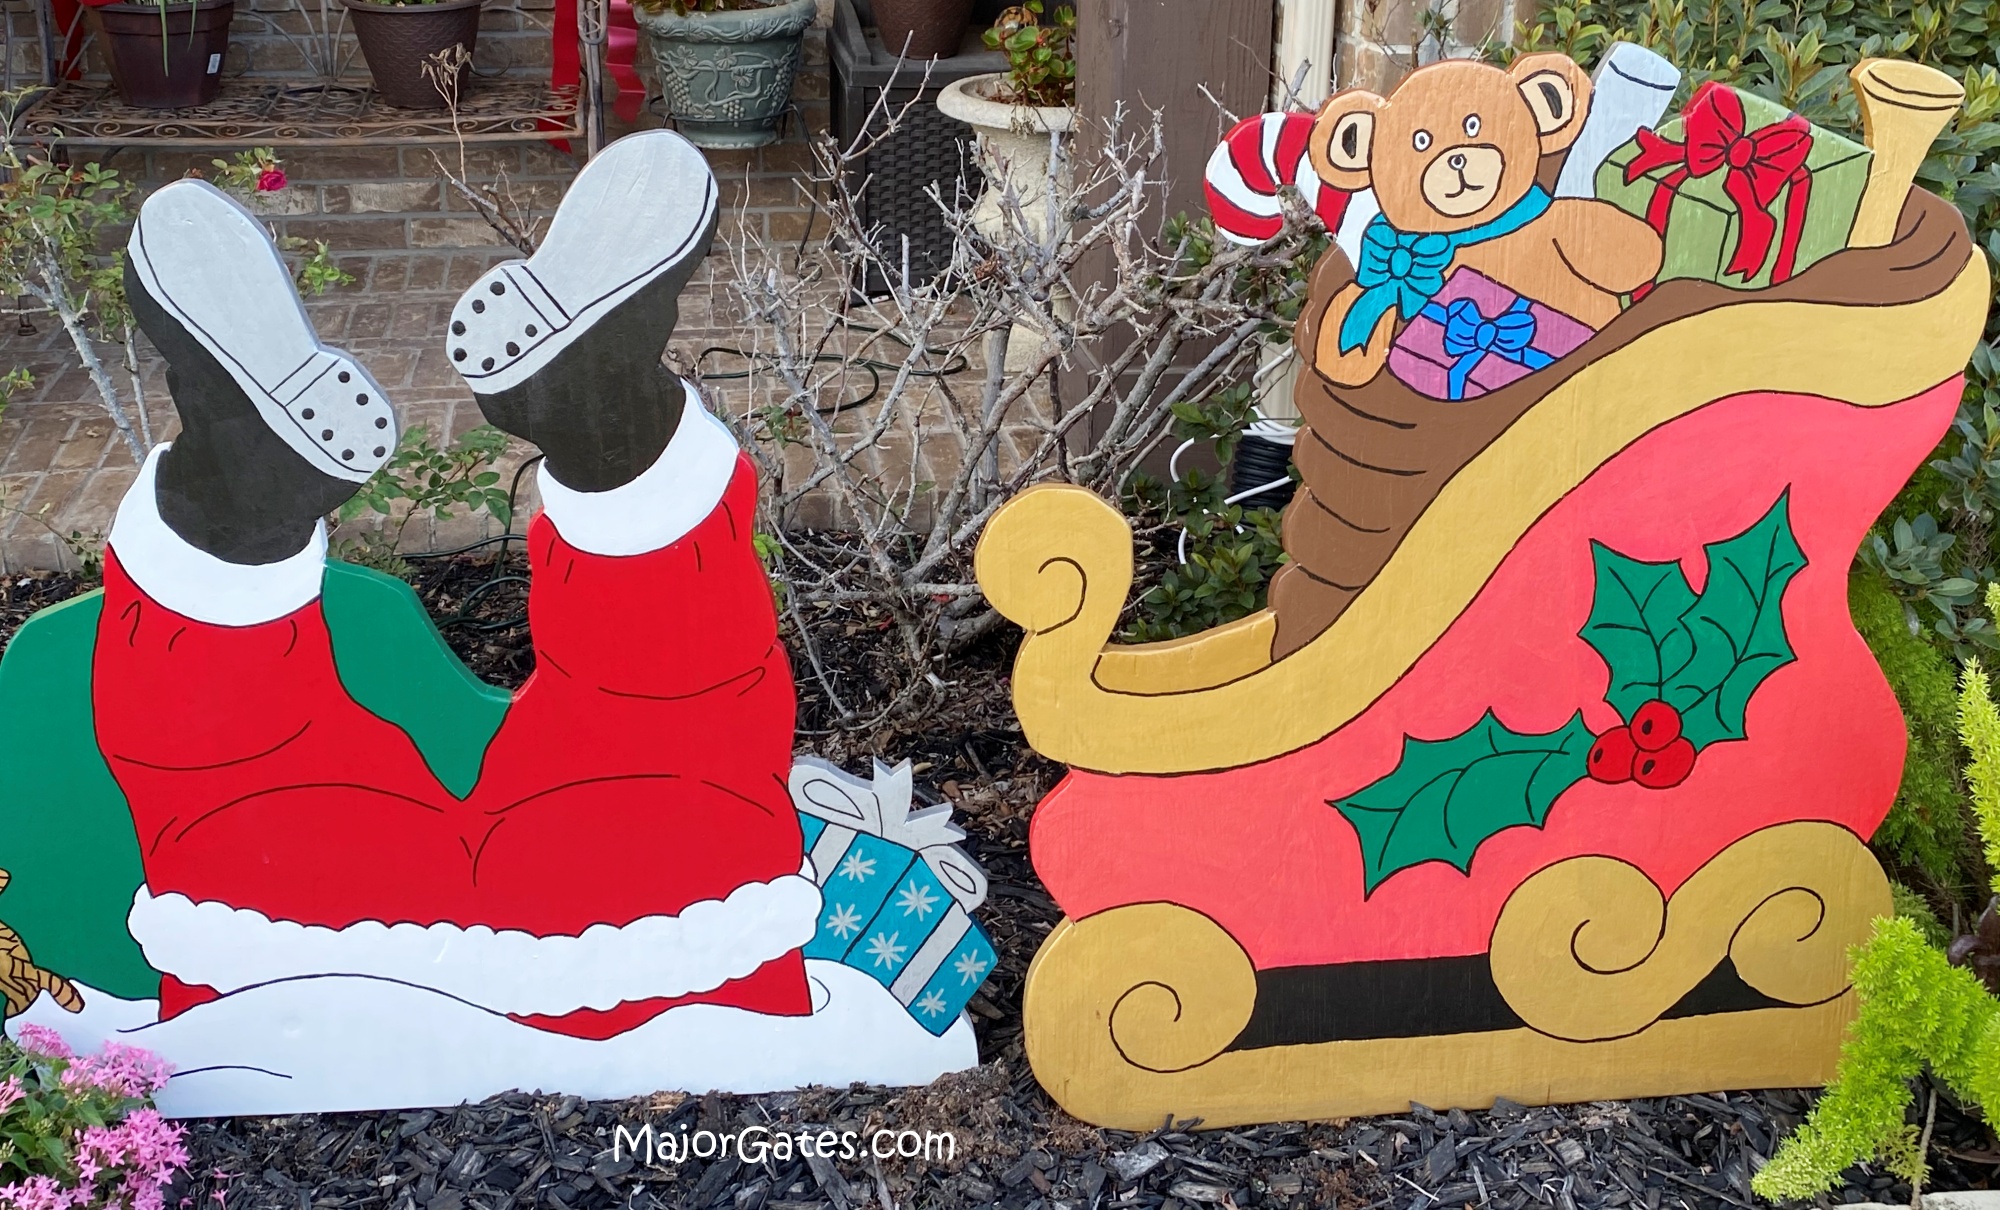
For another great outdoor idea, learn how to make outdoor Christmas signs here: https://majorgates.com/do-it-yourself/harry-potter-christmas-yard-signs/
To see my available 2-Liter Drink Label Downloads, click here: https://majorgates.com/product-category/potion-apothecary-labels/
Supplies
Supplies are for making two topiaries.
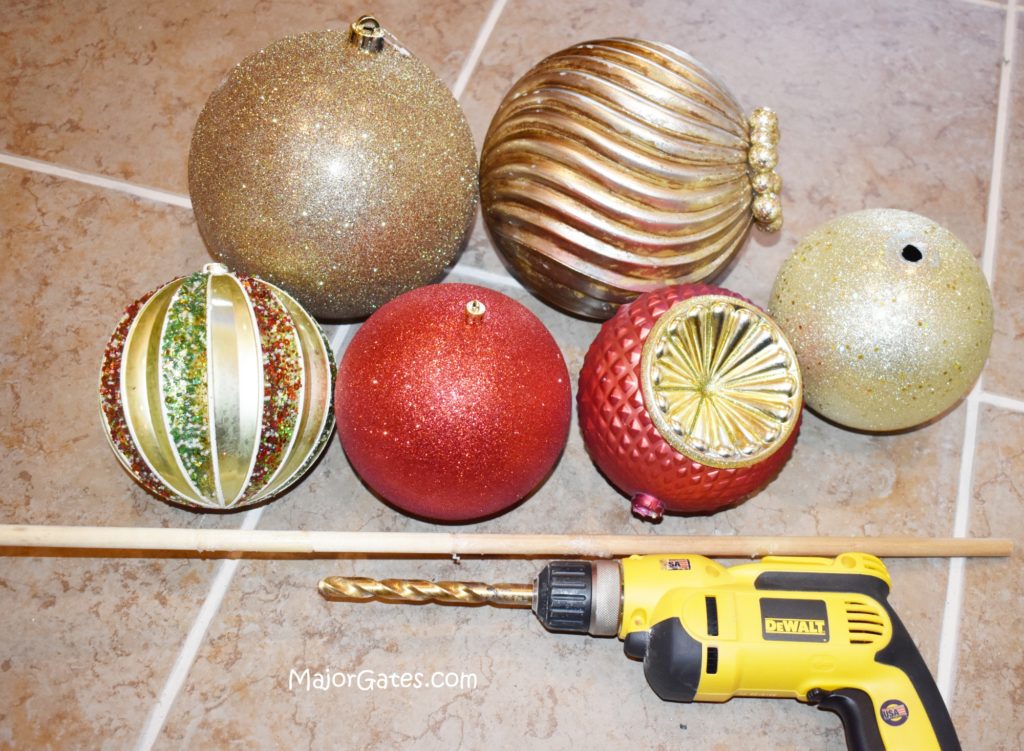
- Various large size plastic Christmas ornaments – You need at least three 8 inch shatterproof extra large ornaments and three 6 inch shatterproof large ornaments in gold, red, silver, green, etc. So you can add more if you would like the topiary to be taller.
- Two – 4 ft long, 1/2 inch round dowel rods
- Multi-temperature glue gun and glue sticks
- Beads, balls or napkin rings
- Power drill
- 1/2 inch drill bit
- Long nose pliers
- 2 rectangle floral foams
- 2 planter urns or planter boxes
Directions For DIY Christmas Topiary
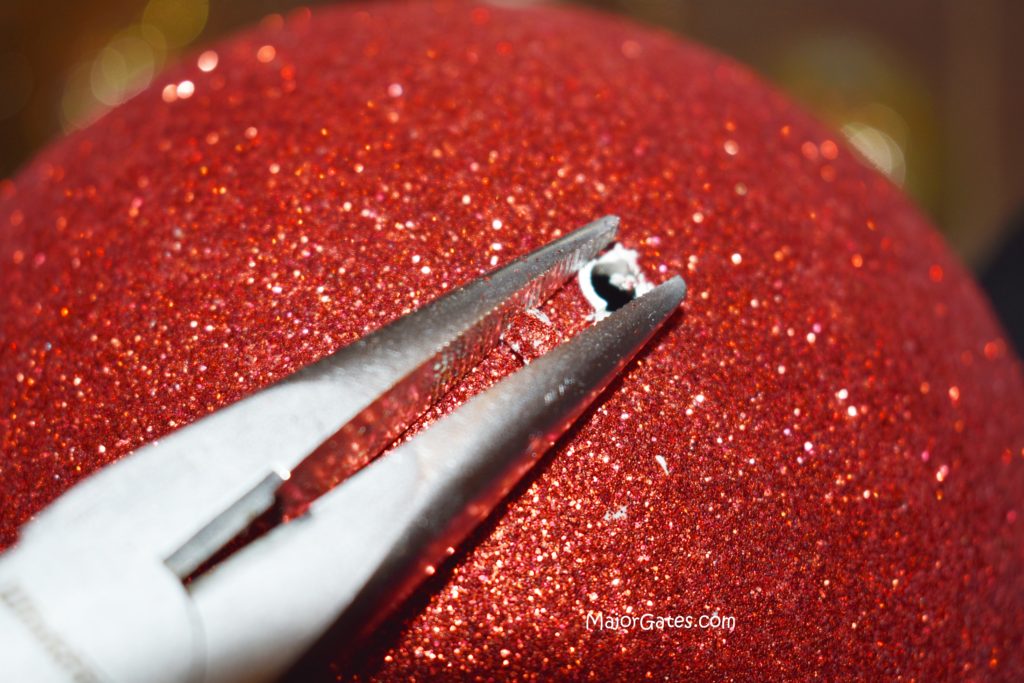
- Start by removing the tops of the ornaments with the long nose pliers. So gently bend back and forth as you remove the top.
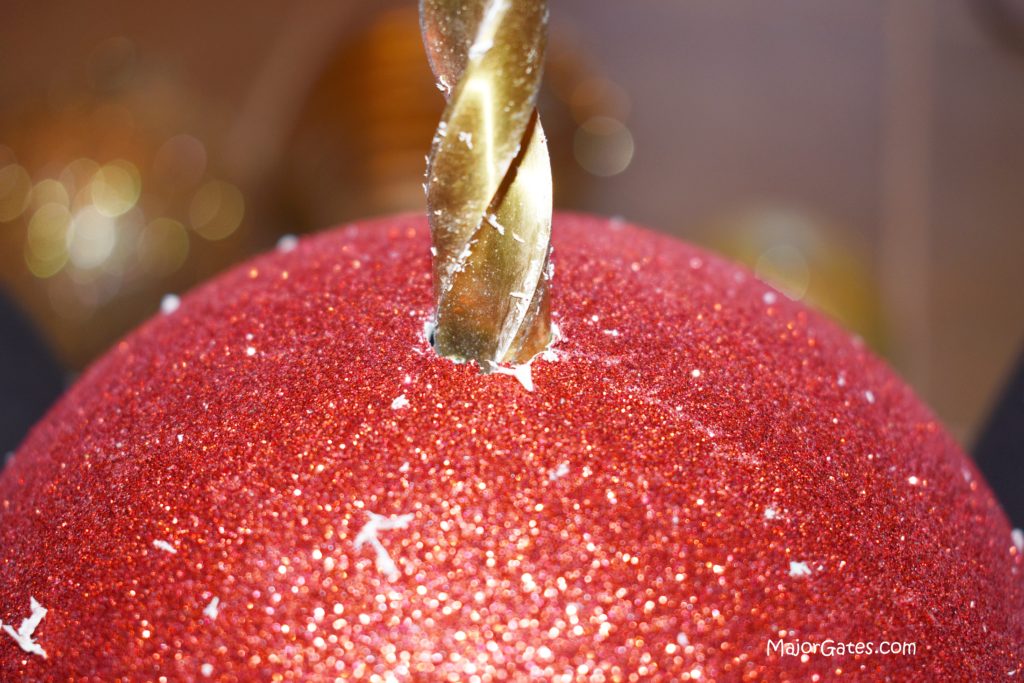
- Next, drill a 1/2 inch hole into the opposite side of the ornament. So be careful not the shatter the ornament by drilling too fast. Also, hold the ball firmly while you drill the hole.
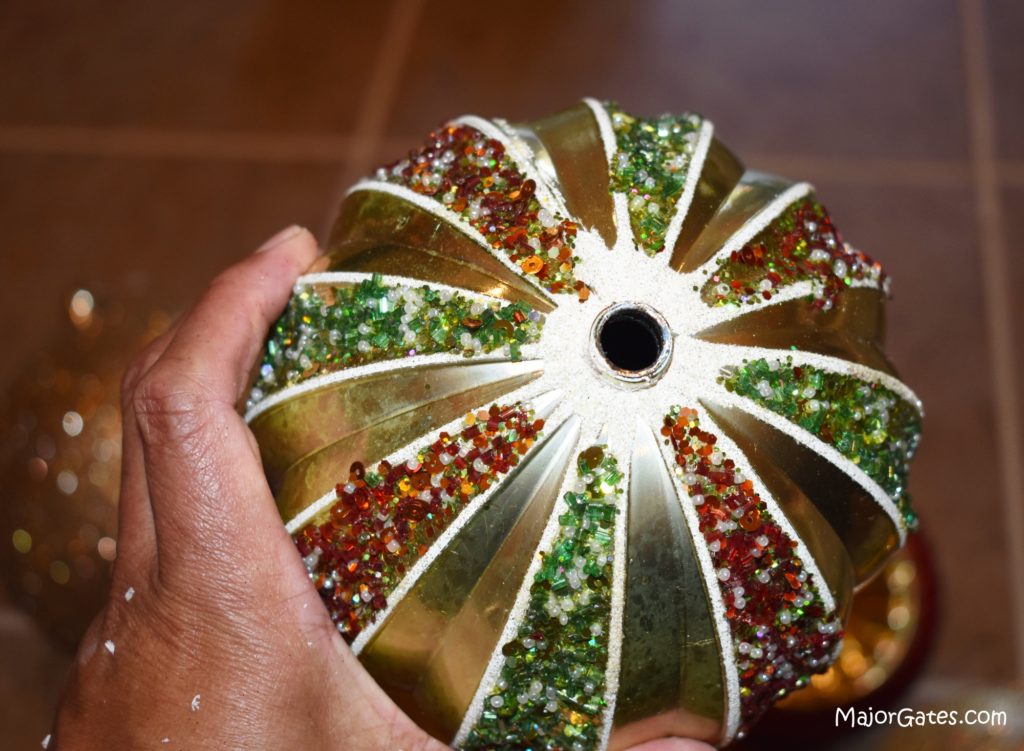
- Do a dry fit with the dowel rod to make sure it fits throw both sides of the Christmas ornament.
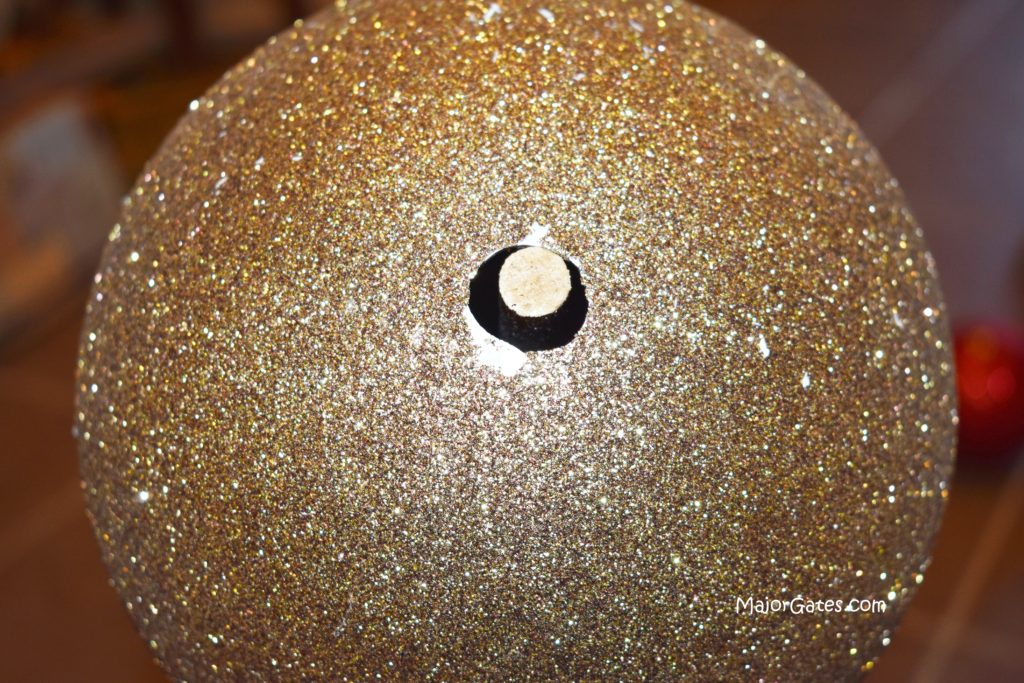
- After all the holes are drilled, then it is time to assemble. Hot glue the largest ornament about 14 inches from the bottom.
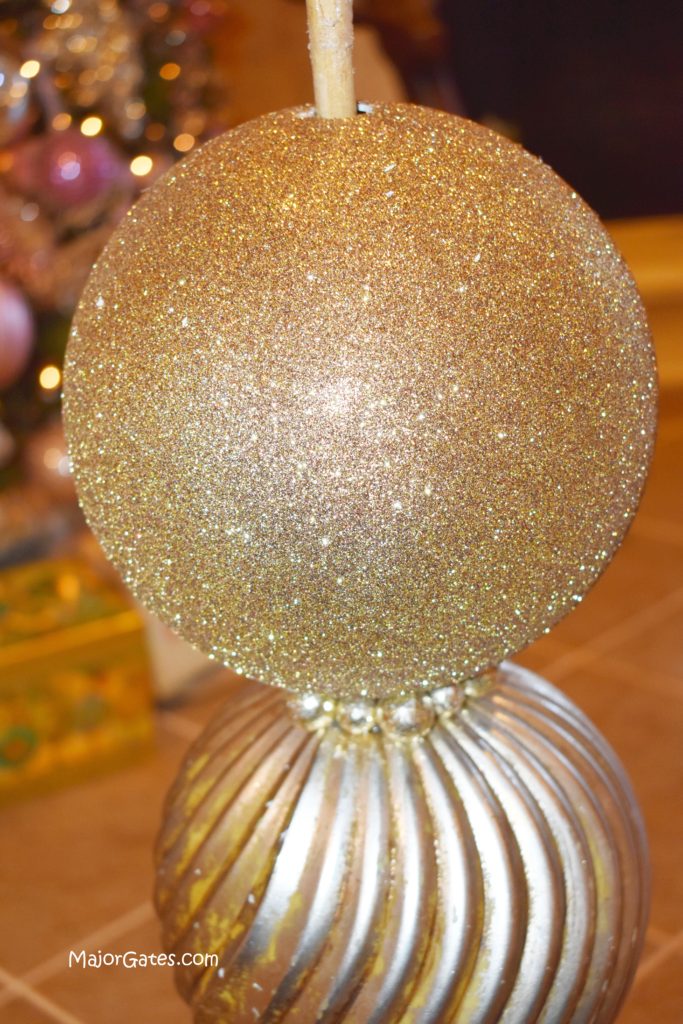
- Then add a napkin ring for weird spaces in between bulbs or you can glue the filler balls around any spaces once you glue all the bulbs.
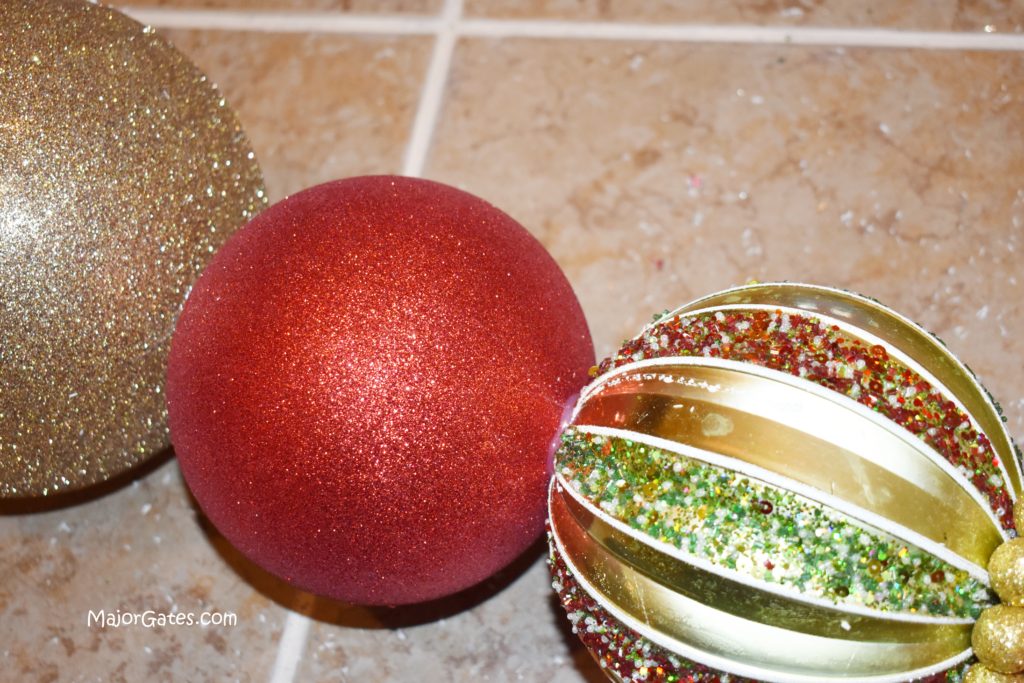
- Last, add the floral foam at the end so it will easily fit into a pot and stay straight without falling over.
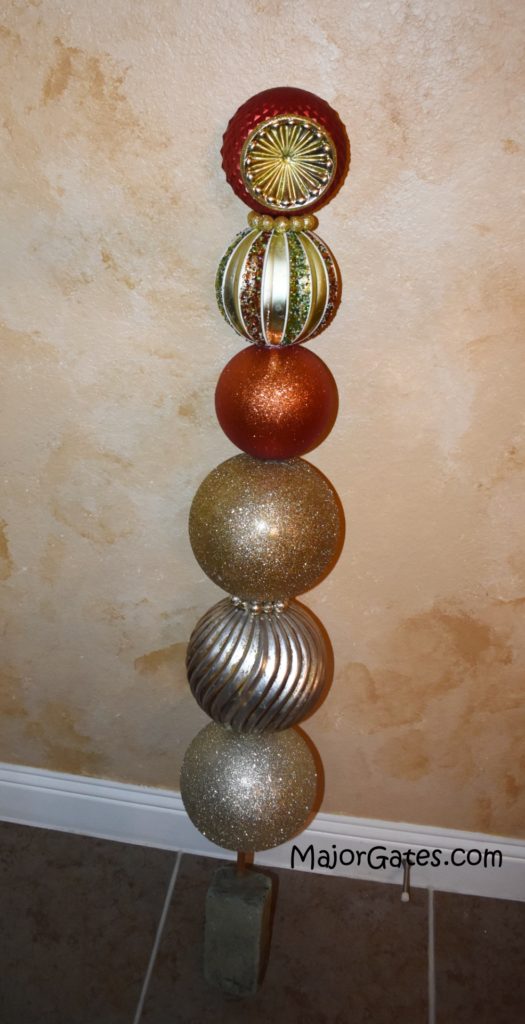
- Feel free to decorate around the planter with a wreath, garland or additional ornaments.
For another great craft idea, try making Cone Christmas Trees here: https://majorgates.com/do-it-yourself/diy-cone-christmas-trees/

To see my available Jeopardy/Trivia Party Downloads, click here: https://majorgates.com/product-category/jeopardy-trivia/
