DIY Cone Christmas Trees
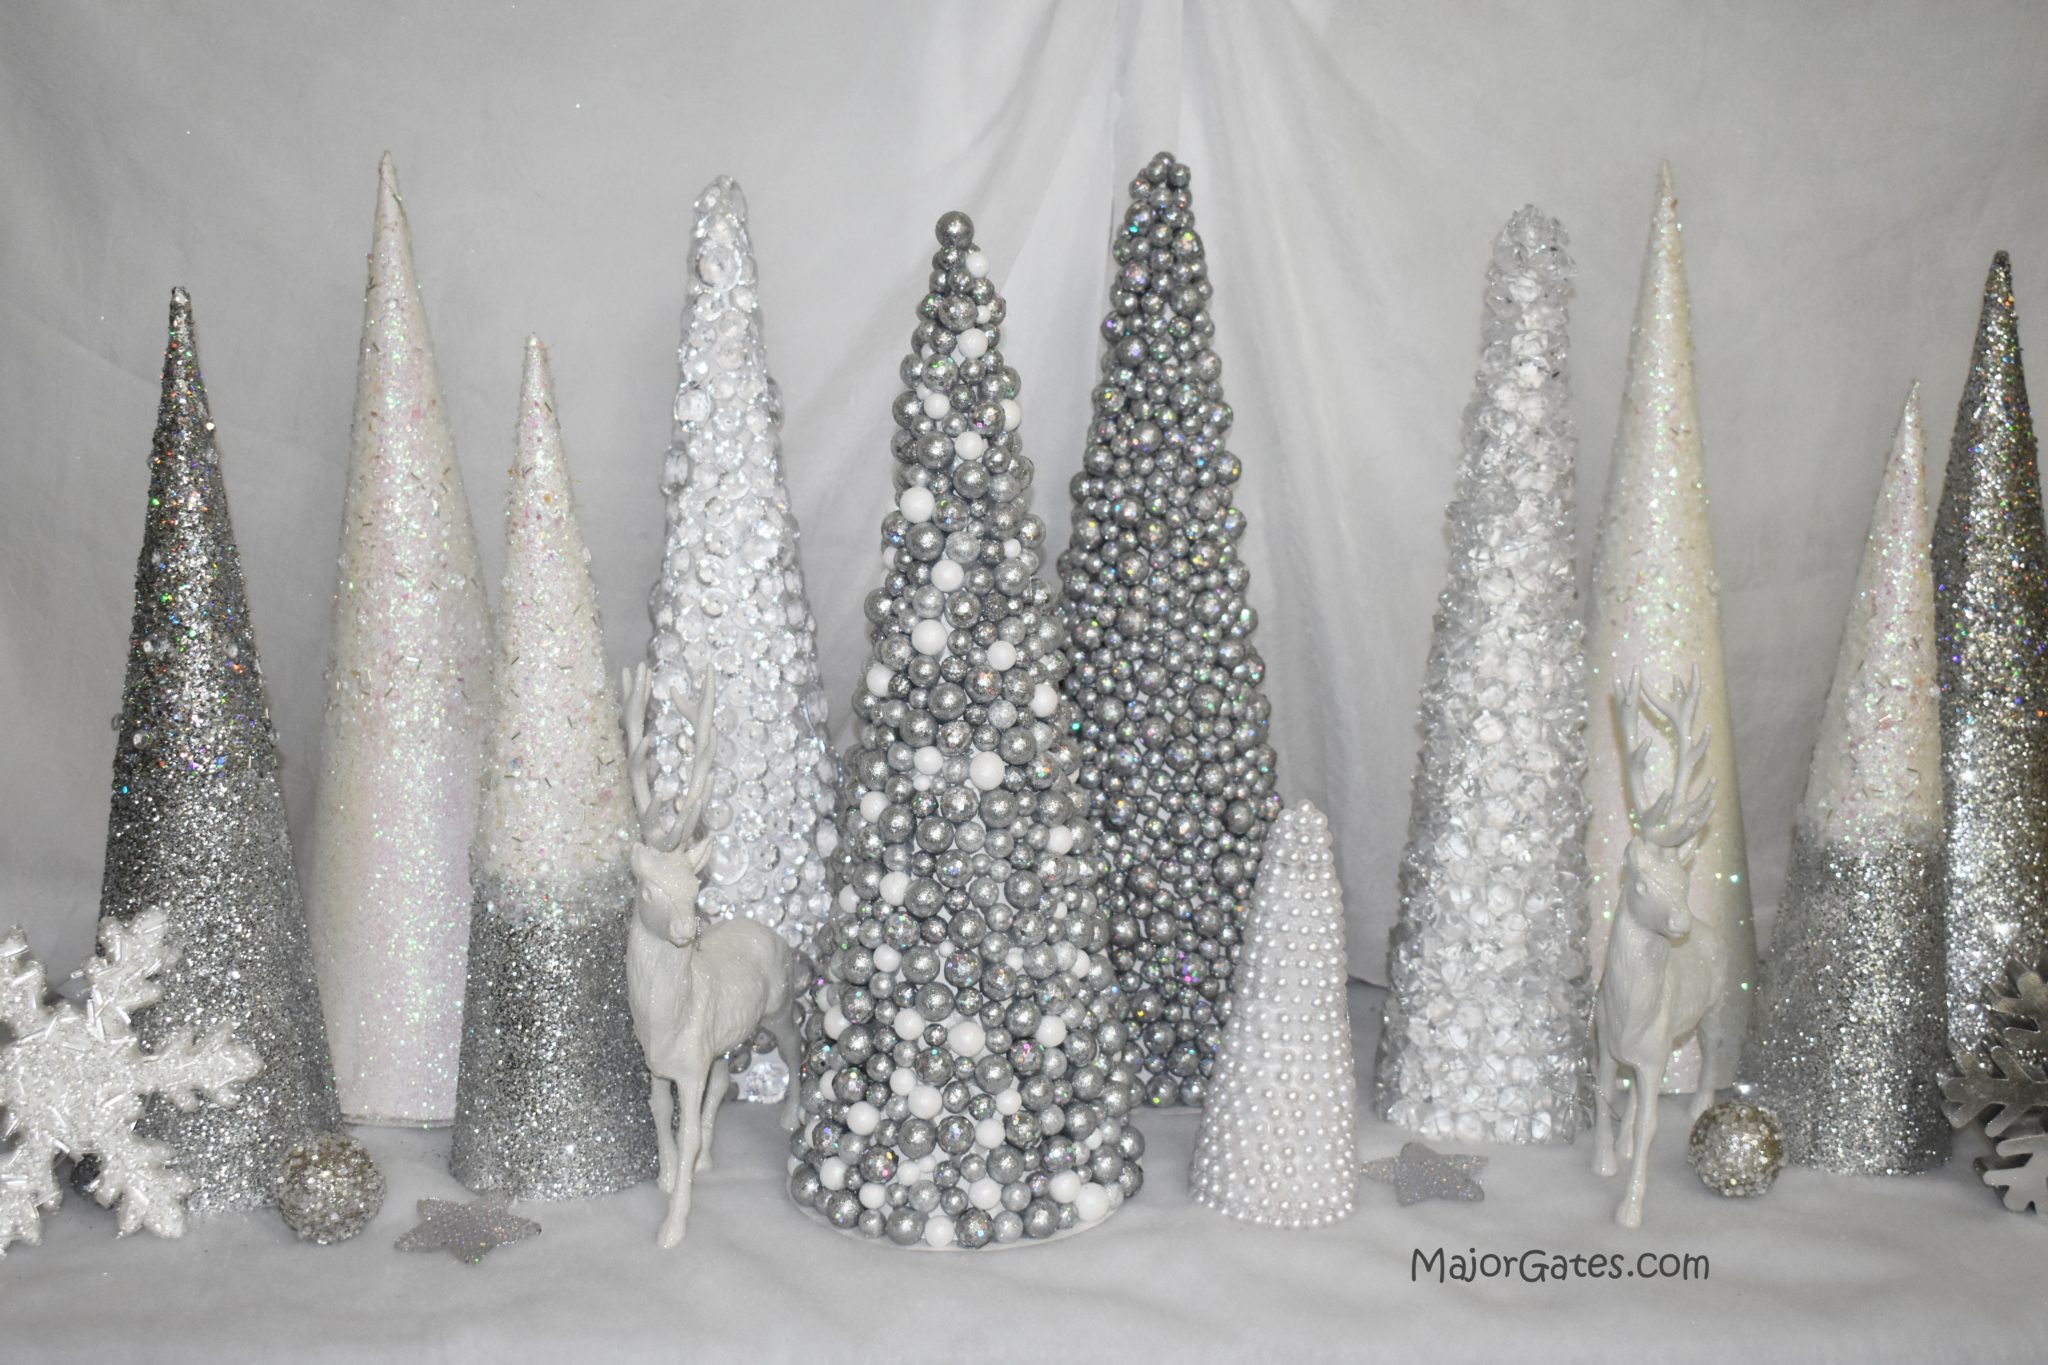
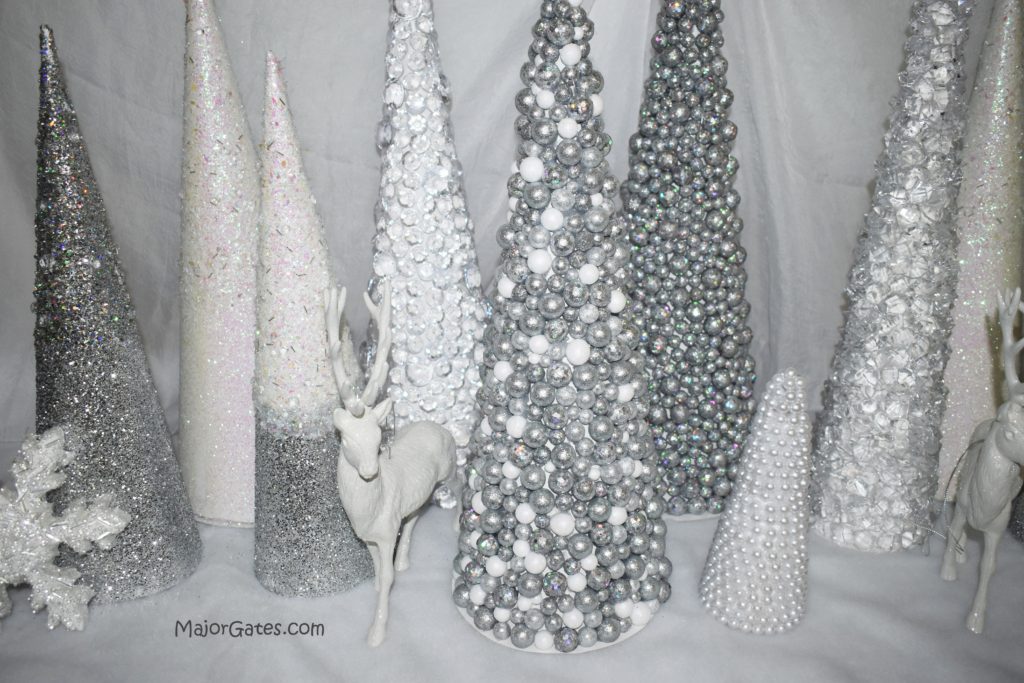
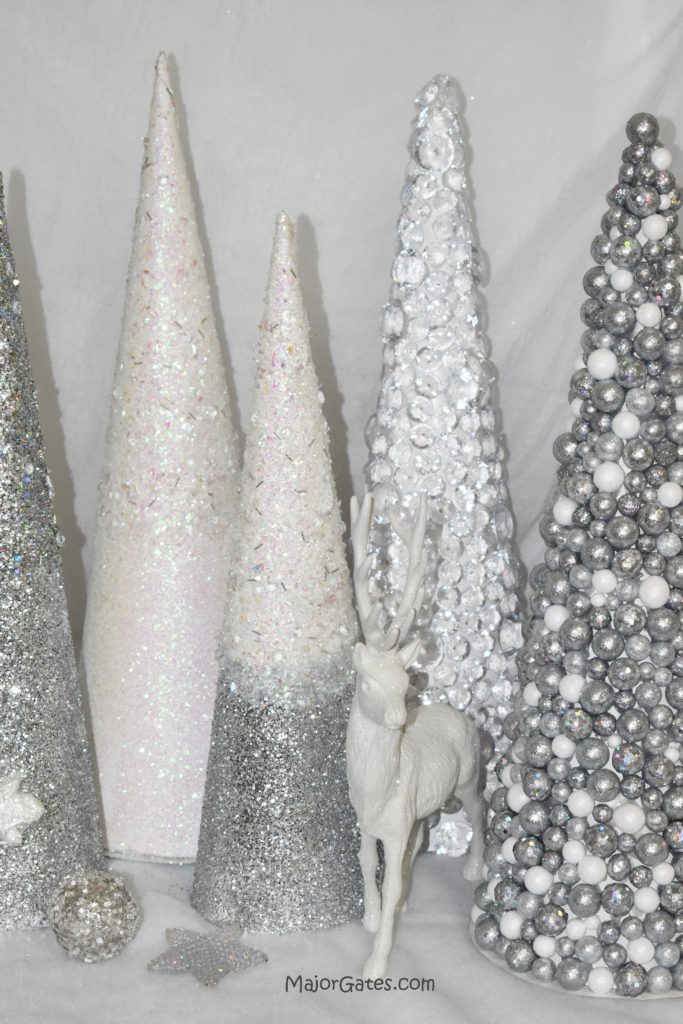
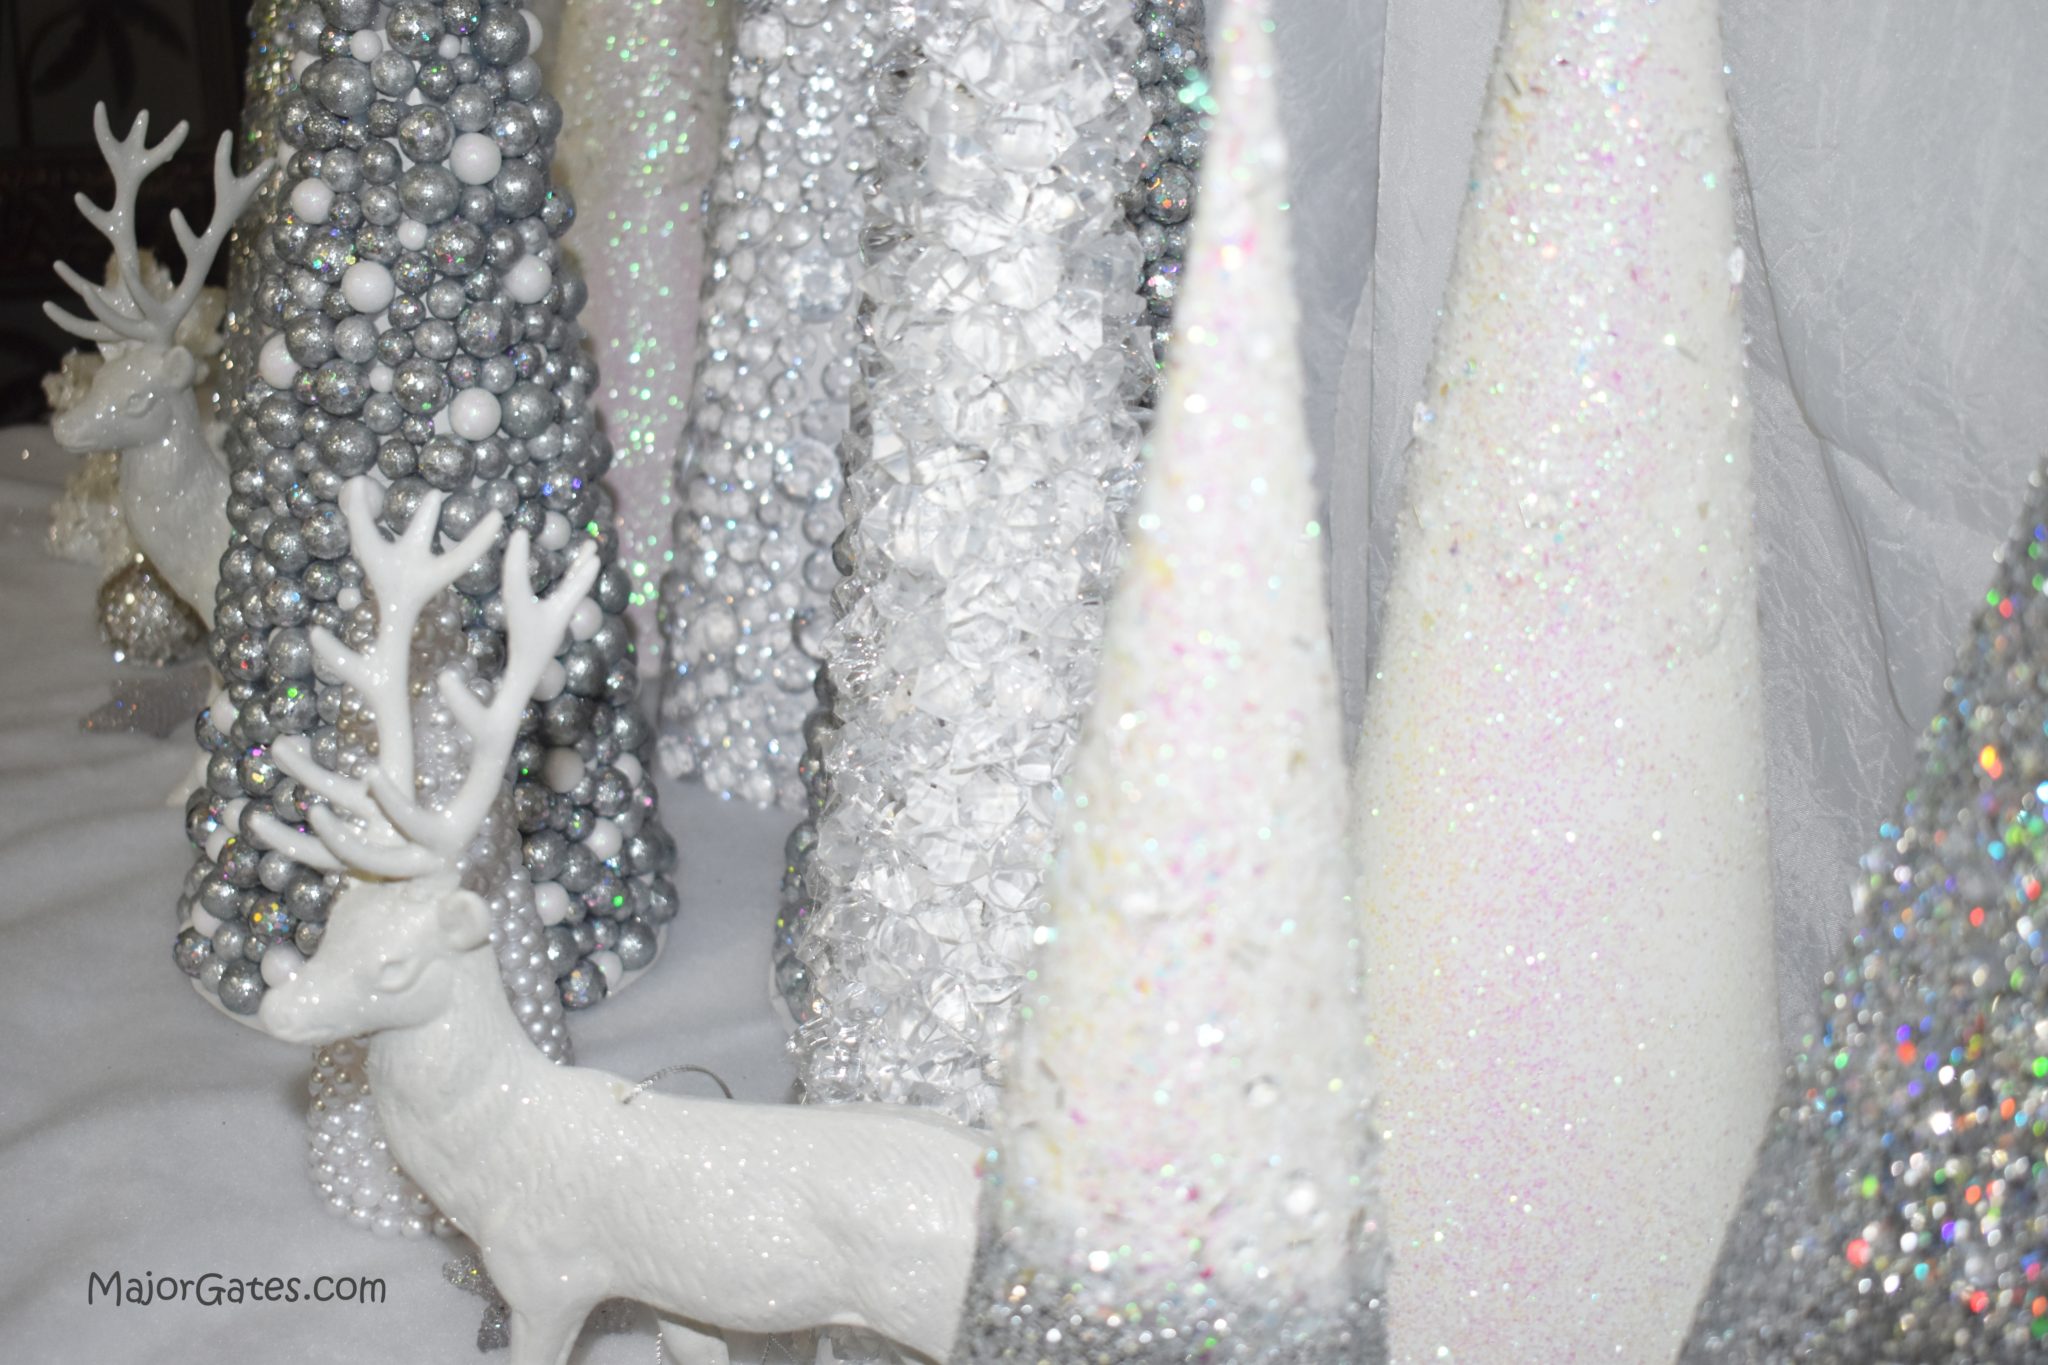
You can make your own DIY Cone Christmas Trees. So you can make these trees any height that you like. I made these cone Christmas trees in various heights like 8, 12, 16, 18 and 21 inches. They were pretty easy to make but just took time to glue on the various beads or crystals. So if you are short on time, the glitter trees are fast and just need hours to dry. But you can make quite a few glitter trees very quickly.
Making these beautiful trees are perfect for centerpiece or focal point tables, accent tables, fireplace mantels, weddings, holiday parties or winter birthday parties. I love how they create a dramatic impact while being easy to make. Even though they start from poster board, they end up being pretty sturdy, that you can use for multiple occasions or year after year. You could even give these as gifts for someone.
Don’t Forget To Follow Me On Pinterest!
To see my available Party Label Bundle Downloads, click here: https://majorgates.com/product-category/party-bundles/
For another great Christmas Idea, try making Giant Paper Snow Flakes here: https://majorgates.com/do-it-yourself/giant-glitter-paper-snowflakes/

Supplies
- Poster board (22in x 28in)
- Scissors
- Glue sticks
- Multi-temperature mini glue gun and glue sticks
- Floral foam filler
- Acrylic faux ice
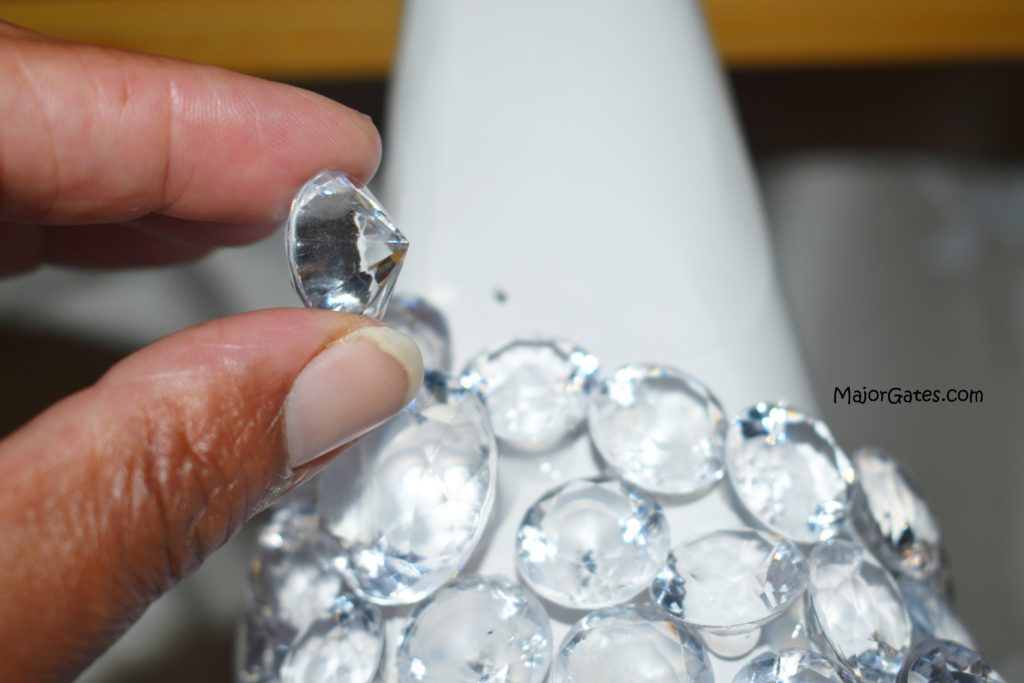
- Acrylic gems
- Other decorations
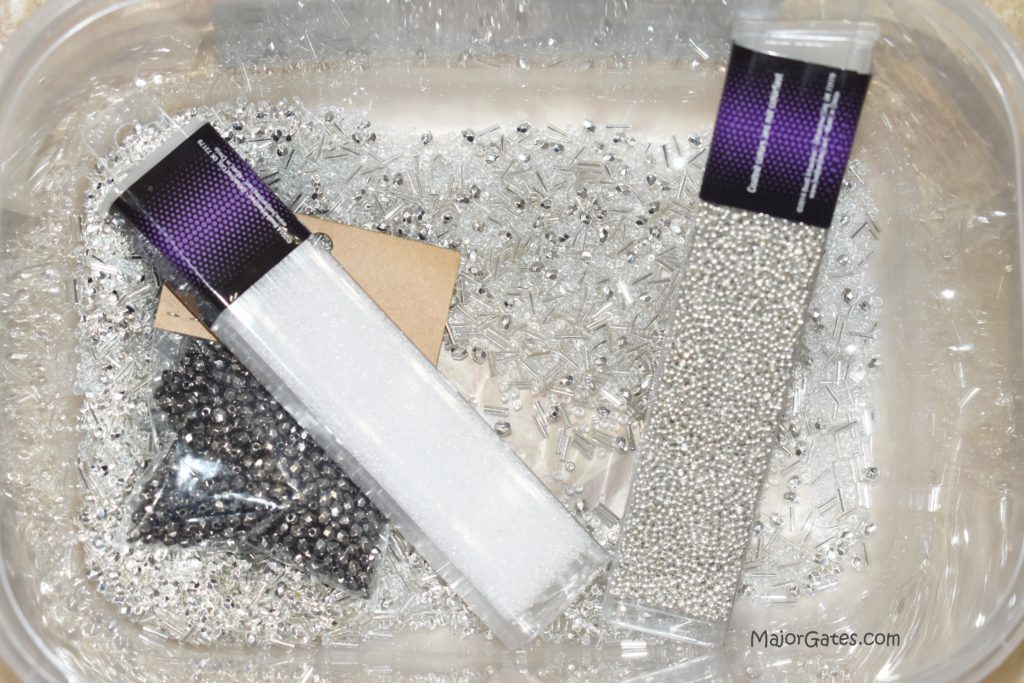
- Glitter mix – you can pre-buy or make your own. I will explain how to make your own mix, later in the post. Here are some options to make a good glitter mix, including glass seed beads.
- Measuring tape or long ruler
- Screwdriver
- String
- Sharpie
- Drop cloth
- Paper plate
- Paint brush
- Mod Podge (regular or gloss is fine)
- Goo Gone (to get the glitter off your hands)
To see my available 2-Liter and Apothecary Party Label Bundles, click here: https://majorgates.com/product-category/potion-apothecary-labels/
Instructions For DIY Cone Christmas Trees
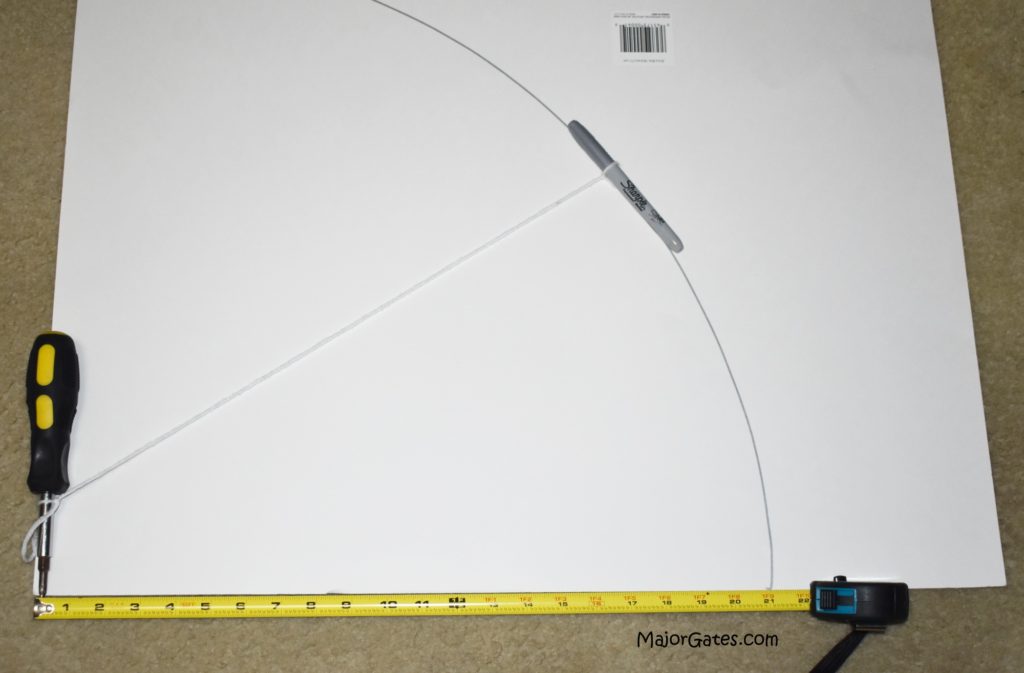
- Start by making your cone Christmas trees by making the arch for the cones. Measure out your string to the desired height and tie one end to a screwdriver and the other end to a Sharpie.
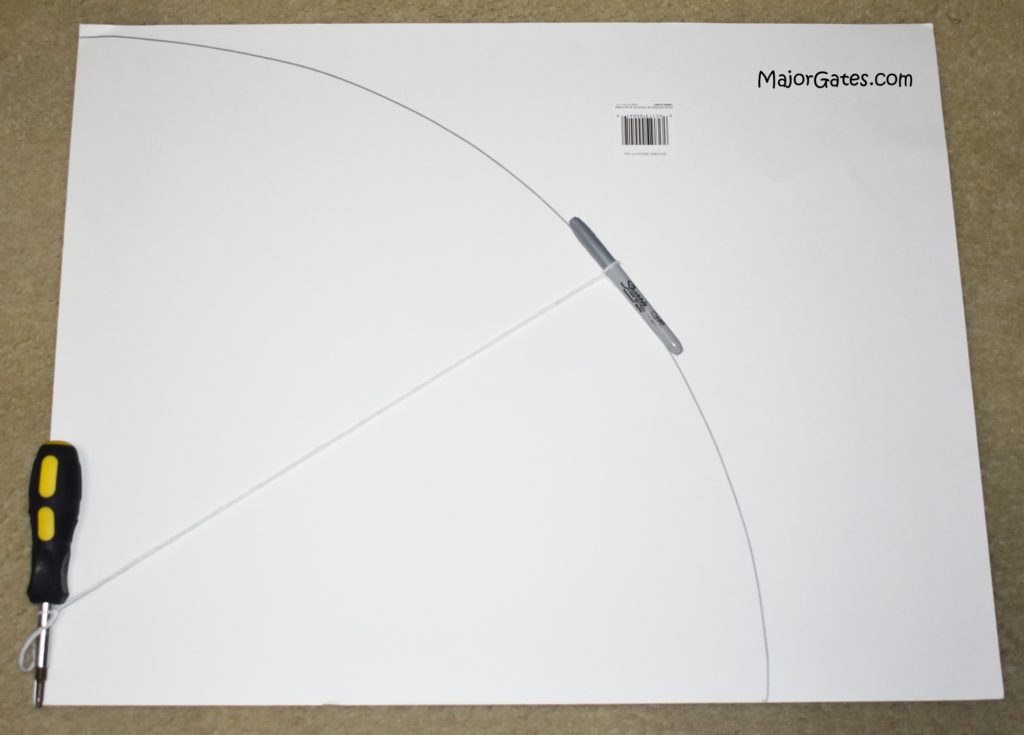
- Now, place the screwdriver in the corner of the poster board, extend the pen out to the edge of the poster board and pull/write from one end to the other while your screwdriver remains firm in the corner.
- Then cut out the cone with scissors and roll to create the cone. Start by gluing from the top with the hot glue gun, set on low or use a glue stick. So if you mess up, and your cone is not even, you can trim off the bottom to make it even.
This is optional, but I created a base for some of the trees. Using the remaining poster board, cut out a circle about a 1/2 inch wider than the base of the tree. Then glue the cone tree to the base. So this works great for gem, ball, large bead applications.
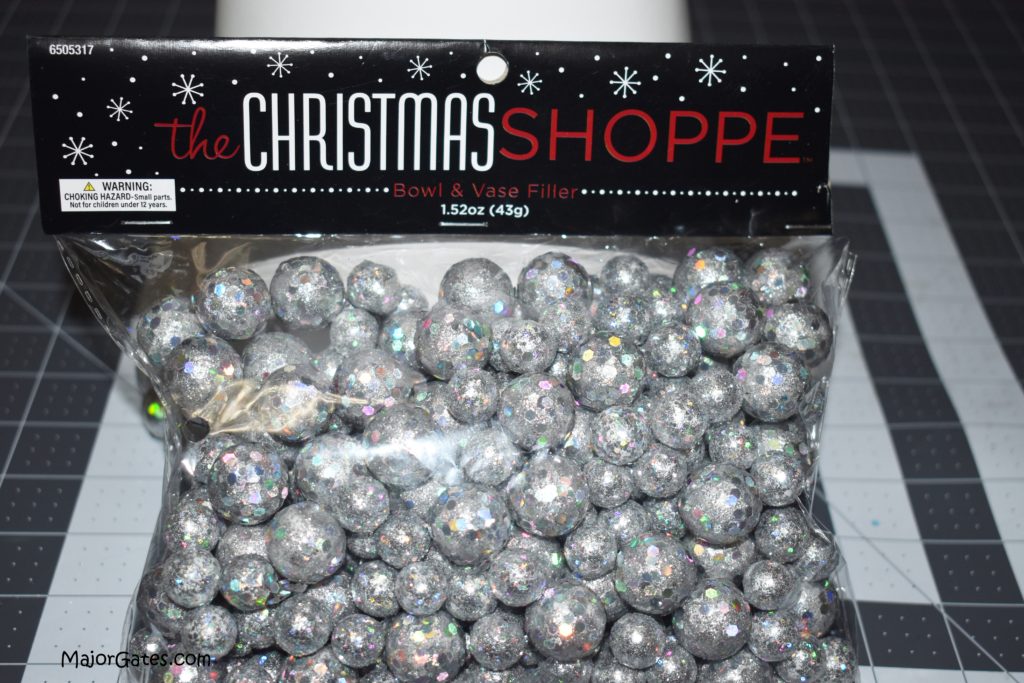
Next, start gluing on the balls or beads, starting at the bottom of the cone. So if you have various size filler balls, make sure you mix them up. For this tree, it is 21 inches and I used three, 1.52 oz (43g) bags of foam vase filler.
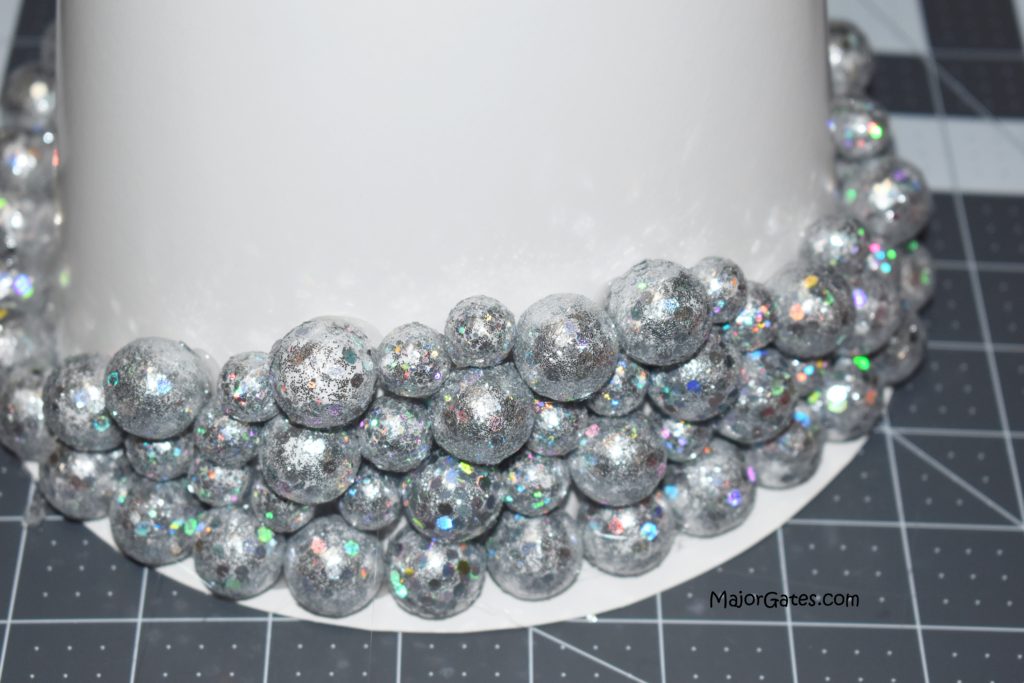
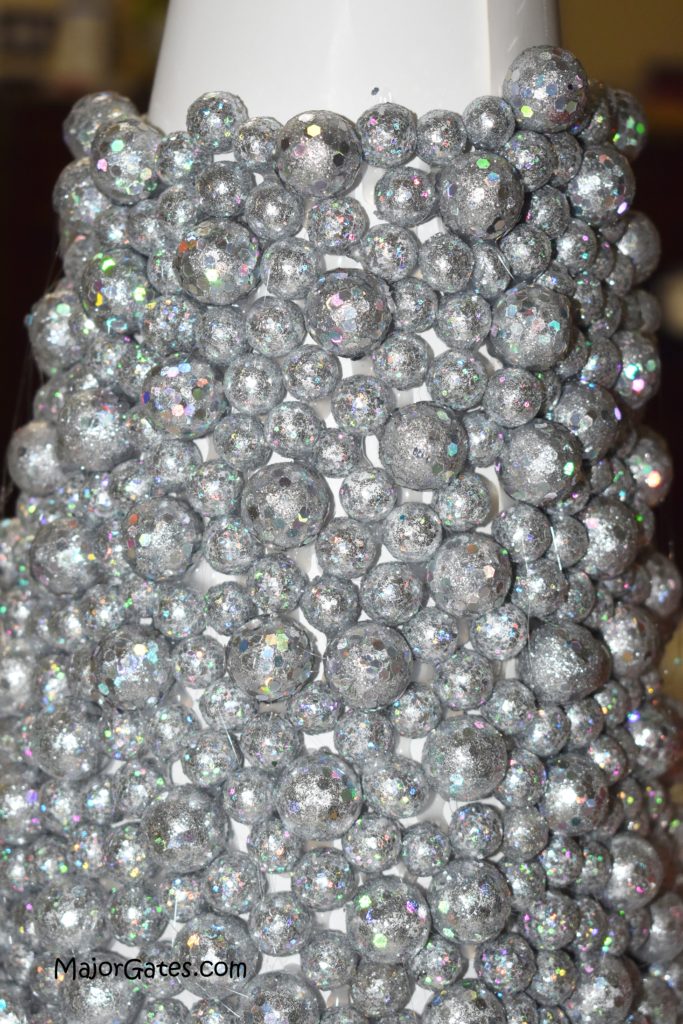
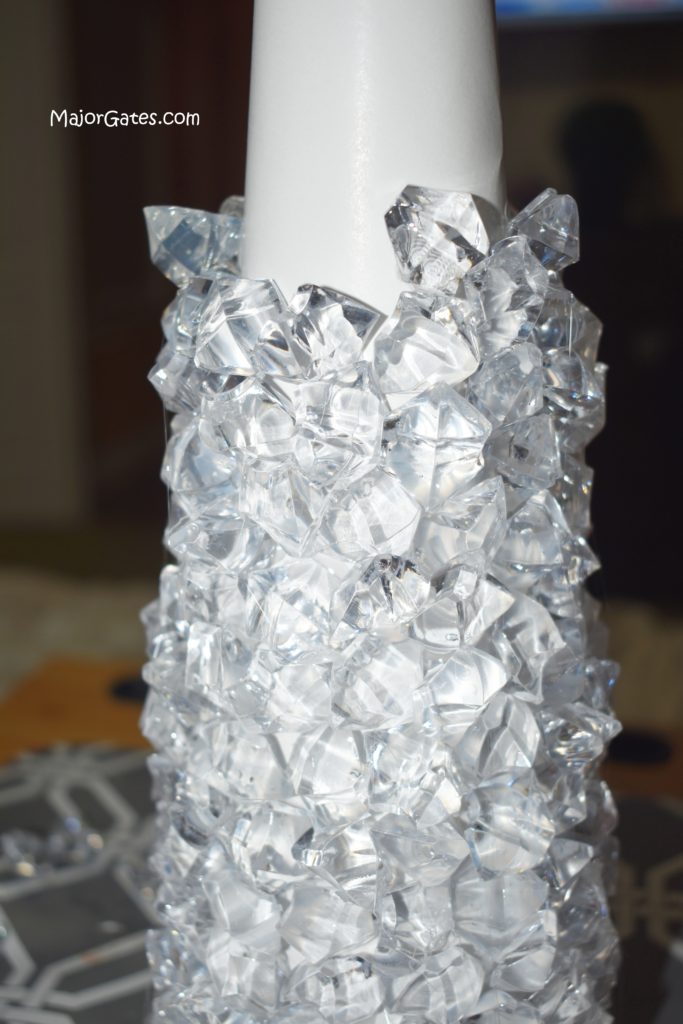
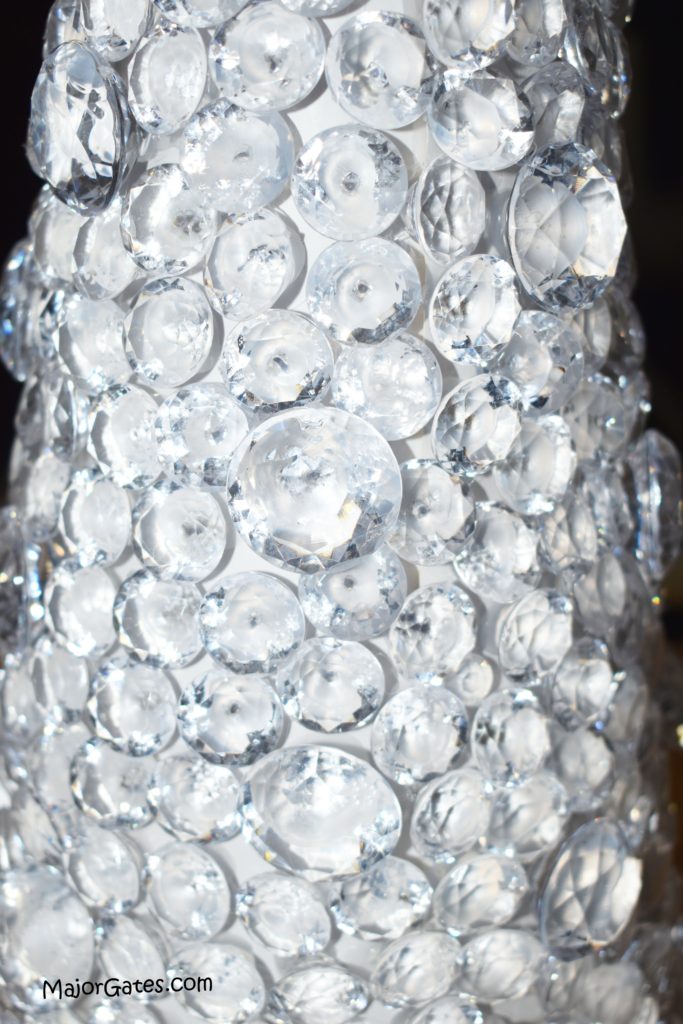
- Repeat the same process for other types of applications like gems, acrylic ice, pearls, flat backed beads, etc.
DIY Cone Christmas Trees With Glitter
Glitter cone Christmas trees are the easiest to make in bulk. That is because you only have to apply the glue and shake on glitter.
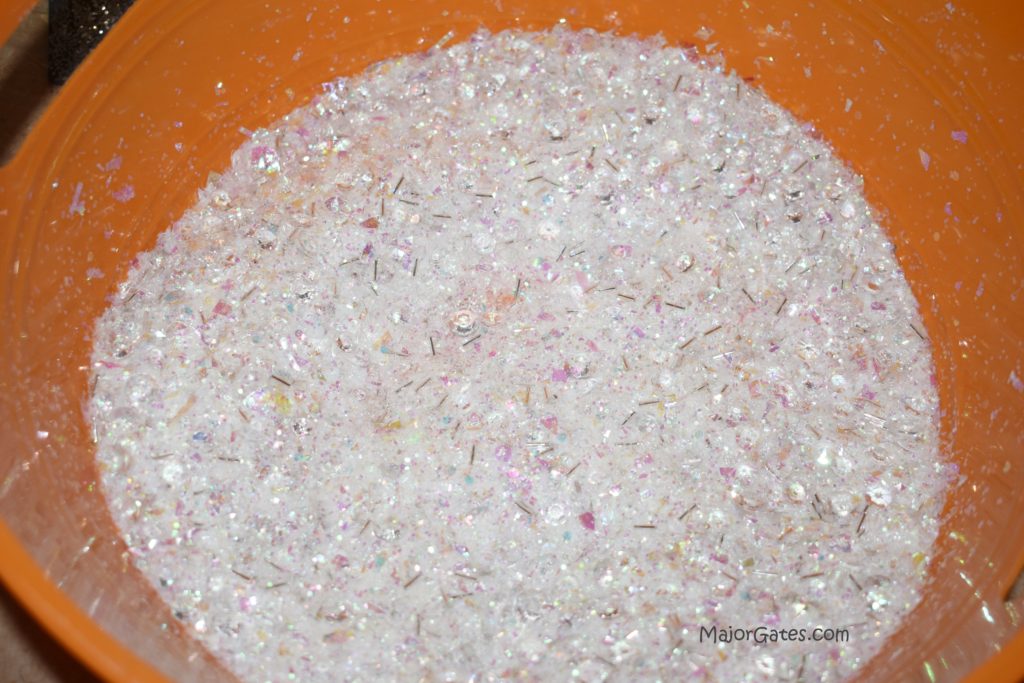
- Make the glitter mix. You can do this by mixing various glitters together. So for my glitter mix, I used regular glitter, 4mm faceted beads, crystal seed beads, diamond confetti, hexagon glitter, and bugle beads. You could also use crushed marbles or glass. I used these types of glitters in white and silver, but you can make in any colors you like.
- So this is the white glitter mix that I made.
- Next, put down your protective drop cloth before you start, because glitter tends to get everywhere. Then line up your glued cone Christmas trees, glitter and glitter mix, Mod Podge glue, paint brush and a paper plate.
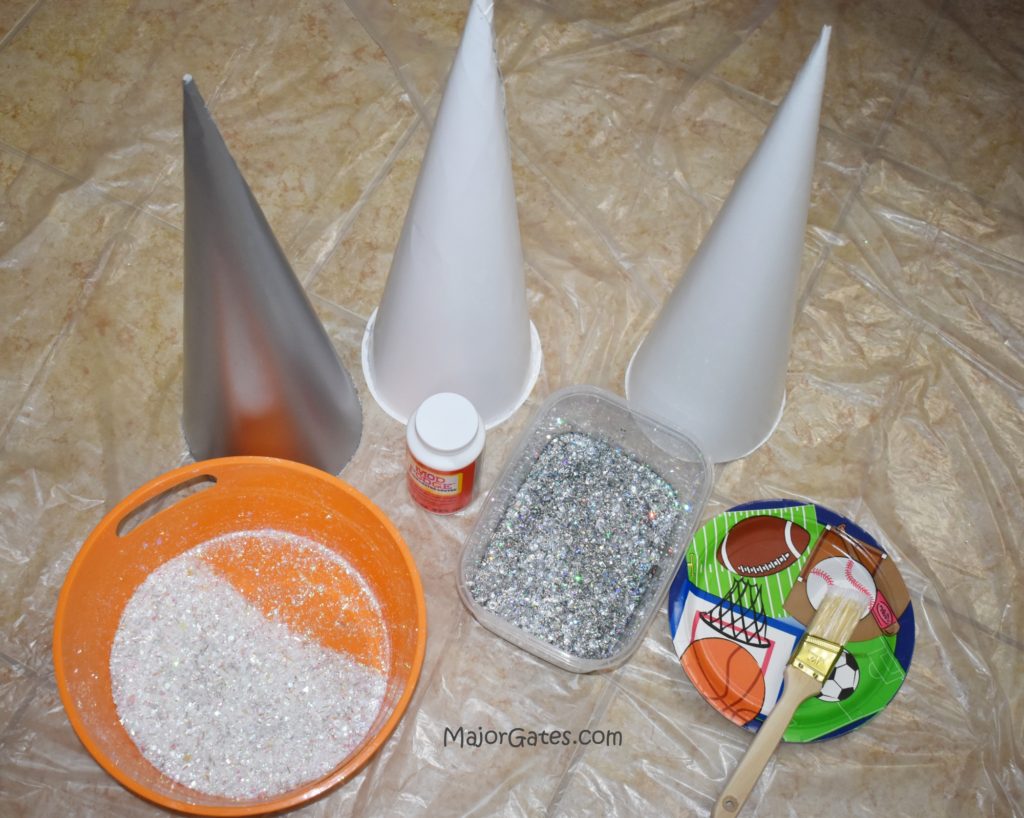
- Now determine if you want a tree just covered in regular glitter or if you want to split the tree with the tops covered in chunky glitter mix. So you could also cover the entire cone Christmas tree in chunky glitter. Feel free to mix the colors to match your theme.
- I decided to split the trees and paint half with Modge Podge glue. Then I just shook the regular glitter bottom on the bottom half of the tree. So I wanted the tops to look like they were top heavy from the winter snow.
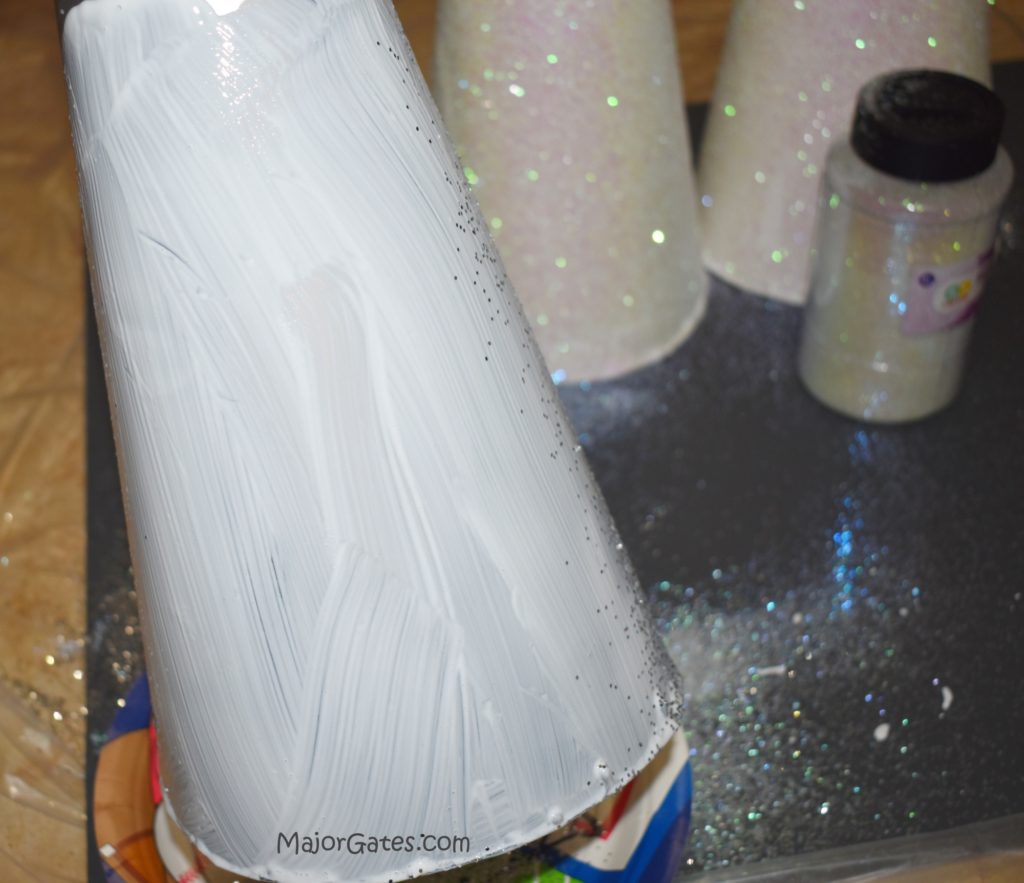
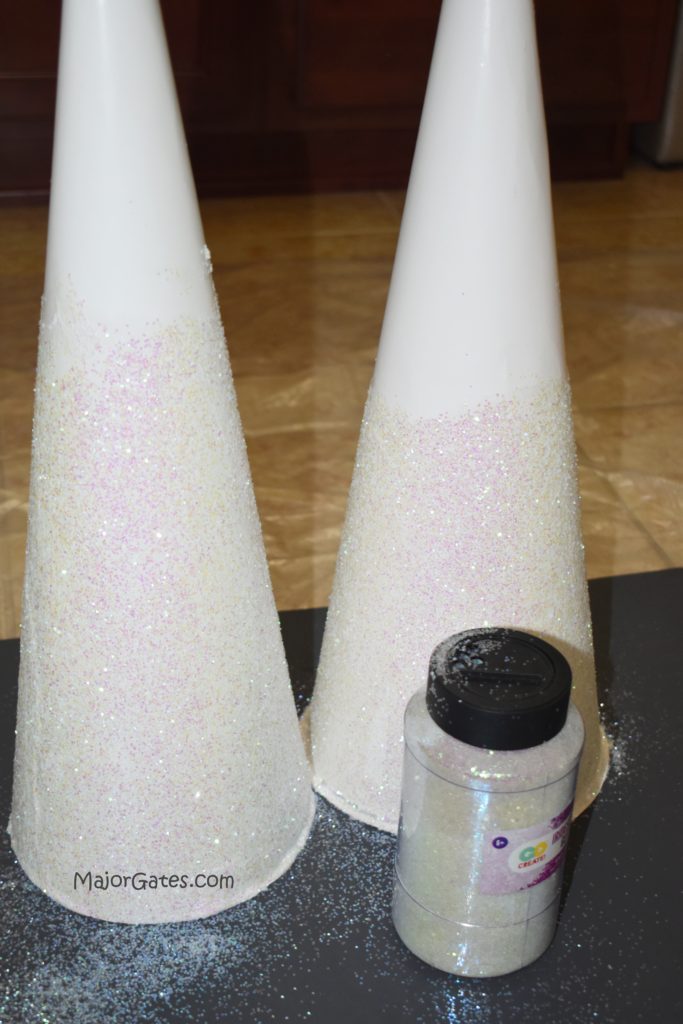
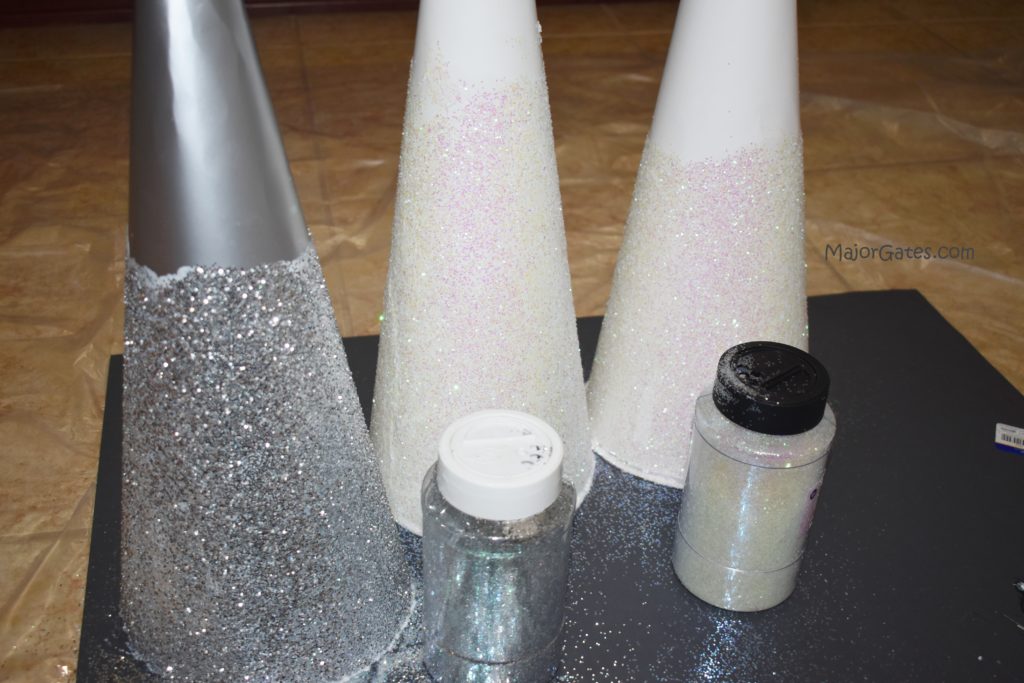
- Allow the bottom of the trees to dry before moving on to the tops. So they are partially dry in about 1 1/2 hours that you can continue to work on the trees.
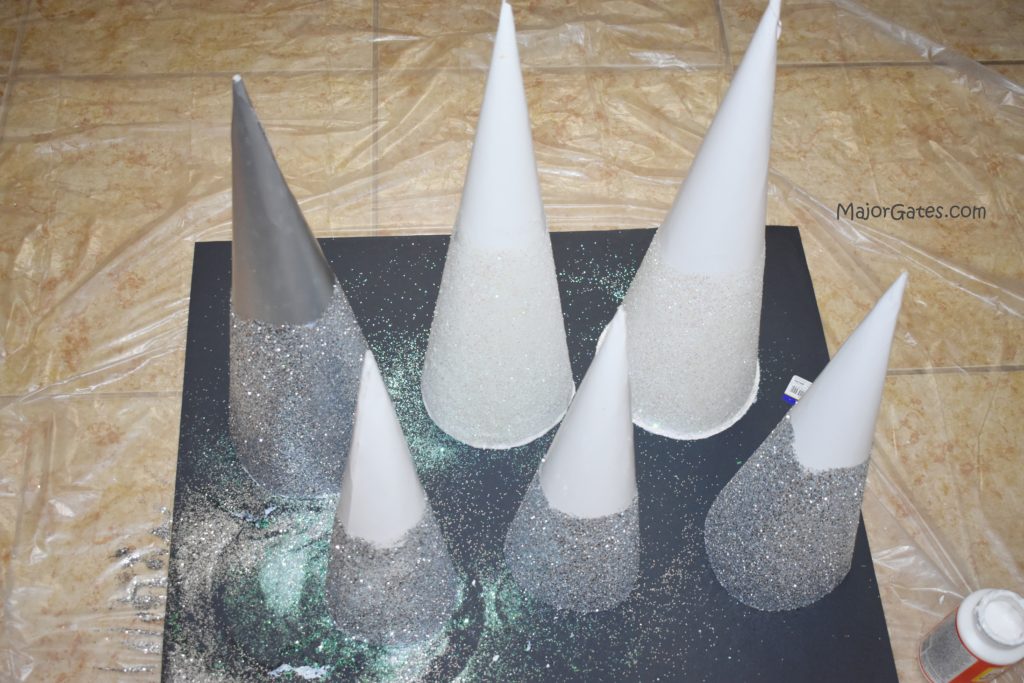
- Next, paint more Modge Podge on the tops of the trees very generously, so that enough glue is thick enough to hold the chunky glitter. Then sprinkle the glitter mix on the tops of the cone Christmas trees. I just used my hands but a small cup will work too. So just make sure you shake over you bucket or empty plate, so you can use the glitter again. Also, just make sure no glue drips on your glitter.
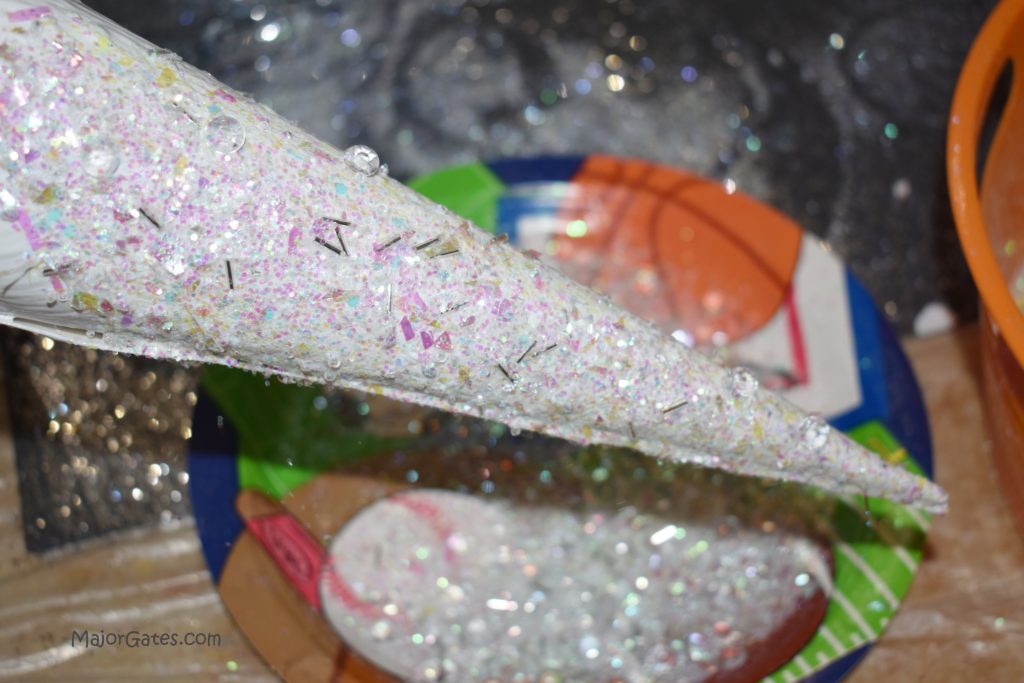
- Now, allow all DIY glitter cone trees to dry at least 3-4 hours or overnight.
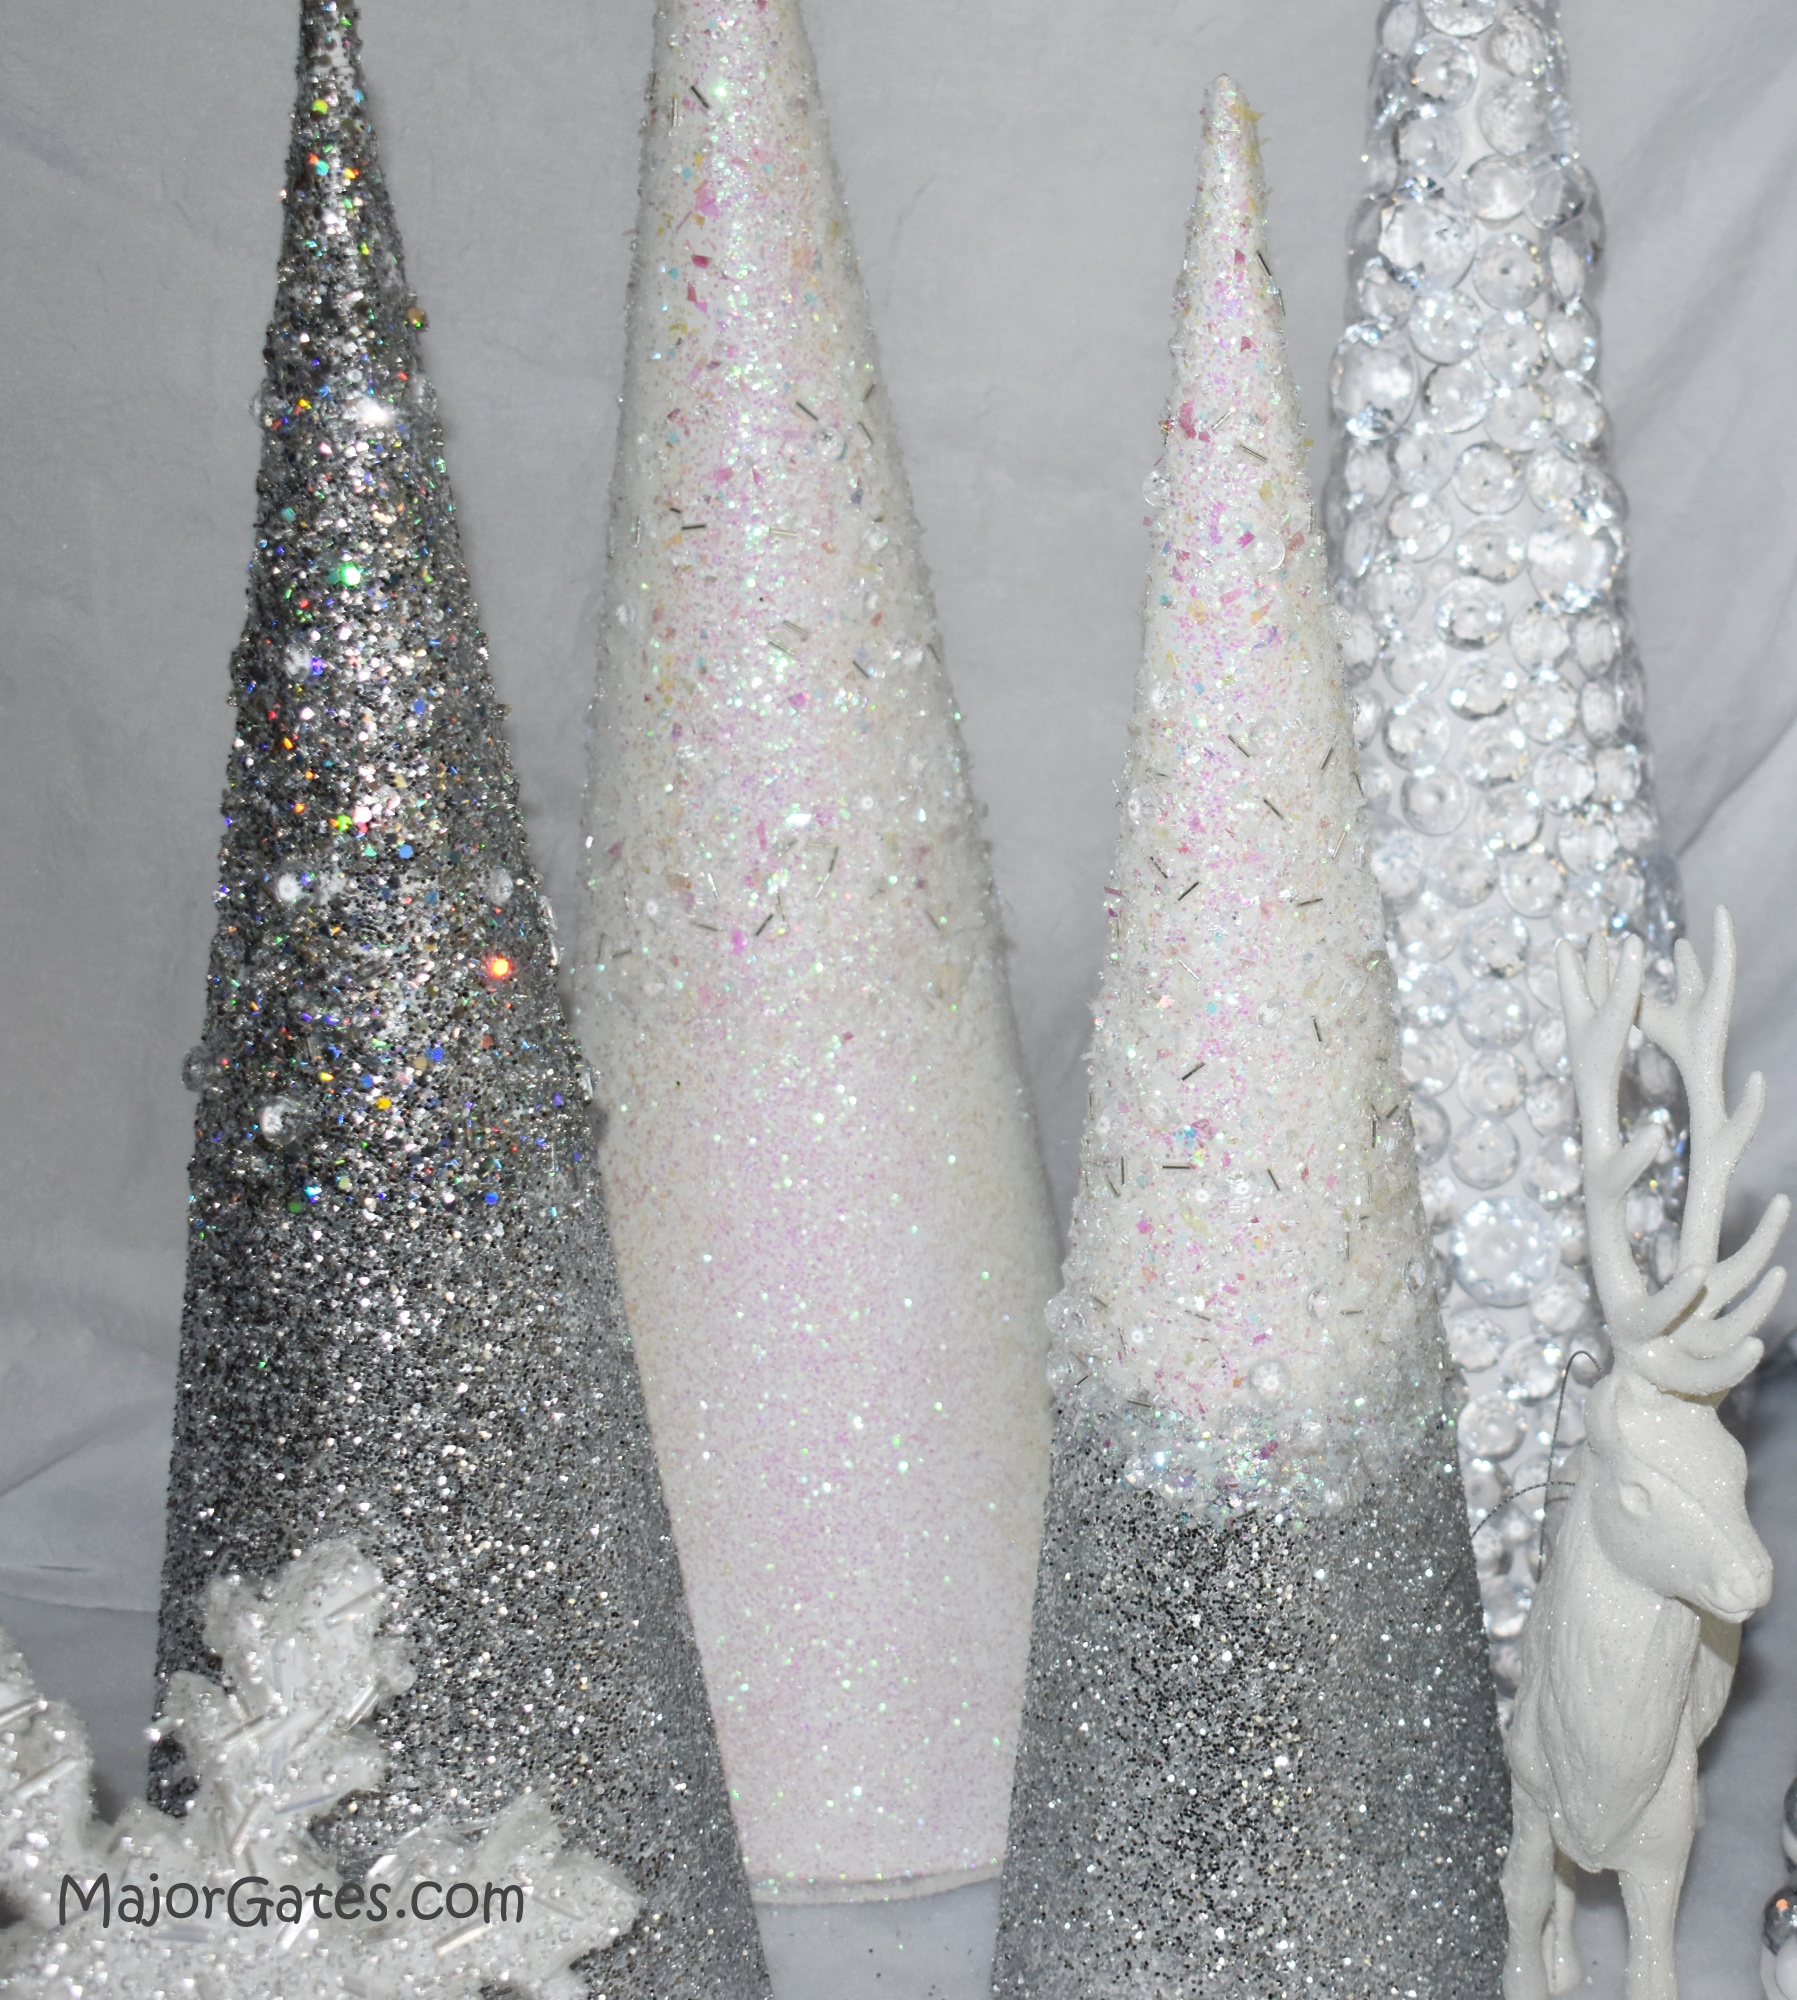
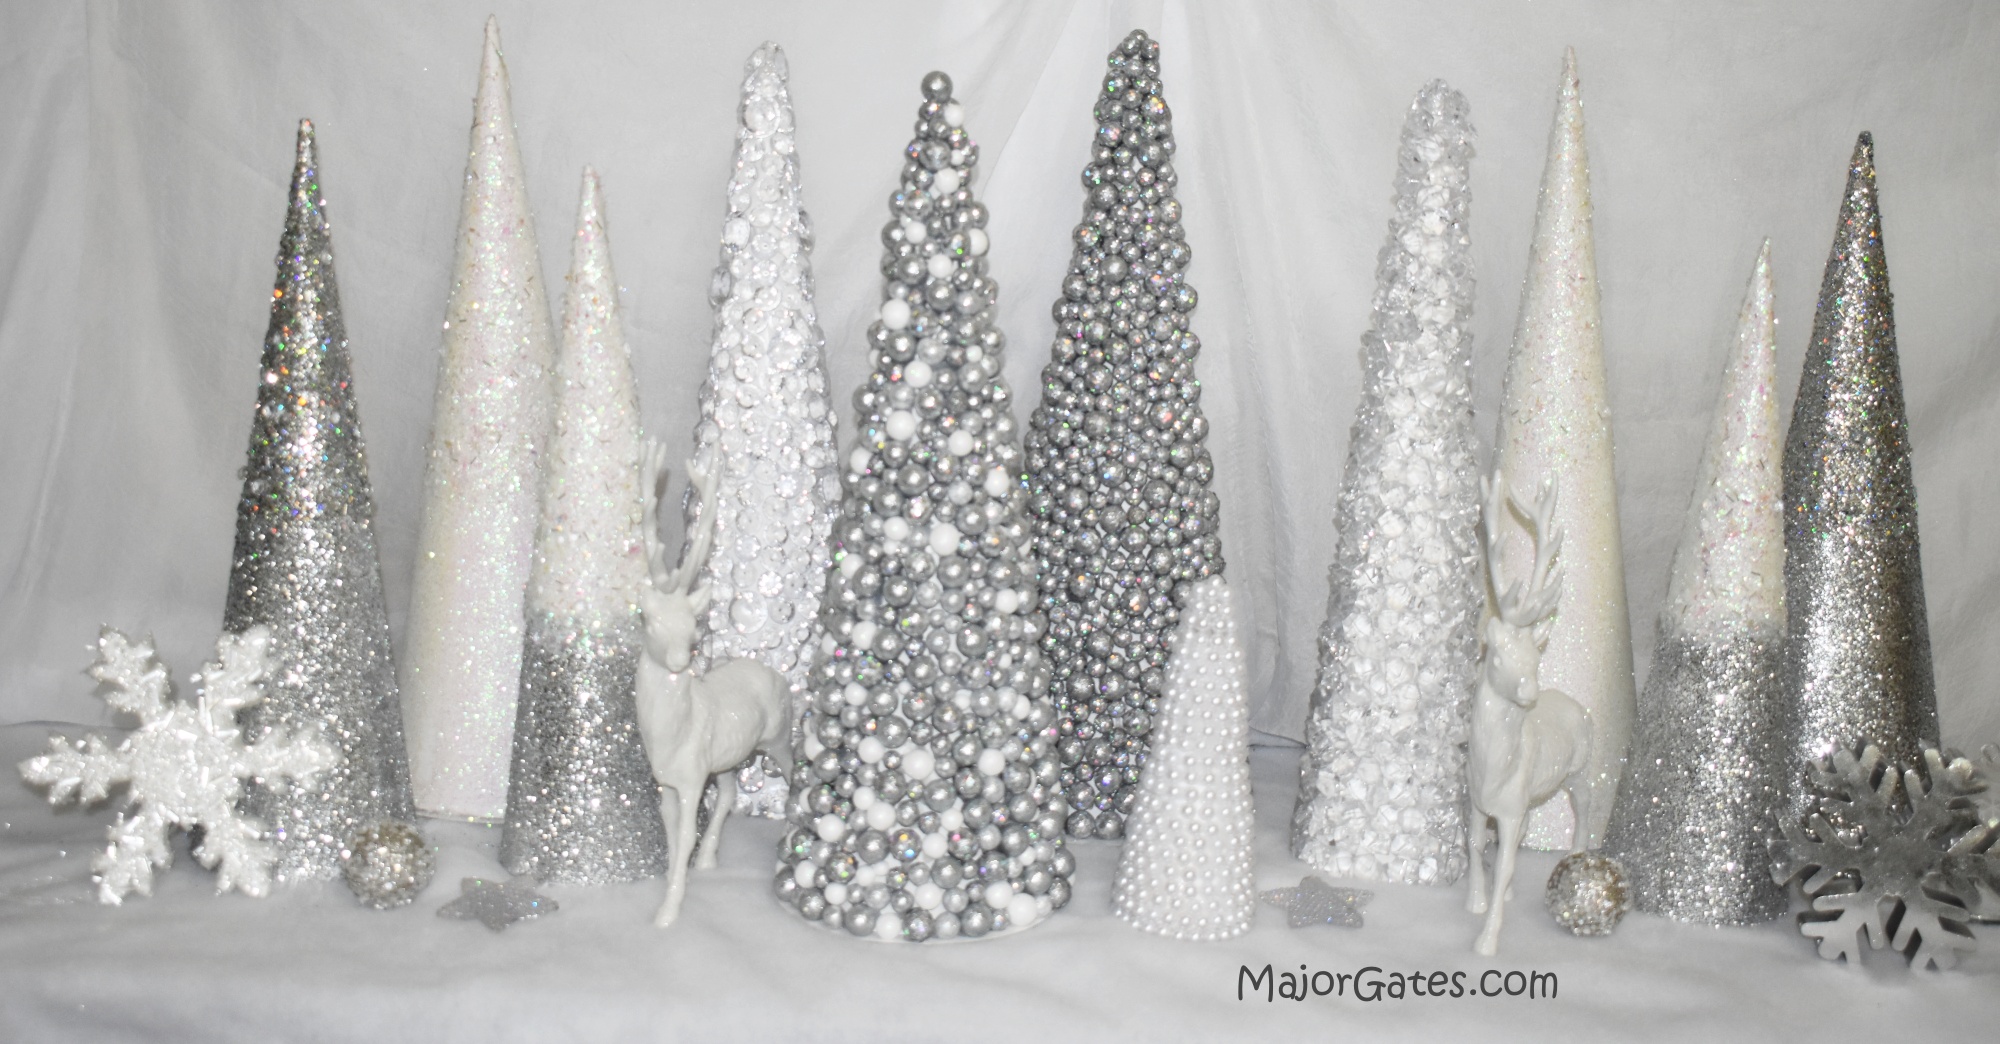
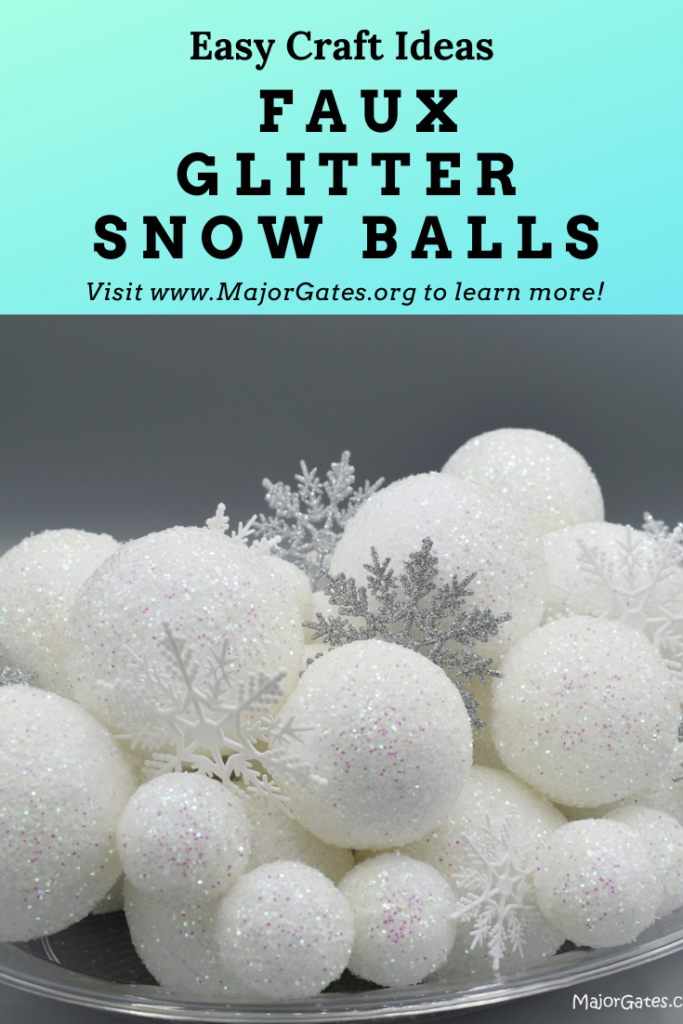
So for another great Winter Wonderland Idea, try making Faux Snow Balls here: https://majorgates.com/do-it-yourself/faux-snow-balls/
To see my available Jeopardy/Trivia Party Downloads, click here: https://majorgates.com/product-category/jeopardy-trivia/
