Floral Gift Box
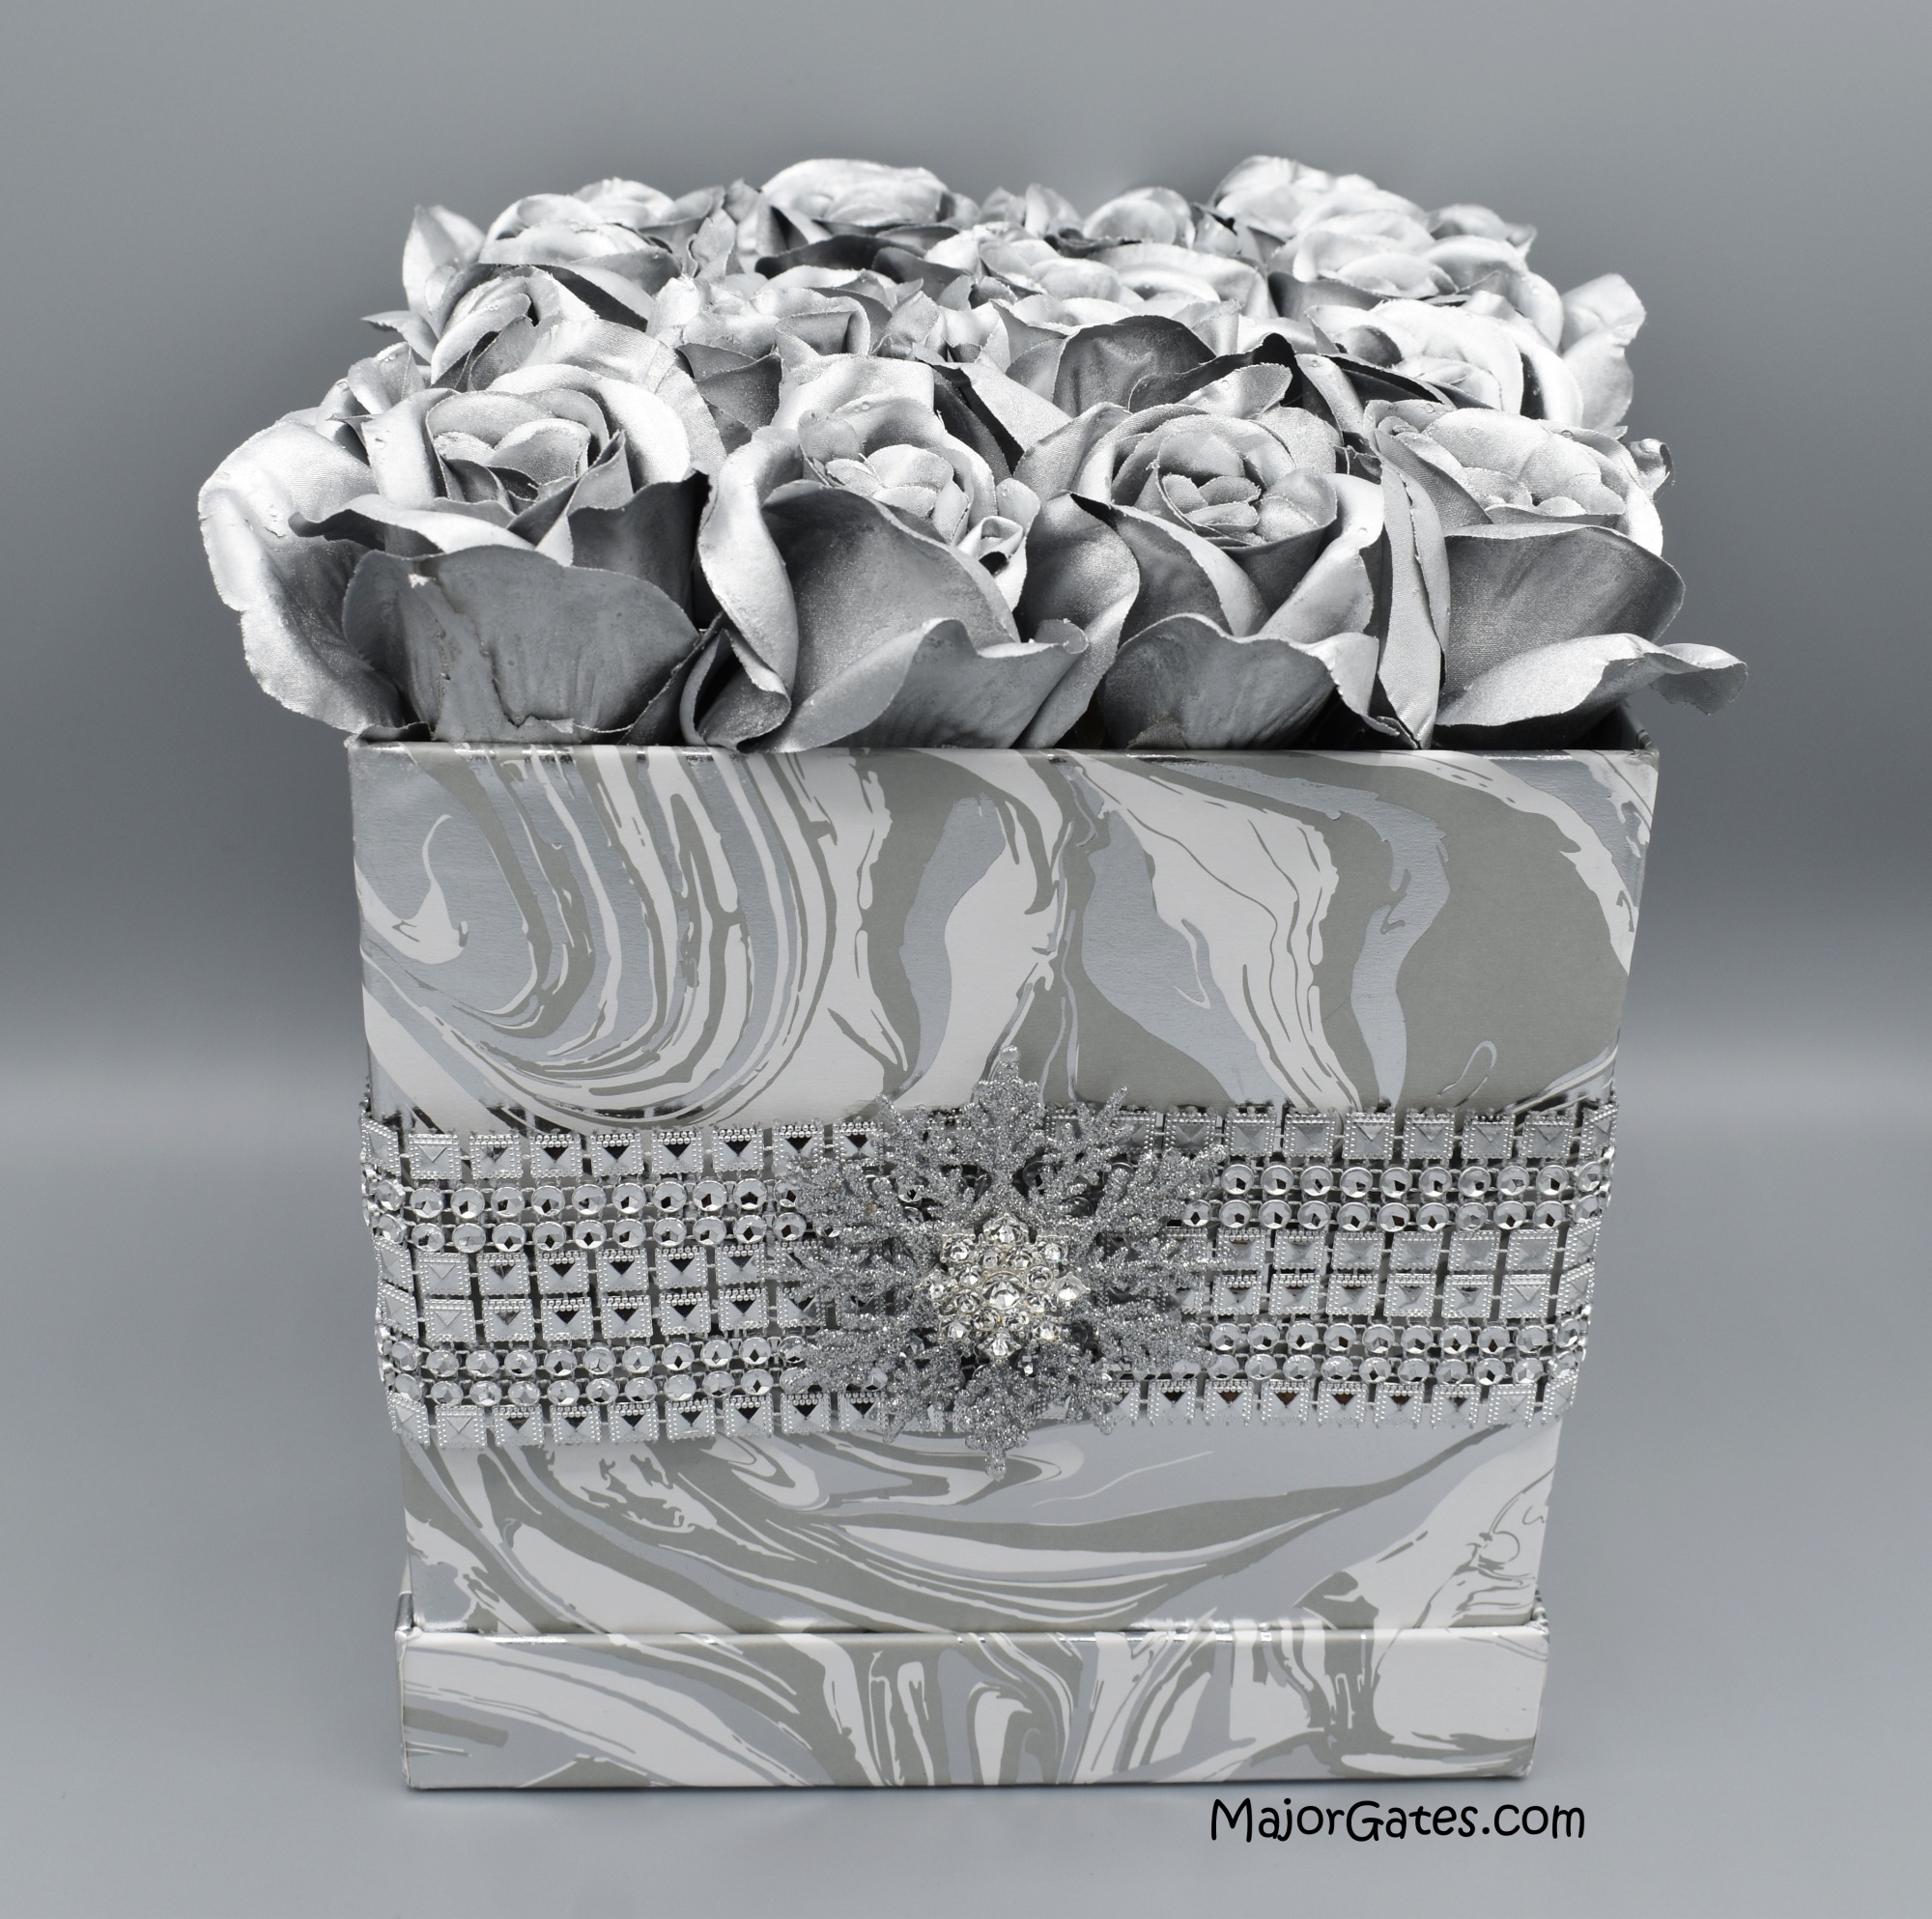
Make your own floral gift box to give as a gift, decorate a room or use as a centerpiece. The floral gift box is great for birthday parties, anniversaries, weddings, Christmas or baby showers. They are very easy to make and the floral gift box is unforgettable.
You can make a floral gift box in any color and to match almost any theme. So if your colors are gold, rose, aqua or Tiffany blue, you can purchase the appropriate nesting box and spray paint. I want to make in pearl white one day. Also, consider sprinkling the edges of the roses with glitter.
I made this box for a party centerpiece, then surrounded by faux crystal ice gems and LED candles. Adding decorative ribbon and embellishments are optional, but you can add what ever you like to fit any theme.
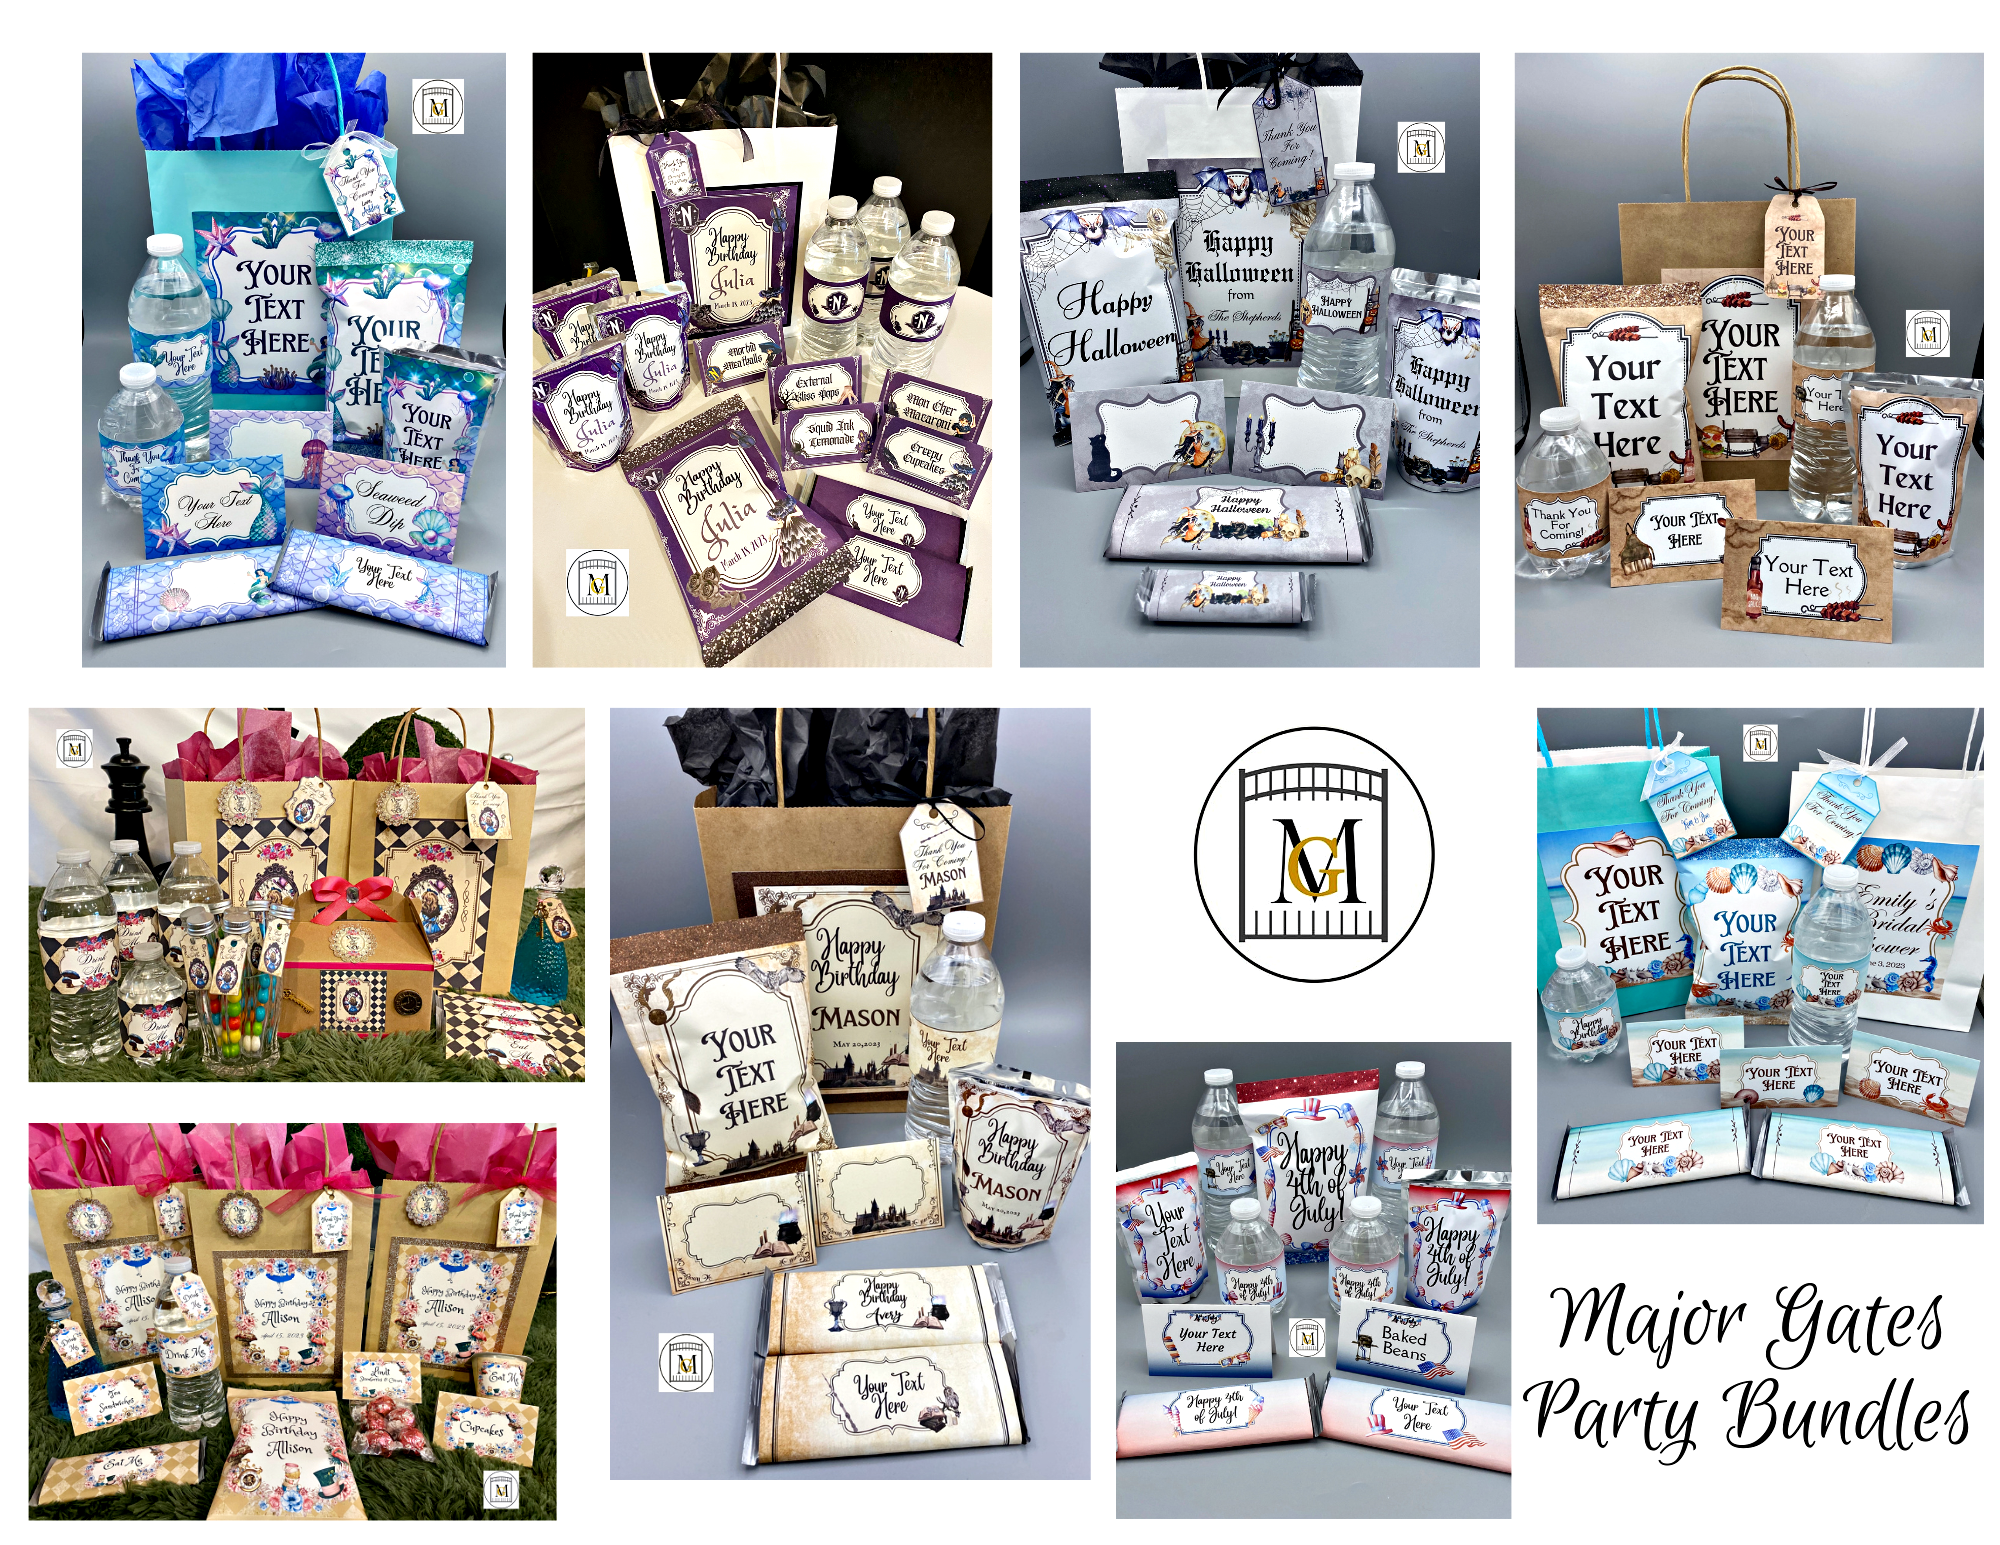
To see my available Party Label Bundle Downloads, click here: https://majorgates.com/product-category/party-bundles/
Don’t Forget To Follow Me On Pinterest!
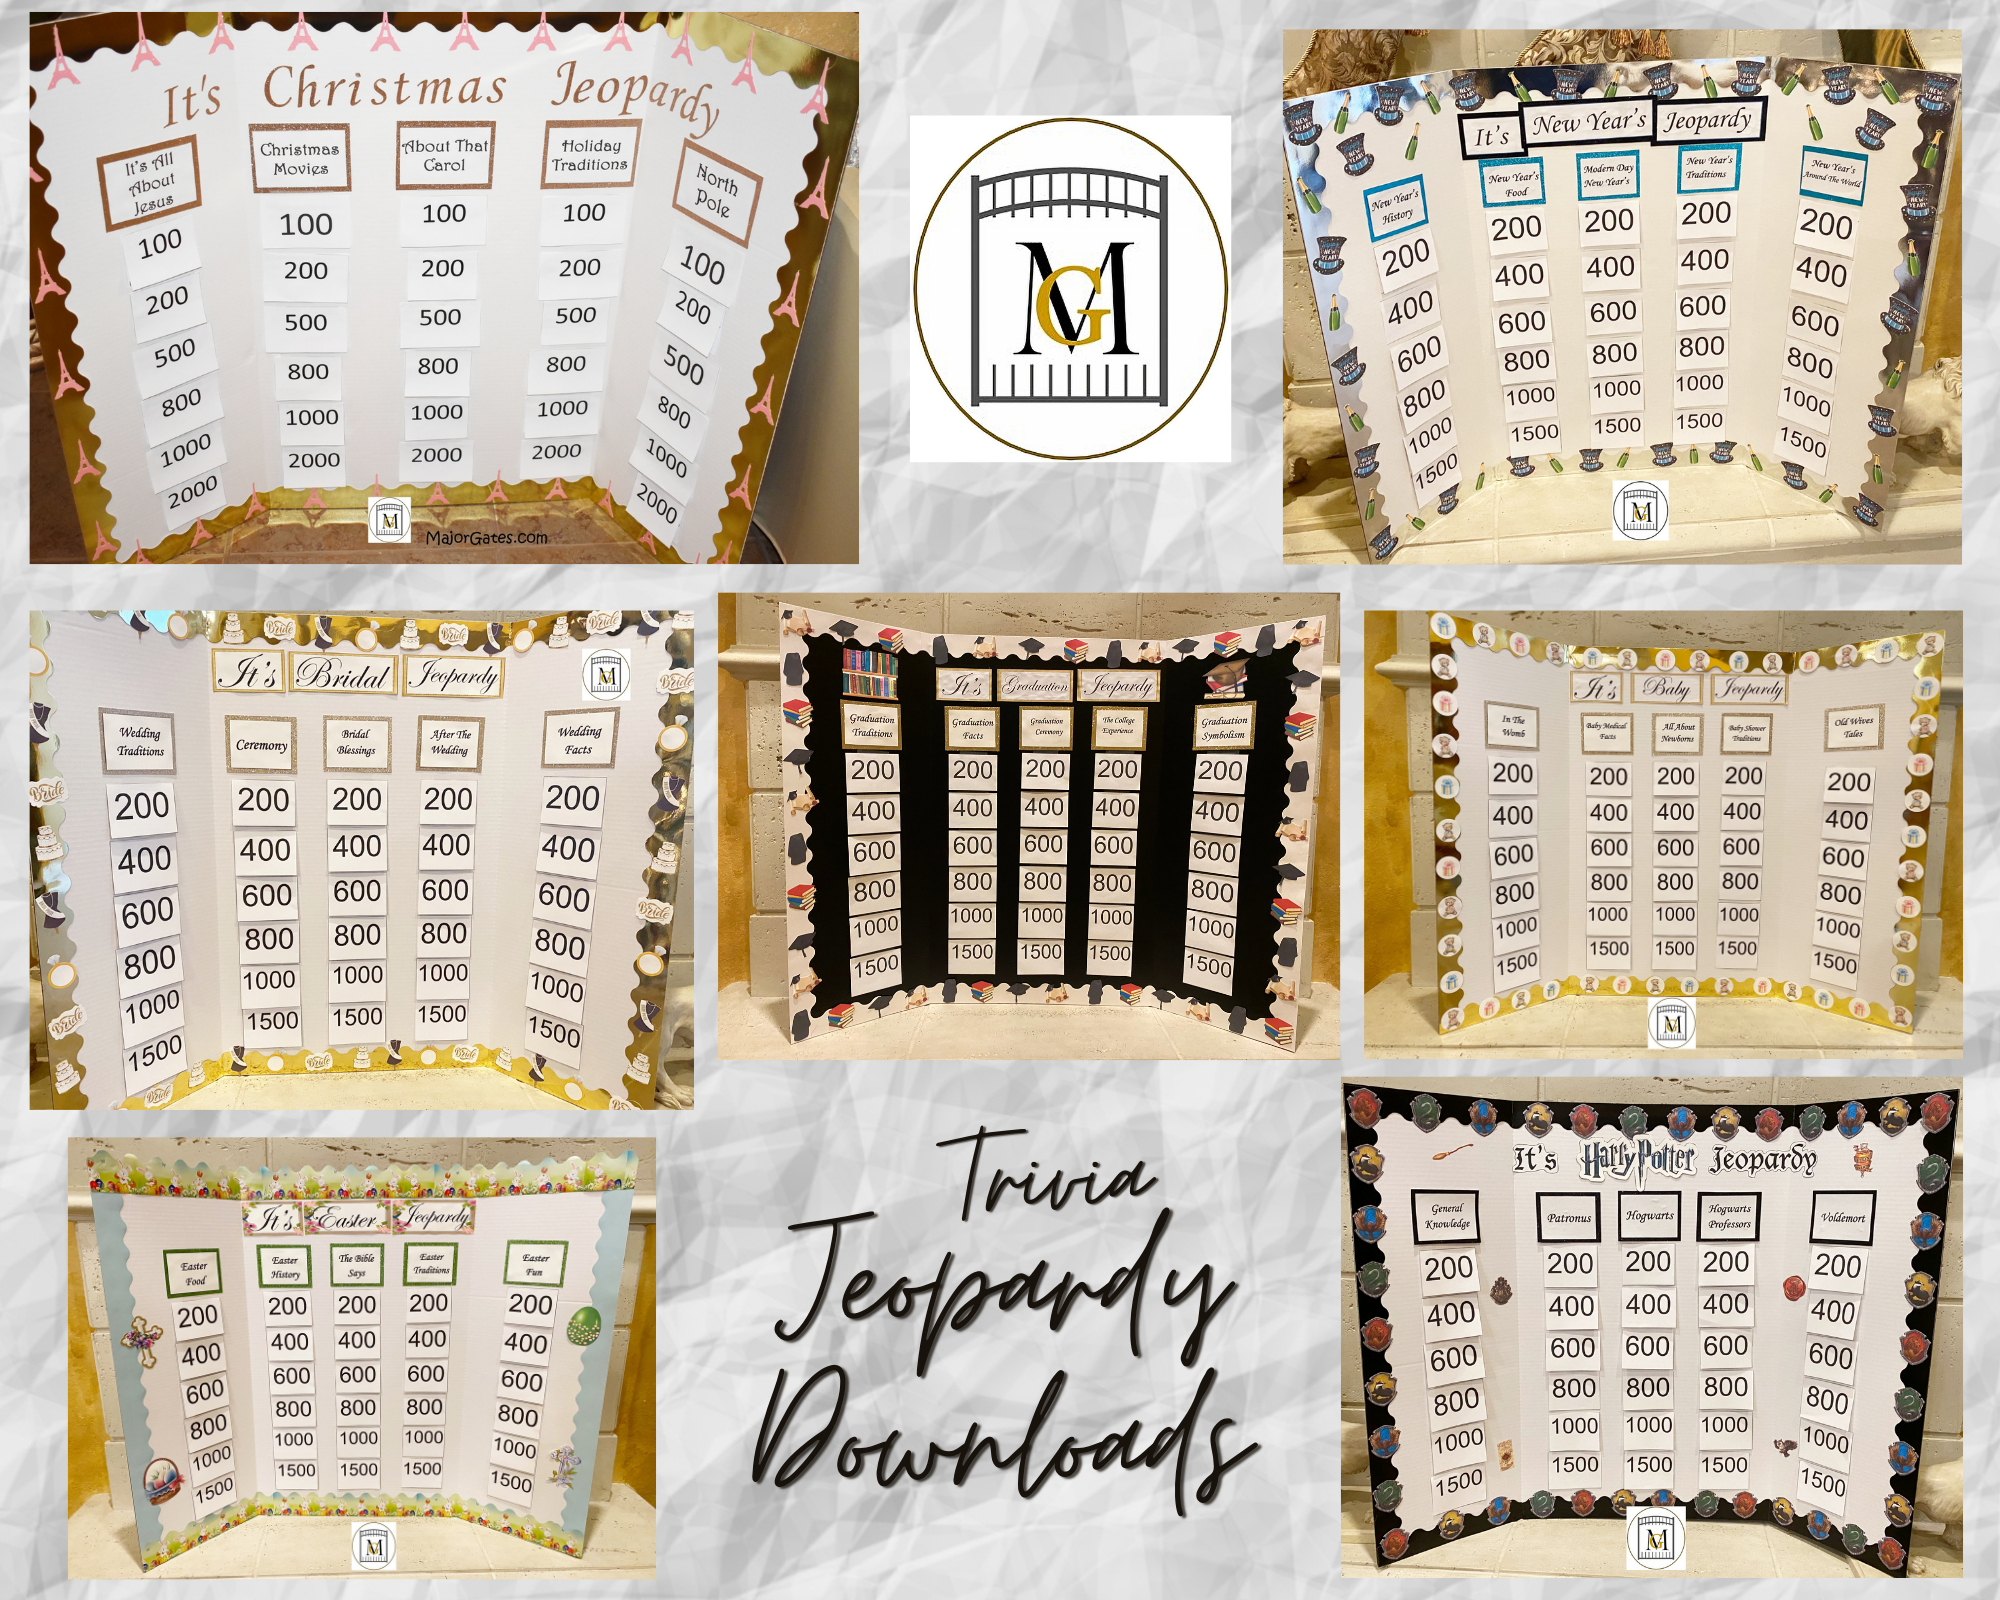
Check out my available Jeopardy/Trivia Party Downloads here: https://majorgates.com/product-category/jeopardy-trivia/
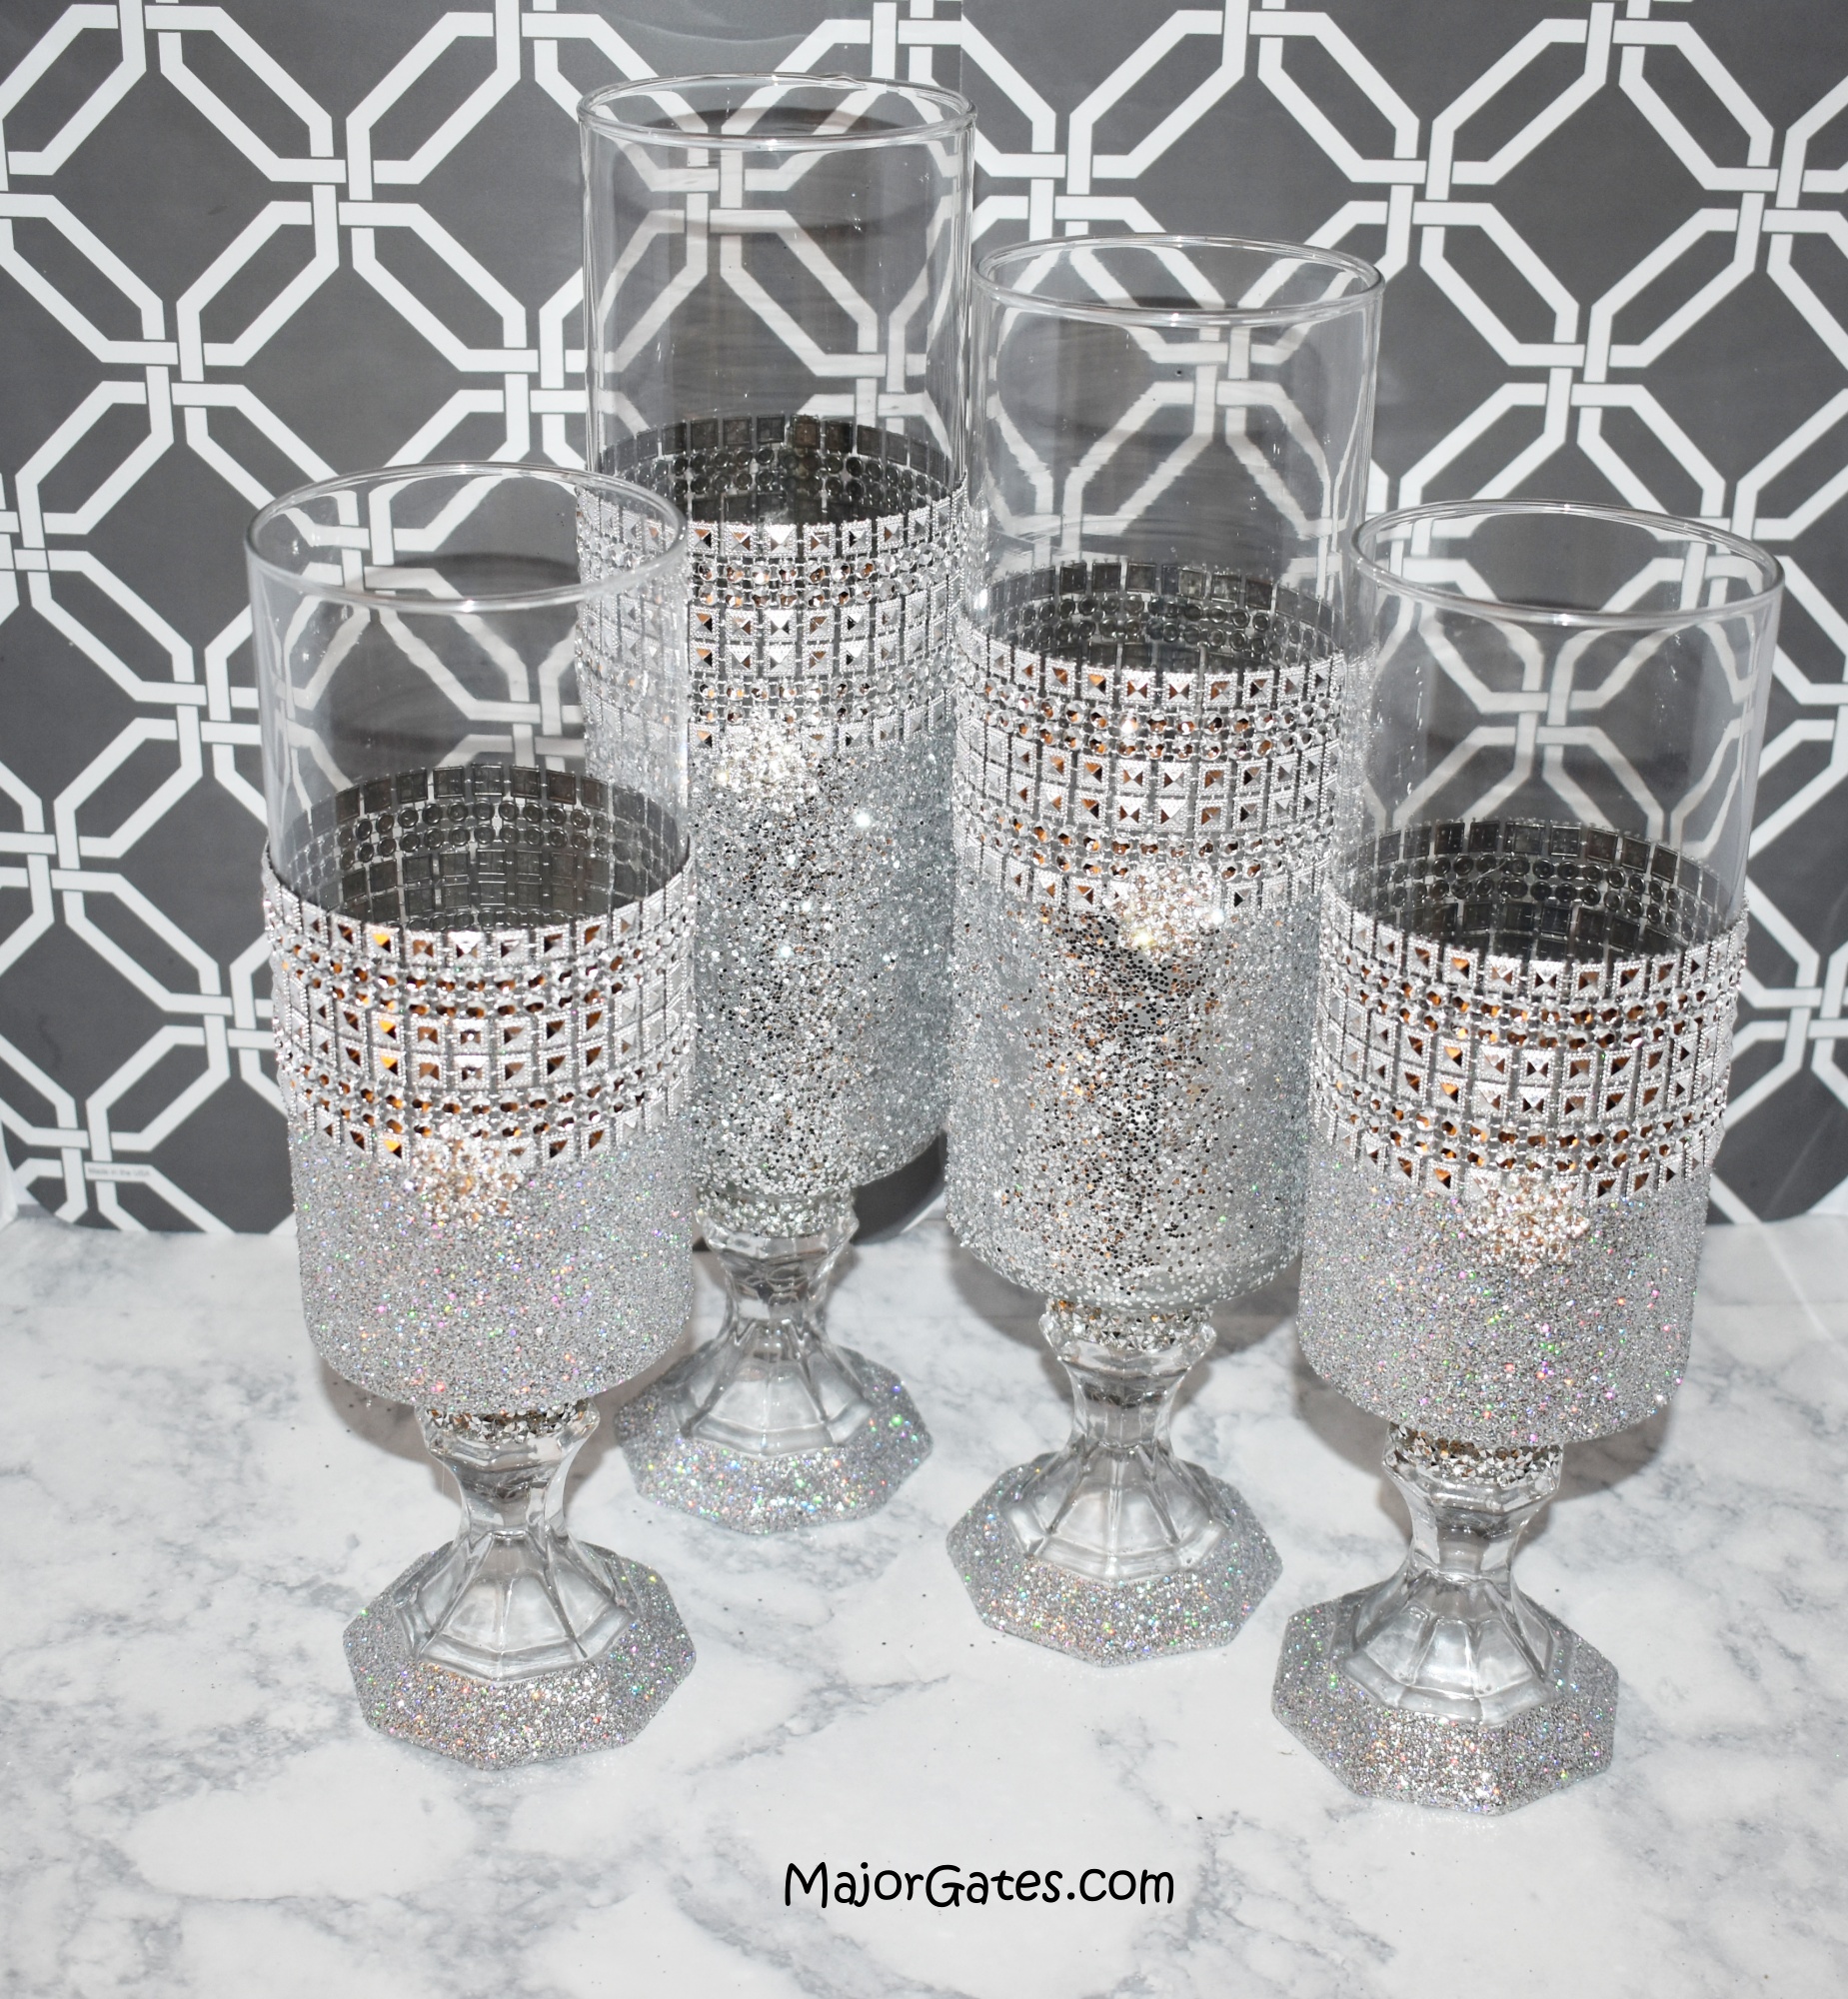
For another great DIY party idea, learn how to make Bling Vases here: https://majorgates.com/do-it-yourself/bling-party-vases/
Supplies
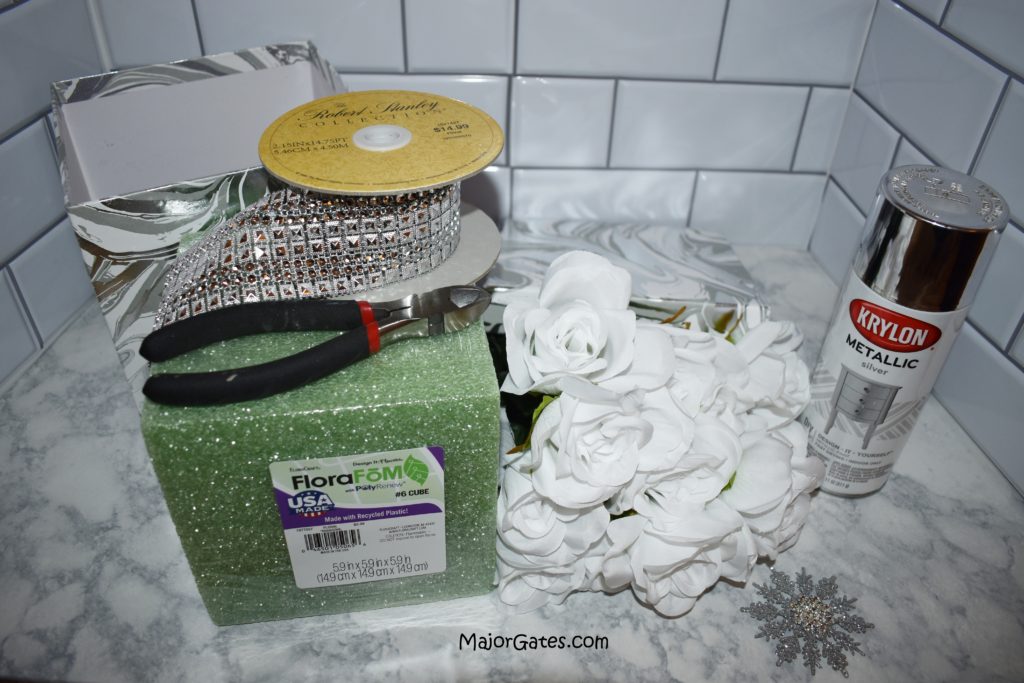
- Hat box or nested box – I used a 7in x 7in x 7in(17.8 cm) nested box. This size requires 16 roses. If you buy a larger box, you will need more roses.
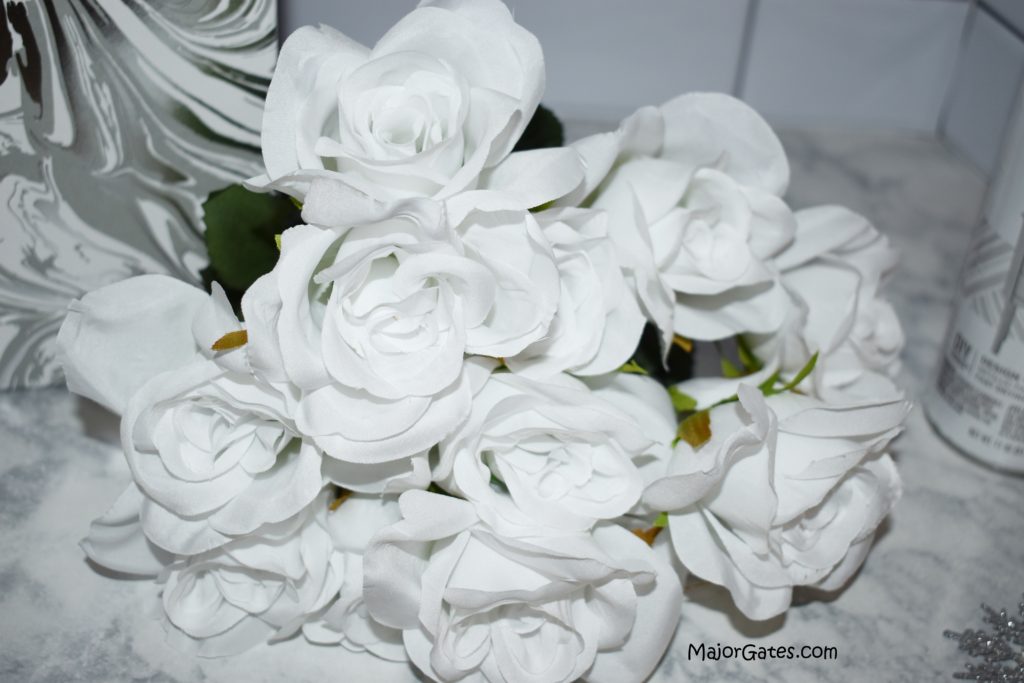
- Rose bush – Generally sold in 12-14 count. I purchased two rose bushes. That way, if I made a few mistakes, I had extra roses. Check your local craft store as sometimes these go on sale.
- Floral Foam – The foam needs to be smaller than your box. For the 7 inch box, I used a 5.9in x 5.9in x 5.9in (14.9 cm) floral foam cube.
- Floral wire cutters
- Silver spray paint
- Dual temperature mini glue gun and mini glue sticks
- Jeweled ribbon or decorative ribbon
- 3 or 4 inch silver snowflake (optional)
- Flat backed rhinestone/gem snowflake (optional)
- Large foam block (about 11in x 17in) – I found the best way to dry the flowers is upside down and the easiest way was with a large foam block. These are good to have around for other crafts as well.
- Drop cloth
- Gloves – It is hard to get metallic spray paint off your fingers
Directions For Floral Gift Box
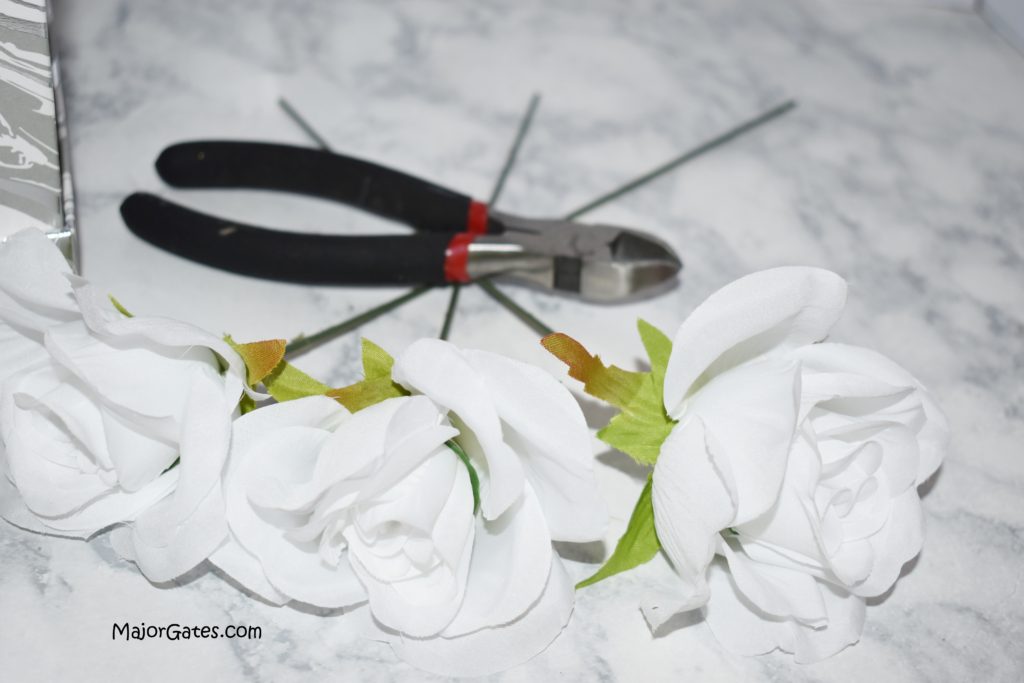
- Start by cutting off the silk flowers from the bush with the floral wire cutters.
- Prepare an area outdoors for spray painting. Place a drop cloth under the spray and drying area.
- Put on gloves and slowly spray the rose. So turn the rose as you spray and do not overspray the rose.
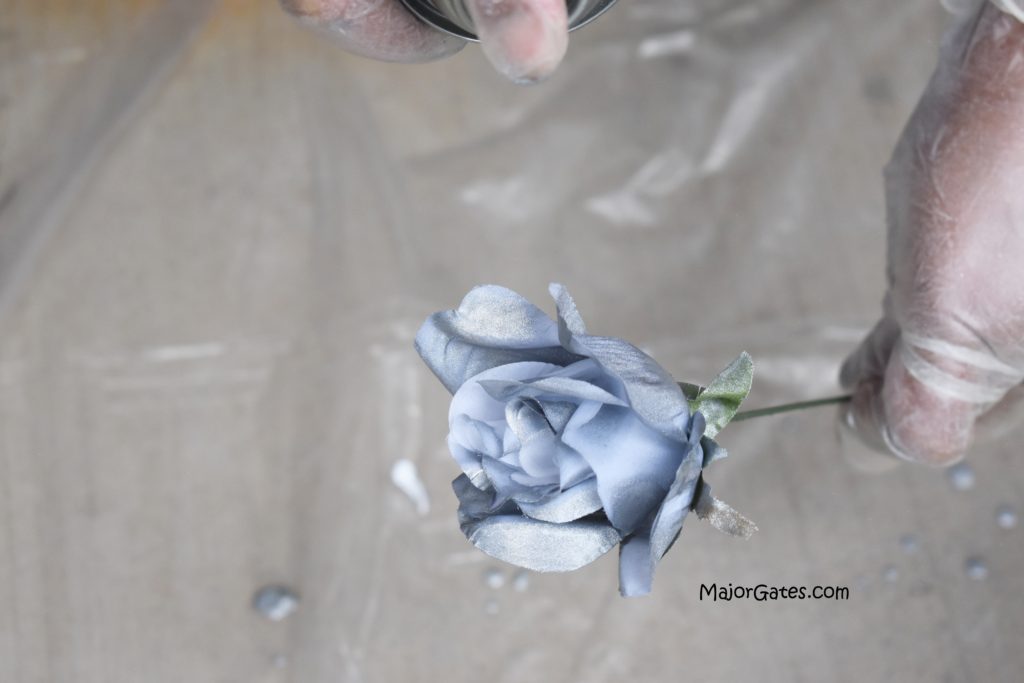
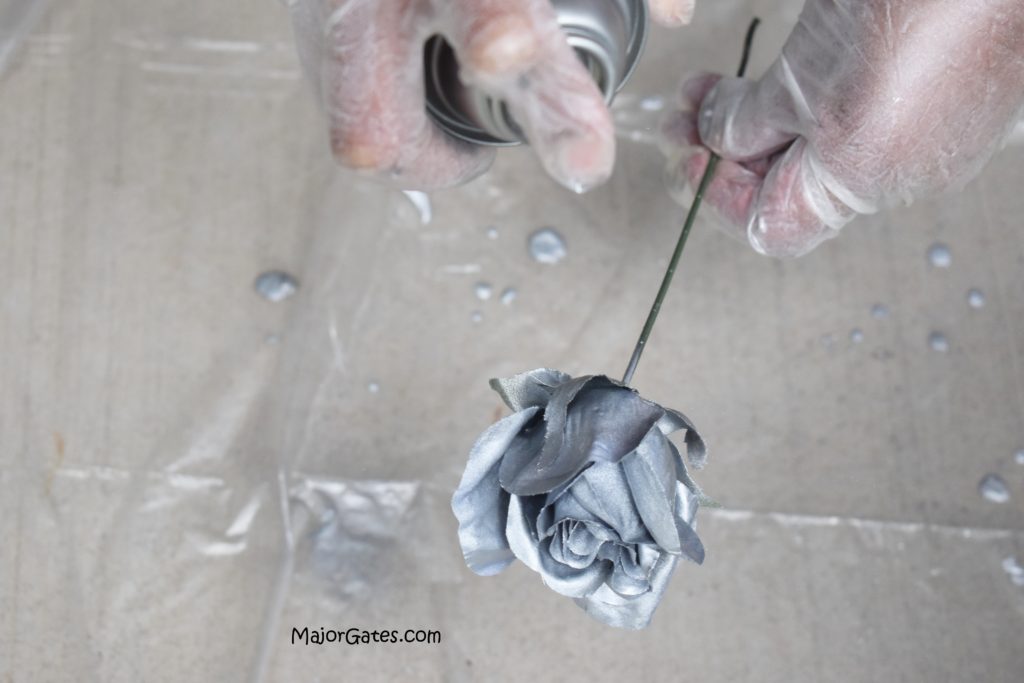
- Insert the rose into foam upside down. Then repeat for all the other roses.
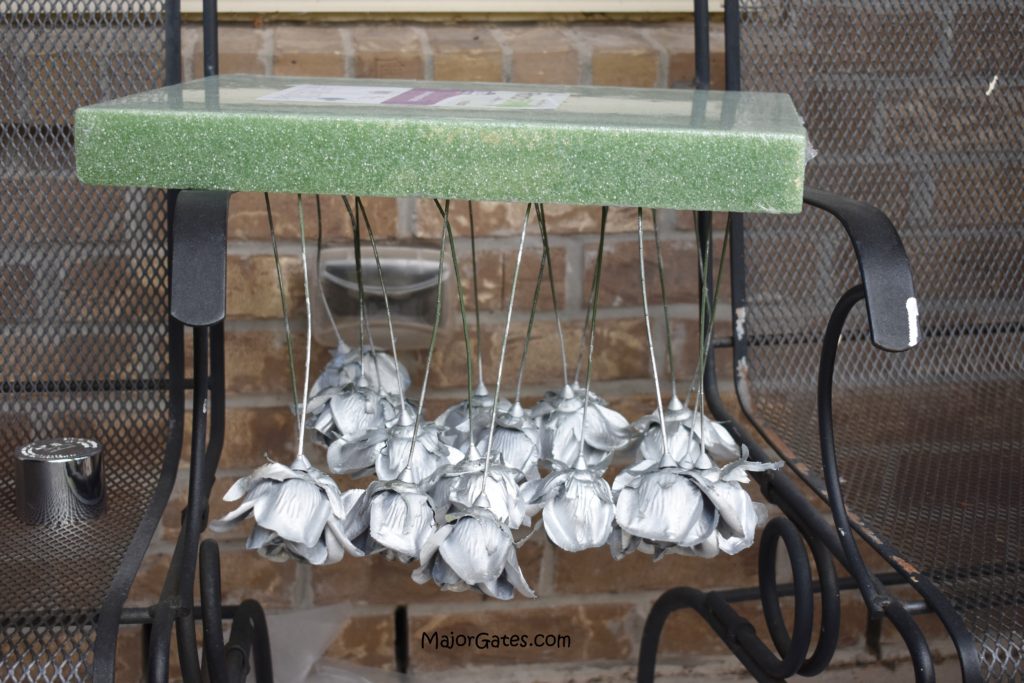
- Allow to dry for at least 1 hour outdoors.
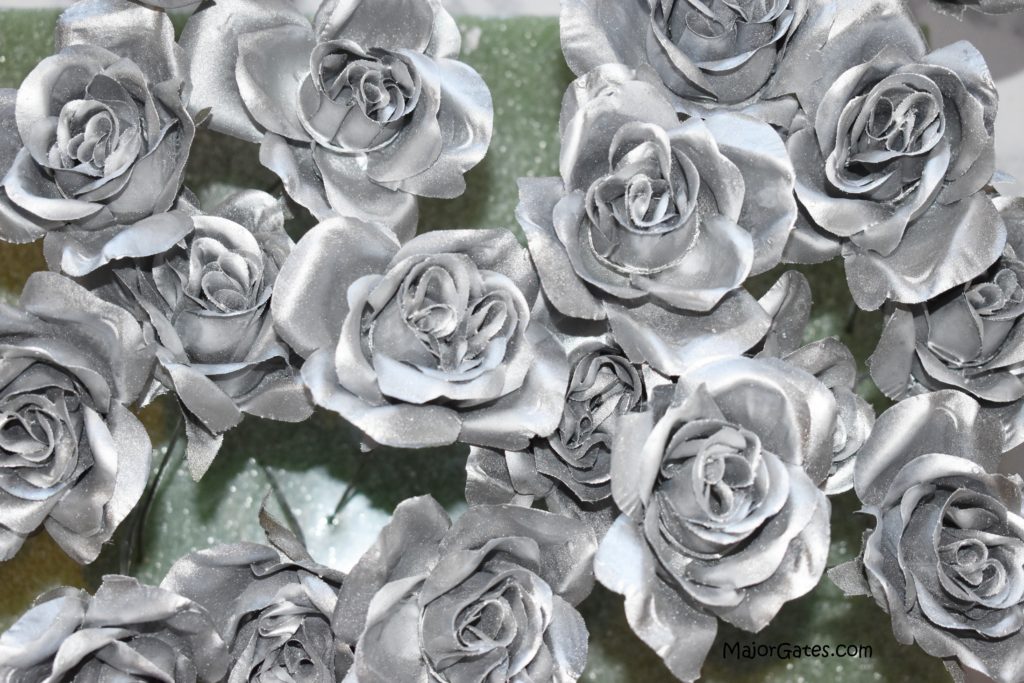
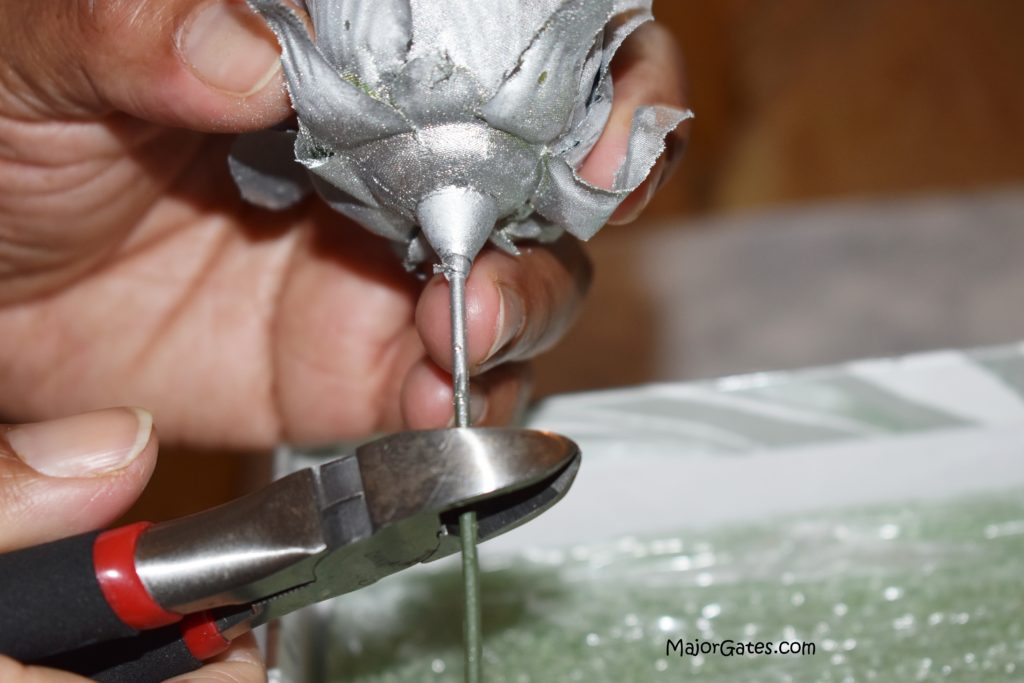
- Cut the stem on the rose so there is about 1 1/2 inches left on the stem.
- Next hot glue the foam box to the bottom of the nesting/hat box.
- Then insert a rose in the corner of the foam. Repeat adding roses until you fill up the row. So for a 7 inch box, there are 4 roses per row (16 roses total).
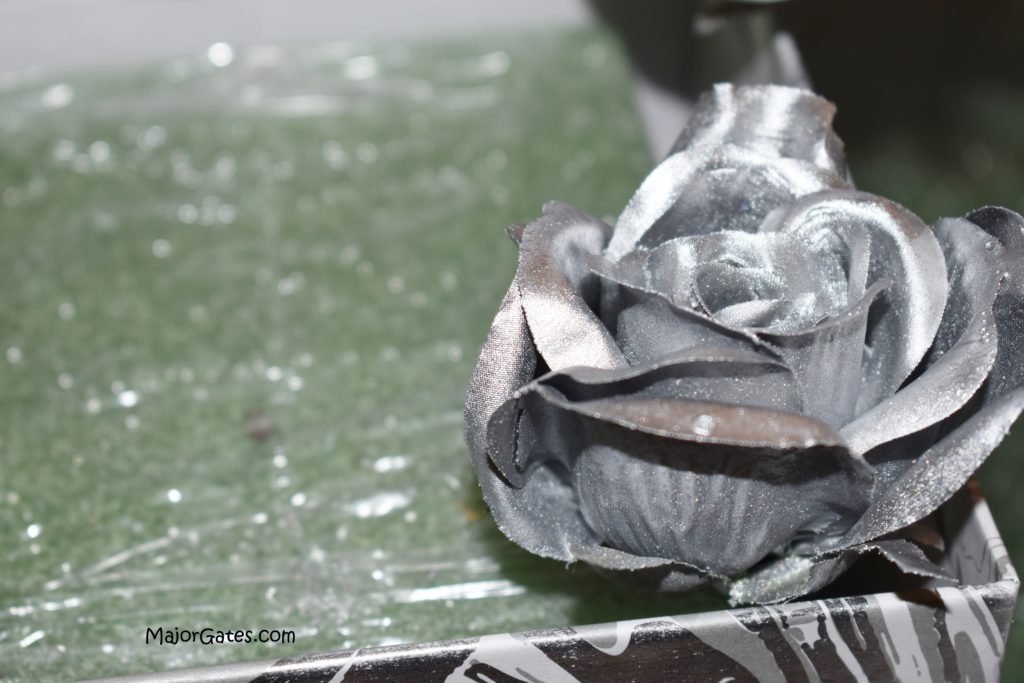
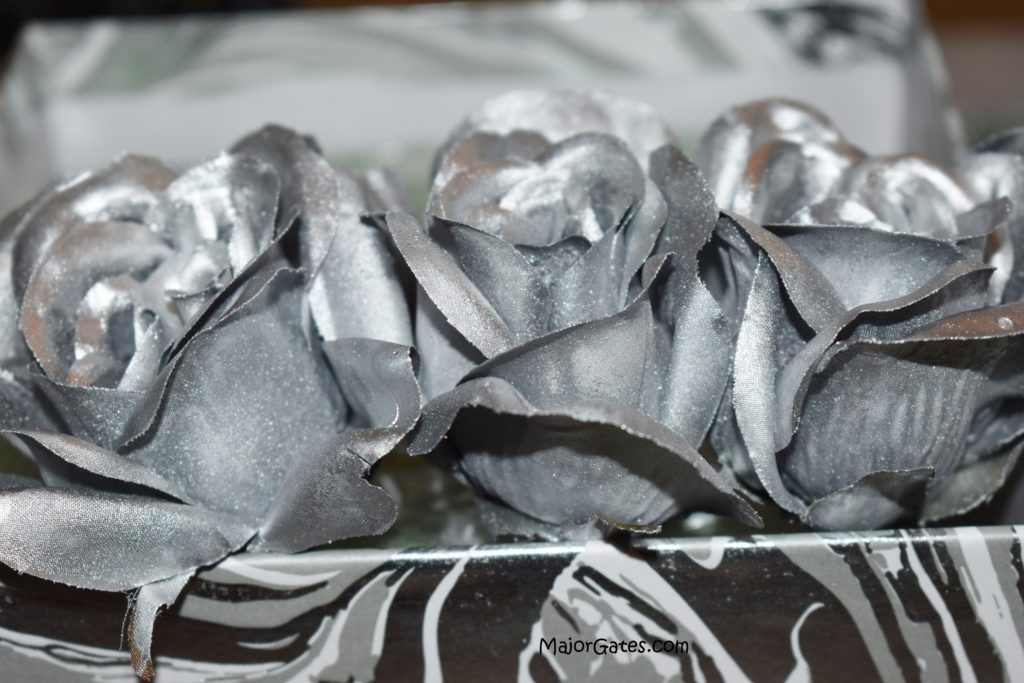
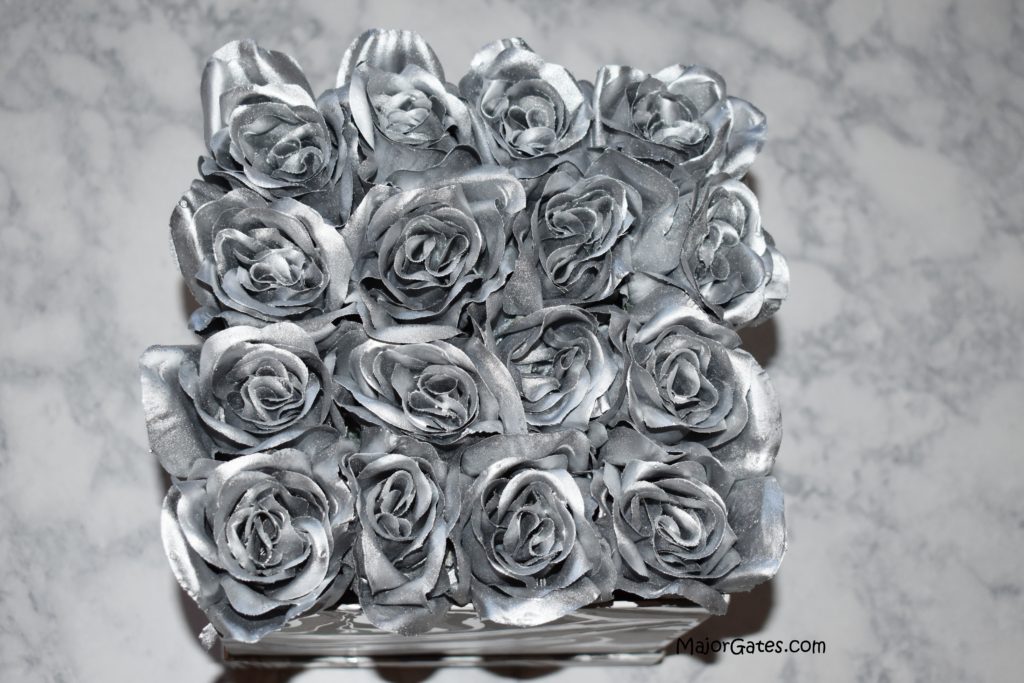
- The roses should be exposed on the top of the box, so do not push them too deep into the box.
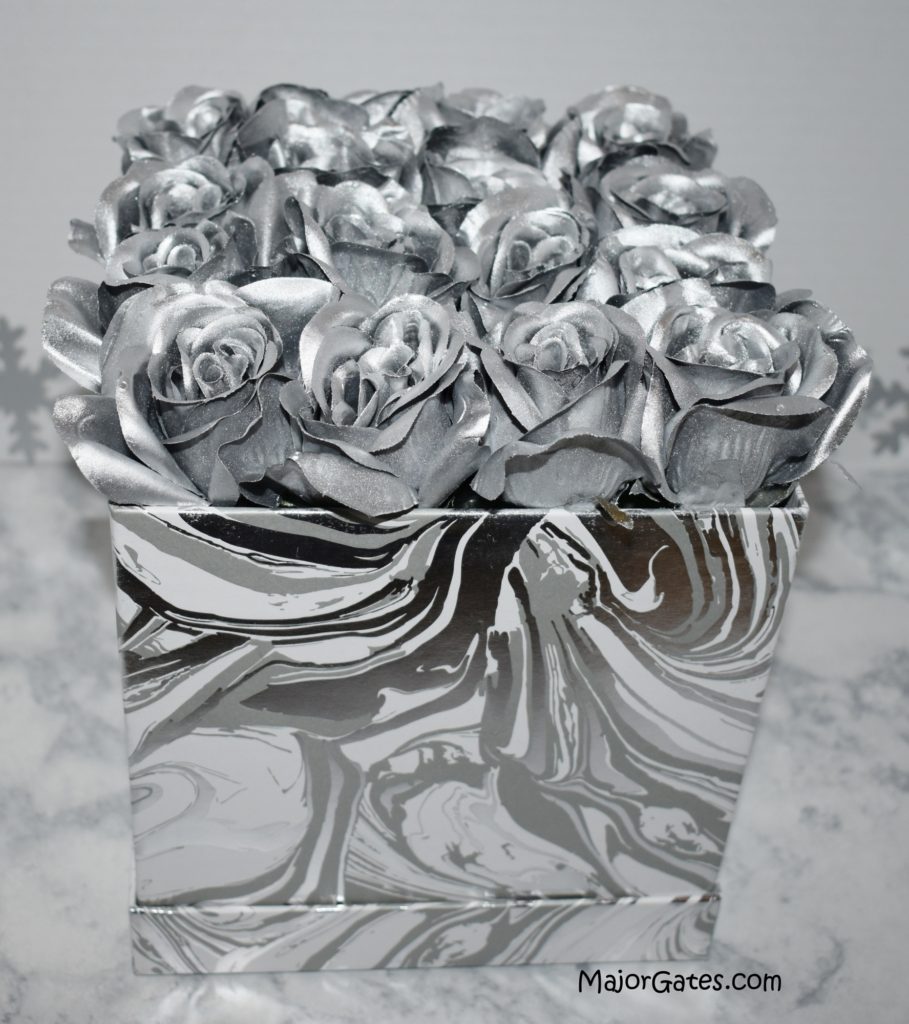
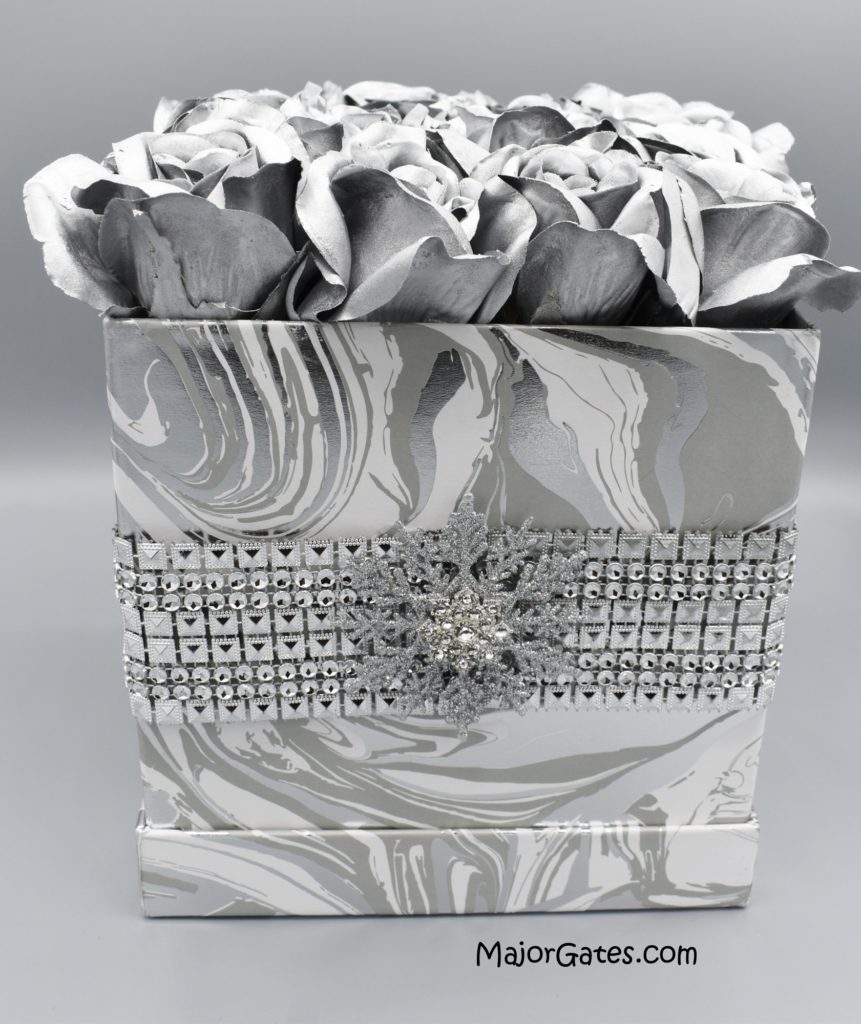
- The box is complete once you add all of the roses but if you would like extra impact, consider adding decorative ribbon and embellishments.
- Dry fit on the ribbon and cut. Then hot glue on the ribbon and the embellishments.
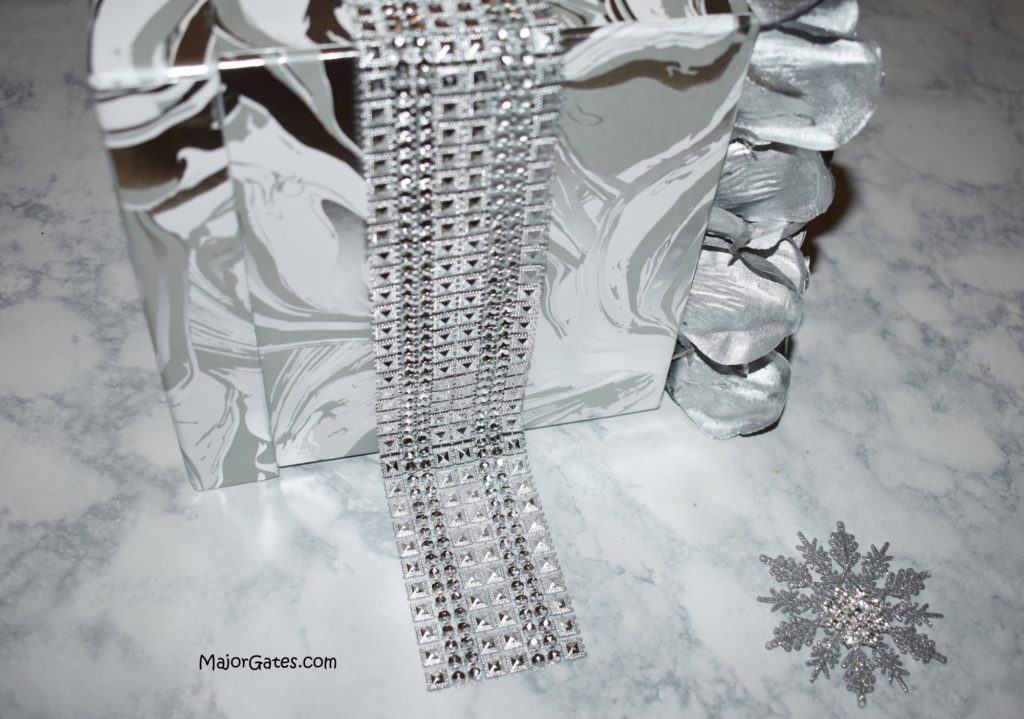

- You are done! This floral gift box will not disappoint whoever sees it.
For another great craft idea, see my post on how to make Crystal Ice Plates here: https://majorgates.com/do-it-yourself/diy-crystal-ice-plates/
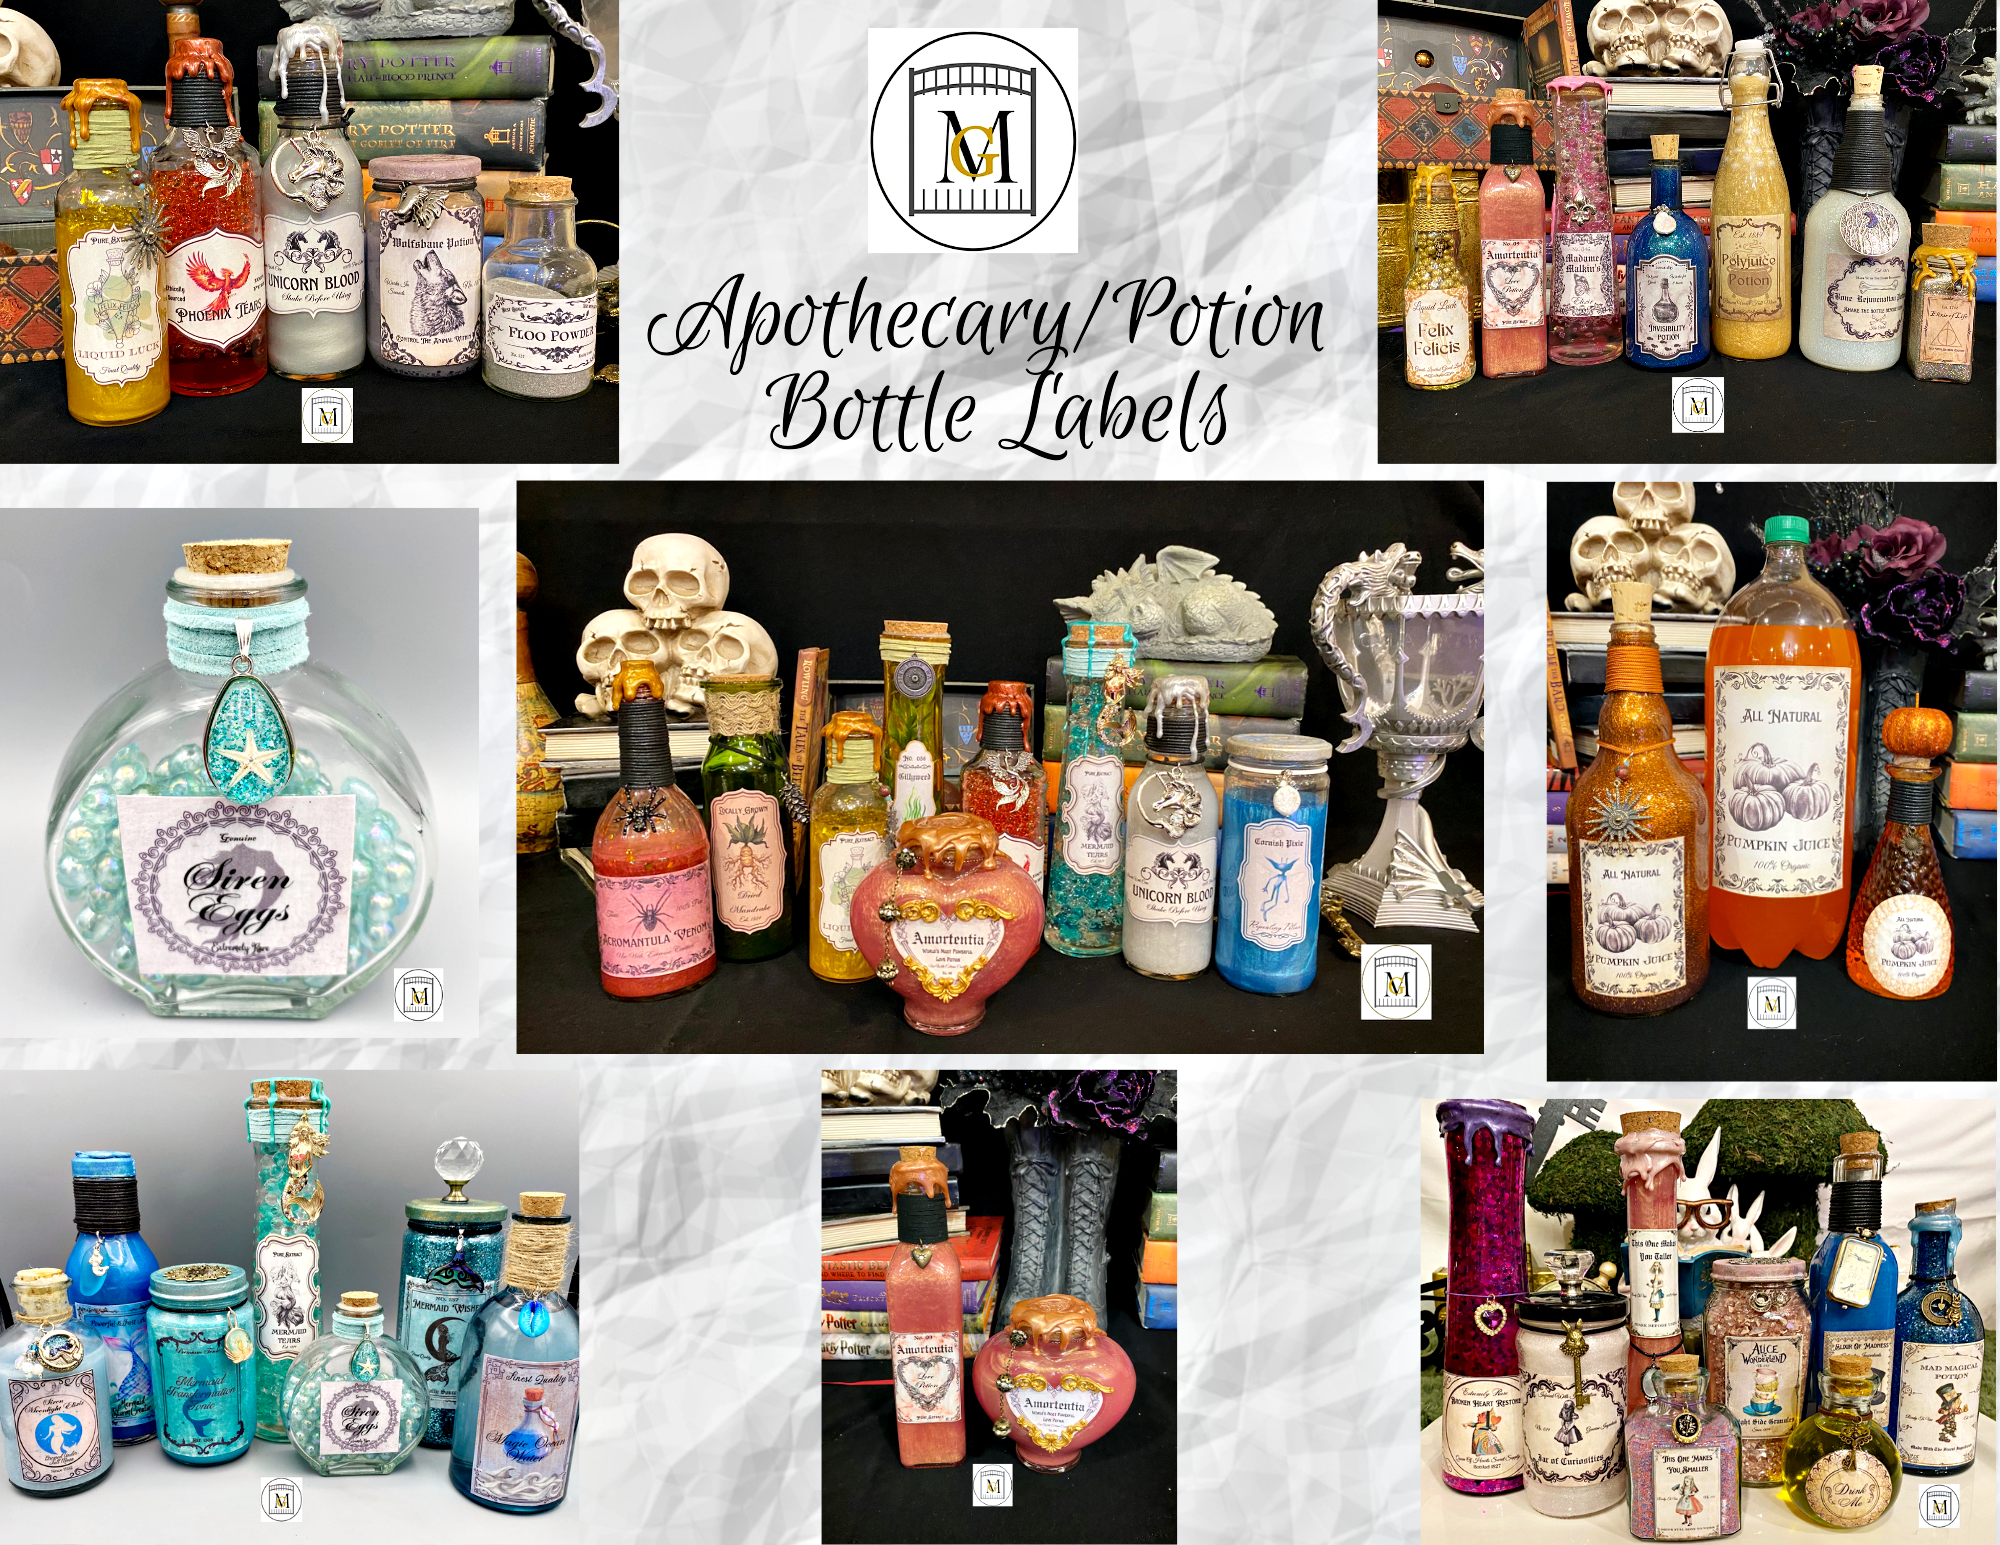
To see my available Potion/Apothecary Party label downloads, click here: https://majorgates.com/product-category/potion-apothecary-labels/
