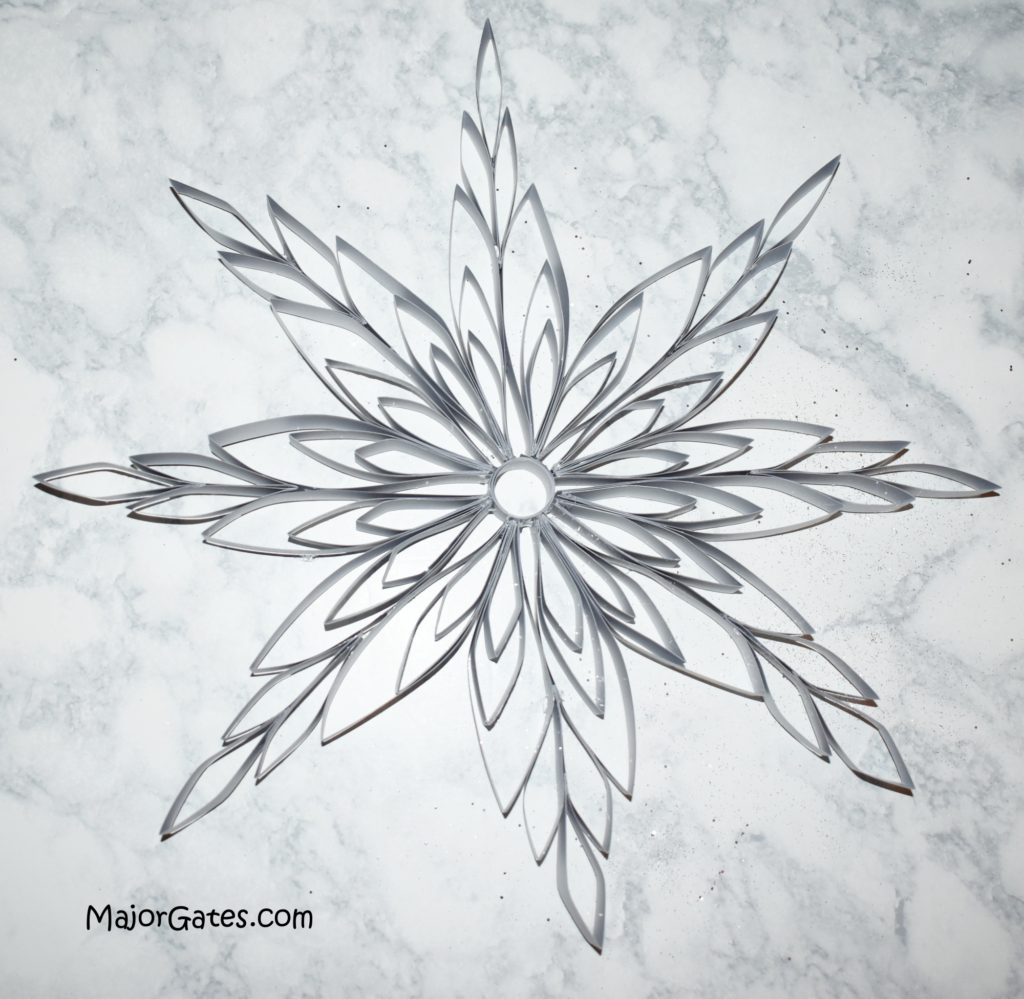
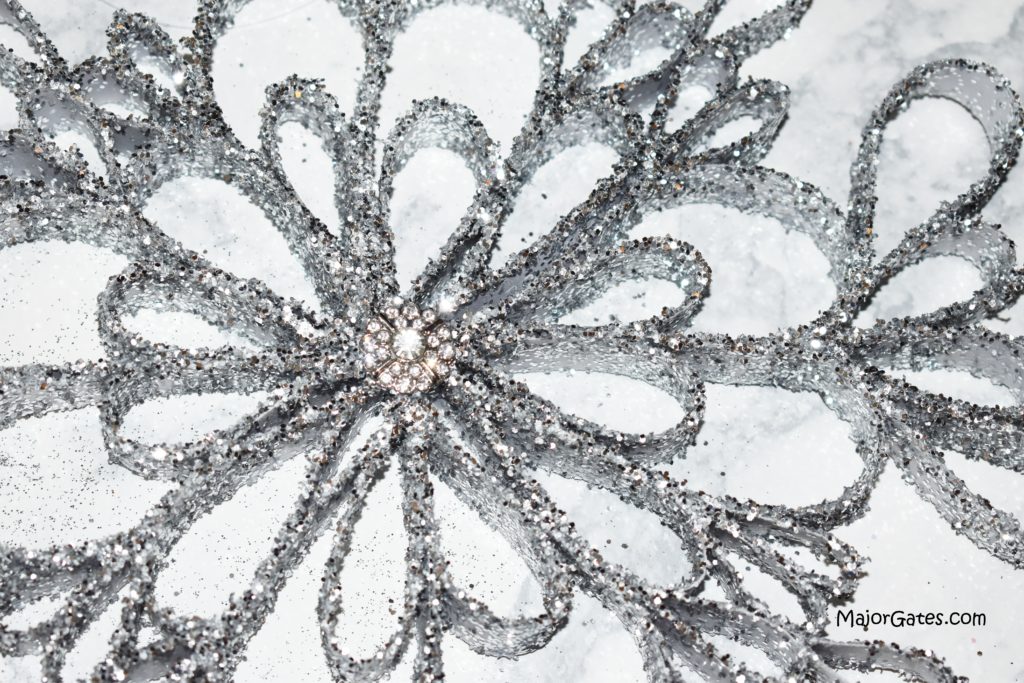
Giant Glitter Paper Snowflakes
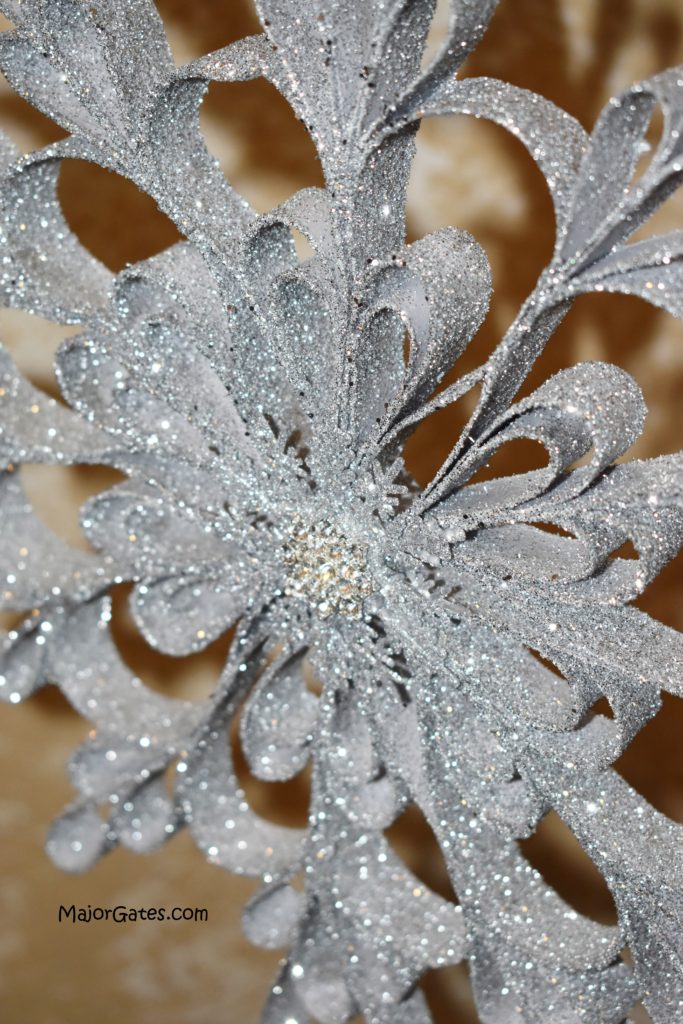
Learn how to make giant glitter paper snowflakes for the holidays, party or event. This project started because I wanted to make a winter wonderland accent wall covered in large snowflakes. In addition, these can be made to hang from the ceiling as well with some clear fishing line.
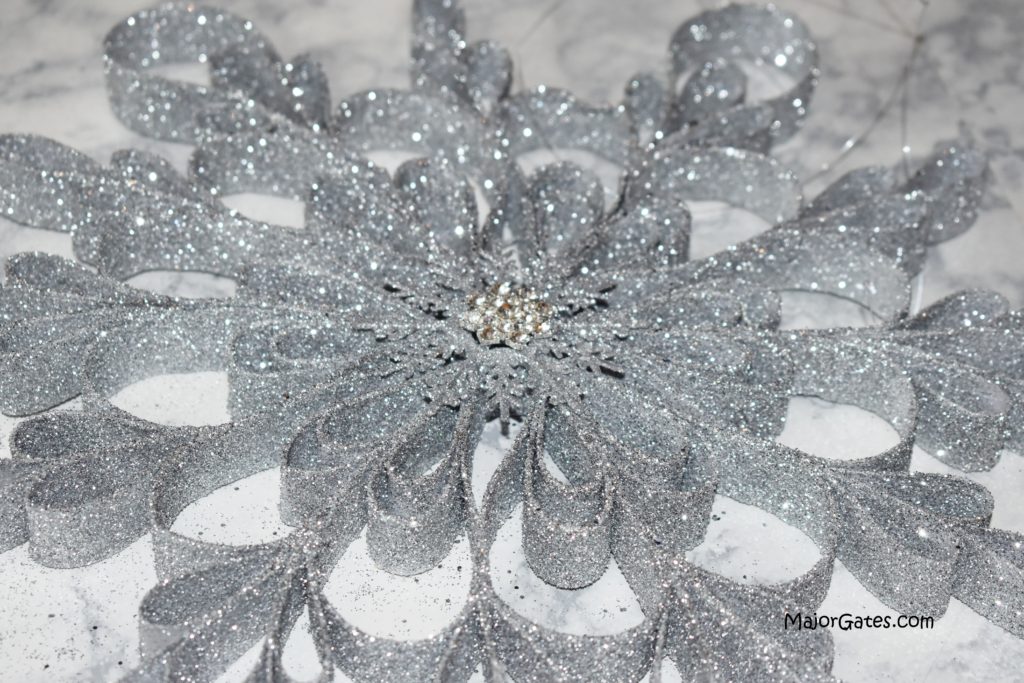
I was inspired by the craft toilet paper roll snowflakes but I wanted to do something larger. Also, the glitters that you choose, will add extra texture to the snowflakes. Regular glitter is more dramatic and fine glitter is more elegant. So, If you are creating more than one giant glitter paper snowflake, mix them up, since every snowflake in real life is unique.
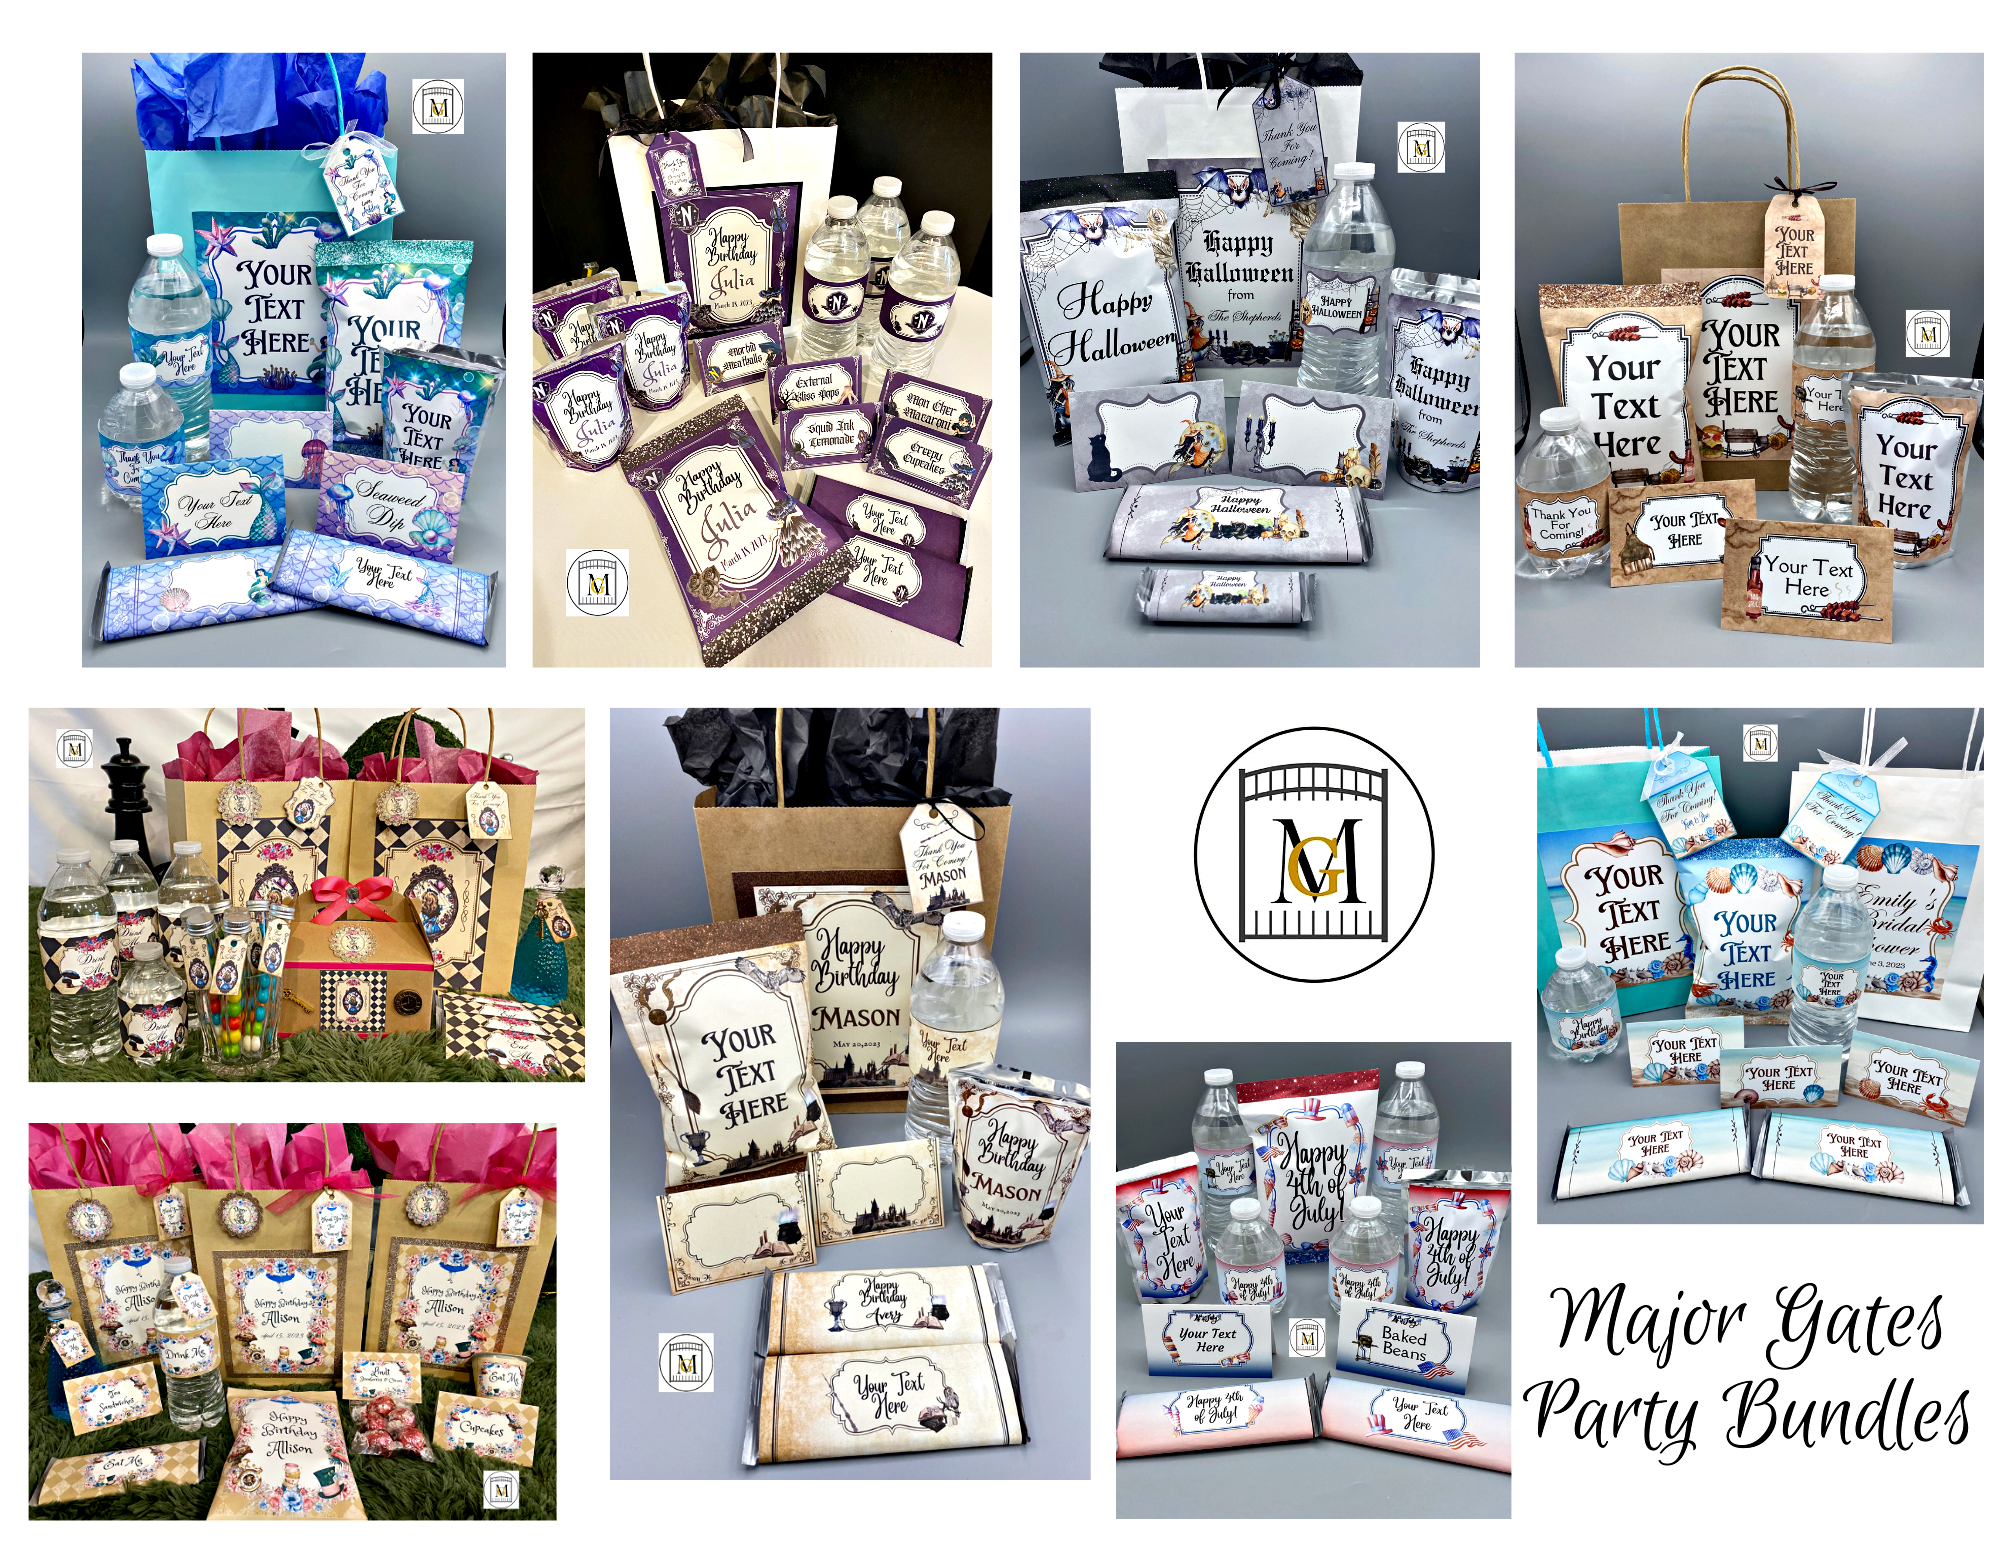
To see my available Party Label Bundle Downloads, click here: https://majorgates.com/product-category/party-bundles/
So for a great way to have fund with a group at a party, check out my available Jeopardy/Trivia Party Downloads here: https://majorgates.com/product-category/jeopardy-trivia/

Don’t Forget To Follow Me On Pinterest!
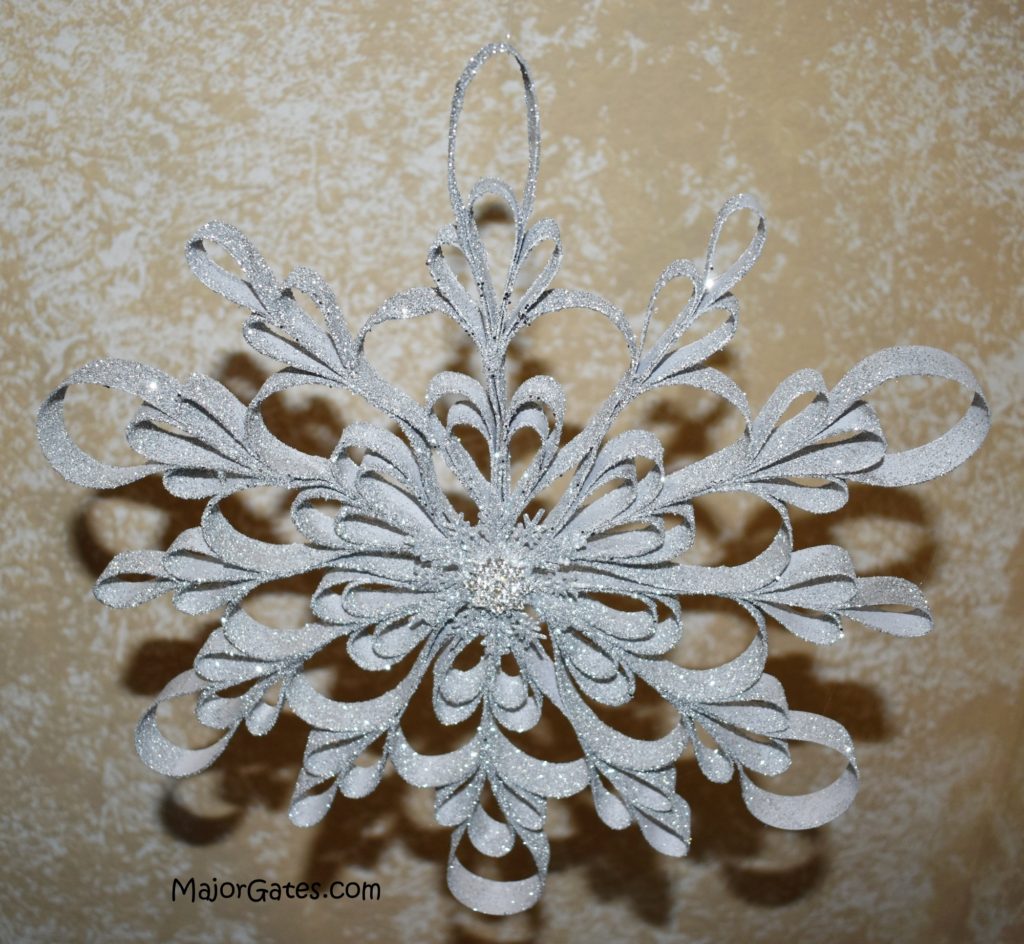
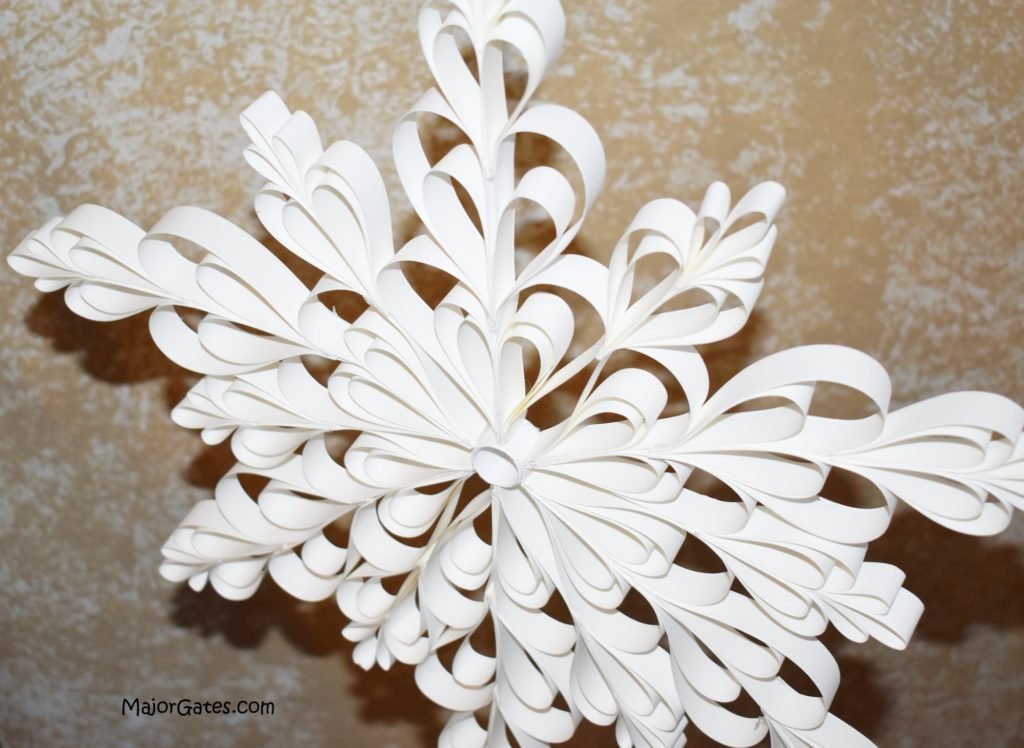
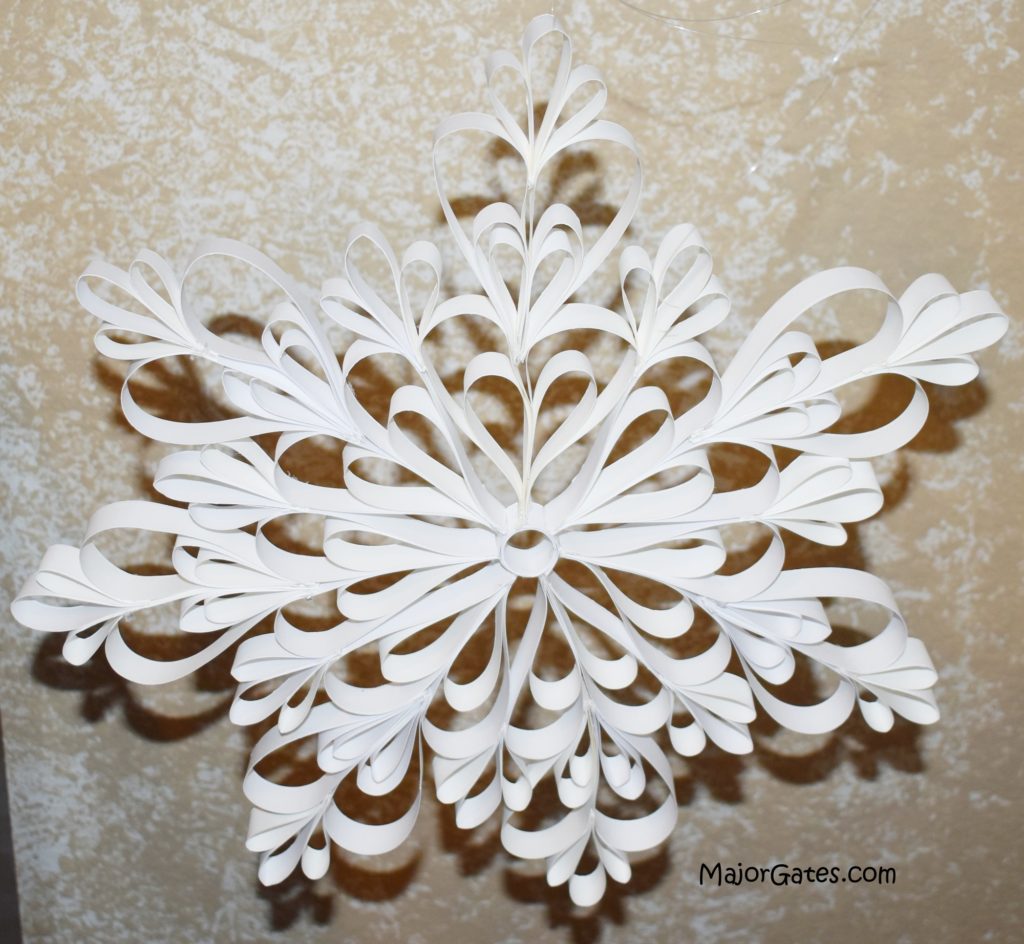
You could also make these without the glitter and they are just as beautiful. So, you can make these as large as you want as long as the card stock will stand up. Also, you can make these with creased folds or rounded folds. The possibilities are endless!
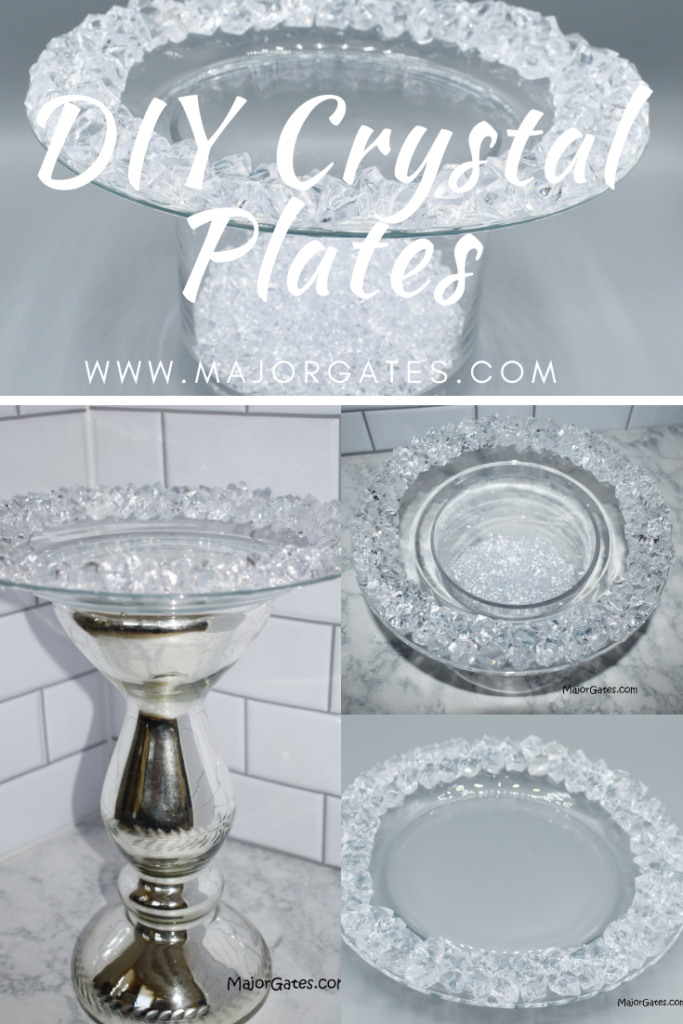
So learn how to make Crystal Ice Plates here: https://majorgates.com/do-it-yourself/diy-crystal-ice-plates/
Supplies
- Regular card stock – Medium weight 65 lb in the color of your choice – white, grey or winter blue
- Dual temperature mini glue gun with glue sticks
- Scoring board and bone folding tool
- Sharp scissors
- Ruler
- Disposable gloves
- Spray adhesive
- Glitter (regular, fine and extra fine) – various glitters in the color of your snowflake paper
- Rhinestone gems – optional
- Snowflakes – Optional
- Large container or cardboard box – to shake the glitter over the container or box
- Drop cloth
- Fishing line
To see my available 2-Liter/Wine Bottle Party Label Downloads, click here: https://majorgates.com/product-category/2-liter-wine-bottle-labels/

Directions For Giant Glitter Paper Snowflakes
- Start by measuring the paper and creating your strips. You will need to make strips in varying lengths, like 8 1/2 inch, 6 inch, 5 inch, 4 inch and 3 inch. Then, I cut the 8 1/2 x 11 inch paper to the size. For example, cut off 5 inches and then score in 2 cm wide strips with the bone folding tool.
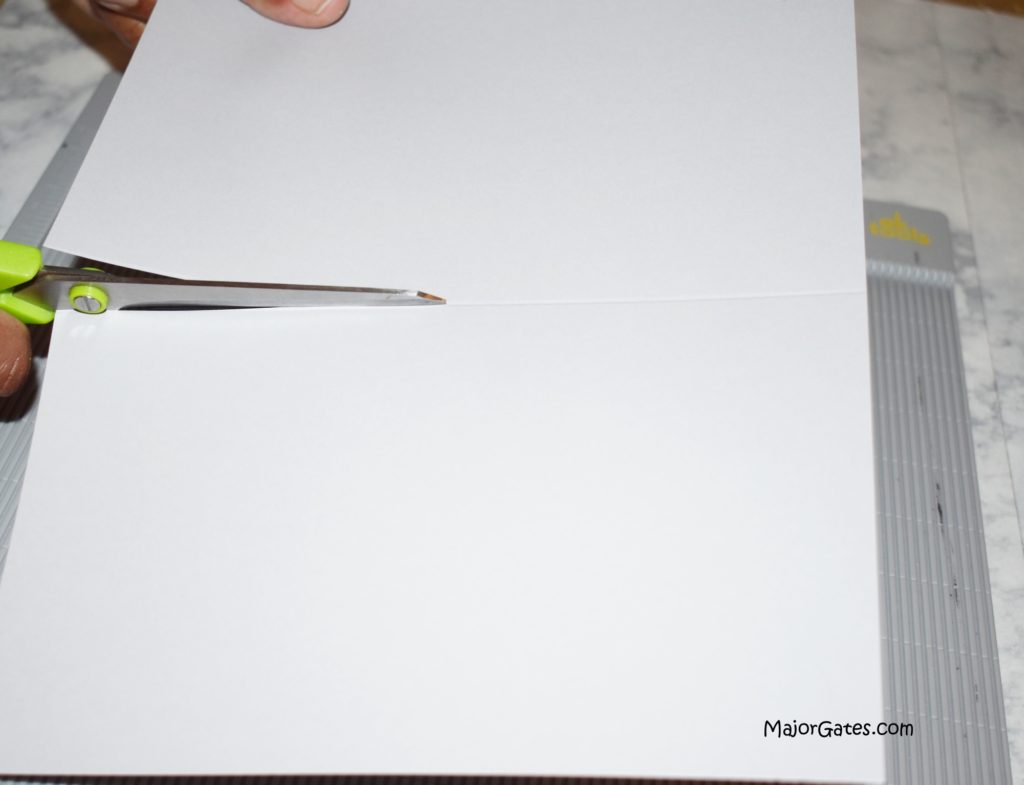
- Next is scoring paper in the length’s. You will need between 12 -36 depending on how many layers you make. All the strips are 2 cm wide. So, just score on your board, the length you need.

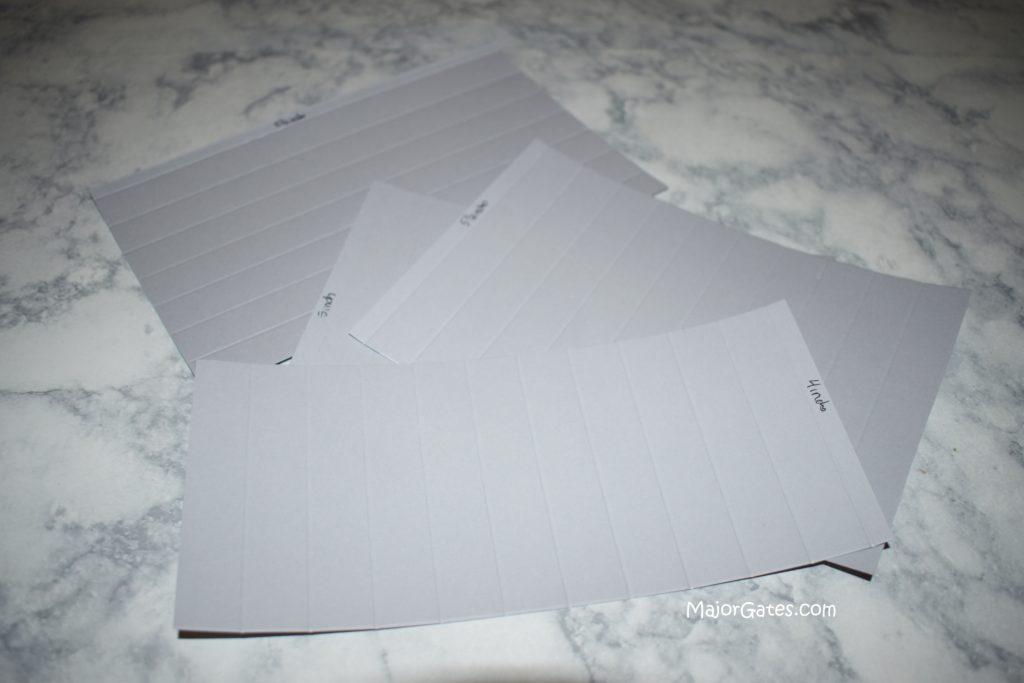
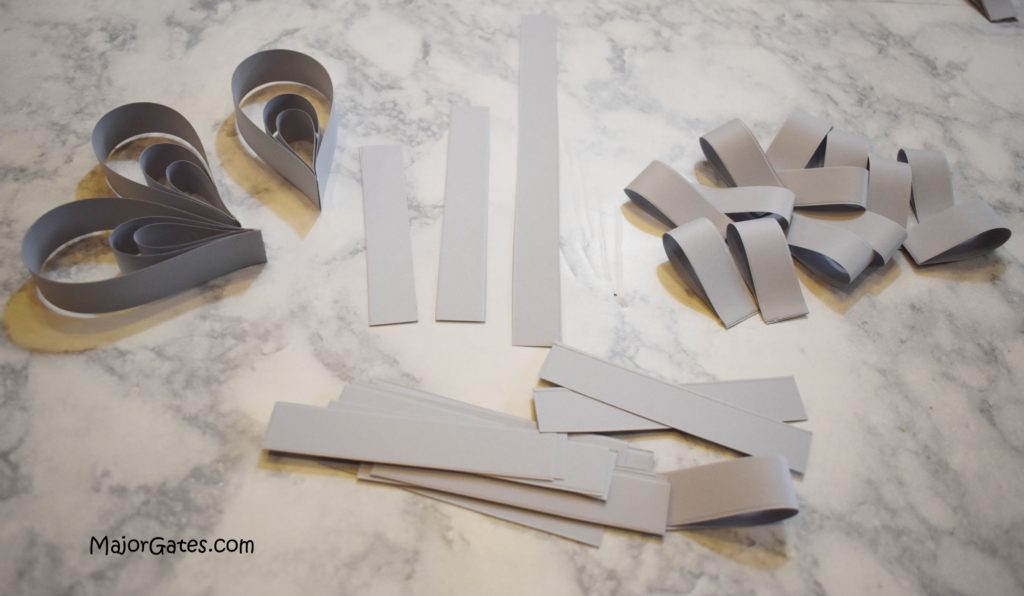
- Then cut the strips of paper and place in groups.

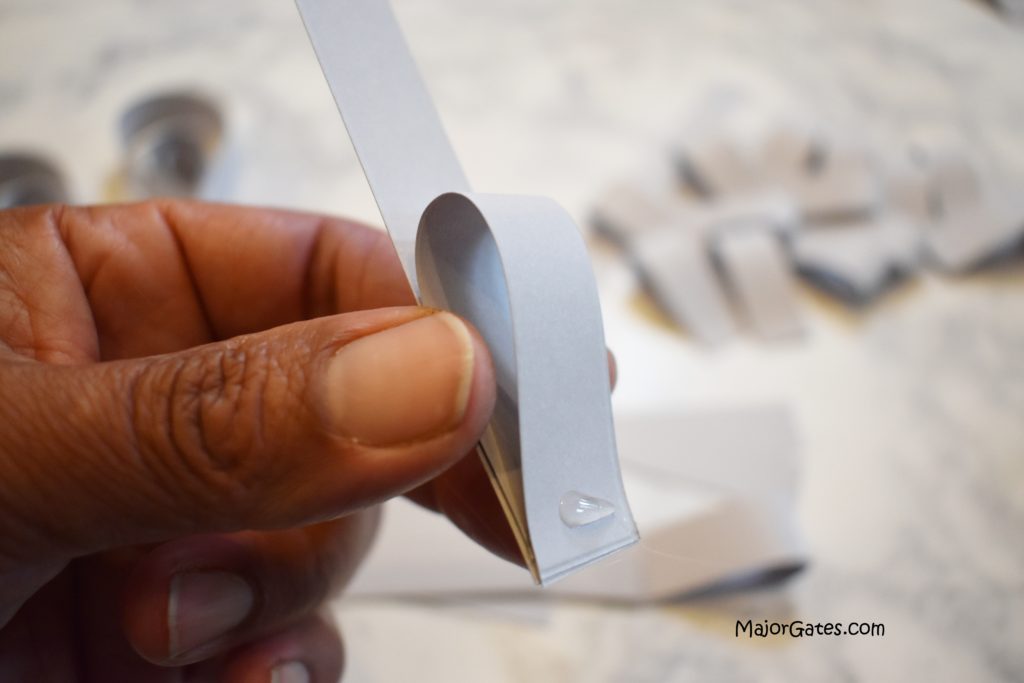
- Next, with a dab a hot glue, bend over the smallest strip of paper and hold for a few seconds. Then repeat until you have them all glued.
- Now, add the next larger size by adding a dab of glue and folding over the smaller folded strip. So determine if you are gluing two layers or 3 layers. You can go from 4″, 5″ and then 8″. Therefore, the possibilities are endless!
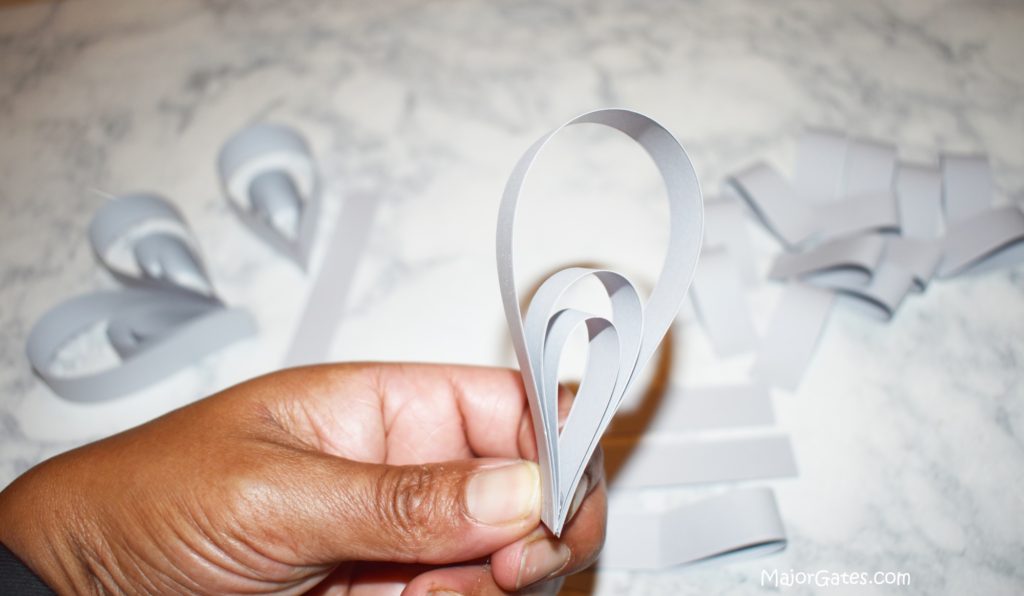
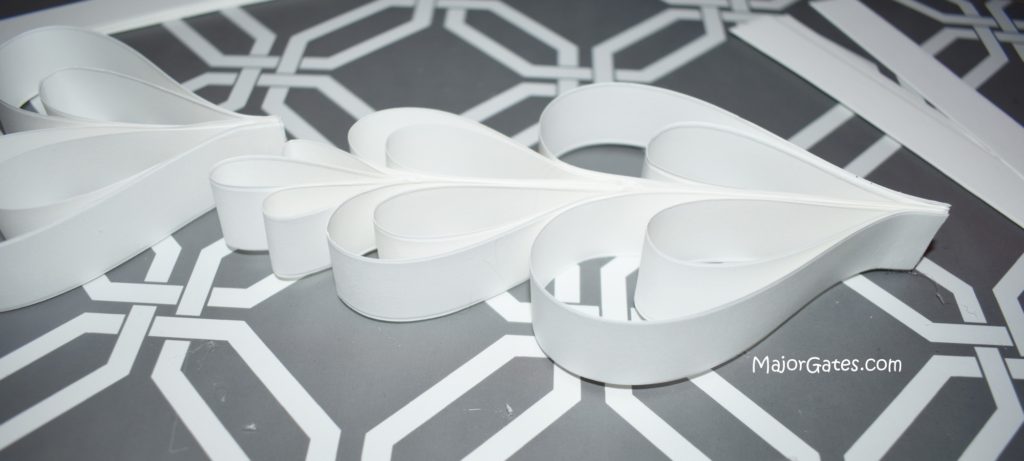
- Once you have glued all your sections, do a dry fit to create your snowflake. There is no wrong way to do this. You can just use your imagination to create your sections. So you may need to cut more strips to get the desired look you are looking for. Also, 3 inch folded strips look great on each side of a 5 inch strip.

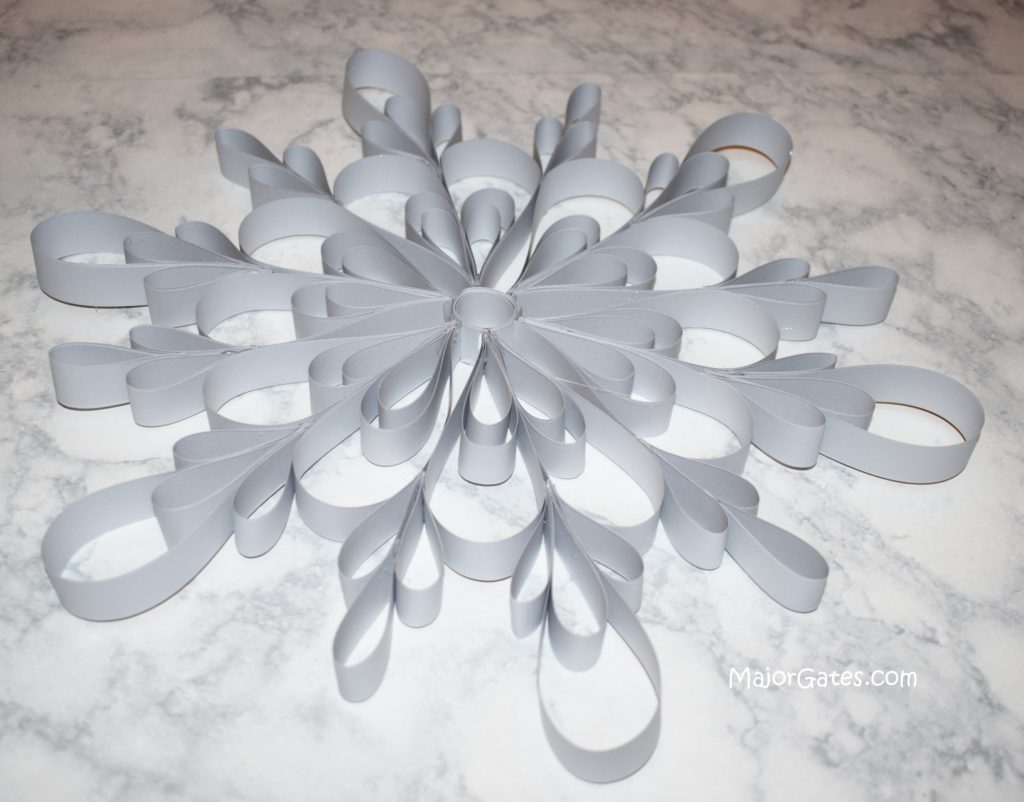
- To make the center, cut an 11 inch strip and make a tight rolled circle by wrapping around a nail polish bottle cap or mascara tube or something small and cylinder. Then glue, half way threw folding and then at the end.
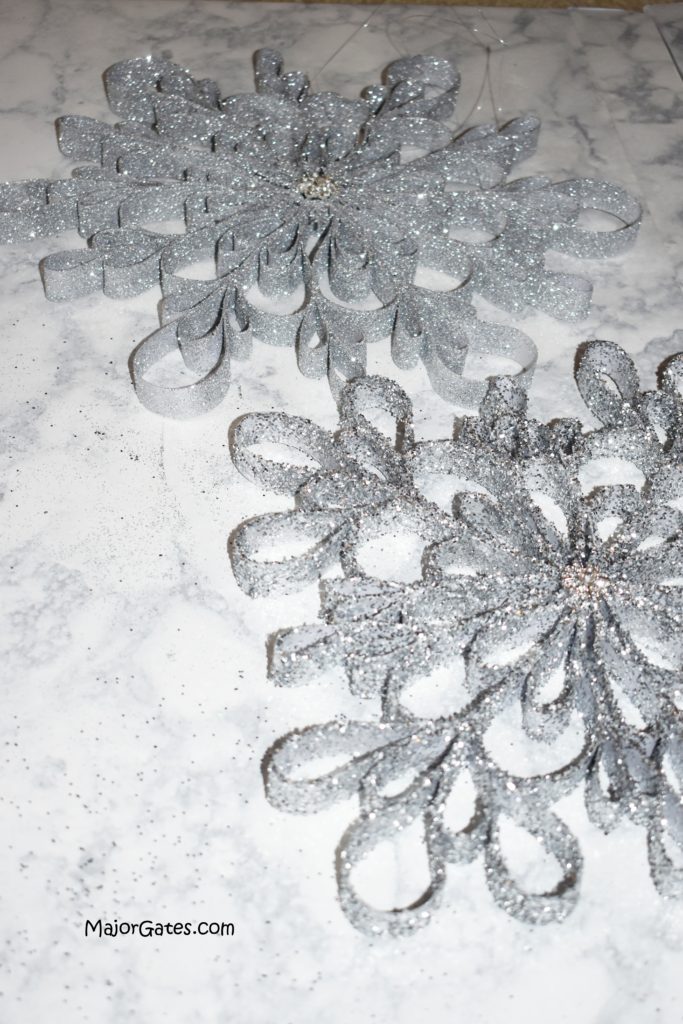
- Once you are happy with the snowflake, glue it all together, starting with the center. Make sure you are working on a protected surface because the hot glue will drip. I use plastic placemats that I get from the dollar store. So if you did a dry fit and kept it in place, it will all be spaced apart properly.
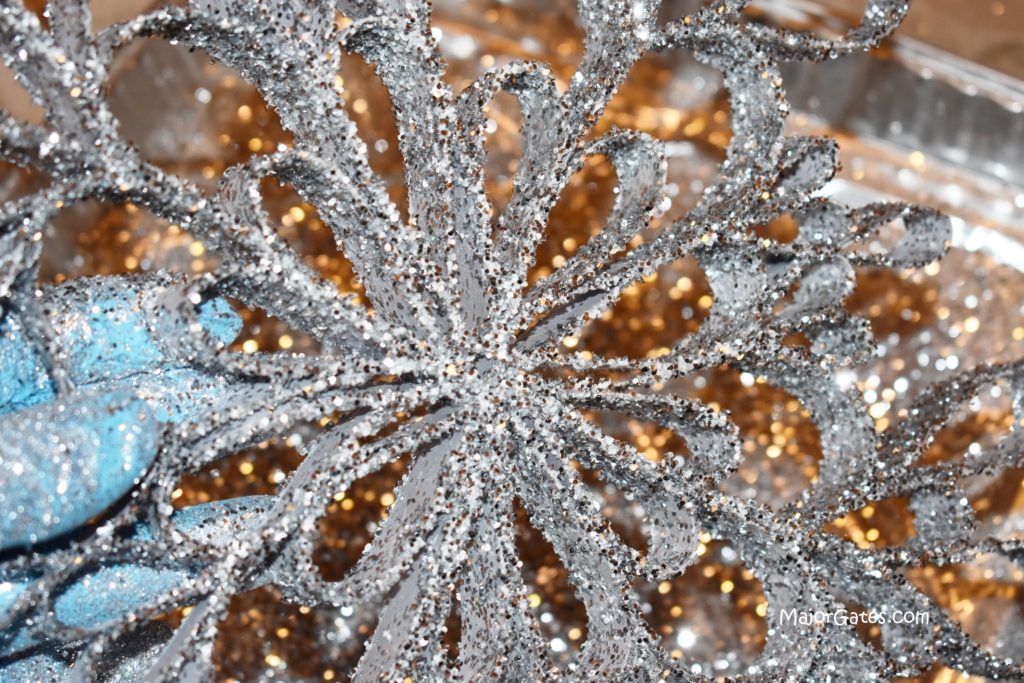
- Now it is time to add the glitter. First, put on gloves. This is very important because this stuff is hard to get off of your hands. Then spray with the adhesive in sections and quickly shake on the glitter over a large container or card board box. I did this inside, but I recommend outside because the over spray got on my tile floors. Next time, I will be outside.
- Allow giant glitter paper snowflakes to dry overnight.
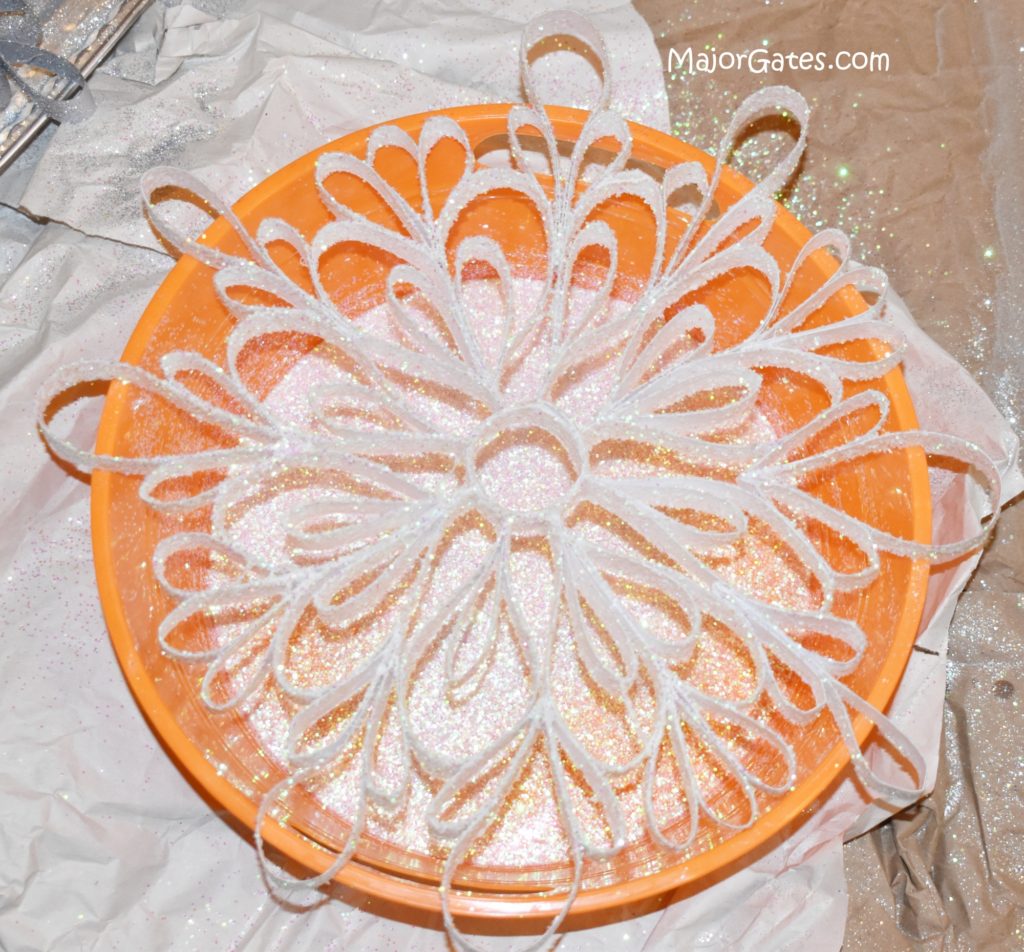
- Then add snowflake embellishments if you choose and they are ready to hang. So I like to hang with clear fishing line or affix to the wall with clear pish pins or double sided tape.
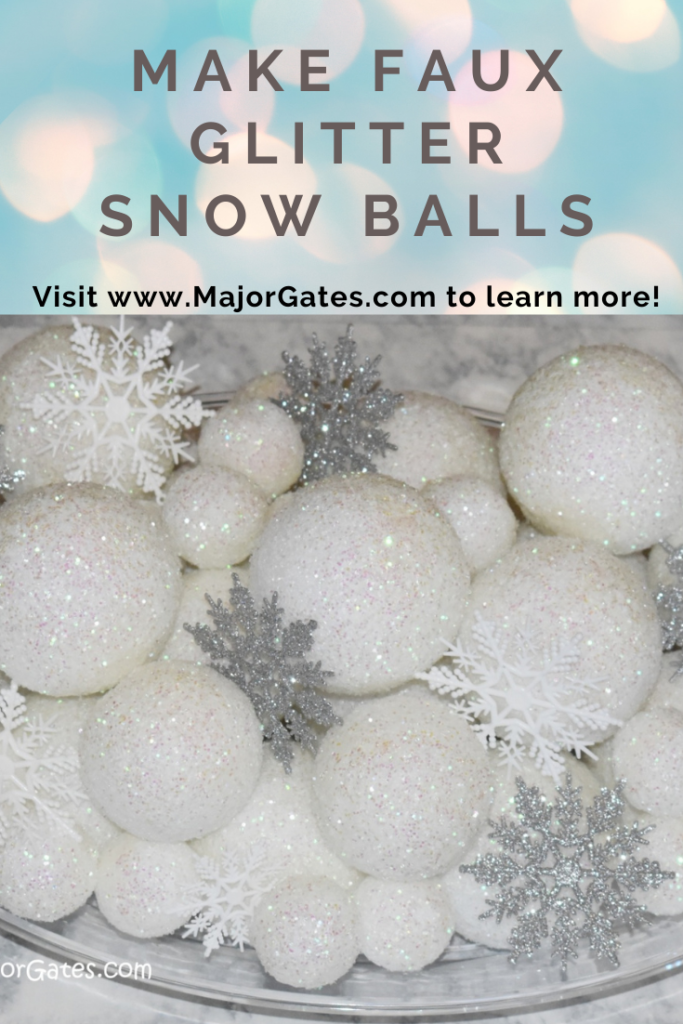
For another great white Christmas decoration idea, see my post on how to make Faux Snowballs here: https://majorgates.com/do-it-yourself/faux-snow-balls/
To see my available Potion/Apothecary Bottle Party Label Downloads, click here: https://majorgates.com/product-category/potion-apothecary-labels/
