Harry Potter Acceptance Letter
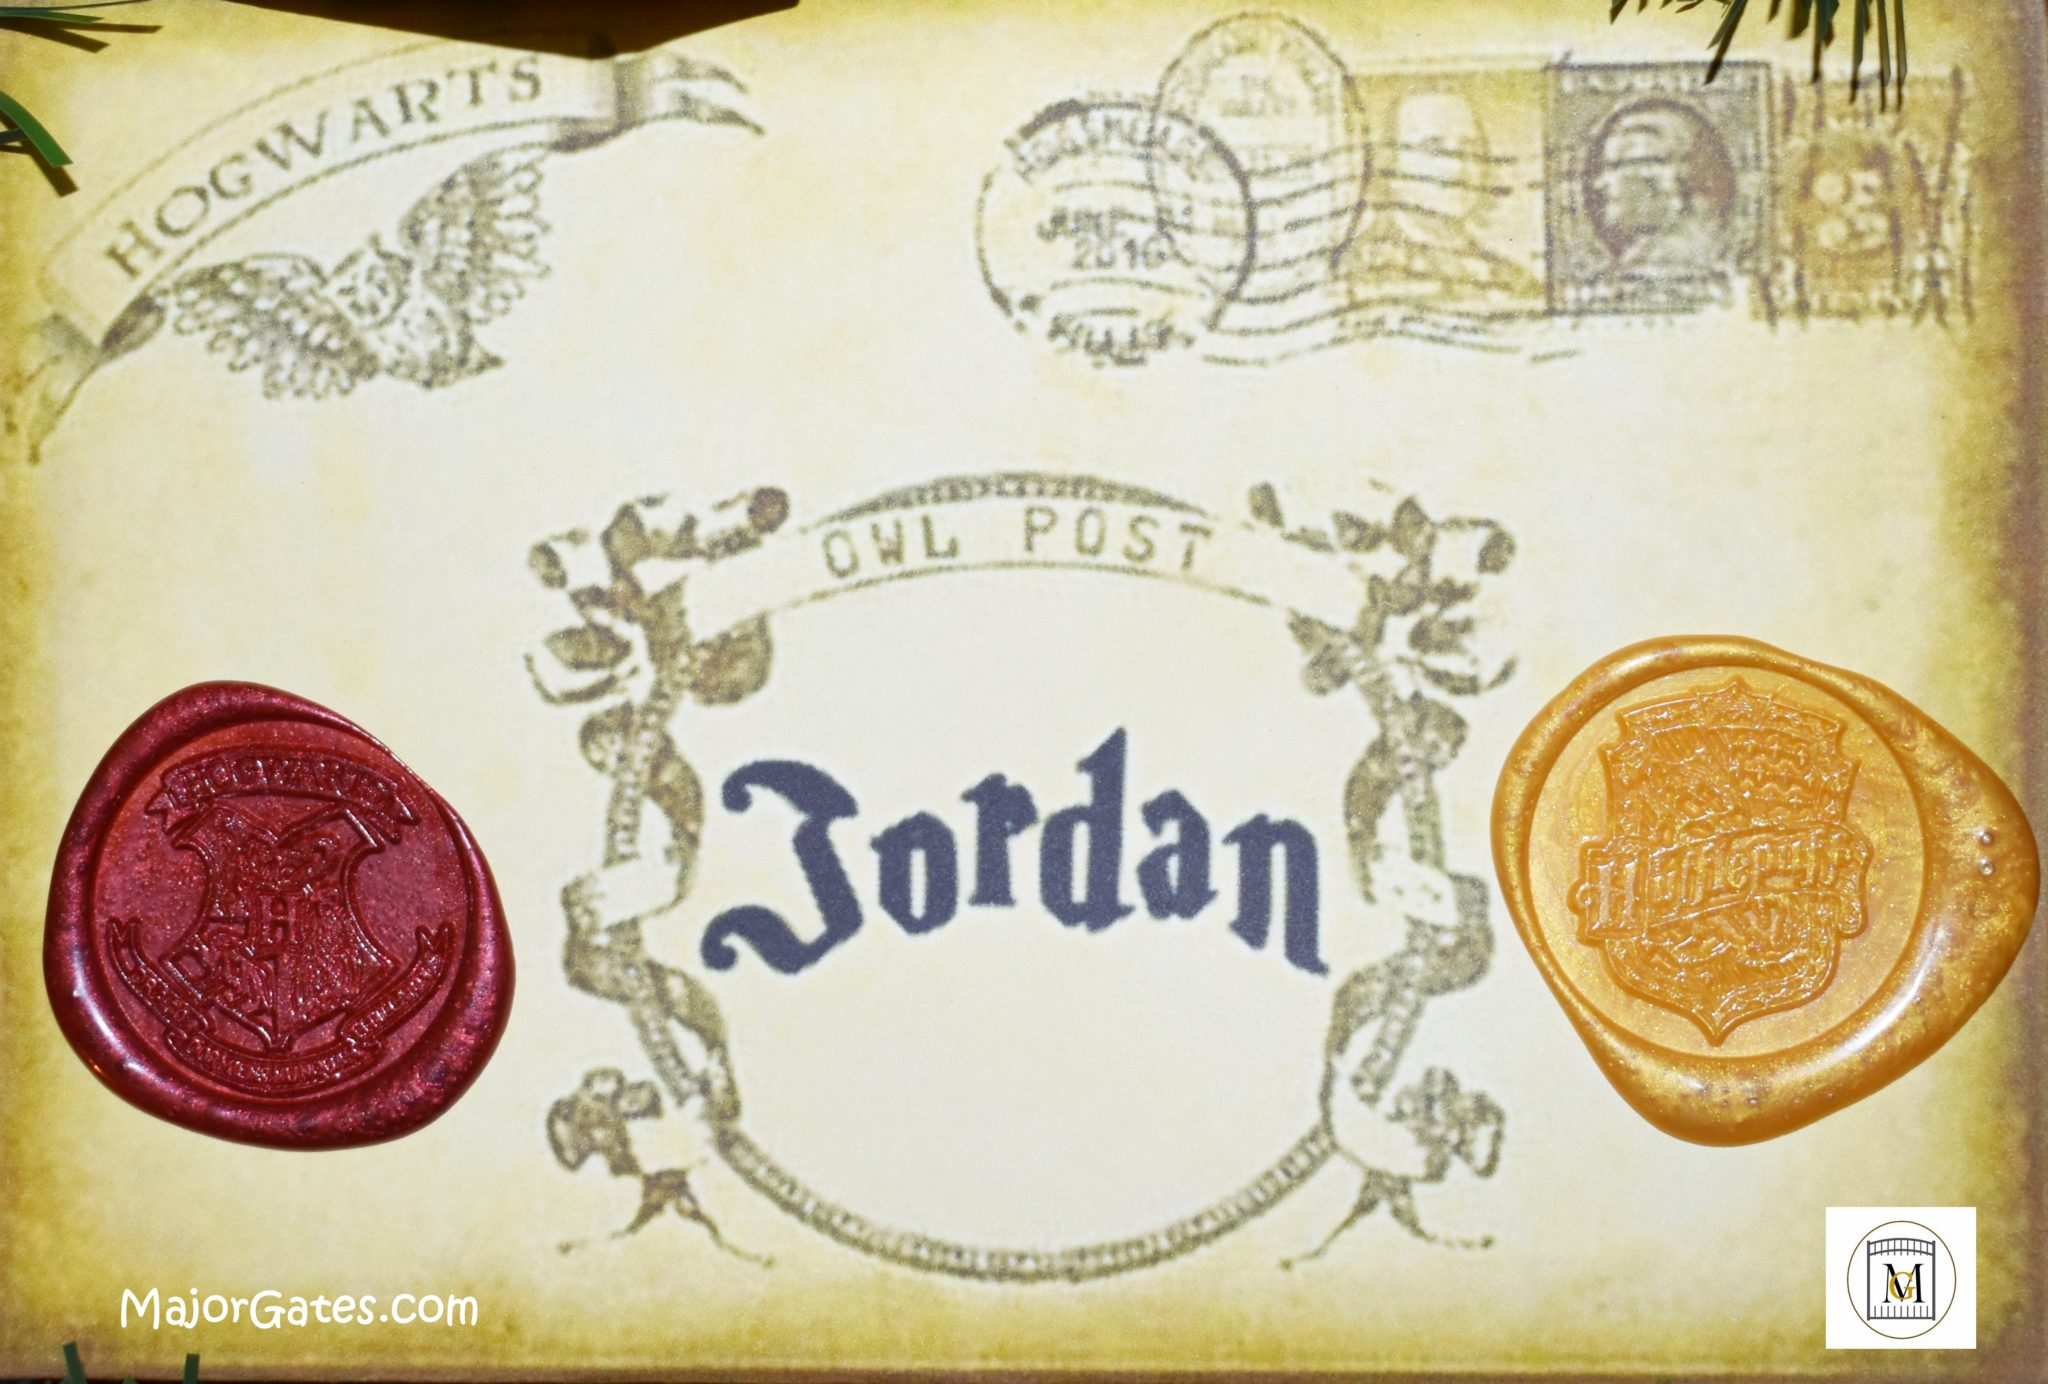
You can get pretty creative when making Harry Potter Acceptance Letters. There are unlimited options like creating faux letters to give to Harry Potter fans. Also, you can use the letters for decorations for a Harry Potter themed party or event. These are also nice around Christmas, especially if the recipient has a Harry Potter themed Christmas.
I made these letters for my twins 11th birthday party. I used them as accents, flying decorations, and as official acceptance letters. My sons still use the seal and wax kit, when they write letters to others. They are pretty easy to make, just print, fold, glue and add a seal. The fact that the letters look old and vintage is perfect for Hogwarts!
To see my available Party Label Bundle Downloads, click here: https://majorgates.com/product-category/party-bundles/
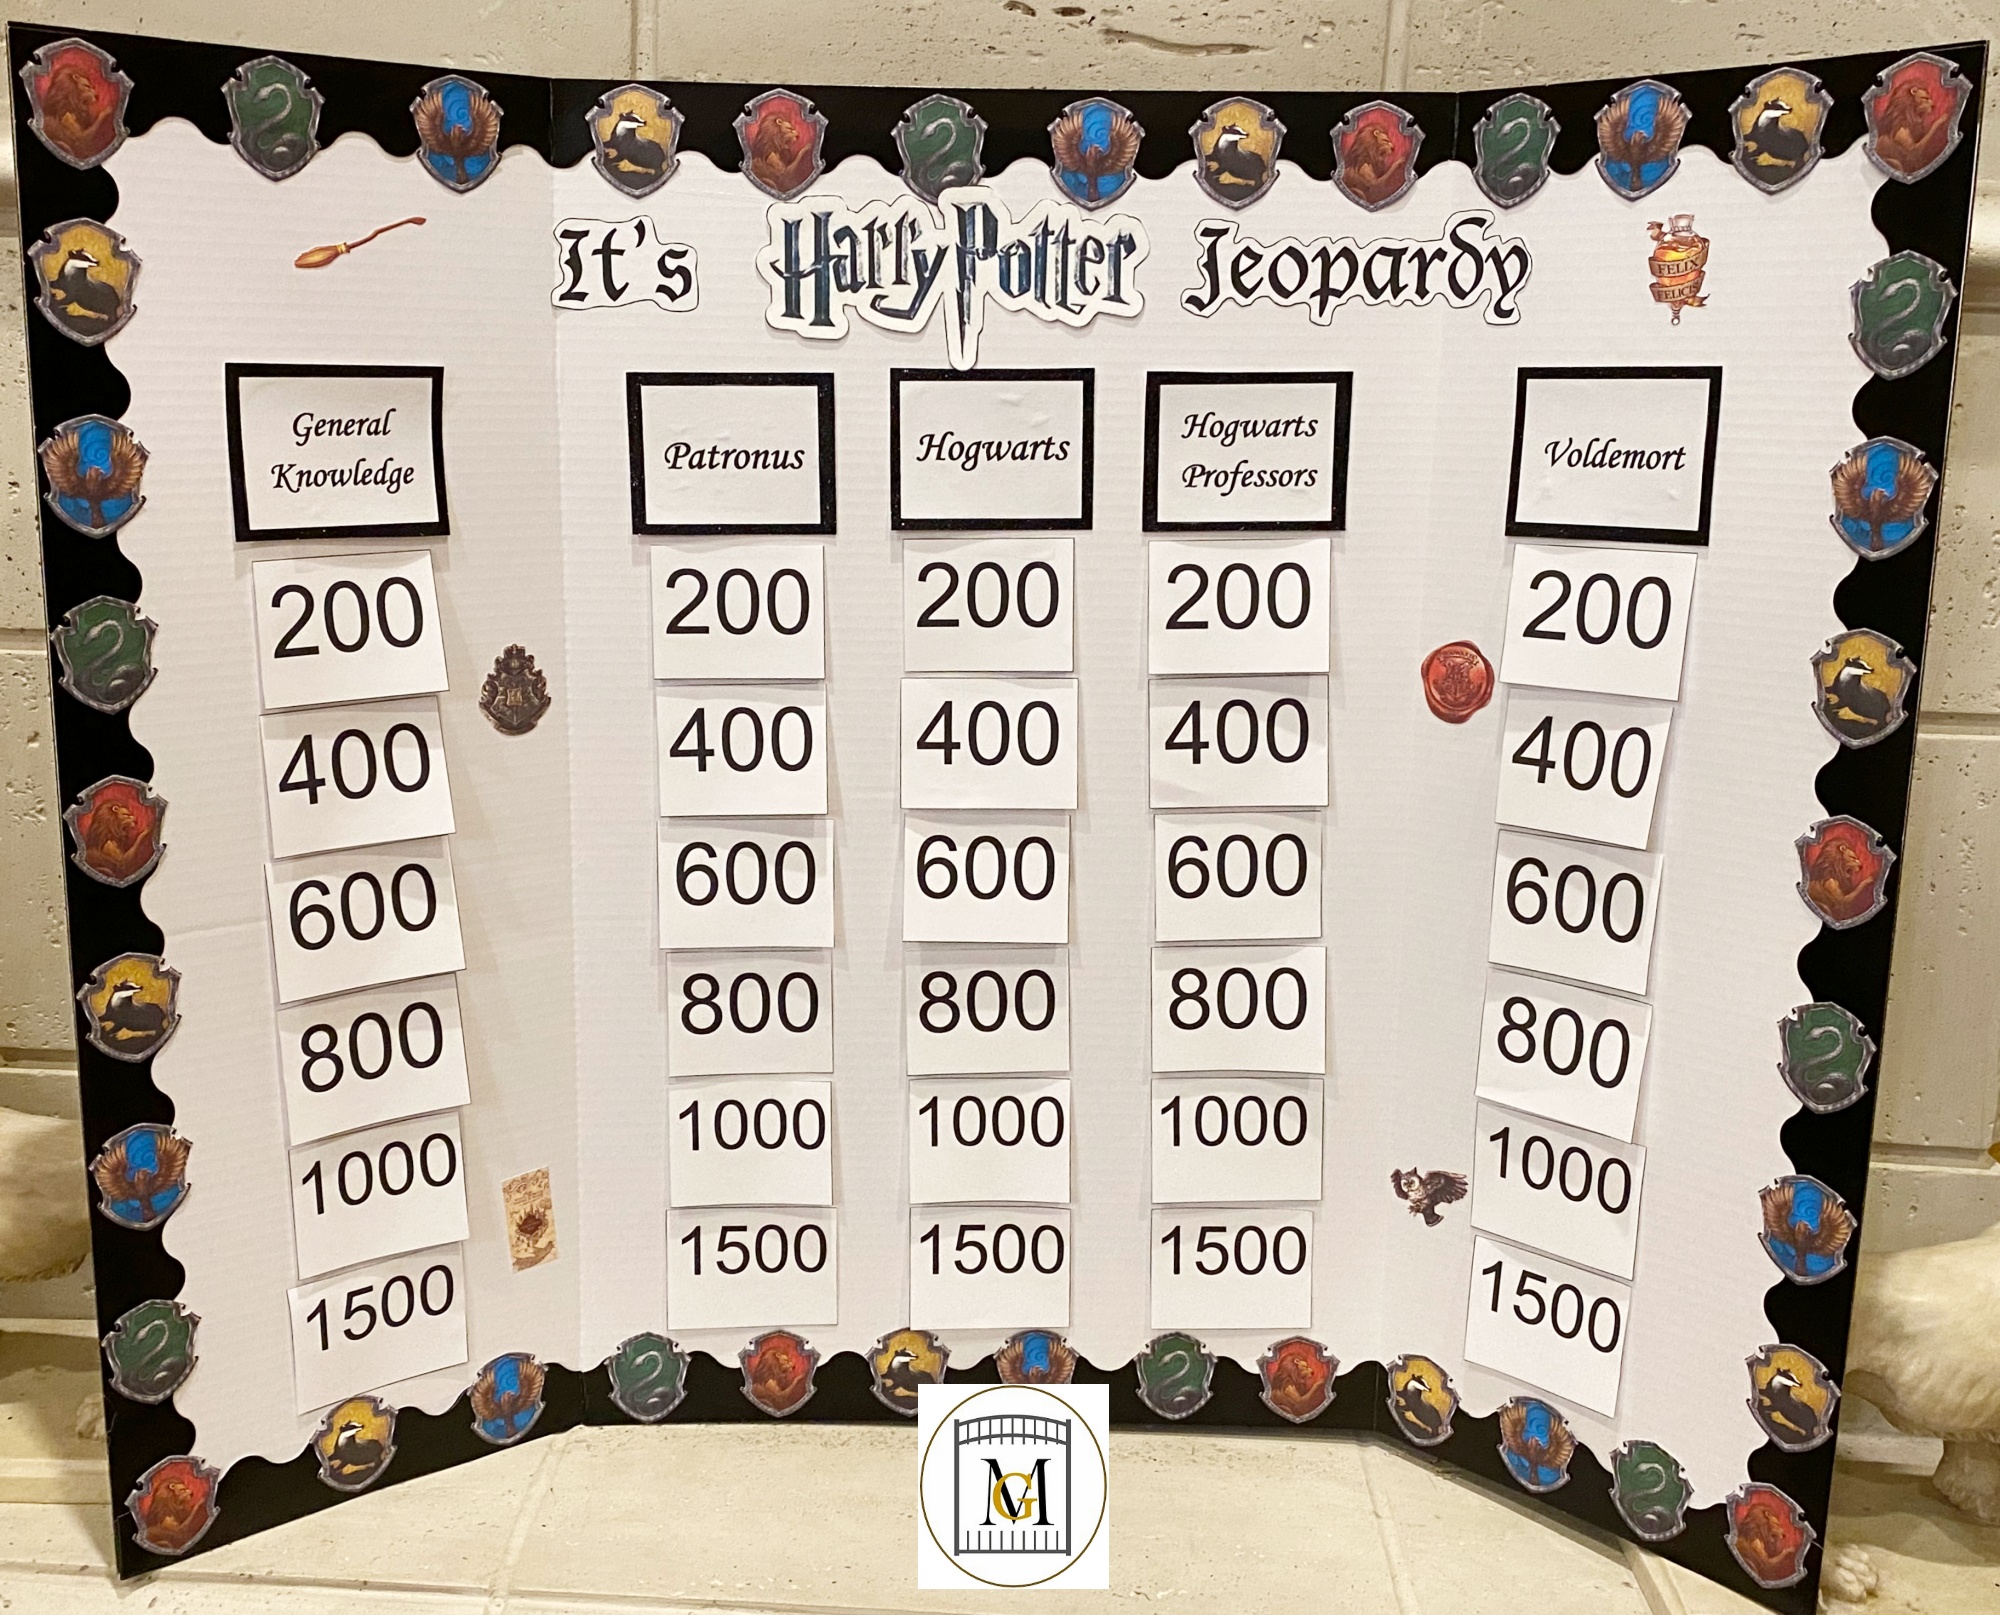
Need a game for your party or event? Get the download to make a super fun Harry Potter Jeopardy Game here: https://majorgates.com/product/harry-potter-jeopardy-game-download/
See my other available Jeopardy/Trivia party downloads here: https://majorgates.com/product-category/jeopardy-trivia/
Don’t Forget To Follow Me On Pinterest!
For more Harry Potter or other craft ideas, visit my DIY section here: https://majorgates.com/category/do-it-yourself/
For another great Harry Potter Party idea, learn how to make Chocolate Frogs and the boxes here: https://majorgates.com/do-it-yourself/harry-potter-chocolate-frogs/
Supplies
- White Card Stock – heavy weight – I recommend 90-110 lb but it will work with regular 65 lb card stock too, but the letters are not as firm.
- Sharp Scissors
- Color Printer
- Craft Bone Folding Tool
- Dual Temperature Glue Gun with Dual Temperature Glue Sticks
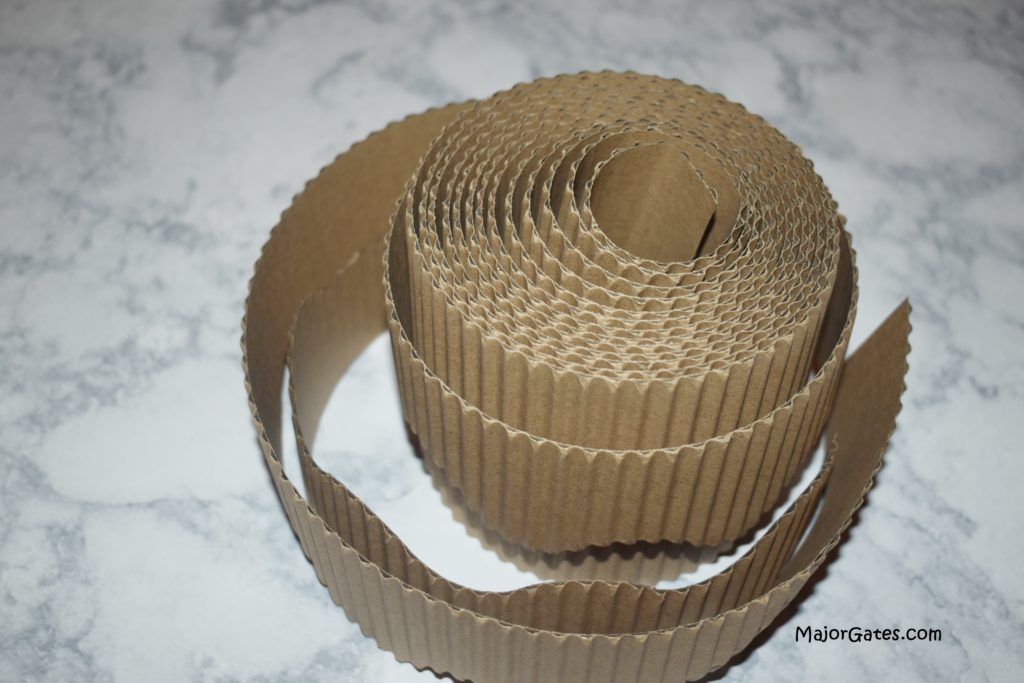
- Bulletin Board Trim Corrugated – any color. I used left over corrugated trim from another project that I purchased at my local craft store but they also sell it on-line. I think foam sheets will work as well in place of this as well. A small piece is placed inside the letter to make it puff a little as if sheets were inside the envelope.
- Hogwarts Wax Seals and melting wax beads
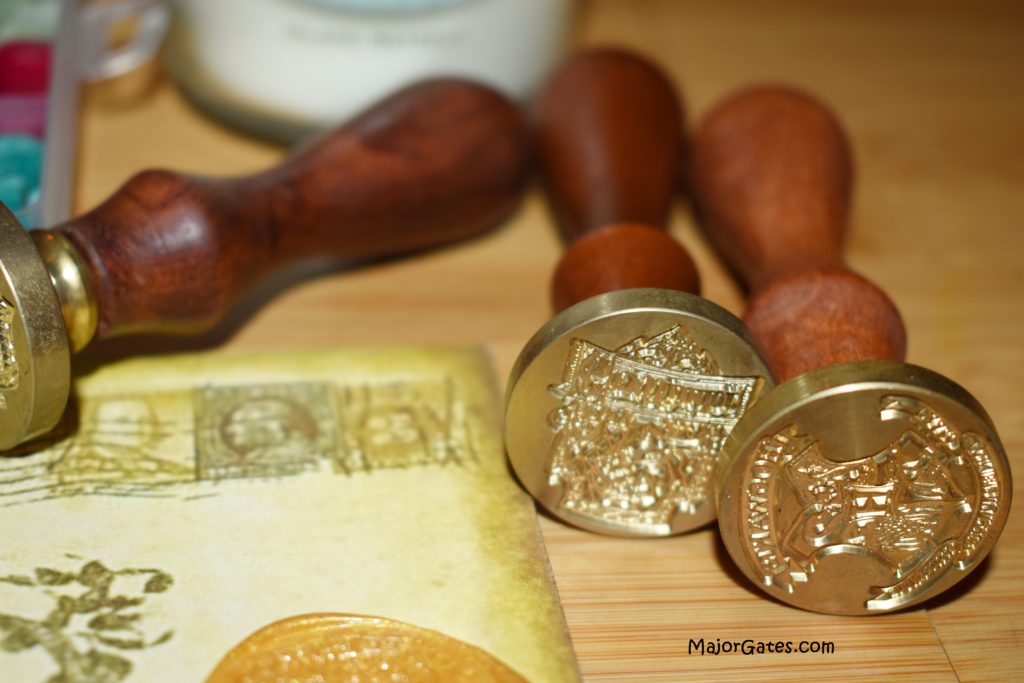
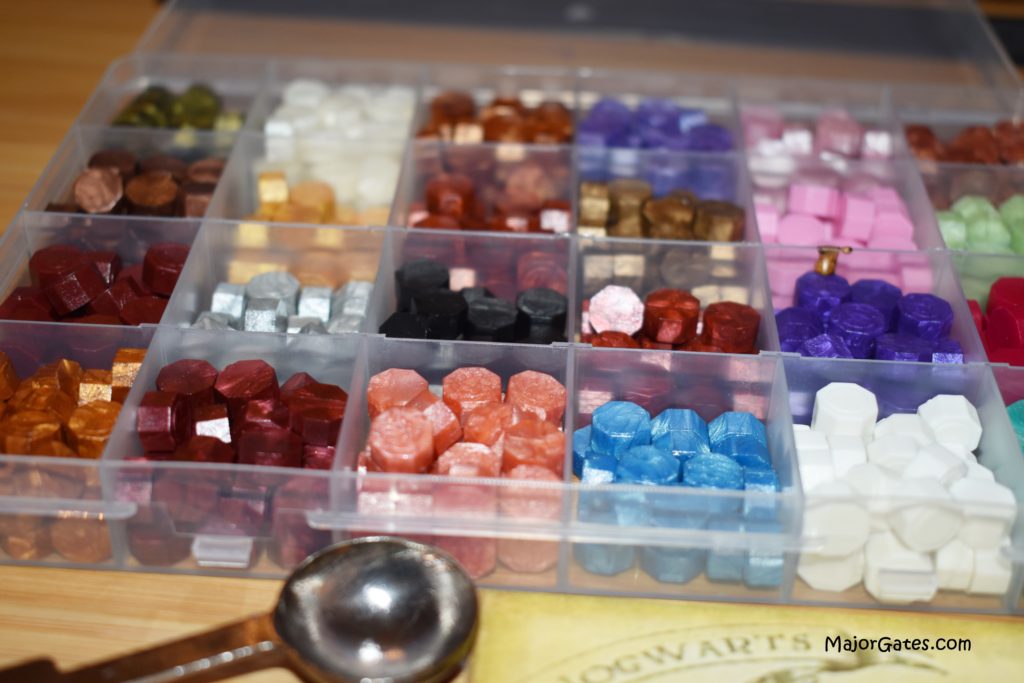
- Small Glass Candle – Optional – most seal kits come with tea light candles, but I like glass candles because they are safer and do not spill over like tea lights.
Directions For Harry Potter Acceptance Letter
- Save the image to your computer. I got this image from doing a general search on the internet.
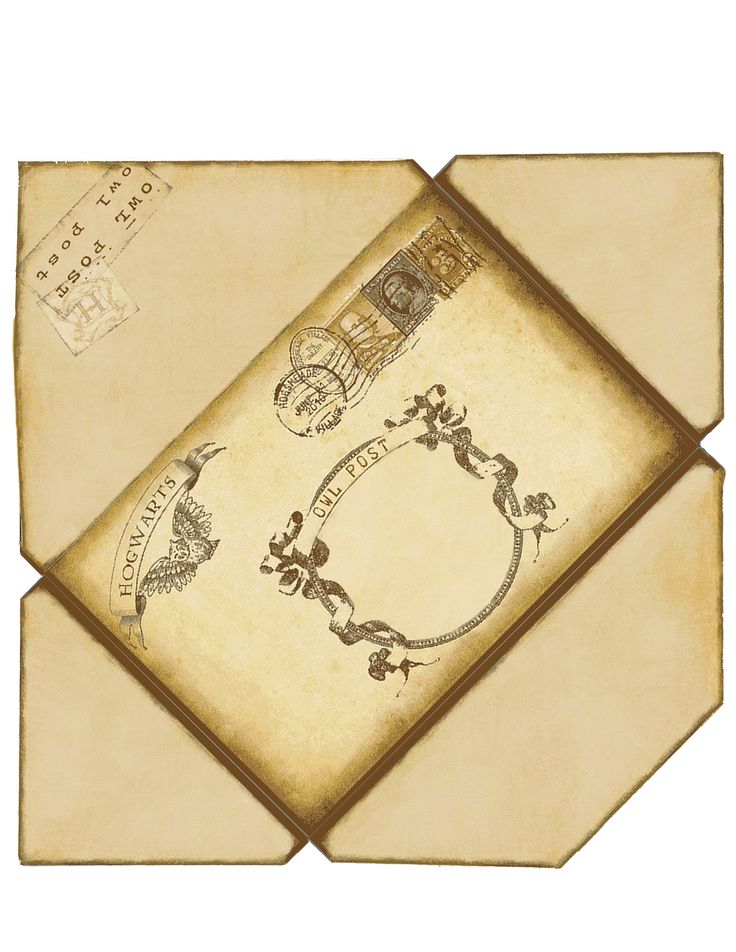
Note: Images saved from the internet can only be used for personal use only. You can not reproduce this image or saved images for sale of products without the permission of the image owner. So I only recommend images for personal use only. If you want to sell products or the image, you must track down and contact the image owner for permission and pay any required fees.
- Download a free Harry Potter font or determine the font you want to use. I got mine from Font Space but these fonts are for personal use only. Here is the link: https://www.fontspace.com/category/harry-potter
- Insert text in the font you selected and type the name you want to print on the letter. Then use the circle adjuster to turn the wording to fit in the letter.
- Print letter on heavy weight card stock.
- Cut out the letter.
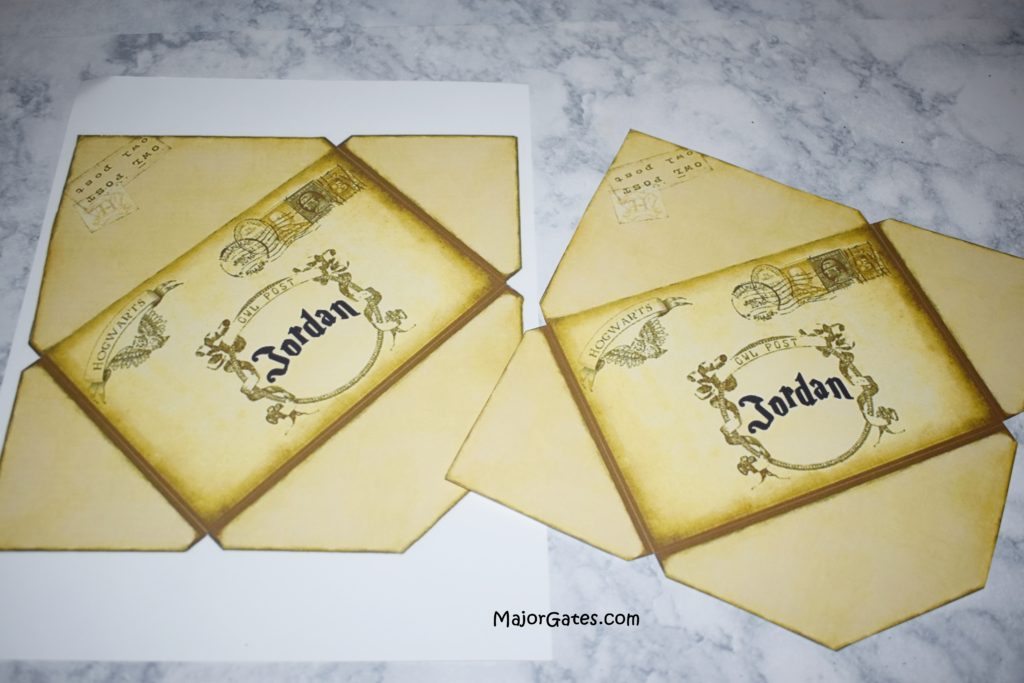
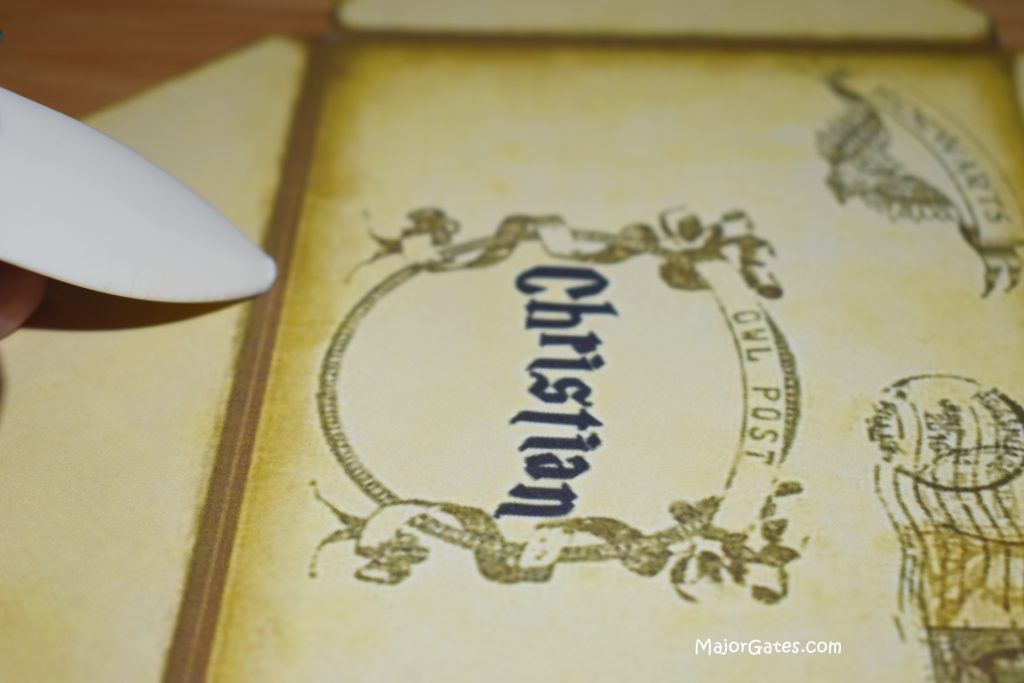
- Use a bone folding tool and trace along the fold lines so that your folds are clean and straight. Then fold the letter along the lines.
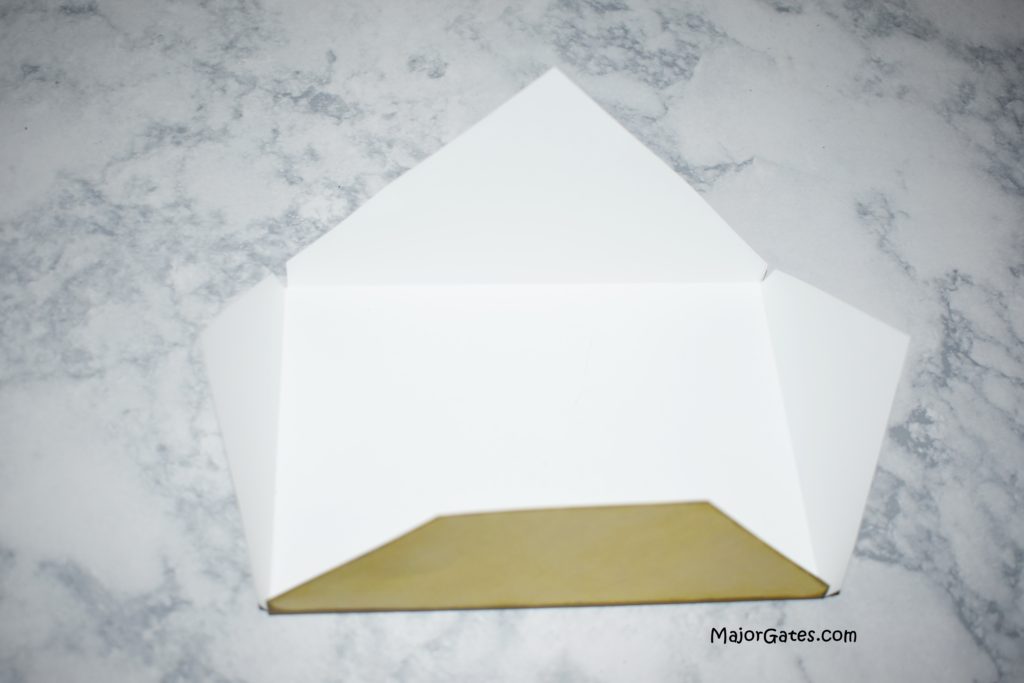
- Next, cut out the bulletin board trim in 3-4 inch lengths. Then place the bulletin board trim on the inside of the letter and fold over the edges securing with hot glue.
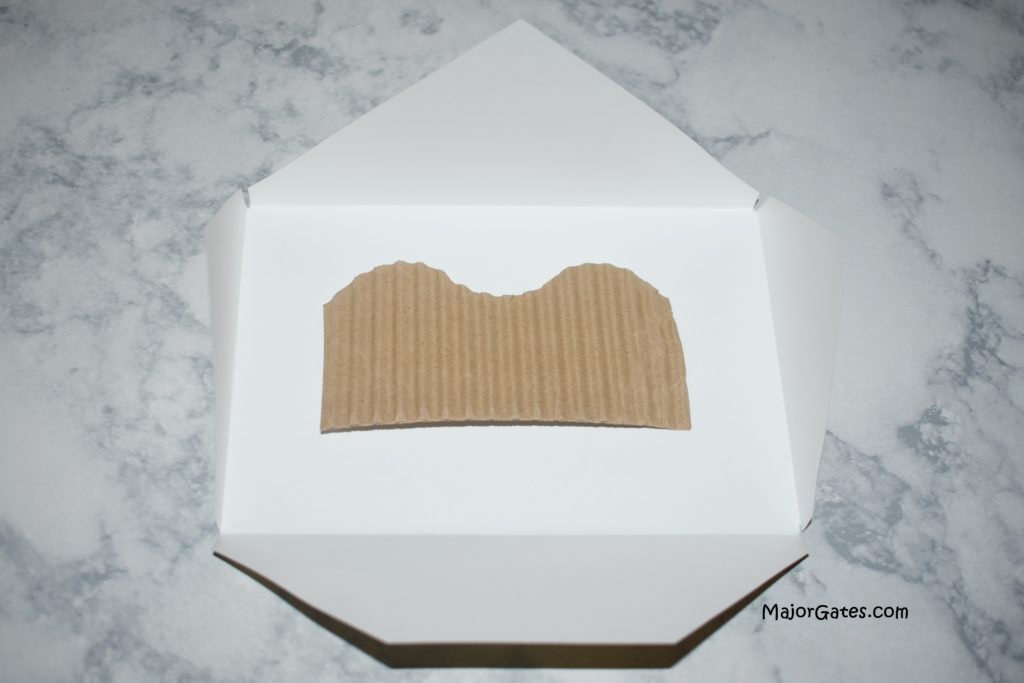
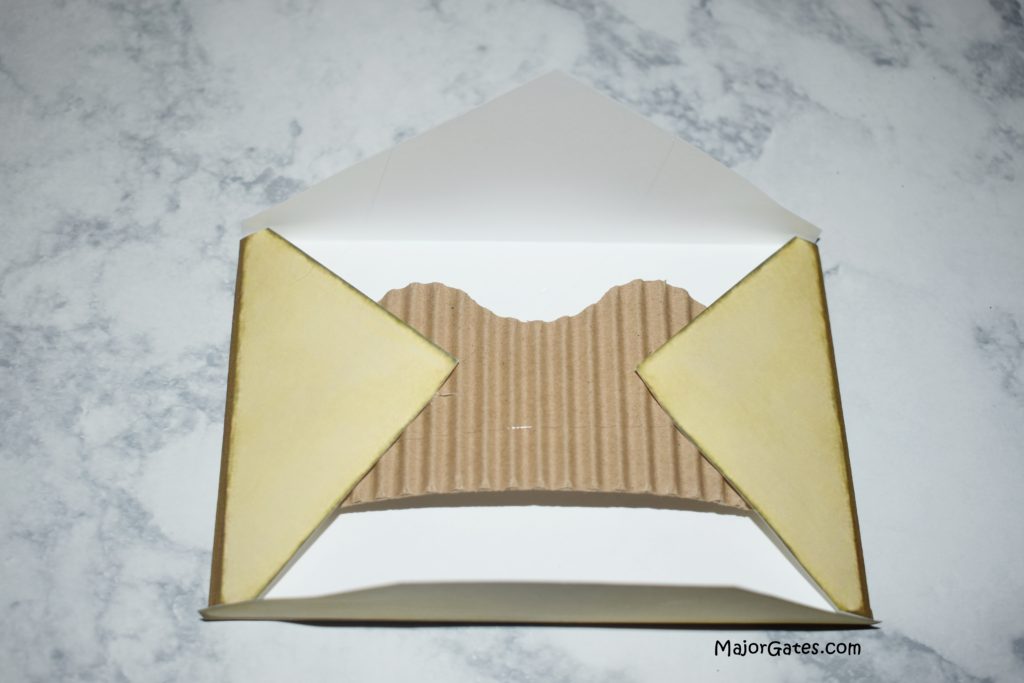
- If you are going to put an actual letter inside, after you glue the 3 sides and it dries, remove the corrugated trim and insert your letter before the final seal.
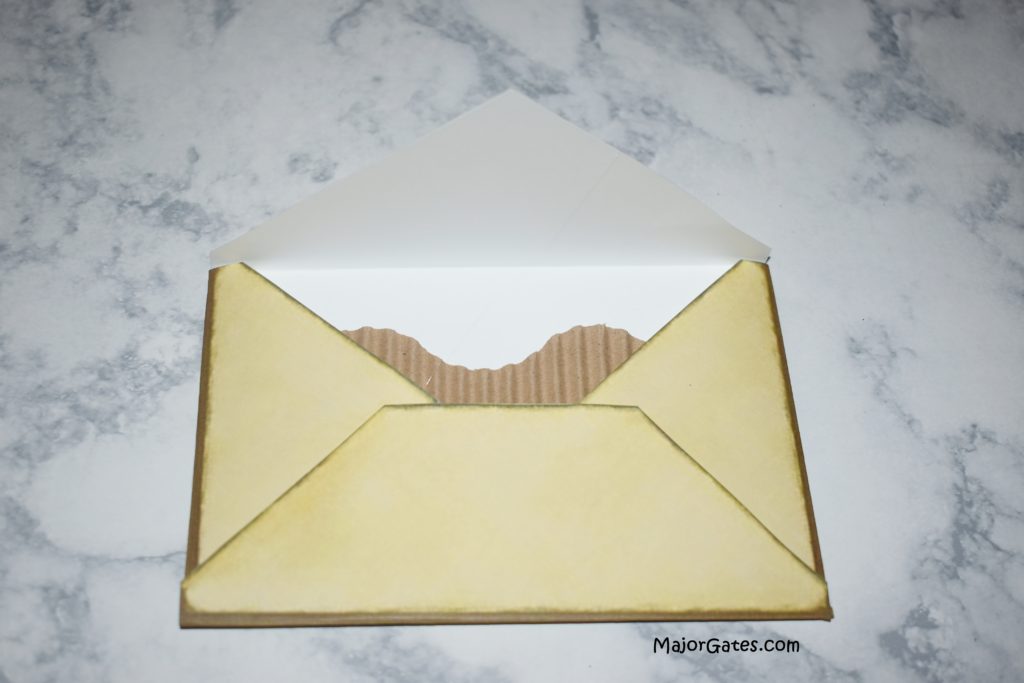
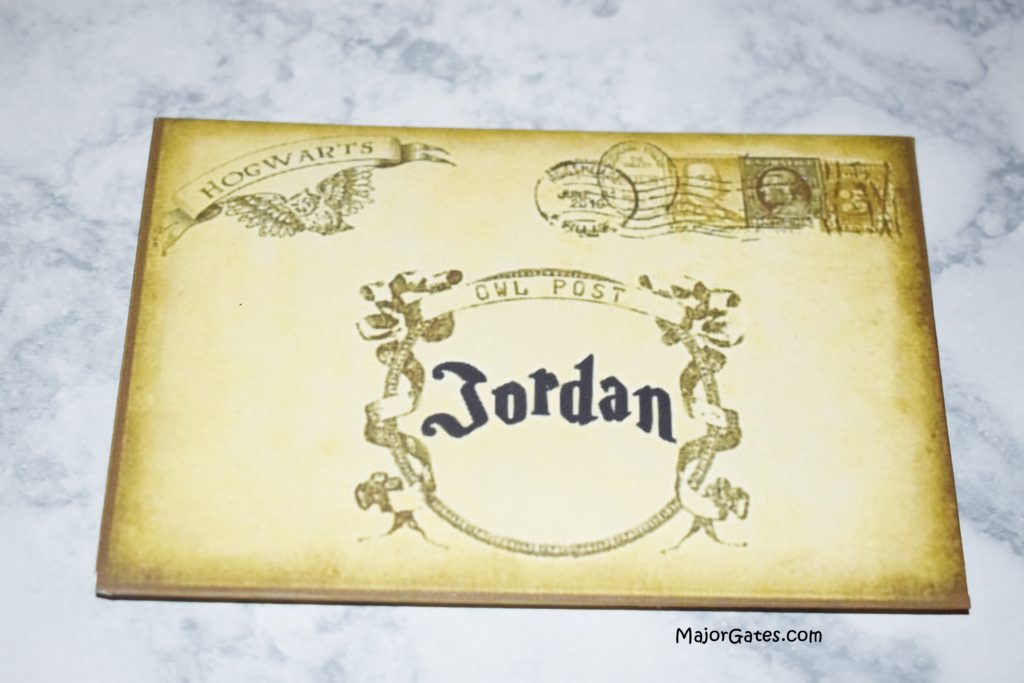
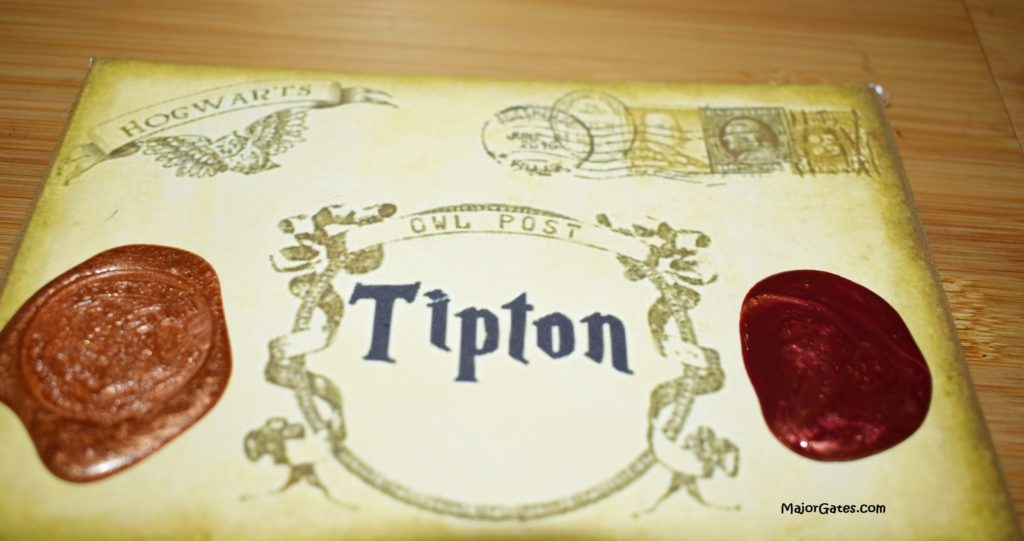
- Last add your wax seals to front and/or back or both.
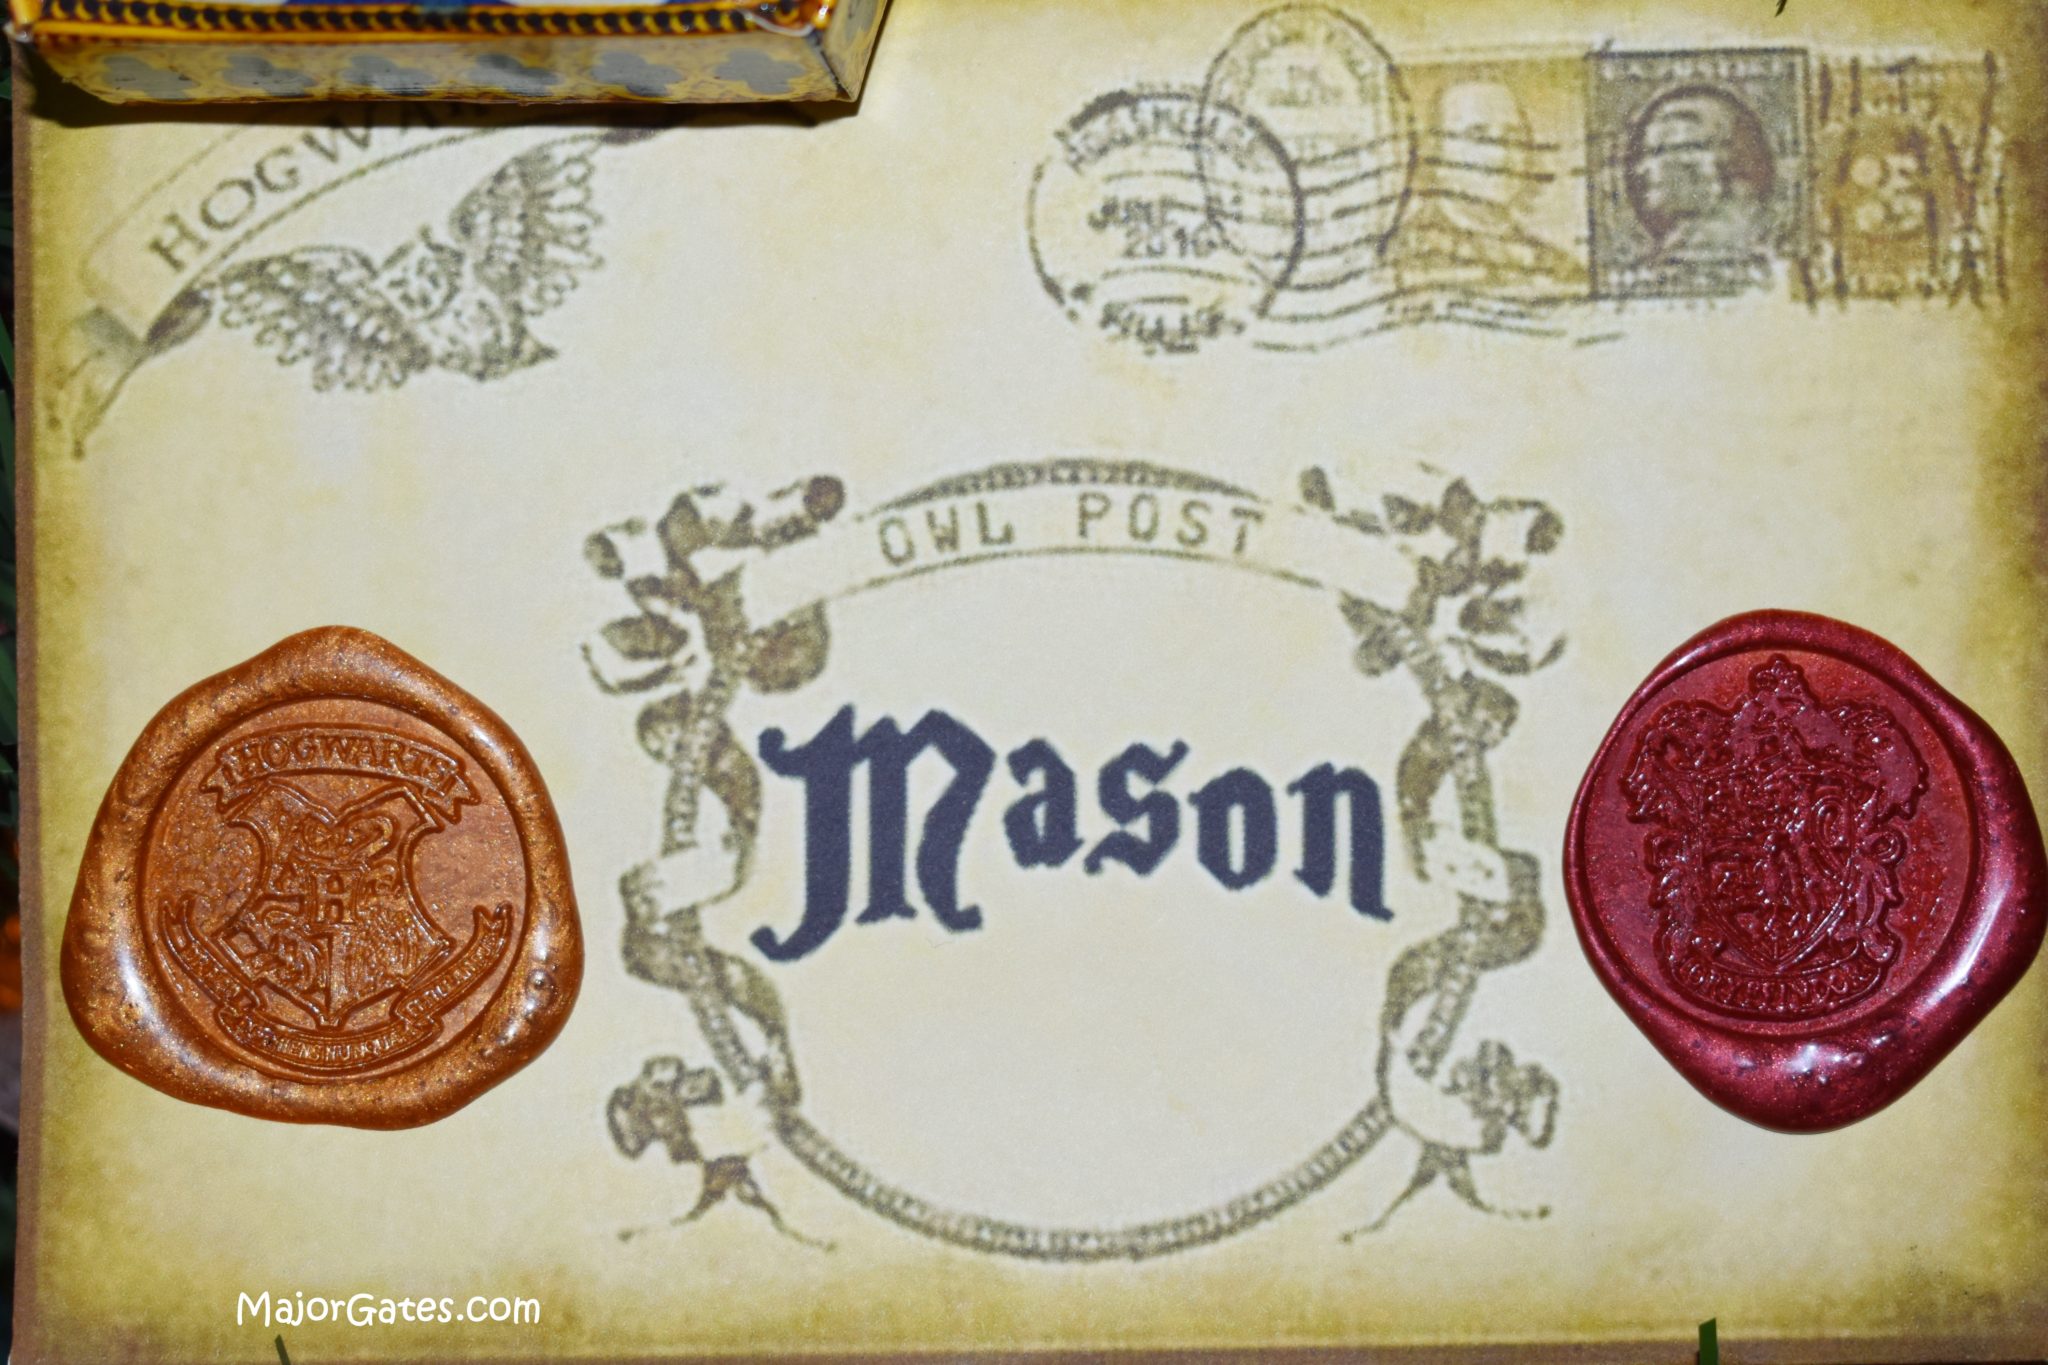
- Another option instead of adding a wax seal is to use a seal printed on cardstock. For some of the letters, I printed out the seal, and then hand cut them out. I did this for the ones that looked like they flew out of the fireplace. I printed 6 rows by 5 columns in a free print software called PhotoScapeX.
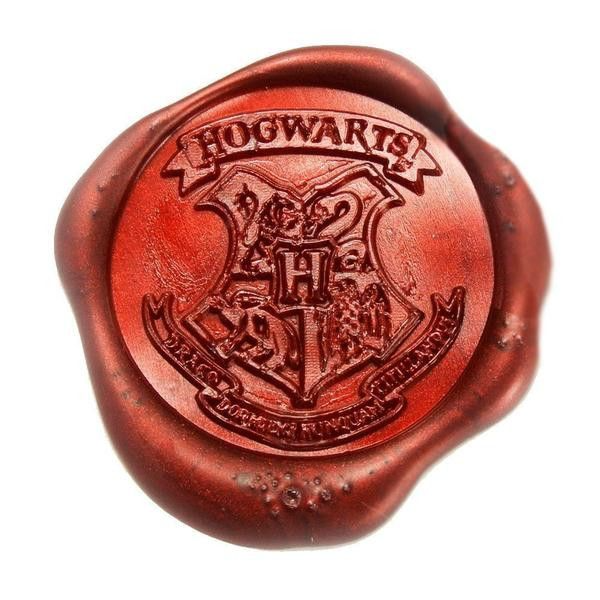
Adding Wax Seals To The Acceptance Letter
If you are doing this step with children or pets around, do not leave unattended. The spoon gets very hot and of coarse you are working with a lit candle. So even once you pour the wax, keep out of reach of kids and pets. Wipe off any residue in between each use with a paper towel and the spoon will still be hot.
- Place 4 wax beads into the melting spoon and melt over a candle.

Note: Never leave a lighted candle unattended by an adult. Only place a candle on a solid surface. So if you leave the room for any reason, blow out the candle. Safety first!
- Now pour the wax in a circular pattern very slowly so the wax does not run. Then move the letter around to move the wax if it starts to run in a direction you do not want it to go. So decide if you want to add one or two seals or even another one on the back.
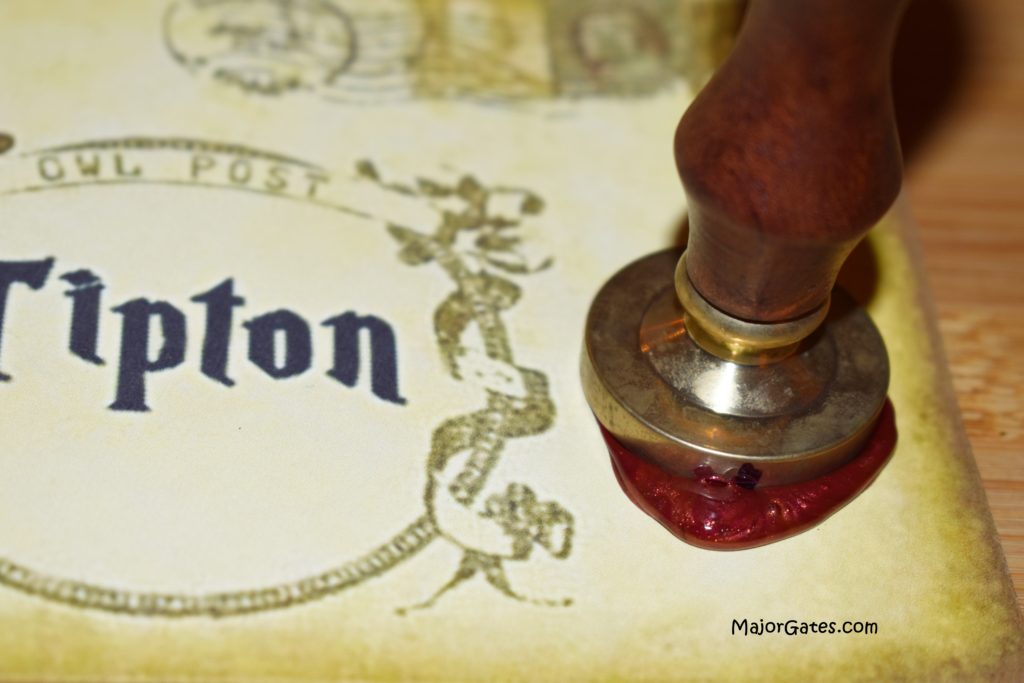
- Make a mark on the seal where the front of the seal is with a black sharpie. This way you don’t end up placing the seal upside down or slanted. Then place the stamp on the hot wax and let it sit for about 1 minute before removing.
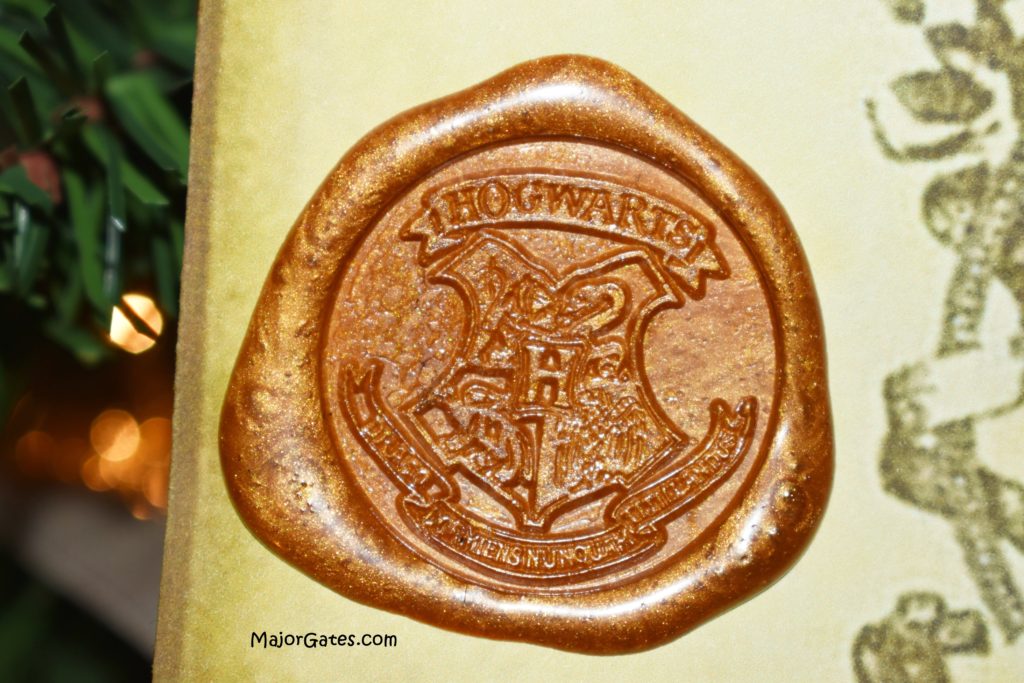
- Repeat for as many acceptance letters that you want to make. I also made these as gifts for friends that also are Harry Potter fans.
Ideas For Using Harry Potter Acceptance Letters
- This idea is great for birthday’s or Christmas, for any Harry Potter fan. You can find actual templates for acceptance letters on line. Also, you can find the Uniform and Supplies list letter and place in another envelope. Don’t forget a few cool letters from the Ministry of Magic. Remember these letters are for personal use only or you need permission of the letter creator.
- You can also make a bunch of letters to hang from a light fixture or chandelier, so they are flying letters. Just use fishing line to hang, so they look as though they are flying. If you are hanging from the ceiling, use clear push pins.
- Another idea is to make a bunch of letters to appear they are flying out of the fireplace.
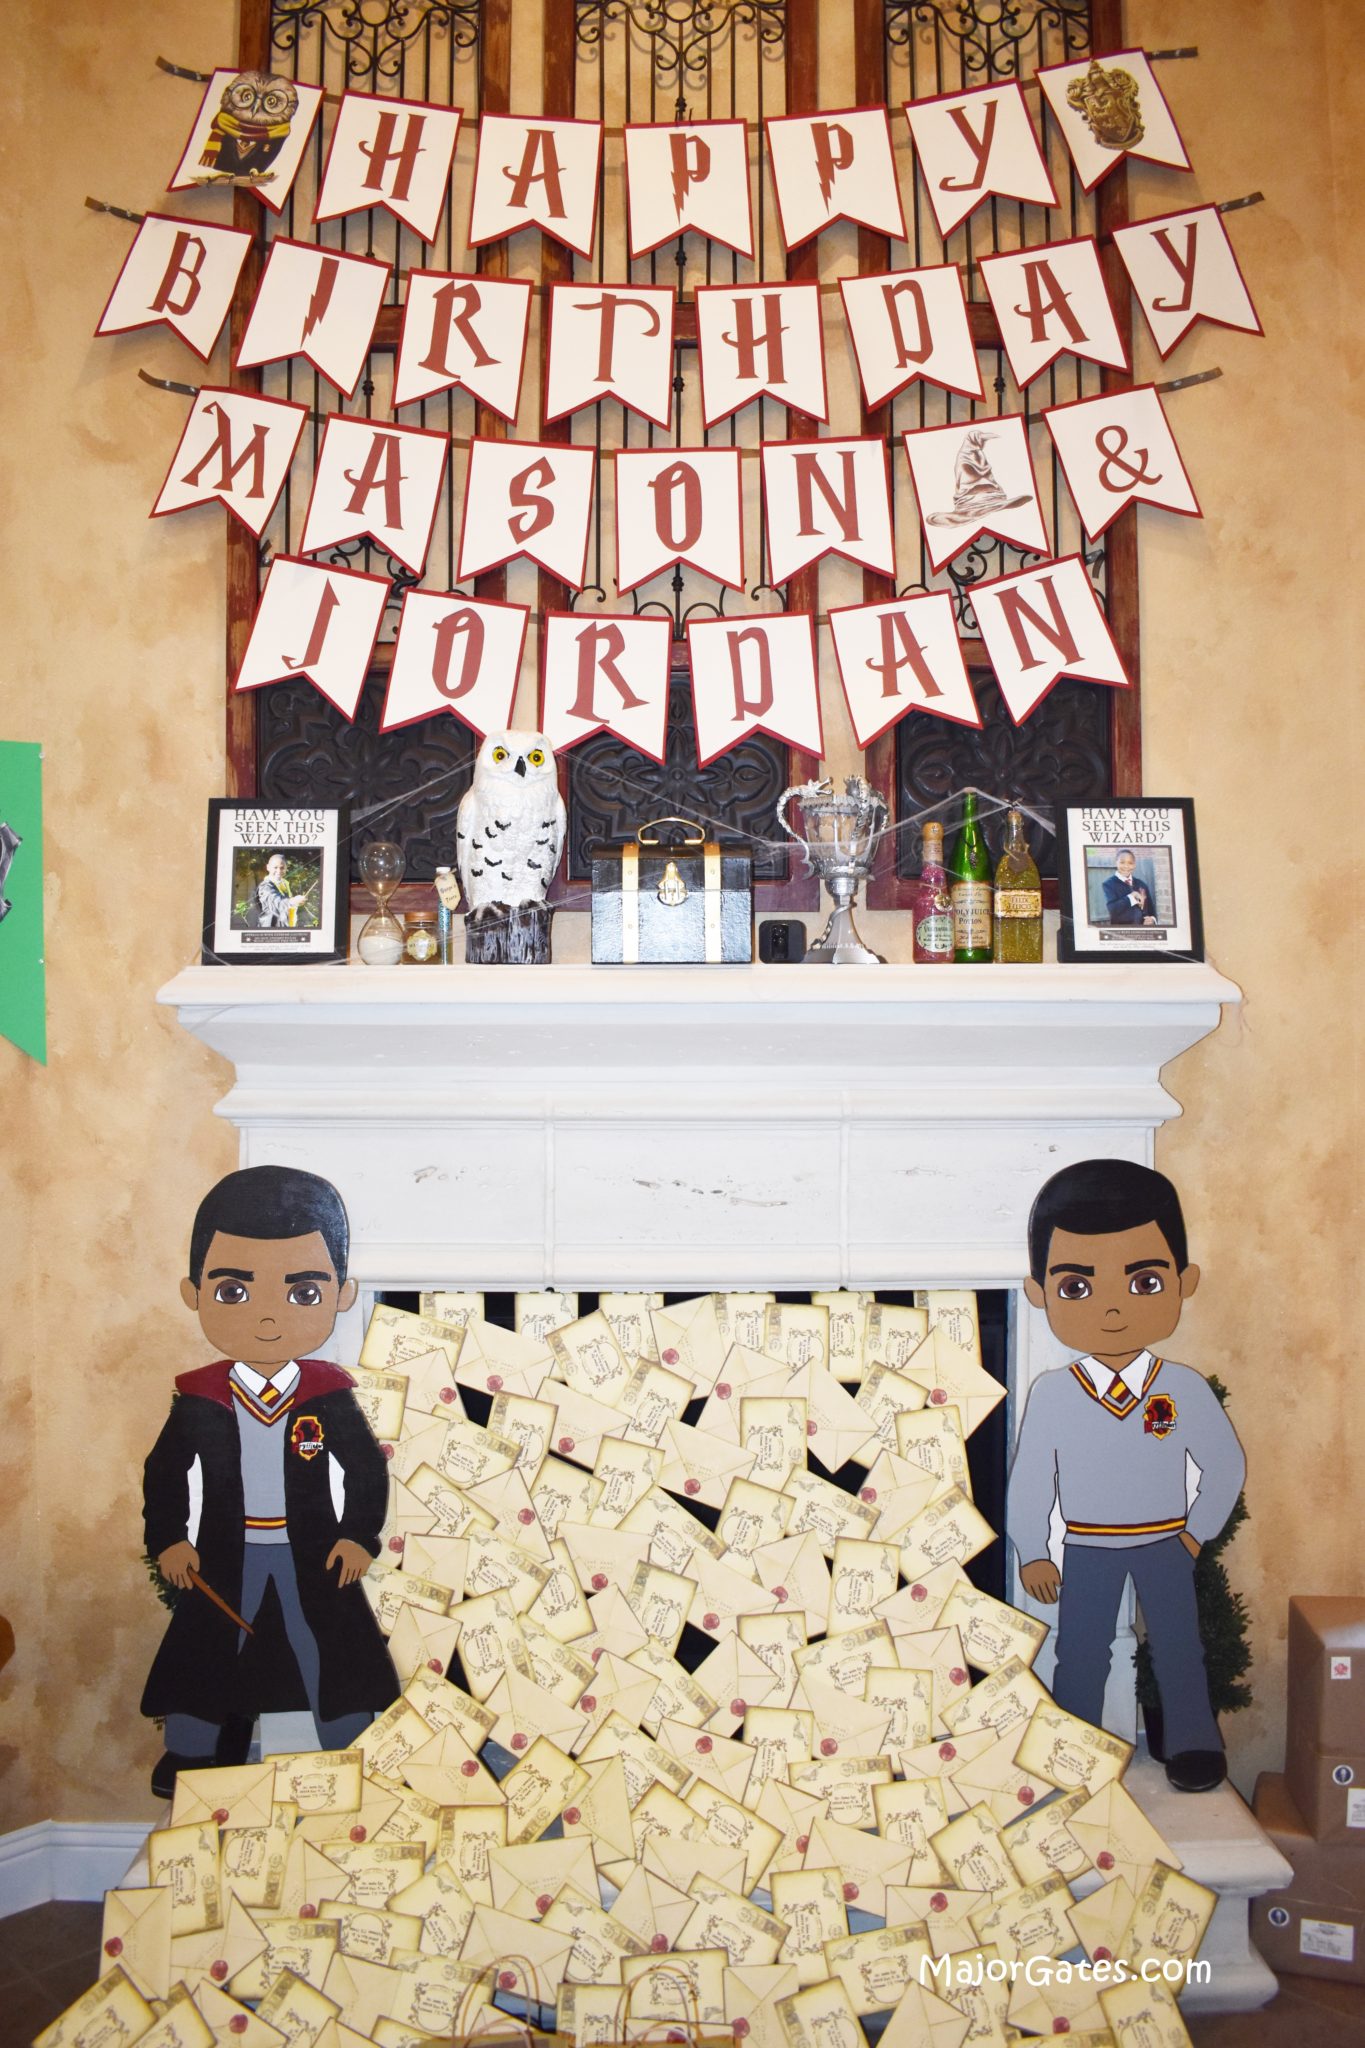
- These Harry Potter Acceptance Letters would also be cool to place randomly on a brick scene backdrop for a photo wall. Also, you could put all the guests names on the letters and glue them to the backdrop. Guests will be so surprised to see their names.
- Also, you can stack a few letters in a display jar and place on a table, shelf, or as a centerpiece.
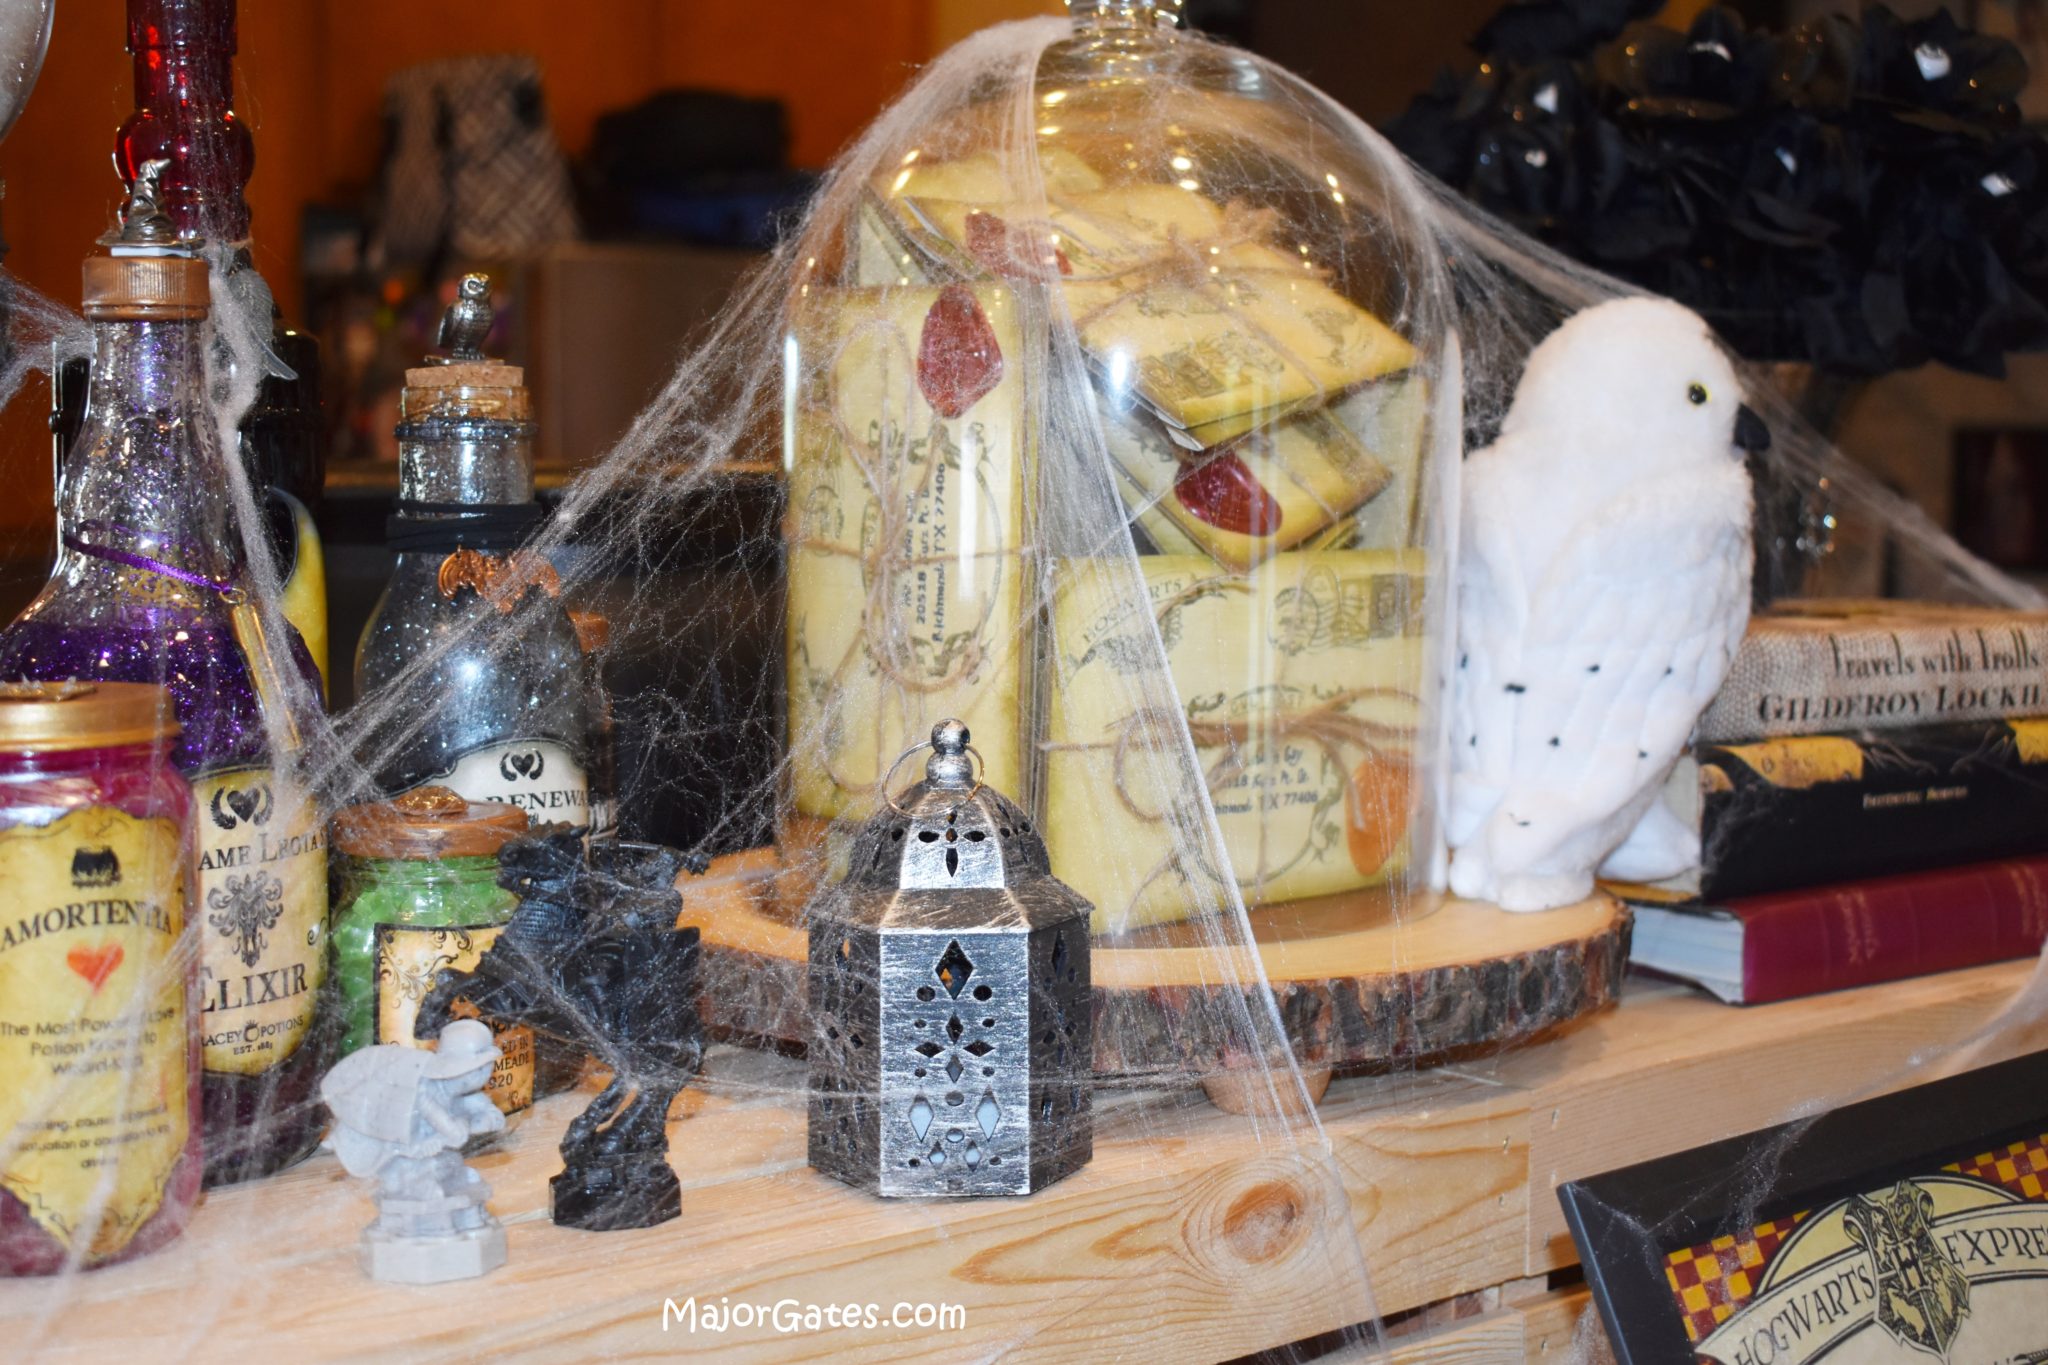
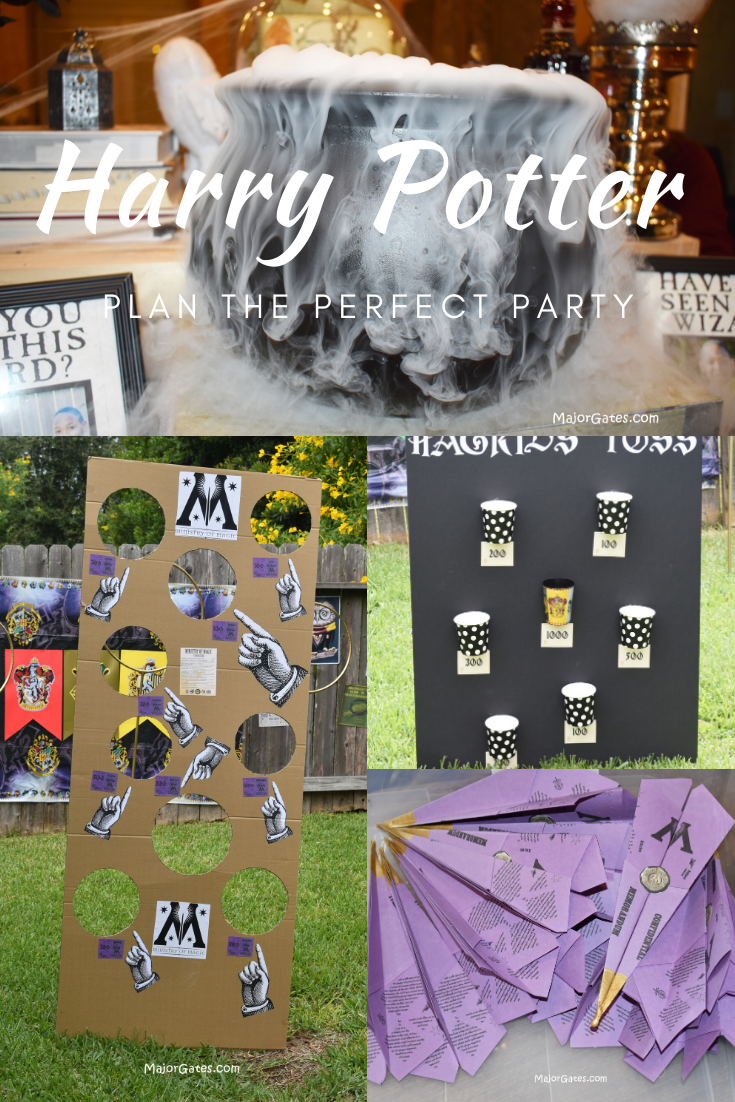
To get more tips for Harry Potter Party Planning, click here: https://majorgates.com/do-it-yourself/planning-a-harry-potter-party/
To see my available Potion Bottle Label Downloads, click here: https://majorgates.com/product-category/potion-apothecary-labels/
