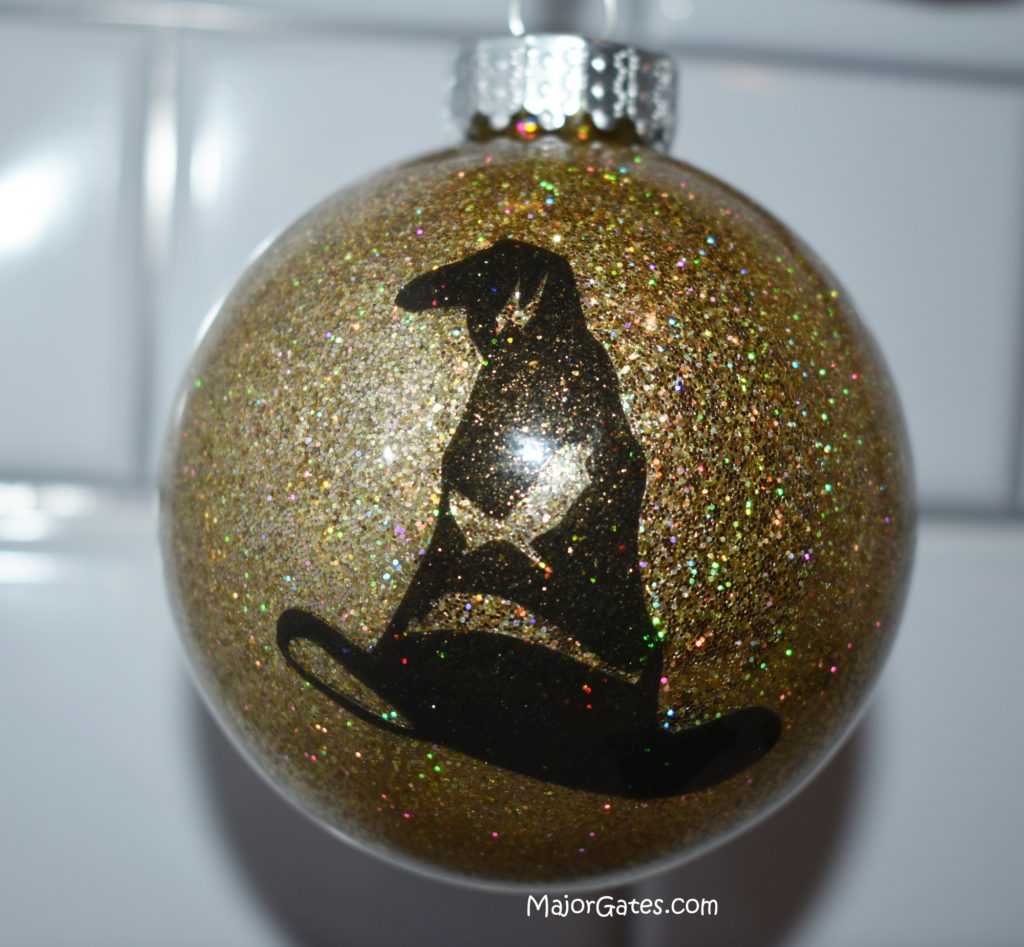
Harry Potter Glass Ornaments
Harry Potter Glass Ornaments are perfect for Harry Potter fans. They are pretty easy to make and anyone that receives one, will be grateful. I like that you can customize these ornaments for any person or theme.
I make my own vinyl decals on my Silhouette Cameo but these can be made if you have another type of cutting machine or if you buy decal sticker sheets. So just use your imagination and create these custom glass ornaments for your friends, family, teachers, service providers, etc.
You can also make these Harry Potter glass ornaments with plastic ornaments as well. The drying time takes longer and you will have to take a few extra minutes to stick on the vinyl or stickers. But plastic ornaments are perfect for small kids. So you don’t have to worry about them dropping them and they can touch as often as they like. I will share my tips with working with plastic ornaments.
Let’s get started!
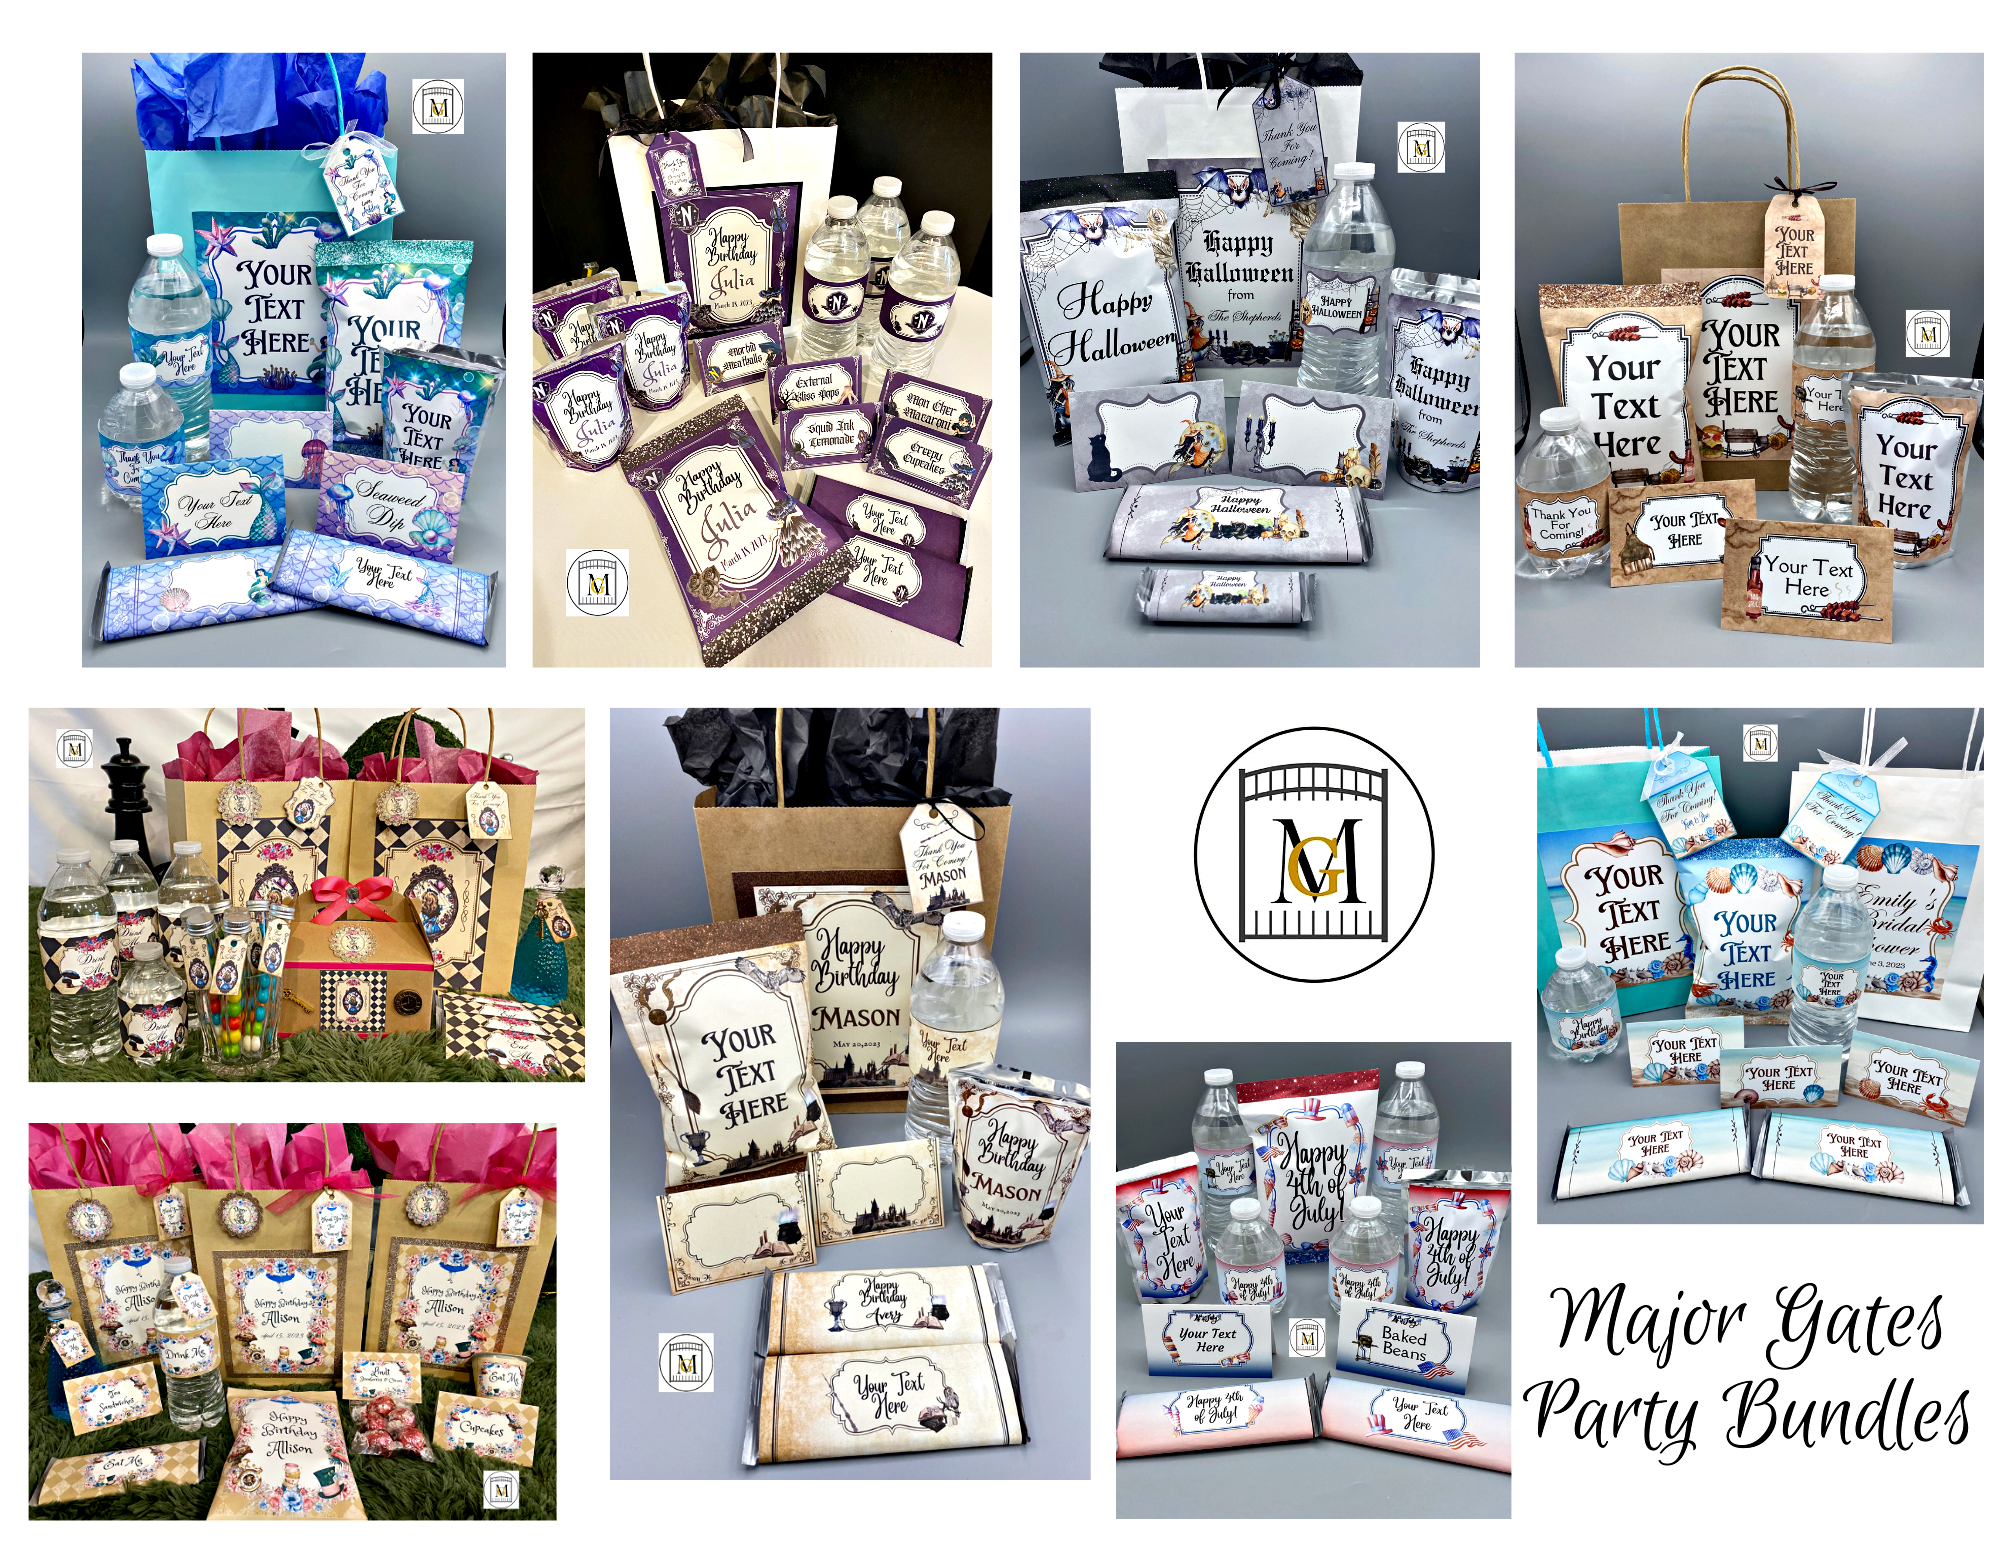
To see my available Party Label Bundle Downloads, click here: https://majorgates.com/product-category/party-bundles/
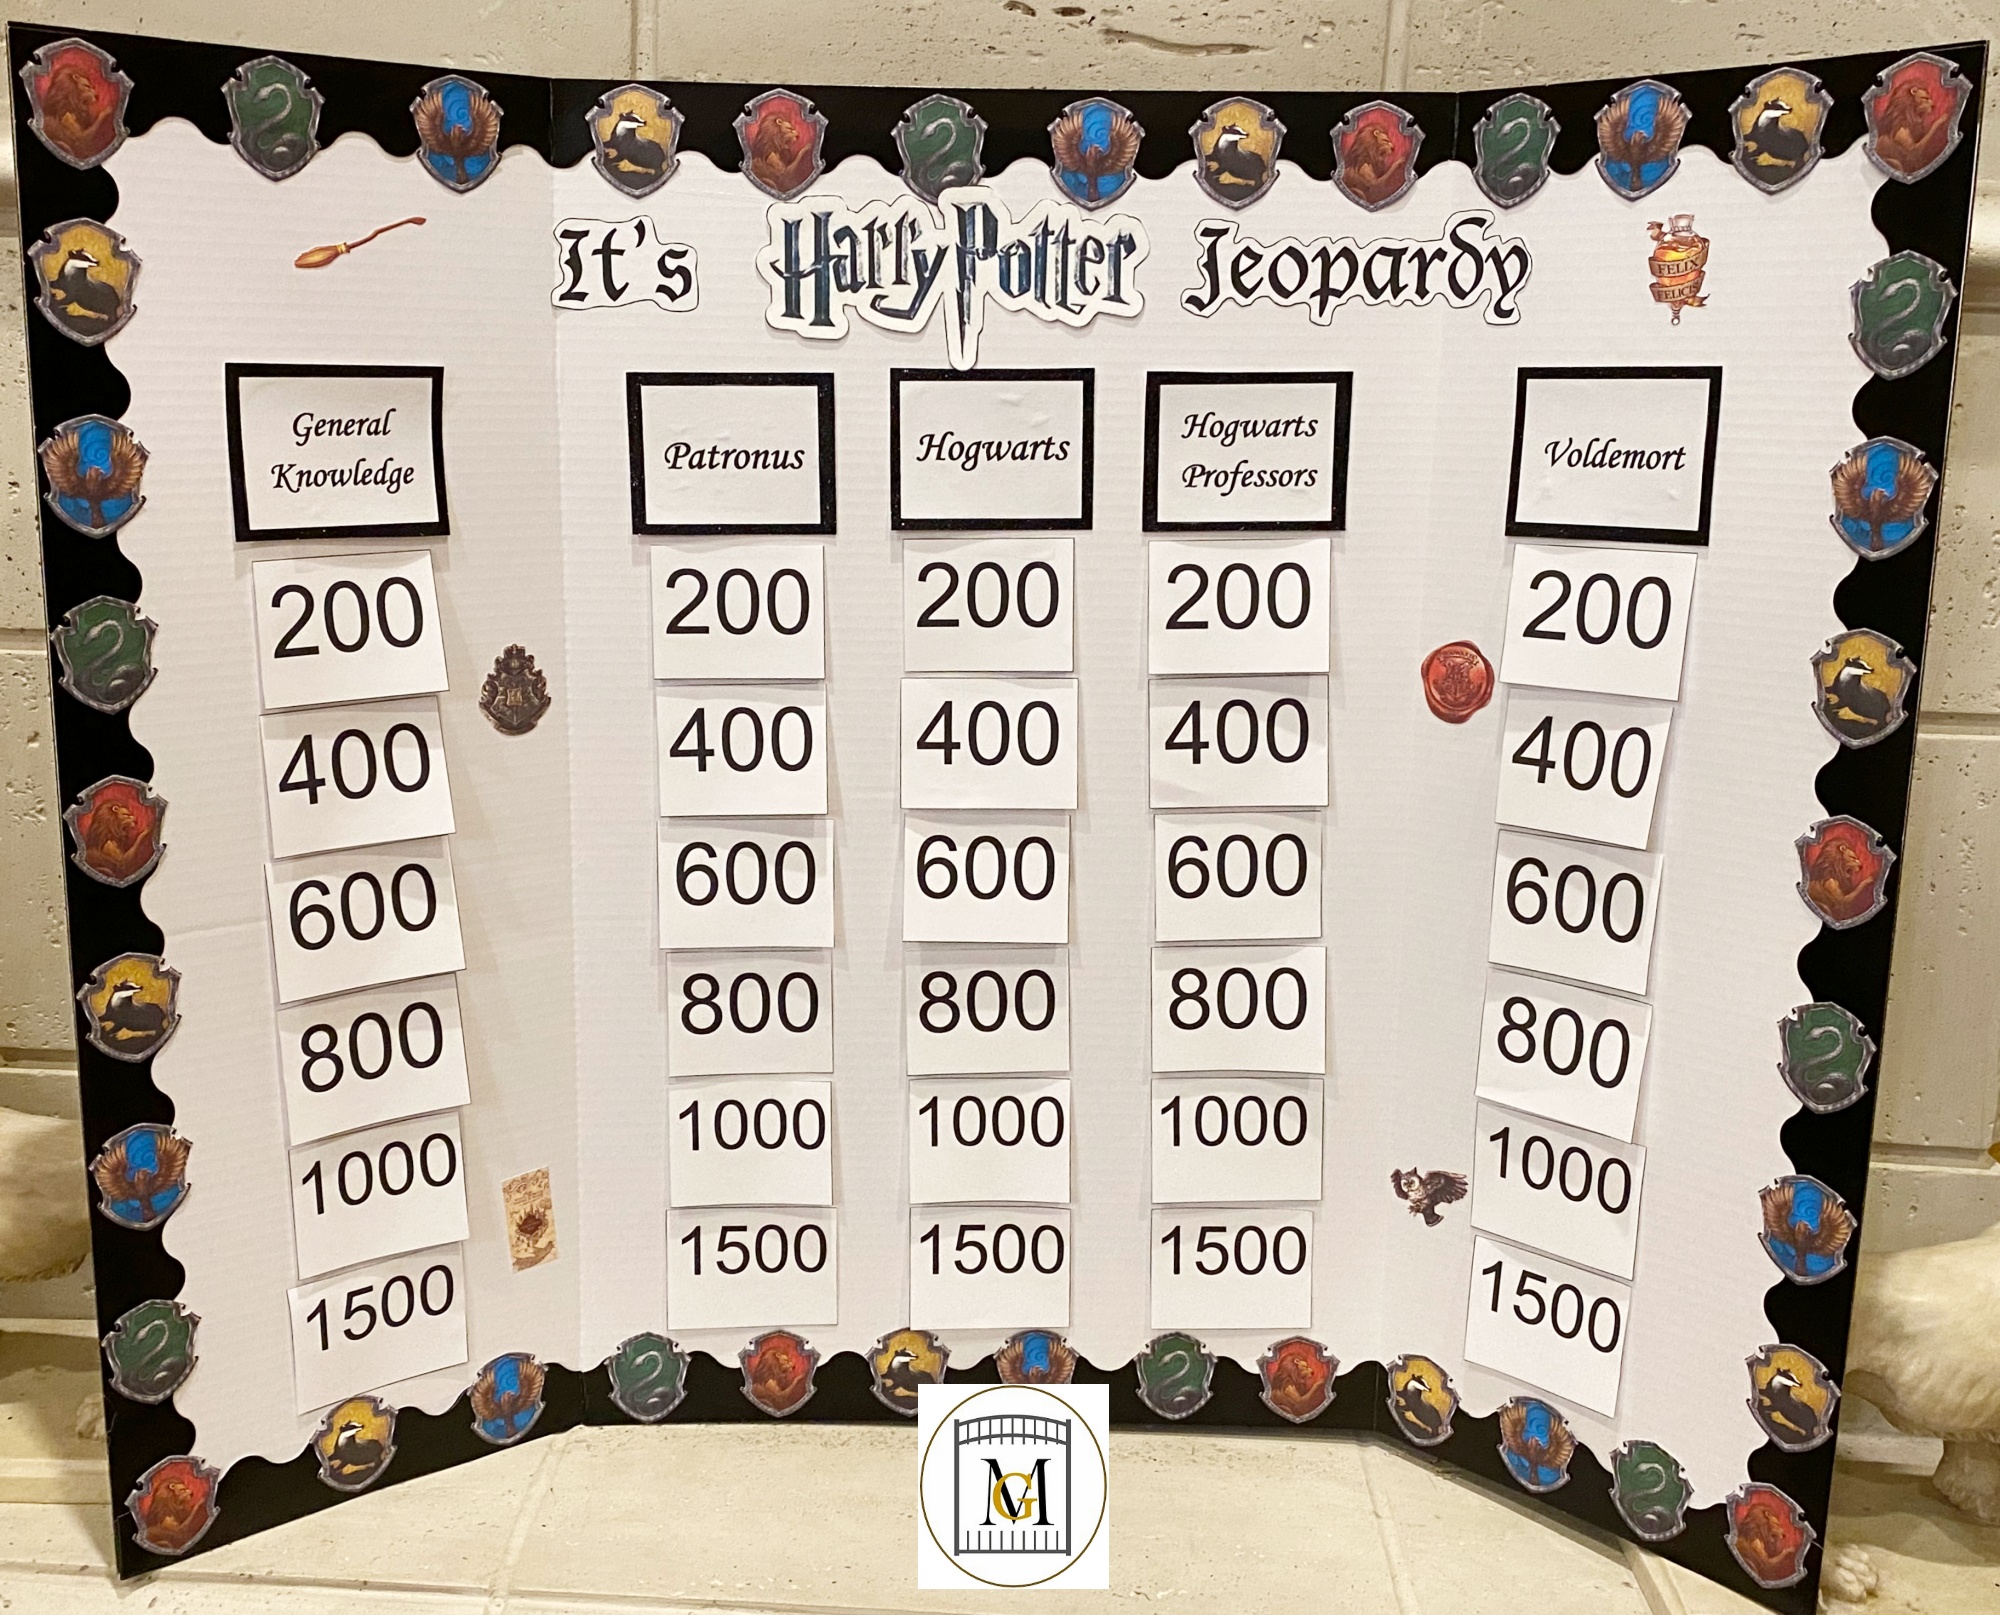
Need a great game for your party or event? Get the download to make a super fun Harry Potter Jeopardy Game here: https://majorgates.com/product/harry-potter-jeopardy-game-download/
So check out my other available Jeopardy/Trivia Party Downloads here: https://majorgates.com/product-category/jeopardy-trivia/

Don’t Forget To Follow Me On Pinterest!
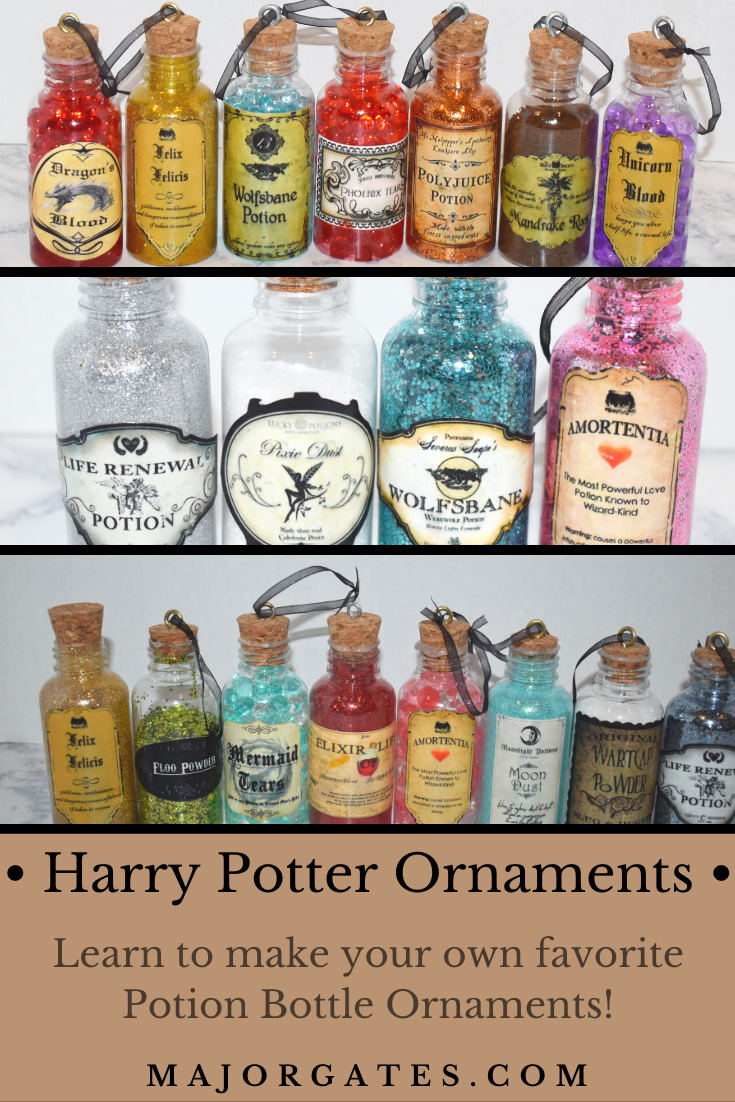
To learn how to make Harry Potter Potion Bottle Ornaments, click here: https://majorgates.com/do-it-yourself/harry-potter-potion-bottle-ornaments/
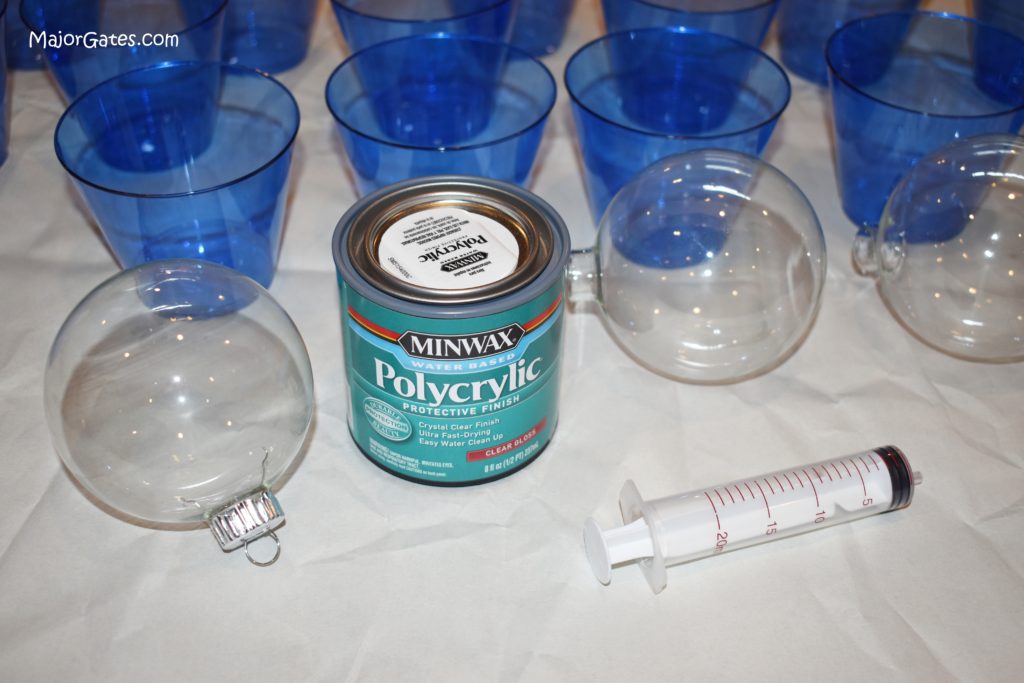
Supplies
- 3-4 inch clear glass ornaments or plastic ornaments
- Polycrylic – Clear Gloss protective finish
- Craft syringe
- Vinyl Decals – I made my own on my Silhouette Cameo but you can also buy these. You can also buy sticker letters if you want to add a custom name.

- 2 ounce or larger jars of fine and extra-fine glitter
- Drying cups
- Plastic or paper surface covering
- Transfer tape (optional)
- Decorative ribbon
Affiliate links are in this post. So, I may receive a small commission at no extra cost to you if you make a purchase through my affiliate link. Therefore, I only recommend products that I use or would use and love! So, I have saved you the time of searching for good products for you. As an Amazon Associate I earn from qualifying purchases. Just click on the pictures or links for the items seen in this post.
To see my available 2-Liter/Wine Bottle Party Label Downloads, click here: https://majorgates.com/product-category/2-liter-wine-bottle-labels/

Directions For Harry Potter Glass Ornaments
- Start by prepping your surface by covering with tissue paper, Kraft paper or a drop cloth.
- Next, set out drying cups for the number of ornaments you will be making.
- Then fill the craft syringe with Polycrylic and squeeze enough Polycrylic to cover the bulb (about half of the syringe),
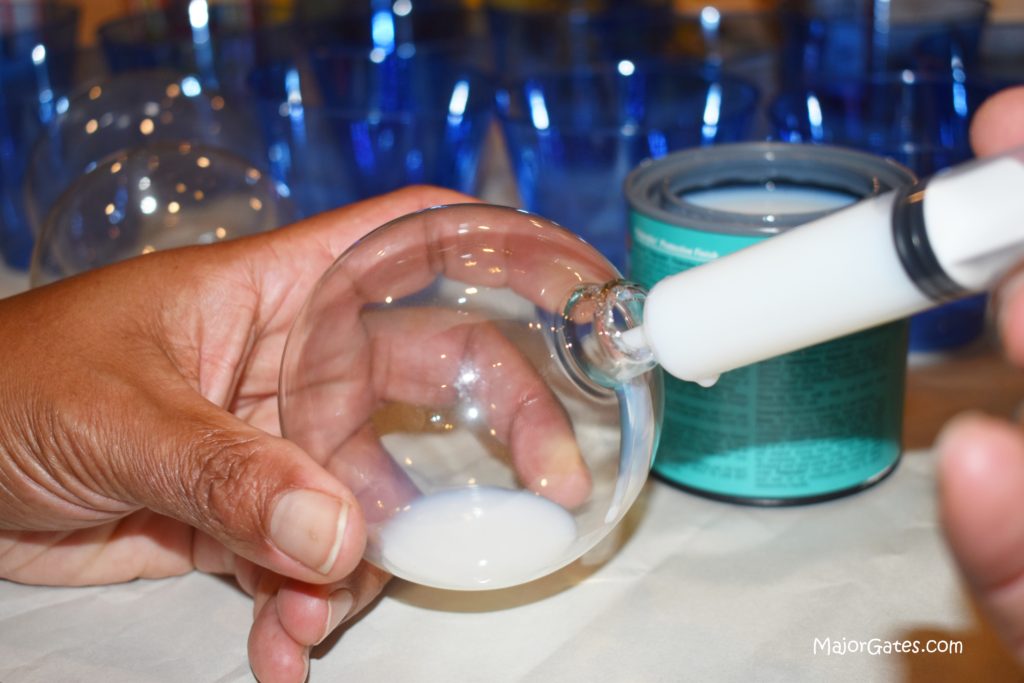
- Place your finger over the opening and gently swirl the liquid around. DO NOT SHAKE! So the reason you can not shake the liquid is because it will create bubbles and the glitter will not cover areas where there is a air bubble.

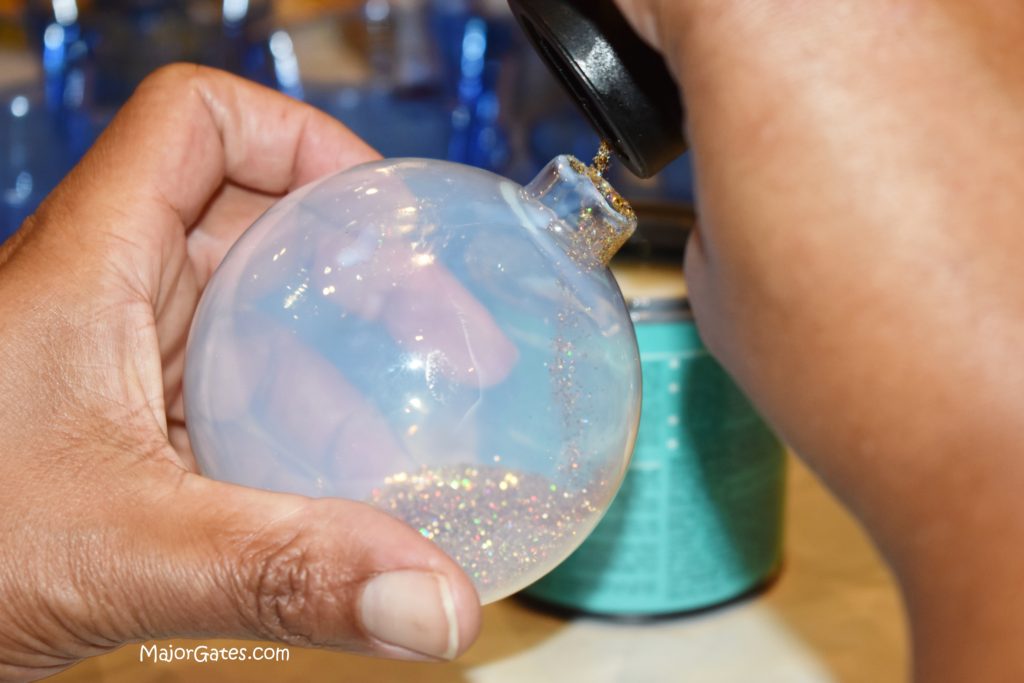
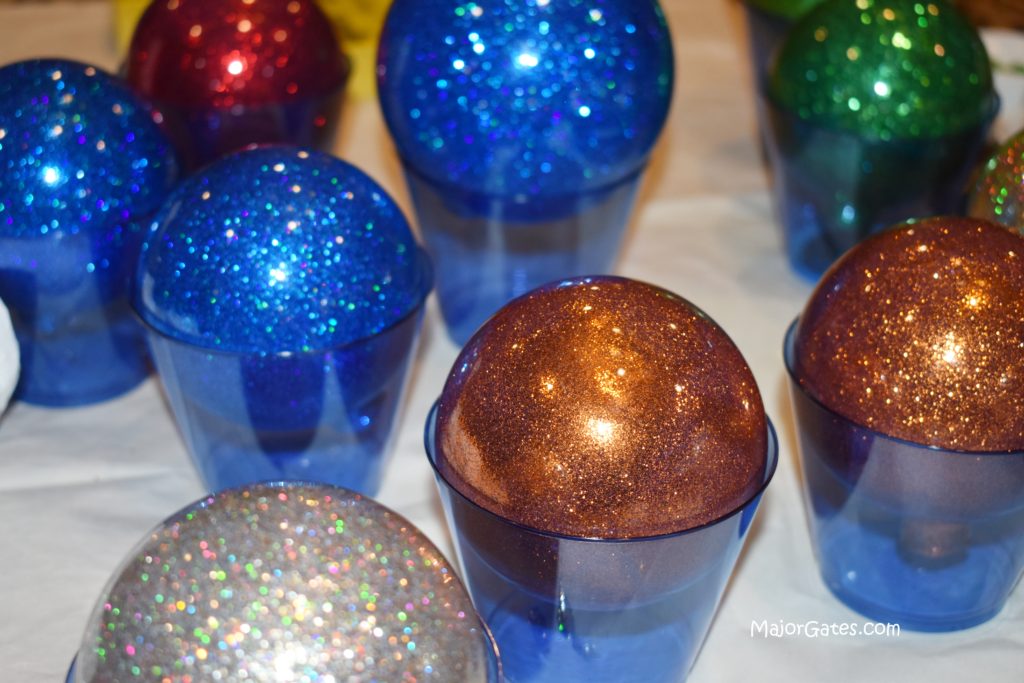
- Then pour a generous amount of glitter in the opening and cover with your finger again and swirl the glitter. Add in more glitter as needed and continue to swirl until the bulb in covered completely.
- So when using plastic bulbs, be careful not to squeeze the bulb while you are working because it is almost impossible to get the dent out. If you accidently do this, use a wooden chop stick to push the dent out. Then hopefully the dent is not noticeable.
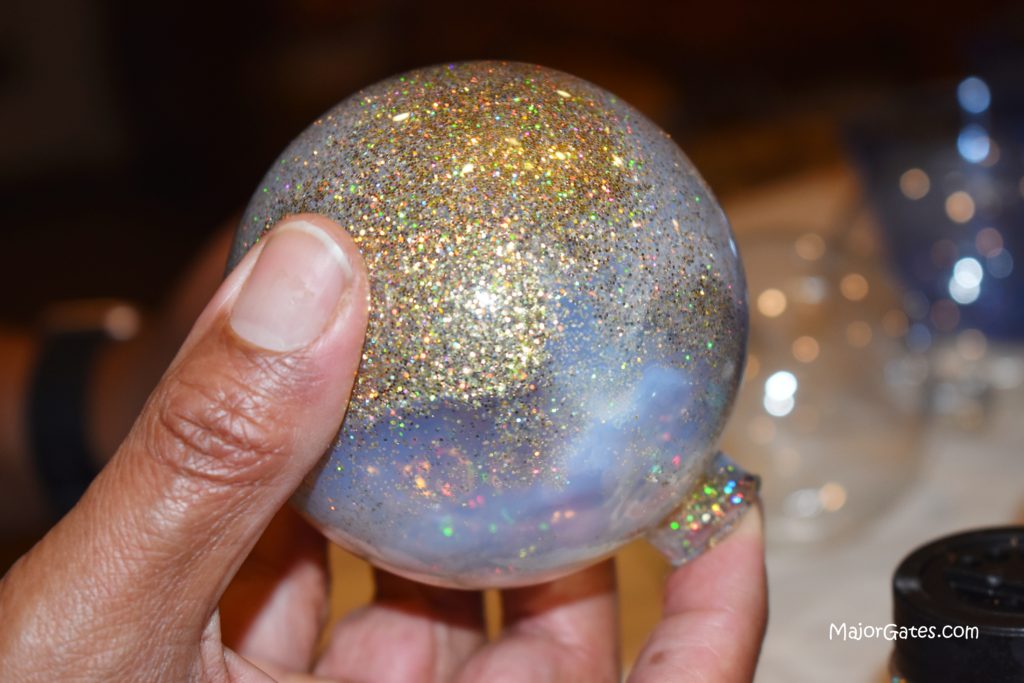
- Place in drying cups with opening pointing down to catch any excess dripping glitter and allow to dry overnight. Then turn the bulb over with opening upwards and allow to dry for another 6 hours. So if you are using plastic bulbs, allow to dry for another day.
- Once the inside is dry, apply the vinyl decals or stickers. Then have a credit card or smoothing tool close by to rub out any bubbles from the stickers.
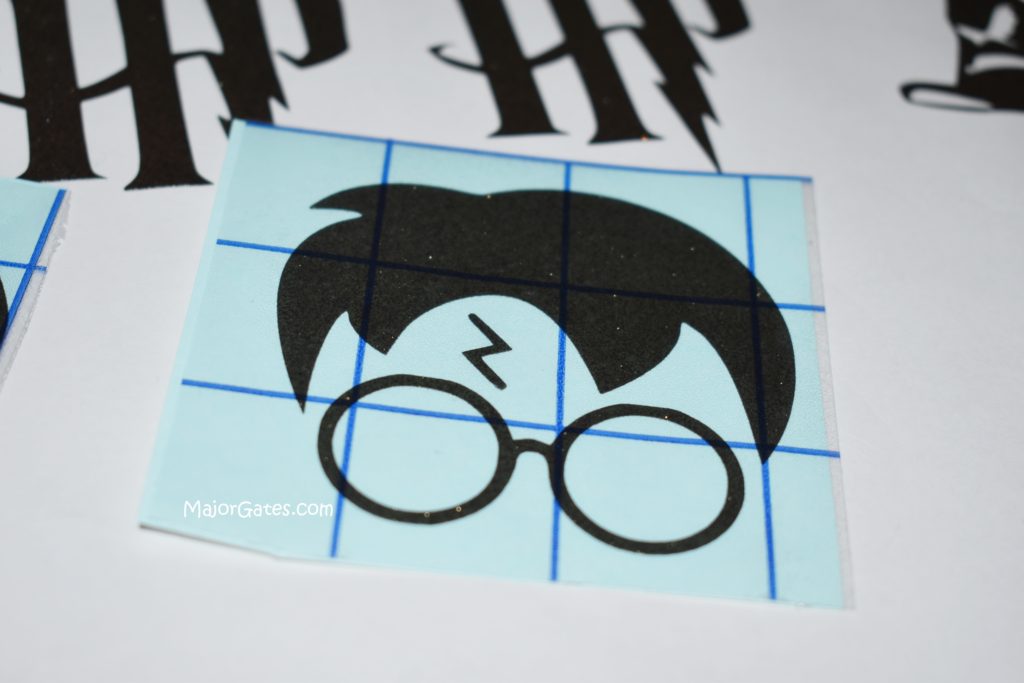
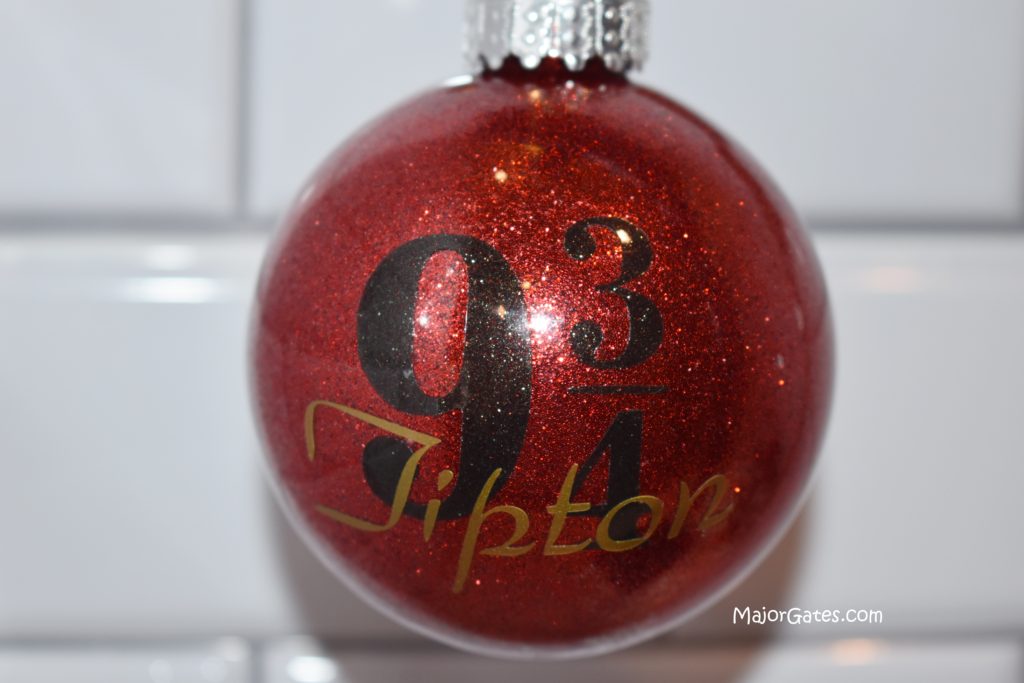
- I like to start with applying the decals in the middle of the ornament and work my way out. Press down the decal and slowly remove the transfer tape. So if you are using stickers, I recommend cutting out the sticker you are using while attached to the backing. Then do a dry fit on the ornament, then peel off the backing and slowly adhere to the ornament. If you have transfer tape, put the sticker on the transfer tape and then attach to the bulb. So I usually attach an image on two sides of the ornament in case it turns on the tree.
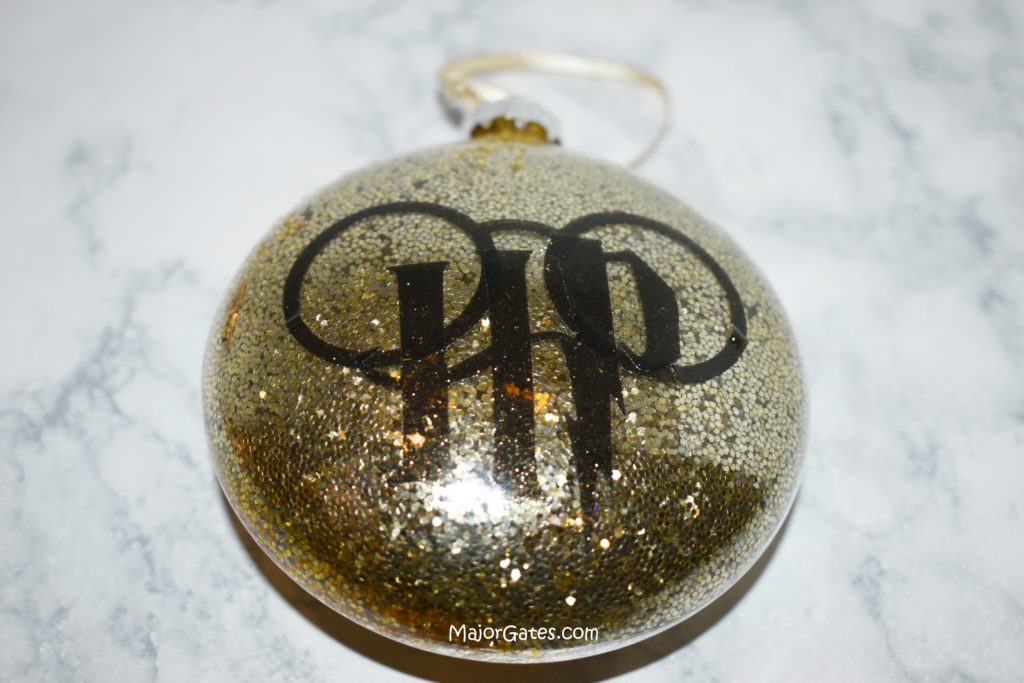
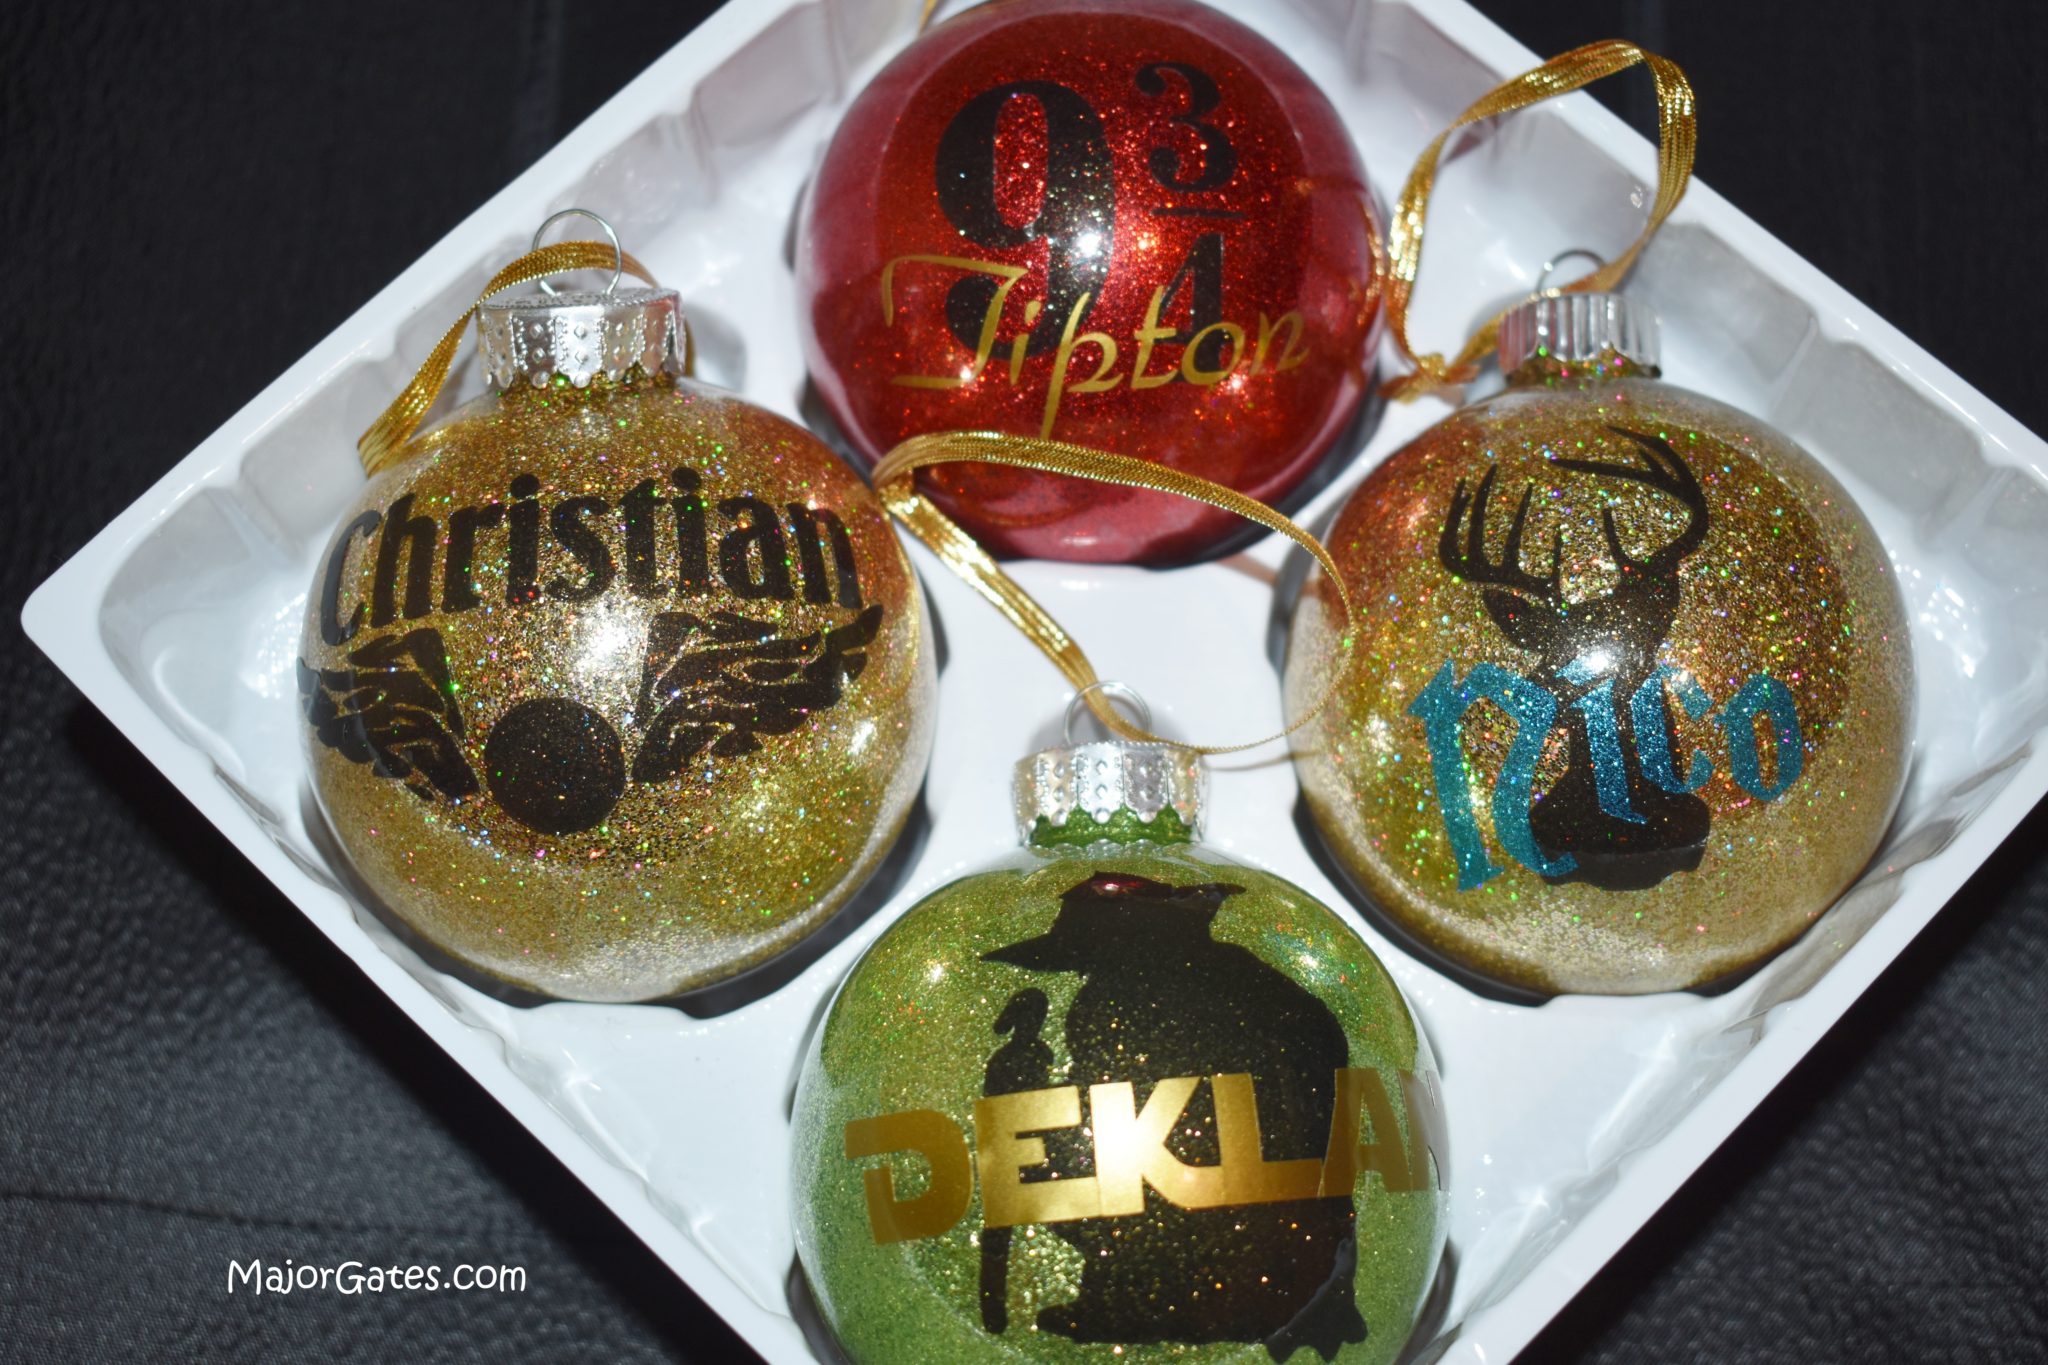
- It is done! Now, re-attach the top and add decorative ribbon. Finally, the Harry Potter Glass Bulb Ornament is ready to hang on the tree or be placed on a wreath.

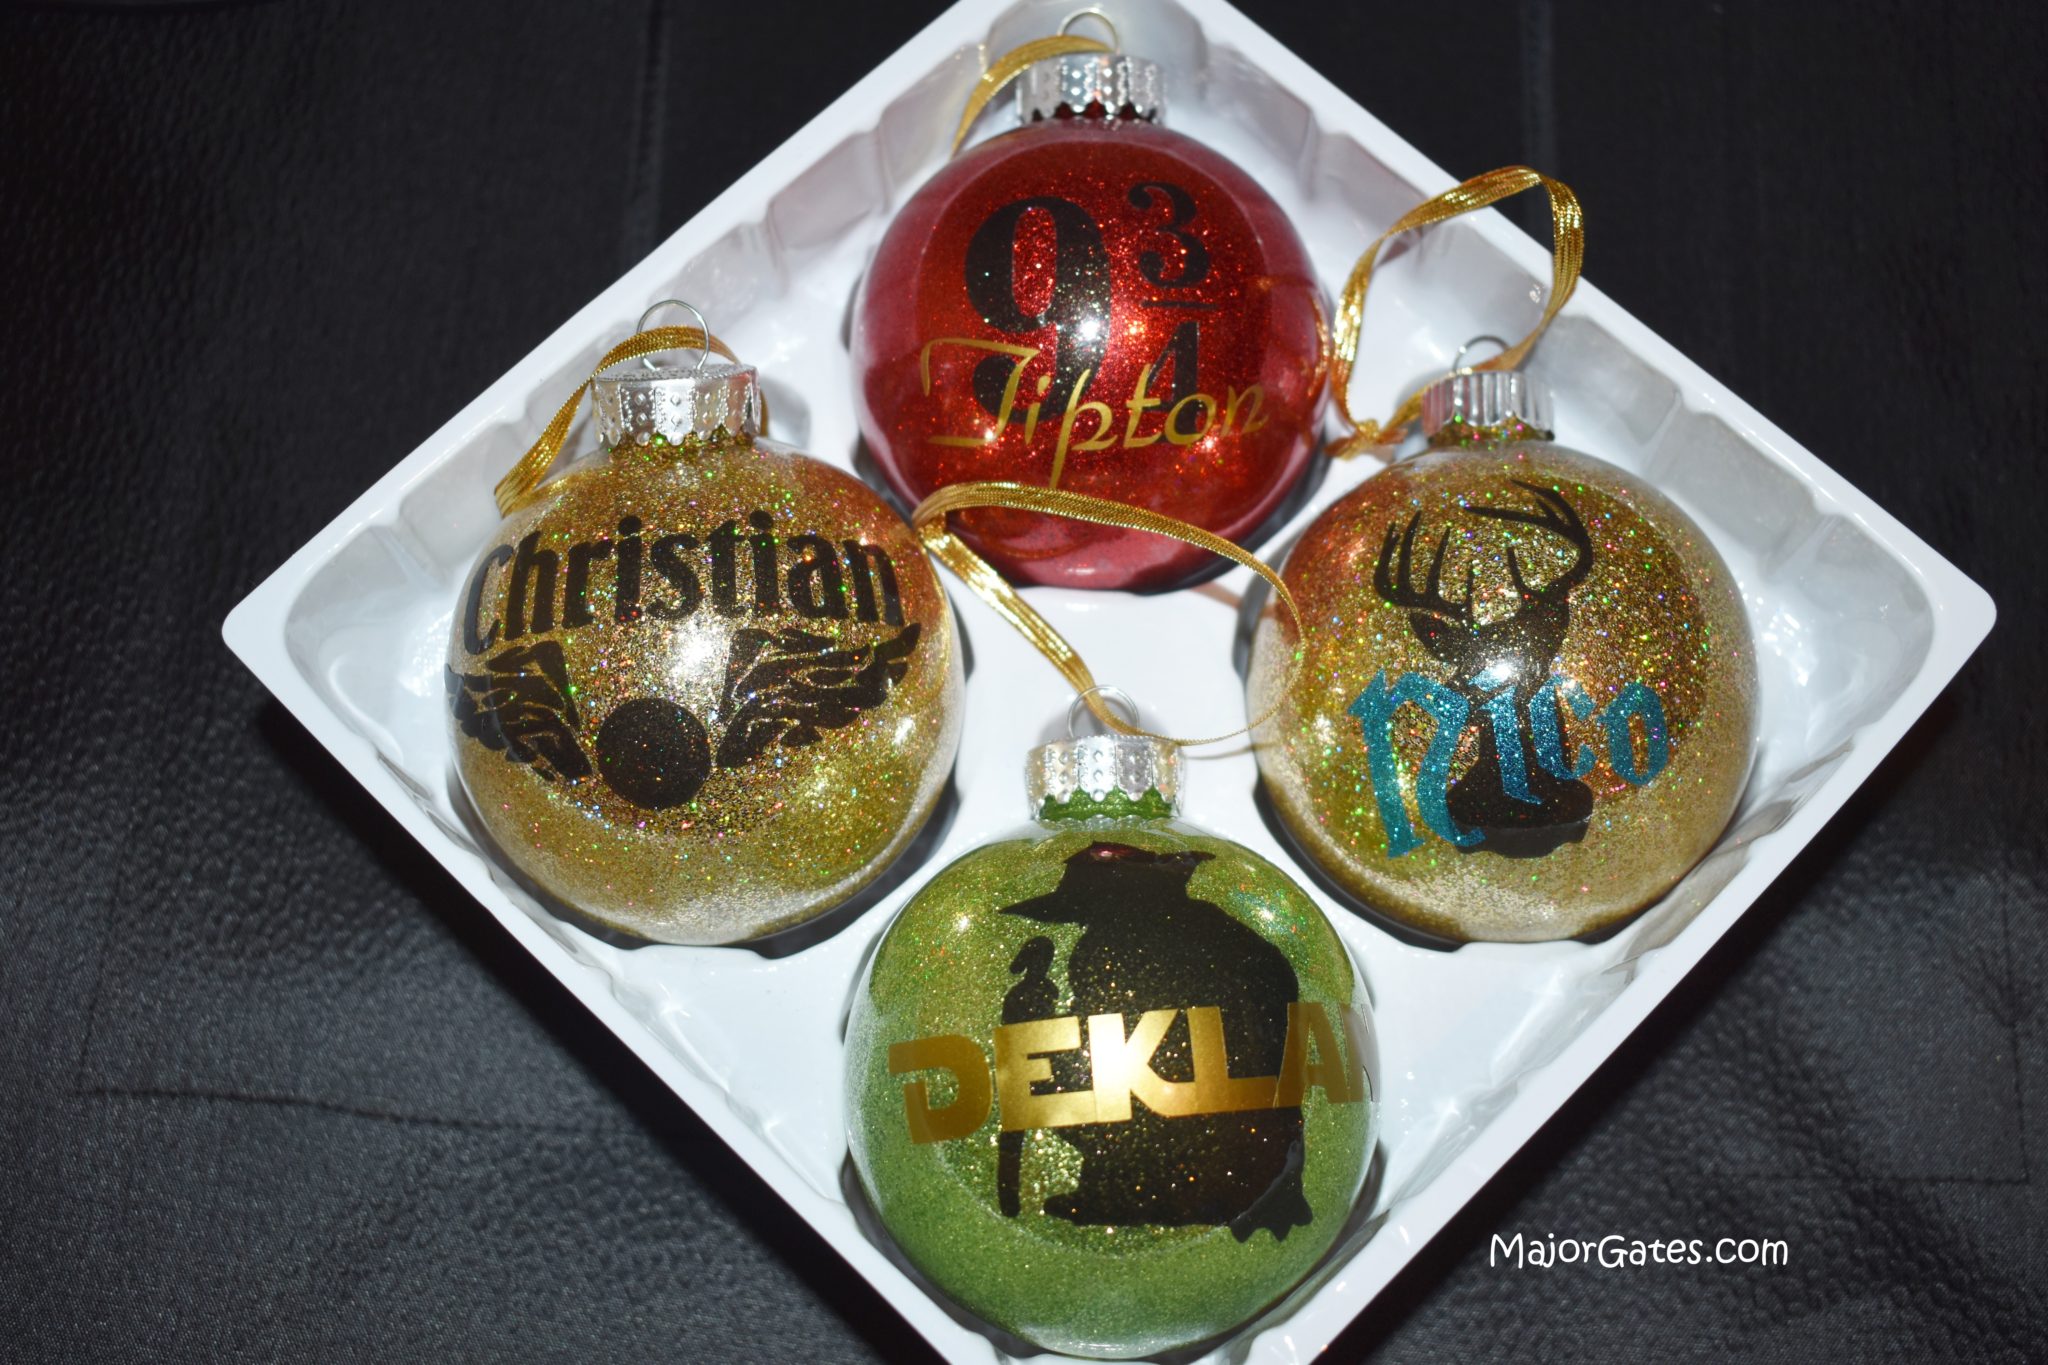
Also, here are some ornaments that I made for friends and one of them wanted a Star Wars ornament. So you can make these for any theme!
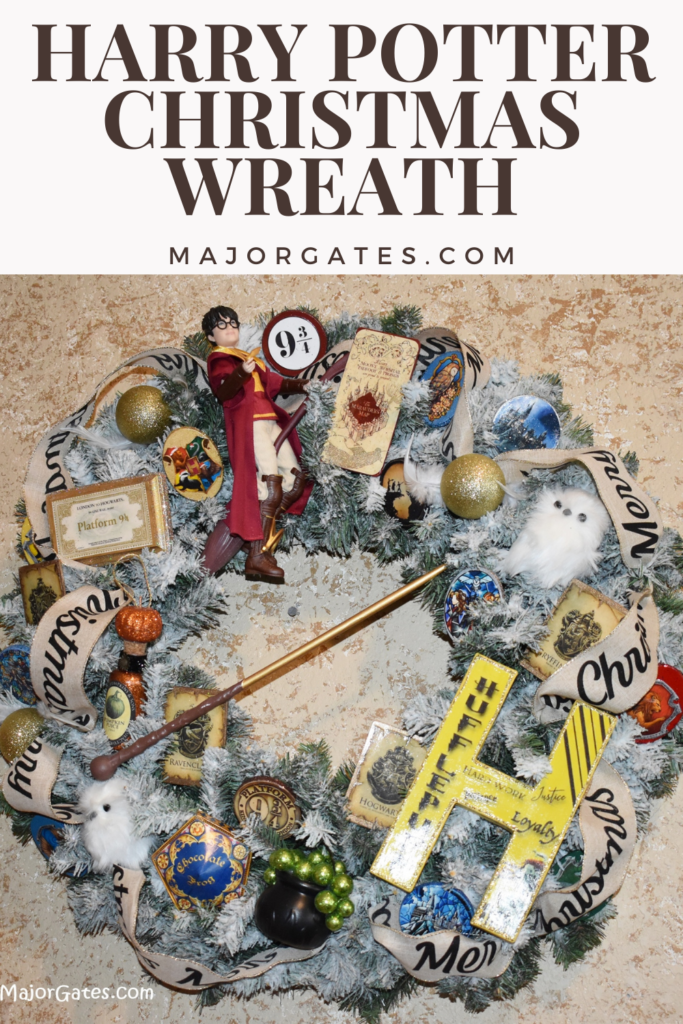
Learn how to make a Harry Potter Christmas Wreath here: https://majorgates.com/do-it-yourself/harry-potter-christmas-wreath/
To see my available Potion/Apothecary Bottle Party Labels, click here: https://majorgates.com/product-category/potion-apothecary-labels/
