Harry Potter Wood Circle Ornaments

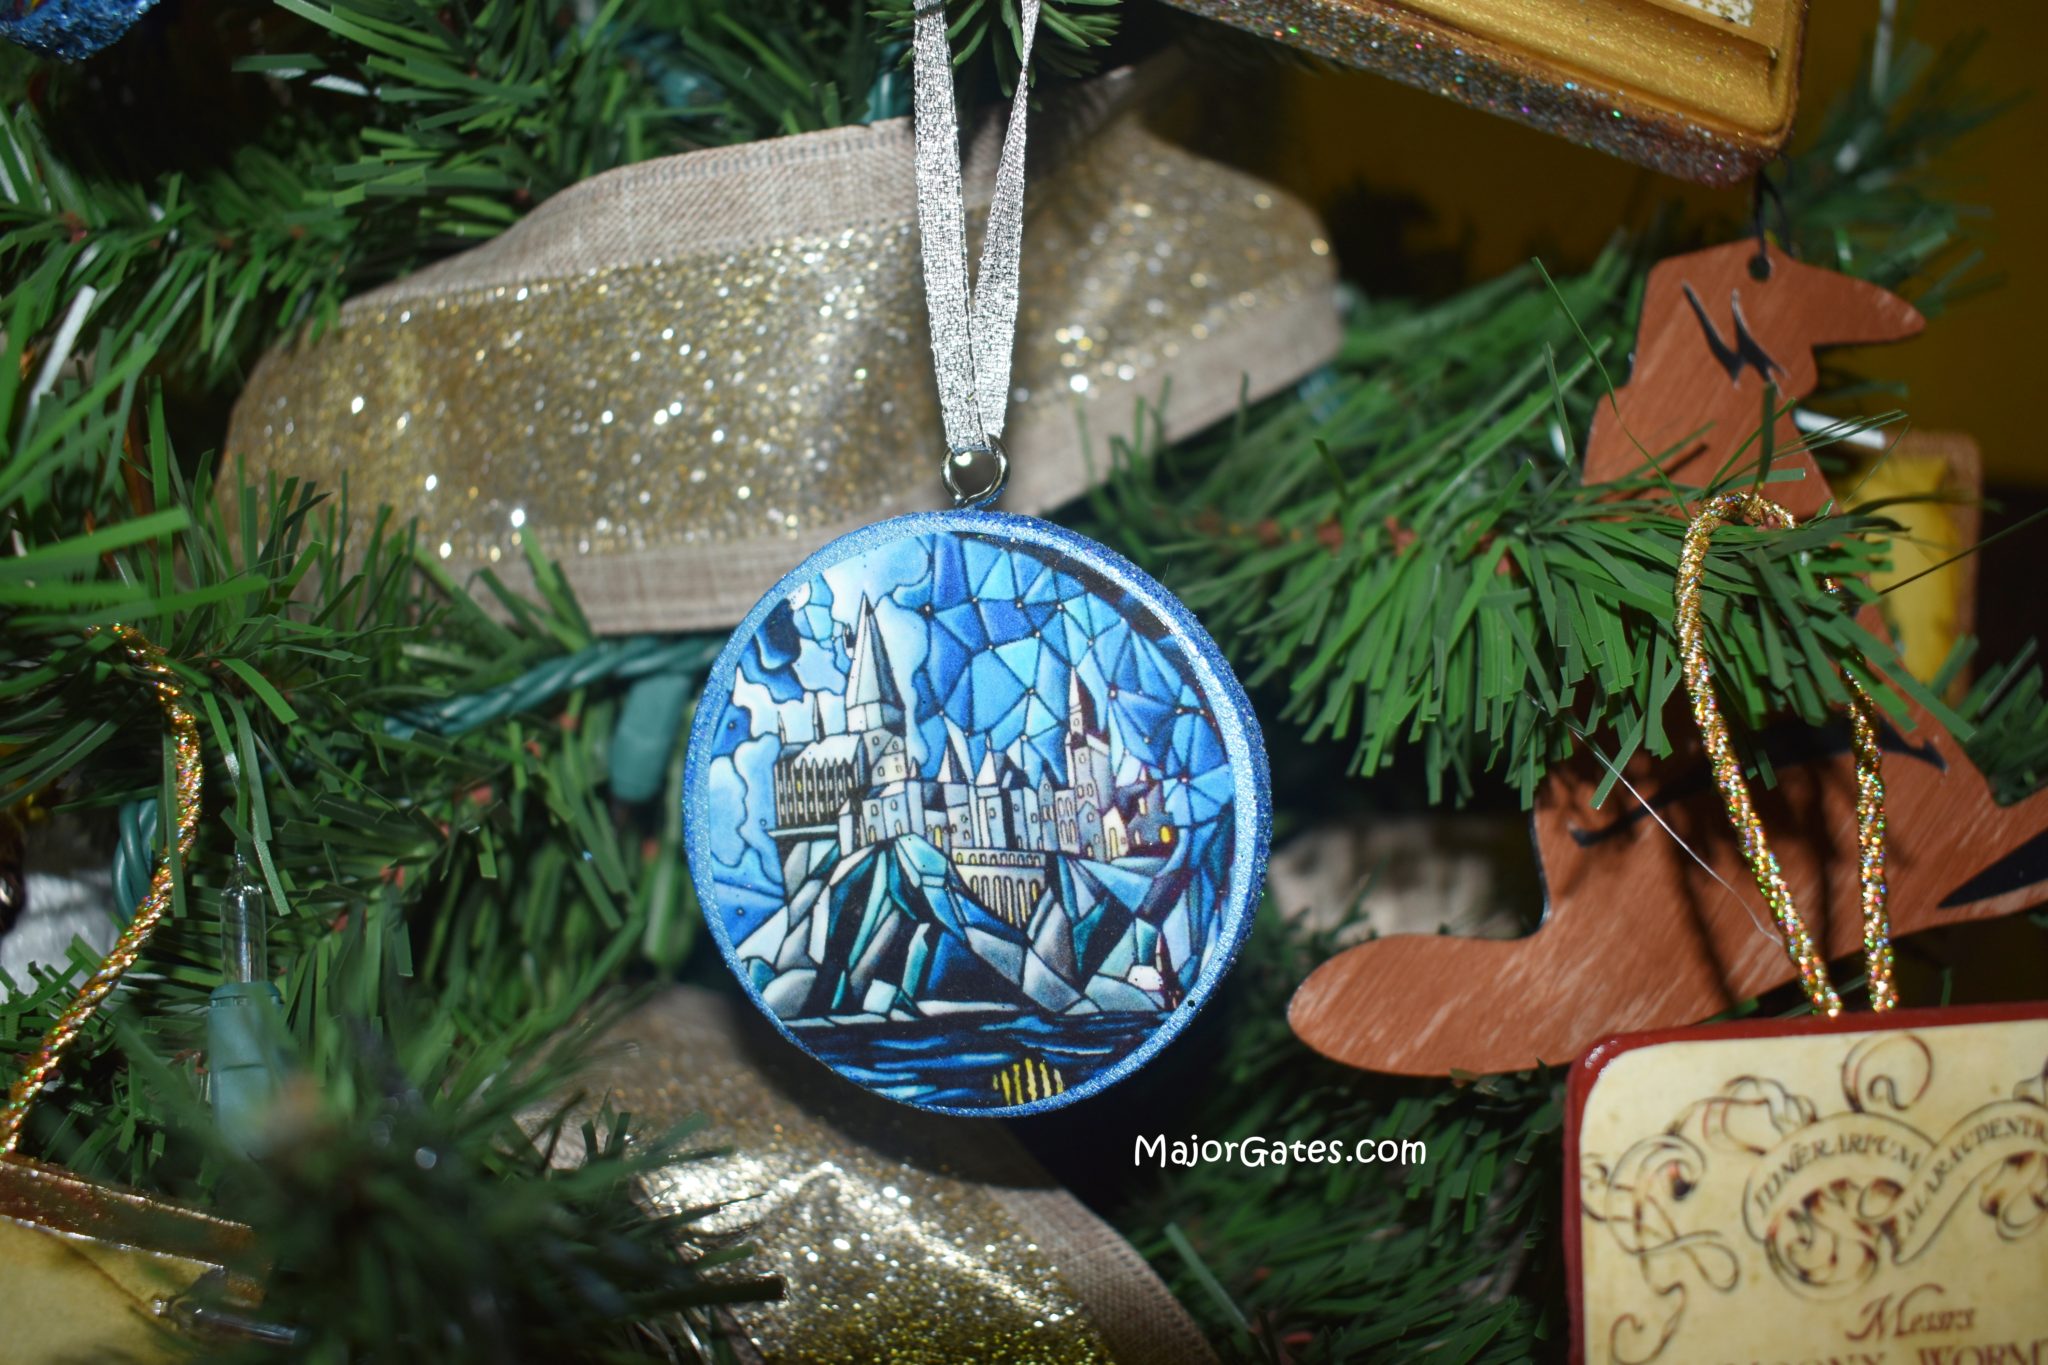
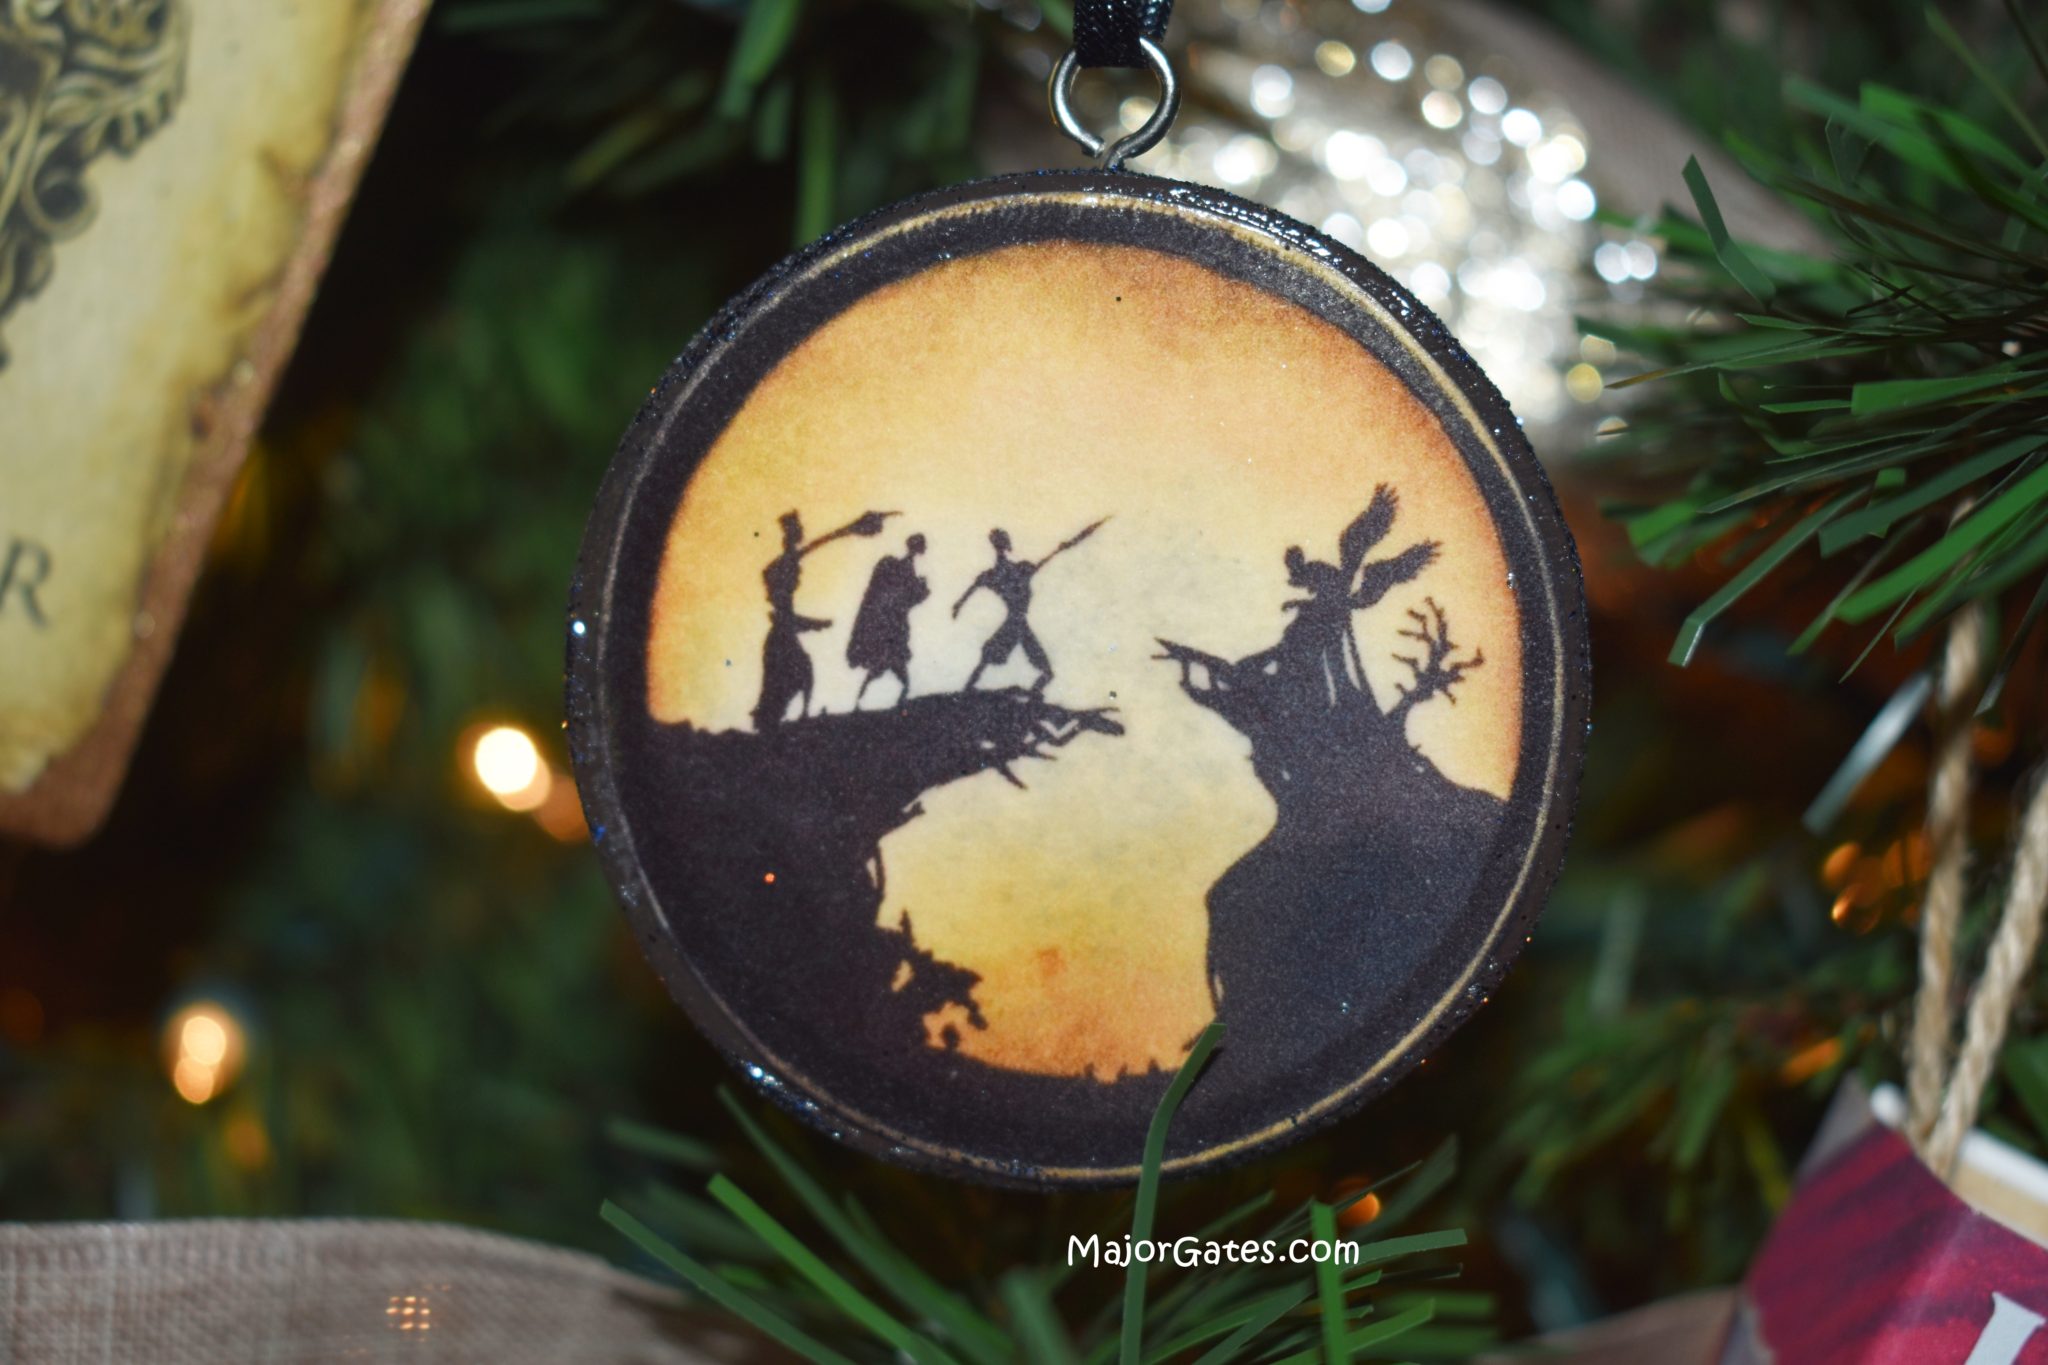
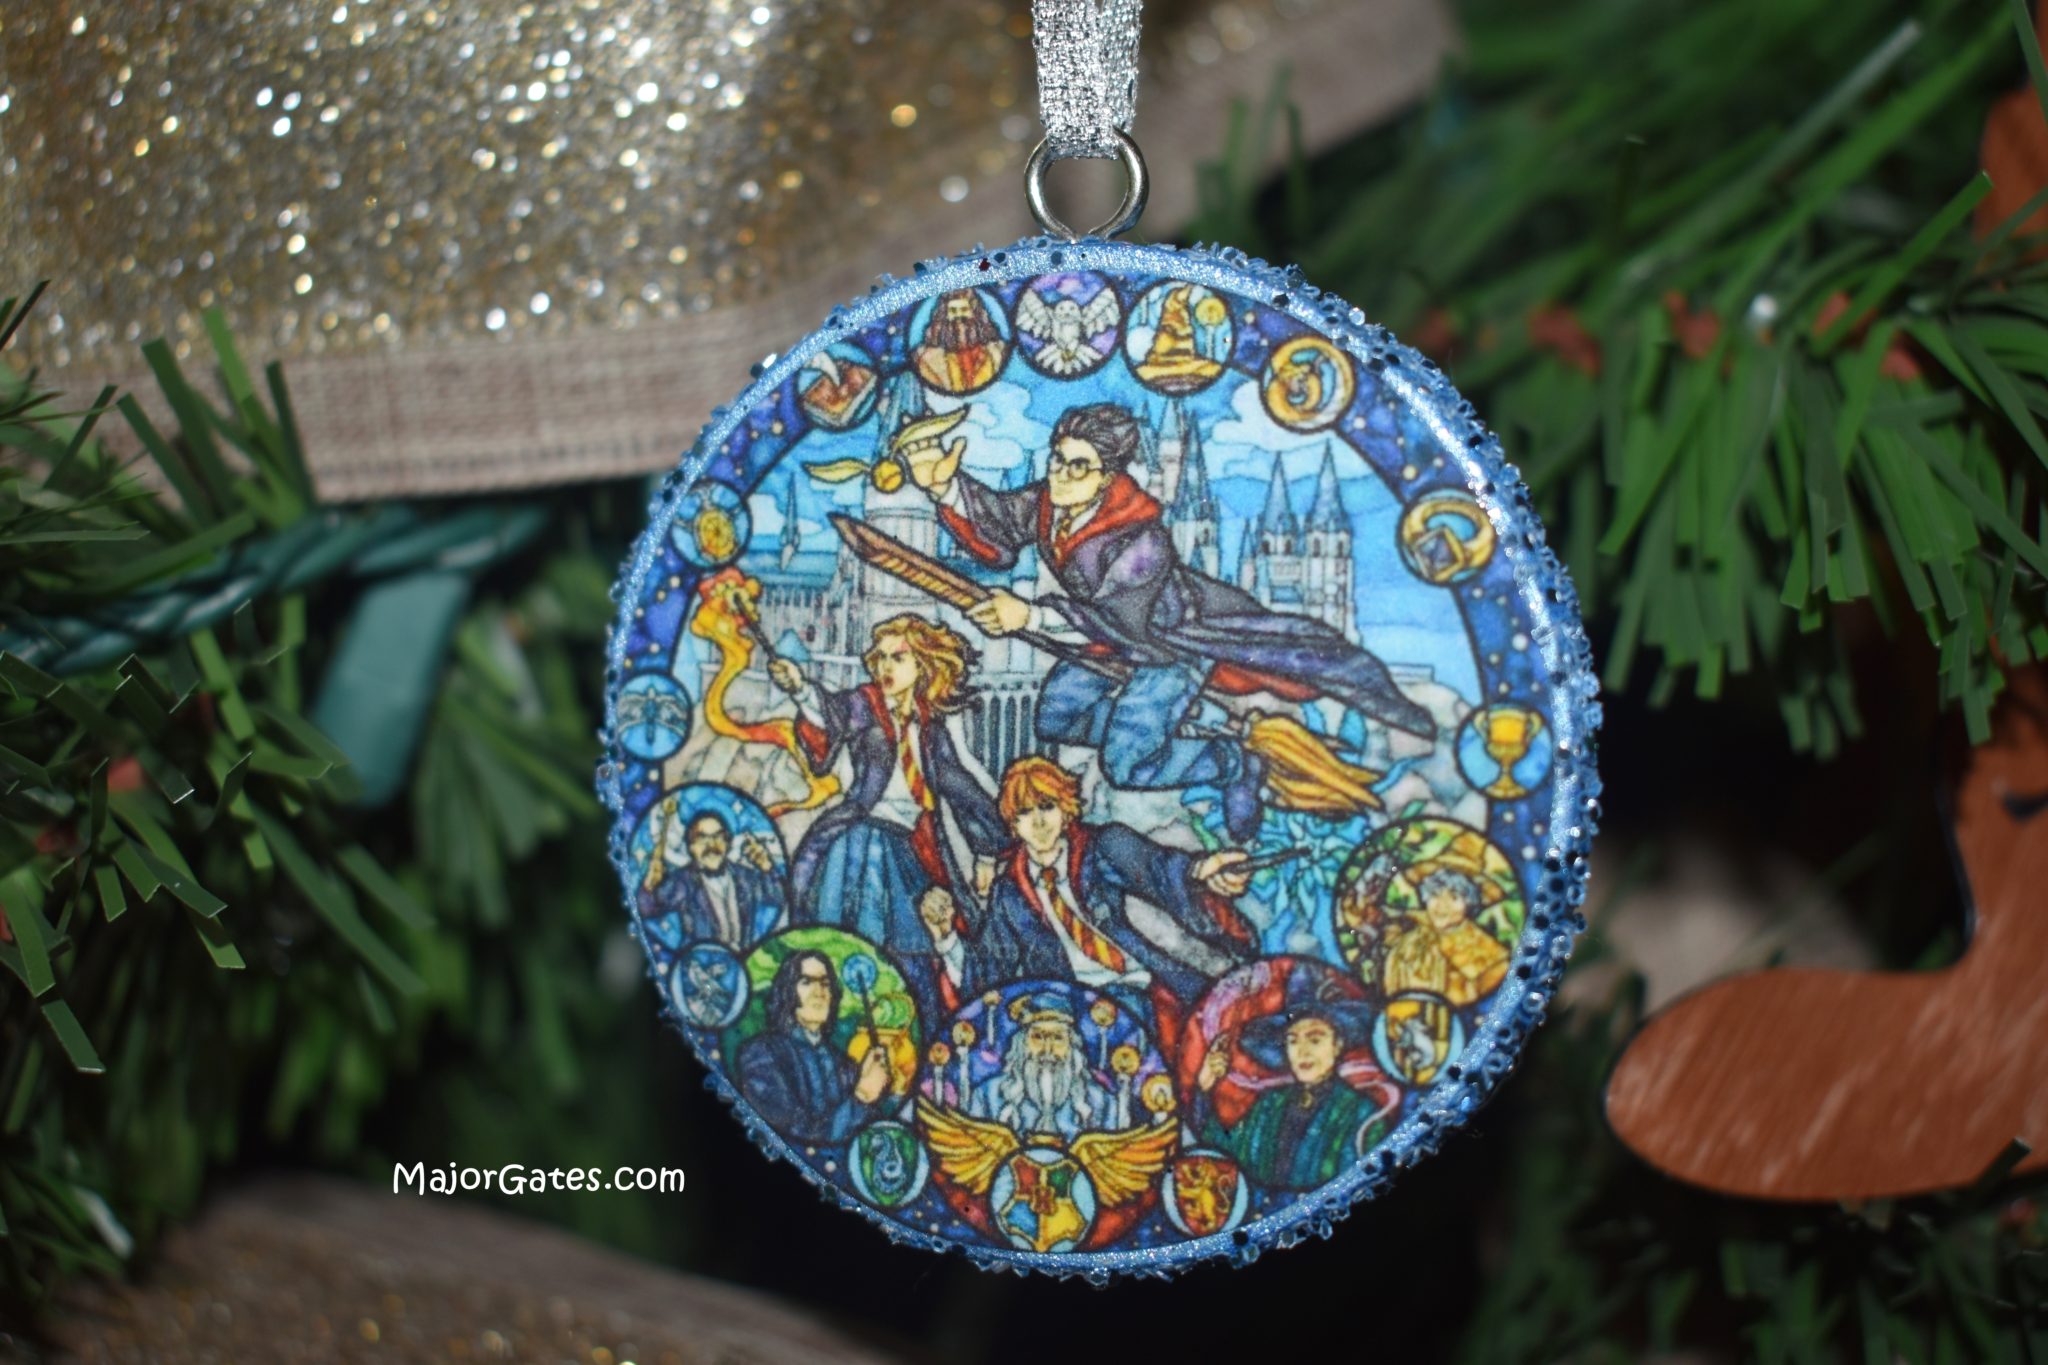
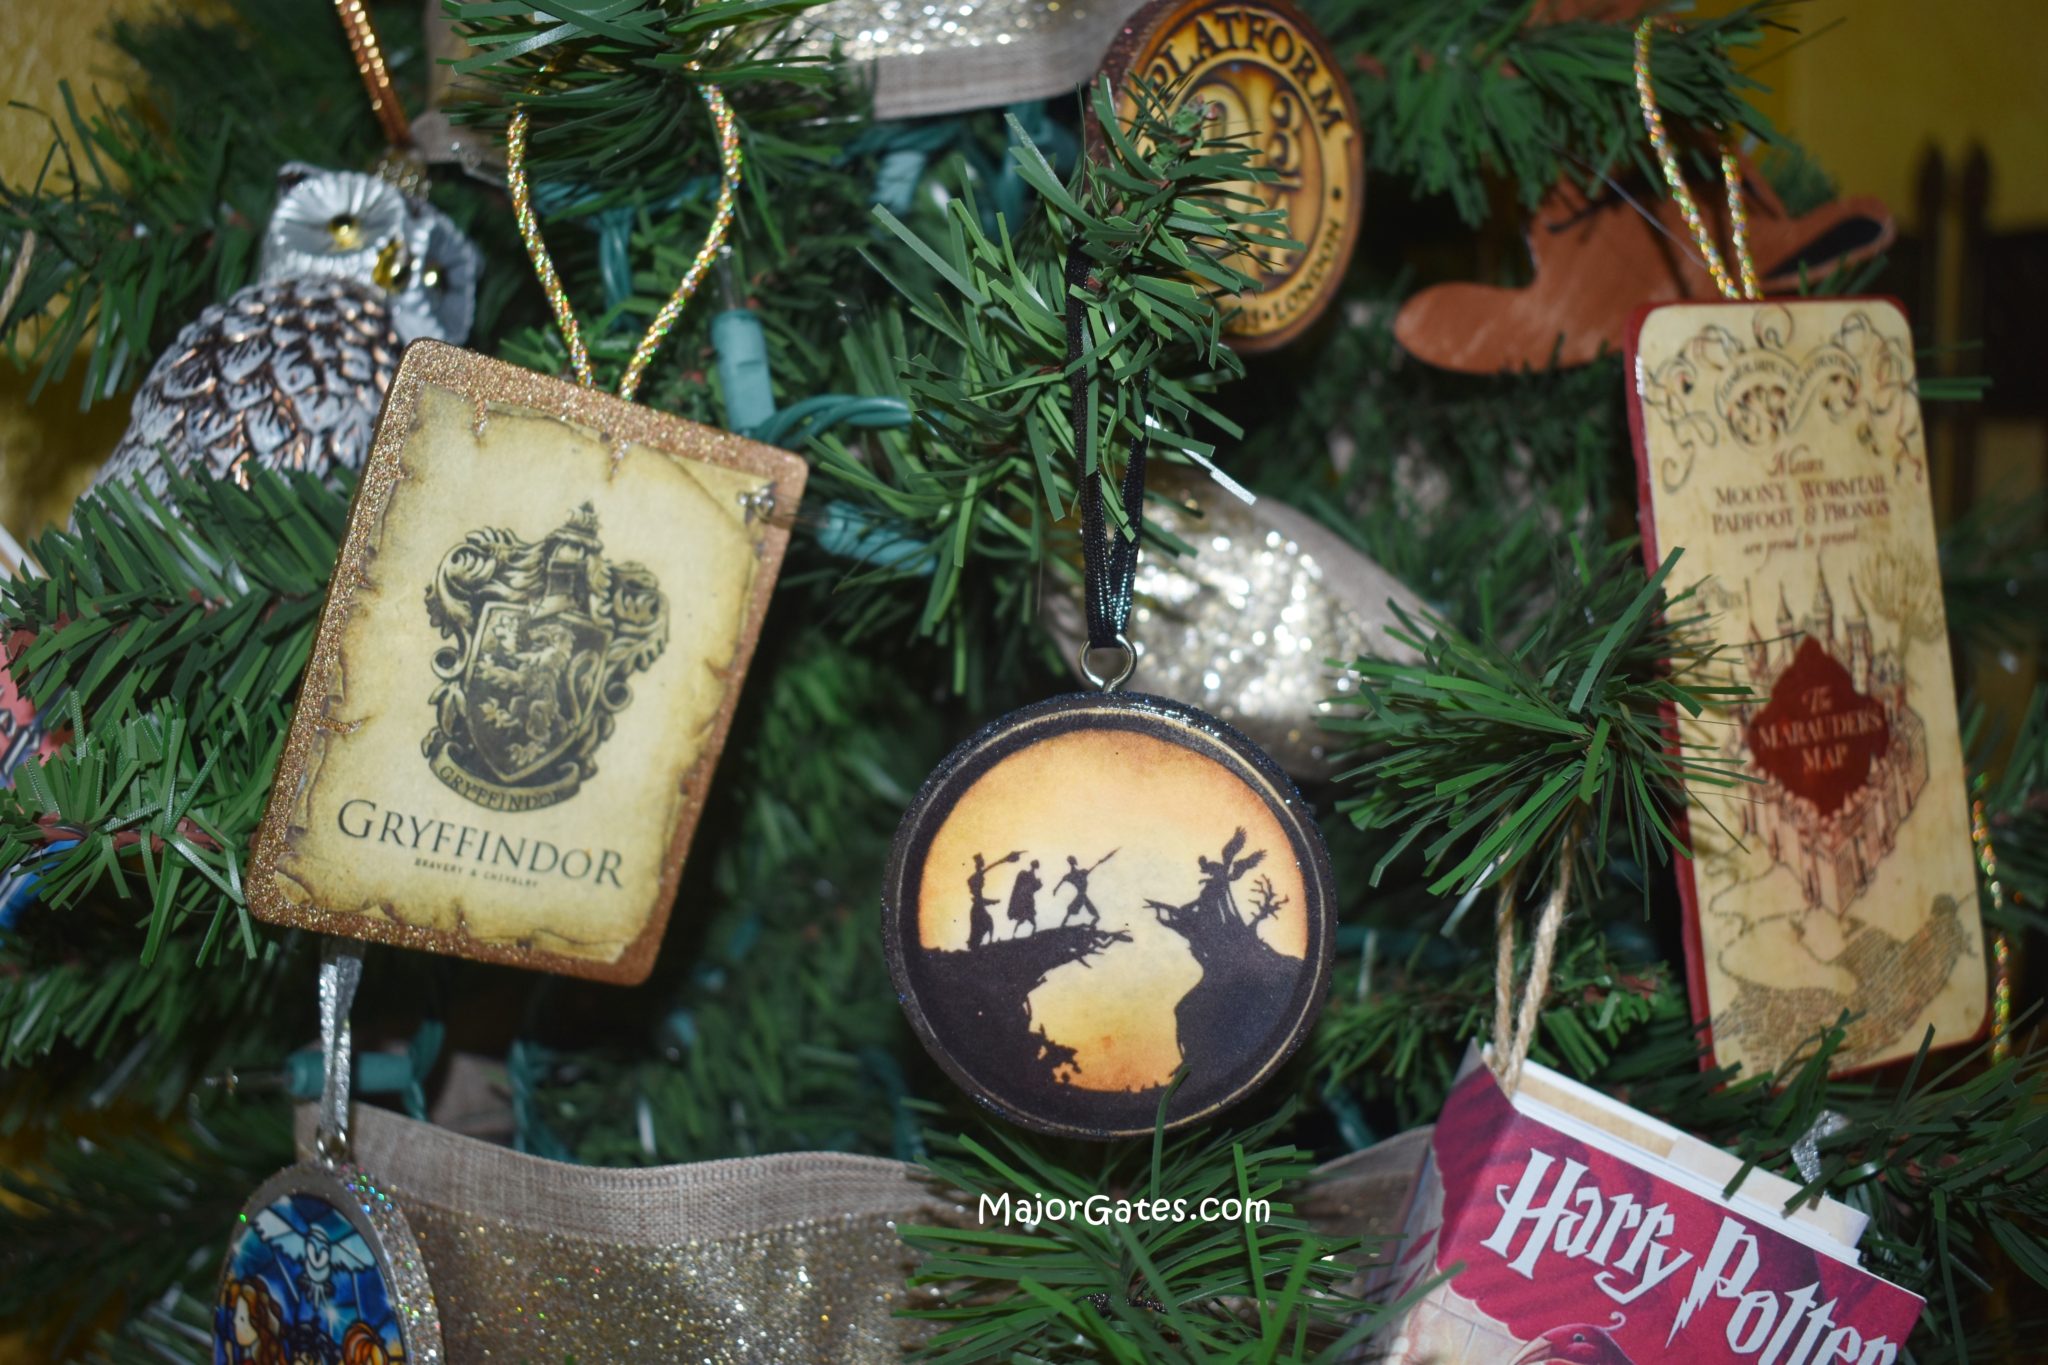
Making Harry Potter Wood Circle Ornaments are cute and perfect for a Harry Potter Christmas Tree or Wreath. When you make them yourself, you can choose any image you want to put on the ornament to match your personal style or Harry Potter fan. I make ornaments as presents for my friends and for my kids. Kids love to help out making ornaments.
I like this craft because you don’t need a lot of supplies and they are pretty easy to make. Once you get the basic supplies, the possibilities are endless. You can make these ornaments to match any theme you want or make traditional themed Christmas ornaments.
To see more available Party Label Bundle Downloads, click here: https://majorgates.com/product-category/party-bundles/
Don’t Forget To Follow Me On Pinterest!
Check out my available Jeopardy/Trivia Party Downloads here: https://majorgates.com/product-category/jeopardy-trivia/
To get more ideas on other Harry Potter crafts or other types of crafts, visit my DIY page here: https://majorgates.com/category/do-it-yourself/
Learn how to make a Hogwarts Ticket Ornament here: https://majorgates.com/do-it-yourself/diy-hogwarts-ticket-ornament/
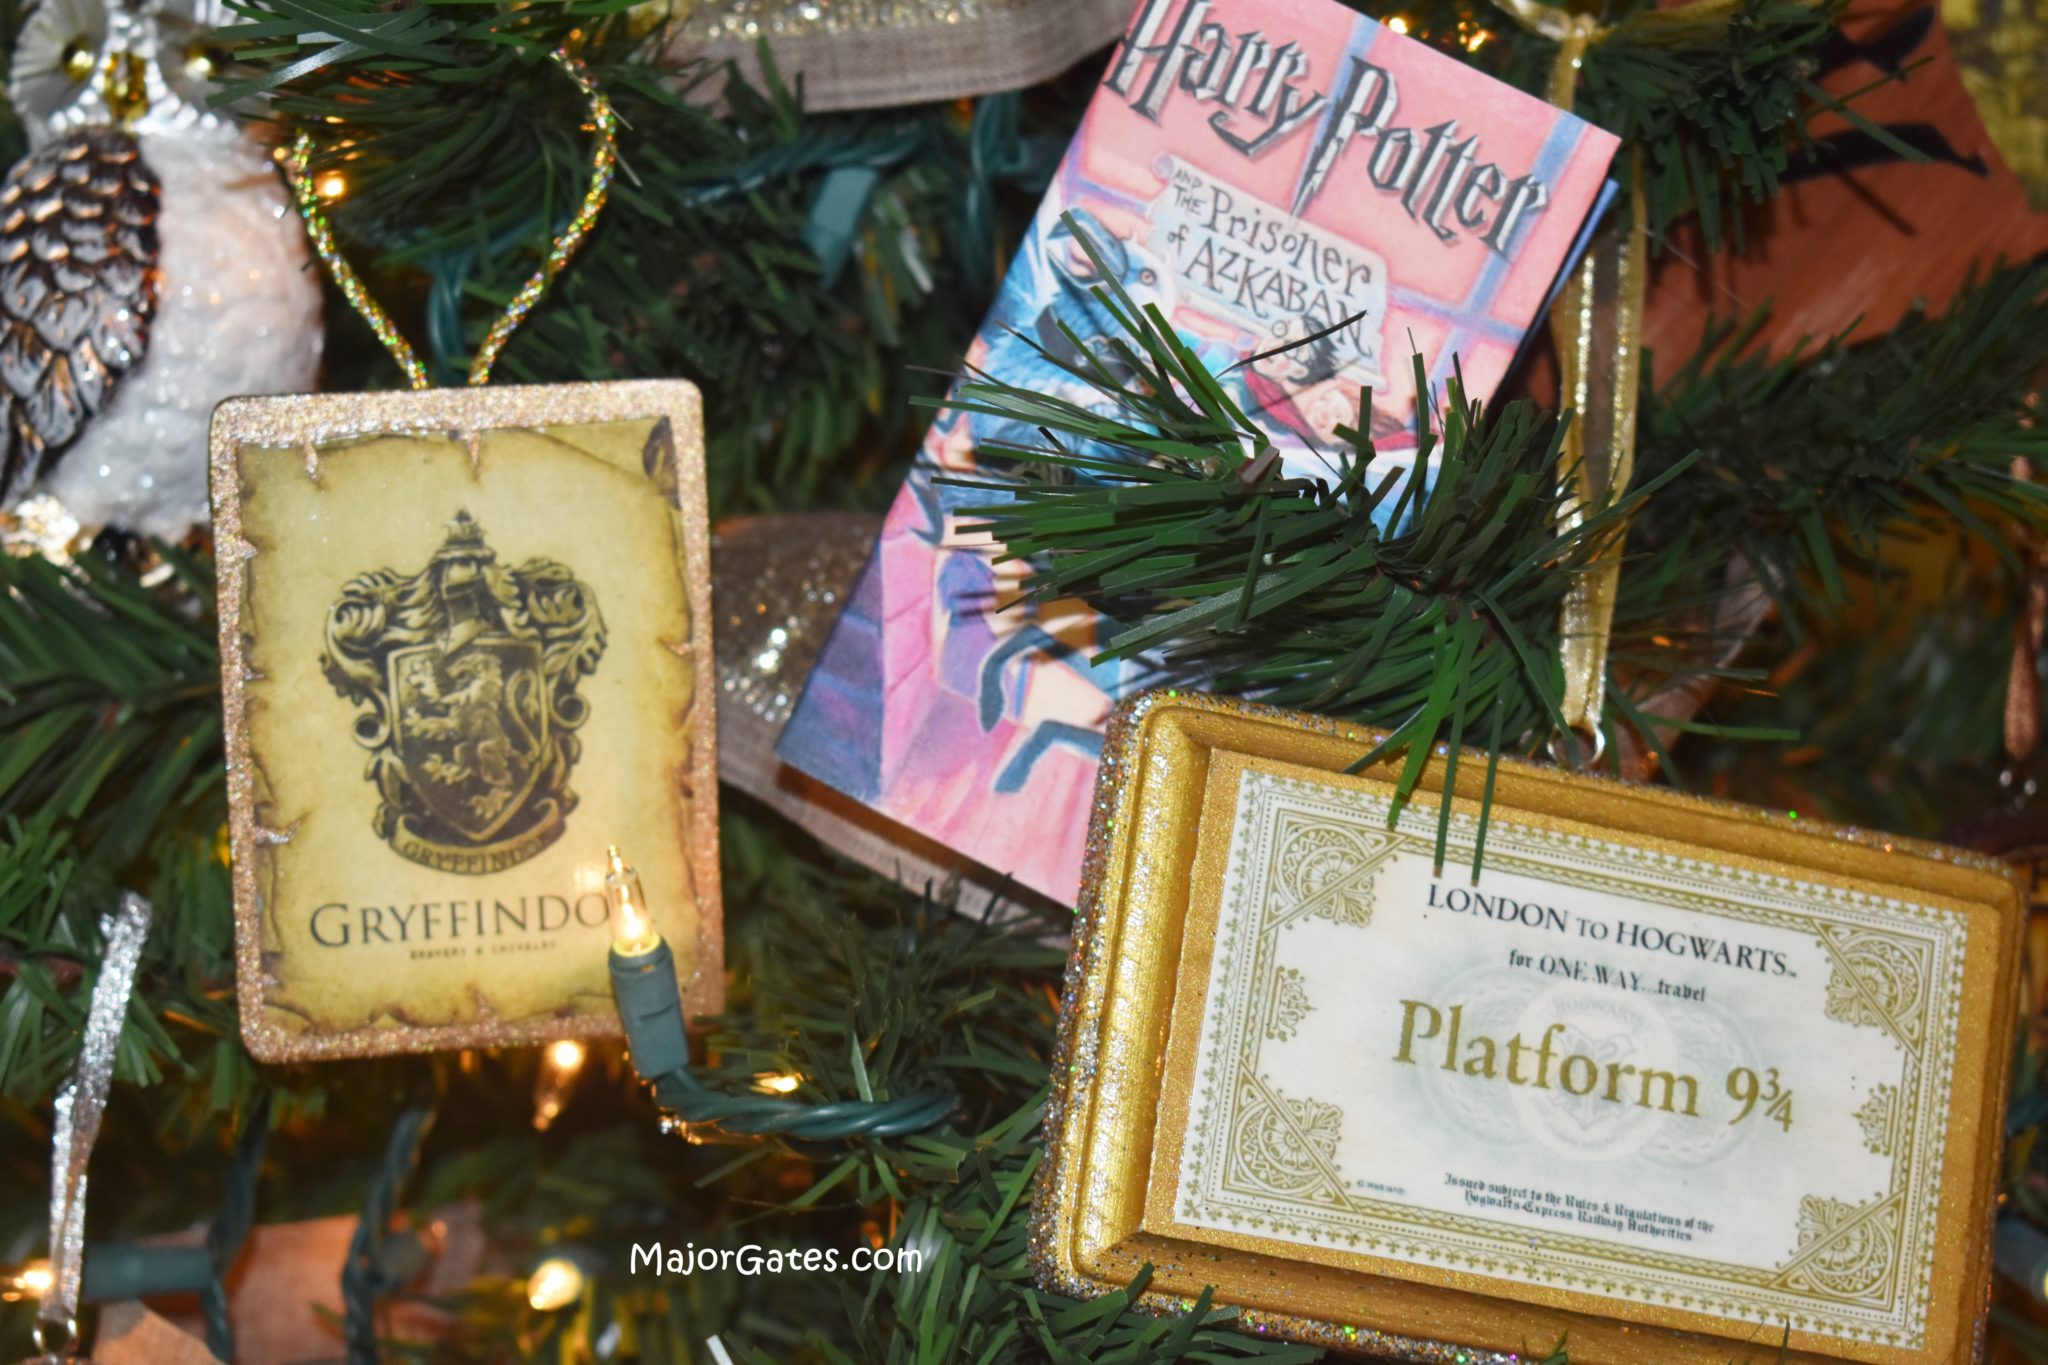
Supplies For Harry Potter Wood Circle Ornaments
Check your local craft stores for supplies, but if you are unable to find the supplies or can’t venture out, I have added links to supplies.
- 2.5- 3.0 inch wood circles – if you would like the ornament to be thicker, then glue two wood circles together before painting. I found thicker circles at my local craft store. You could also use natural wood slices. So if you are only able to get thinner circles, you will be able to ribbon or twine glued to the back instead of a hook.
- 2 ounce bottles of Acrylic Paint in the colors of your choice. I like to use metallic, enamel and gloss paints for ornaments.
- Sharp Craft Scissors
- Fine or extra fine glitter in the color(s) of your choice.
- Ribbon or twine in the color(s) of your choice. I like to use rope or cord ribbon 2 mm – 3 mm thick.
- 65 lb White Card Stock
- Mod Podge Gloss
- Eyelet Hooks
- Paint Tray and Paint Brush
- Craft Pliers – optional
Directions
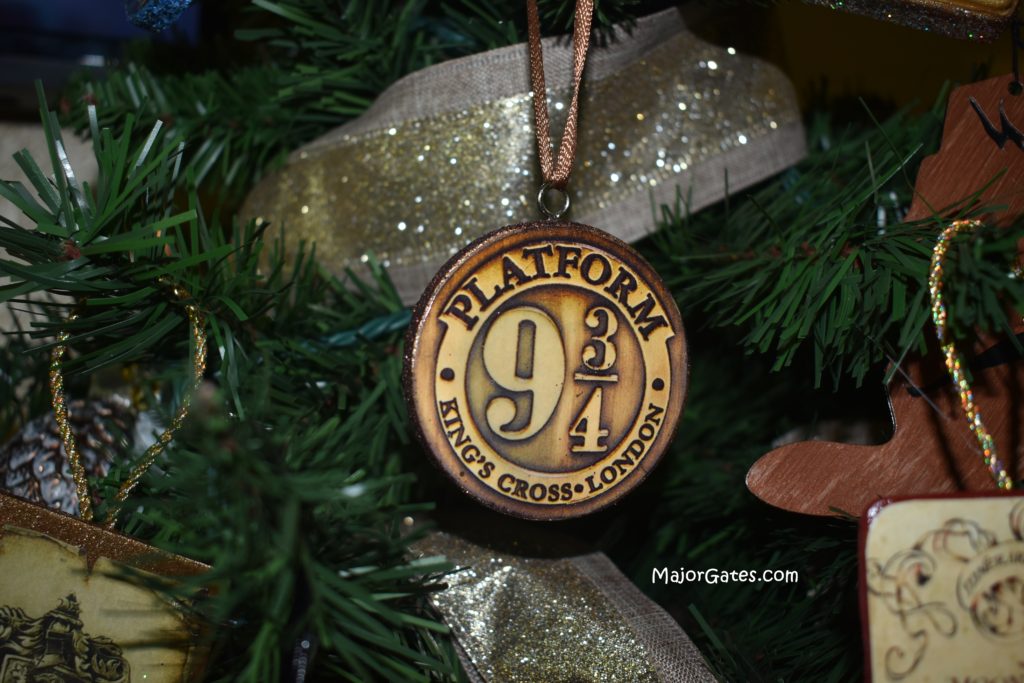
- Do an internet search and determine the images you want to have on the ornament and save them to your computer.
- Next print the images on white card stock. I printed 12 per page (4 Rows x 3 Columns). I used a free photo editing software called PhotoScape. They have a paid version as well but the free version works for my needs so far. Here is the link if you need it: http://www.photoscape.org/ps/main/index.php
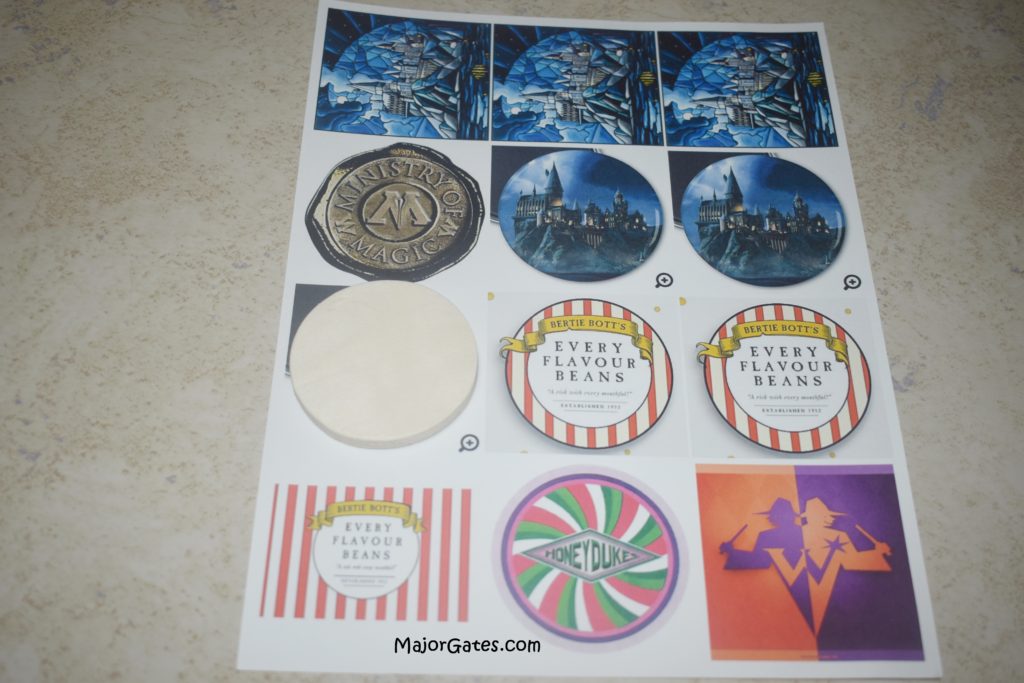
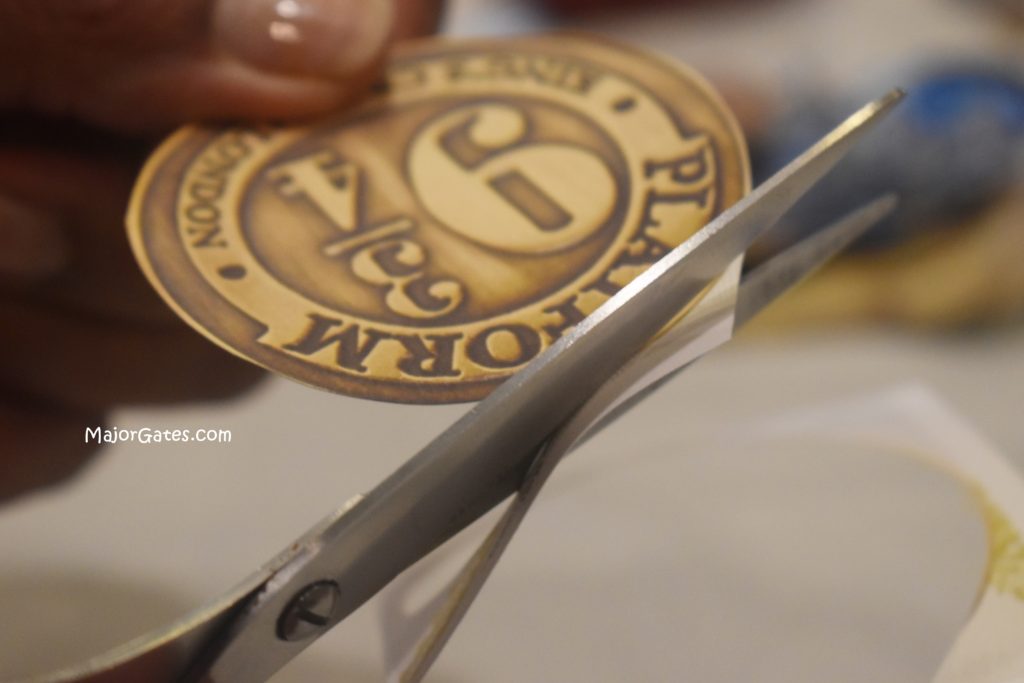
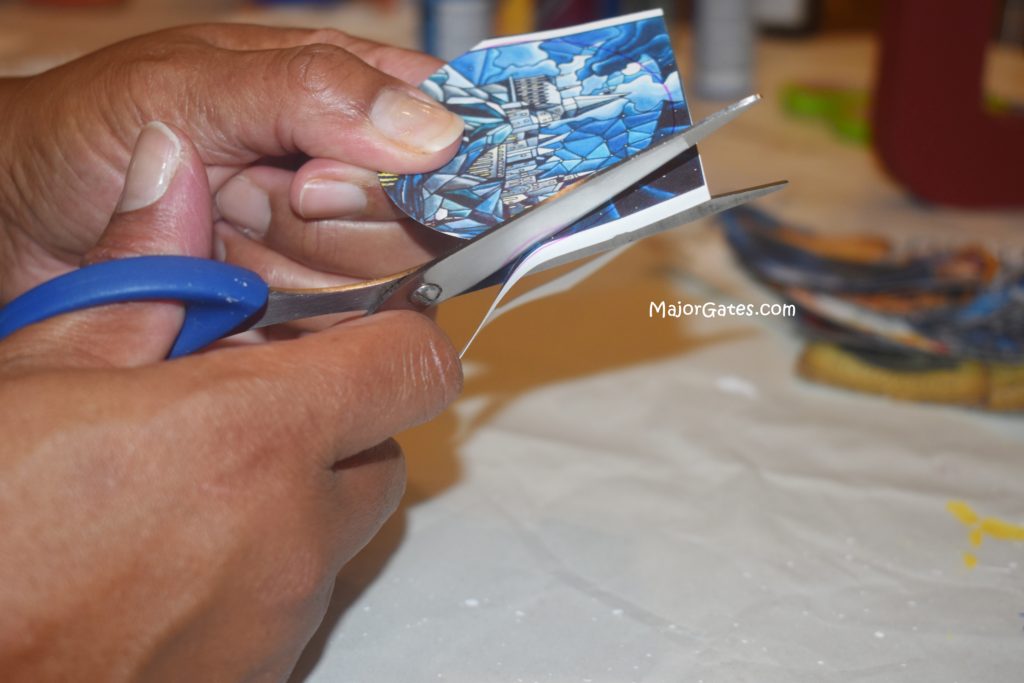
- Hand cut out the images or if you have a craft punch that is the size of the circles, you can just punch them out.
- Next paint the wood circles, paint the sides first and then one side of the wood circle. Allow to dry for 20-30 minutes or until dry. Once the wood circle is dry, flip it over and paint the other side, then allow it to dry for another 20-30 minutes.
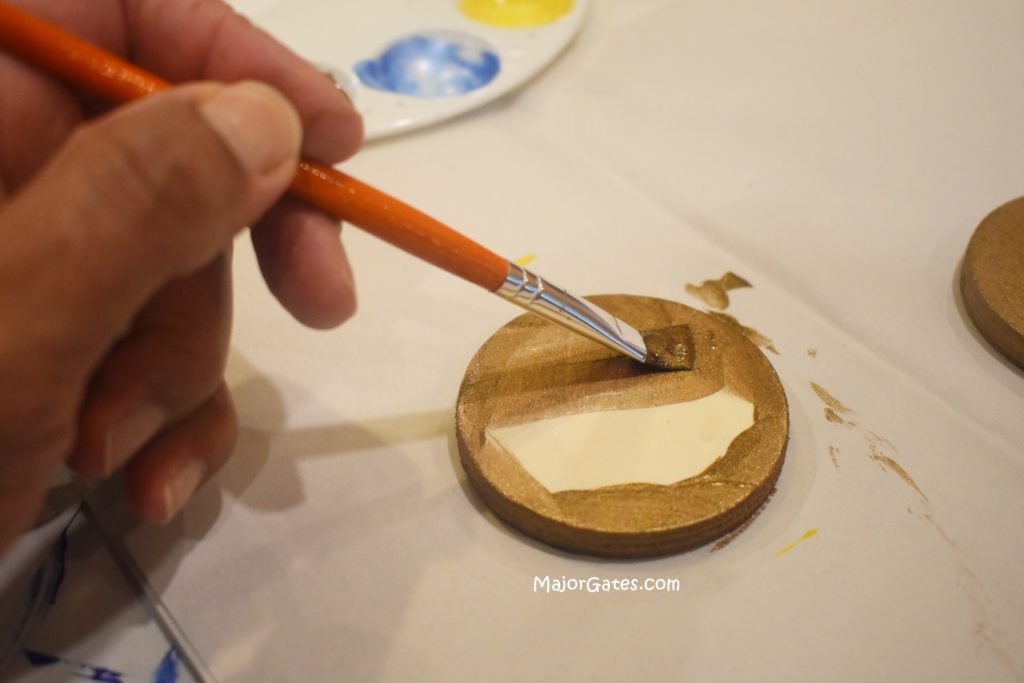
- Once it is dry, paint the back side of the circle image with Mod Podge and center on the wood circle. Then allow it to dry for 15 minutes.
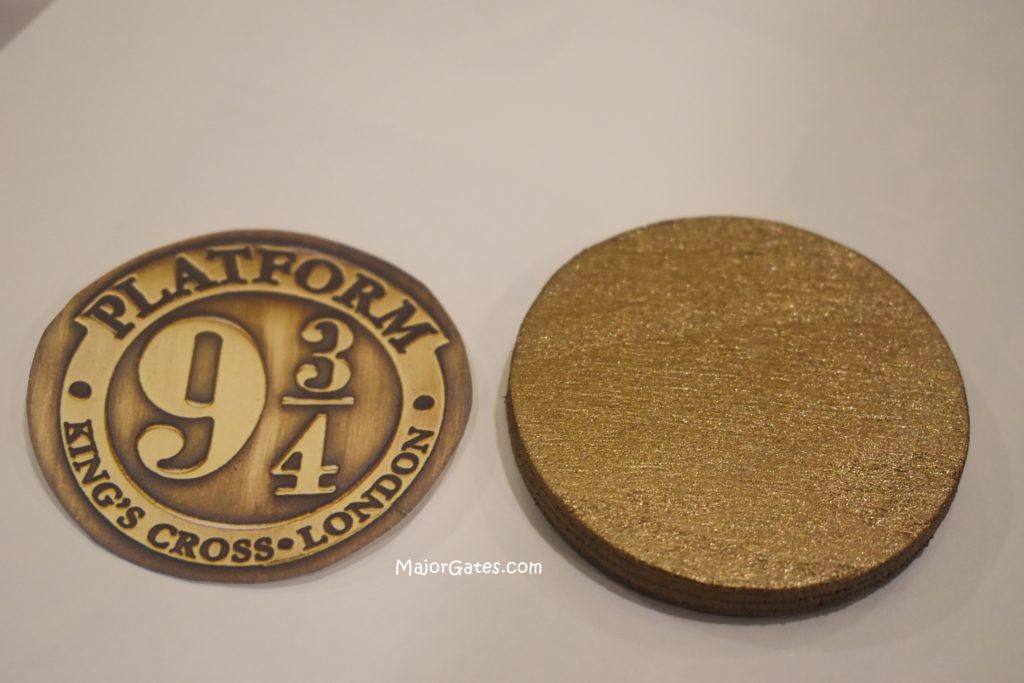
- Then apply a layer of Mod Podge to the front of the wood circle and let dry for 30-45 minutes.
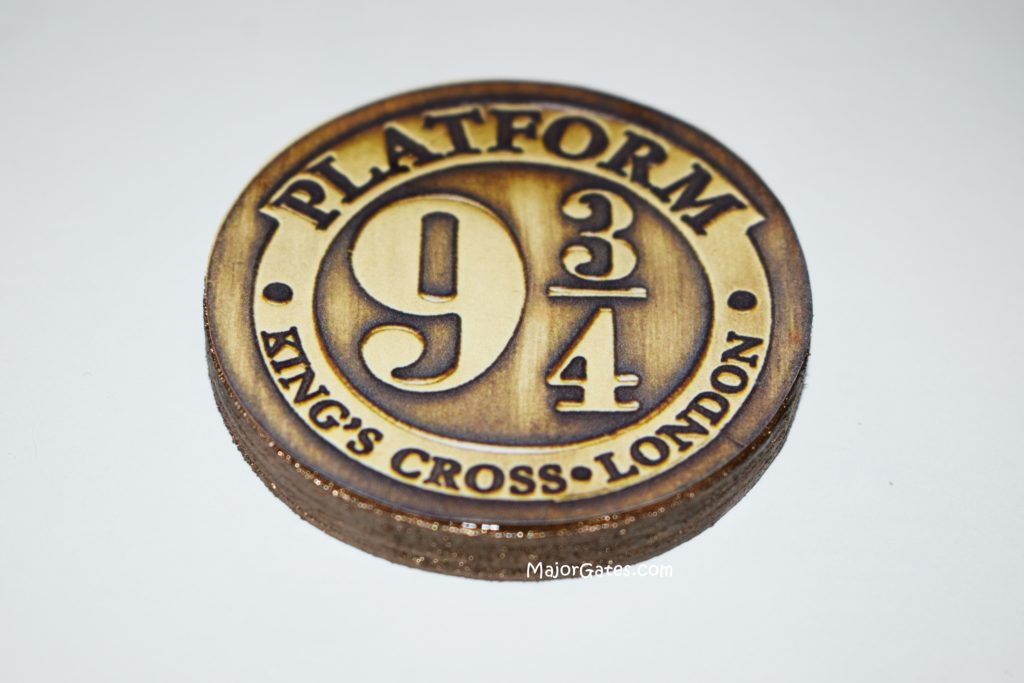
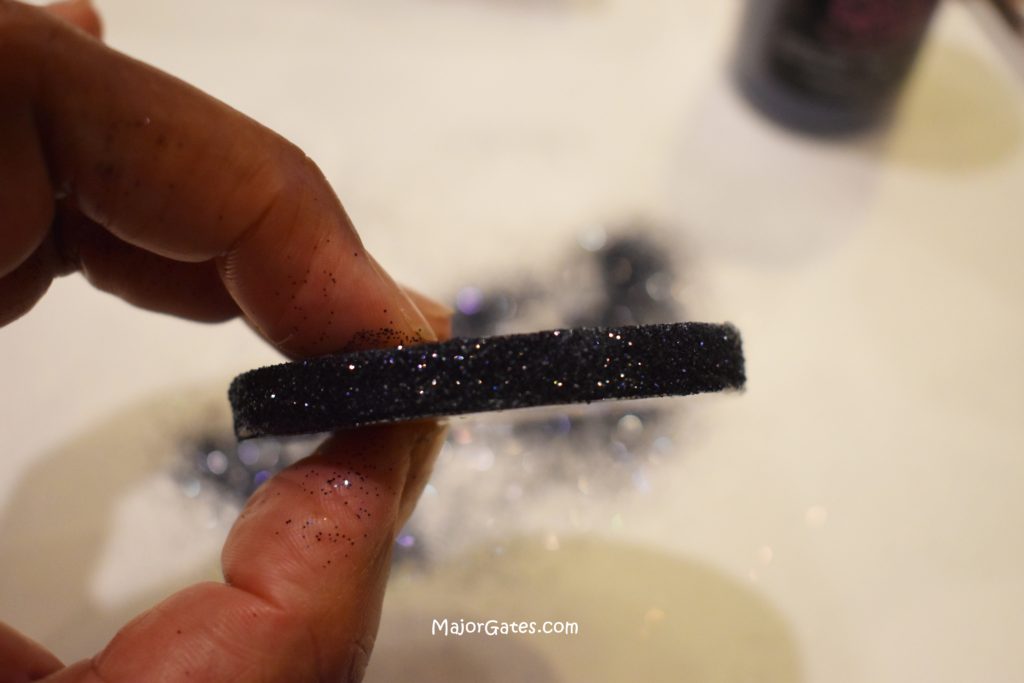
- Apply Mod Podge on the sides of the ornament and shake on the extra fine glitter.
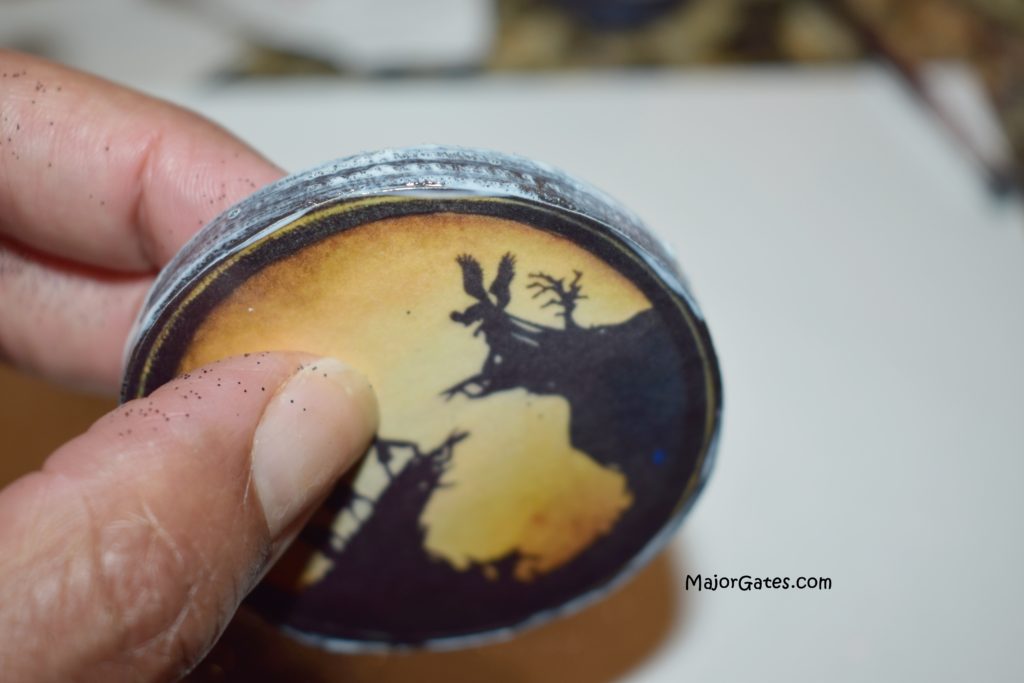
- Next, hand screw in the eyelet screw at the top of the ornament. If you are making a lot of ornaments, use craft pliers to help screw them in.
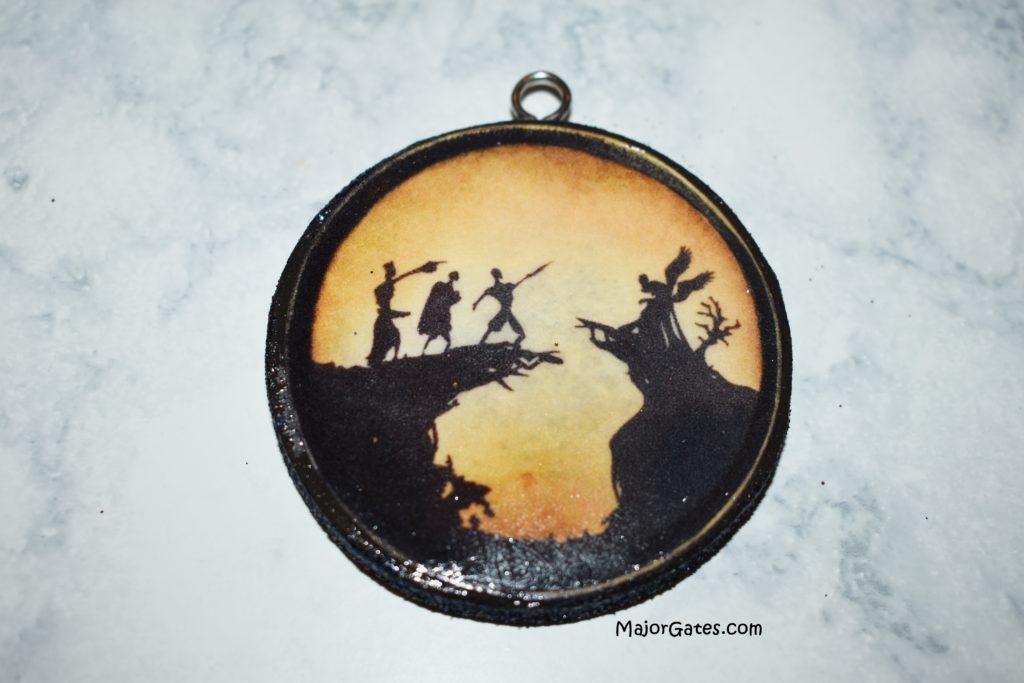
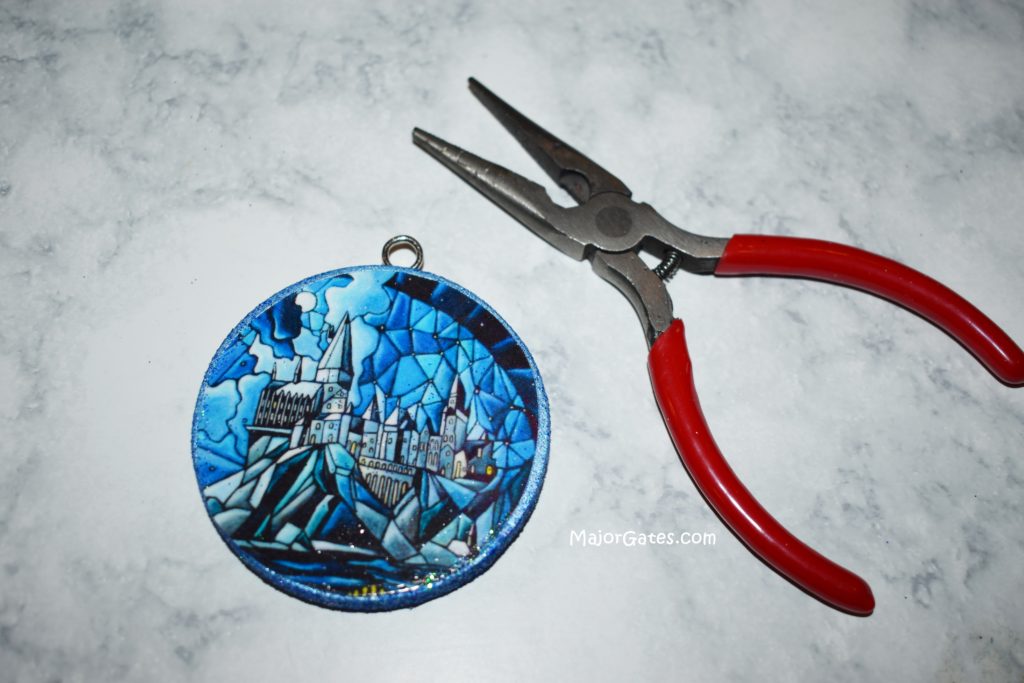
- Tie ribbon on the screw and it is ready to hang on the tree.
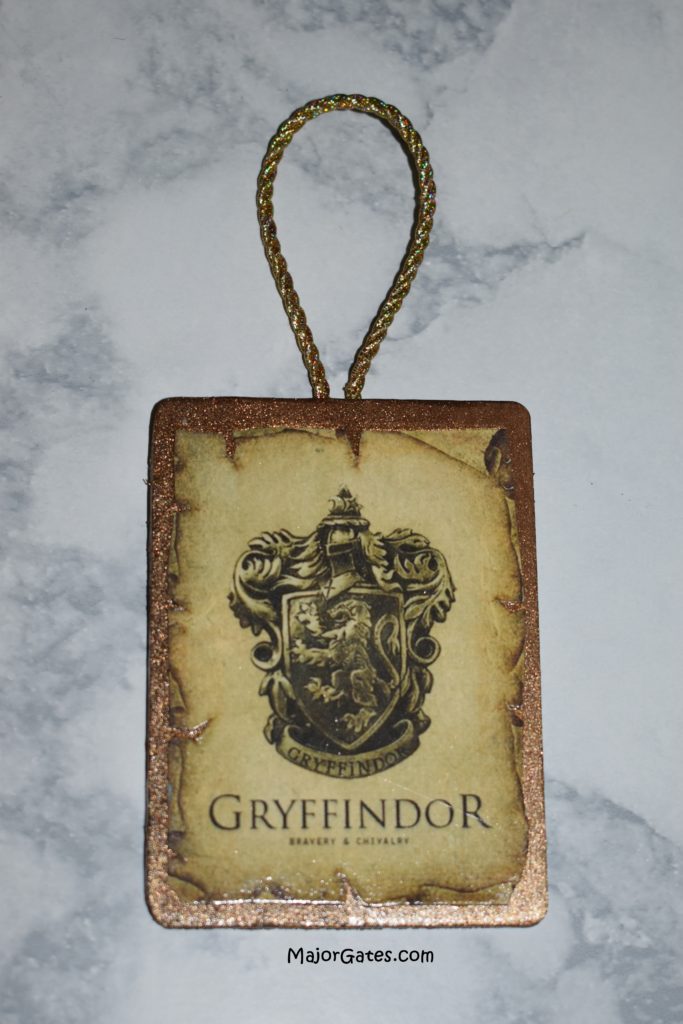
To learn how to make easy Hogwarts Crest Ornaments, click here: https://majorgates.com/do-it-yourself/easy-hogwarts-crest-ornaments/
To see my Potion Bottle Label Downloads, click here: https://majorgates.com/product-category/potion-apothecary-labels/
