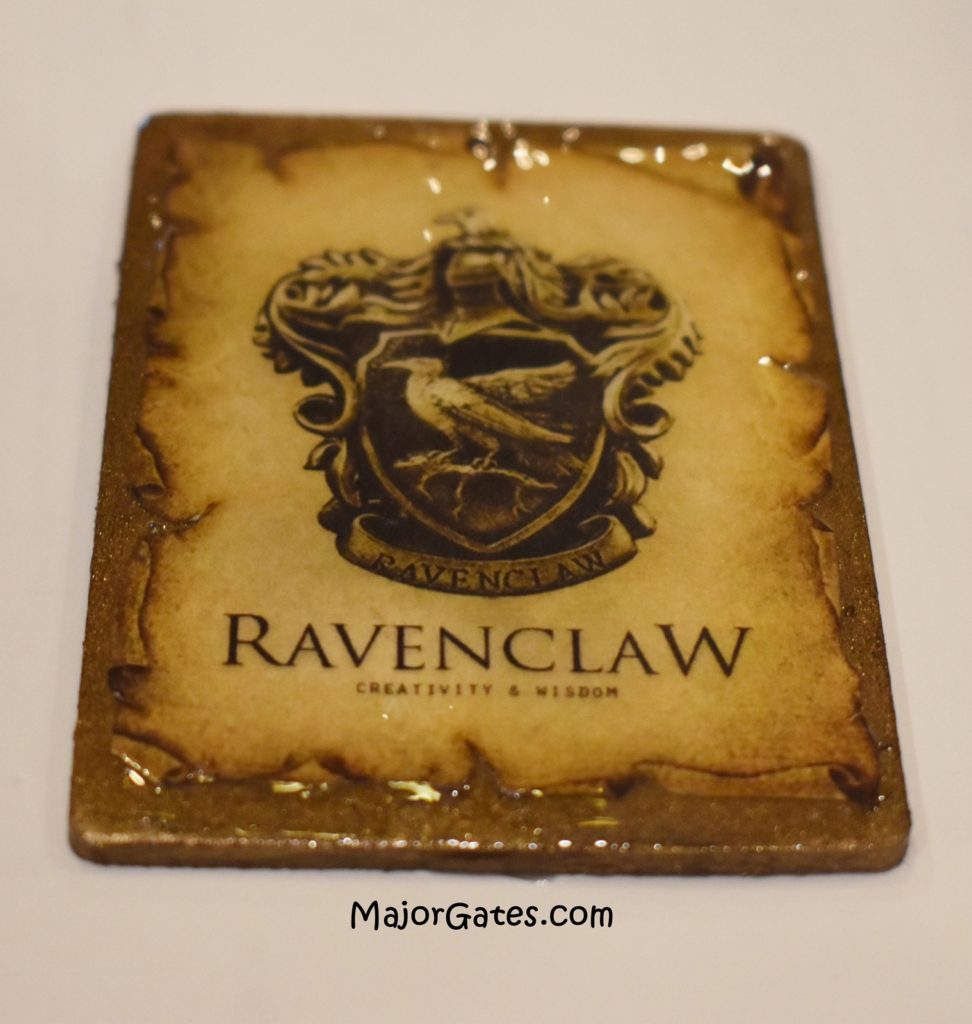
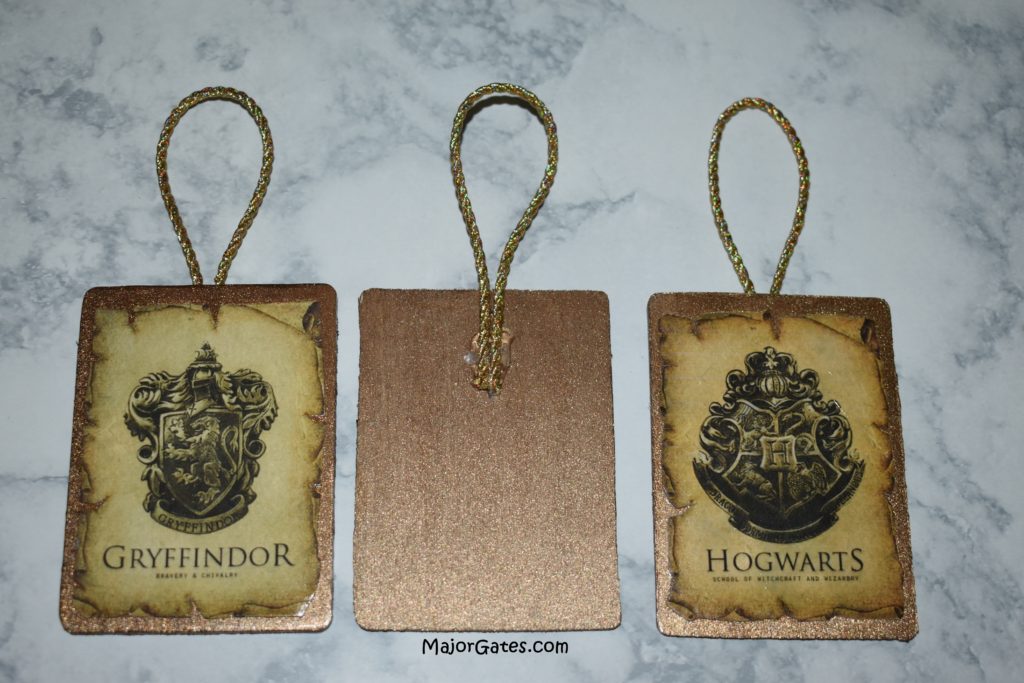
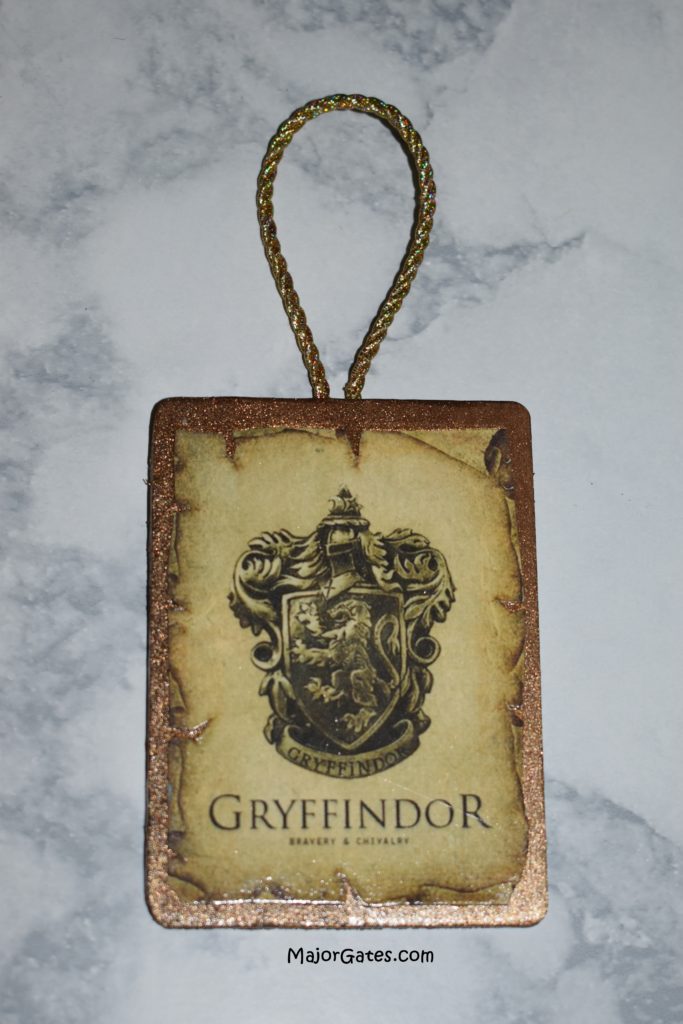
Easy Hogwarts Crest Ornaments
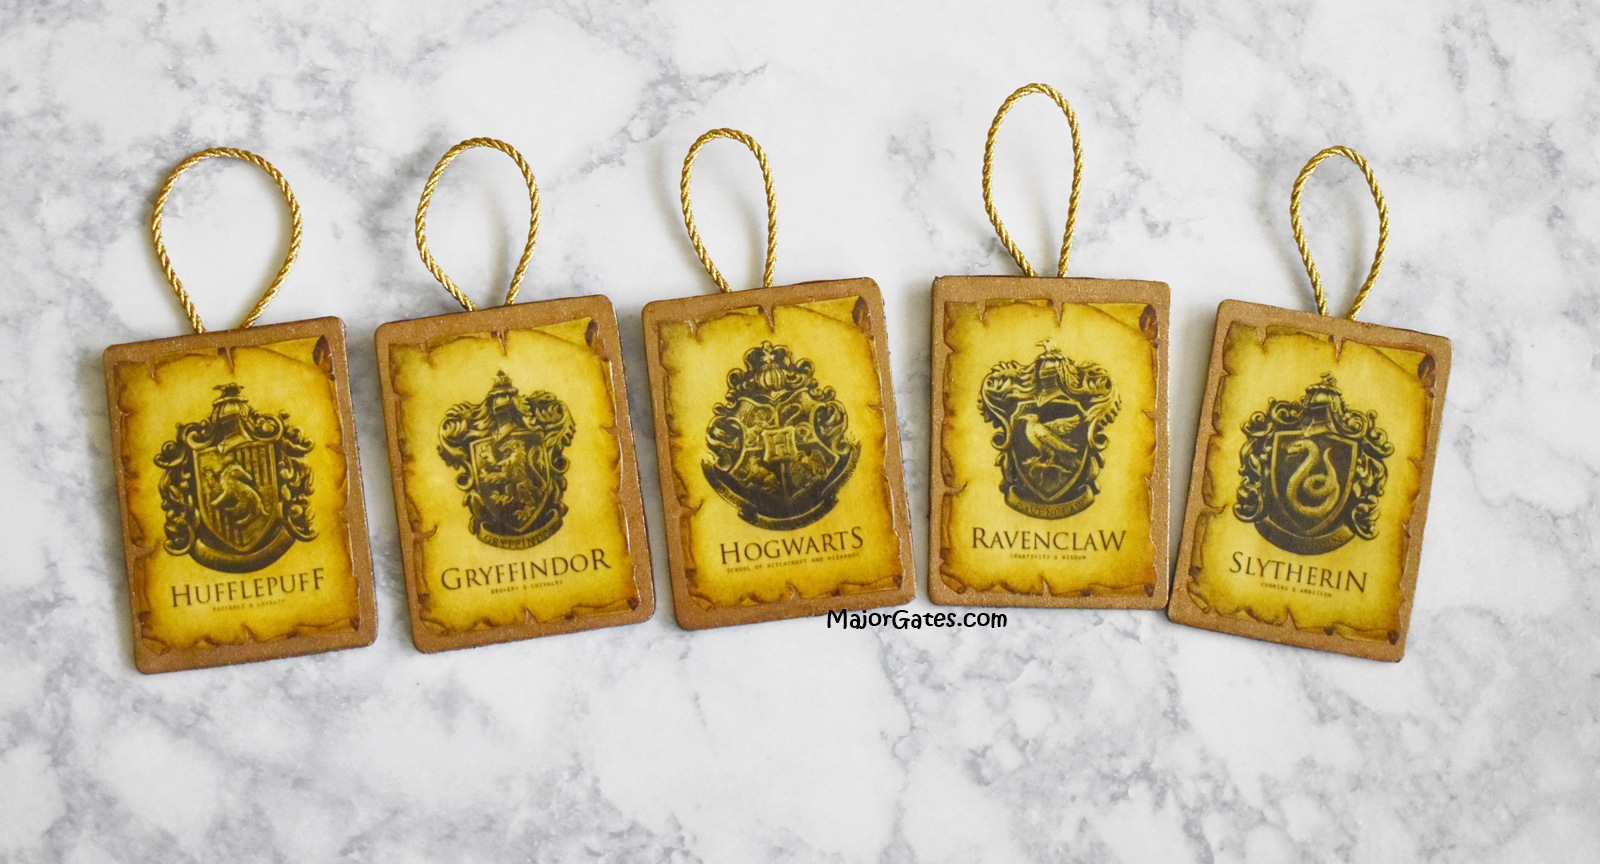
In this post, I will explain how to make Hogwarts Crest Ornaments. We are huge Harry Potter fans. If you have ever thought about decorating a Christmas Tree in Harry Potter decorations you discover quickly they are hard to find and buy. So the alternative is to make your own decorations. I like these Hogwarts Crest Ornaments because they are easy to make and have the old world feeling like you would expect at Hogwarts.
Also, I am using these ornaments on a Harry Potter wreath. So I made them the same way but did not include the ribbon on the back. I will share a post about how I made the wreath once I finish it.
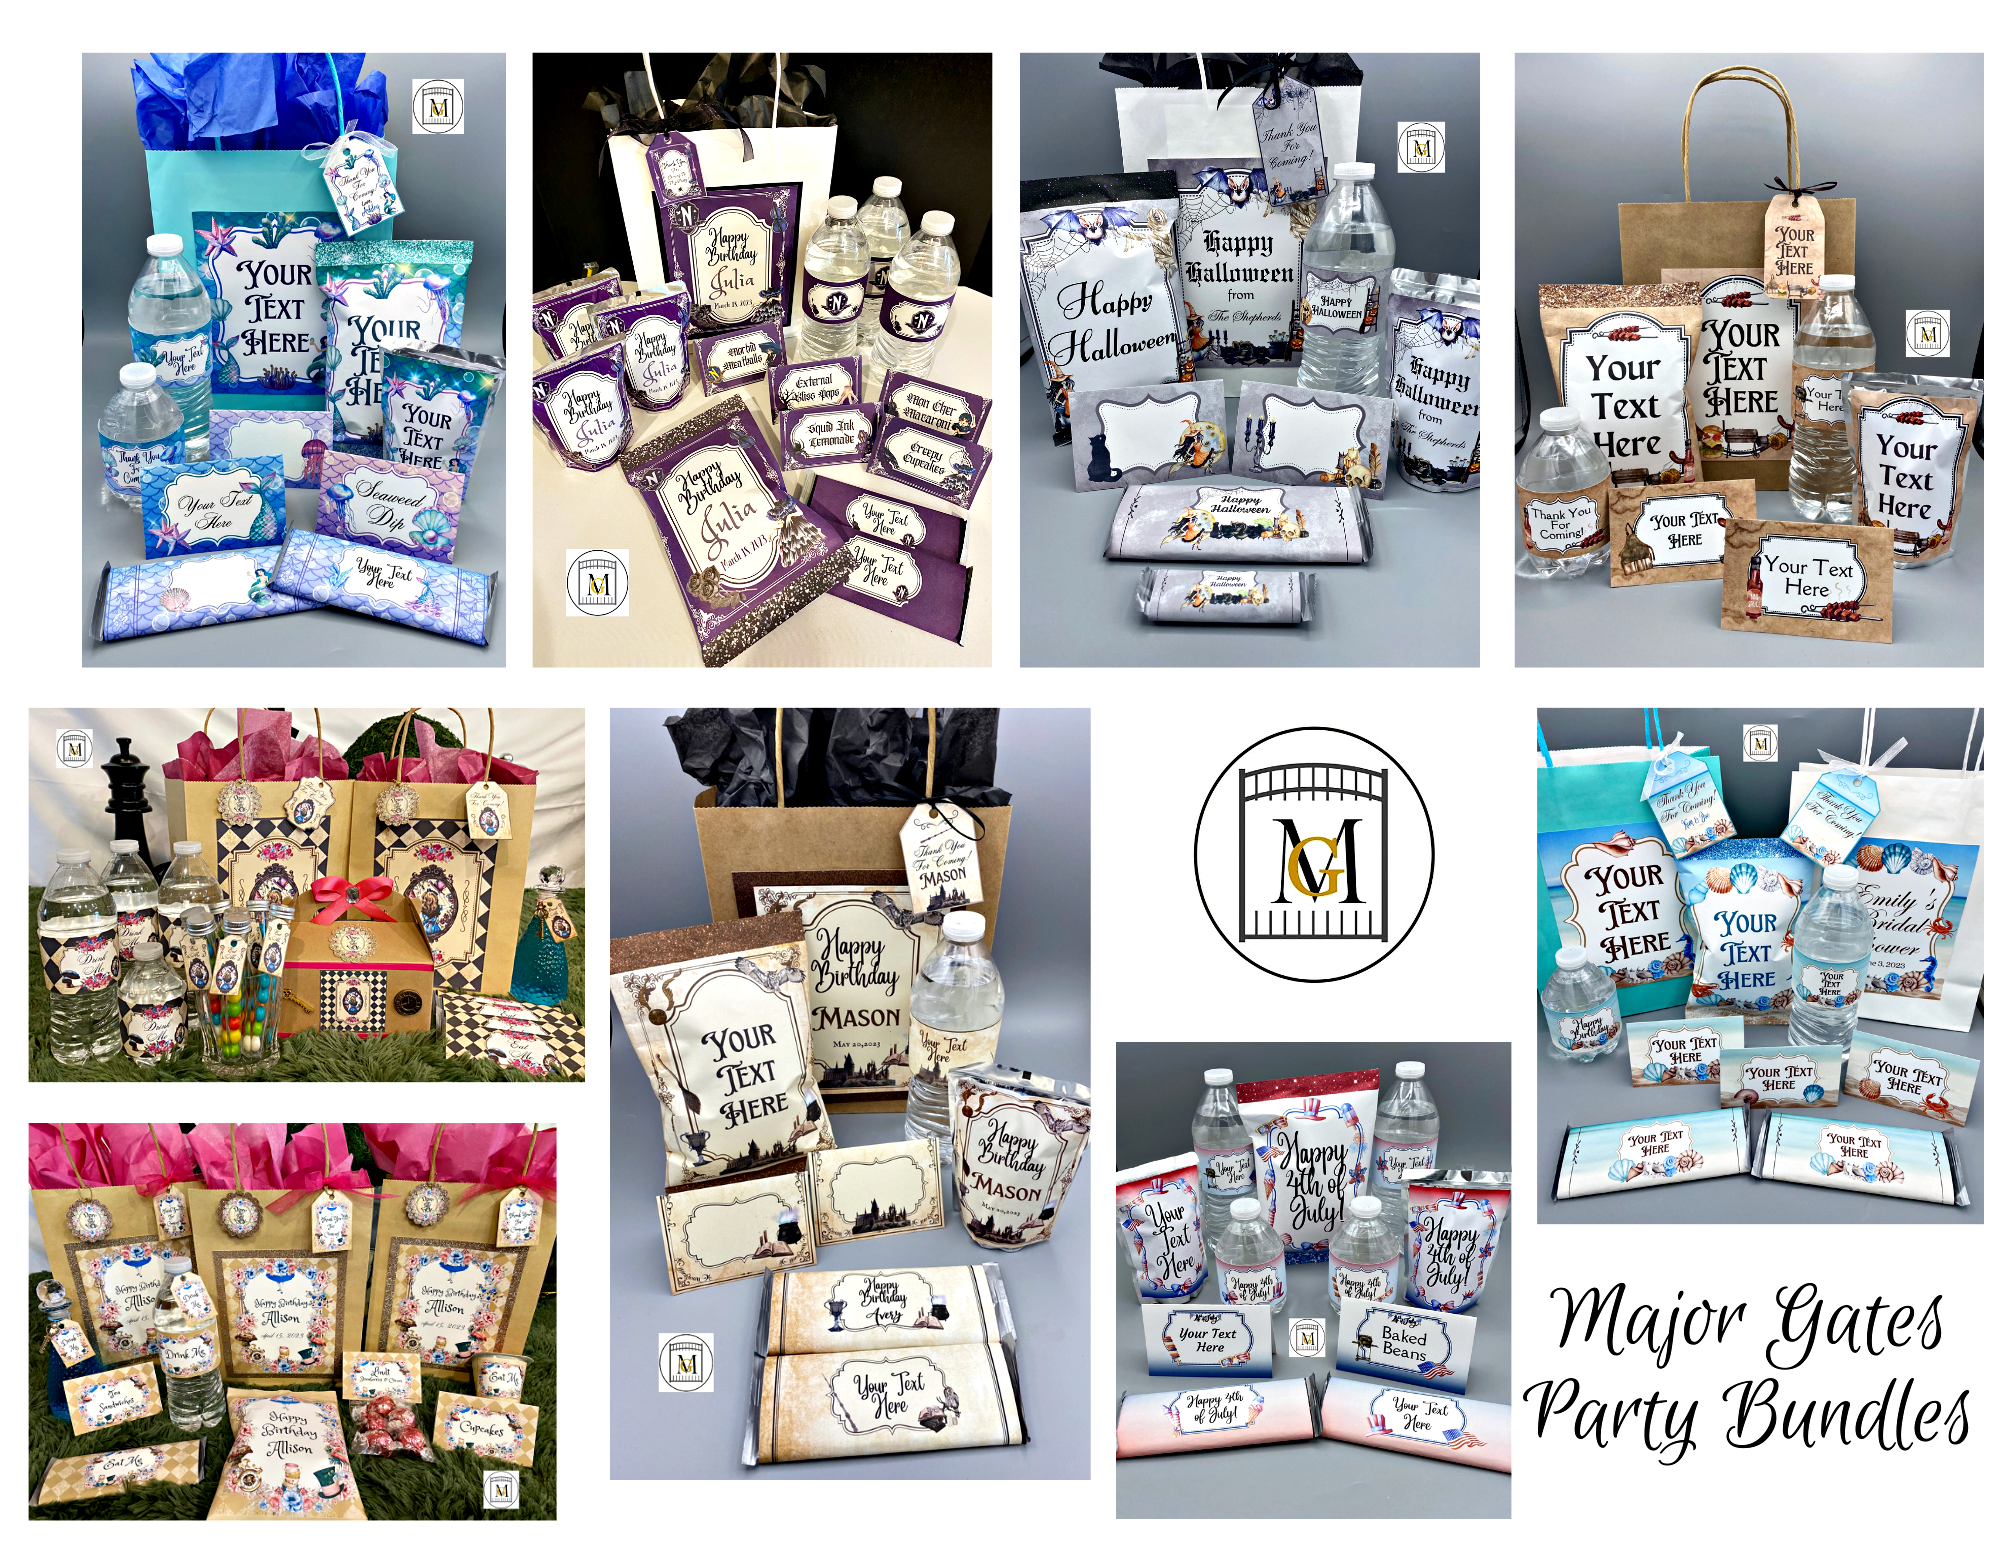
To see my available Party Label Bundle Downloads, click here: https://majorgates.com/product-category/party-bundles/
Don’t Forget To Follow Me On Pinterest!
See my Harry Potter Trivia Jeopardy Game Download and other party downloads here: https://majorgates.com/product-category/jeopardy-trivia/

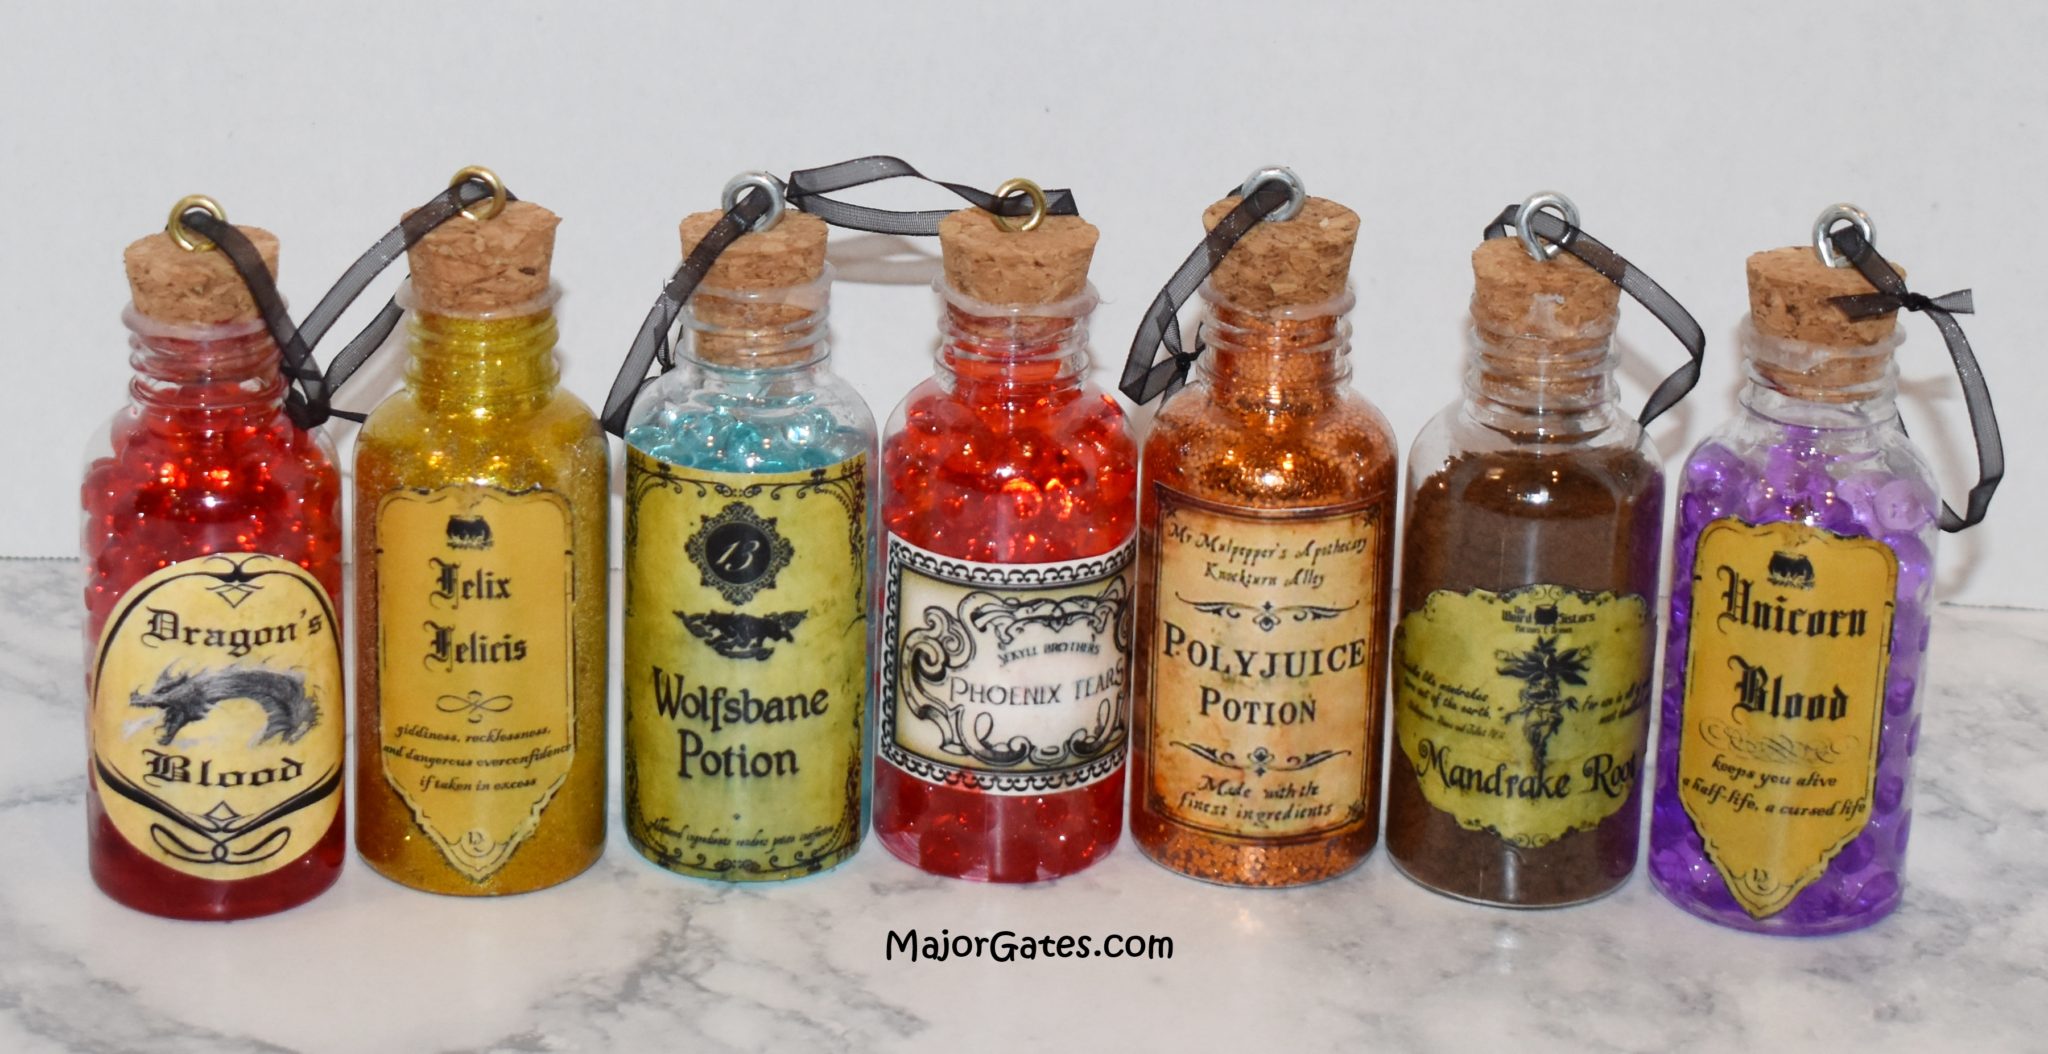
For another great ornament idea, try making Harry Potter Potion Bottle Ornaments here: https://majorgates.com/do-it-yourself/harry-potter-potion-bottle-ornaments/
Supplies
- Wood cut-out rectangles 2.5 inch x 3.5 inch (63.5 mm x 88.9 mm)
- Bronze, Antique Gold, or Brown Acrylic Paint – I used 2 oz DecoArt Americana Gloss Enamels Metallic: Color-Rich Espresso DAG245. Try to find a brown paint with a little shimmer since it is a Christmas ornament.
- Paint tray and paint brush
- Mod Podge Gloss – this serves as a glue and sealer
- Ribbon or twine – I recommend the ribbon not be thicker than 3 mm and 1 mm is too thin.
- Dual Temperature Glue Gun with dual temperature glue sticks
- Scissors
- White Card Stock – I use 65 lb
To see my available 2-Liter/Wine Bottle Party Label Downloads, click here: https://majorgates.com/product-category/2-liter-wine-bottle-labels/

Instructions For Hogwarts Crest Ornaments
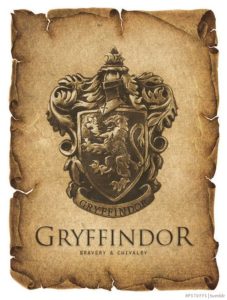
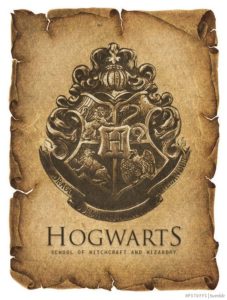
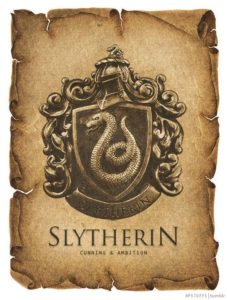
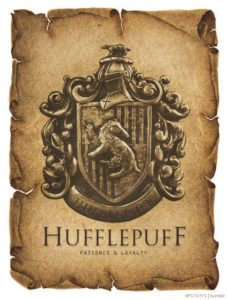
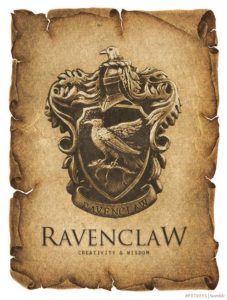
- Do a internet search for Hogwarts Crests and save the image that you like. At the end of my post I have attached the images that I used. These images came from Tumblr. The internet has tons of images, so the possibilities are endless.
NOTE: Images found on the internet are for personal use only. You can not reproduce the images and sell products without the permission of the image owner. All my recommendations for crafts are for personal use only unless I reference the artist that created the image. I then provide a link to purchase their image and rights to use.
- Print the images on white card stock. I printed 4 rows x 2 columns. So the images measured approximately 3 1/4 inches x 2 1/4 inches. I use a free photo editing software called Photoscape. They have a paid option as well but for years, the free version works for my needs. Here is the link in case you need an easy to use photo editing software and I do not have an affiliation with them. http://www.photoscape.org/ps/main/index.php
- Hand cut out each image with sharp scissors.
- Start by prepping your area. I save the tissue paper stores wrap goods in to put over my surfaces when I am doing craft projects. So lay down some protective material over your table or counters.
- Fill half of a plastic cup with water for cleaning your paint brush. Then squirt some paint onto the paint tray.
- Next, moisten you paint brush in the water and wipe off excess water with a paper towel.
- Then paint the edges first and then flip to the back side. In light long brush strokes, paint the back of the wood rectangle and then allow it to dry for 1 hour.
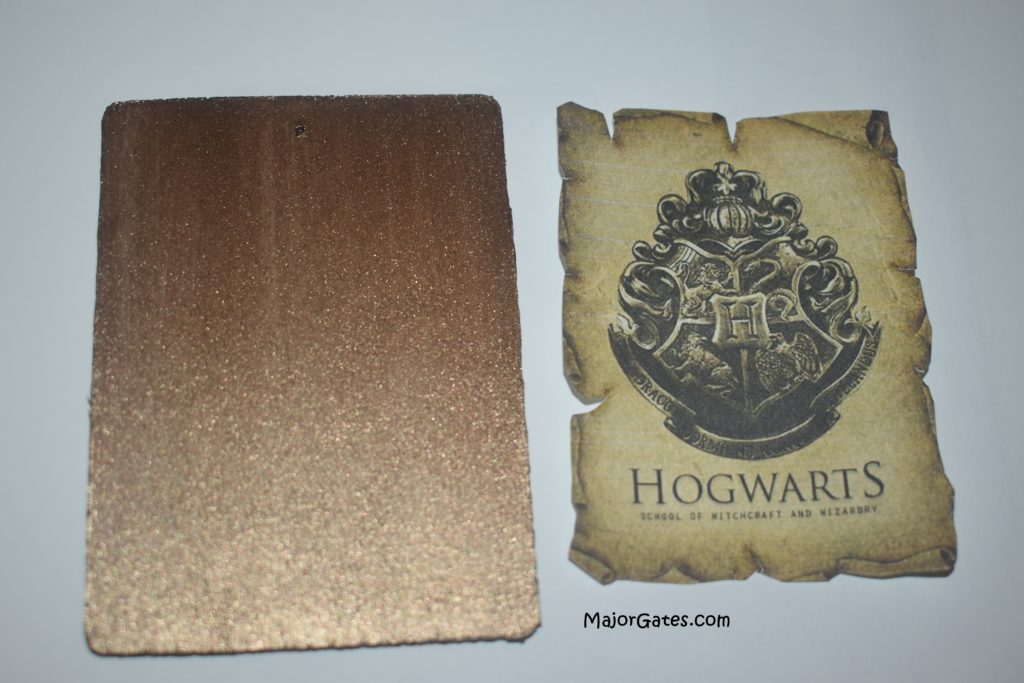
- After it dries, then flip it over and paint the front side. If you want the color deeper, then apply two coats, allowing it to dry in between each application.
- With another paint brush, moisten in the cup of water and remove the excess water. Dip in the Mod Podge and get an generous amount on the paint brush. Then paint the white side of your cut out image with Mod Podge. Make sure to cover the edges well.
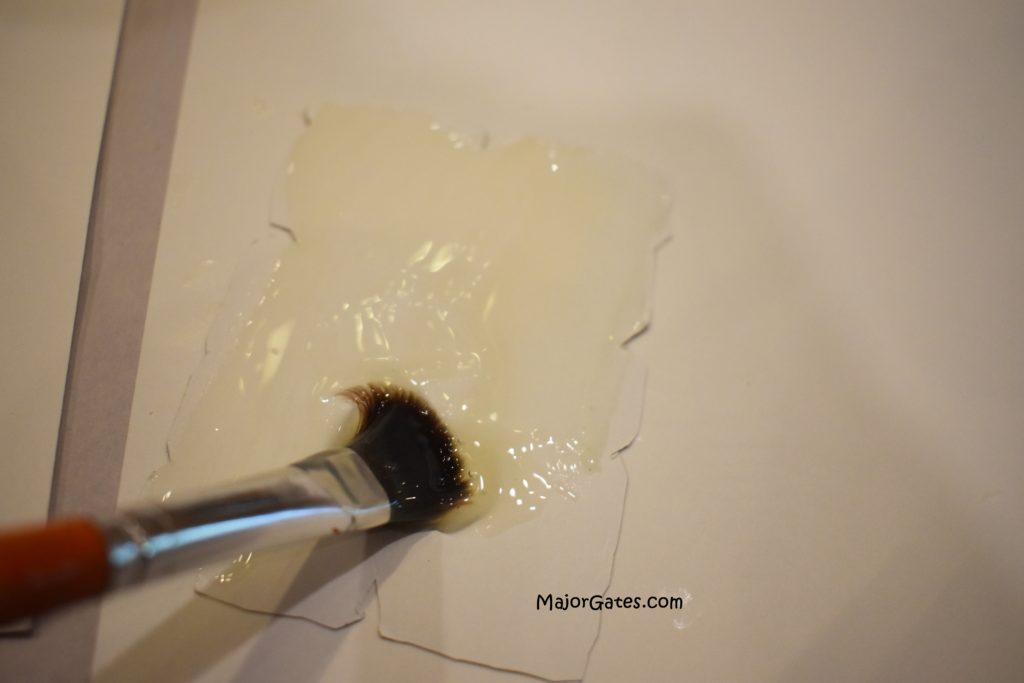
- Next, flip over the glued Hogwarts Crest image and affix to the wood shape. Smooth the image onto the wood shape with your fingers. It is okay if a little glue spills out the sides as long as it is not huge clumps. Wipe of excess with your finger and NOT the paper towel or you will get towel stuck to the image. Remember that this is a glue you are using.
- Allow the image to dry and then apply a coat of Mod Podge on top of the image to seal.
- Allow to dry overnight or at least 8 hours. So if you are only making the ornaments to put on a wreath, you are done. Just hot glue the ornaments to the wreath.
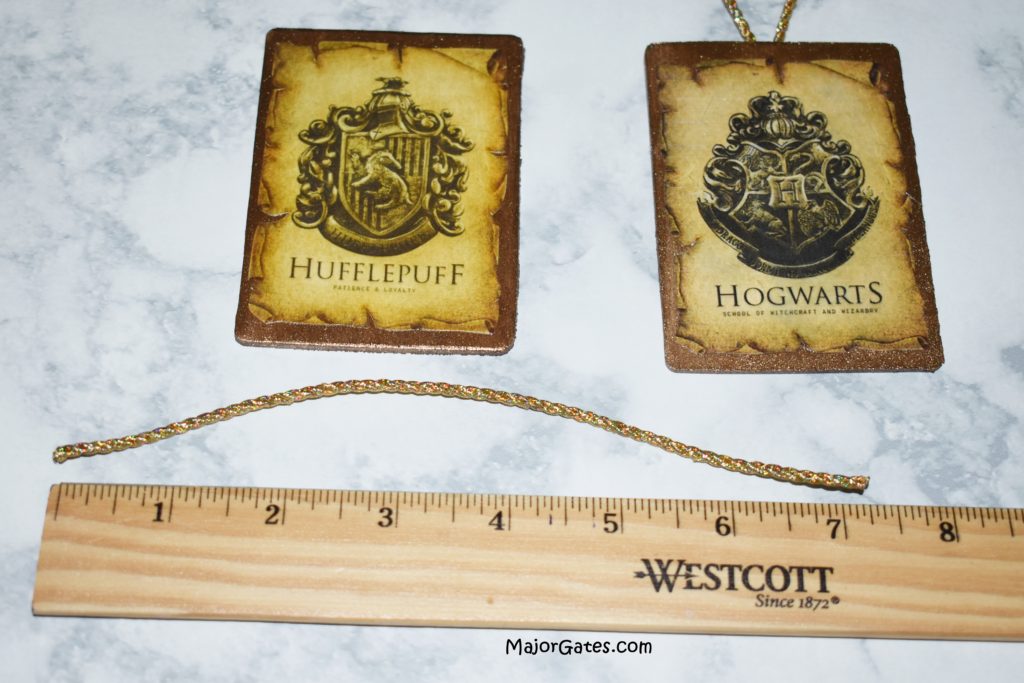
- Once the Hogwarts Crest Ornament is dry, apply the ribbon. Cut the ribbon to be 7-8 inches long.
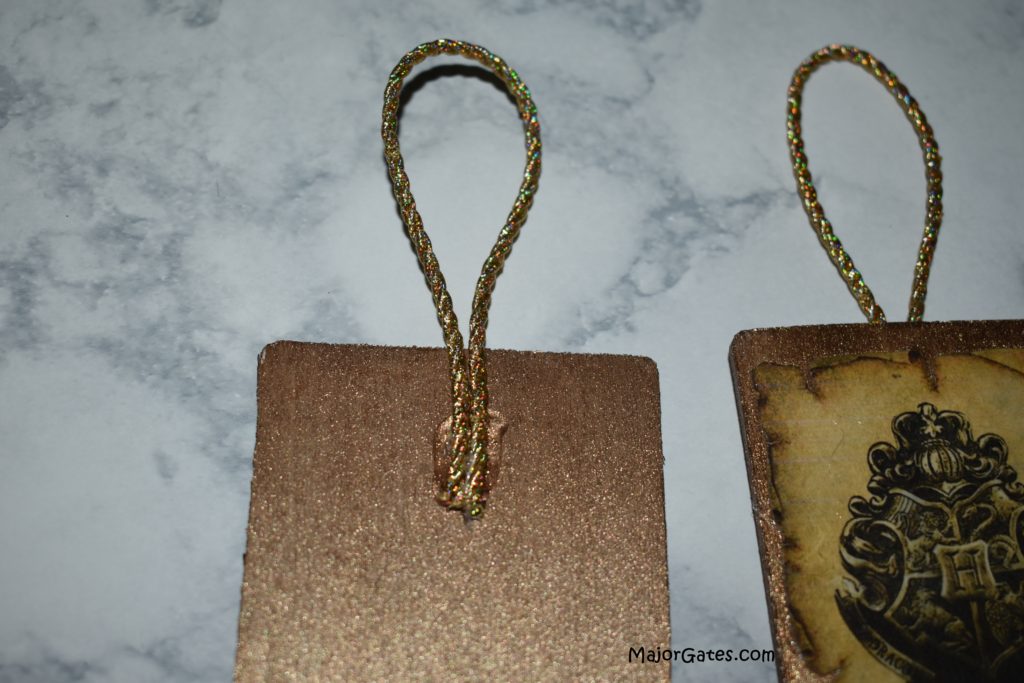
- Next, heat up your glue gun and make a circle of glue on the back about an inch from the top.
- Then place your ribbon on the back and allow to dry about 10 minutes.
- You are done! Enjoy and hang the Hogwarts Crest Ornament on the tree.
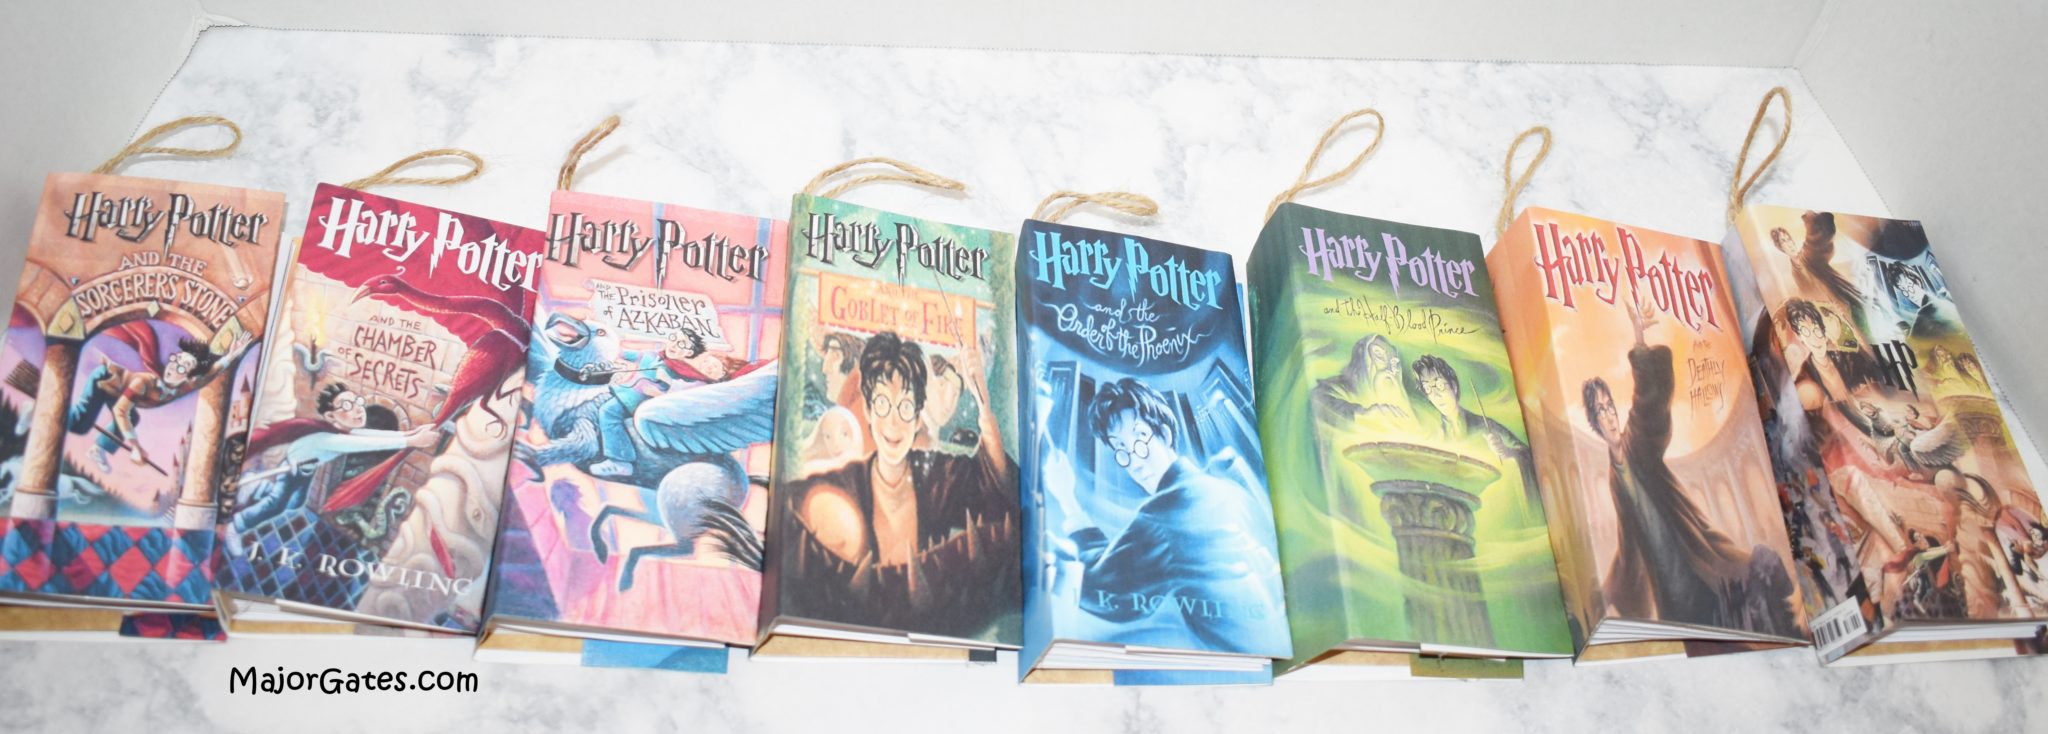
Add more Harry Potter Ornaments to your tree, learn how to make Harry Potter Book Ornaments here: https://majorgates.com/do-it-yourself/harry-potter-book-ornaments/
Images are on Tumblr
To see my available Potion/Apothecary Bottle Label Downloads, click here: https://majorgates.com/product-category/potion-apothecary-labels/
