HP Triwizard Trophies
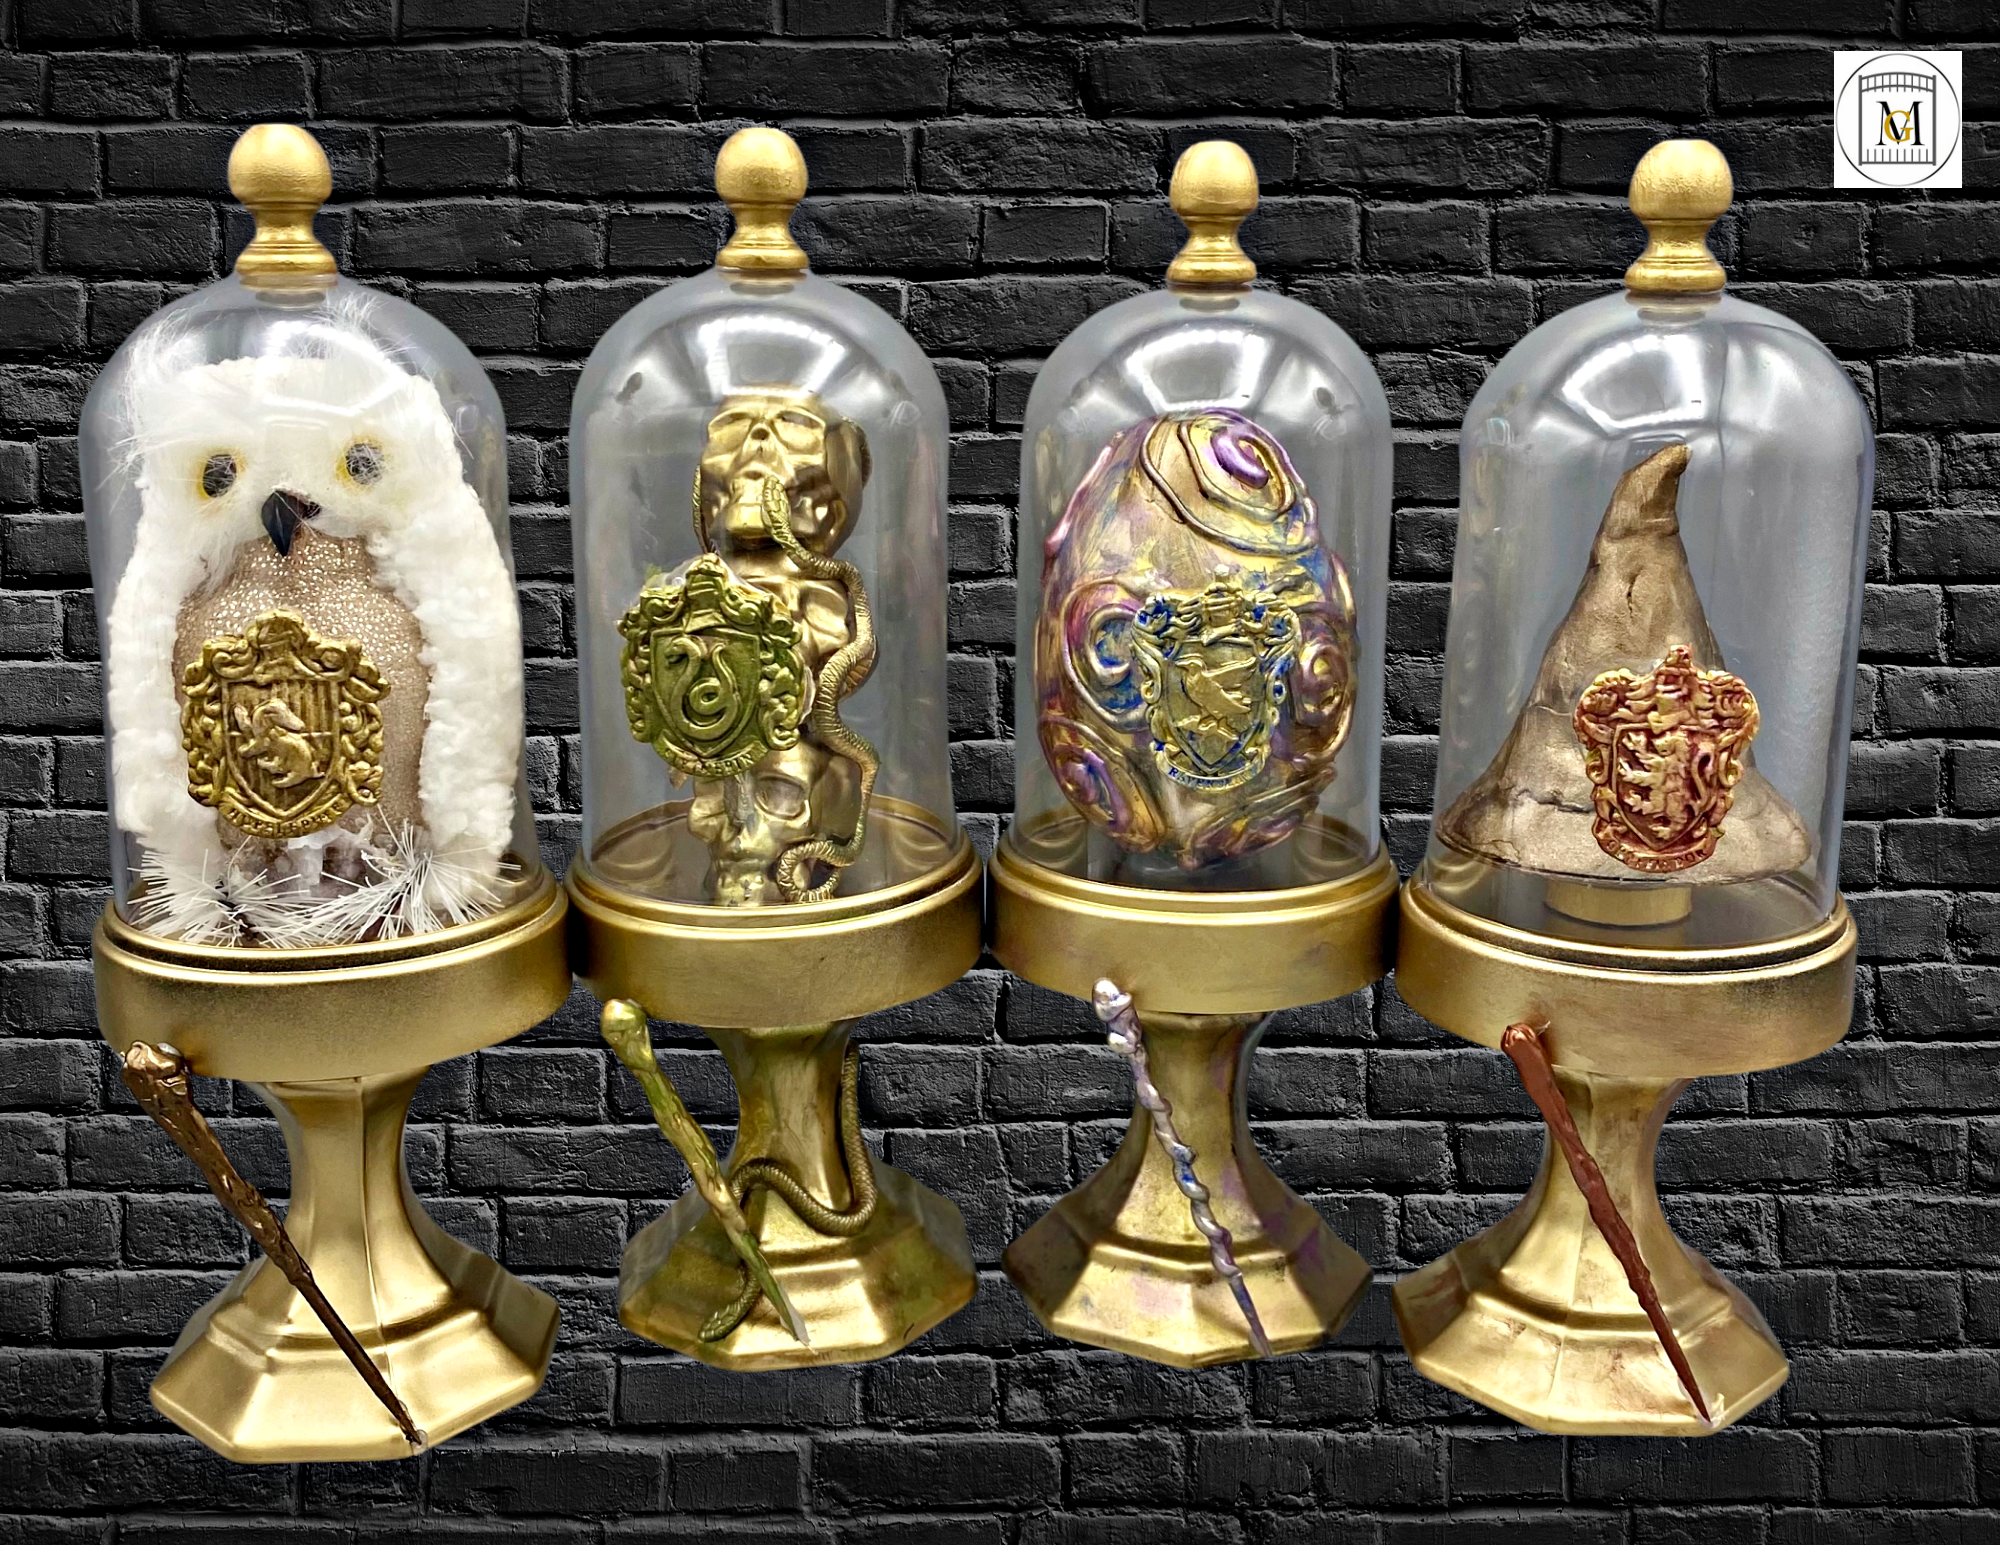
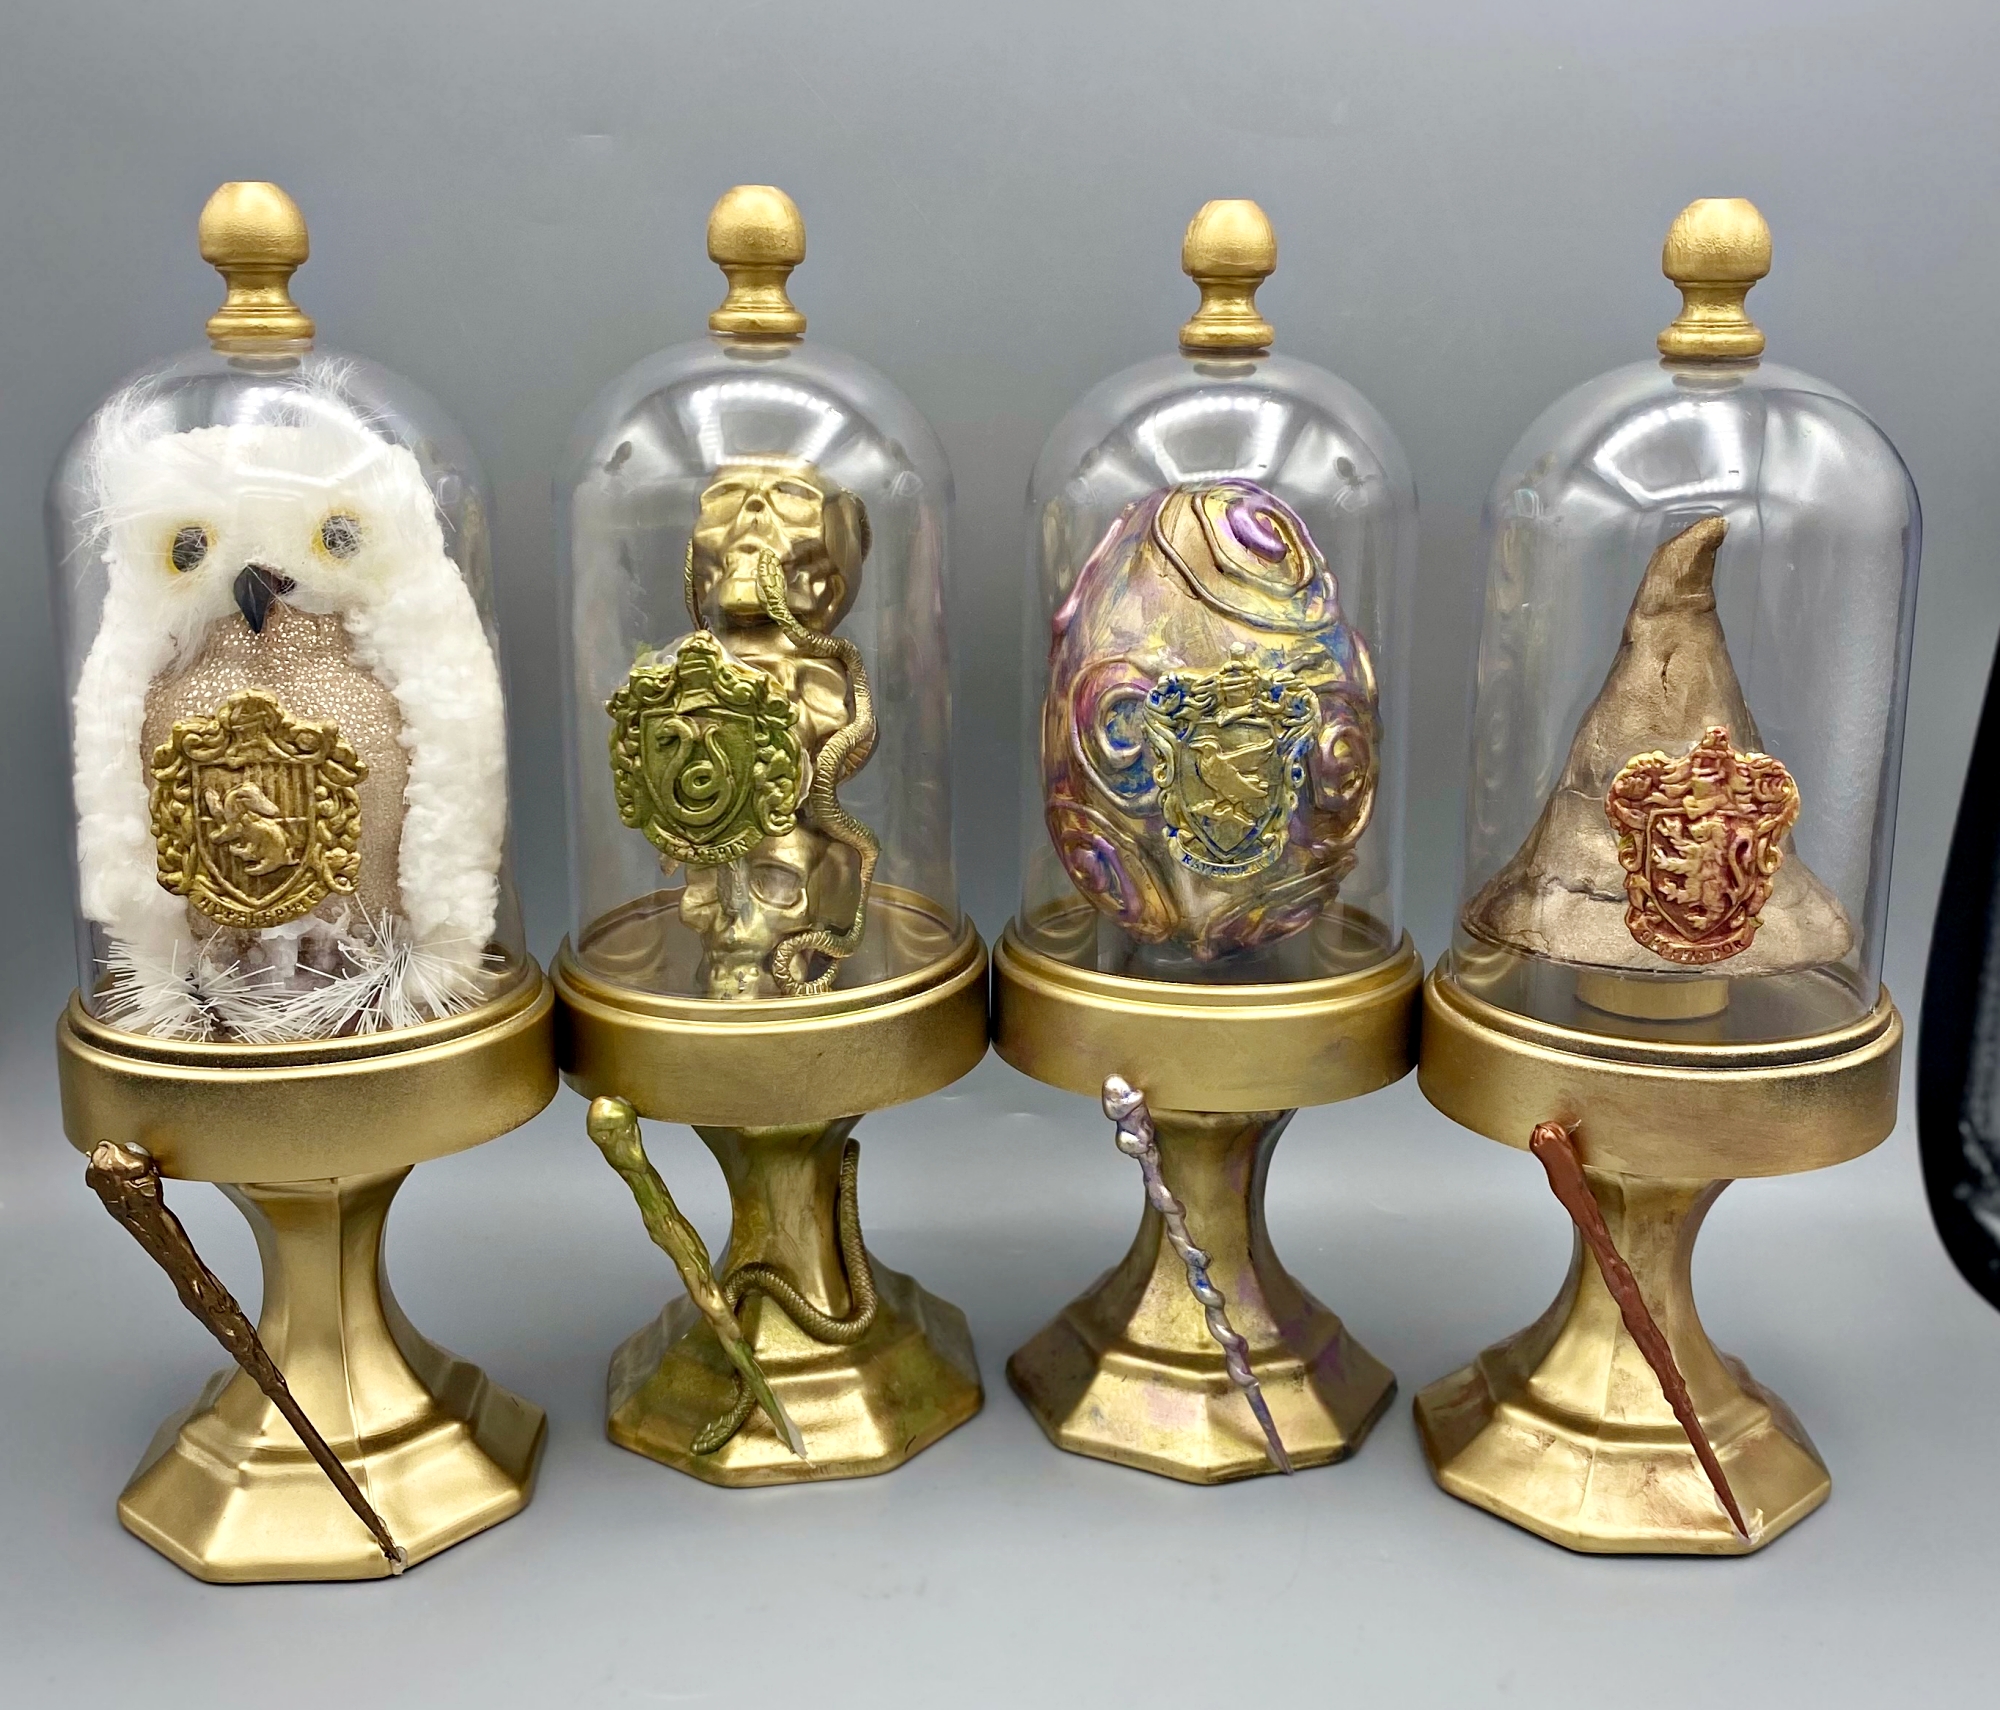
I will show you how to make HP Triwizard Trophies for your party, event, or for a room decoration. This will also make a great gift for a Harry Potter fan. You can make these as simple or ornate as your imagination allows. I decided to make 4 trophies for a party for a friend. So I will show you how I made the dragon egg trophy, owl trophy, sorting hat trophy, and skull/snake trophy.
This project did take a little while because you have to wait for paint to dry but the assembly was easy. I also really enjoyed using the Harry Potter themed crest molds for Gryffindor, Slytherin, Hufflepuff, and Ravenclaw. I found them on Amazon a few years ago as keychain molds.
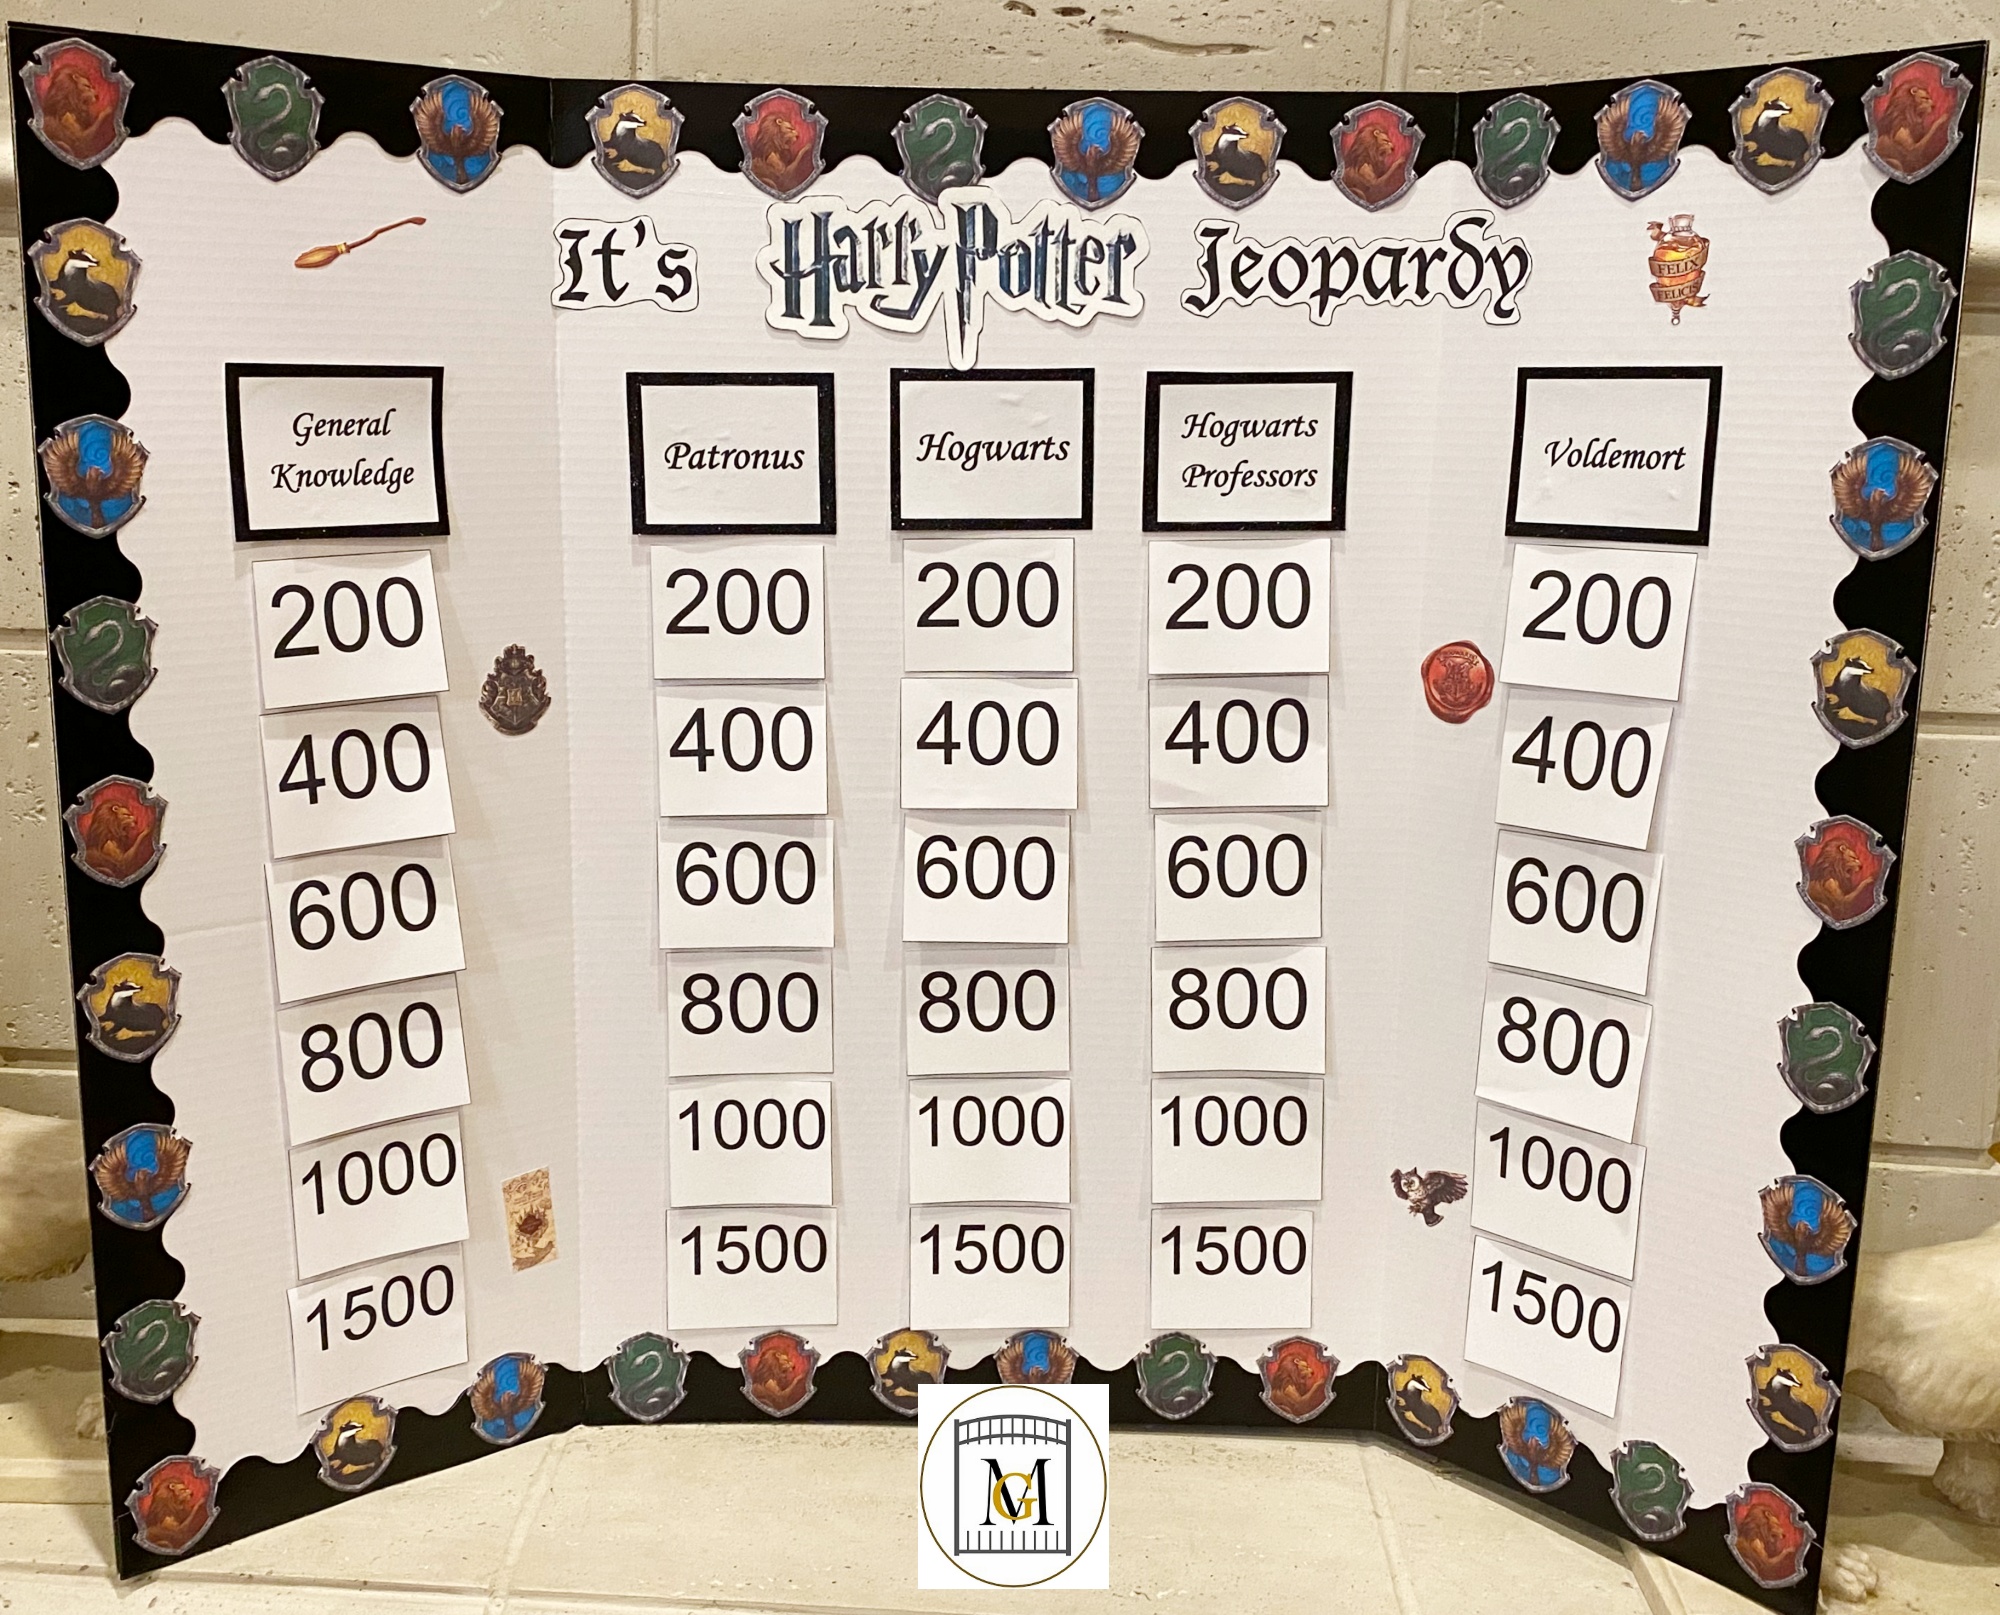
If you need a great game to play, get my Harry Potter Jeopardy/Trivia download here: https://majorgates.com/product/harry-potter-jeopardy-game-download/
Also, be creative with what you put in the domes. They can be anything Harry Potter, witch, or wizard related. You could also find pre-made Harry Potter ornaments for the number of trophies you plan to make and glue them on the dome bases. So use your imagination! These also make great shelf decorations for a Harry Potter themed room.
Also, to see my post on great Harry Potter Party Games, click here: https://majorgates.com/do-it-yourself/harry-potter-party-games/
To see my available Harry Potter Label downloads, visit my shop here: https://majorgates.com/blog-2/shop/
Don’t Forget To Follow Me On Pinterest!
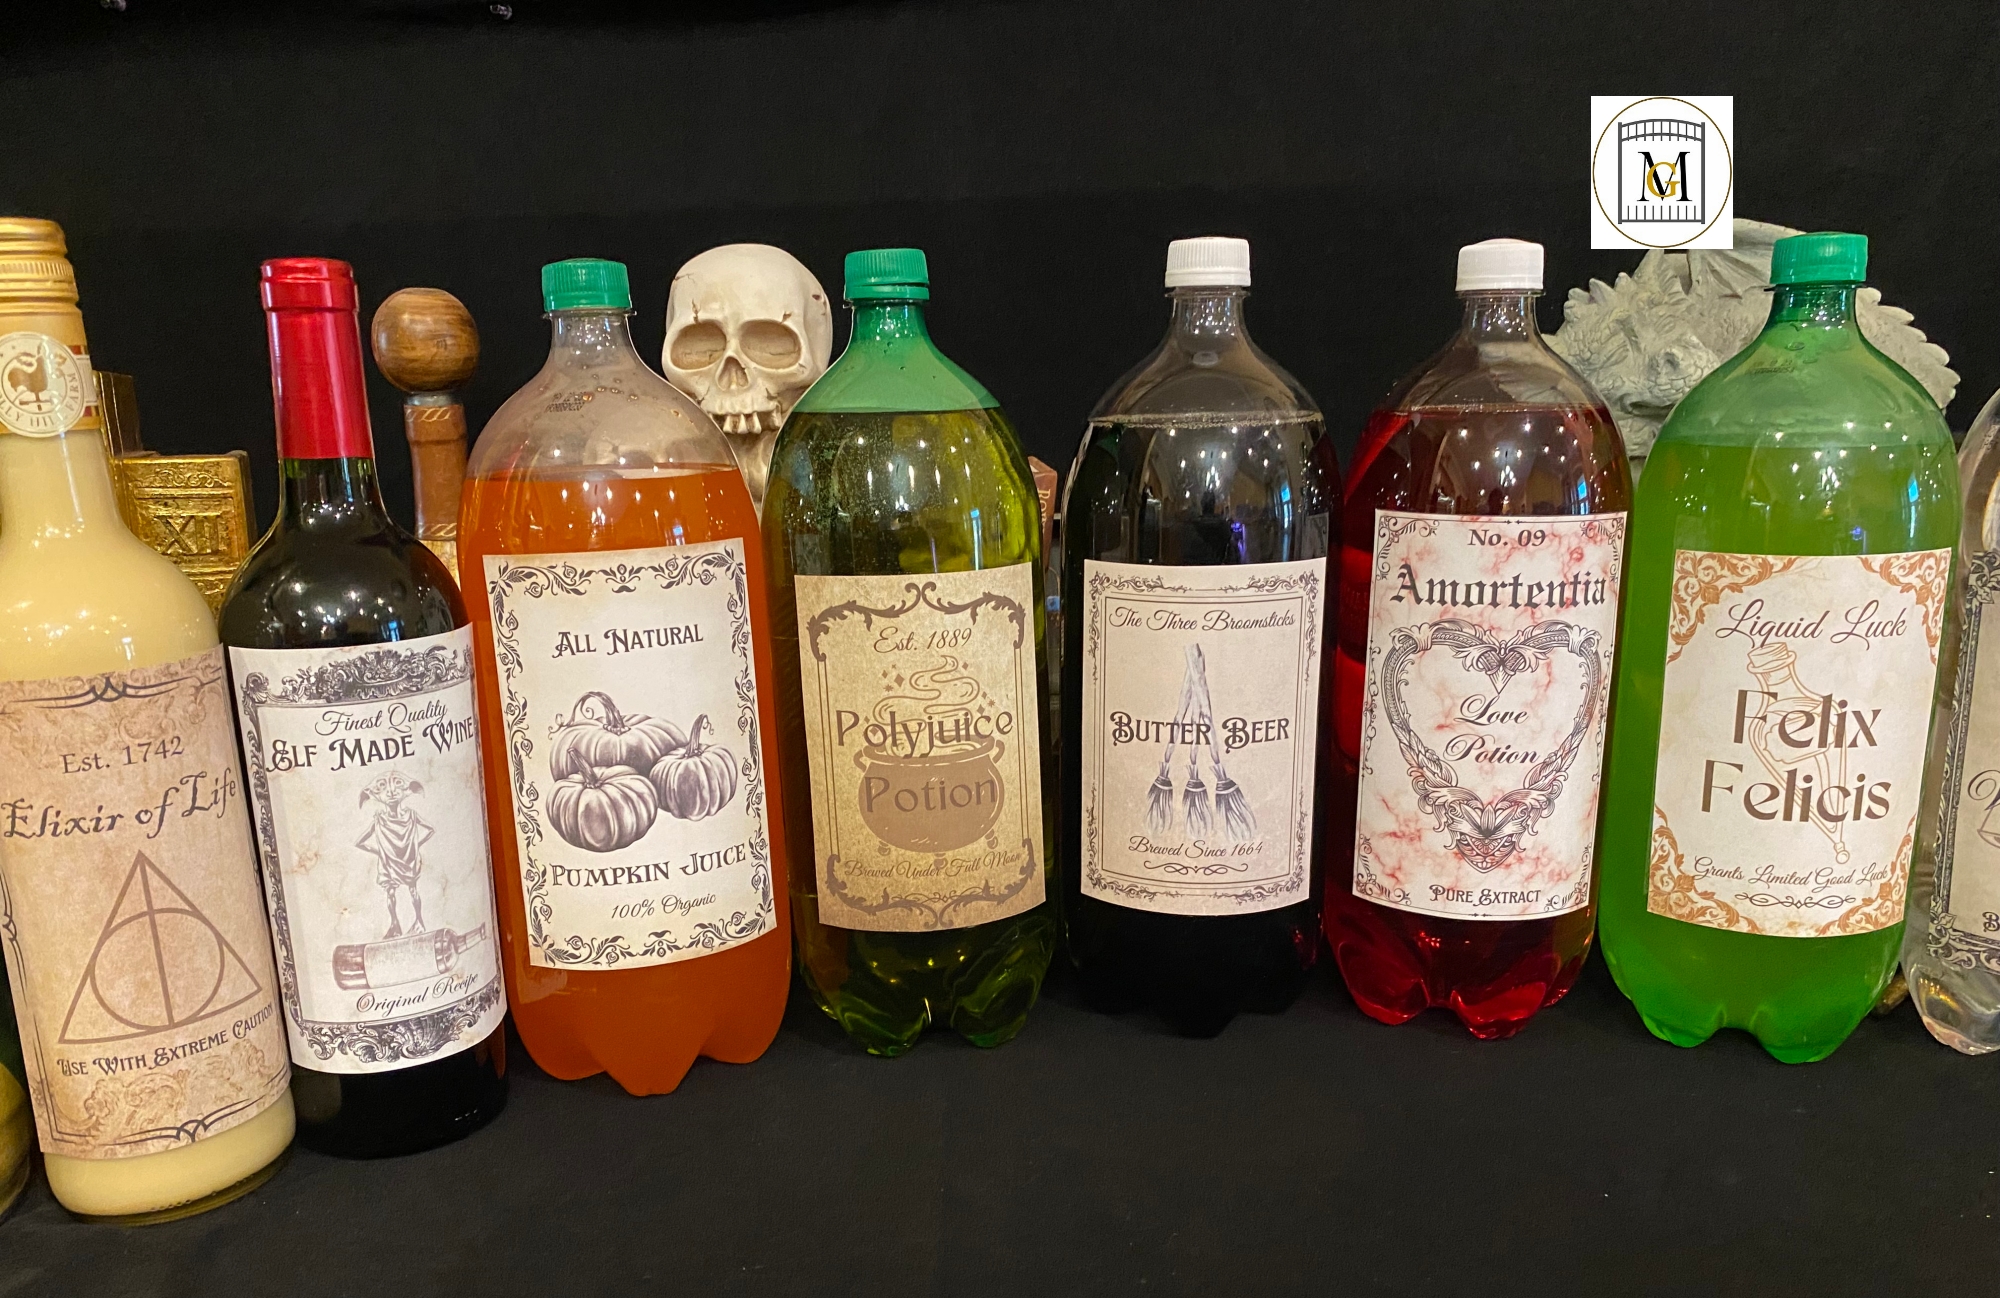
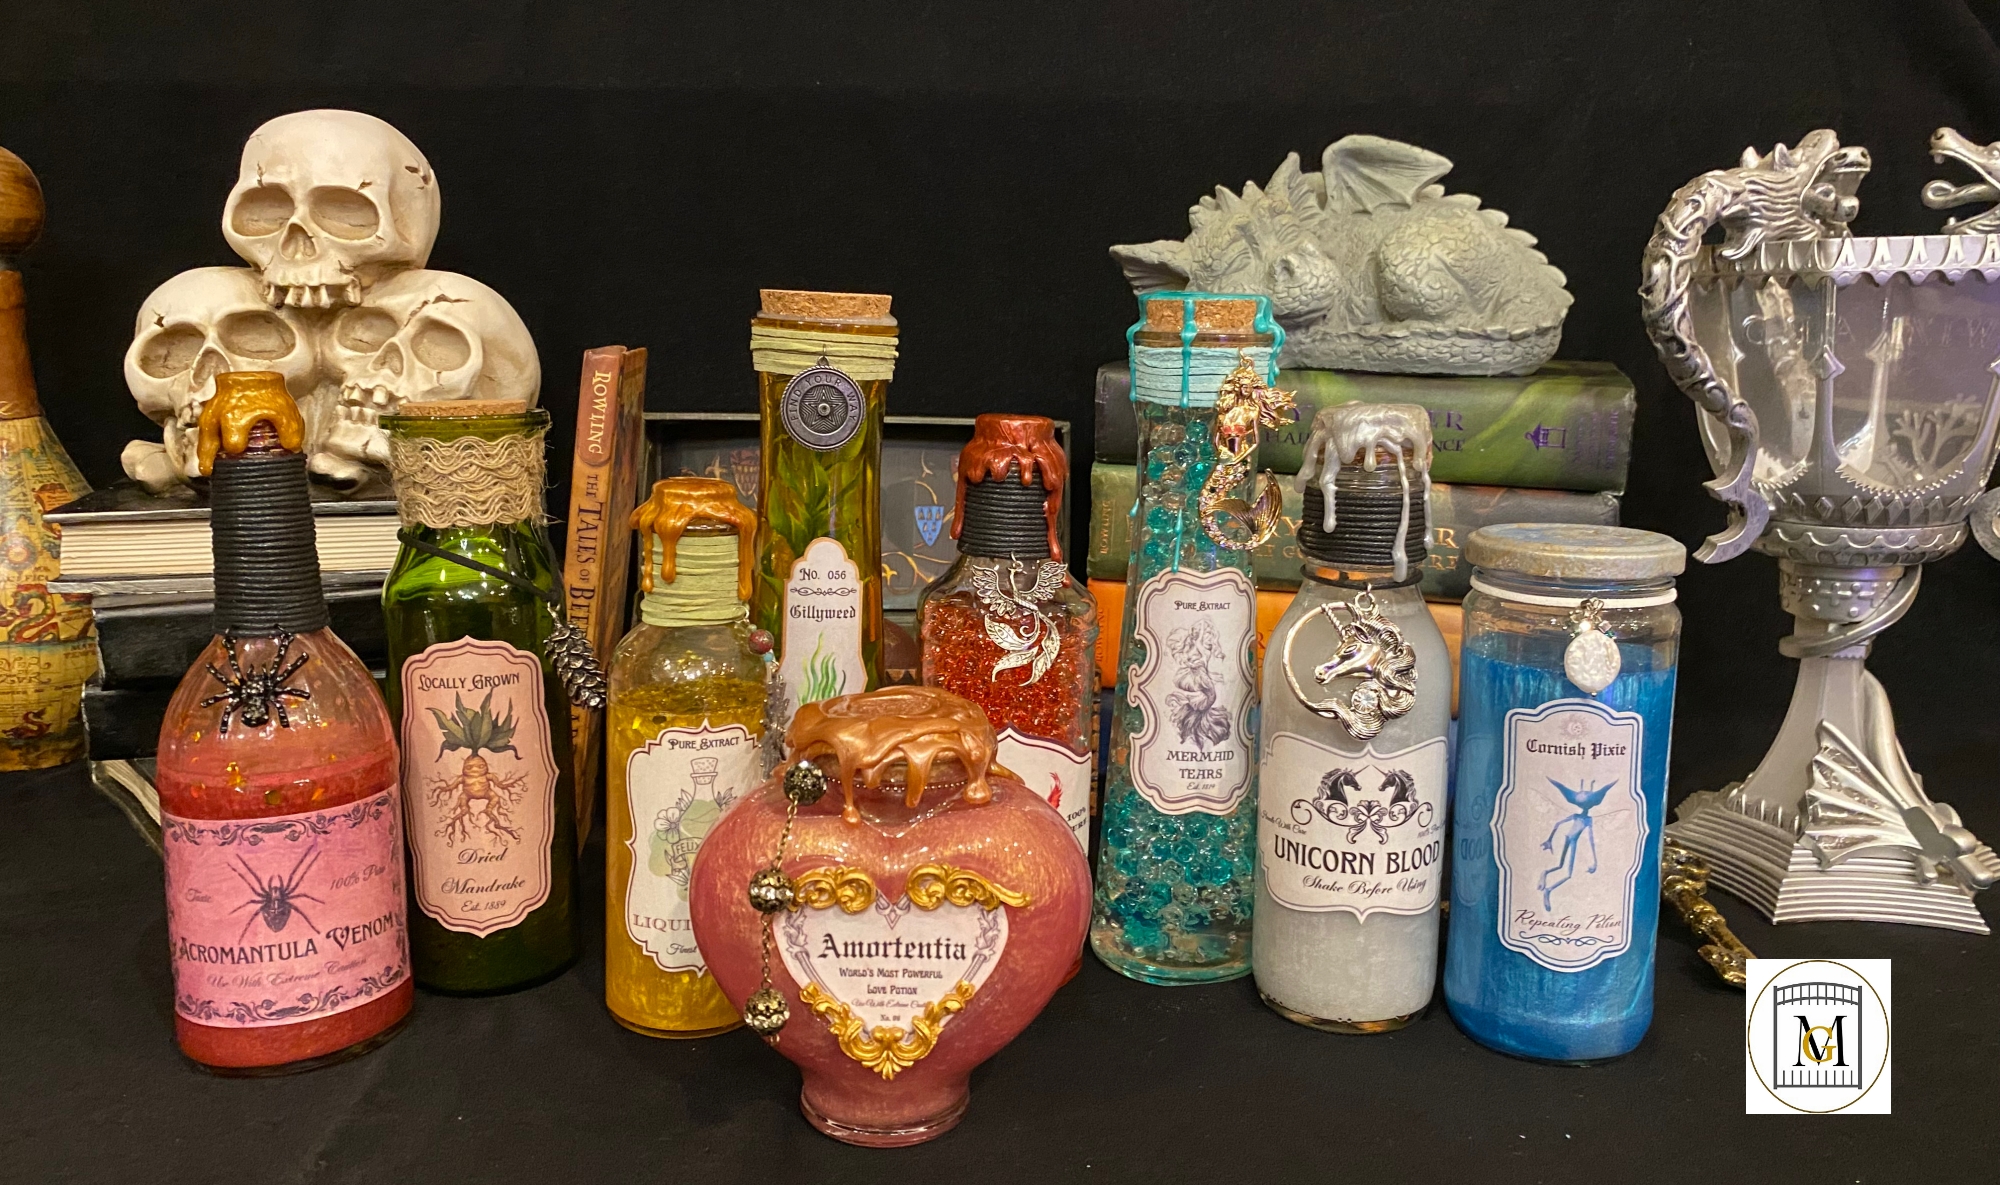
If you need Harry Potter Wizard/Halloween Potion Bottle labels, click here: https://majorgates.com/product/wizard-potion-bottle-label-bundle-download/
Supplies
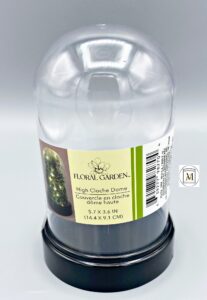
- High Cloche Domes – 3-5 count – 3.6″ wide x 5.7 or 6.5″ tall
- 2″-4″ candle holders or wooden candle stick holders (in the wood section of craft stores) for the number of trophies you are making
- Harry Potter Hogwarts house crest silicone molds (can purchase on line as cake making supplies) – Optional
- Dual temperature mini hot glue gun and glue sticks
- 1 can of metallic gold spray paint (or color of your choice) – gold, silver or black – I used Rust-Oleum Metallic 1910830 Metallic Gold
- Disposable gloves (optional)
- Plastic drop cloth or protective surface covering
- 4-5″ white owl – I used a Christmas ornament
- Baby wipes and paper towels
- 4″ paper mache, wooden or plastic egg
- Mini plastic skulls
- Food skewers (to make the wands)
- Craft cutter or kitchen shears
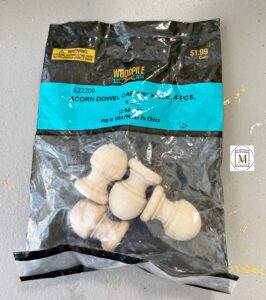
- 1 inch wooden acorn caps – found at craft stores
- 3-4″ plastic snakes
- Dollar store Christmas tree that can be pulled apart or cut. You will only need the top.
- Paint brushes and paint tray
- Cup of water (to wash off brushes)
- 2 ounce acrylic paints – I used mostly metallics and a few enamels. You can use any colors your like but in my examples, I used: Folkart Metallic: 660 Pure Gold, 668 Plum, 2570 Chocolate Brown, 676 Inca Gold, Enamel 4025 Cobalt. Decorart Metallic: DAG71 Glorious Gold, DA261 Festive Green, DPM02 Champagne Gold. Anitas Metallic 11208 Bronze and Anitas All Purpose 11025 Red Rust
Visit my DIY section for more Harry Potter Party and Decoration Ideas here: https://majorgates.com/category/do-it-yourself/
Directions For HP Triwizard Trophies
- Start by gathering all the items you plan to spray paint. So don’t worry if you found items in the wrong color, just spray paint them if they are plastic, glass or wood.
- Next, put down your protective material and secure from blowing outside. I strongly suggest wearing disposable gloves, especially if your nails are done, or they will be color of the spray paint.
- Then, spray the backside of all items first. That way if there are any smudges or drips, they will be hidden by the underside. Allow the items to dry for 30-40 minutes before painting the other side.
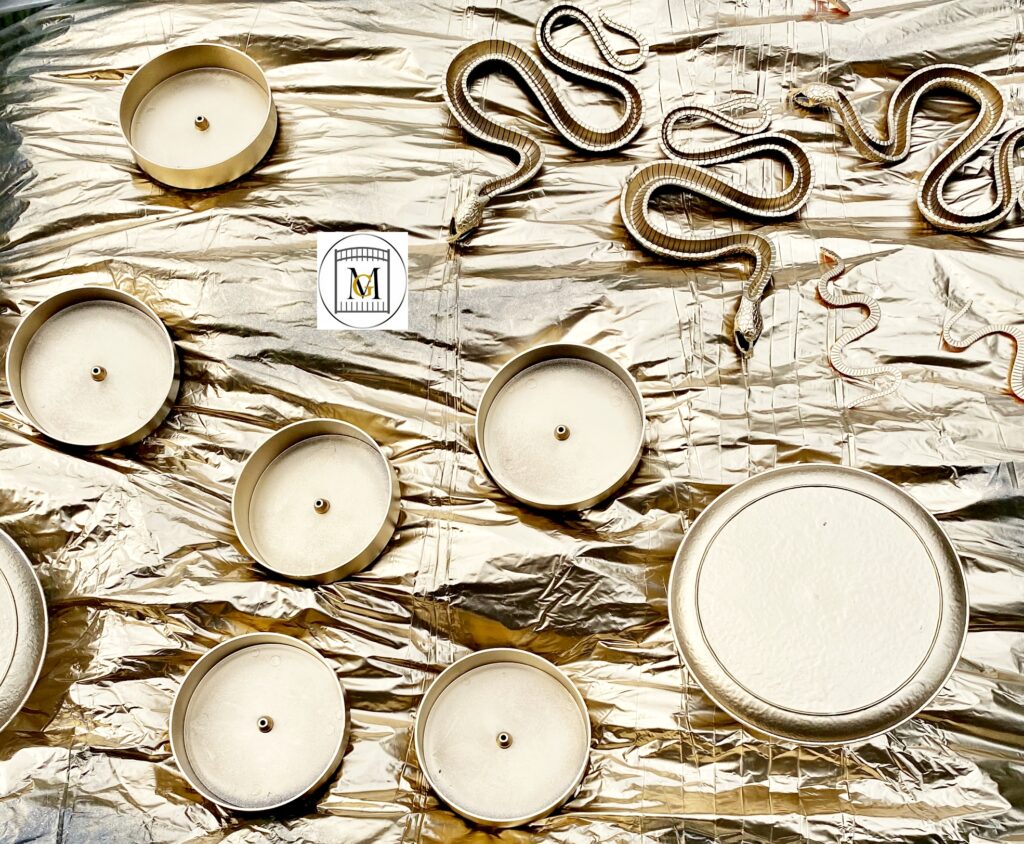
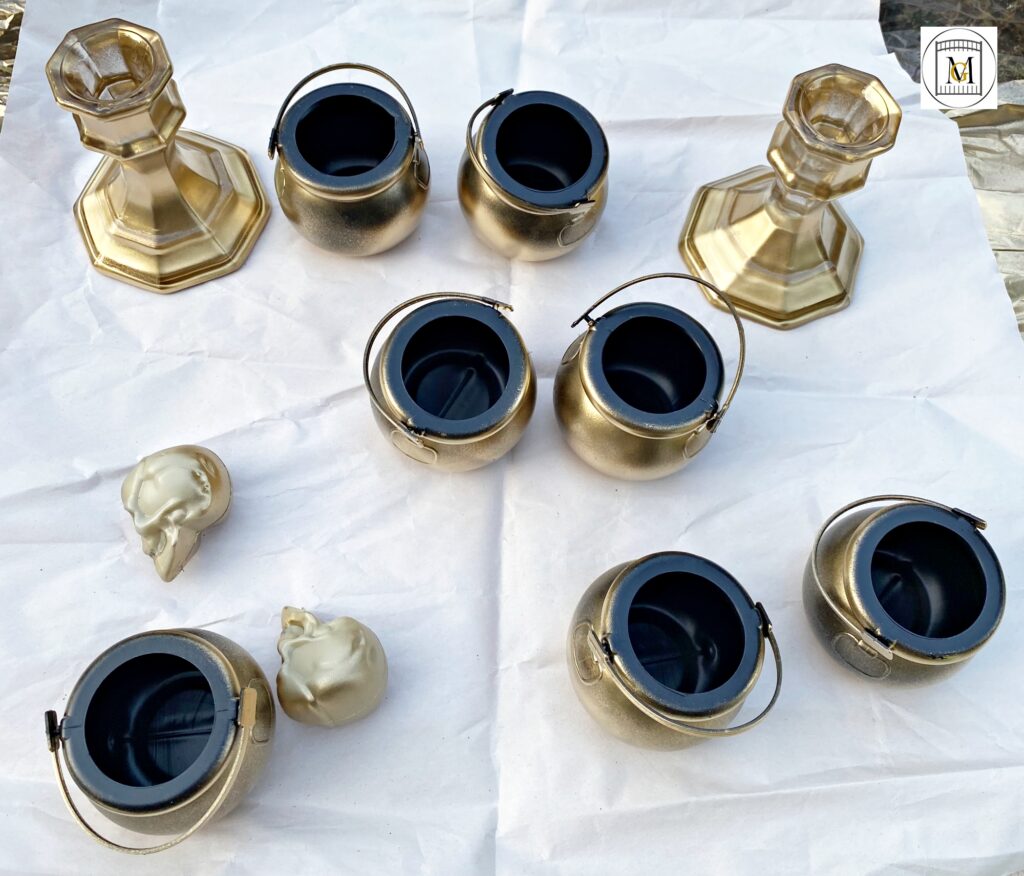
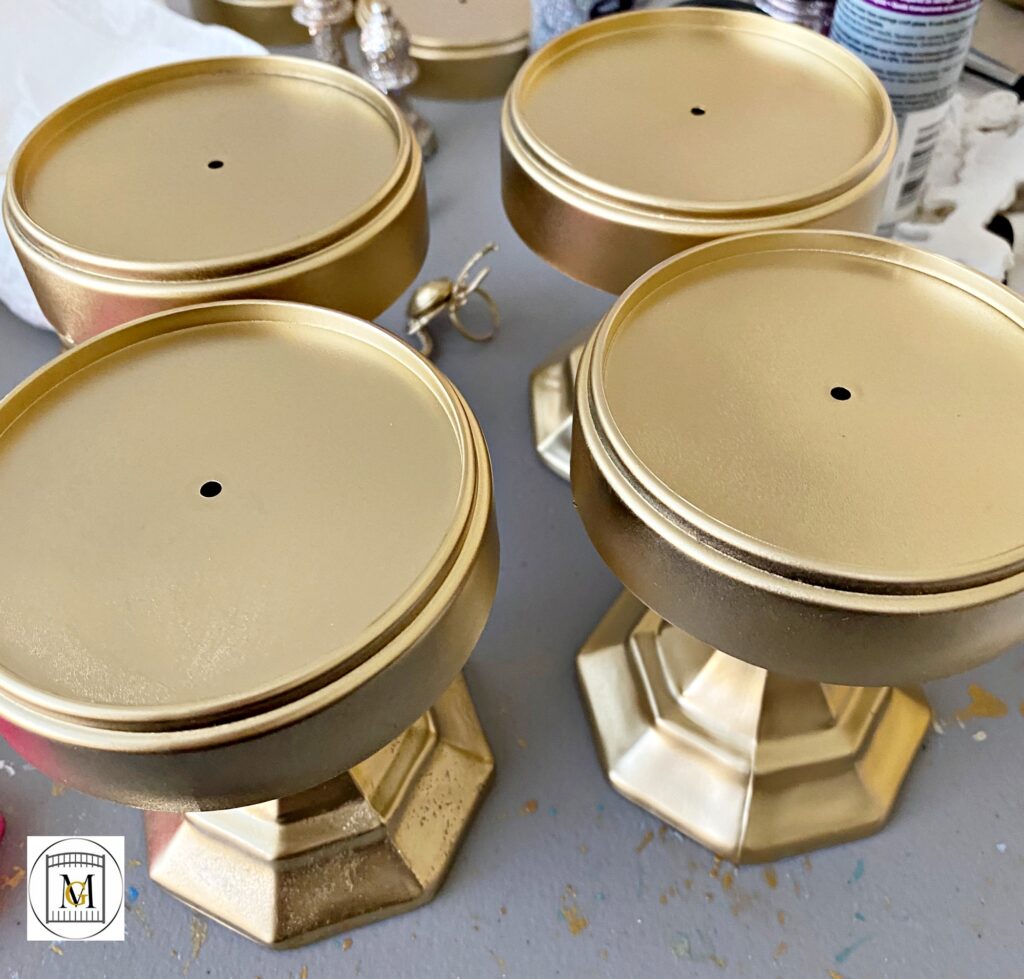
- So once your sprayed items are dry, heat up the hot glue gun and glue the candlestick to the underside of the dome base.
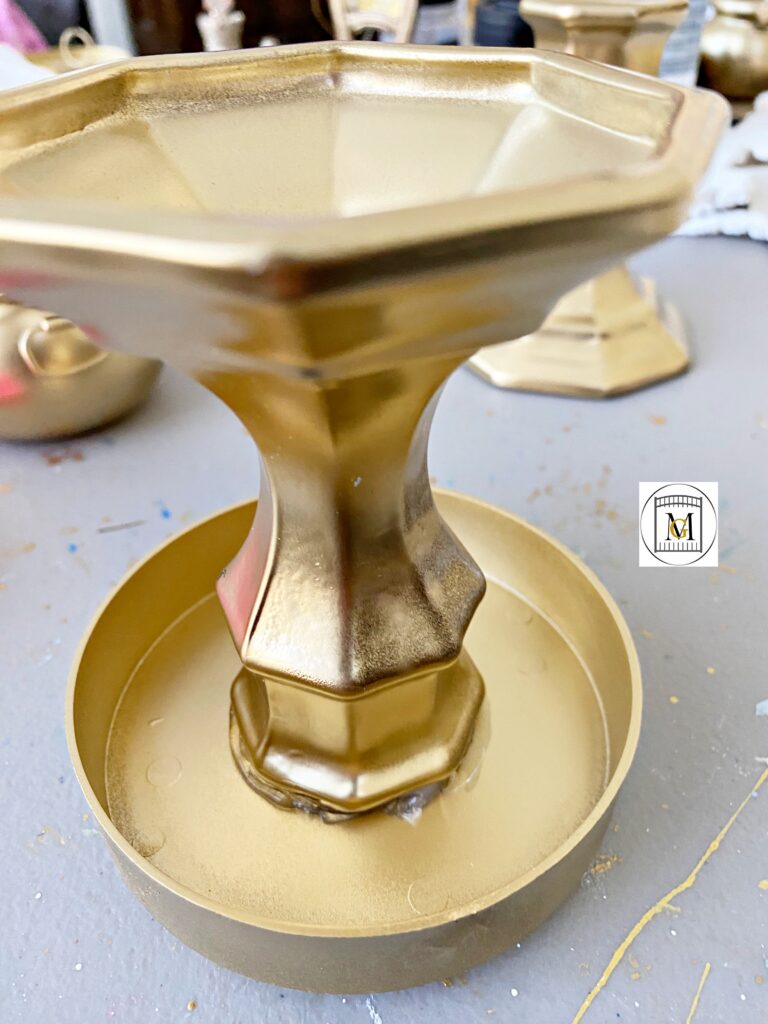
- Repeat for the number of trophies you are making.
- Now, if you are adding clay crest embellishments, press them into the molds now and allow them to dry at least 20 minutes or when they will easily release from the molds. So I sometimes brush in a little corn starch to the molds to help with the release from the molds.
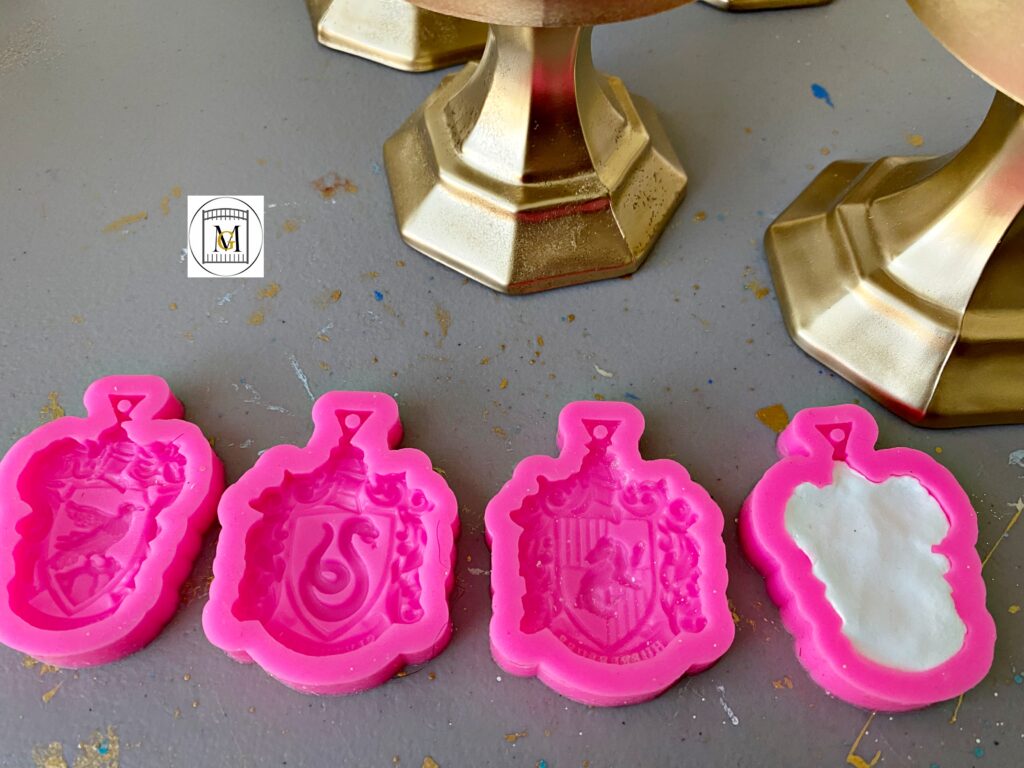
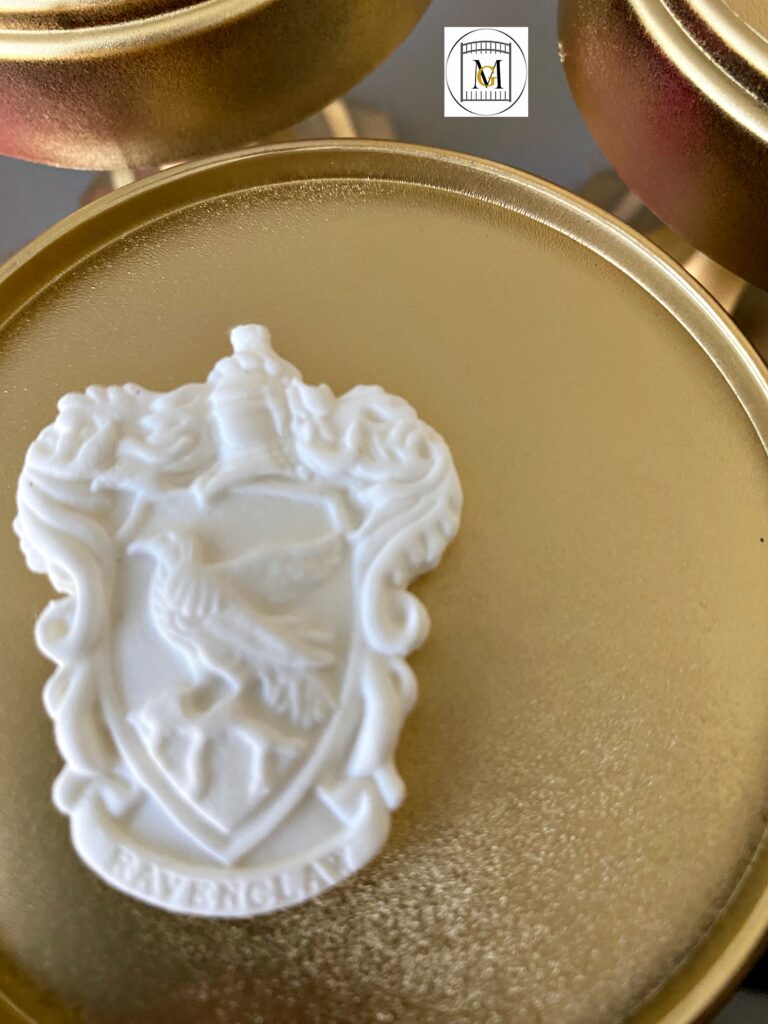
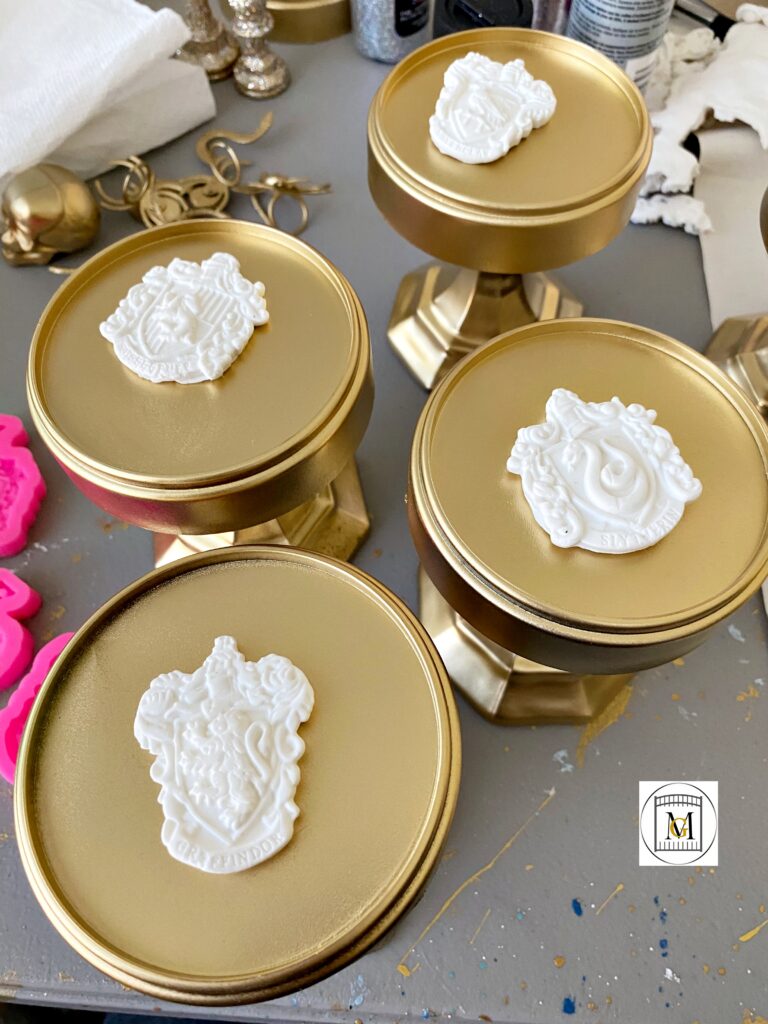
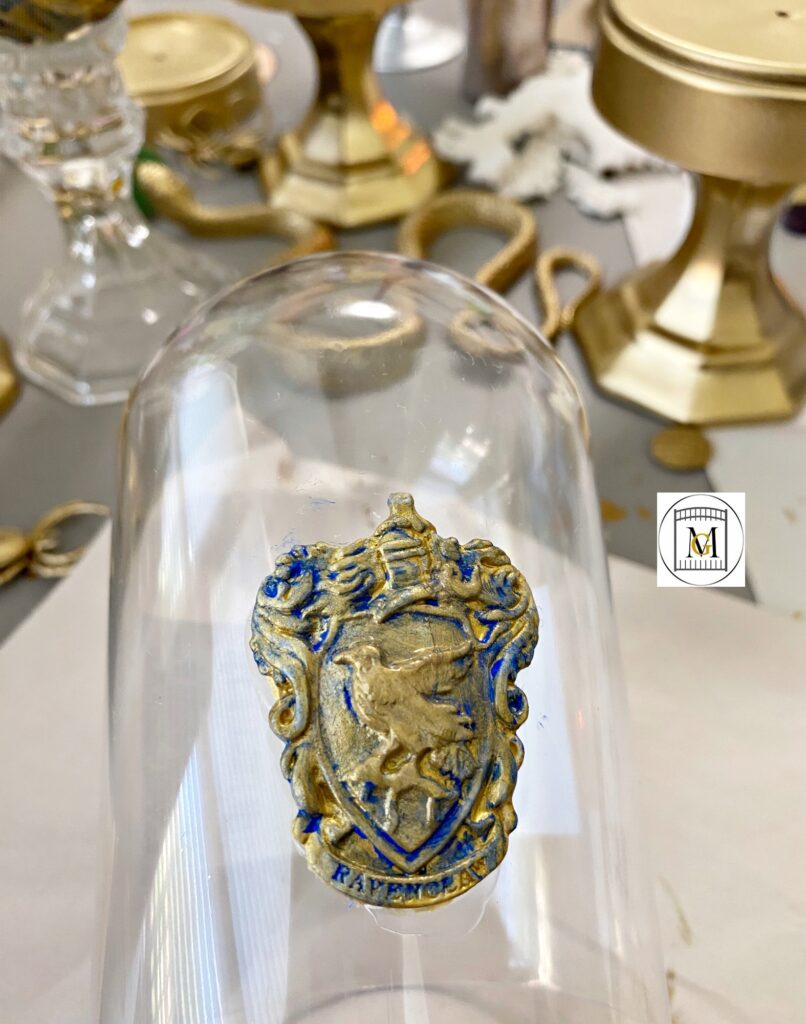
- Then glue the embellishment to the dome. But be careful not to overly press the clay embellishment so that it does not smear. It is not fully dry yet, so you just want to press just hard enough to seal to the dome. So after a few hours, brush on metallic gold paint and allow to dry with a small brush. Then once the gold paint has dried (about 30 minutes), brush on the house color (like red, yellow, green or blue). Now wipe off with a paper towel or baby wipe while allowing the house color paint to stick in the lines and spaces. Repeat for all the trophy domes.
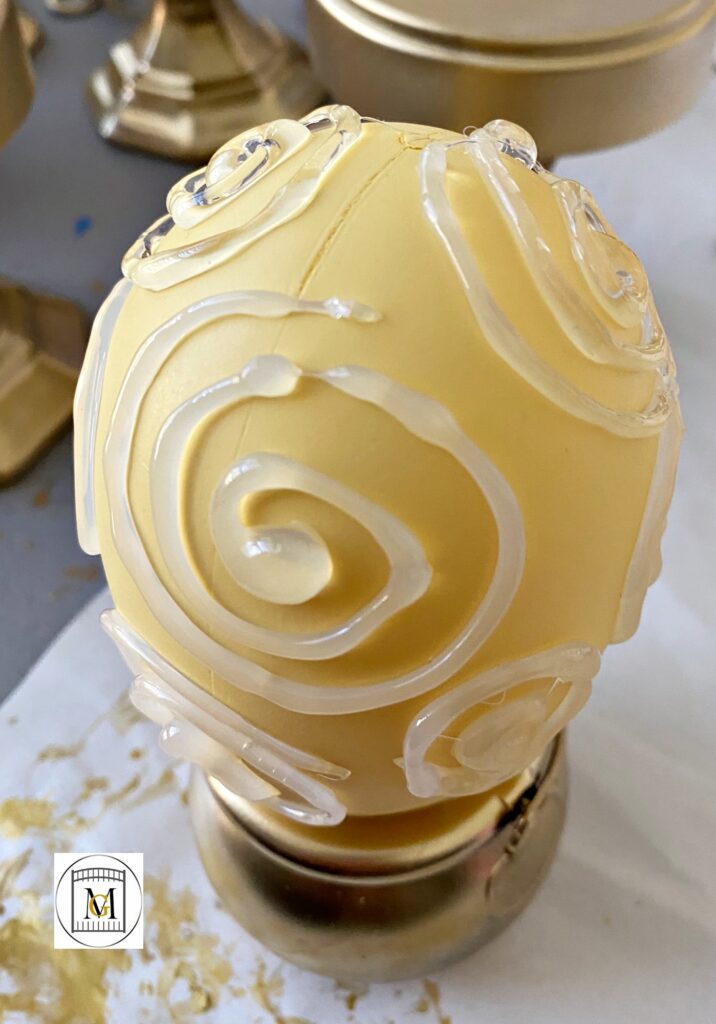
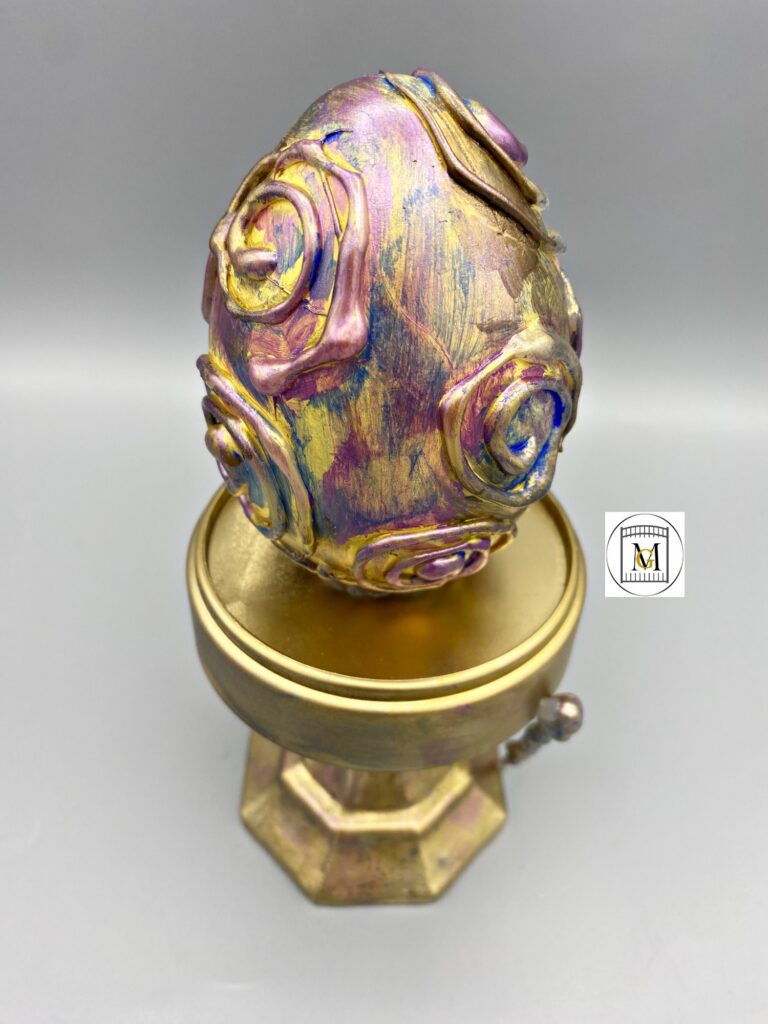
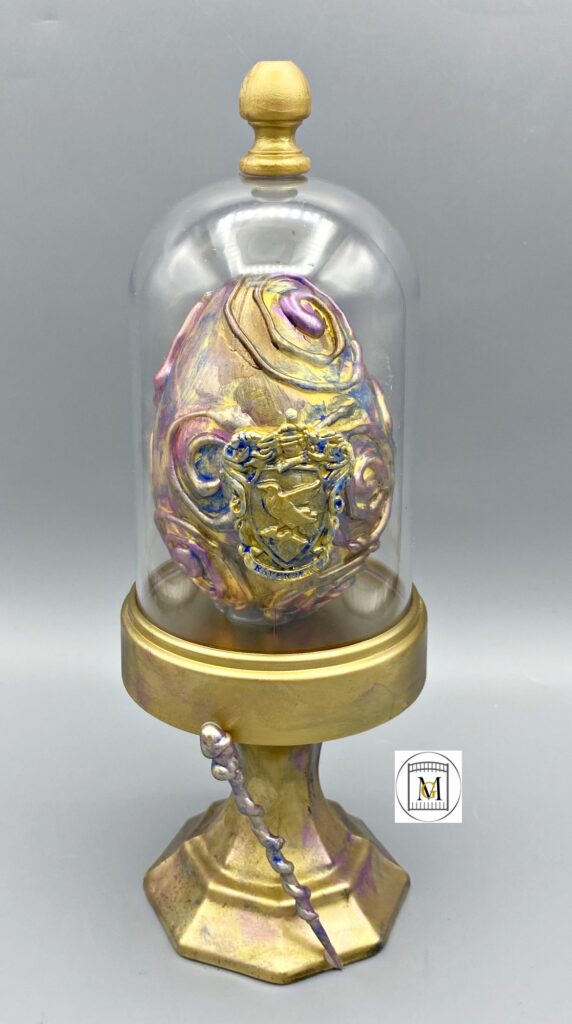
- Now decorate the dragon egg. Start by randomly brushing on your first base color, like metallic gold. So the brush strokes should be random and wipe off excess with a paper towel.
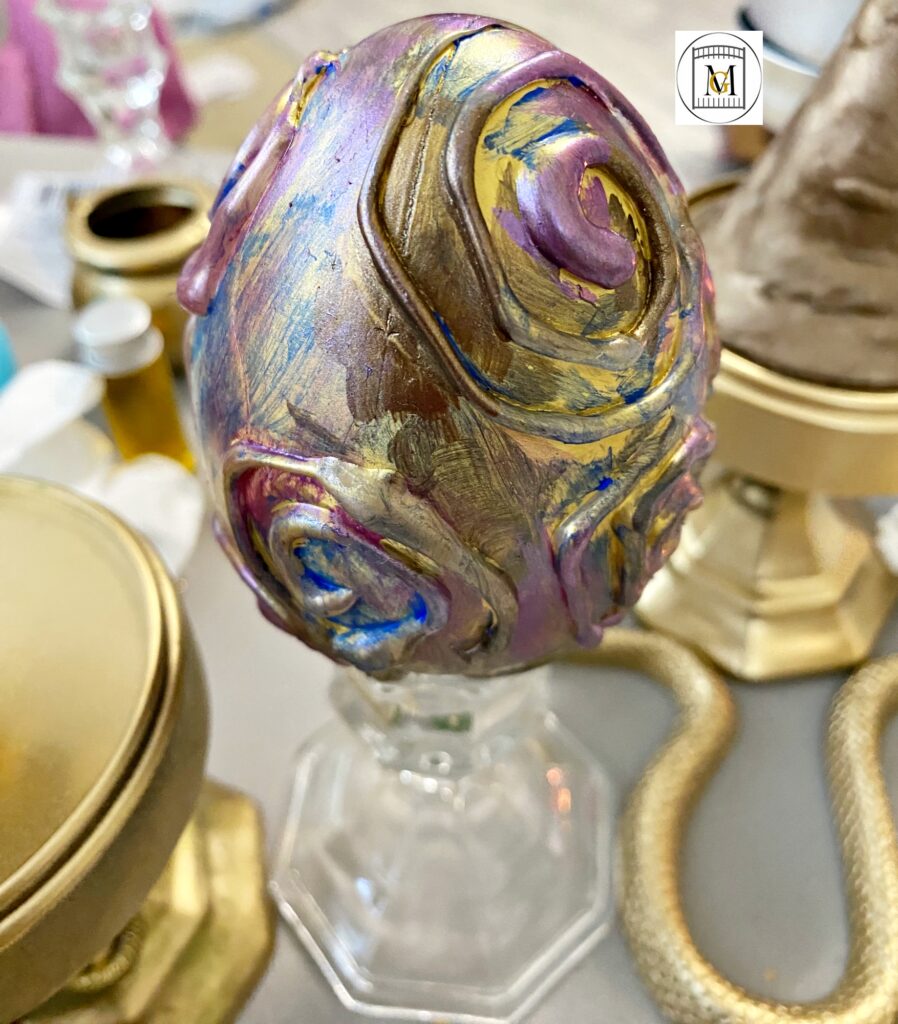
- So once the initial base coat dries, add on the accent colors. I used Glorious Gold, Plum and Cobalt Blue.
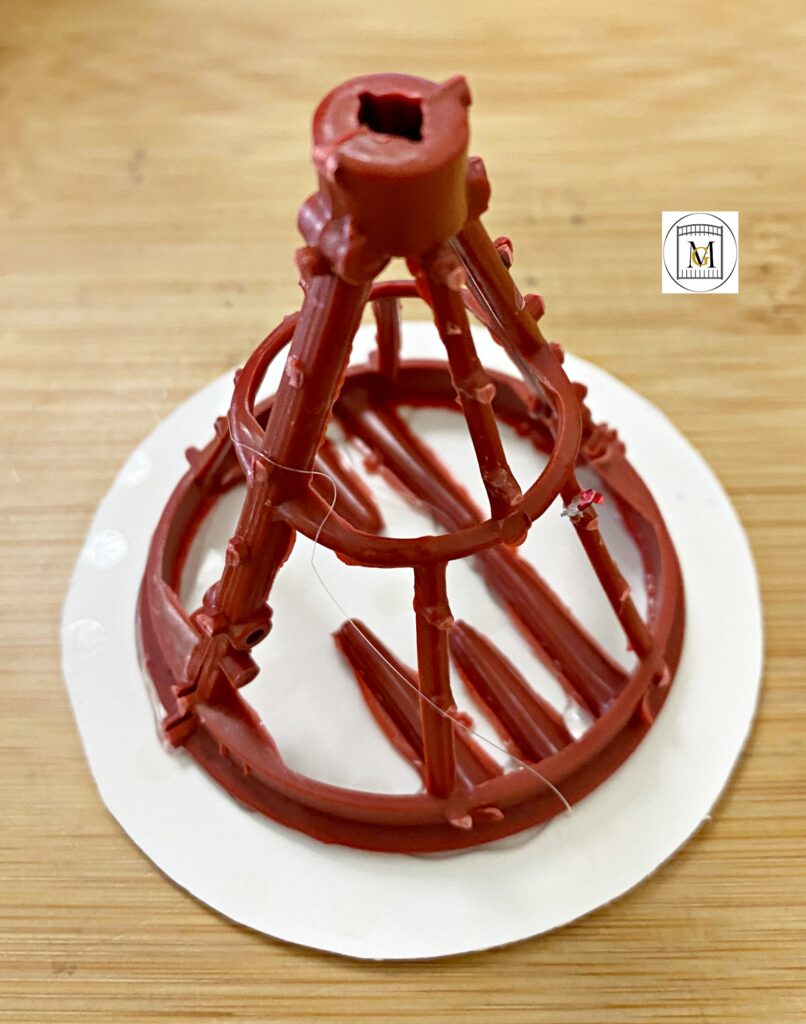
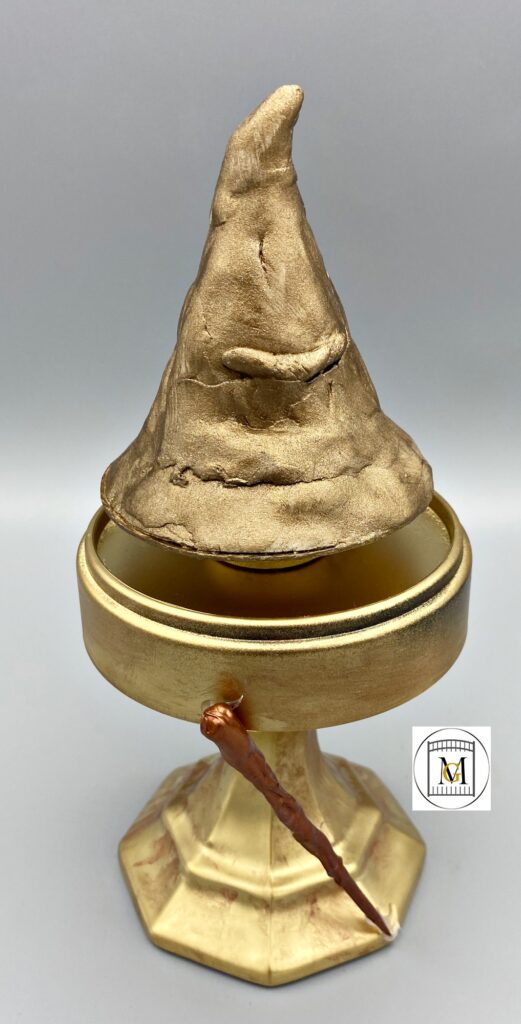
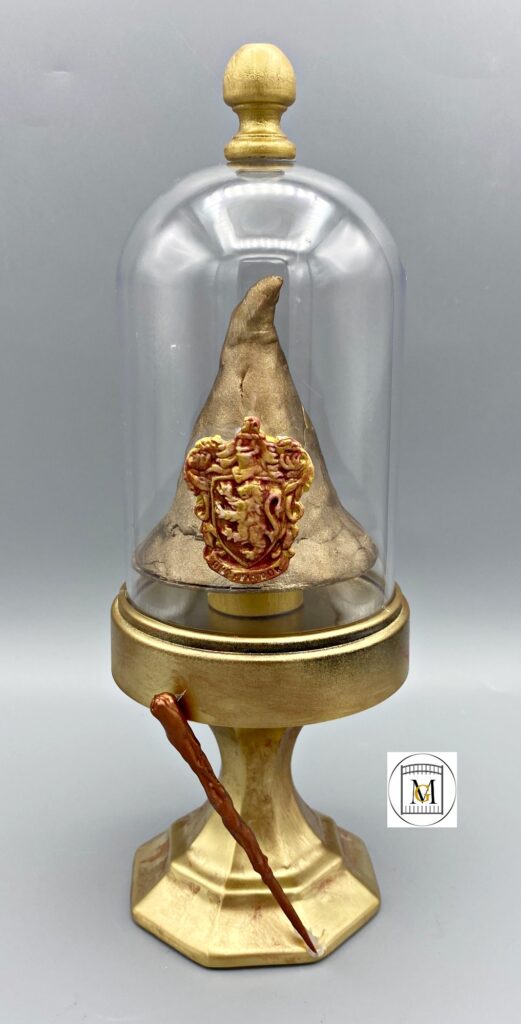
- To make the sorting hat, I used the top of a foil tree from the dollar store. I ripped it off and then traced a larger circle on cardboard to make the base. Then I hot clued the top to the base.
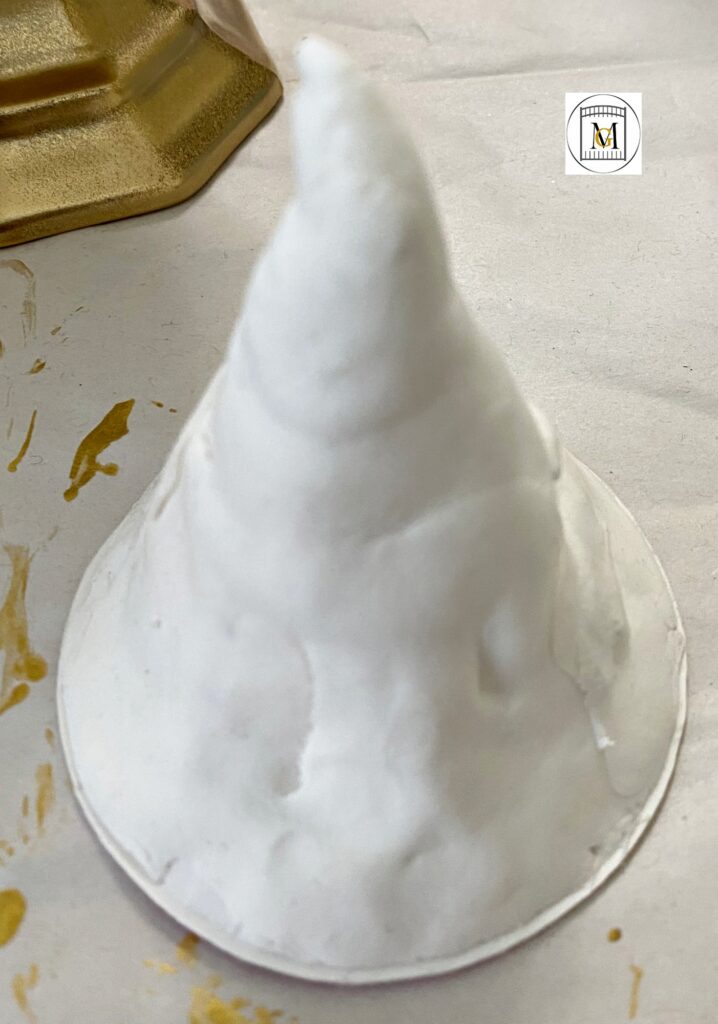
- Next, I added air dry super light clay and began to shape around the tree top and make a rough looking witches hat. So the shape does not have to be perfect because the sorting hat is wrinkled and patchy.
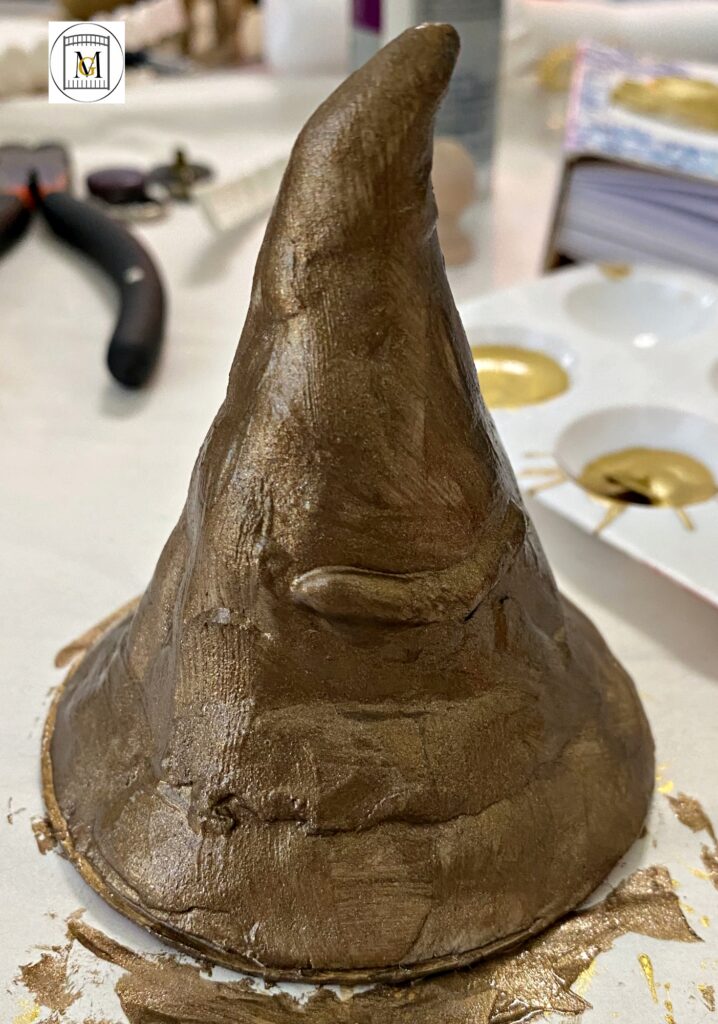
- I added a bump line for the eyebrows and left the natural line for the mouth. Then I painted metallic chocolate brown and allowed it to dry.
- So I noticed I wanted a little height on the base and added a small wooden 1/2″ circle piece and then glued to the hat.
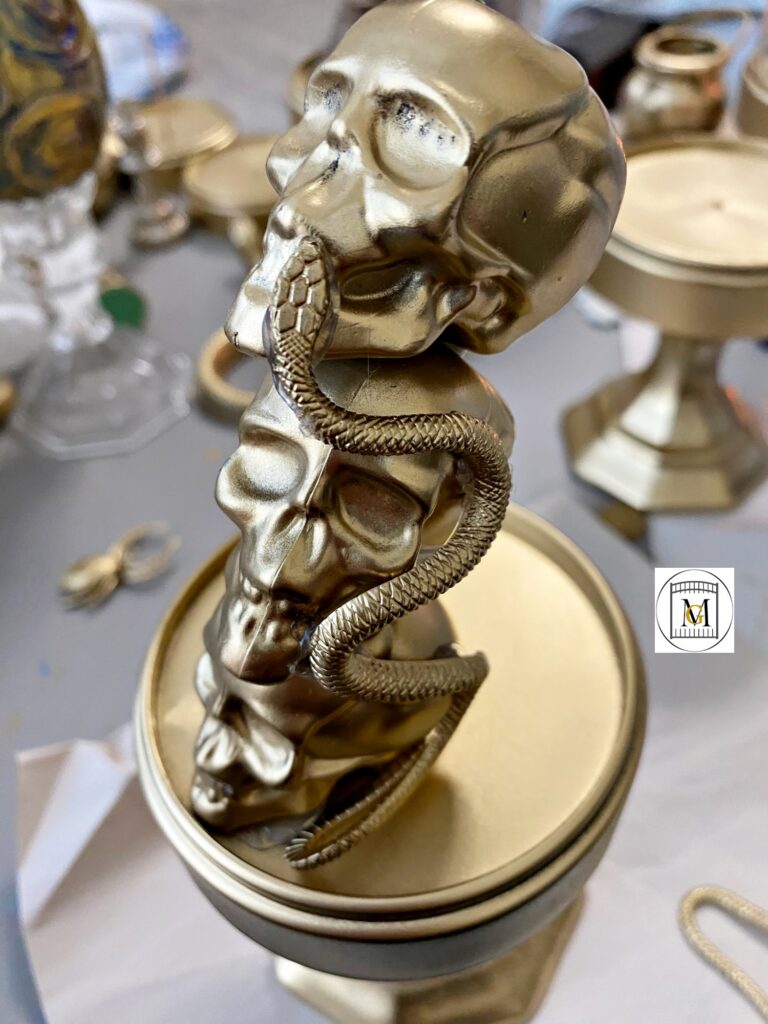
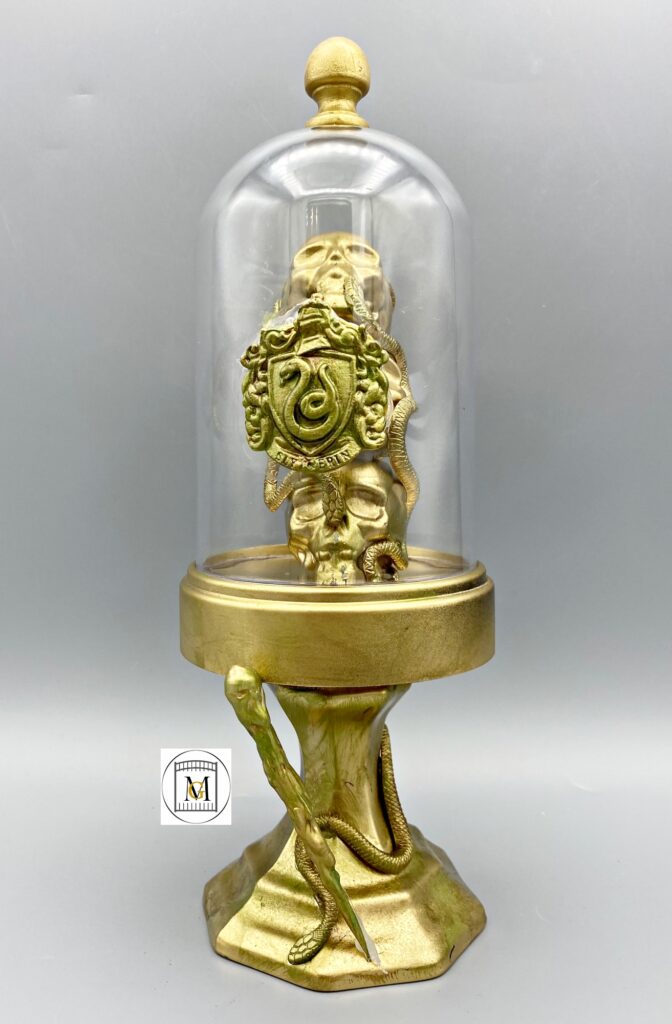
- Next, I made the skull/snake trophy to represent Slytherin house. So I started off by glueing 3 mini skulls together by offsetting each and securing to the base. Then, I added 3 painted plastic snakes, 3 randomly on the skulls and one on the bottom of the candlestick base.
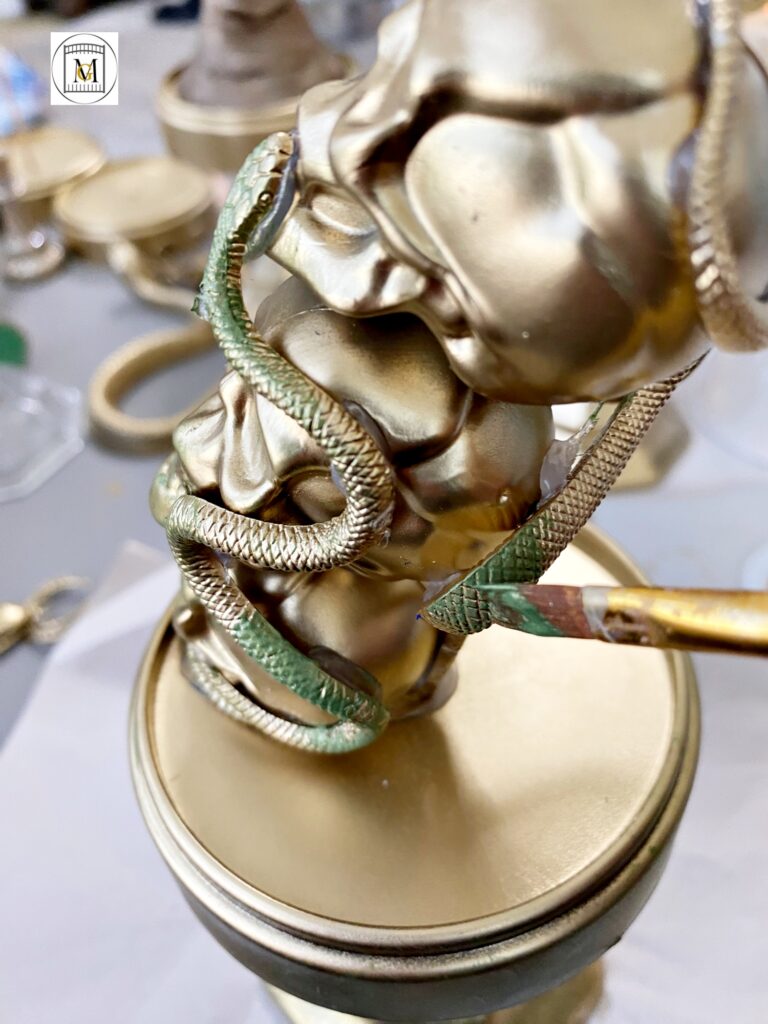
- Then I brushed on some green paint randomly on the snakes and wiped off excess with a paper towel. I also added some brown and gold. So I did the house color lightly brushed on all of the candlestick bases and wiped off excess with a paper towel.
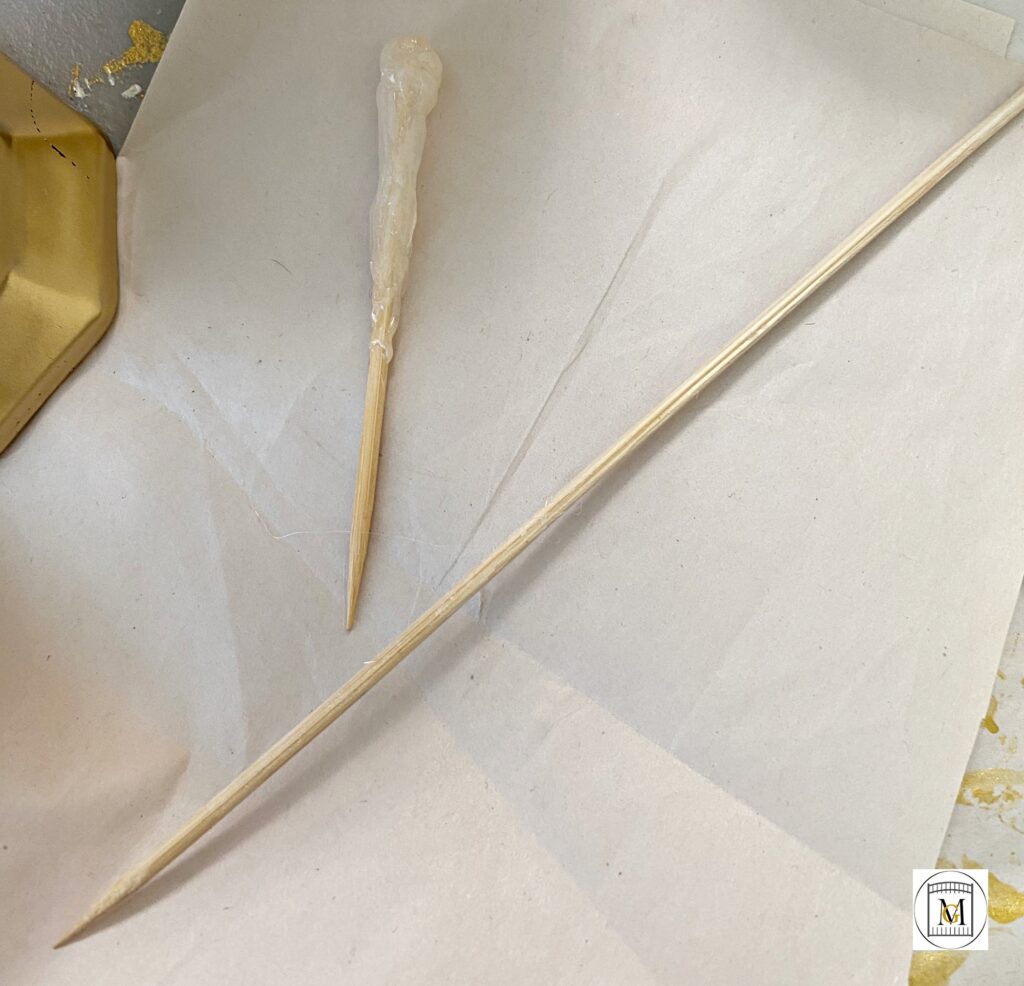
- Next, I made some mini wands by cutting skewers about 3 inches with craft or kitchen cutters. The length will depend on the height of the base. So to make the wands, build up a base at the tip of the stick with some hot glue. Then allow it to dry a few minutes before adding more glue. So once the top is formed, apply the glue down the sides of the stick in a random pattern or to a creative design. Once, the glue is dried, paint the mini wands in the color of your choice. Then glue to the base of the candlesticks.
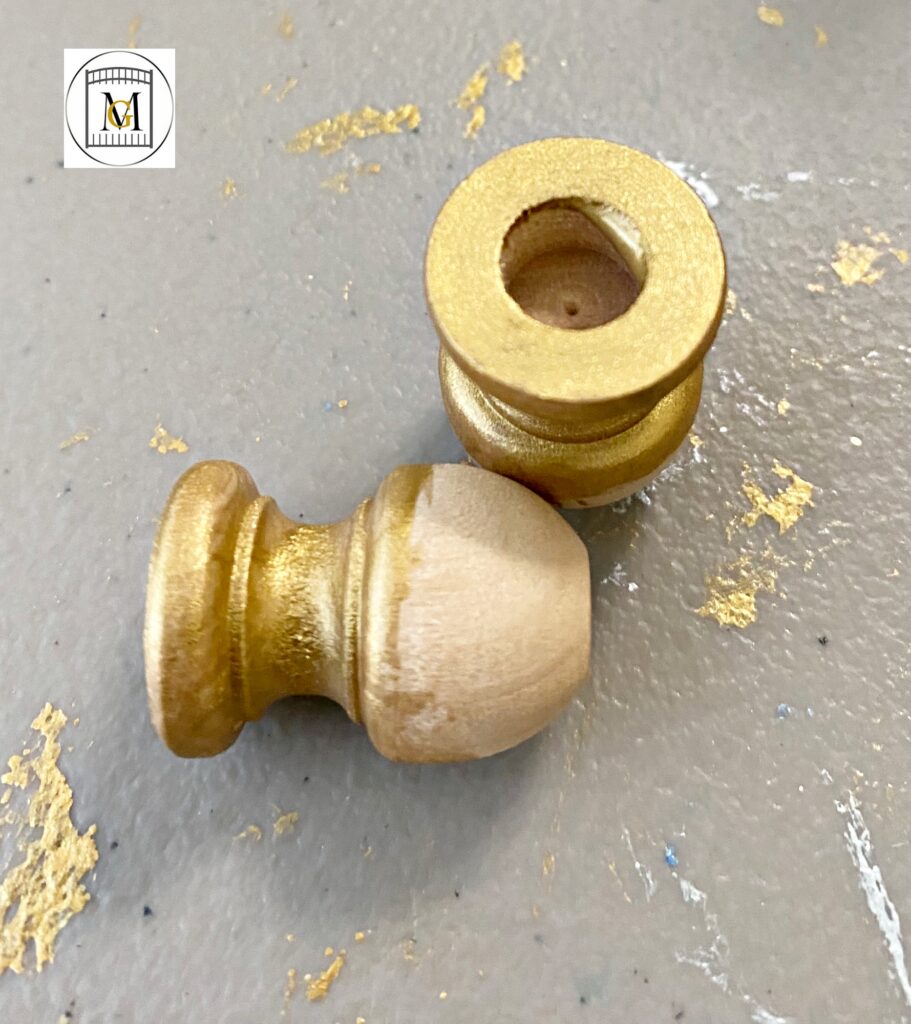
- Last, paint the underside of the wood acorn toppers first and allow to dry about 10 minutes. Then glue to the top of the domes. Then finish painting the acorn toppers and allow to dry another 10 minutes.
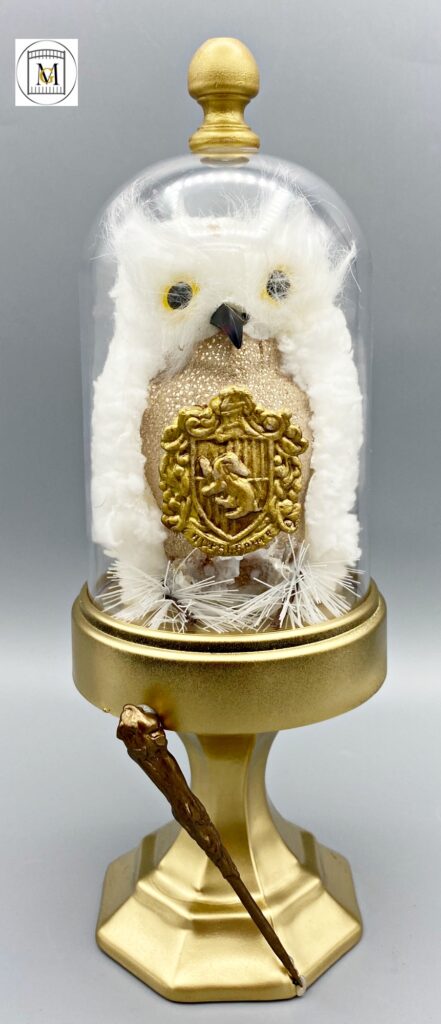
- For the owl trophy, I used an owl Christmas ornament. I cut off the hanging string and just glued to the base of the trophy. Then, I added the crest, wand and acorn top. That is it, your trophies are done!
If you need 2-Liter/Wine Bottle drink labels, check out my download here: https://majorgates.com/product/wizard-2-liter-potion-bottle-label-bundle-download/
To see my available party bundle downloads, click here: https://majorgates.com/product-category/party-bundles/
