Make Your Own Potion Bottles
This is a post about how to make your own potion or decorated apothecary bottles. It is way easier than you think. You have probably seen many highly crafted potion bottles for sale on-line. They are great, but quite expensive. In this post, I will explain how to make these yourself. I often get questioned about why do I share how to make everything I do for parties and events. It is because, there are two types of people. People that just want to buy a ready made product and those that enjoy making things themselves and adding their own twists. Just like with cooking and baking.
Making your own potion bottles is quite economical as well. When you buy them already made, they can cost between $25- $100 each. I can make several for $25. It just depends on how ornate you make them. If you are a basic crafter, the best part is that you have many of the supplies on hand or can get pretty affordable at local stores.
To see my available Potion/Apothecary Bottle Label downloads, click here: https://majorgates.com/product-category/potion-apothecary-labels/

The hardest part is coming up with the labels. I do suggest buying these if you are short on time or feel you are not that creative. I have several options in my shop for various themes. Pre-designed labels are sold in the sizes that fit basic bottles, so you don’t have to figure that part out. It is just print, cut them out and stick or glue them on the bottle.
Don’t Forget To Follow Me On Pinterest
Supplies
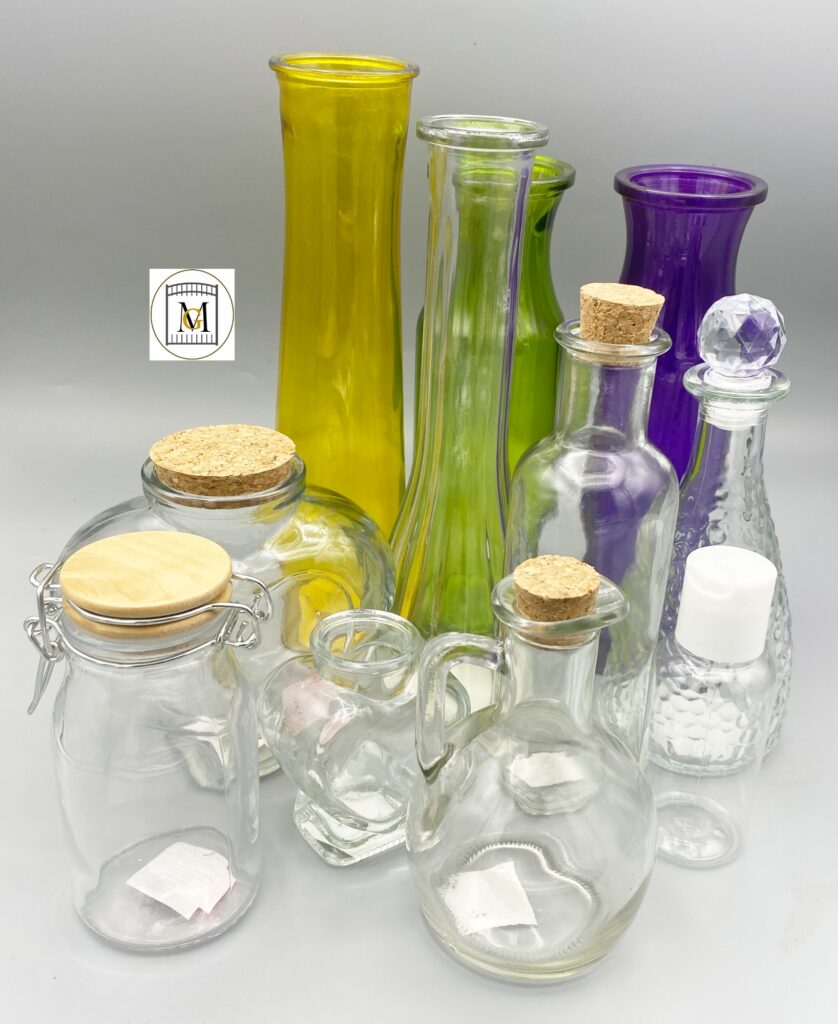
- Various size glass jars and bottles – reuse daily jars and bottles that are rinsed and saved. It takes me about a month to save all the types I want when planning a theme. I use hot sauce bottles, pasta jars, Asian sauce bottles, gravy jars, BBQ sauce bottles, salad dressing bottles, and various bottles from my local dollar store. Make sure you keep the lids. So, keep in mind that the jars/bottles should not be too large because they are supposed to be potions. These can be store purchased (at your local craft store) or recycled bottles. So I recommend medium sized bottles are the best ones to work with and are great for displays. If you want to buy them, you can find empty bottles at your local craft store like Hobby Lobby or Michaels. I rarely have to spend any additional money buying a bottle/jar, so there is a savings right there.
- Recommended Bottle Sizes:
- Large – 20-24 ounce
- Medium – 8-16 ounce (preferred)
- Small – 3-7 ounce
- Recommended Bottle Sizes:
-
- Additional Bottle Sources: Cylinder Vases (milk, flower, bud), Vinegar Bottles, store crafting bottles, Caper Jars, Olive Jars, Pasta Sauce Jars, Travel Bottles, mini alcohol bottles in various shapes.
NOTE: Remove stamped best buy dates on recycled bottles with nail polish remover.
- Twine and Ribbon -regular and colored or waxed cord. You can also use jewelry suede cord, paracord or ribbon.
- Mini Multi-Temp Glue Gun and Glue Sticks
- Fillers Options: (Check your local dollar store before the Hobby Stores)

-
- Glitter ( various: used extra-fine, fine to regular) – the fine glitters work best in my opinion
- Food Coloring
- Sand – regular and decorative
- Water – I use Distilled Water – I do not recommend tap water
- Corn Syrup
- Polycrylic by Miniwax – water based and used to coat vases before adding glitter
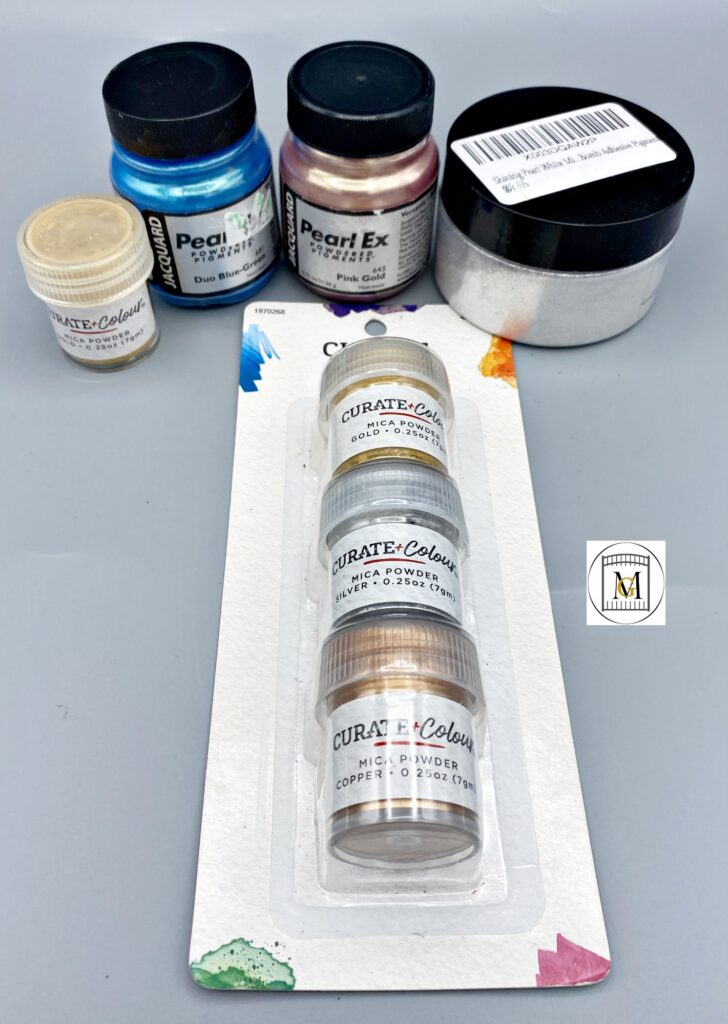
- Mica powder (gold and silver) or powdered pigment powder
-
- Water gel beads or air freshener beads
- Sequins
- Decorative pebbles
- Decorative leaves
- Crushed glass
- Confetti
- Dried Food – coffee grinds, beans, popcorn kernels
- Flat back glass gems/beads
- Round beads -white pearls and color pearls
- Mosaic Glass Pebble Accents
- Mosaic Seashell chips – assorted and dyed
- Easter scatters and fillers – pastel colors
- Easter Iridescent grass – use as hairs
- Feathers
- Doll hair
- Potpurri
- Decorative Jewelry Embellishments (you can also find these types of embellishments at the local craft store).
- White Regular 65-67 lb 8 ½ x 11 Card Stock, or regular copy paper, or inkjet sticker paper
- Color Printer
- Scissors
- Paper Towels
- 2 oz – Acrylic Paint – I think metallics work the best
- Wax seal beads or wax seal mini glue sticks
- Clay embellishments (optional)
- Craft Syringe or Small Funnel
- Plastic cups and flatware for mixing – sometimes I also use bamboo skewers for small neck bottles.
- Baby wipes
Affiliate links are in this post. So, I may receive a small commission at no extra cost to you if you make a purchase through my affiliate link. Therefore, I only recommend products that I use or would use and love! So, I have saved you the time of searching for good products for you. As an Amazon Associate I earn from qualifying purchases.
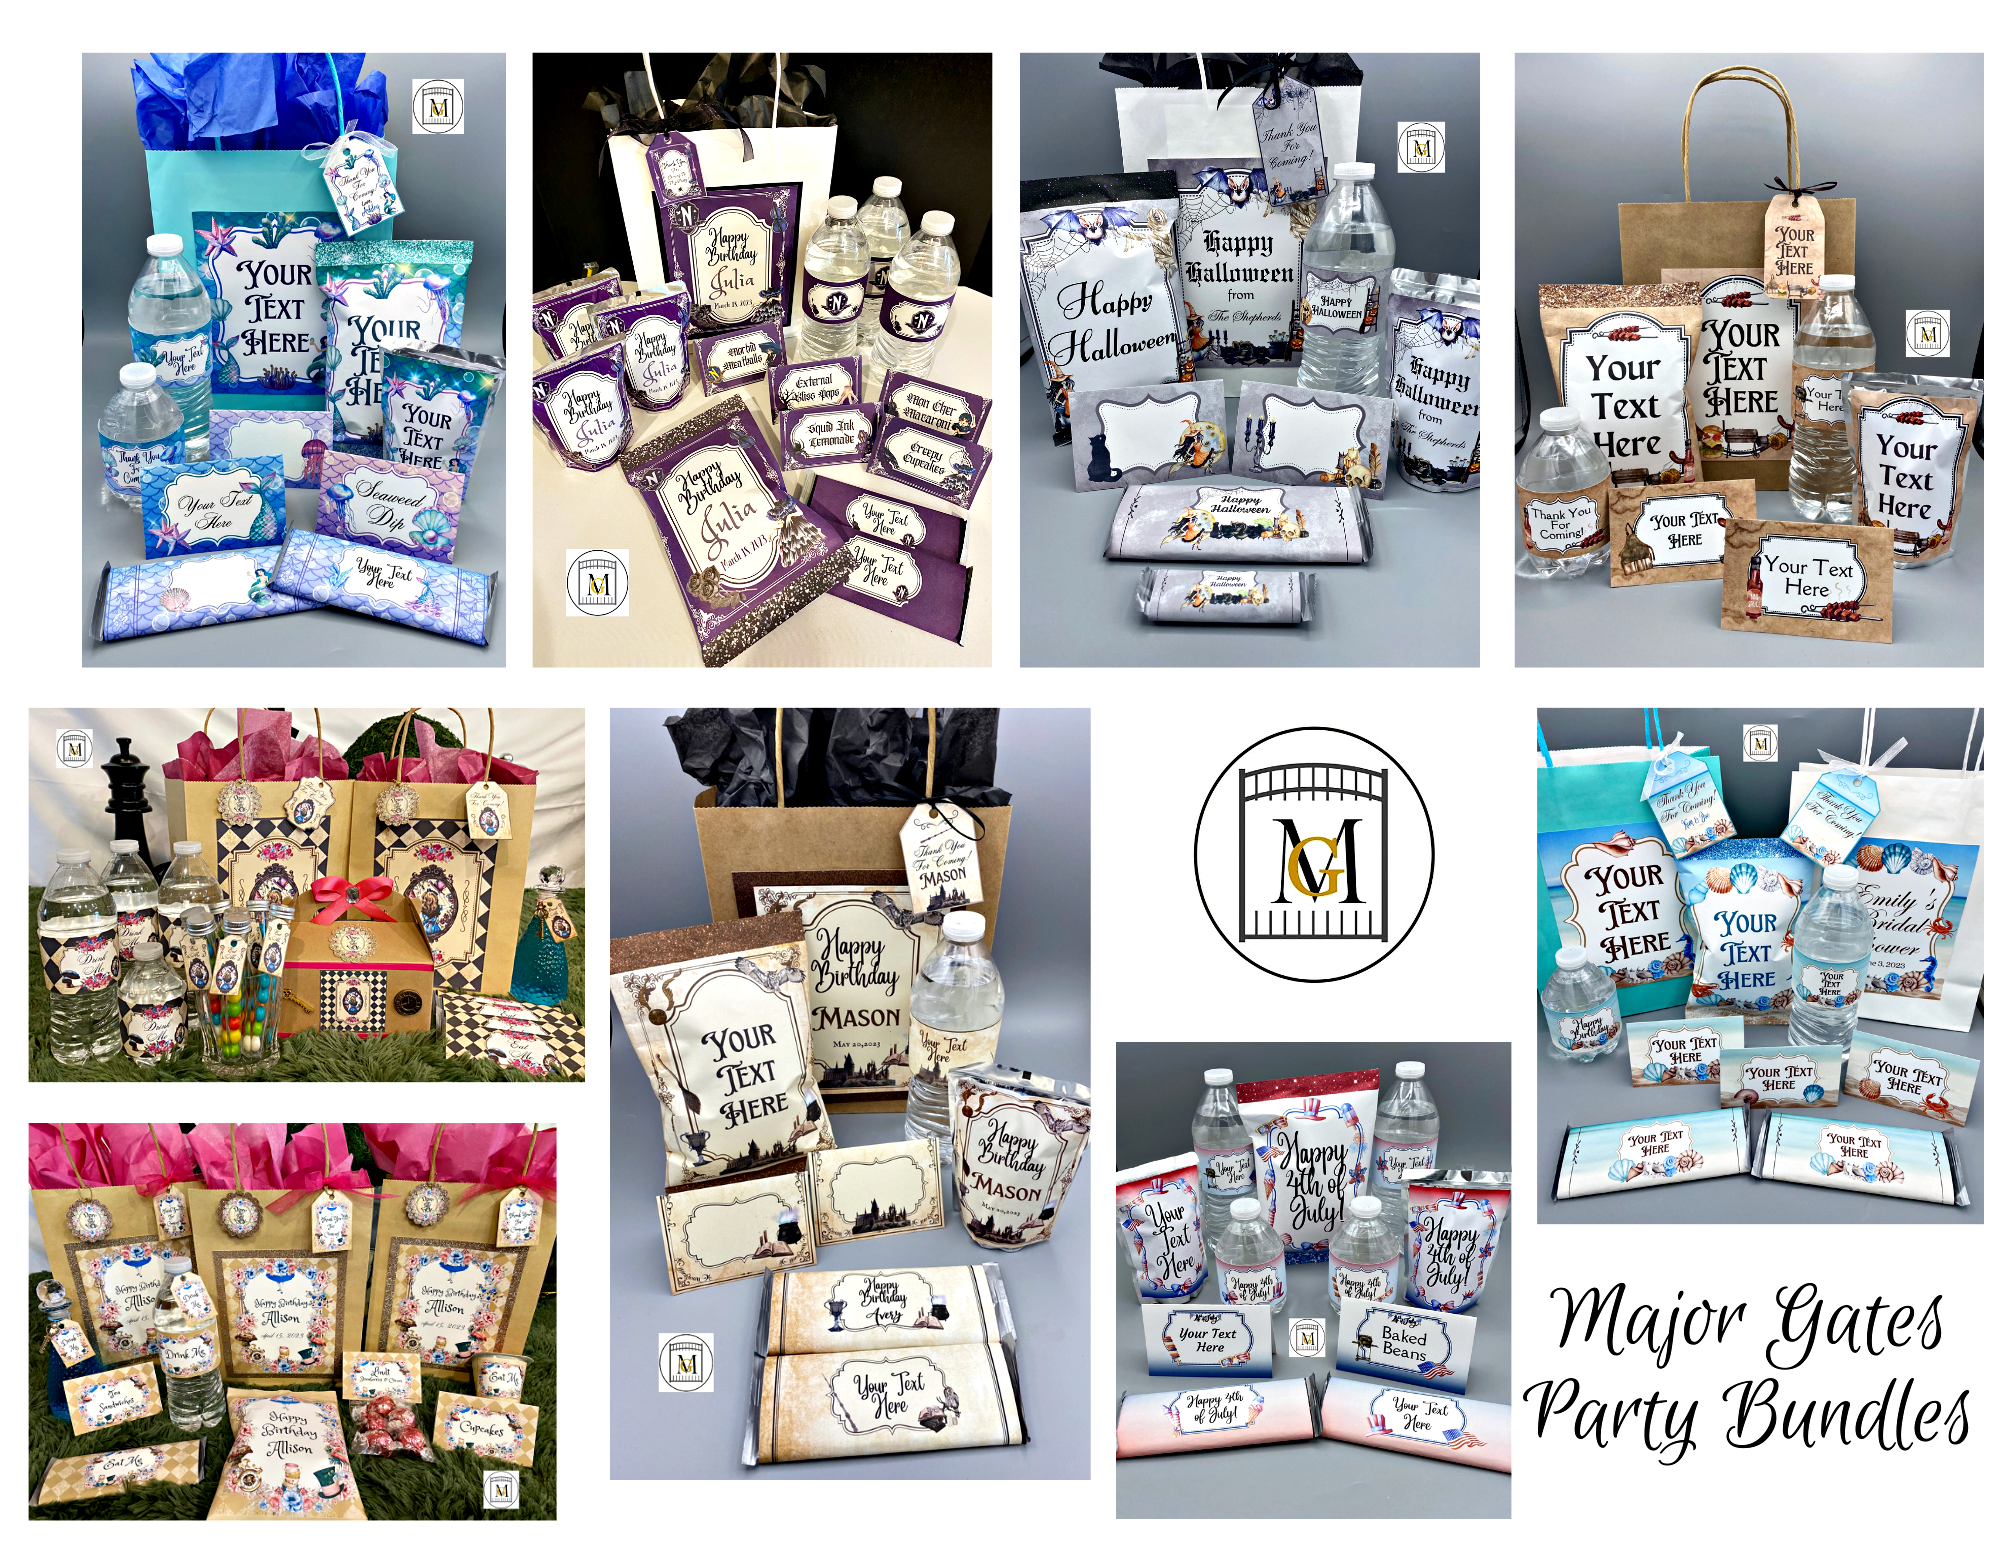
To see my available Party Bundle Label Downloads, click here: https://majorgates.com/product-category/party-bundles/
Directions For Potion Bottles
- Wash and fully dry any recycled bottles. So try to wash these out the day before you start this project. To remove the sticky residue from existing labels, use Goo Gone or olive oil. Also, to remove the best buy stated date on the bottle, remove with nail polish remover.


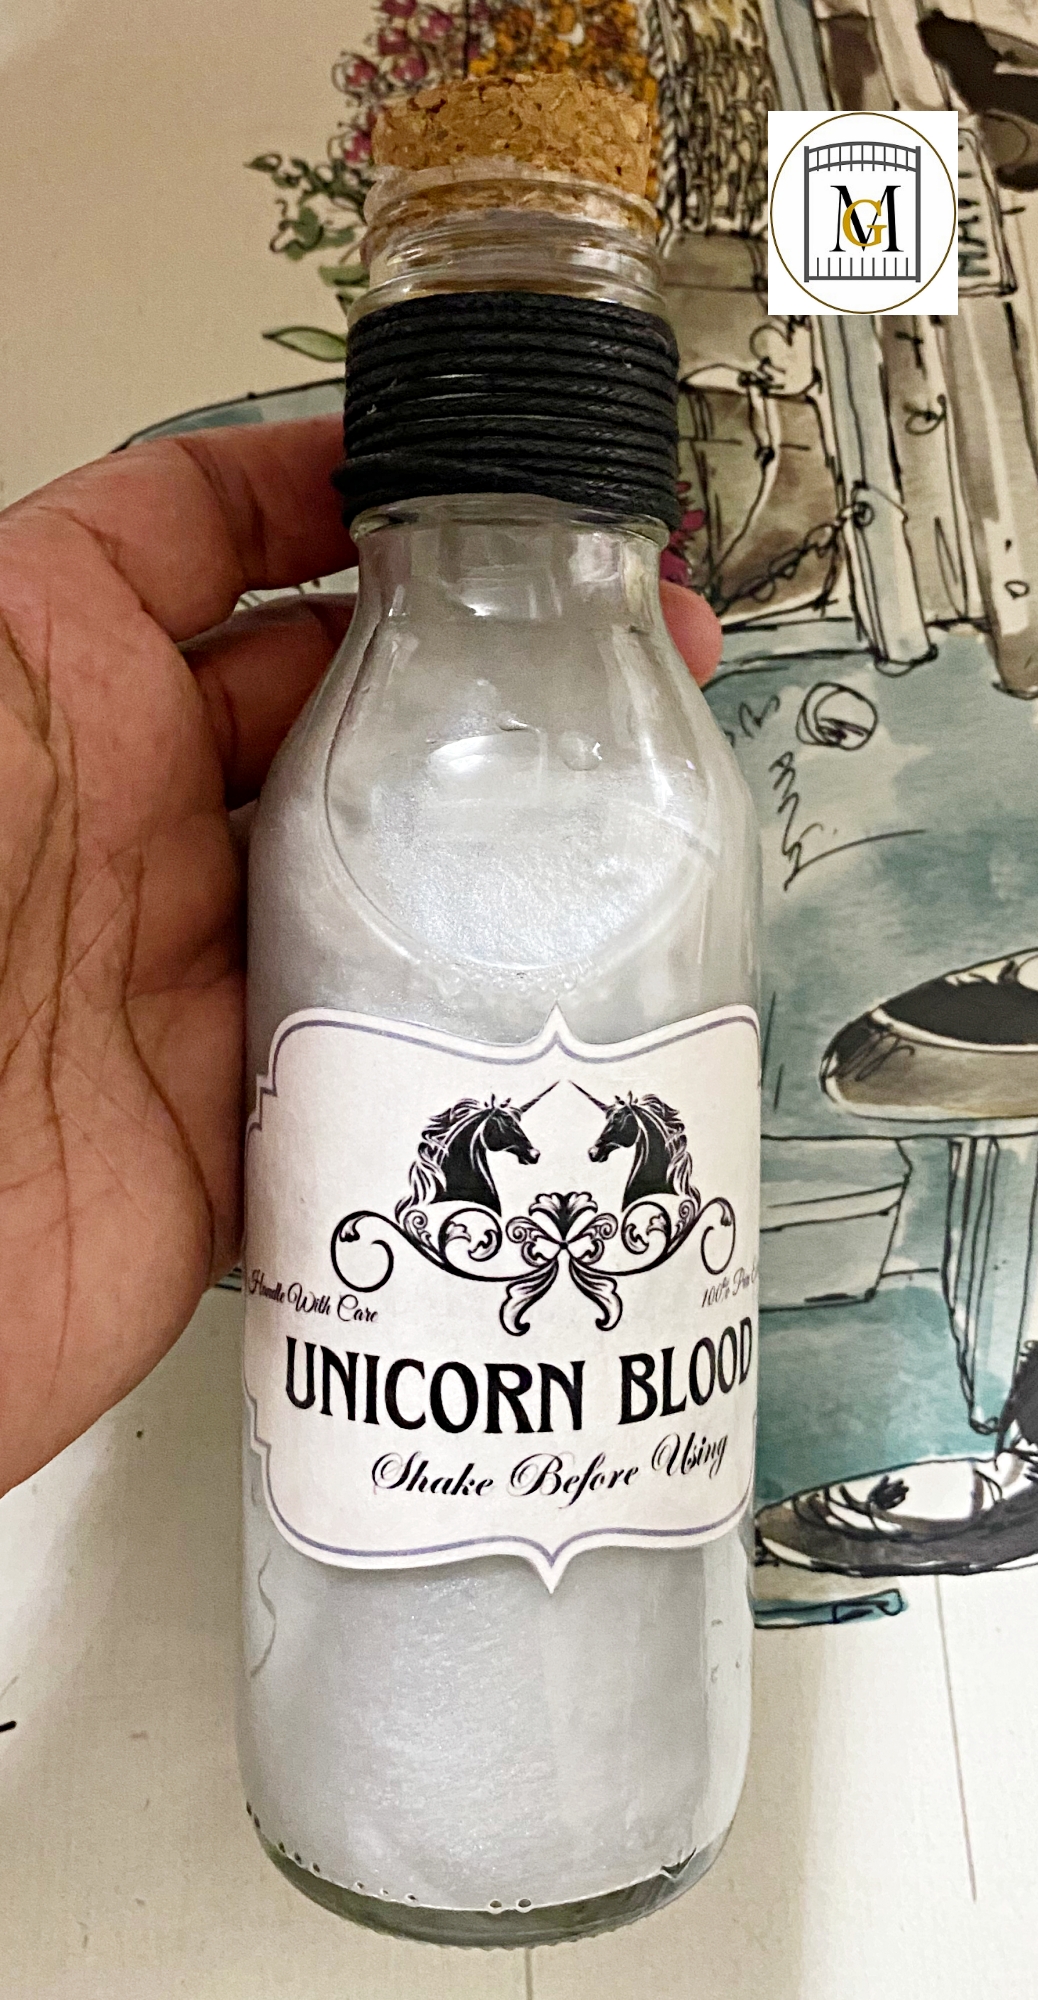
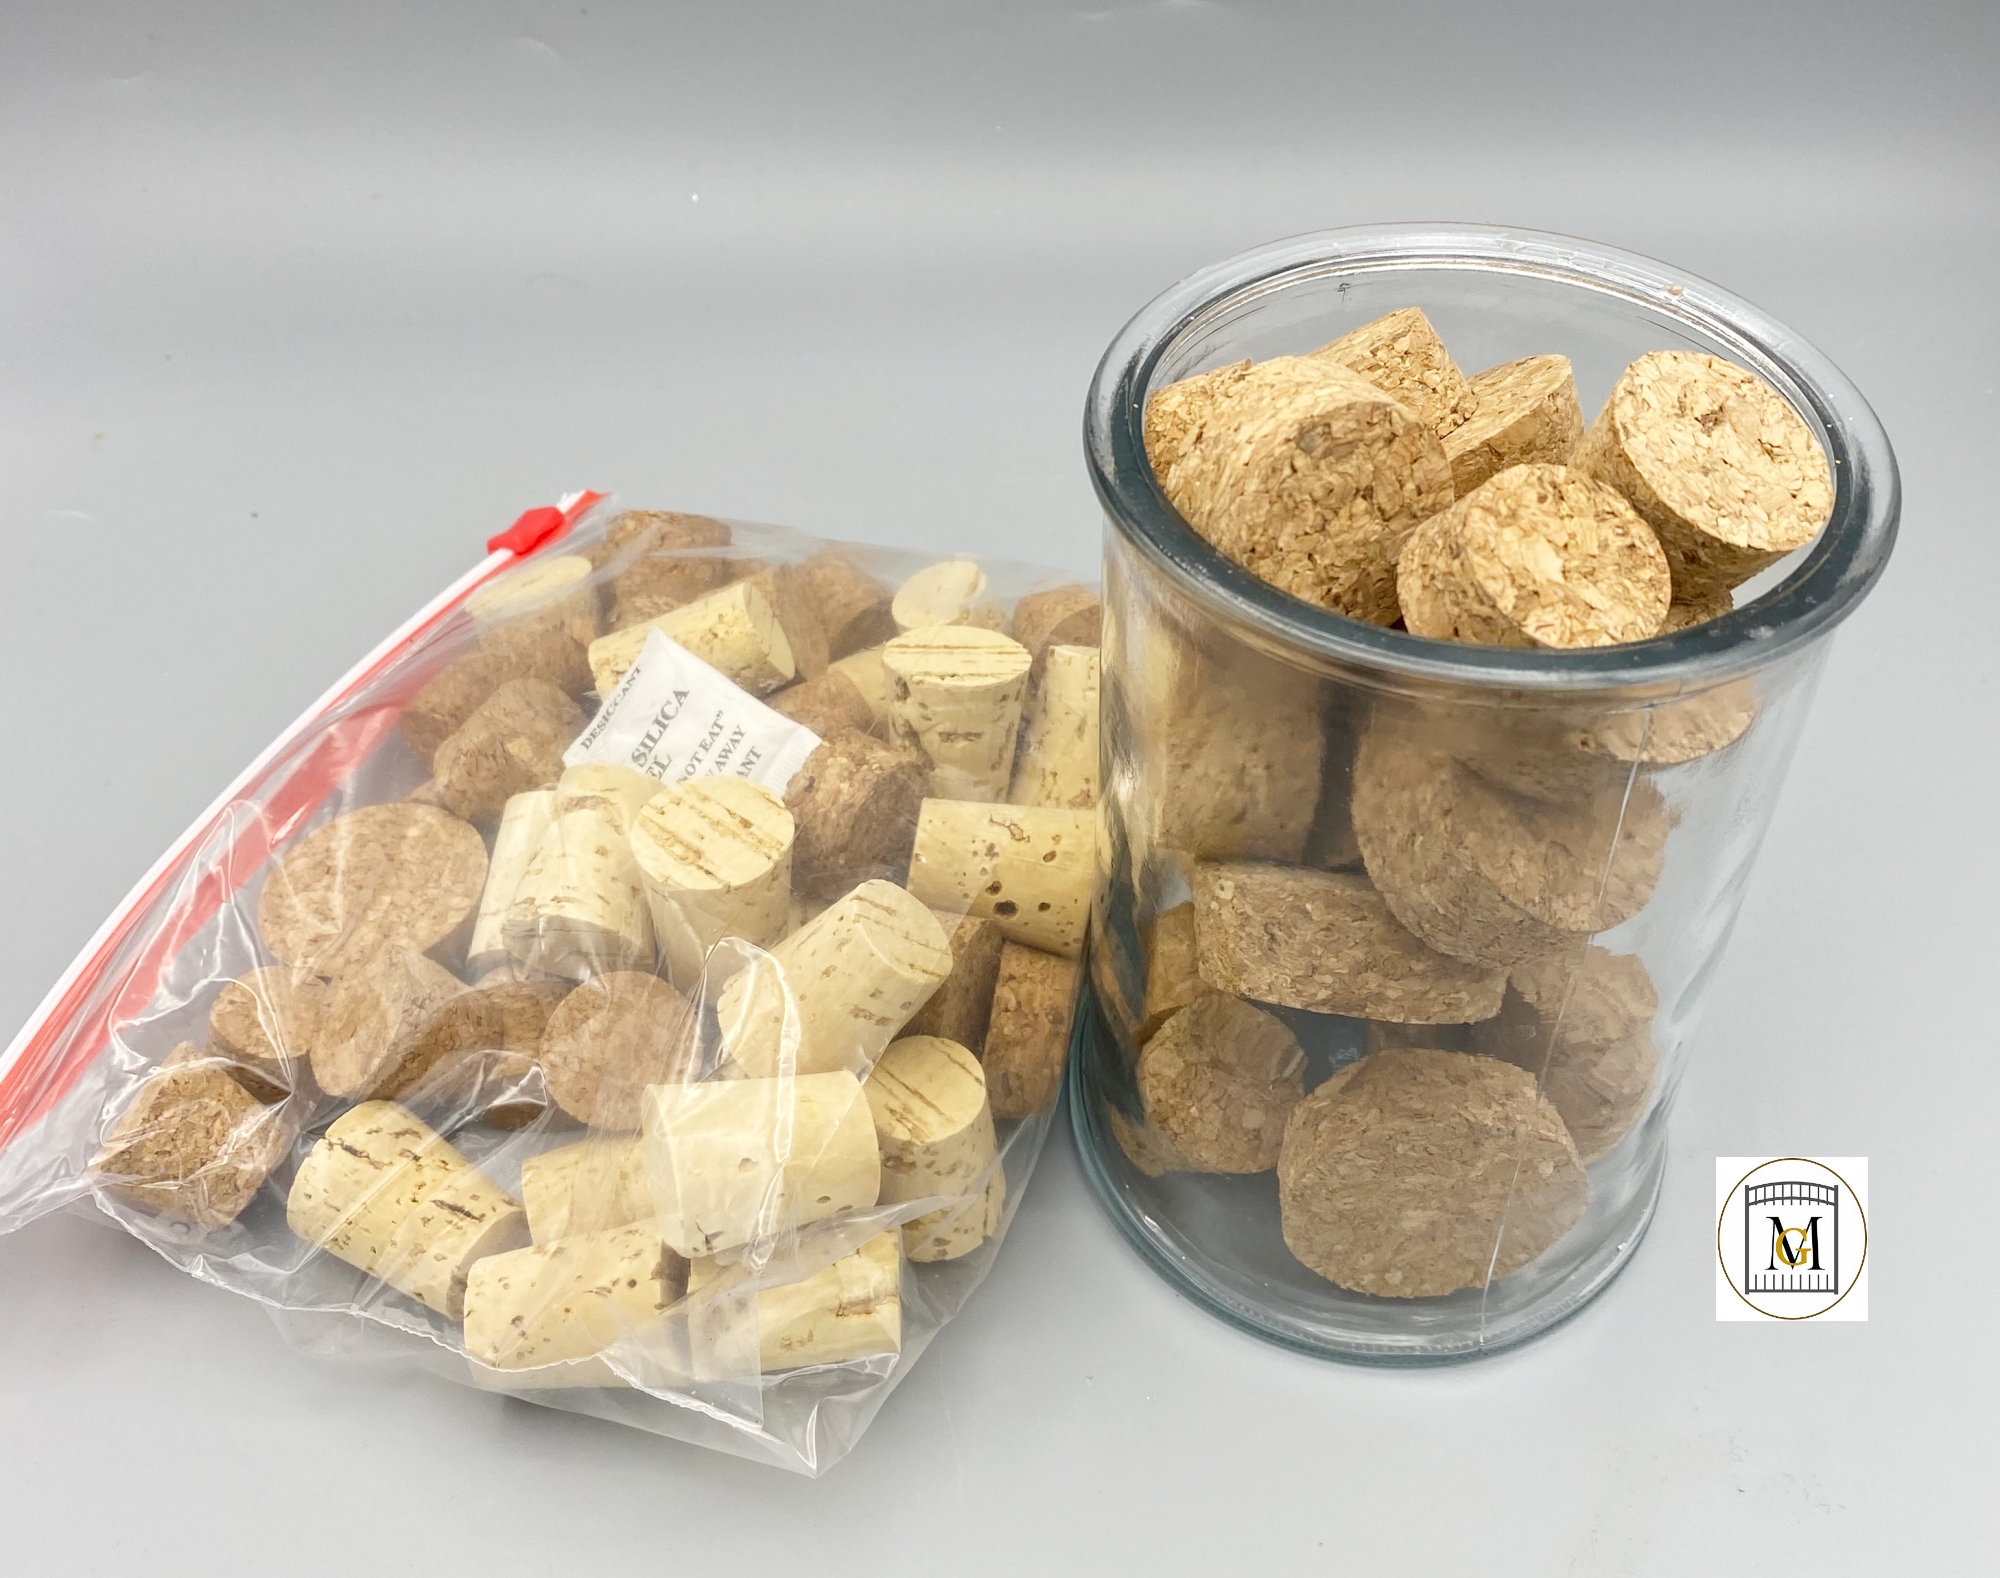
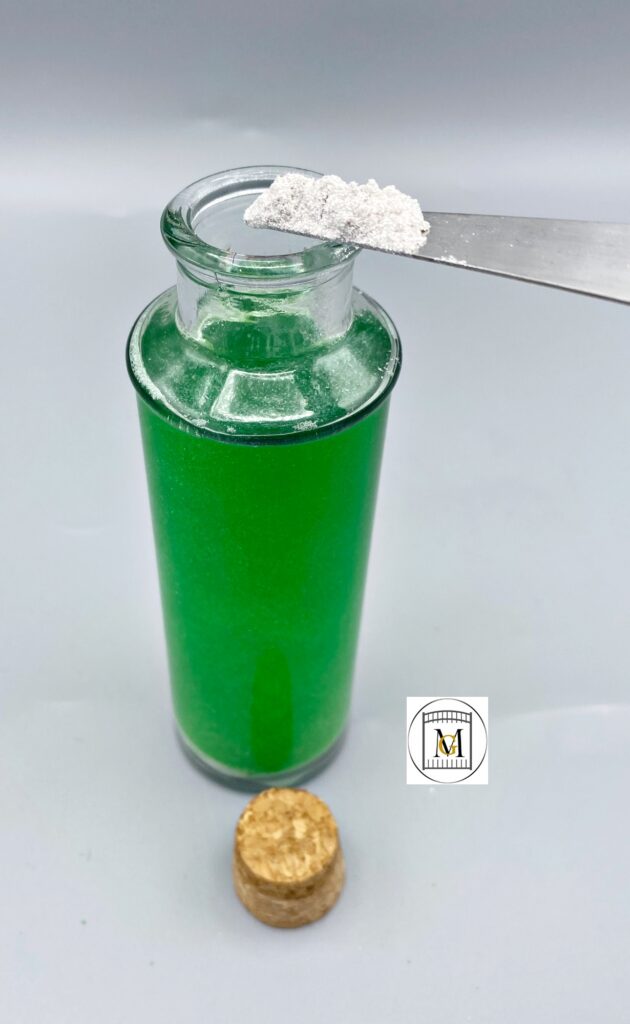
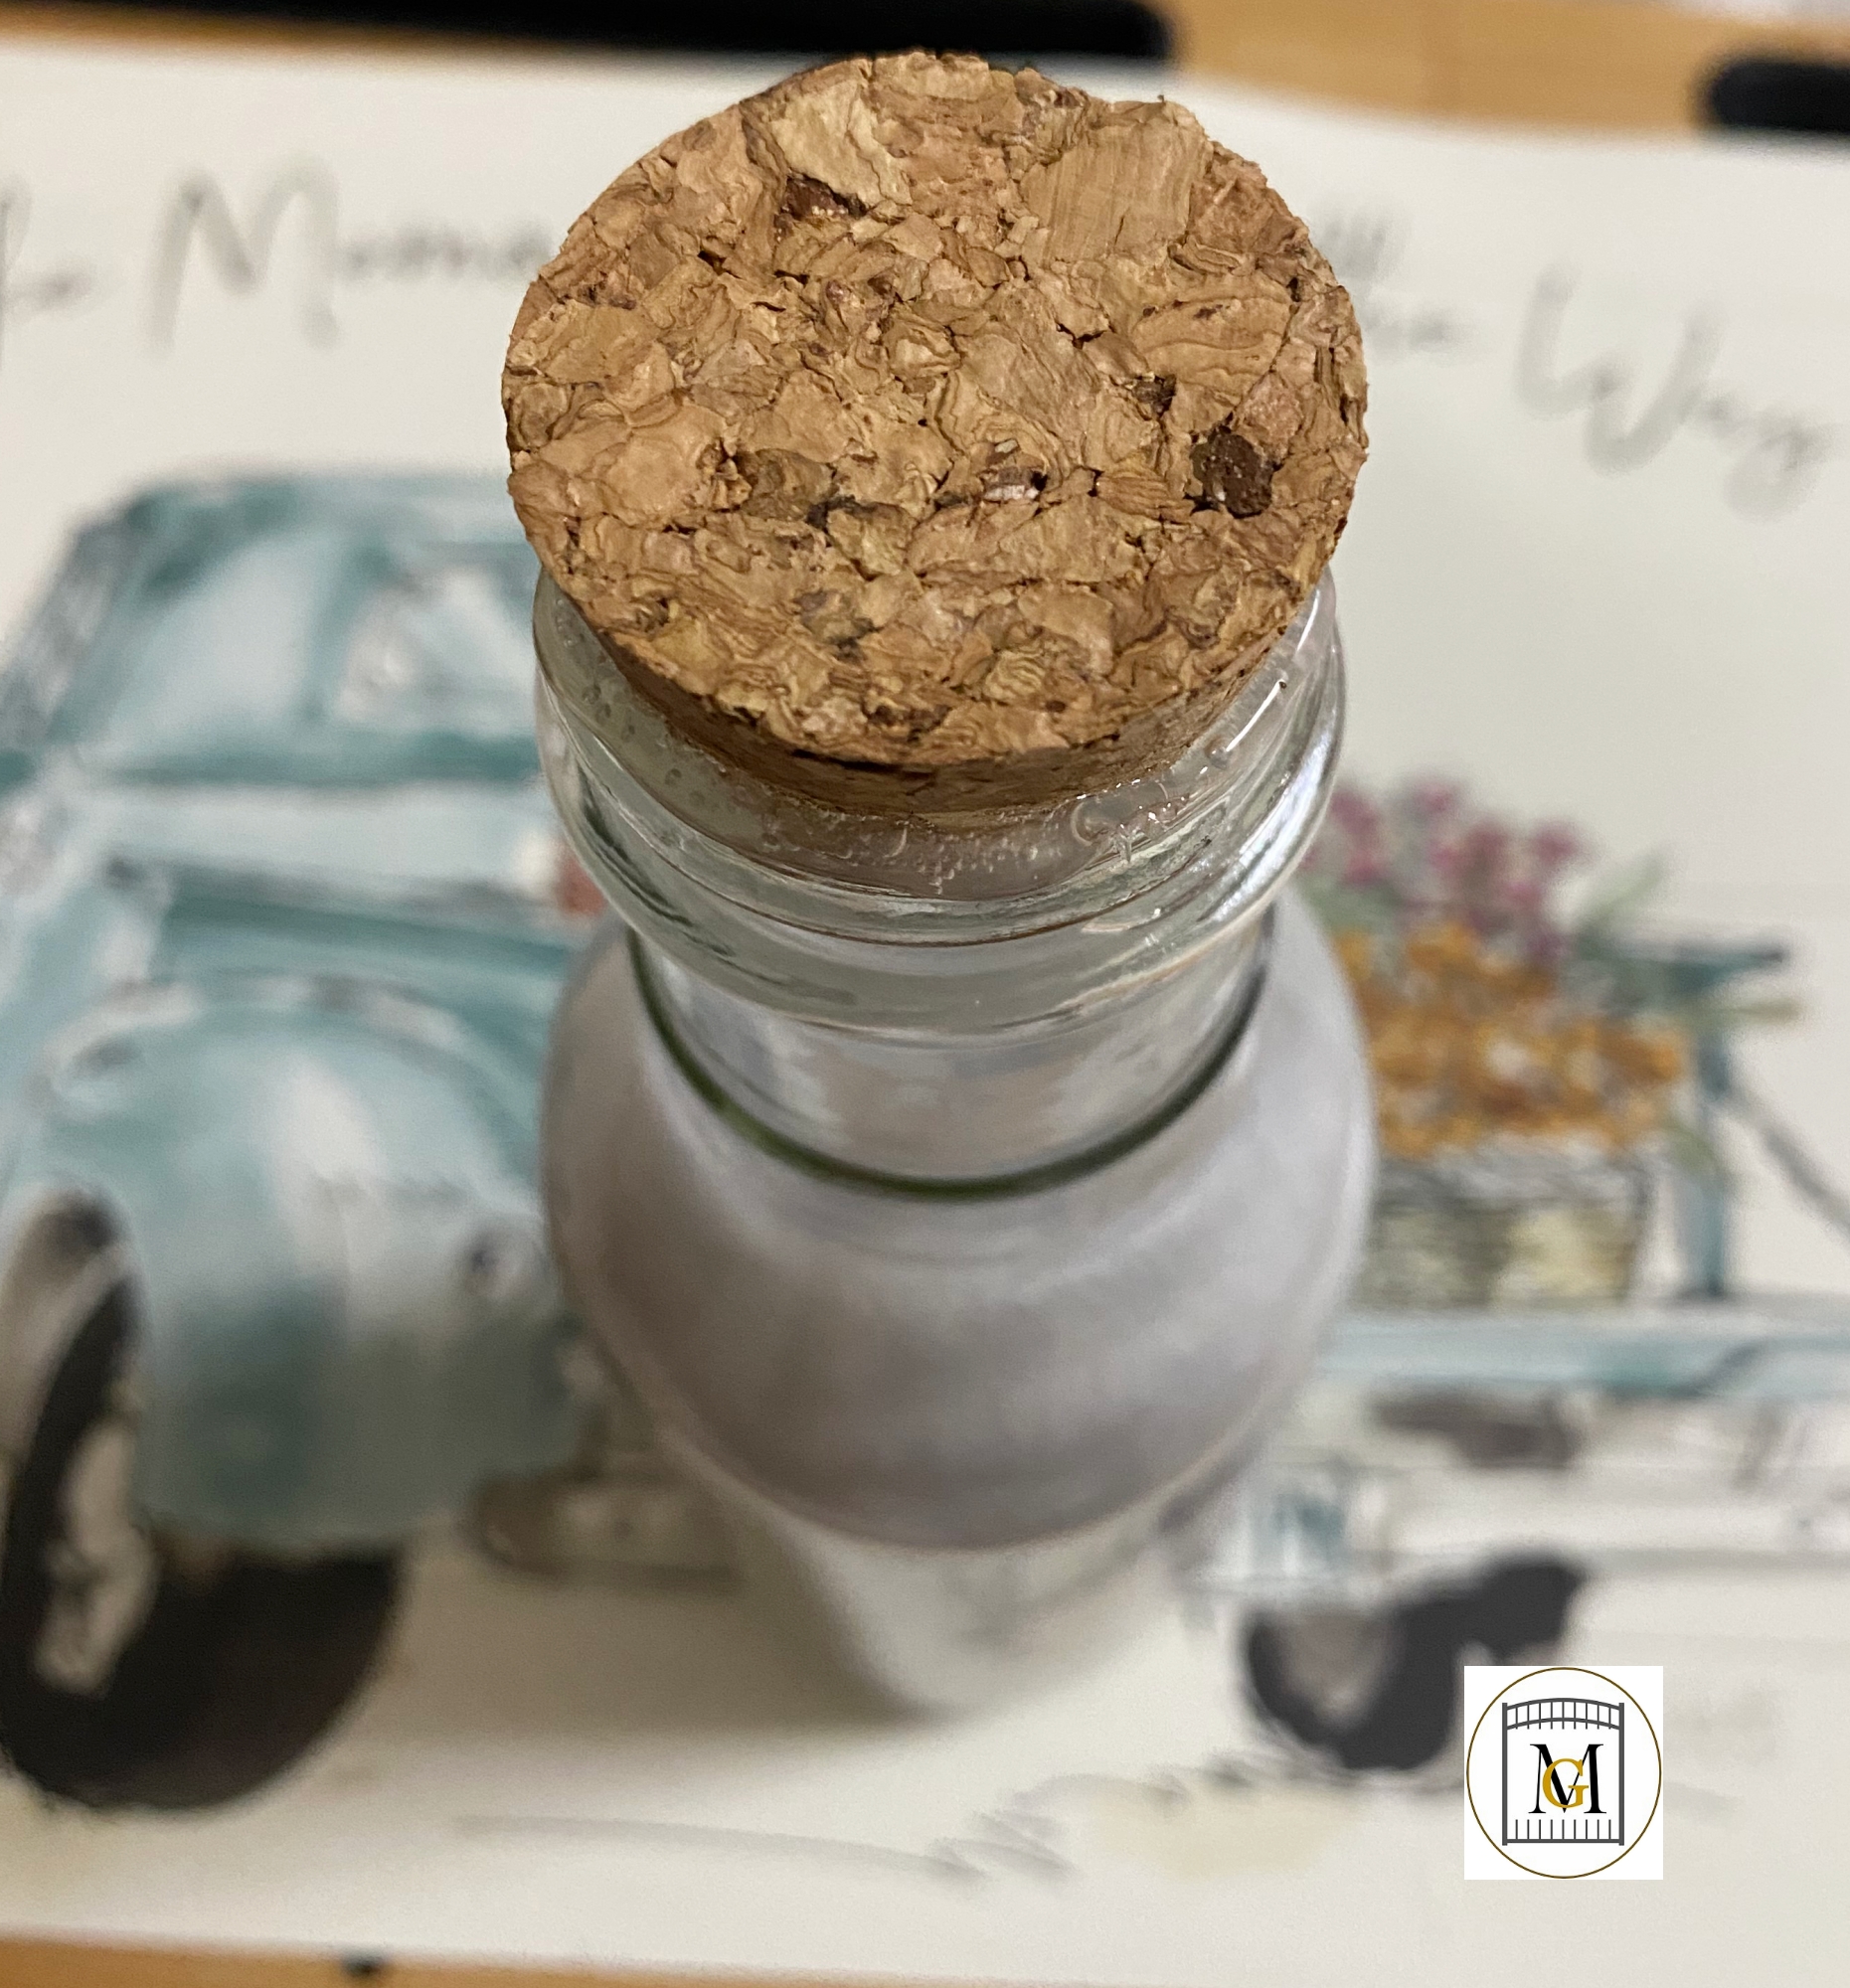
- Fill potion bottle with contents. Then seal with lid or cork. So if you are using a cork, hot glue the cork in place. Also, if you are using mica powder, the mica does settle towards the bottom after a little while. So you have to keep shaking it to keep the swirling impact. If you don’t want to have to shake the bottle (kids love doing this though) as often, you can put the mica powder in a jar/bottle filled with light corn syrup and water and mix well. It also will eventually settle, but at a much slower rate.
To see my available 2-Liter/Wine Bottle Party Label Downloads, click here: https://majorgates.com/product-category/2-liter-wine-bottle-labels/

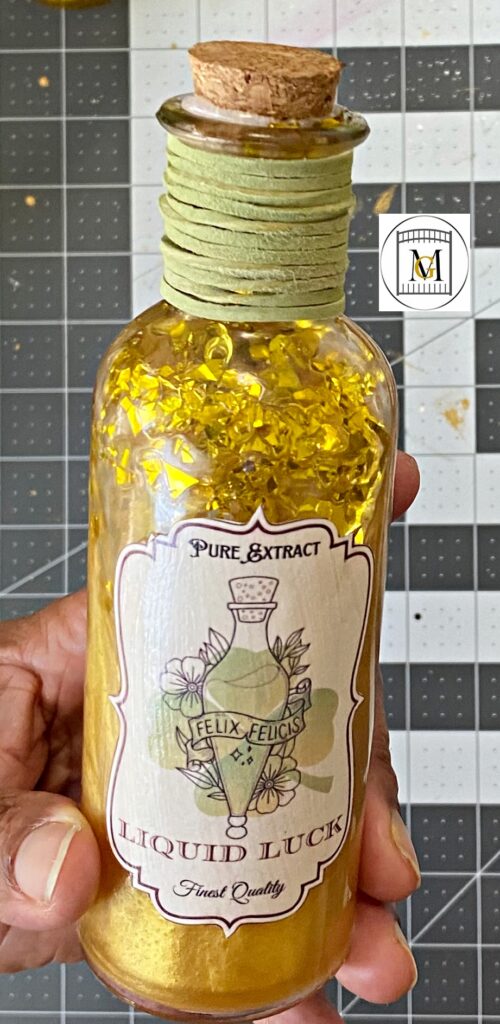
- Print out the labels and hand cut or use a cutting machine. It is best to use card stock or sticker paper for labels.
- Next, apply Mod Podge to the back of the label and then affix to the potion bottle.
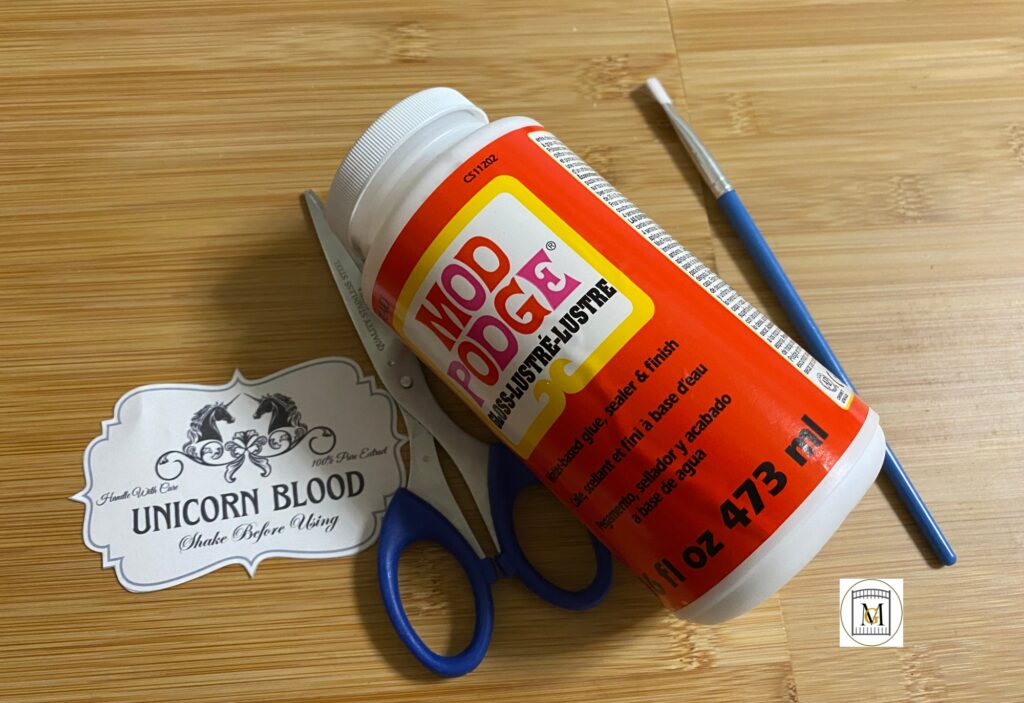
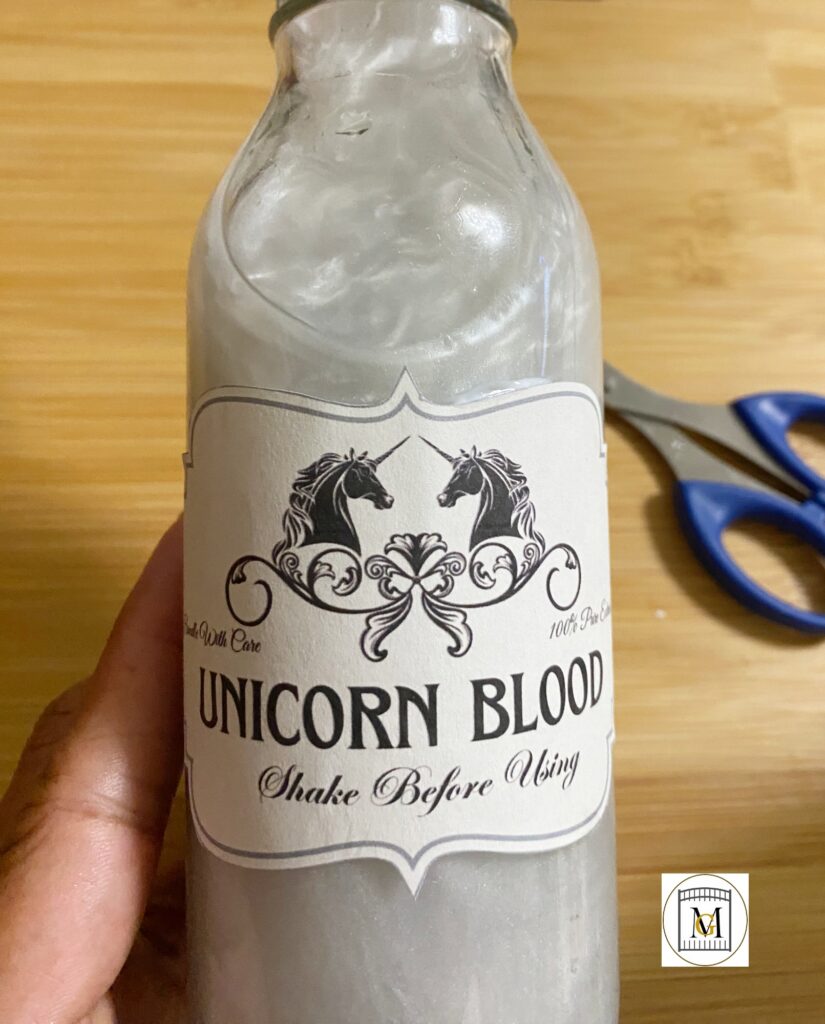
- Allow the label to dry for about 15 minutes and then lightly paint over the label with Mod Podge to seal the label. Wipe off any excess glue with a baby wipe.
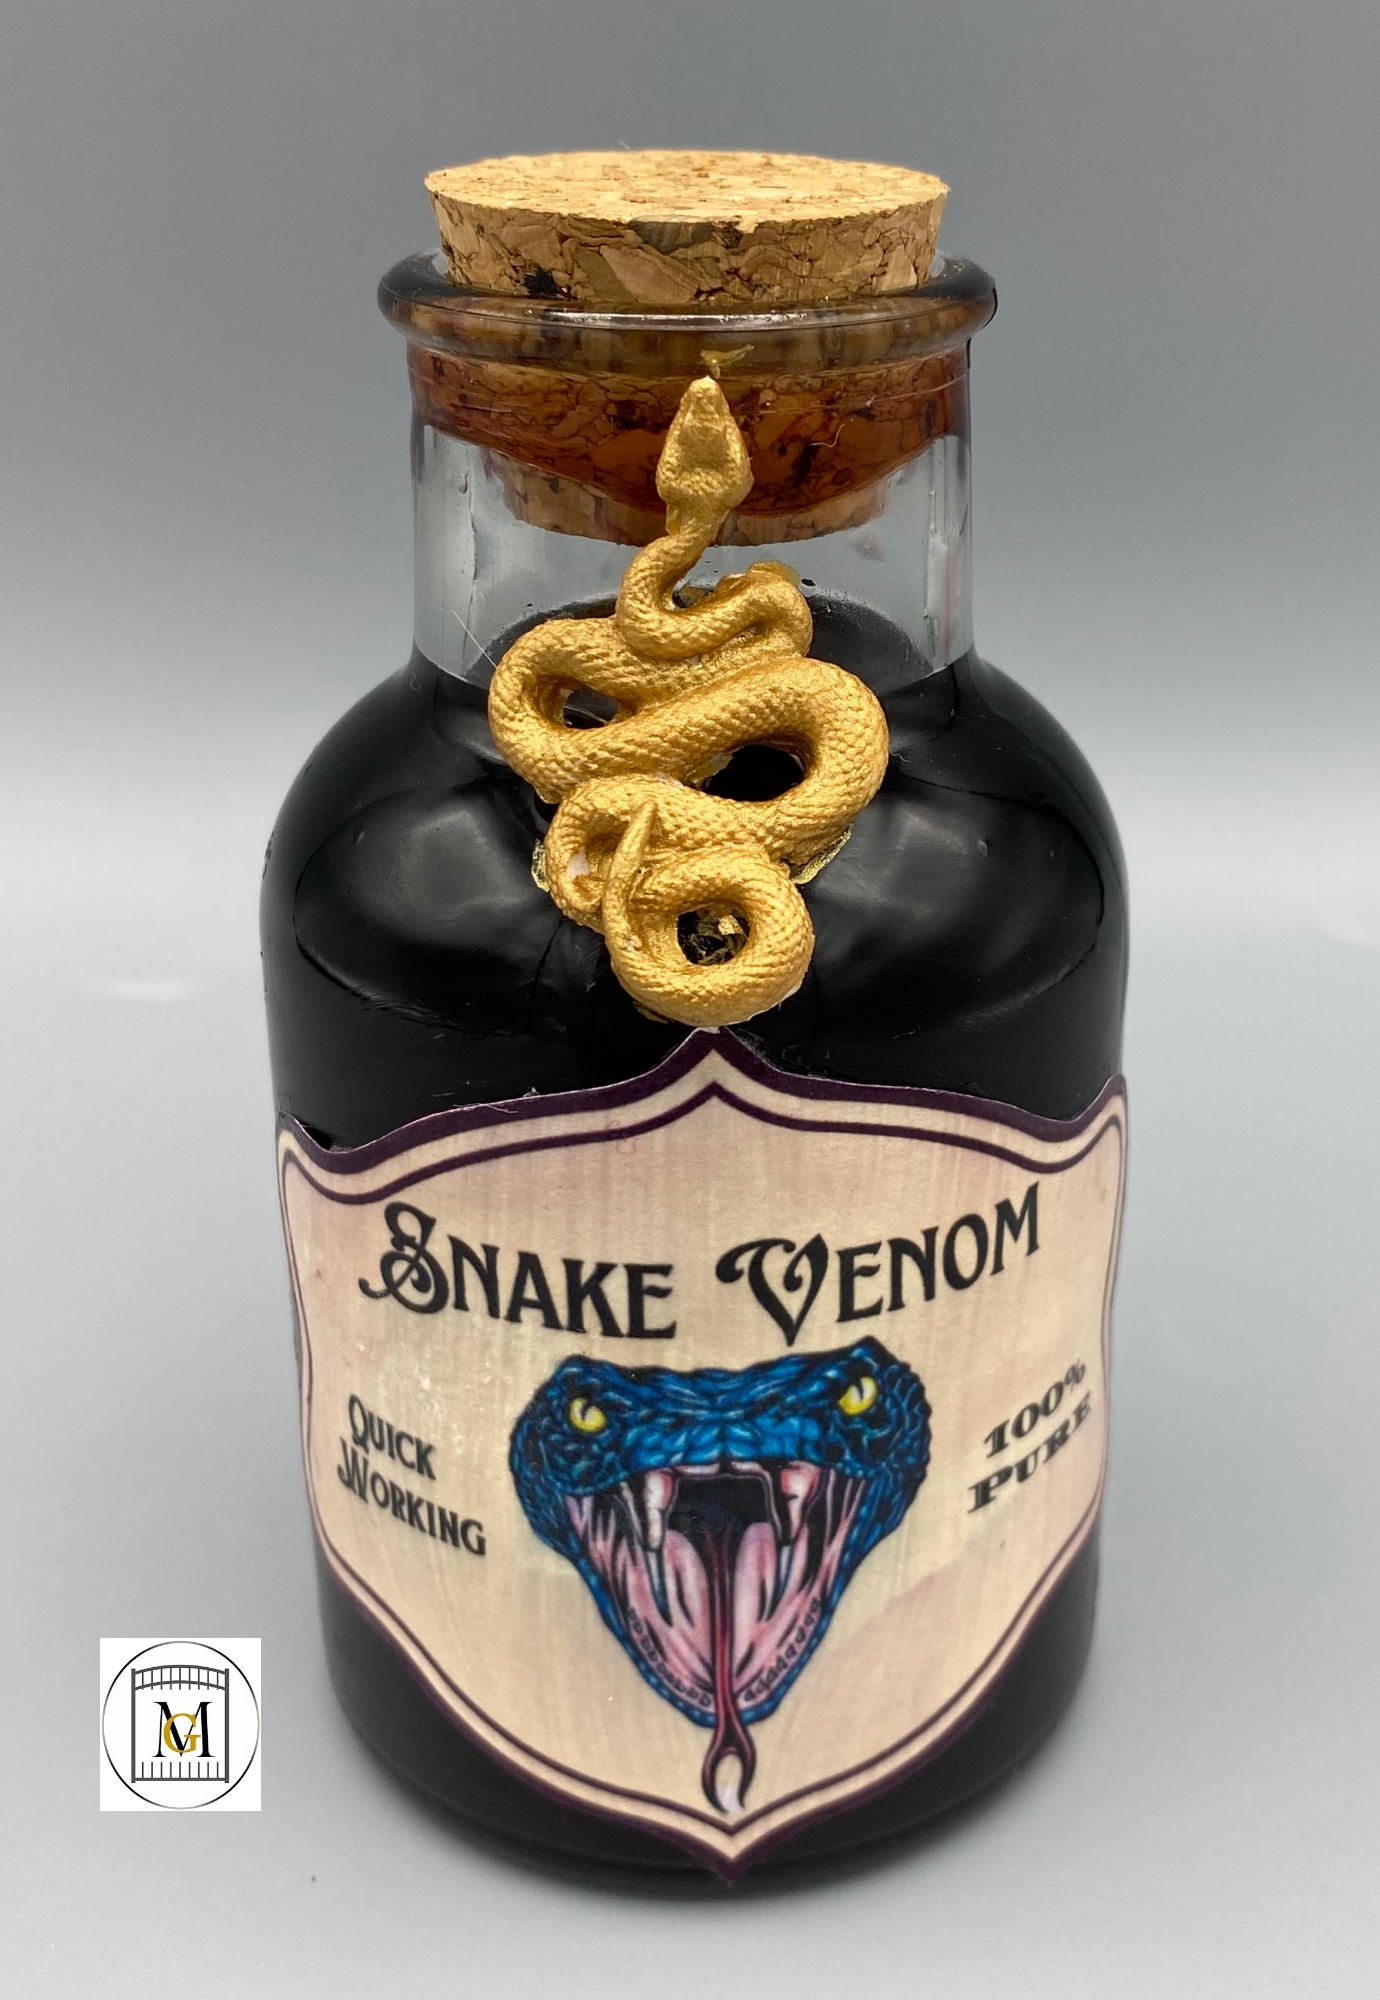
- Then glue on the cork with hot glue.
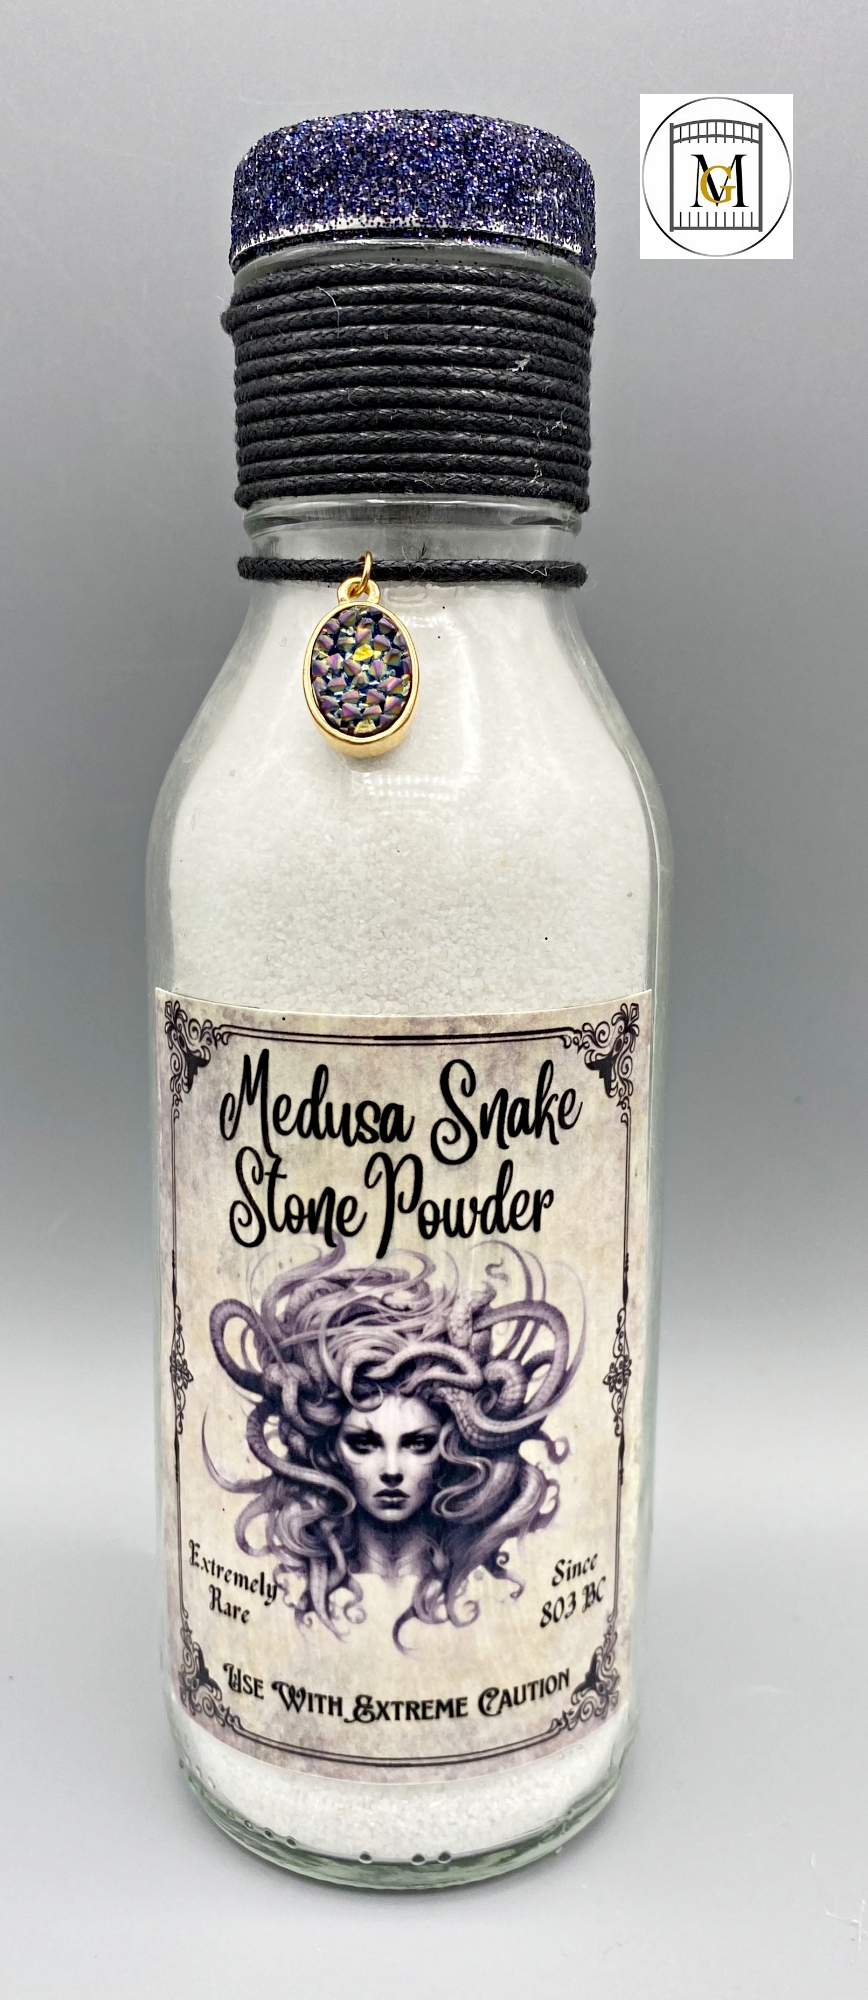
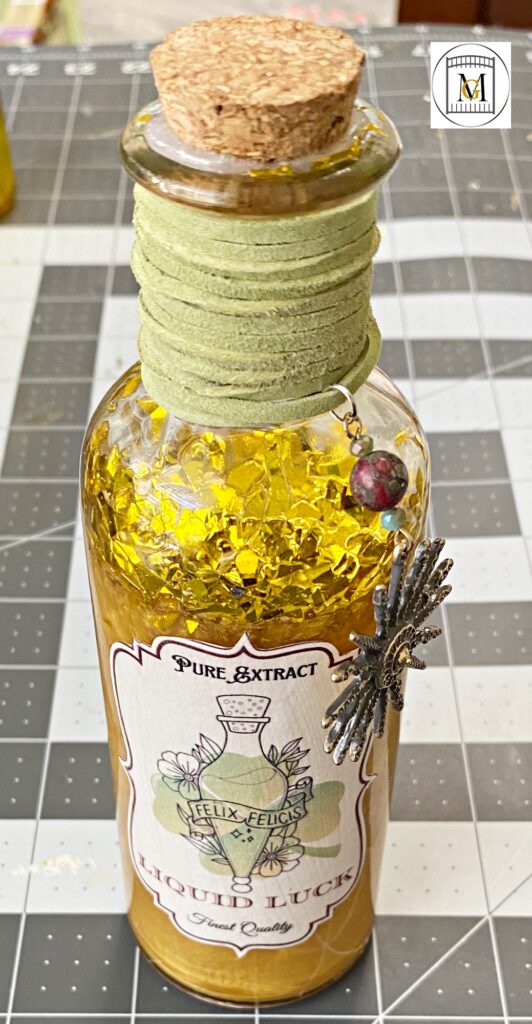
- Now, add any trim cord/rope/ribbon and secure with hot glue.
- Then tie on decorative charm.
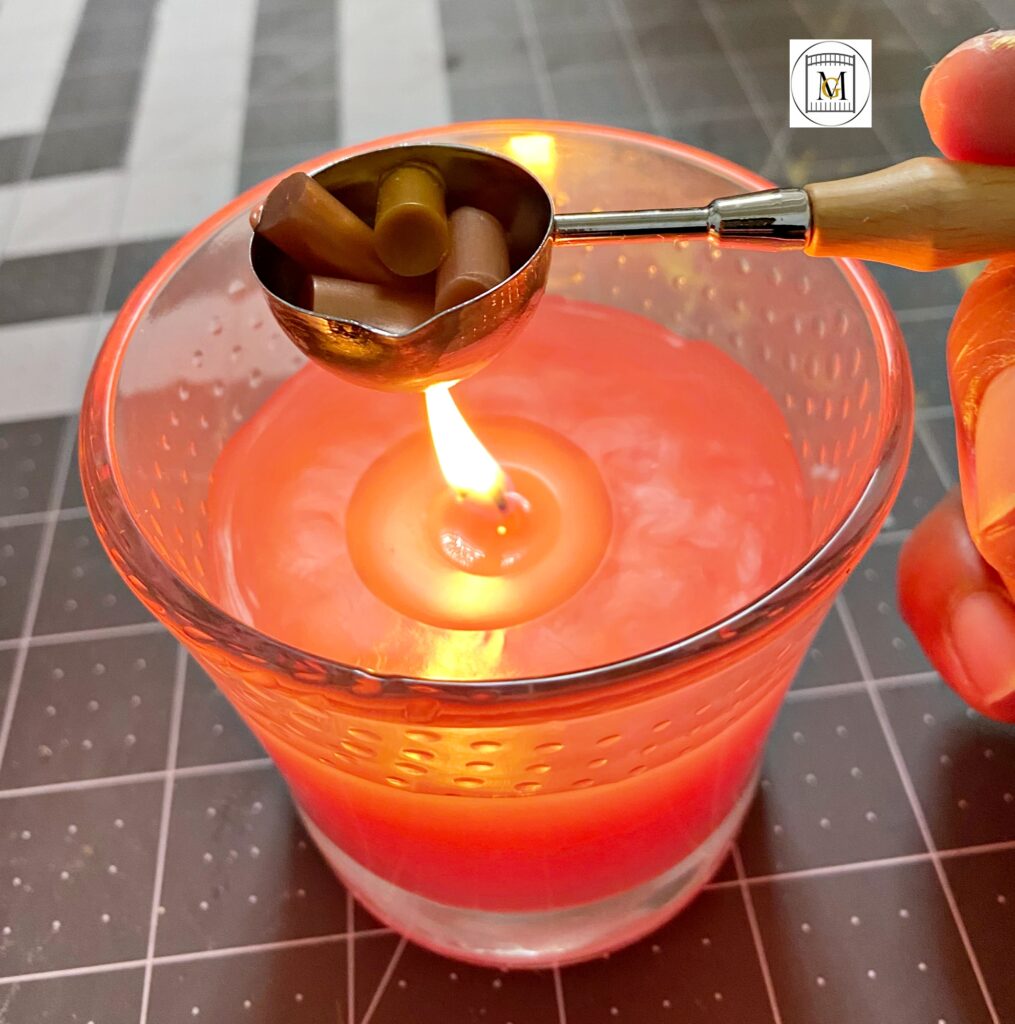
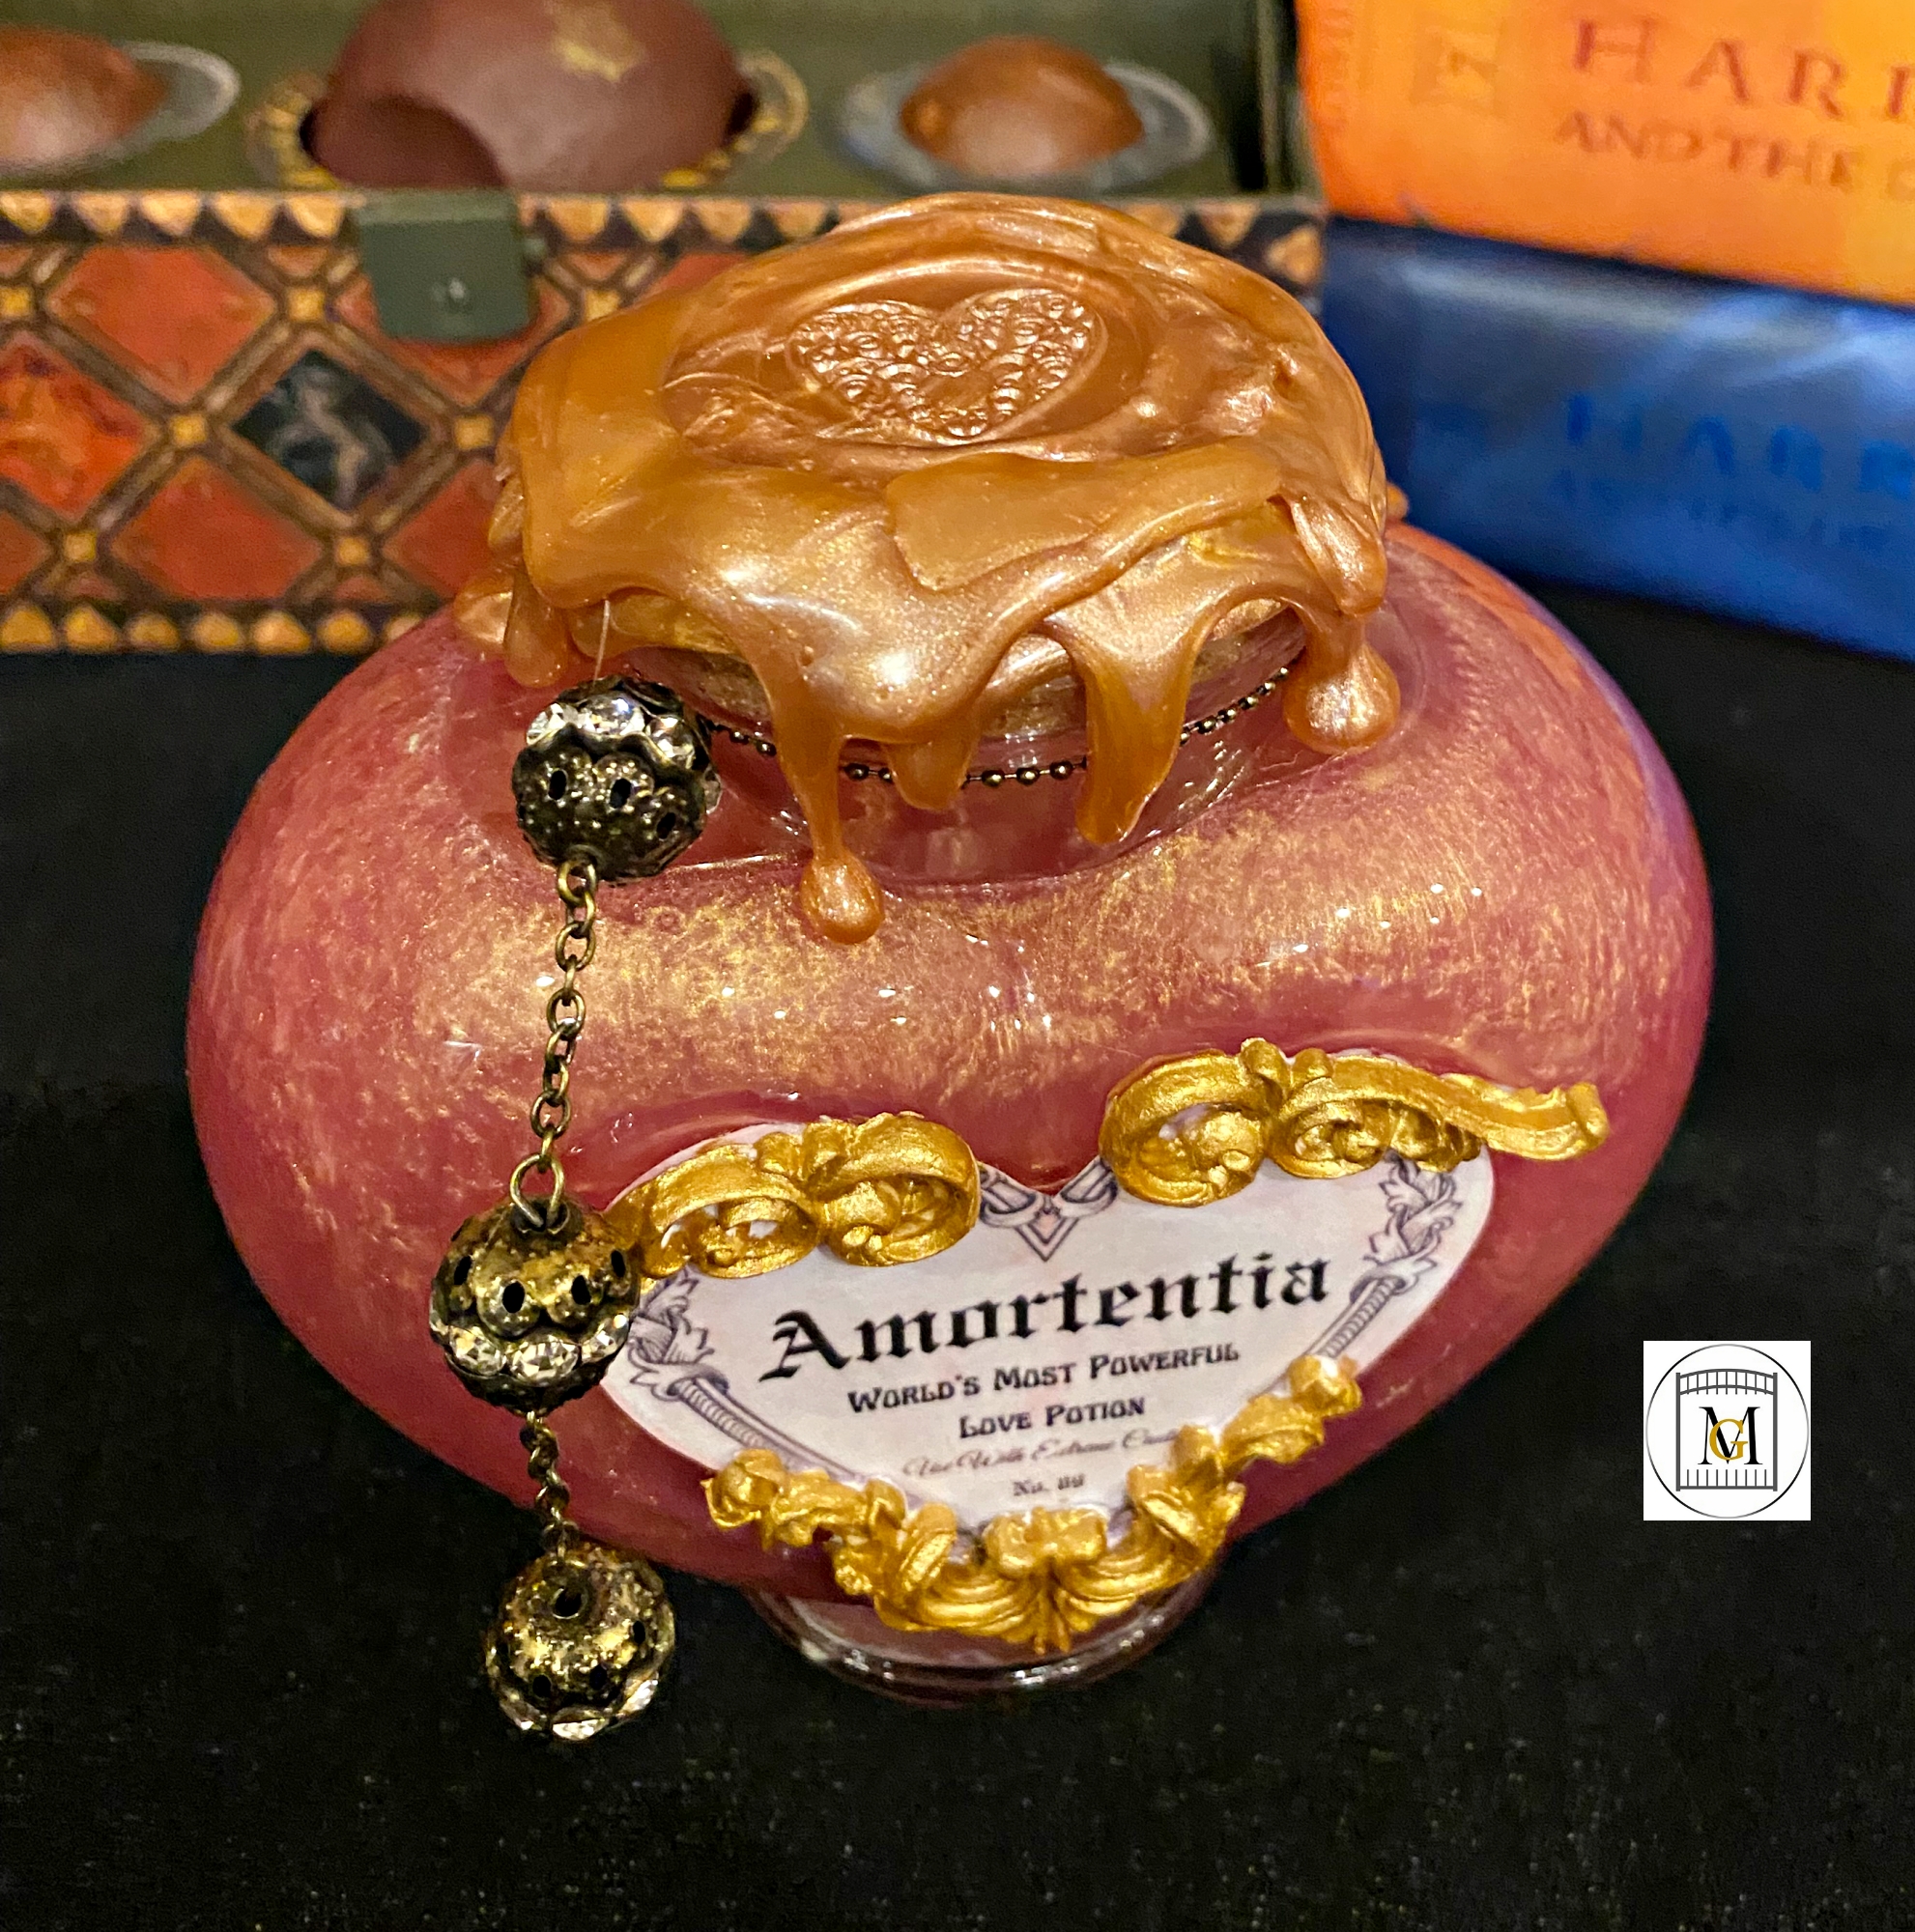
- Last, add hot wax at the top and allow it to drip over in certain places to resemble melted candle wax. You can also use a seal for added dimension and detail.
- In the following example, I added air dry clay embellishments and then painted with gold metallic acrylic paint.
Tips For Potion Bottles
- Corn syrup is sticky, so be sure to mix where you will not spill it. It can also seem to be a little thick. To loosen the liquid, add in some distilled water and mix well (1 ounce or less). So once you add the water, it will take a while to mix but be patient. The mica may settle as well too. I tend to not use any water if I am using corn syrup.
- Make sure you seal the label with Mod Podge because this will protect your label from splashes of water. Also, be sure to paint in a thin layer to prevent the label from smearing.
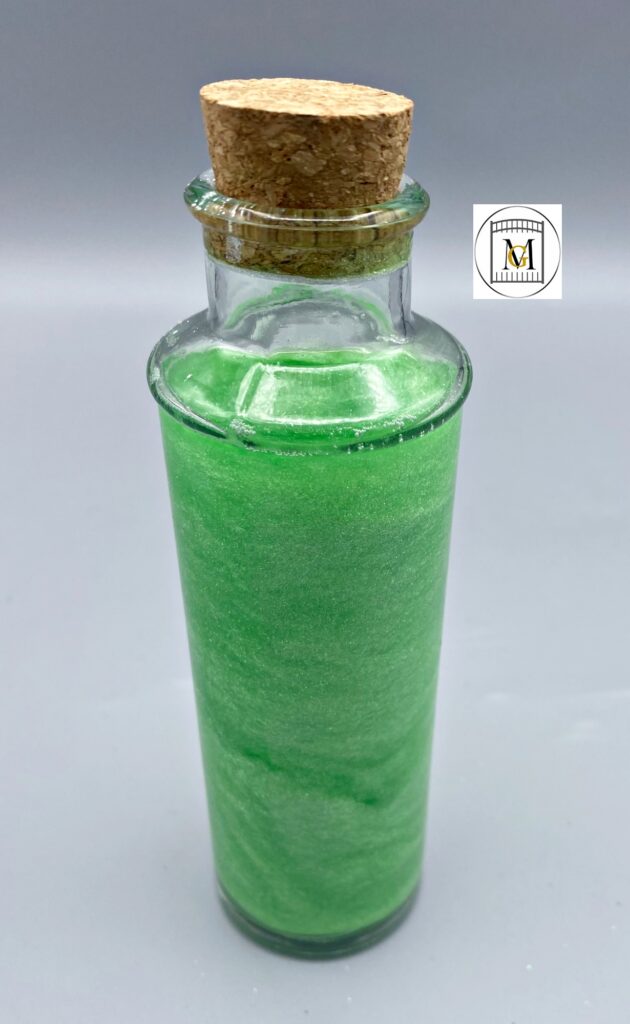
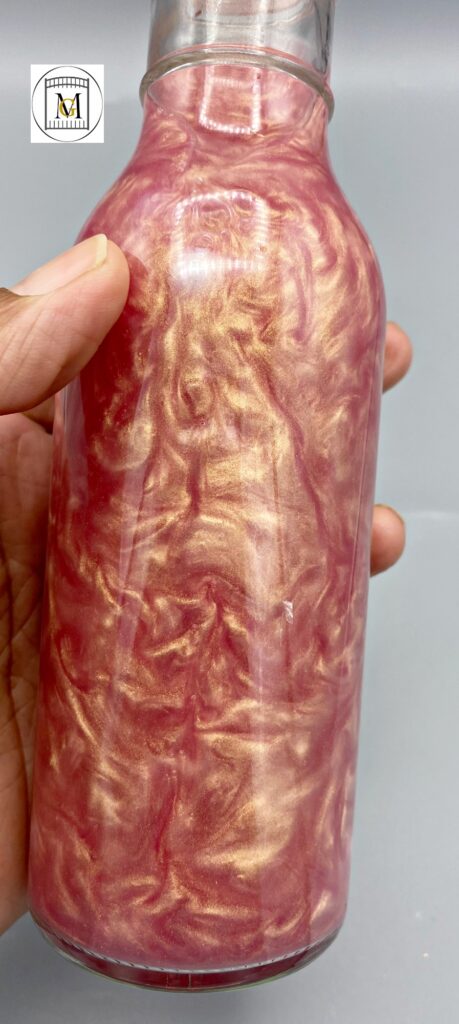
- In order to get the marbled effect in the potion, use mica powder, start with a 1/4 teaspoon and add more if the bottle is larger or you want more swirls in the solution. A little mica powder goes a long way. You can also add 2 contrasting mica powders for an enhanced effect.
- If you add mica powder to water or rubbing alcohol, you will have to shake often because the powder settles on the bottom. It will swirl again upon shaking. So if you want the liquid to maintain the impact from the mica powder longer, use corn syrup.
- Only used distilled water in the potion bottles and not tap water.
- Try adding glitter or confetti to potions, it creates a extra dramatic impact to the liquid potions.
- Store bottles inside the house if possible. Extreme weather will shorten the lifespan of the potion. Also, natural ingredients will deteriorate over time. For example, the coffee grind bottles last about 1 year before the coffee starts to deteriorate. Gel scent beads last about 8 months before they start turning to water.
- Have fun with it and share some of the creative things you put in your potion bottles!

To see my available Jeopardy/Trivia Party Downloads, click here: https://majorgates.com/product-category/jeopardy-trivia/
