Essentials For Paper Scrapbooking
I love to paper scrapbook. My family and friends really like looking at memories from holidays, special times and birthdays. There are essentials for paper scrapbooking that you need to get started. The first time you make a scrapbook, it will seem like it takes forever. I find scrapbooking to be very calming and a way to escape the pressures of daily like while enjoying the memories I am scrapbooking.
Paper Scrapbooking is a commitment craft, you invest in quite a few different items, so I do not recommend to start if you only plan to do one. A digital scrapbook may be better if you are only trying to capture one event in time. In this post I will be recommending some essential supplies to create a paper scrapbook.
The scrapbooks I make are always 12 inch x 12 inch. I like this size because you can get 3-10 pictures on a page depending on the size you print them. So I will be recommending my tips for a 12 x 12 scrapbook.
To see my available Party Label Bundle Downloads, click here: https://majorgates.com/product-category/party-bundles/
Don’t Forget To Follow Me On Pinterest!
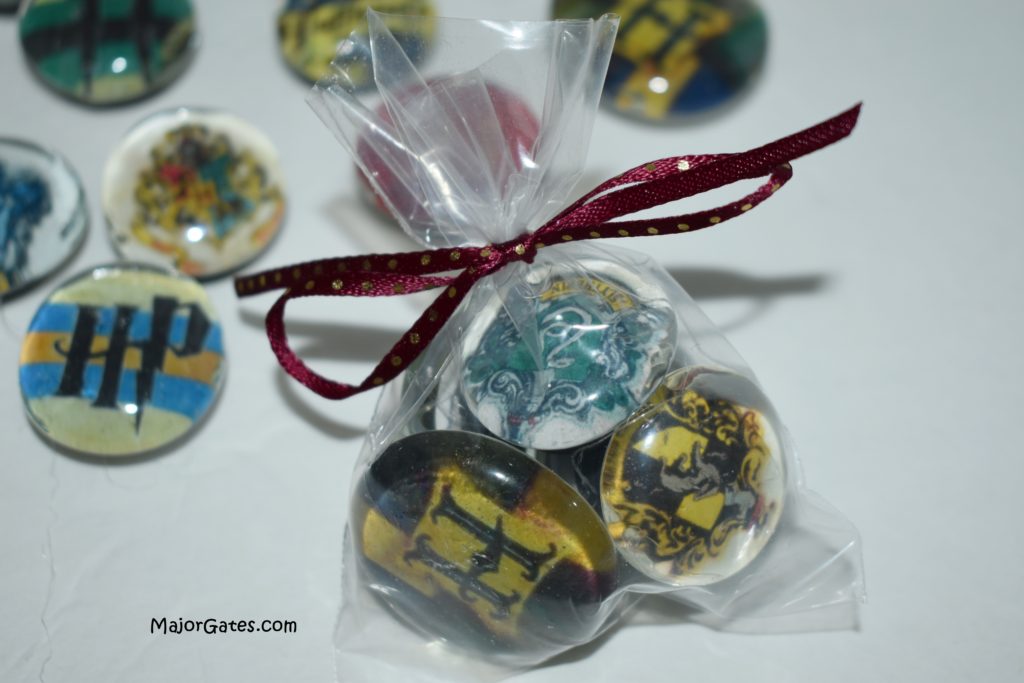
For another great crafting idea, learn how to make decorative magnets here: https://majorgates.com/do-it-yourself/decorative-magnets/
Supplies Needed For Paper Scrapbooking
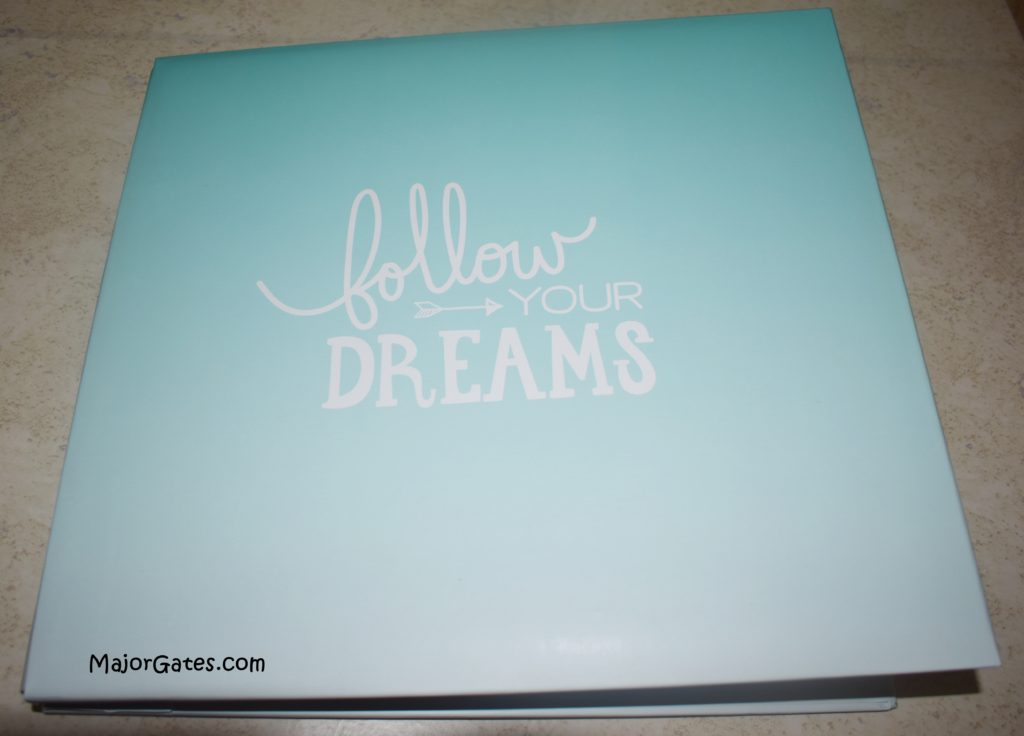
- Scrapbook (12 inch x 12 inch) with pages – most scrapbooks come with 10 insert pages which is 20 scrapbook pages
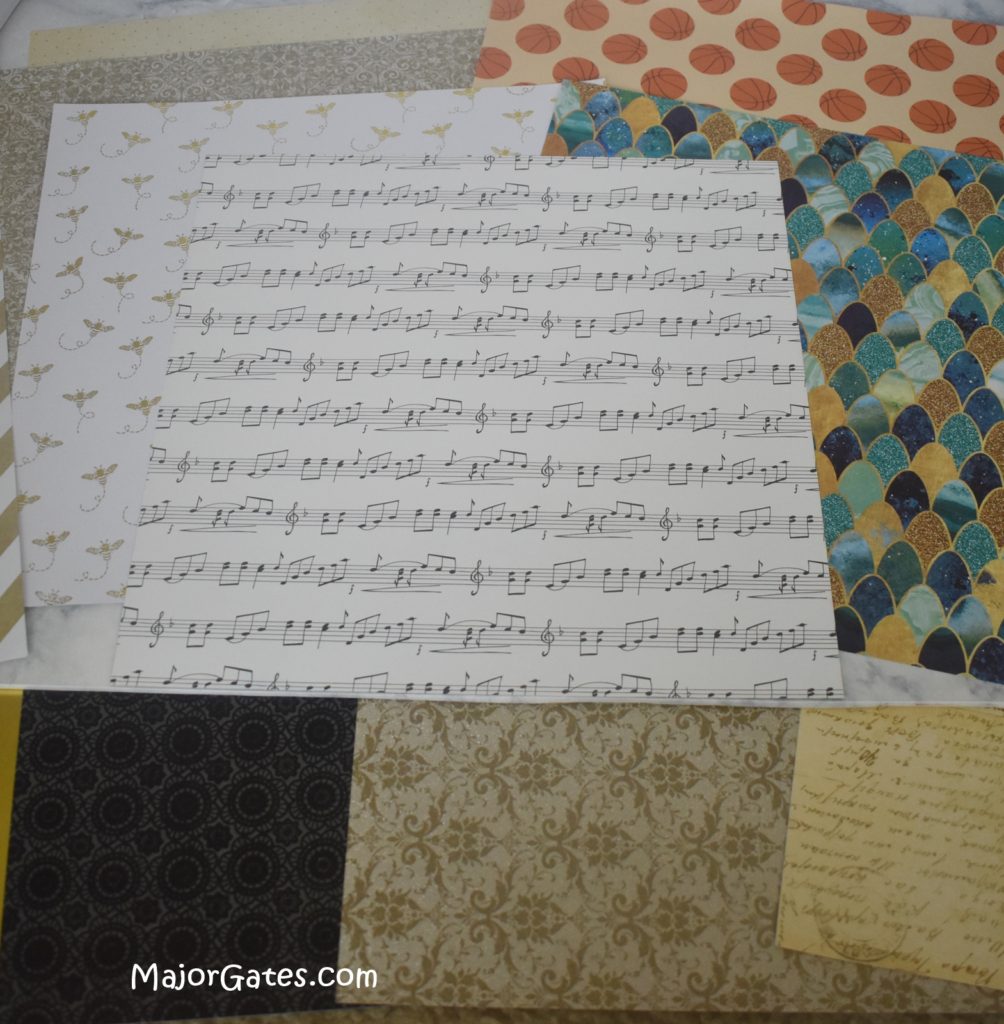
- 12 inch x 12 inch Scrapbook Paper – you can buy in scrapbook paper books and individual sheets on-line or at your local craft store. To start, I would recommend a basic pack like the ones below.
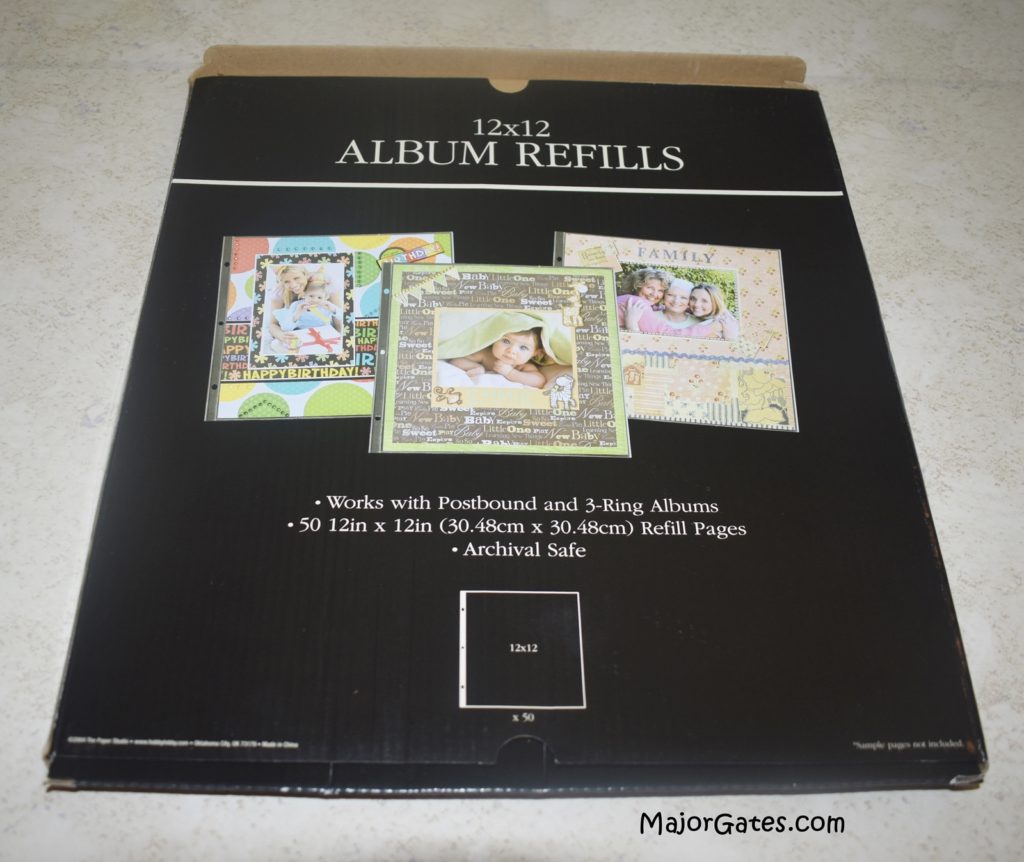
- Scrapbook (12 inch x 12 inch) Refill Pages – If you went on vacation or did a lot over Christmas, 10 pages are not enough and you have to add more pages to keep it all together. So I like to add additional pages to an album so the total event is in one scrapbook.
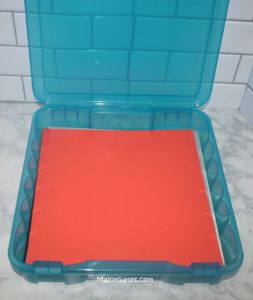
- 12 x 12 Scrapbook Storage Containers – these are great for storing scrapbook paper, stickers and paper books. They keep the pages safe from spills and bends. I have about 10 of these and sort my cardstock paper into categories for easy scrapbooking. You can sometimes find these at Costco, Sams and local craft stores.
- Paper Crafting Scissors – use these to cut around the pictures for a fun look. They add different edges and dimension to the page. You can also use these for other paper crafts and the possibilities are endless.
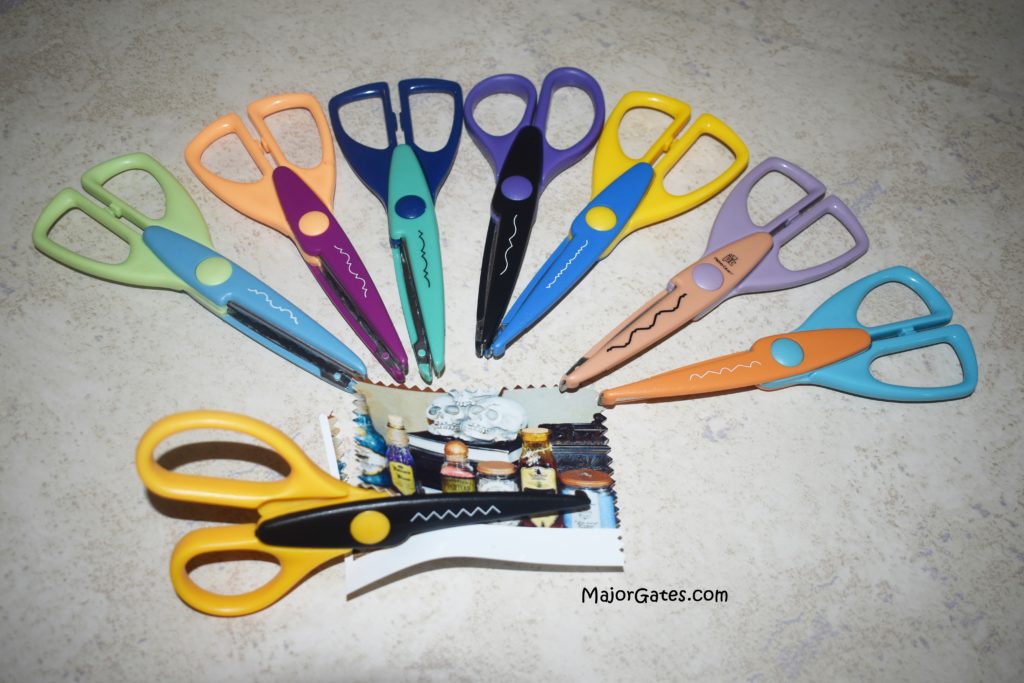
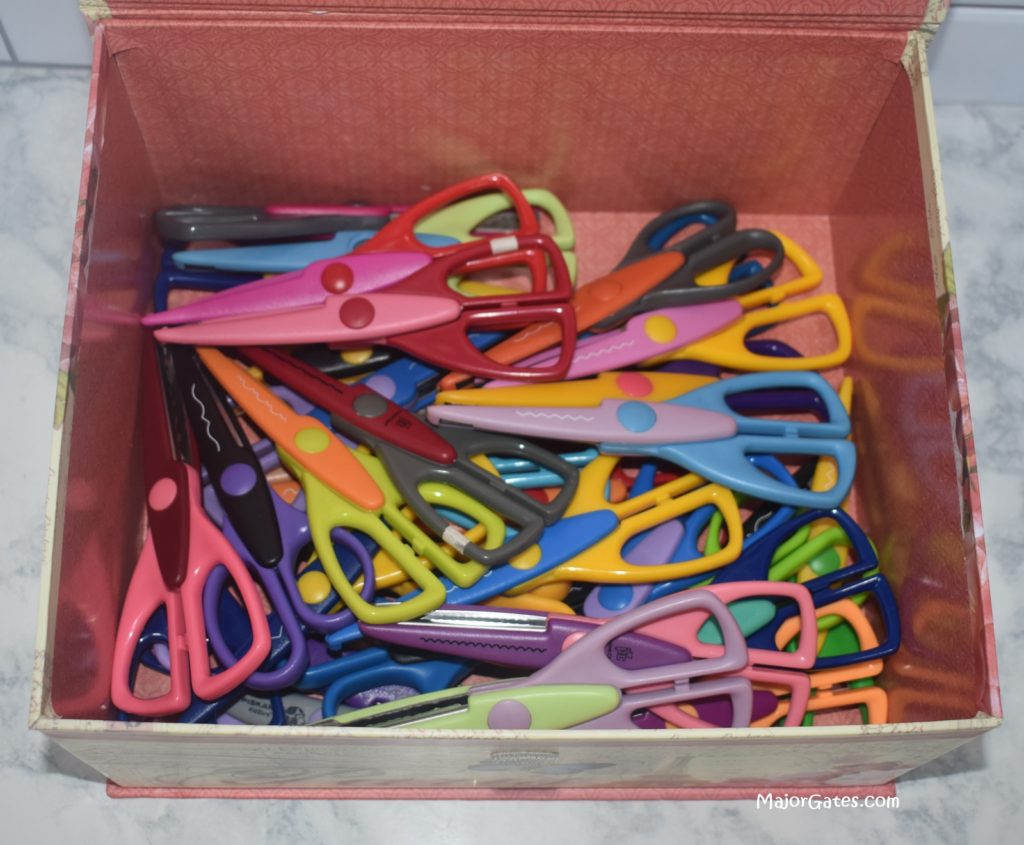
- Regular Sharp Scissors – I like using multiple sizes for when I print images to card stock and have to cut them out. You need the small scissors to cut small images that you print on card stock.
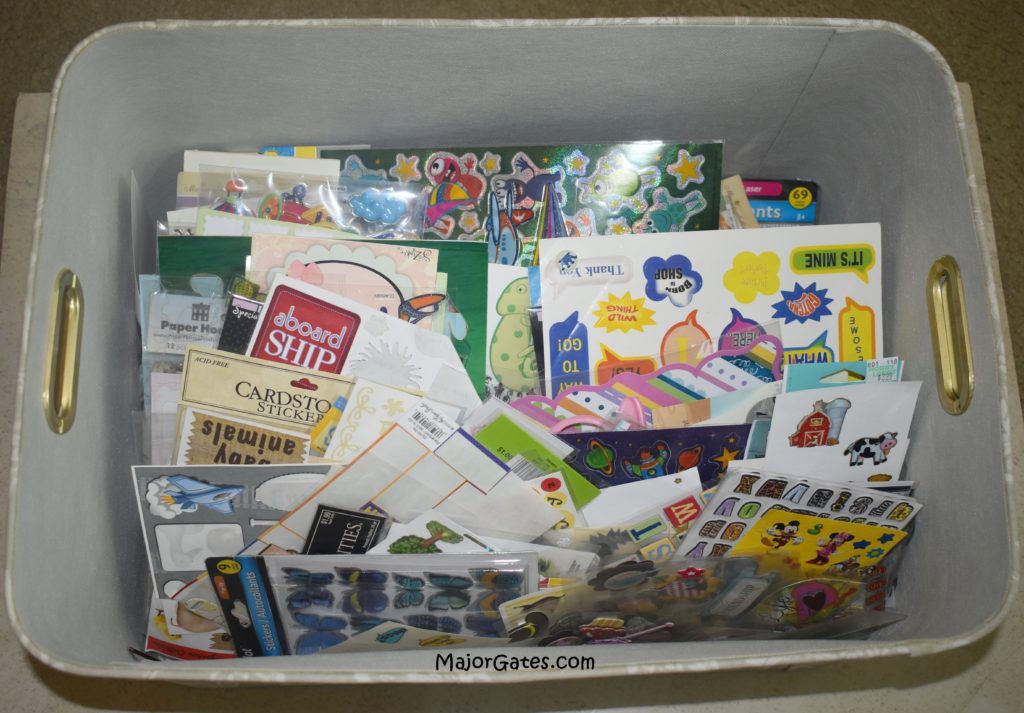
- Stickers – I buy stickers on-line, at the local dollar store, local craft store when they are on sale, anywhere. I save them in huge bins until I need them.
- Glue Sticks – use to adhere photos and hand cut images. Make sure the glue stick is photo safe. Also, only apply the glue to edges of the photo so the glue does not bleed through.
- White Card Stock – I use card stock to print images that I can not find in the theme I am scrapbooking. Then I hand cut them and glue with a glue stick on the scrapbook page.
- Color Photo Printer – before purchasing a printer, check the prices on the refill ink cartridges. I select printers that have reasonable refill cartridge prices even if I have to pay a little more upfront for the printer. I end up saving in no time.
- Photo Paper – I like HP Gloss Premium Paper because the photos don’t bleed and the quality is similar to having them printed. Epson also makes a good photo paper if you can’t find HP.
Tips For Paper Scrapbooking
- Gather mementos for the occasion such as tickets, pamphlets, bracelets, certificates, package wrappers, etc.
- Use a photo editing software. This will allow you to add flash to photos, add text and print multiple photos to a photo page. I use the free photo software PhotoScape , for more information click here: http://x.photoscape.org/
They have a paid option but the free option works for my needs so far.
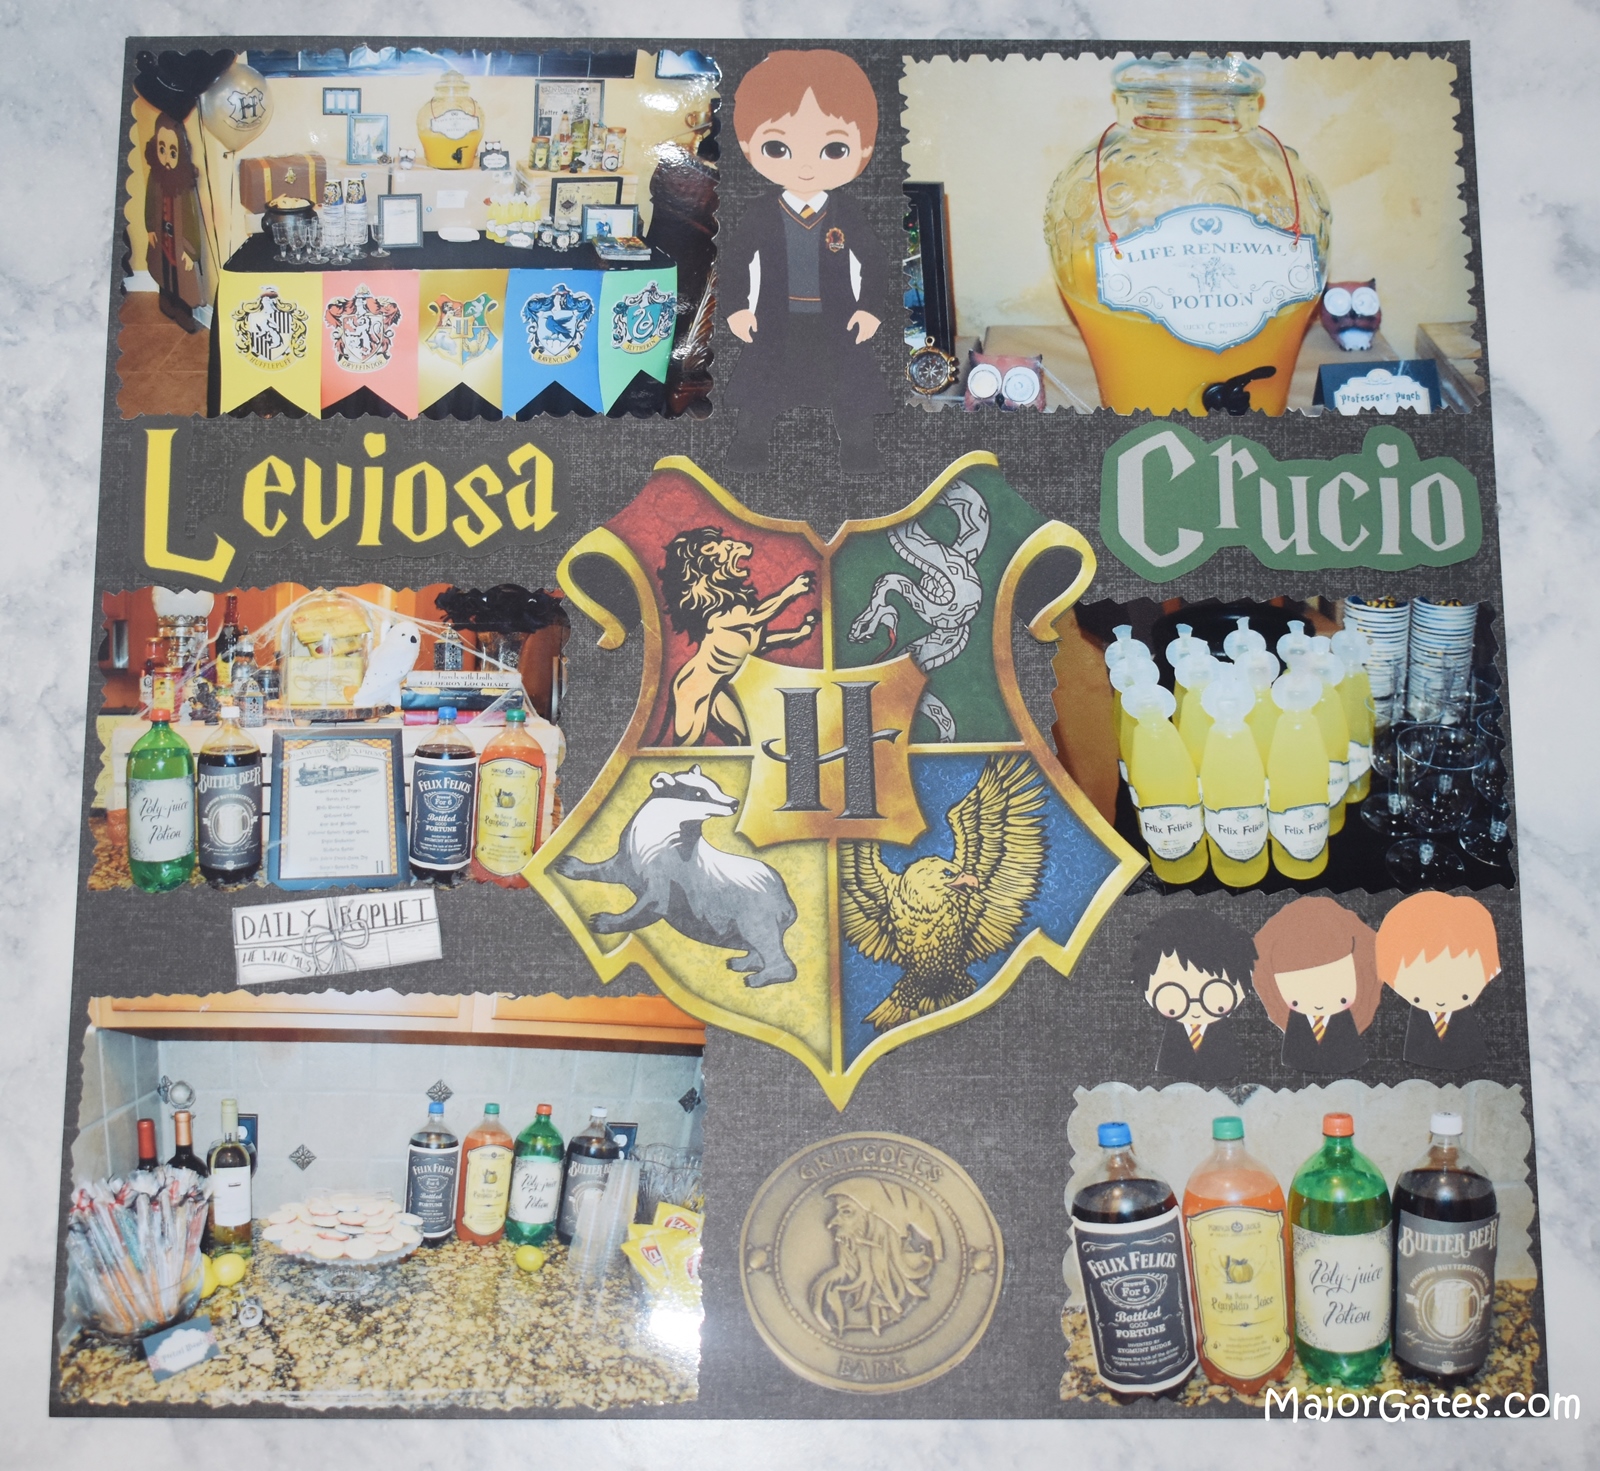
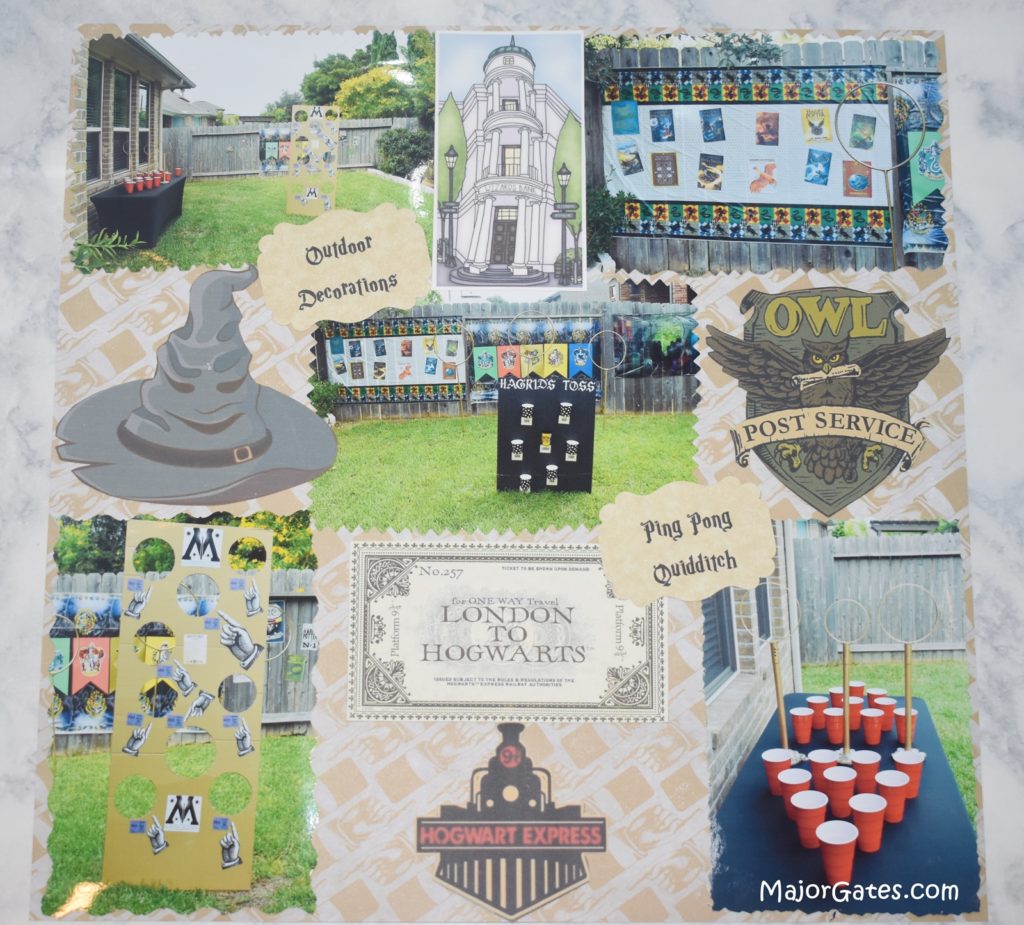
- Search the internet for images, logos and clip art. Then you can hand cut out exactly what you want if you can’t locate stickers. Once you find and cut the image, use a glue stick to affix to your page. For Example, for the scrapbook page below, I could not find the stickers but found the images on-line. I then hand cut them out and put them on the scrapbook page.
Note: Any images you find on-line are for personal use and not for re-sale. You have to get permission from the owner of that image if you plan to sell something from an image you used on-line.
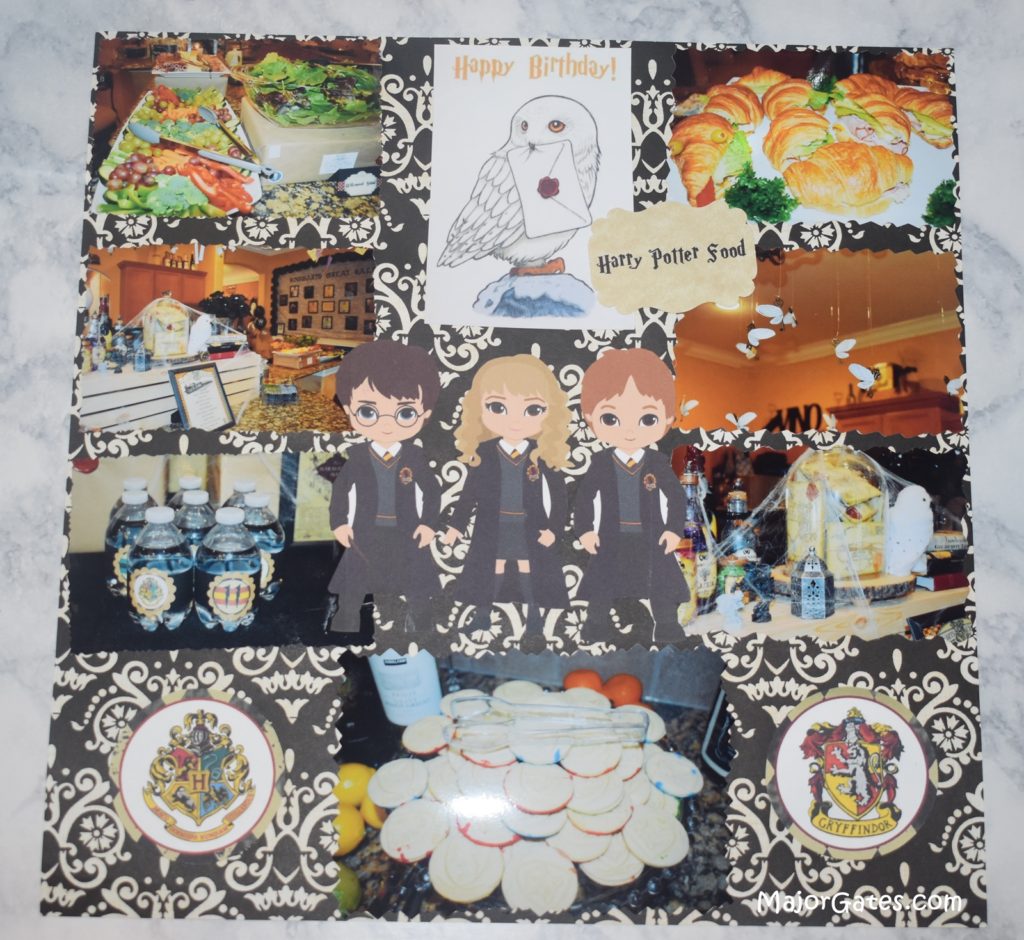
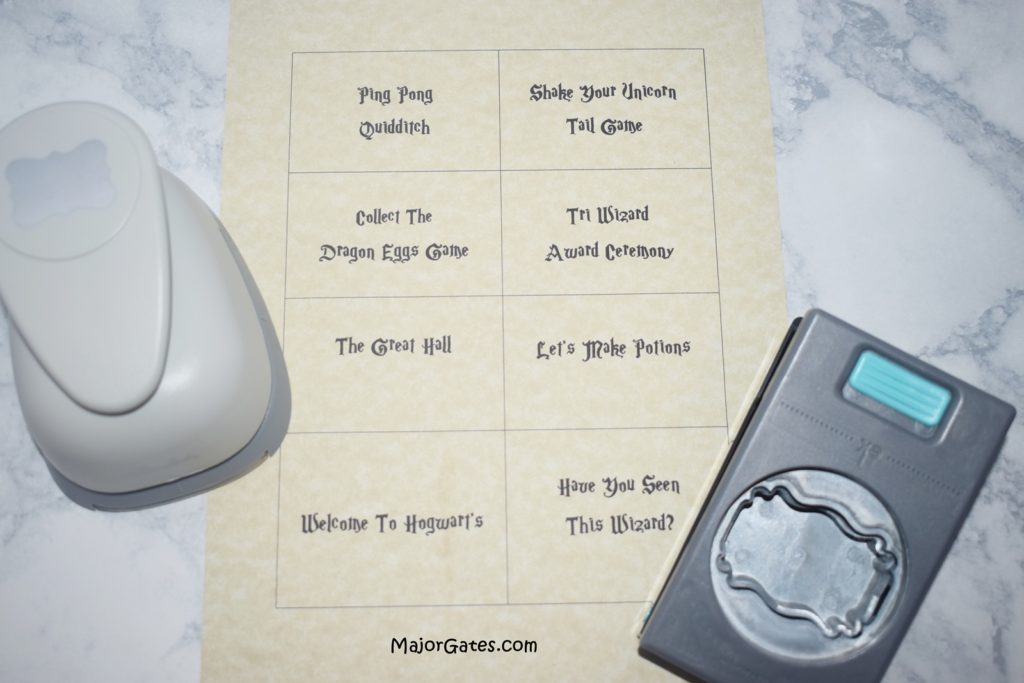
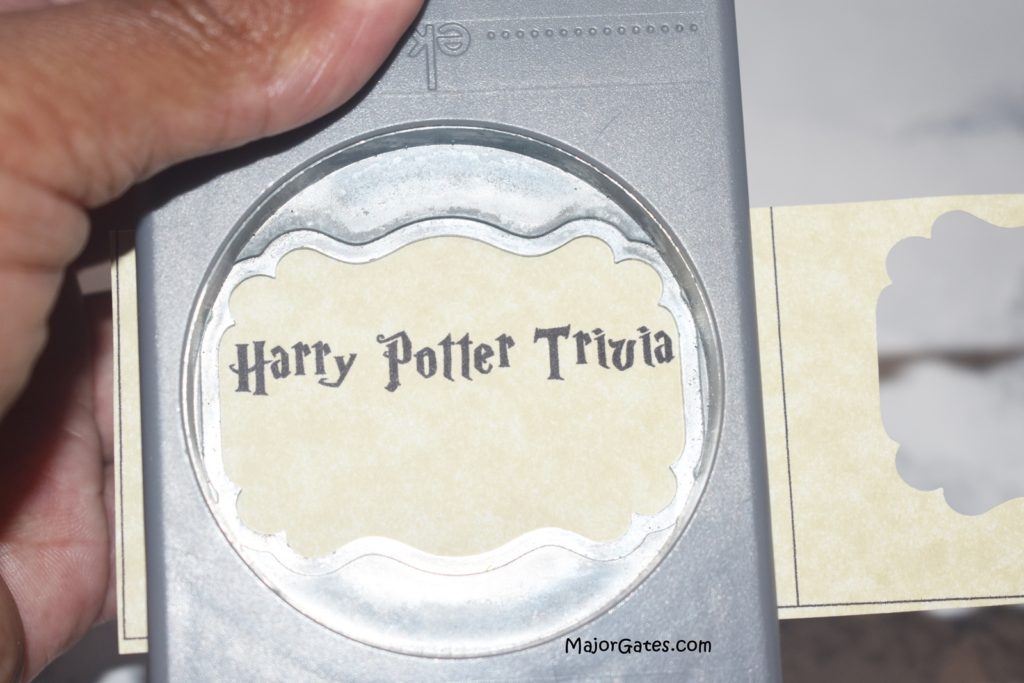
- Add craft paper tags that highlight something special about the page. Use a craft punch to punch out in nice shapes.
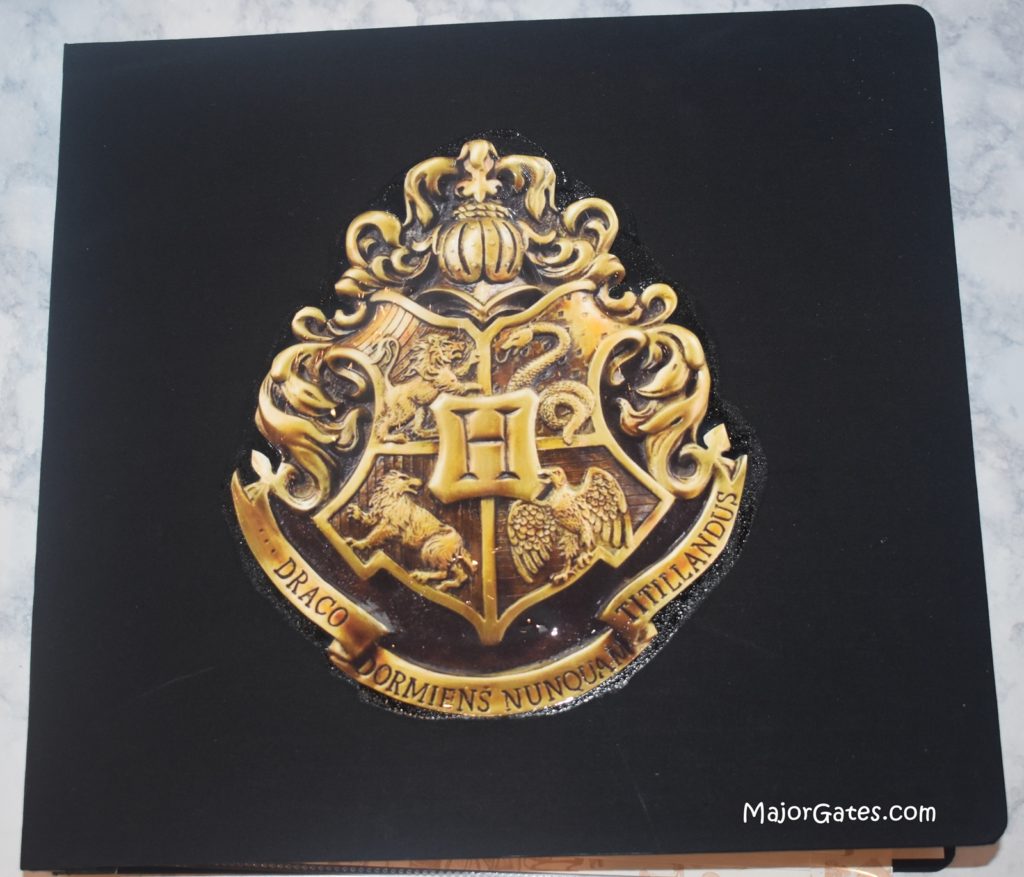
- Consider making your own Album cover. Themed scrapbooks can get a bit expensive. Buy a plain colored scrapbook and print on white card stock the image for the theme of the scrapbook like: Frozen, Mickey Mouse, Hogwarts, Star Wars, Mermaid, etc. Next, apply with Gloss Mod Podge to seal and protect the image.
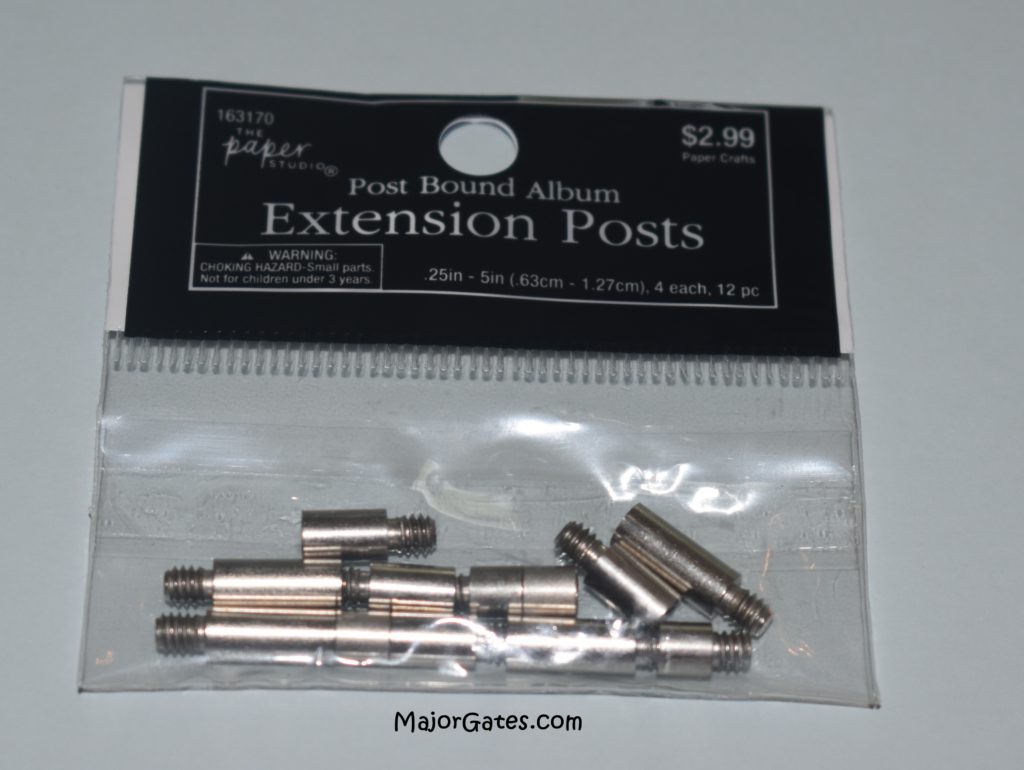
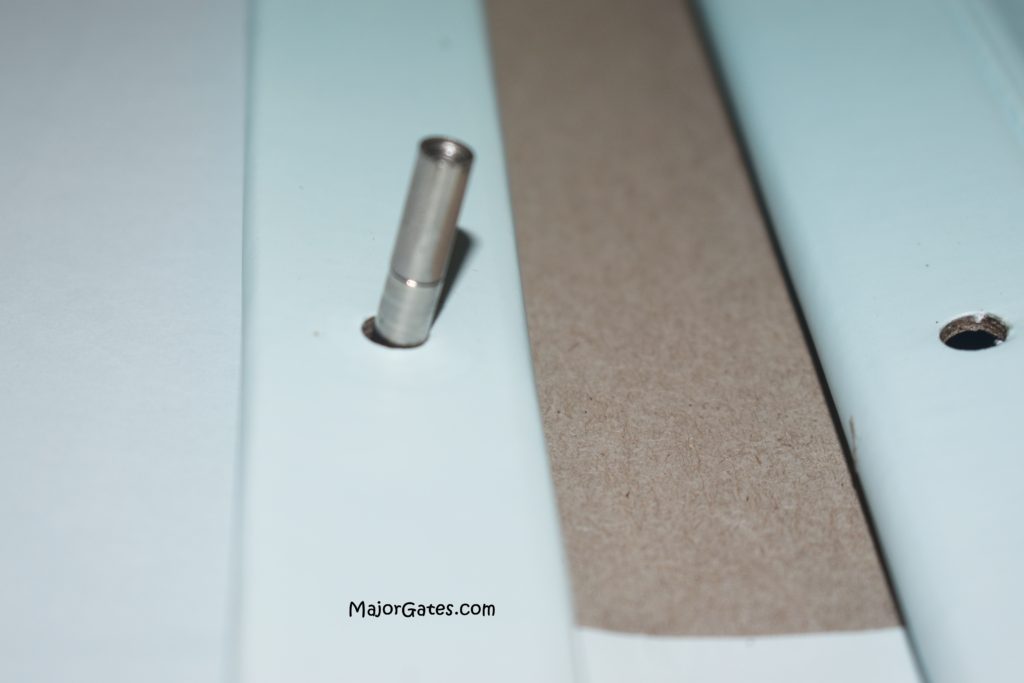
- If you decide to add more pages to the scrapbook, you will need expansion posts, so the volume of the pages can fit in the book. To add the expansion posts, take apart the scrapbook and remove the pages with a screwdriver/flat head. Then add the expansion posts and add the number of pages you want.
I usually scrapbook all my pages first and then count the pages to add the exact amount of refill pages. For example, if I count 46 scrapbook pages, I will need 23 refill pages since 2 fit per page slip. The scrapbook comes with 10 refill pages, so I add 13 more with the expansion posts.
- Last I would recommend keeping cards, invitations, menus to scrapbook. Make sure you count these as pages as you add refill pages.
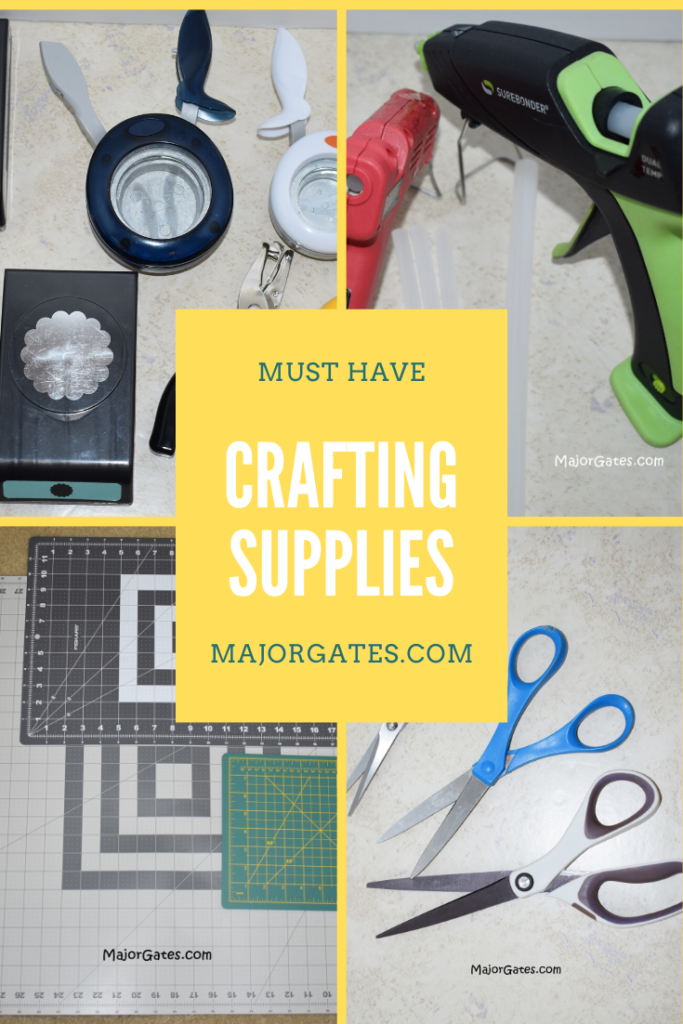
To learn more about what you need for general crafting, see my post about Crafting Must Haves here: https://majorgates.com/do-it-yourself/crafting-must-haves/
To see my available Jeopardy/Trivia Party Downloads, click here: https://majorgates.com/product-category/jeopardy-trivia/
