Restaining A Front Door
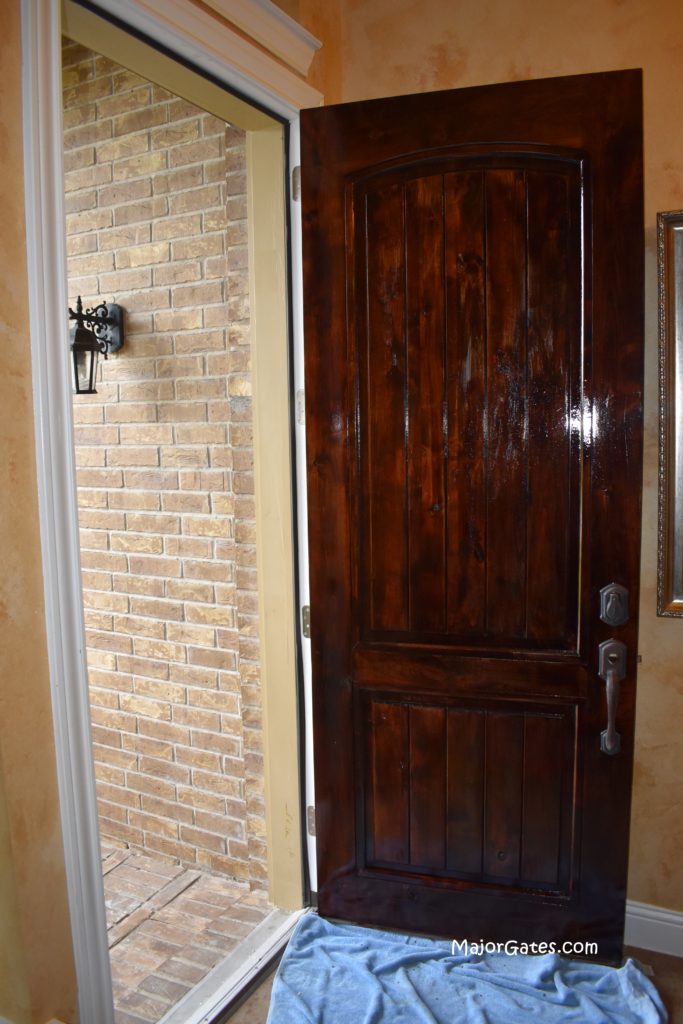
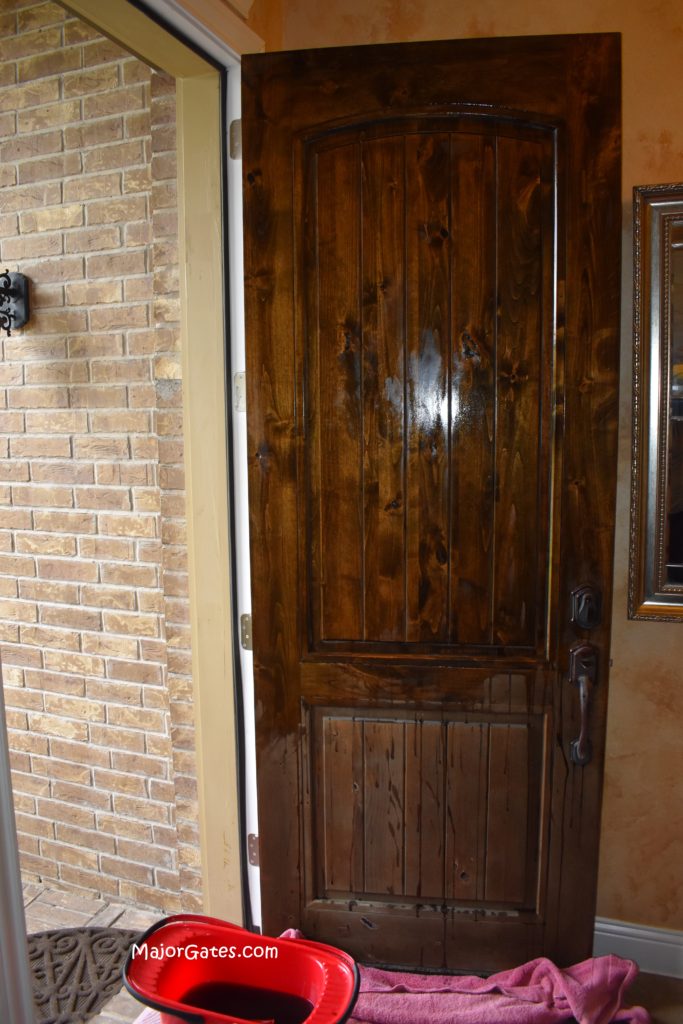
If your front door is looking dull and worn from the UV rays of the sun, it may be time to restain it. Restaining a from door is pretty easy and can save you hundreds if done properly. This total project takes 2 days to accomplish if you start early in the morning. If you live in the South or do this when it is humid or the summer, the project will take a little longer. The more humidity, the longer it takes the door to dry. So I recommend, you wash and sand the door one day and then stain in the morning on the next day.
I was intimidated with restaining a front door myself, then staying at home for Covid-19 gave me the courage to give it a try. The results turned out better than I hoped. It was easy and the drying takes the bulk of the time. The application was simple.
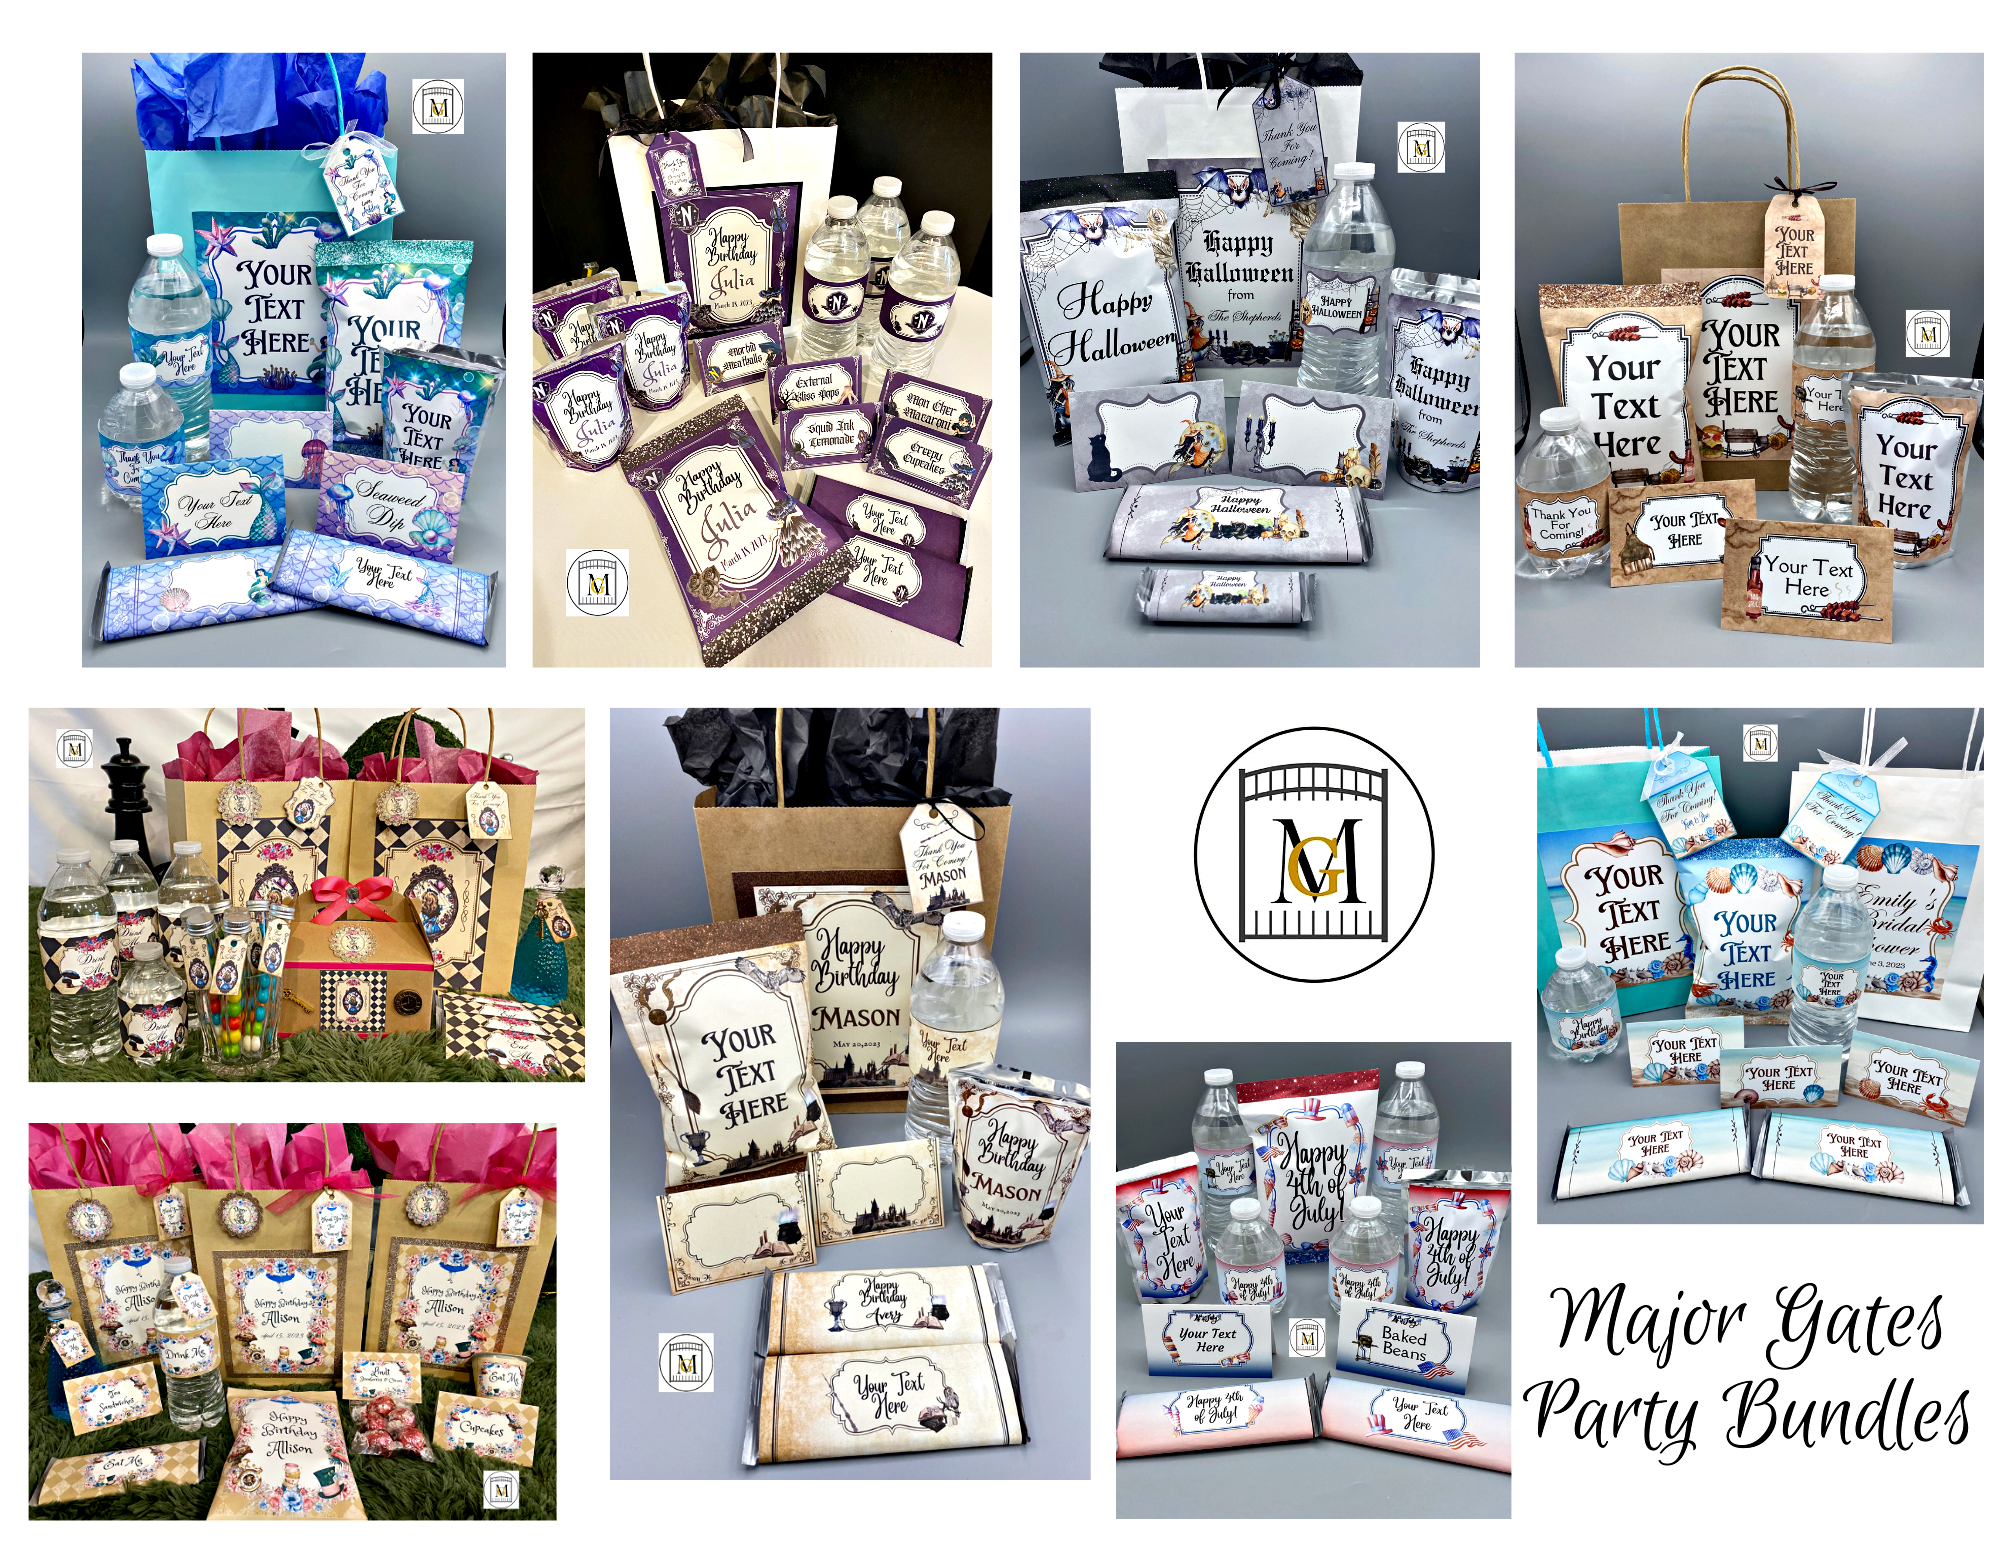
To see my available Party Label Bundle Downloads, click here: https://majorgates.com/product-category/party-bundles/
Don’t Forget To Follow Me On Pinterest!
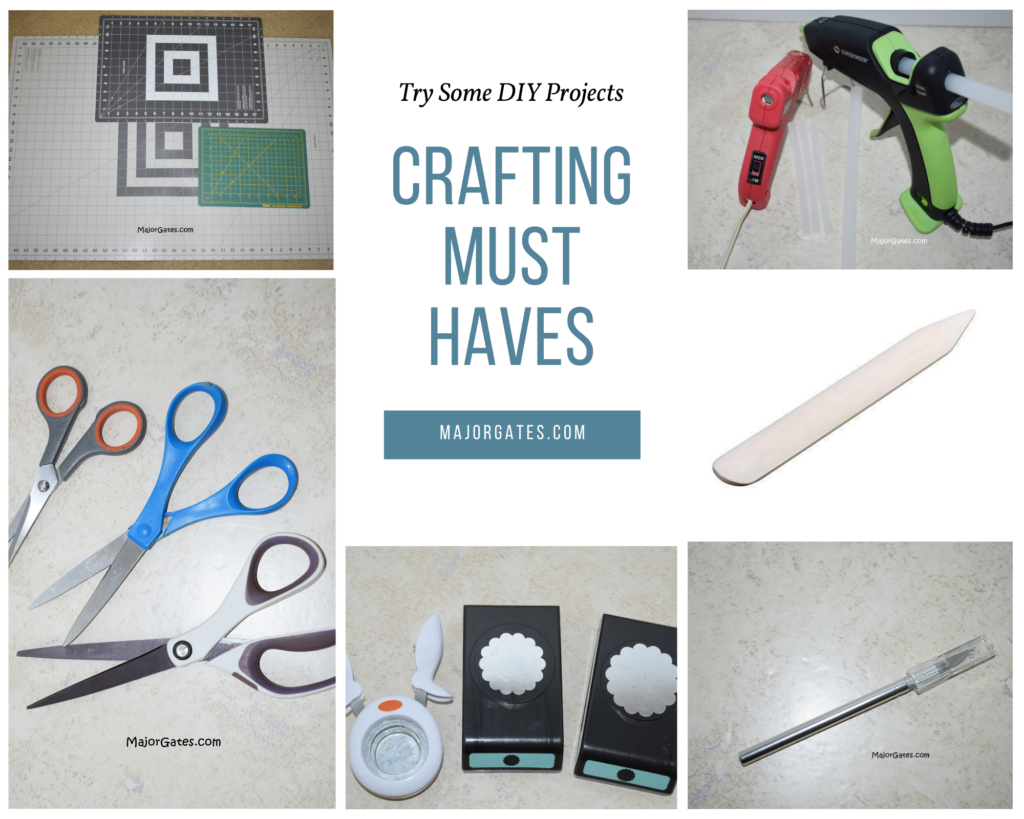
For more tips on my suggestions for crafting “must haves”, click here: https://majorgates.com/do-it-yourself/crafting-must-haves/
Supplies
- Minwax PolyShades Stain & Polyurethane in 1 Step – 32 FL Oz (1 U.S. Qt) 946 ml – I chose the color Bombay Mahogany Gloss since my door already was a deep brown and originally had a gloss finish. Another common color is Mission Oak in Satin. This brand is a one step can and can be used over Polyurethane finishes. I included a link to Bombay Mahogany Satin as well.
PolyShades One Step stain is meant for Interior use but if your front door is under a entrance patio, you can seal it with Howard SunShield Outdoor Furniture Wax with UV protection or Minwax Indoor/Outdoor Helmsman Spar Ureth.ne Clear Semi-Gloss.
- TSP (Trisodium Phosphate) cleaner
- Mineral Spirits (needed to clean your paint brush) or Paint Thinner
- 120 grit sandpaper
- 1 1/2 inch or 2 inch Medium Stiff Nylon/Polyester paint brush
- Bucket
- Sponge
- Gloves
- Drop cloth or old towels
- Frog Tape (if you have windows on the door or want to protect hardware)
To see my available Potion/Apothecary Label Bundle Downloads, click here: https://majorgates.com/product-category/potion-apothecary-labels/

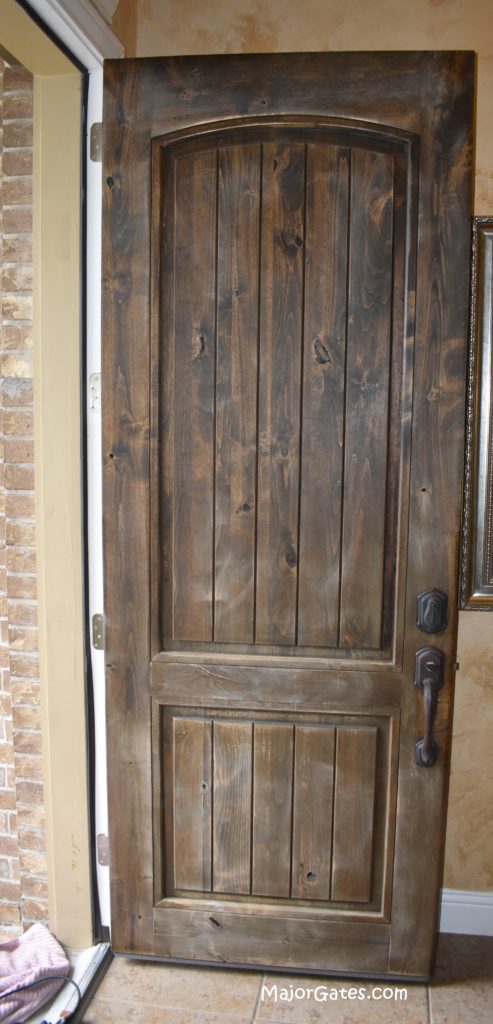
Restaining A Front Door Directions
- Start with placing a drop cloth or old towels under the door.
- Combine wood cleaner like TSP as per the directions in a bucket of warm/hot water.
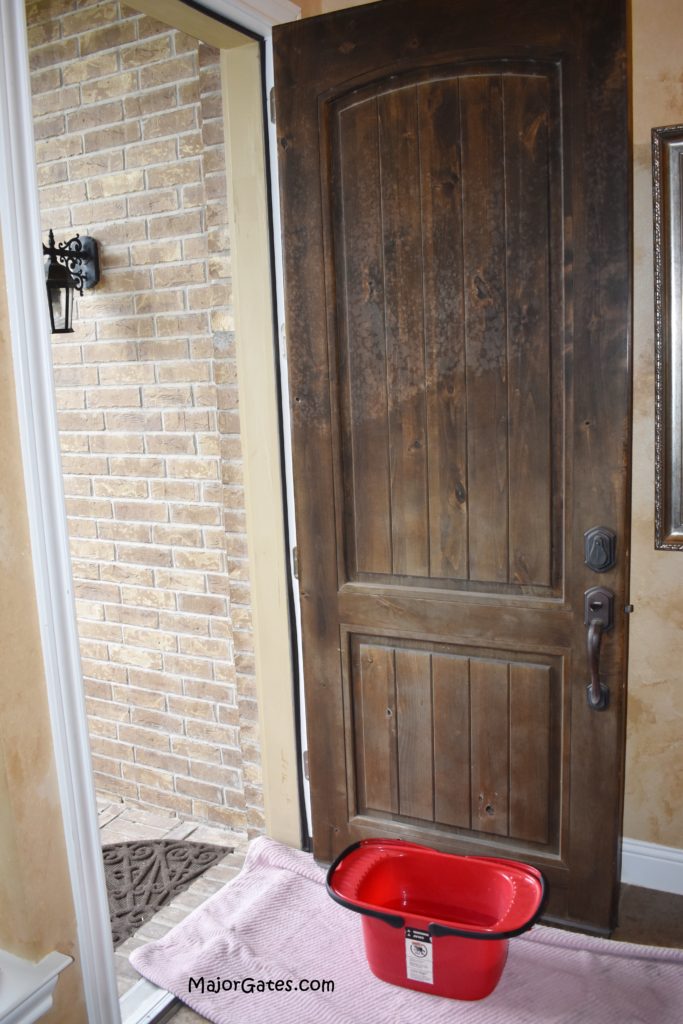
- Start from the top of the door and wash down the door.
- While it is still wet, rinse the door with a sponge with warm/hot clear water.
- Allow the door to dry for 1-2 hours.
- Remove the hardware if you like. I chose not to remove the hardware and just tapped it with frog tape. For parts that got on the weather strip, I just cleaned it up afterwards with mineral spirits. You can also use paint thinner.
- Sand the door with 120 grit sandpaper or use a power sander lightly with 100 grit sandpaper, then 180 grit sandpaper.
- Rinse off door again and let dry for two hours.
- Starting at the top of any molding, stain that first. Pay attention to drips constantly. Maintain a wet edge and do not go to another section until you have completed where you started.
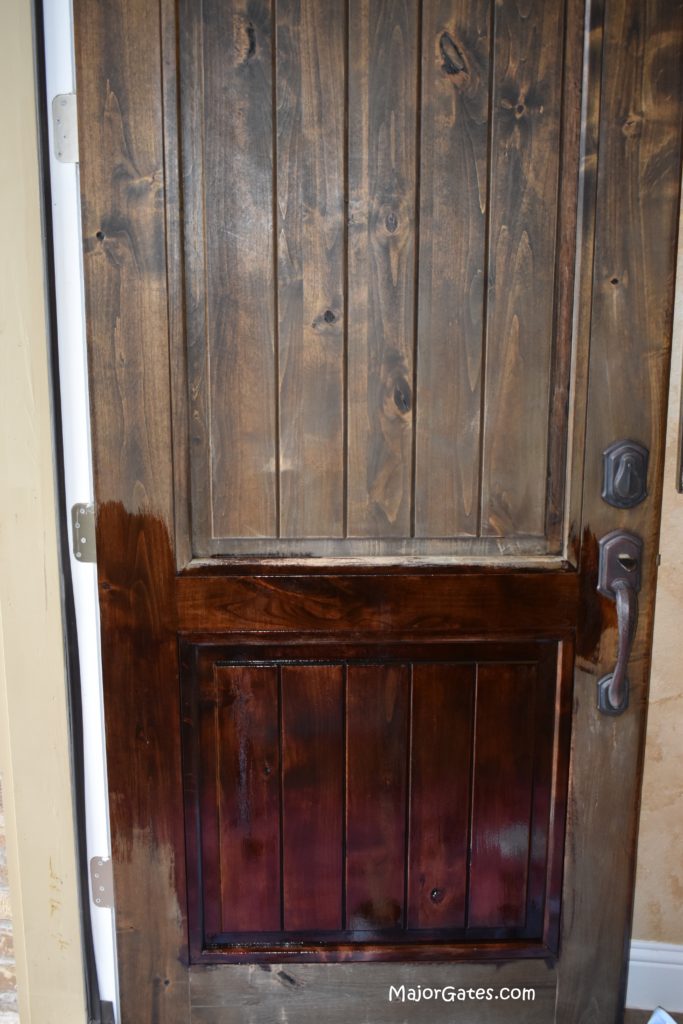
- Paint on the stain in light broad strokes with little stain on the brush. Constantly check for drips.
- Allow to dry for 6-8 hours. This is why you must stain in the morning in hotter areas. Humidity starts to build throughout the day (starting at about noon), taking longer than normal to dry.
- If you want to add a second coat, lightly sand and then rinse off dust. Allow to dry for 2 hours and then apply the next coat.
- Seal the door after stain has been dry for 48 hours. The timer starts after you have completed your last coat. If you use the Howard SunShield wax, you will need to re-apply after 6 months and door will look like you just stained it again. Apply with a lint free rag and it will be done in about 15 minutes.
To see my available 2-Liter/Wine Bottle Party Label Downloads, click here: https://majorgates.com/product-category/2-liter-wine-bottle-labels/

Notes For Restaining A Front Door
- Pay attention to Humidity. I learned from doing this that humidity needs to be between 50-70%. It is most humid in the afternoon hours building into the evening. Humidity starts to decrease at midnight and is lowest in the morning. If you live in the South like I do, paying attention to humidity when you are planning to restain a front door is essential. Drying times depend on humidity and weather.
- Use only nylon brushes. I was told to use a paint pad for staining and lint was all over the door. This caused me to have to let it dry, sand it again and then stain it again. I started with the brush and decided half way through to try the pad, big mistake. Use only a nylon brush.
- If you make a mistake or find drips that you want to remove, after the door is dry, sand the parts that have the mistakes with hand held 120 grit sand paper. Then wipe the area clean with a wet sponge. Allow to dry again for 1 hour. Apply the stain again in light broad strokes.
- If you need a second or third coat, the door must completely dry in between applications. You also will need to lightly sand and wipe down with damp sponge. Allow wet door to dry for 1 hour and then apply your next coat.
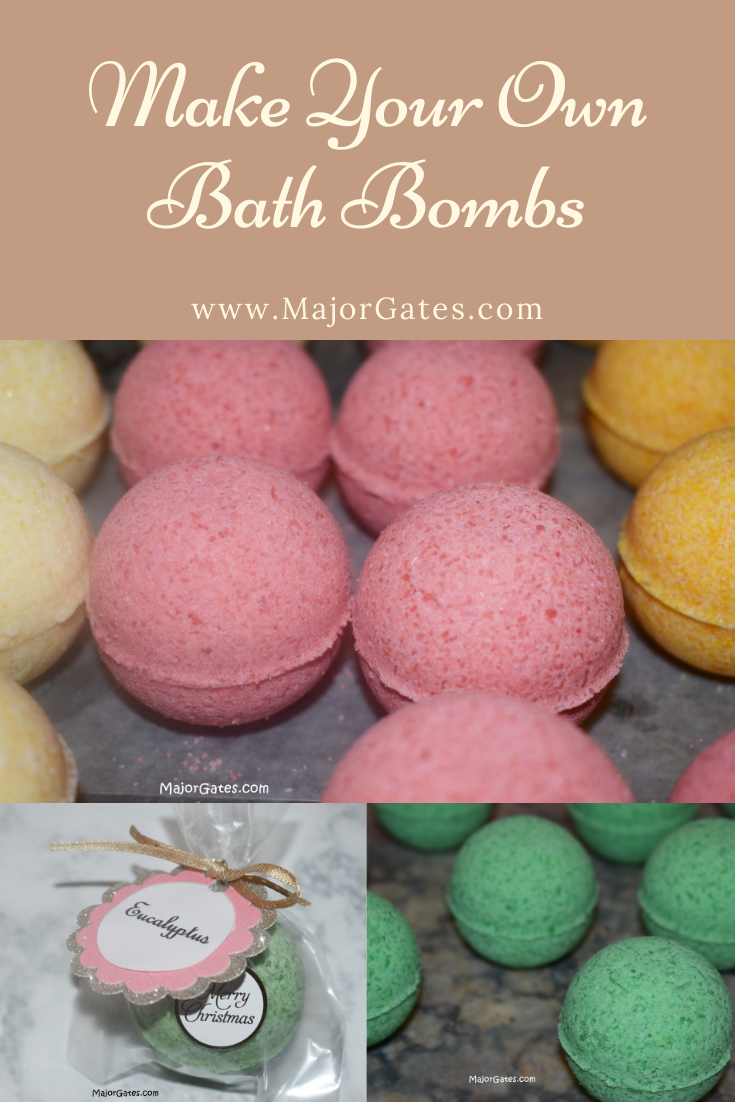
For another DIY project try making your own bath bombs here: https://majorgates.com/do-it-yourself/moisturizing-bath-bombs/
To see my available Jeopardy/Trivia Party Downloads, click here: https://majorgates.com/product-category/jeopardy-trivia/
