Moisturizing Bath Bombs
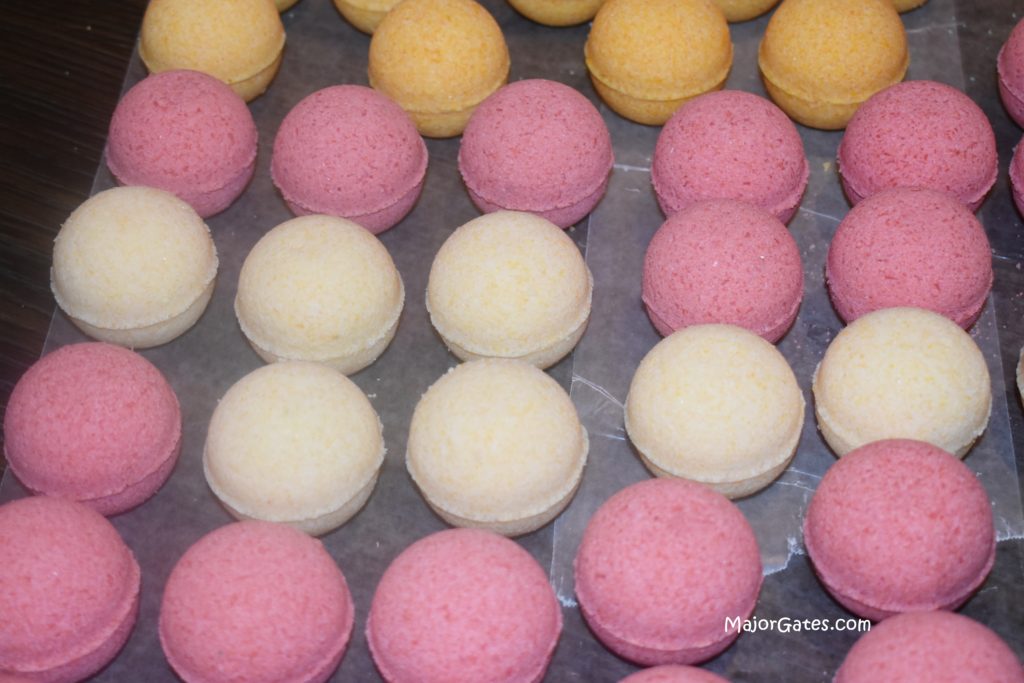
These moisturizing bath bombs will leave your skin feeling exceptionally soft. So, if you have rough, dry or flaky skin, try making these bath bombs. In addition, I make bath bombs as gifts and for home use. The secret to these moisturizing bath bombs is organic coconut oil and a good quality essential oil. Another thing these bath bombs are great for is when someone is sick. So make eucalyptus bath bombs to help with a cold and congestion. The recipient will appreciate these greatly. In this post, I will also share my tips to resolve bath bomb problems because I have messed up quite a few.
Moisturizing bath bombs can be temperamental, so it is important that you understand that when mixing, you have to mix in the liquid quickly and mix extremely well. The goal is to avoid any fizzing indicating the bath bomb has started to activate. So once you get down the steps, making these moisturizing bath bombs will be a DIY project you enjoy doing several times a year.
Each batch of the recipe makes 10-12 medium sized moisturizing bath bombs.
Don’t Forget To Follow Me On Pinterest!
To see my available Party Label Bundle Downloads, click here: https://majorgates.com/product-category/party-bundles/
Supplies
- 1 medium sized bath bomb mold. I bought this kit. It has 2 sets of three sizes of molds. I use the medium size molds. It comes with bags and seals that are helpful.
- Large whisk and small whisk
- 1 glass 2 cup measuring cup (prefer glass since it goes in the microwave)
- 1 large mixing bowl
- Set of measuring spoons
- wax paper
- Self sealing bags
Affiliate links are in this post. So, I may receive a small commission at no extra cost to you if you make a purchase through my affiliate link. Therefore, I only recommend products that I use or would use and love! So, I have saved you the time of searching for good products for you. As an Amazon Associate I earn from qualifying purchases. Just click on the pictures or links for the items seen in this post.
If you need 2-Liter/Wine Bottle Party Labels, see my available downloads here: https://majorgates.com/product-category/2-liter-wine-bottle-labels/

Ingredients for Moisturizing Bath Bombs
- 1 cup baking soda
- 1 cup Epsom salt
- 1/2 cup citric acid
- 1/2 cup cornstarch
- 1/3 cup or 4-6 Tablespoons of Organic Coconut Oil (melted)
- 1/2 teaspoon essential oil in scent you desire
- 5-15 drops of liquid food coloring
To see my available Party Trivia/Jeopardy Downloads, click here: https://majorgates.com/product-category/jeopardy-trivia/

Bath Bombs Directions
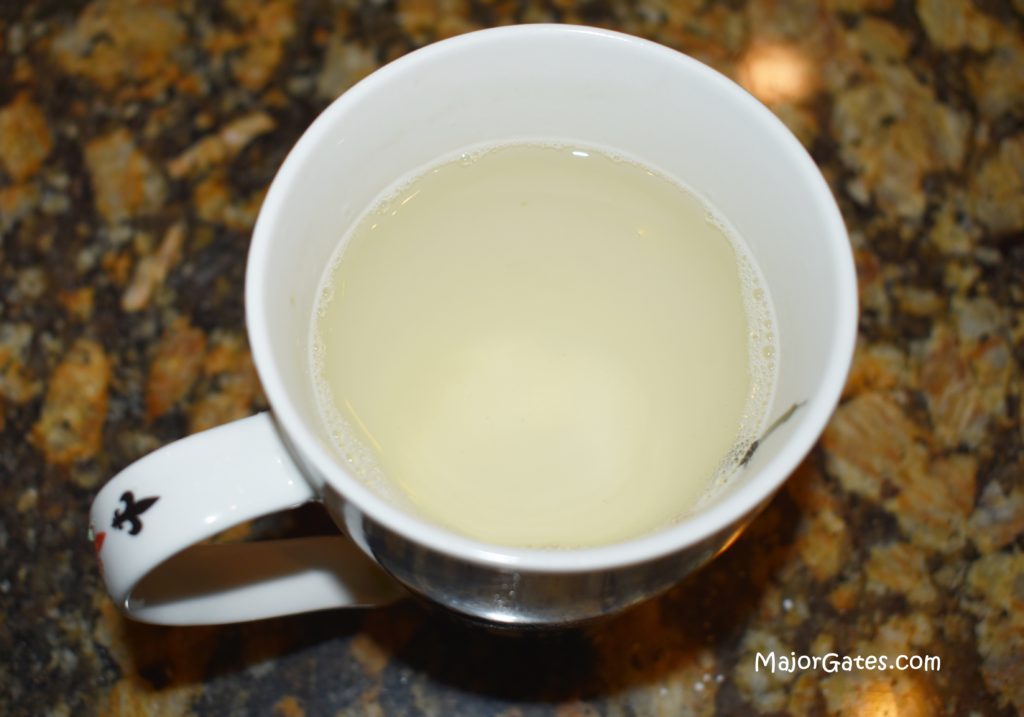
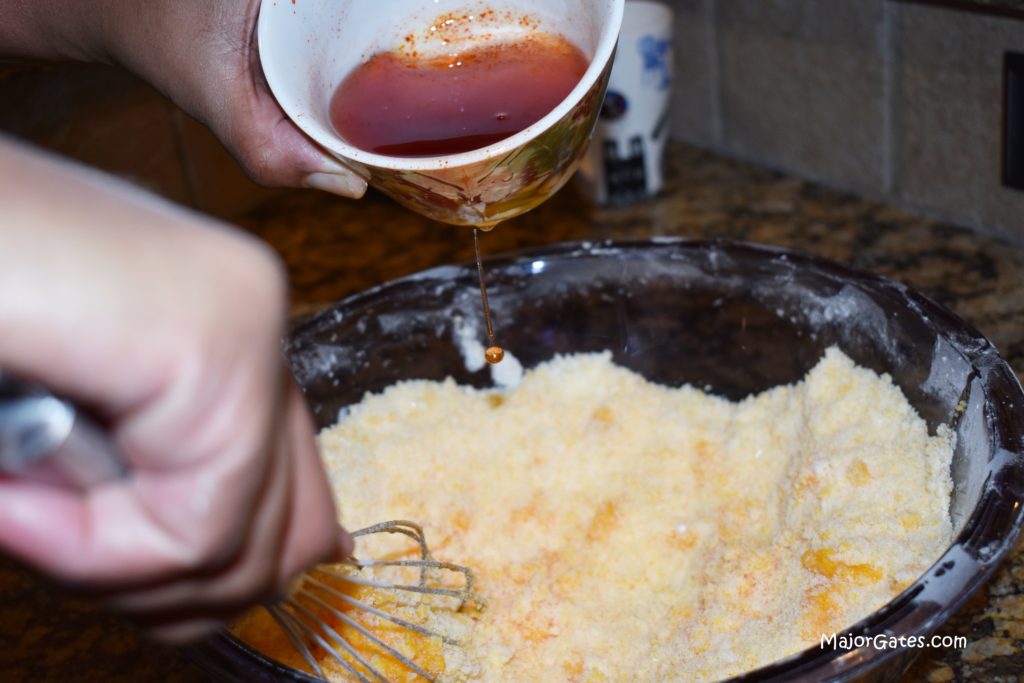
- Melt coconut oil in a microwave safe cup or bowl for about 40-45 seconds. So the oil should be heated just enough to melt. Allow to cool for a few minutes. Then add in 2 teaspoons of essential oil and mix with small whisk.
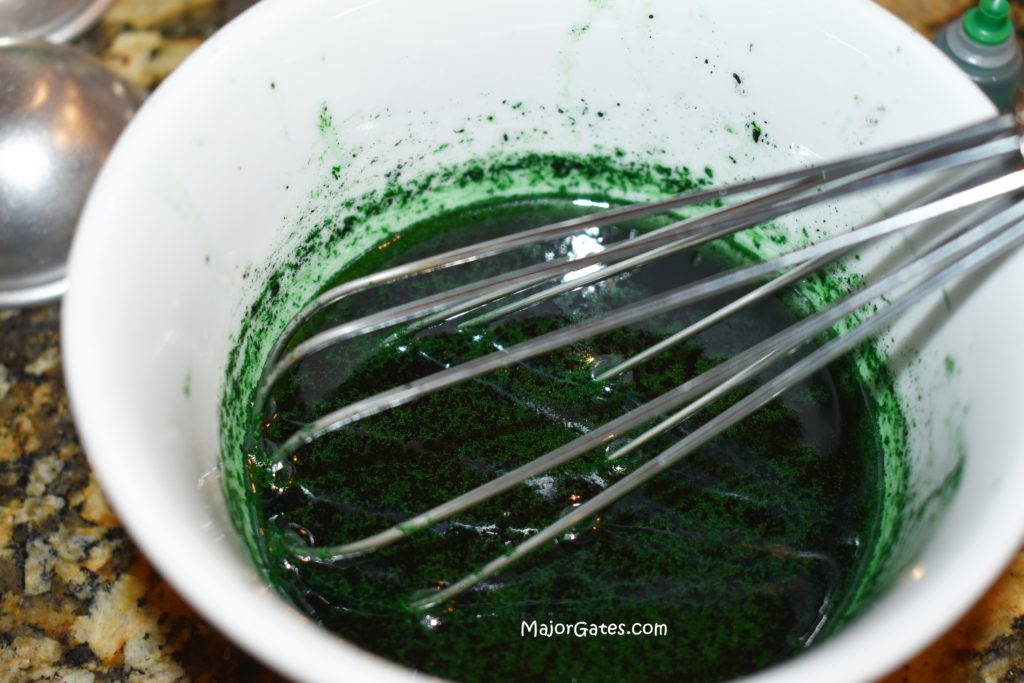
- Add in food coloring (8-12) drops or to desired color and mix with small whisk again.
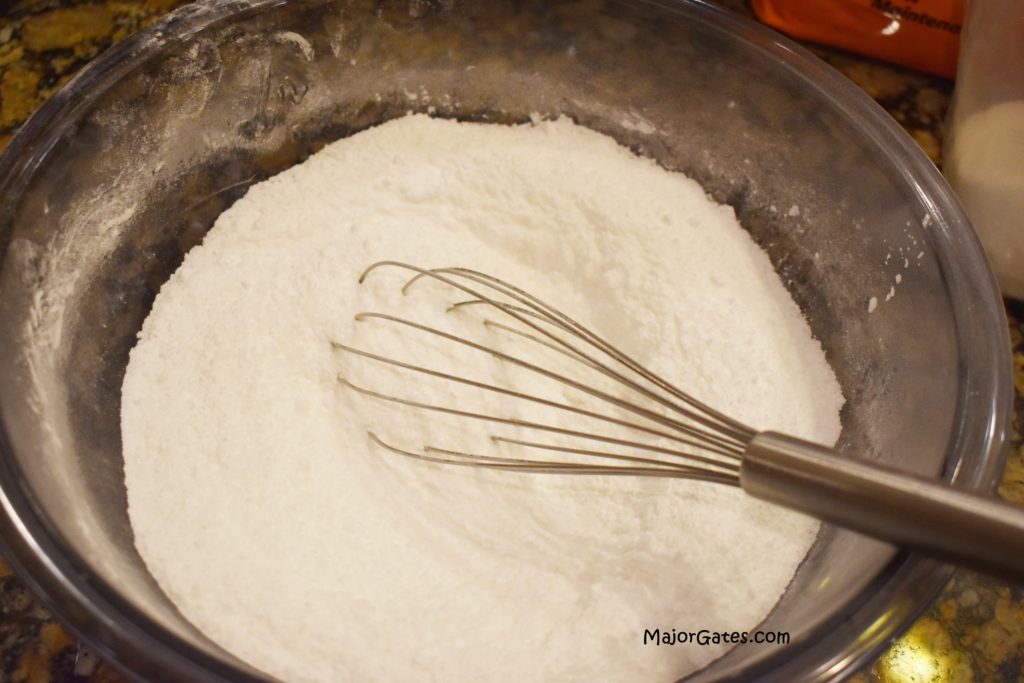
- In the large bowl, place all dry ingredients and whisk with large whisk until well mixed and there are no clumps.
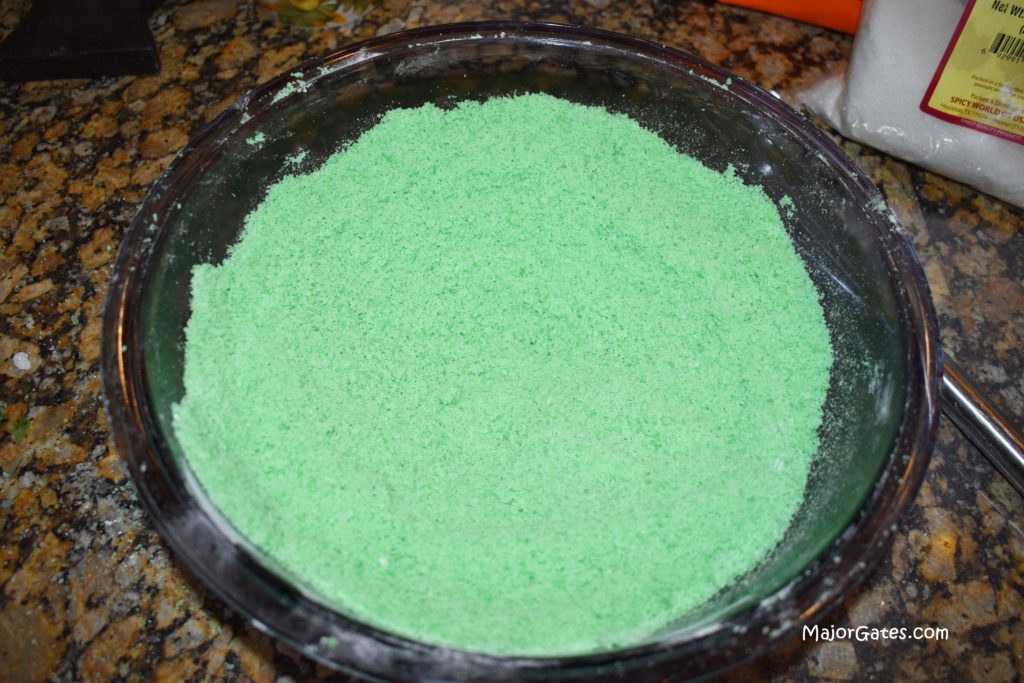
- Add wet mixture very slowly (slow stream) in small groupings as you mix vigorously, never letting mixture clump, fizz or sizzle. So you will pour some of the wet mixture, mix well, pour more wet mixture and whisk again, you will repeat this over and over until your mixture resembles wet sand texture.
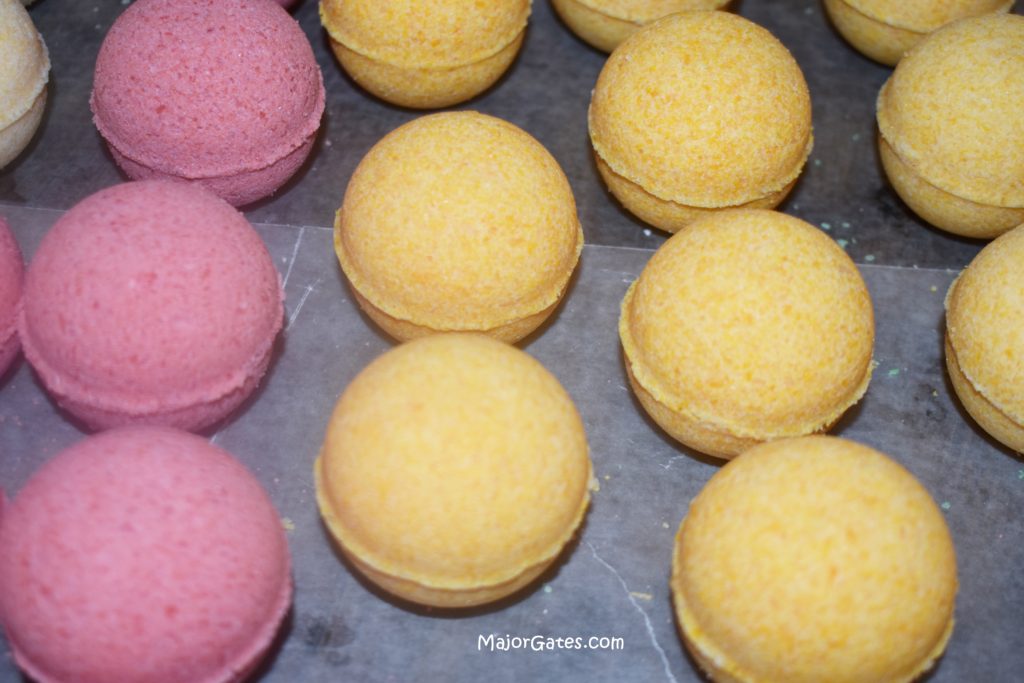
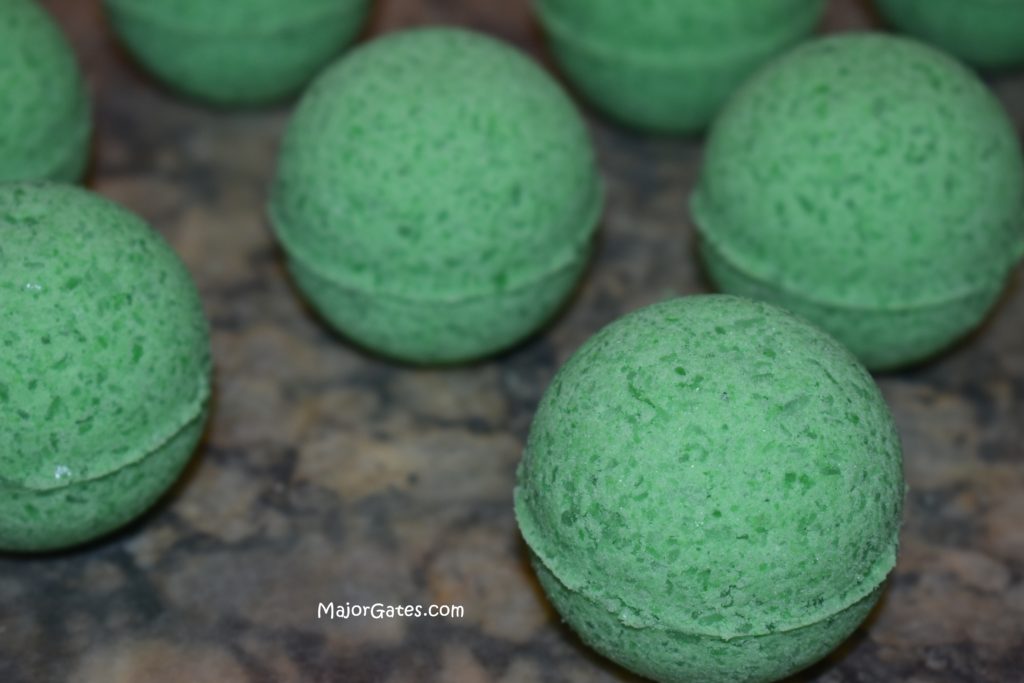
- Once well mixed, press the mixture into the mold and over fill the molds.

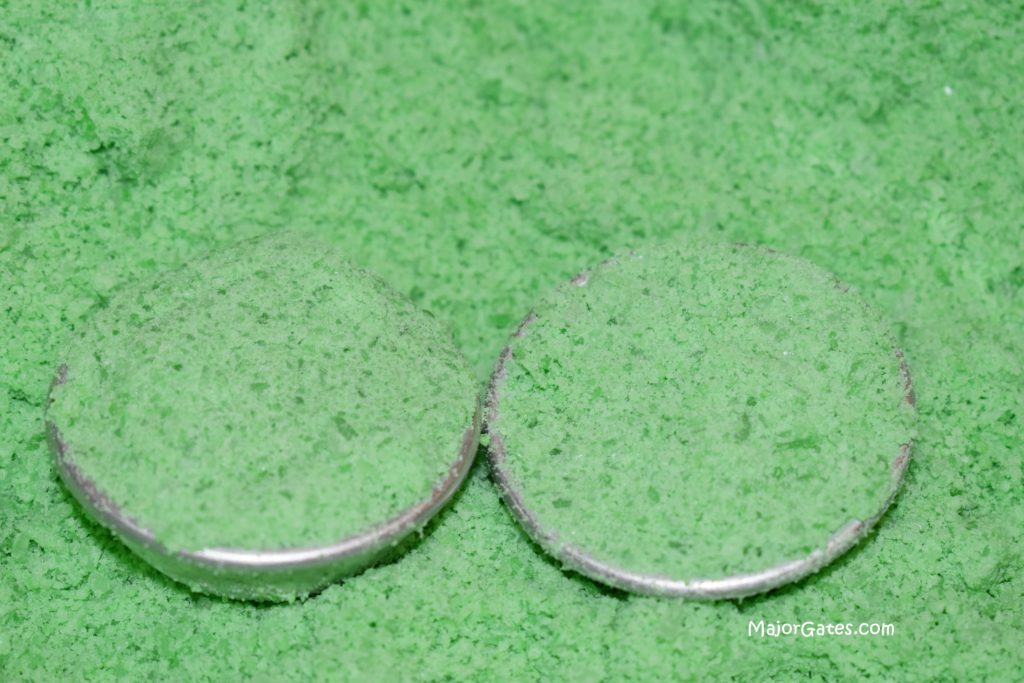
- Press both sides of the molds together and twist. Then tap gently on the top and bottom of the mold. Next, gently tap on the counter-top so the bath bomb releases cleanly from the mold. If bath bomb crumbles as you release it from the mold, add it back to mixture and try again.

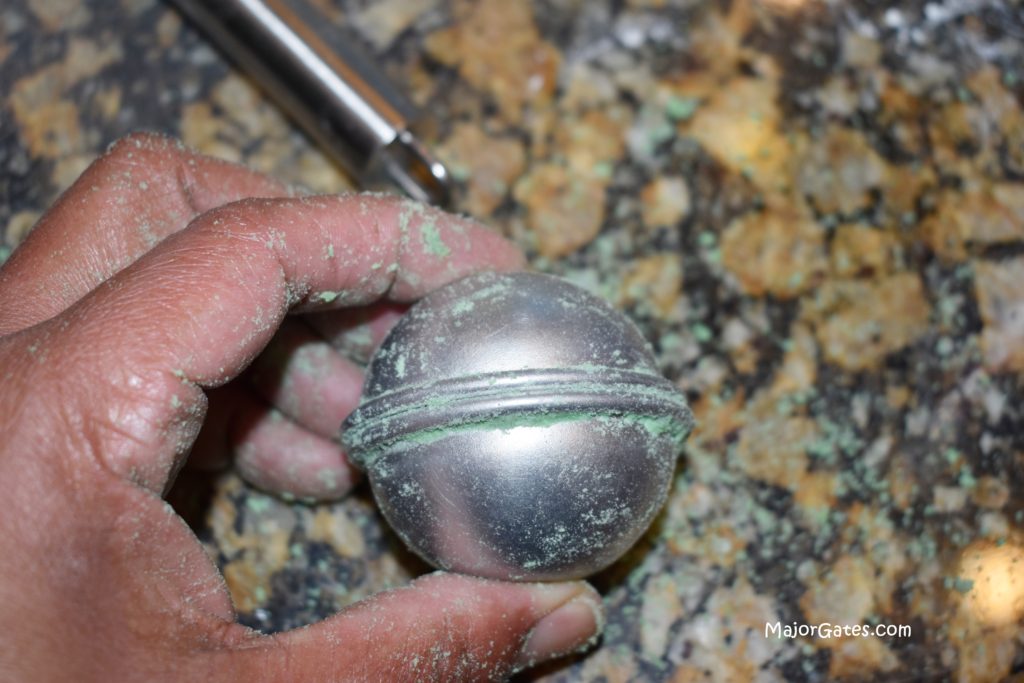
- Place molds on wax paper and allow to dry for 3 days before packaging. So do not touch the bath bombs while they are drying. They are very fragile until they dry.
- Once bath bombs are dry, insert into bag and tie or seal with sticker. I prefer to use 3 inch x 4 inch candy/jewelry bags. Therefore, I often use this size bag for most of my crafts.
Learn how to make decorative magnets as great gifts or favors here: https://majorgates.com/do-it-yourself/decorative-magnets/

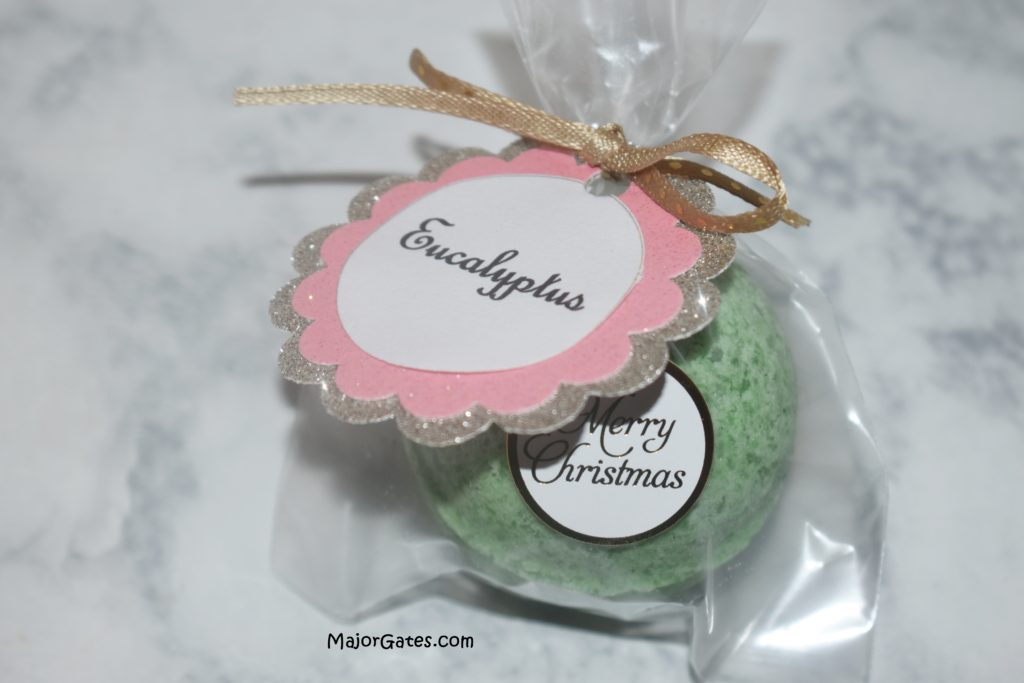
- If you are distributing bath bombs to others, make sure you put an ingredient label on the bath bomb and warning label not to ingest for small children.
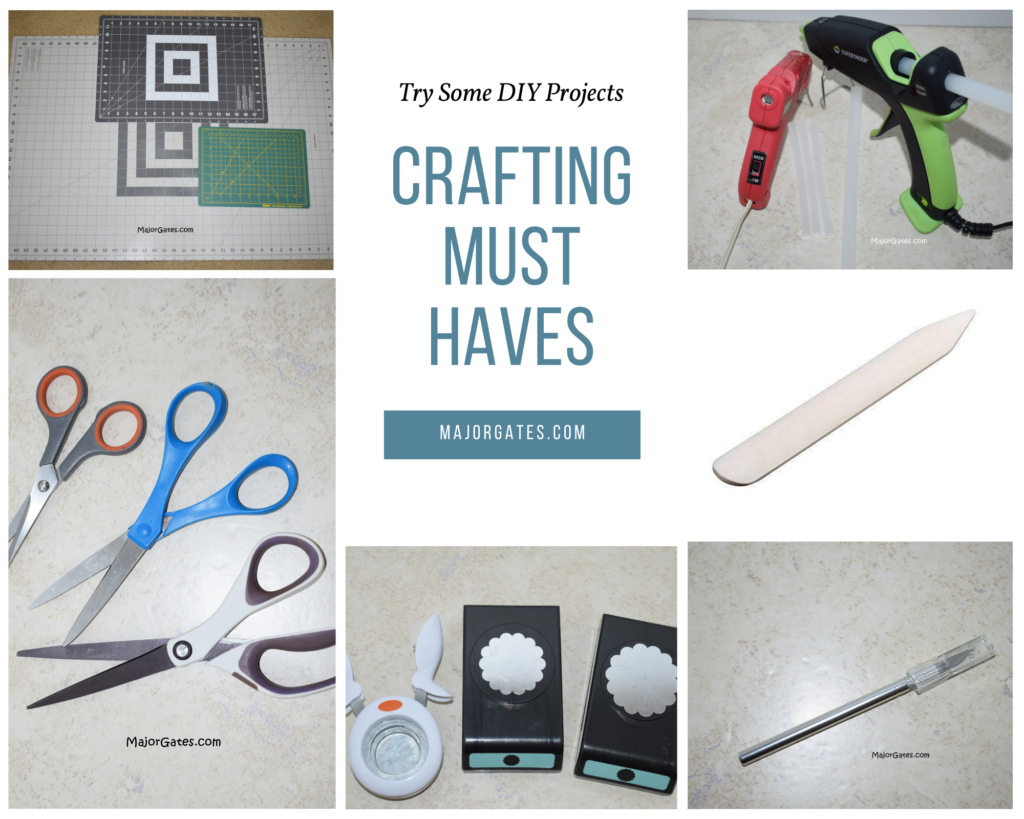
To learn more about my suggestions for Crafting Must Haves, click here: https://majorgates.com/do-it-yourself/crafting-must-haves/
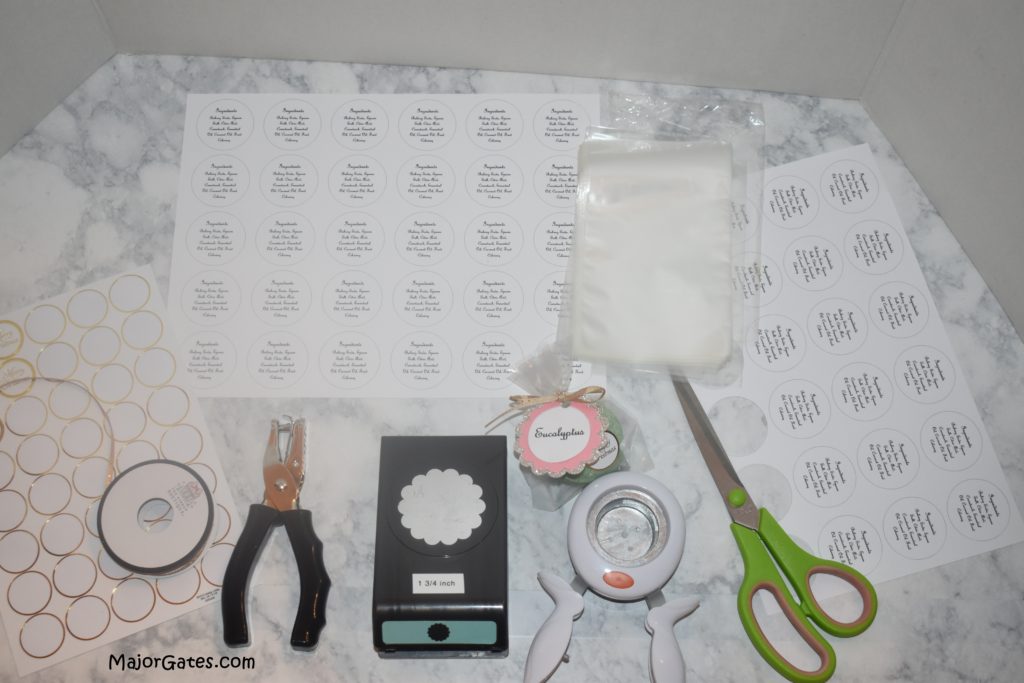
- I made the labels by printing on white card stock and then using a circle punch to cut out the label. The scent of the label was printed and punched the same way. So then I used a glue stick to affix to glitter card stock that I punched out with a scallop punch. Next, to make a hole to place the ribbon, I used a single hole punch. You can purchase craft punches from your local craft store or order on-line. In addition, I purchased the Merry Christmas stickers from my local craft store Hobby Lobby.
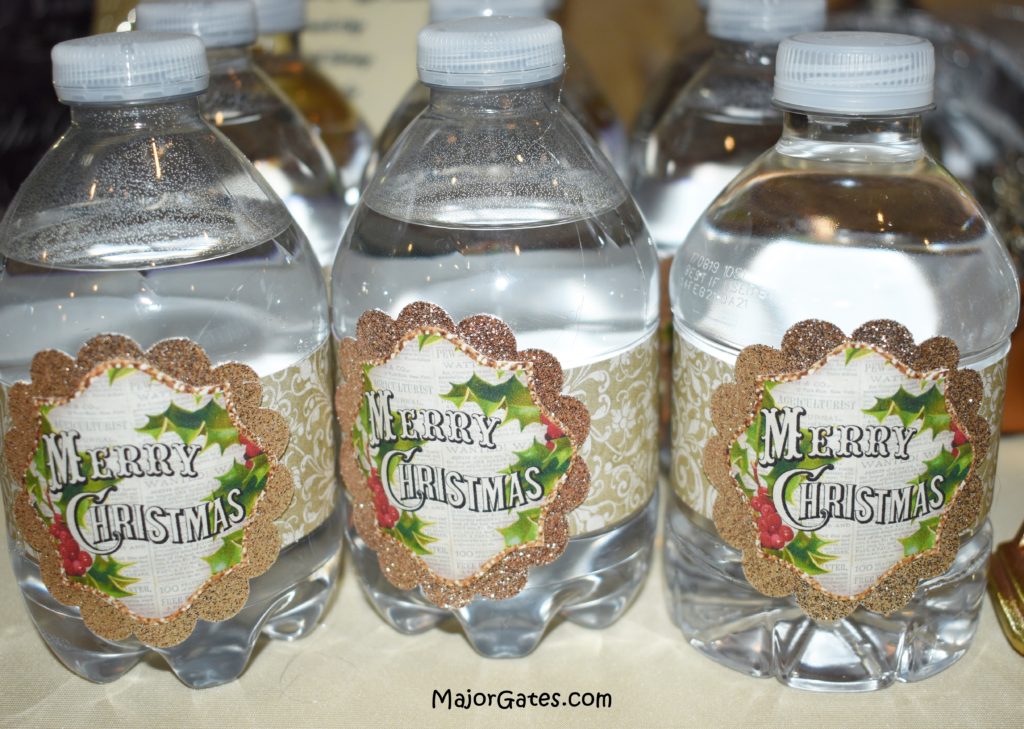
Learn how to make custom water bottles as part of a gift idea or party favor, click here: https://majorgates.com/do-it-yourself/custom-water-bottles/
To see my available Potion Bottle Labels, click here: https://majorgates.com/product-category/potion-apothecary-labels/

I have enjoyed reading many things on this blog. I am going to share this with my daughter. We have a granddaughter who will be 2 next week and has some challenges. We have been to a few doctors. However, that is not how I came to this blog. I have tried my luck at the bath bombs. I made Dr. Seuss themed for my 5 year old grandson. They did not look as nice and smooth as yours. They could have still come apart at the middle. I did leave them to sit for 48 hours. I feel that I have a pretty common recipe that I see in many pinterest ideas. I have searched to find my problem and have not found it in any sight yet.
Thank you for posting such a beautiful blog. May your journey be blessed.
Thank you Corrina. Sorry it has taken a moment to respond. As I am new to blogging, I just troubleshooted where all my comments have been going. I posted a few days ago a post about role playing as it helps with my twins. Two and three year olds are challenging but so wonderful watching them grow. I wish many blessings to you and your family!