DIY Hogwarts Ticket Ornament
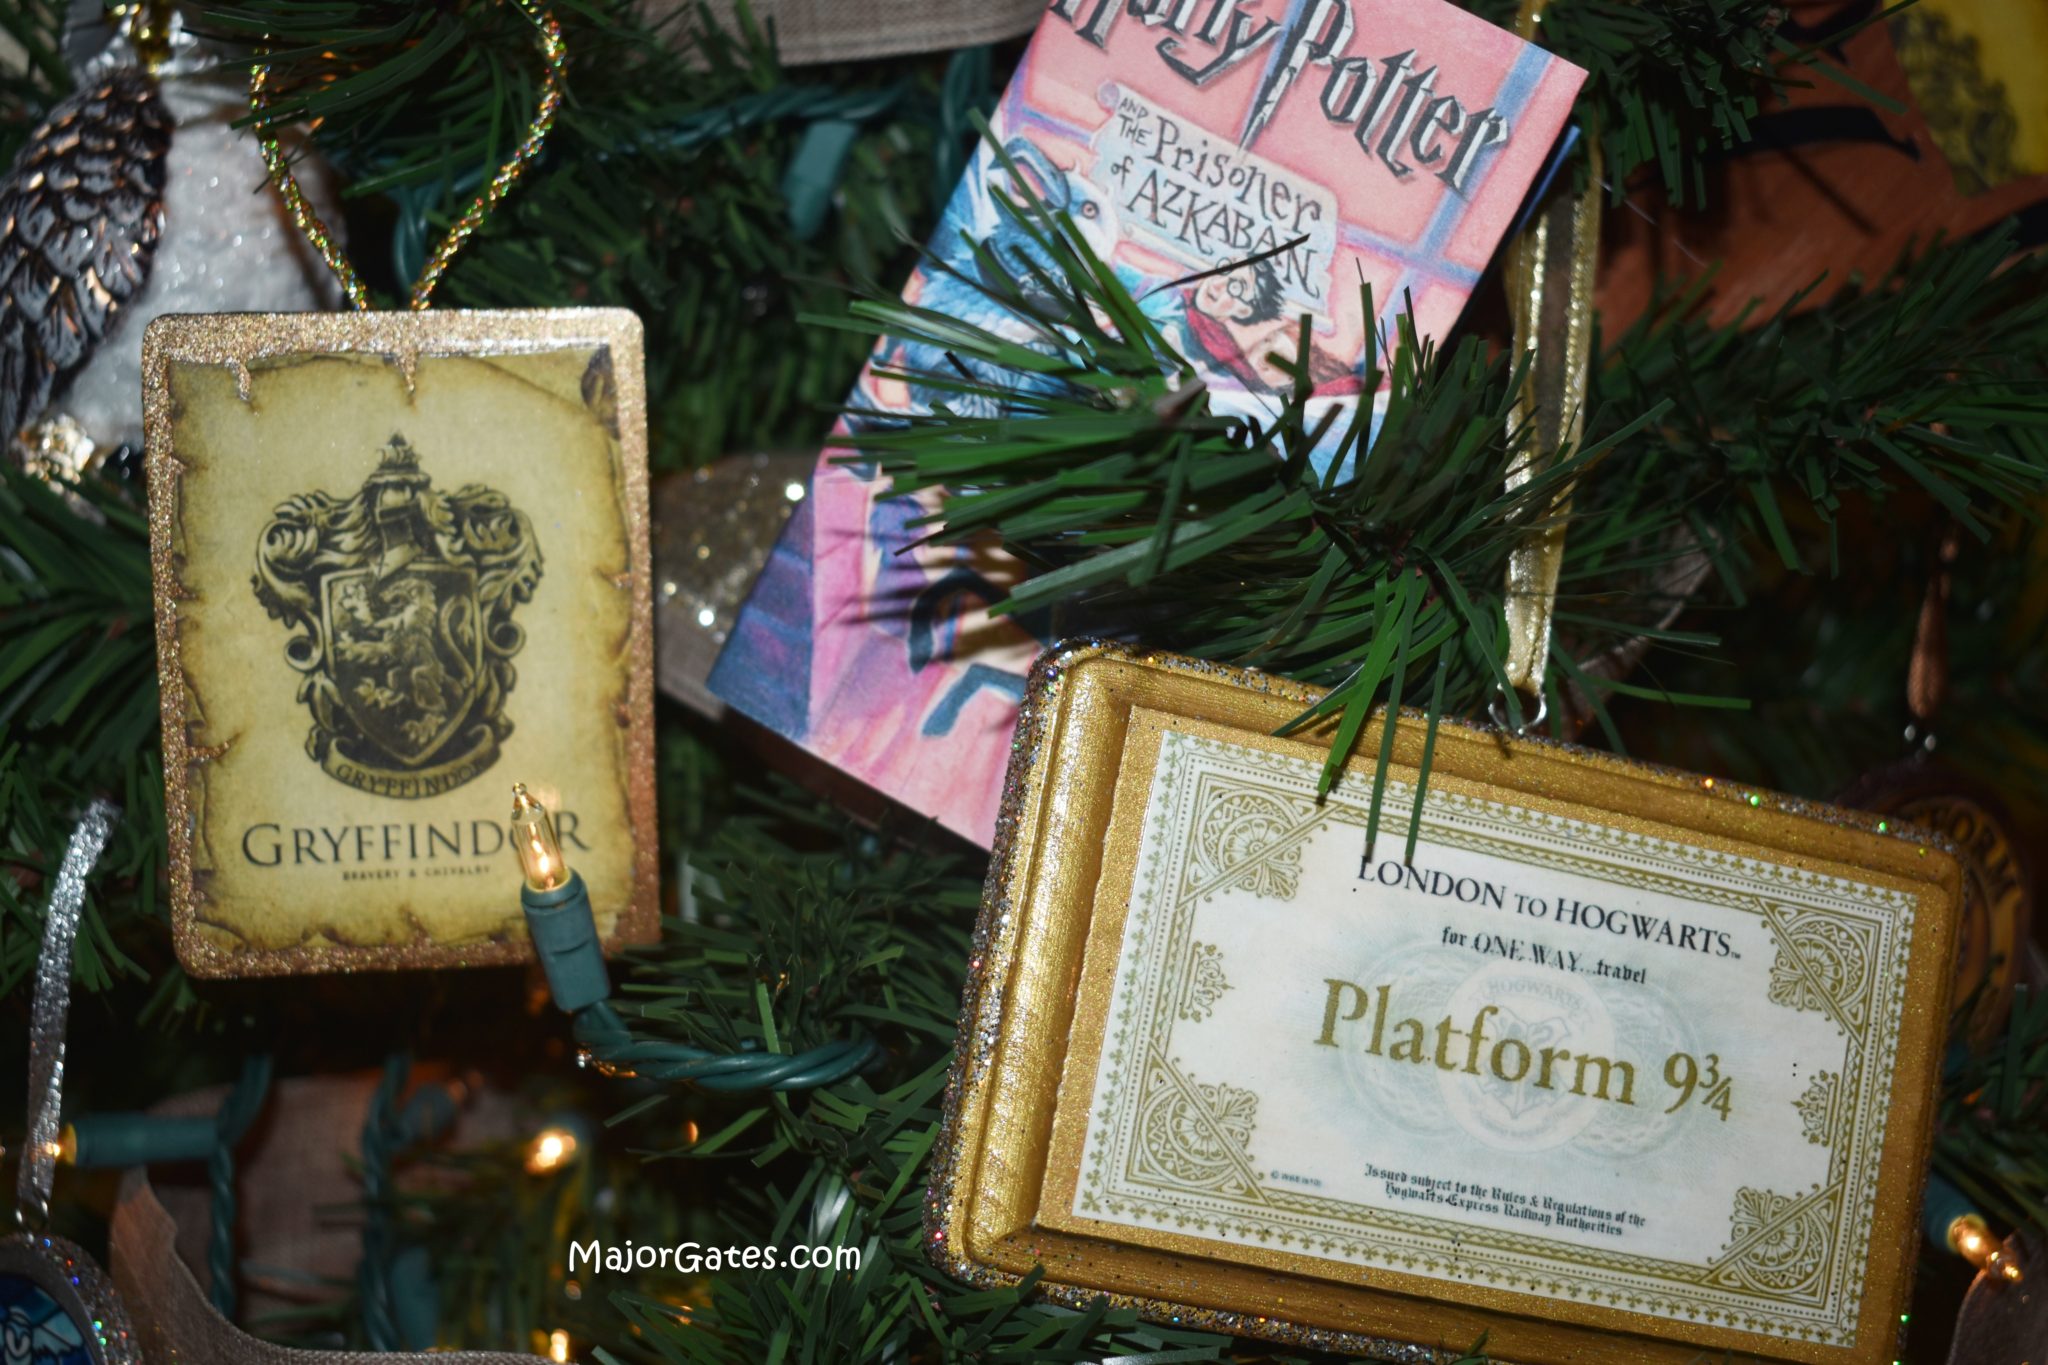
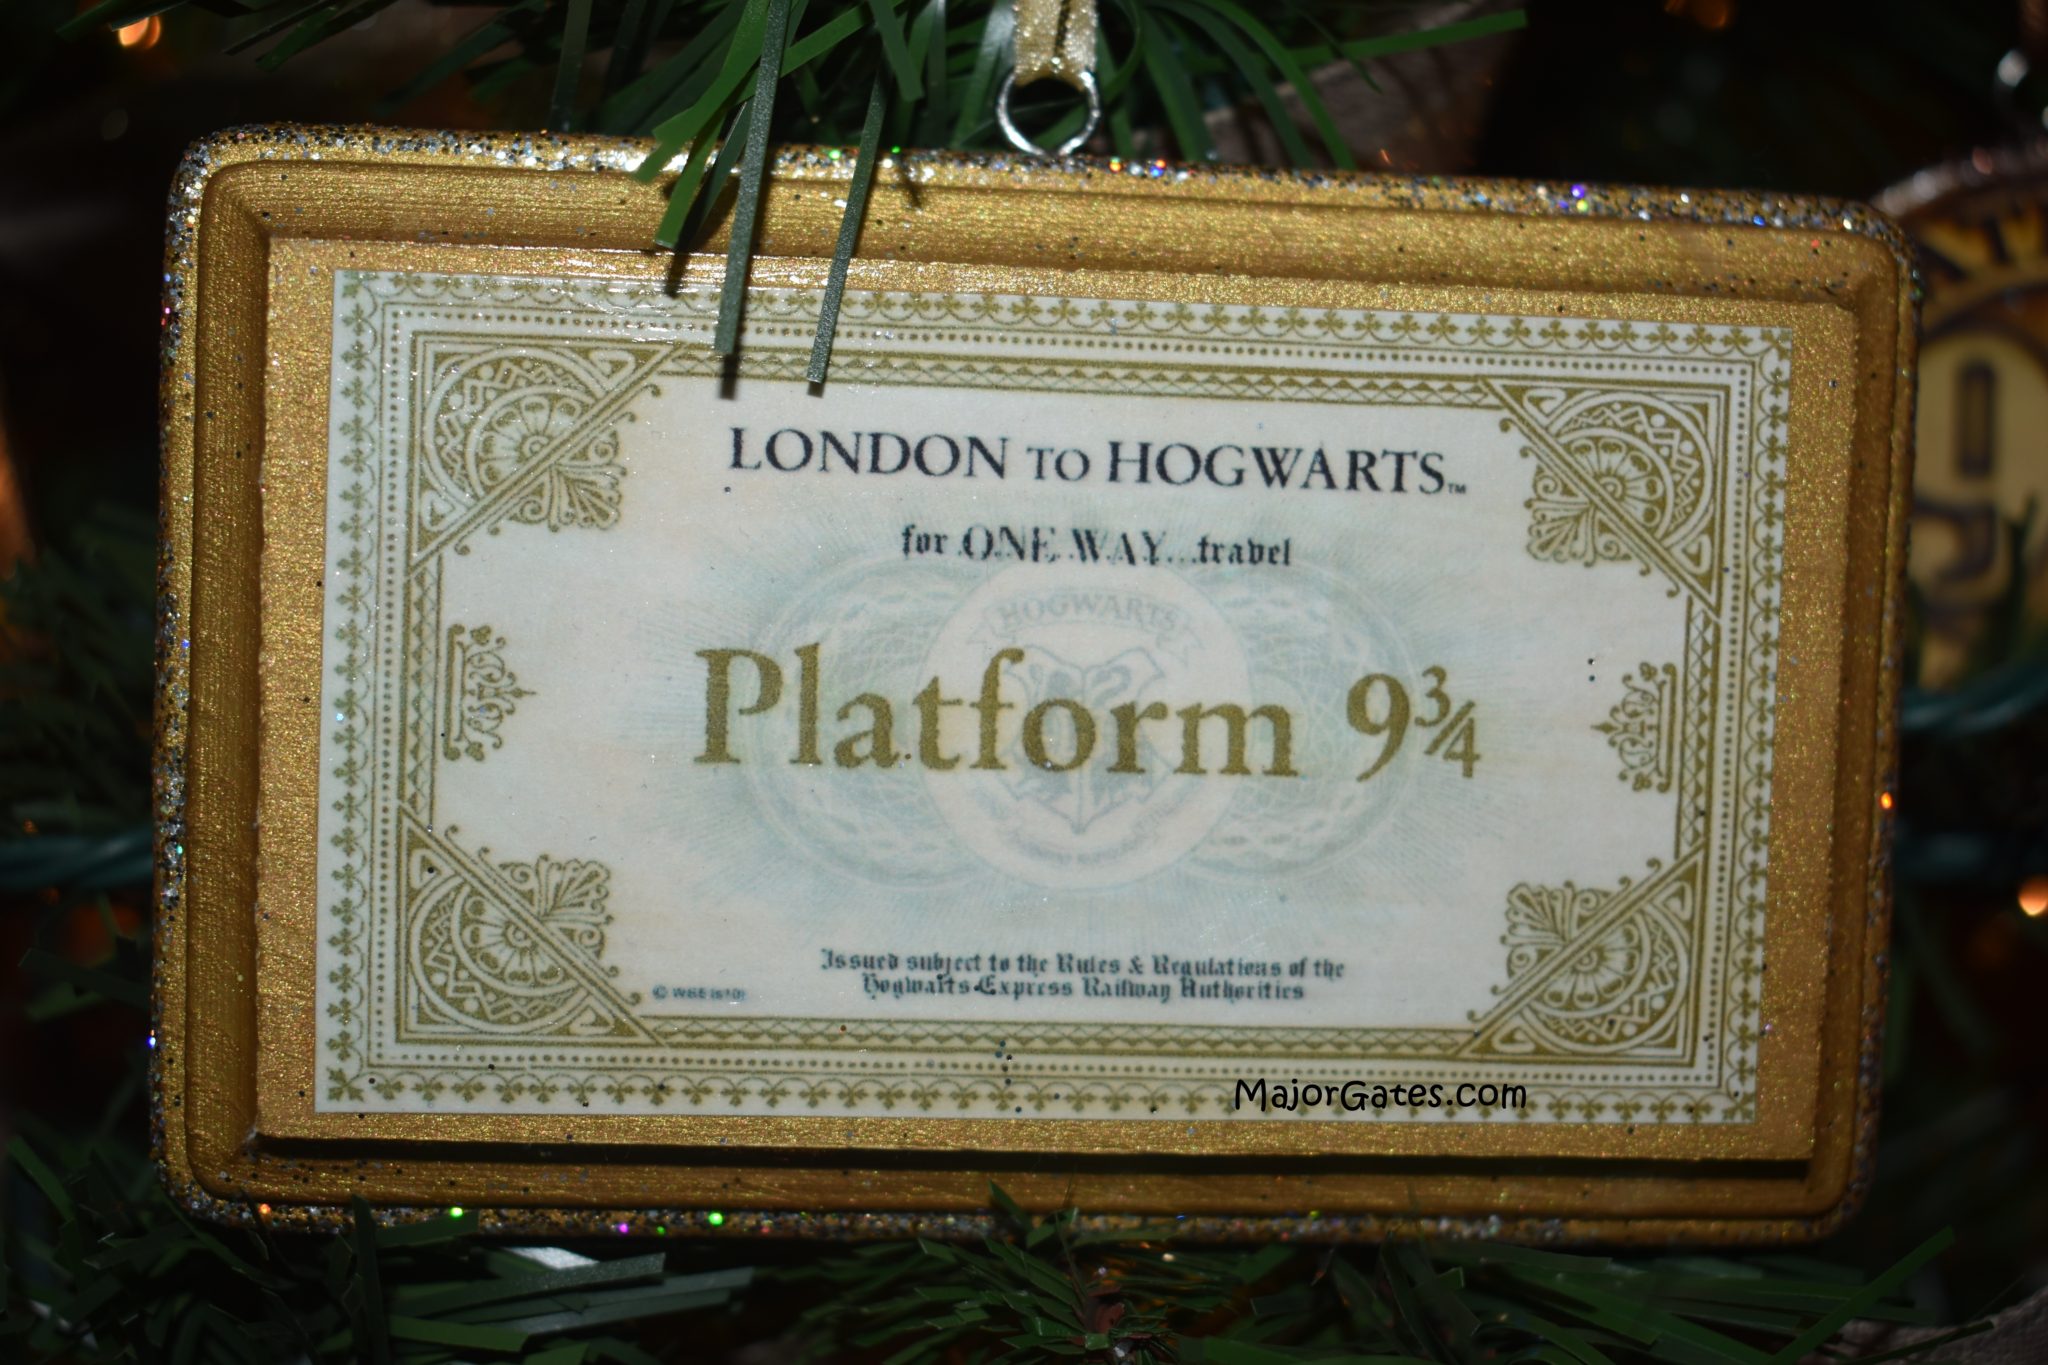
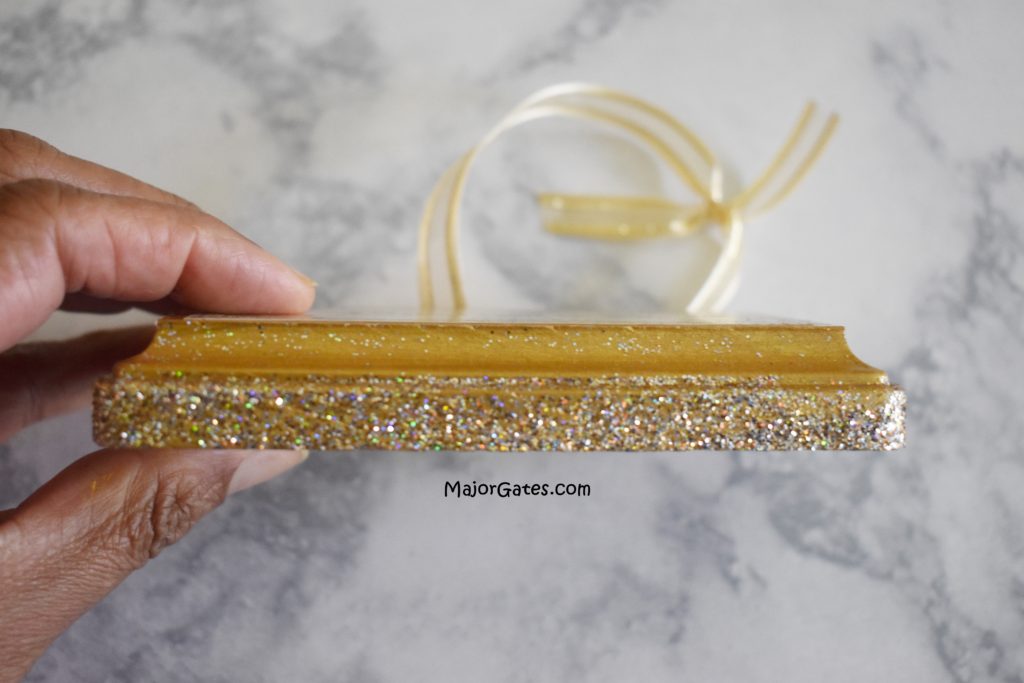
Making your own Hogwarts Ticket Ornament is easy. It is also one of my favorite Harry Potter ornaments on the tree. These Harry Potter Hogwarts Ticket Ornaments are easy to make and add a dramatic look to the tree. You also do not have to worry about small kids touching these because these ornaments are made of wood.
Making ornaments is a great thing to do with your kids. If you have tried to find Harry Potter Christmas ornaments in the past, you know it is very hard and you have to make most of them. I have started to make ornaments in August due to staying at home for the pandemic. So it has been great to pass the time, do something with the kids and been a stress reliever.
Don’t Forget To Follow Me On Pinterest!
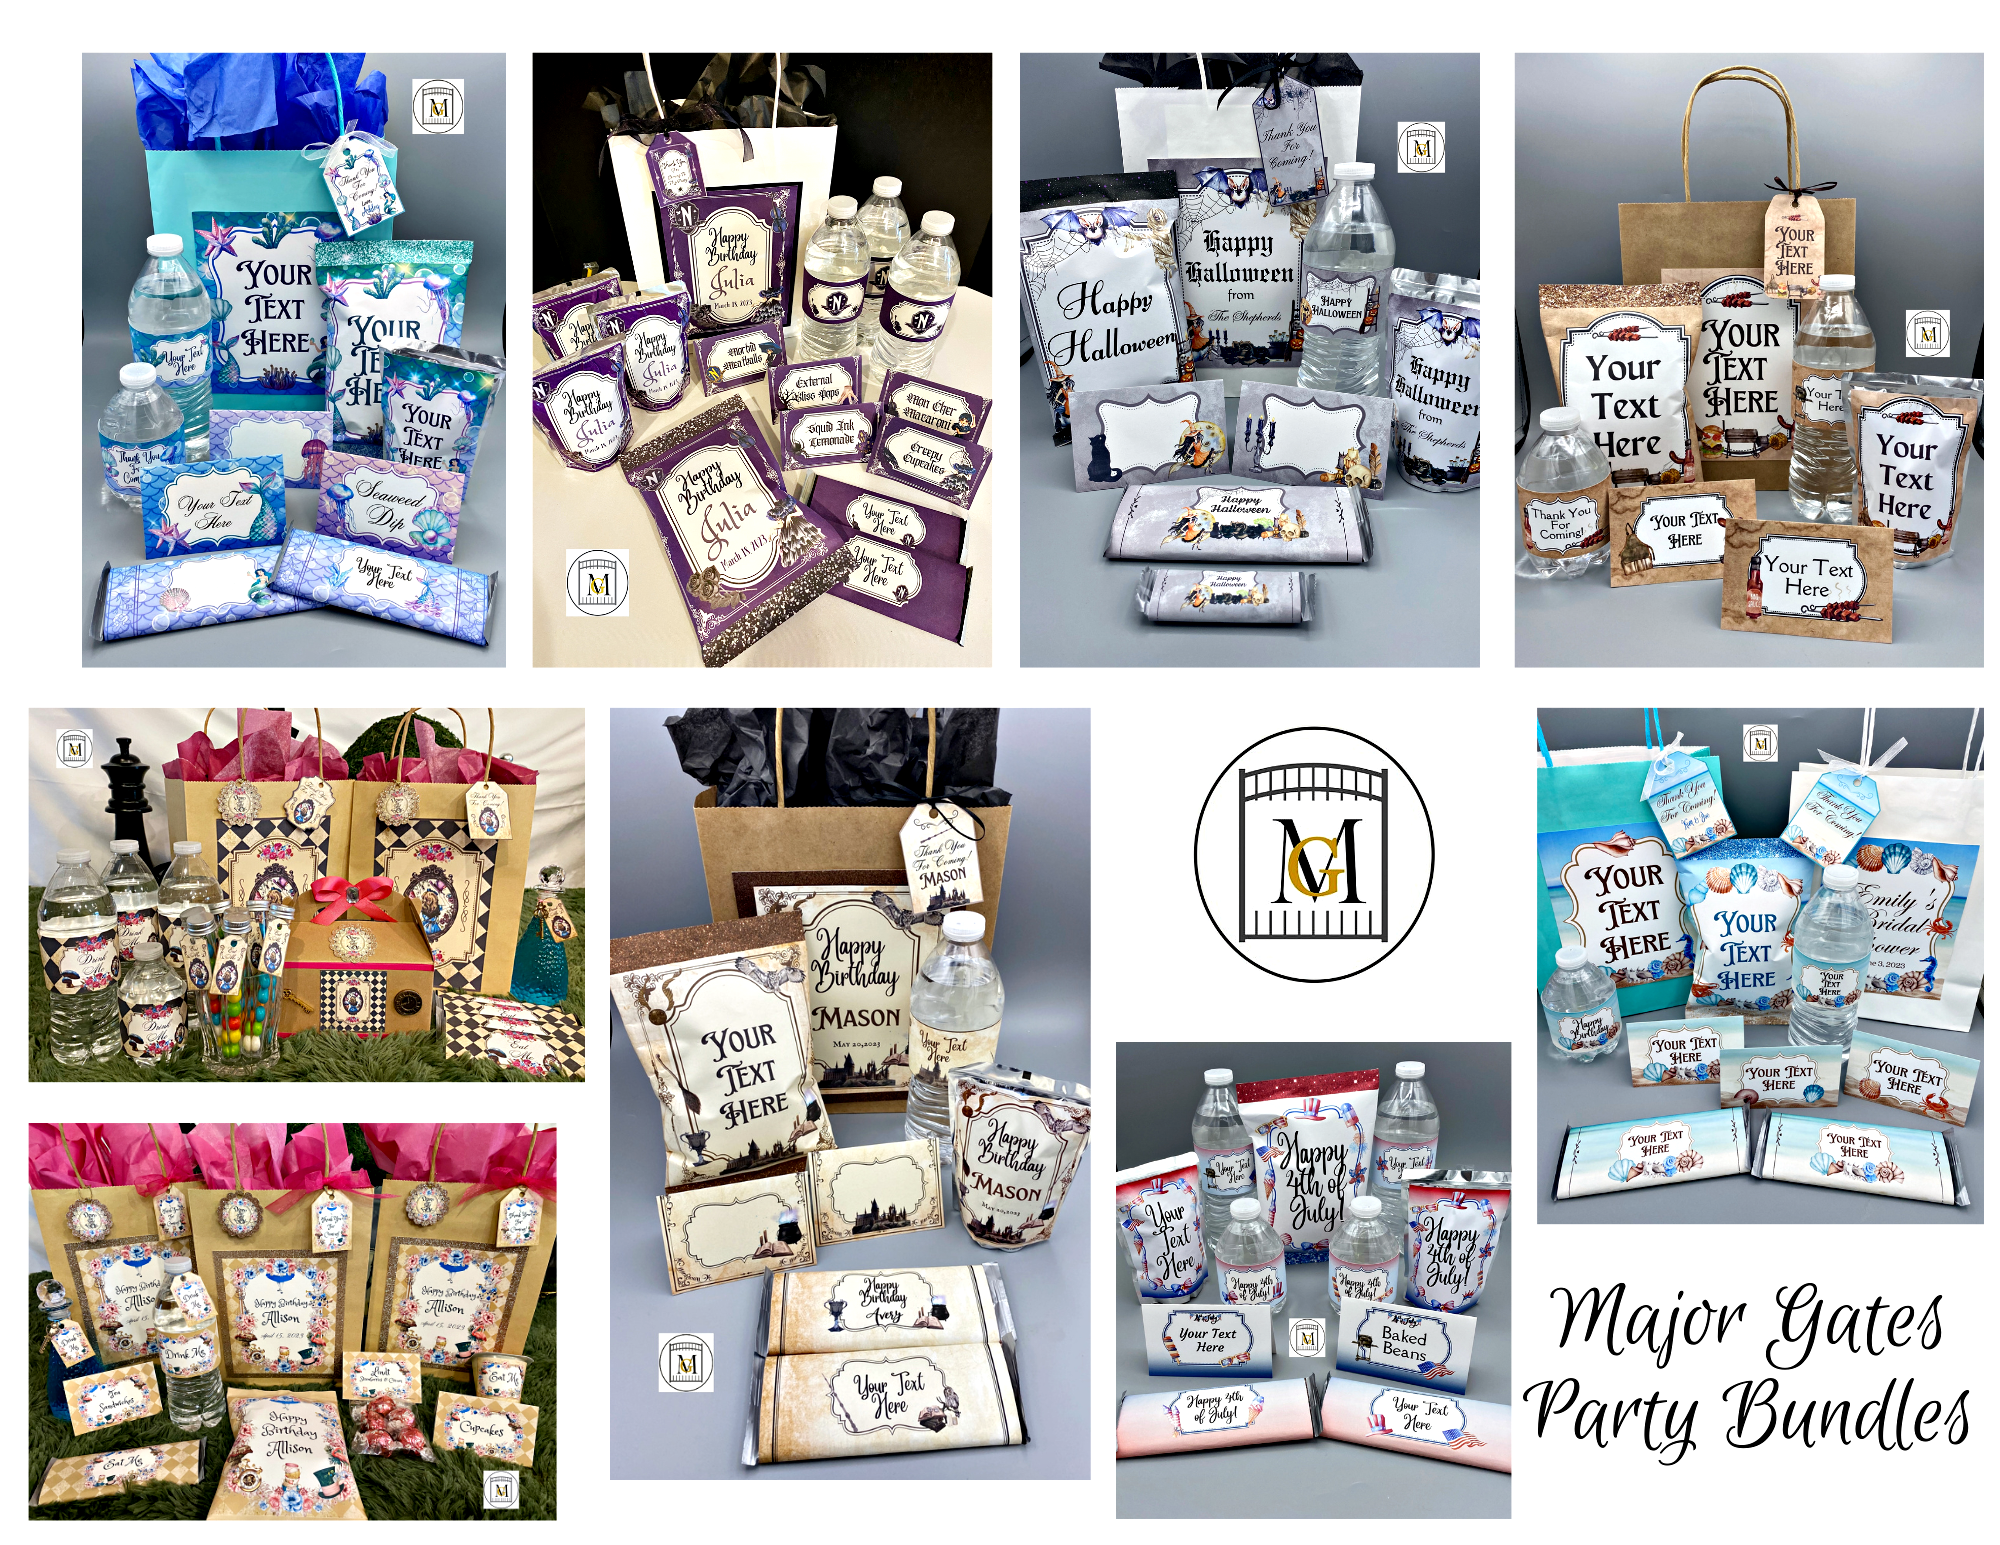
To see my available Party Label Party Bundle Downloads, click here: https://majorgates.com/product-category/party-bundles/
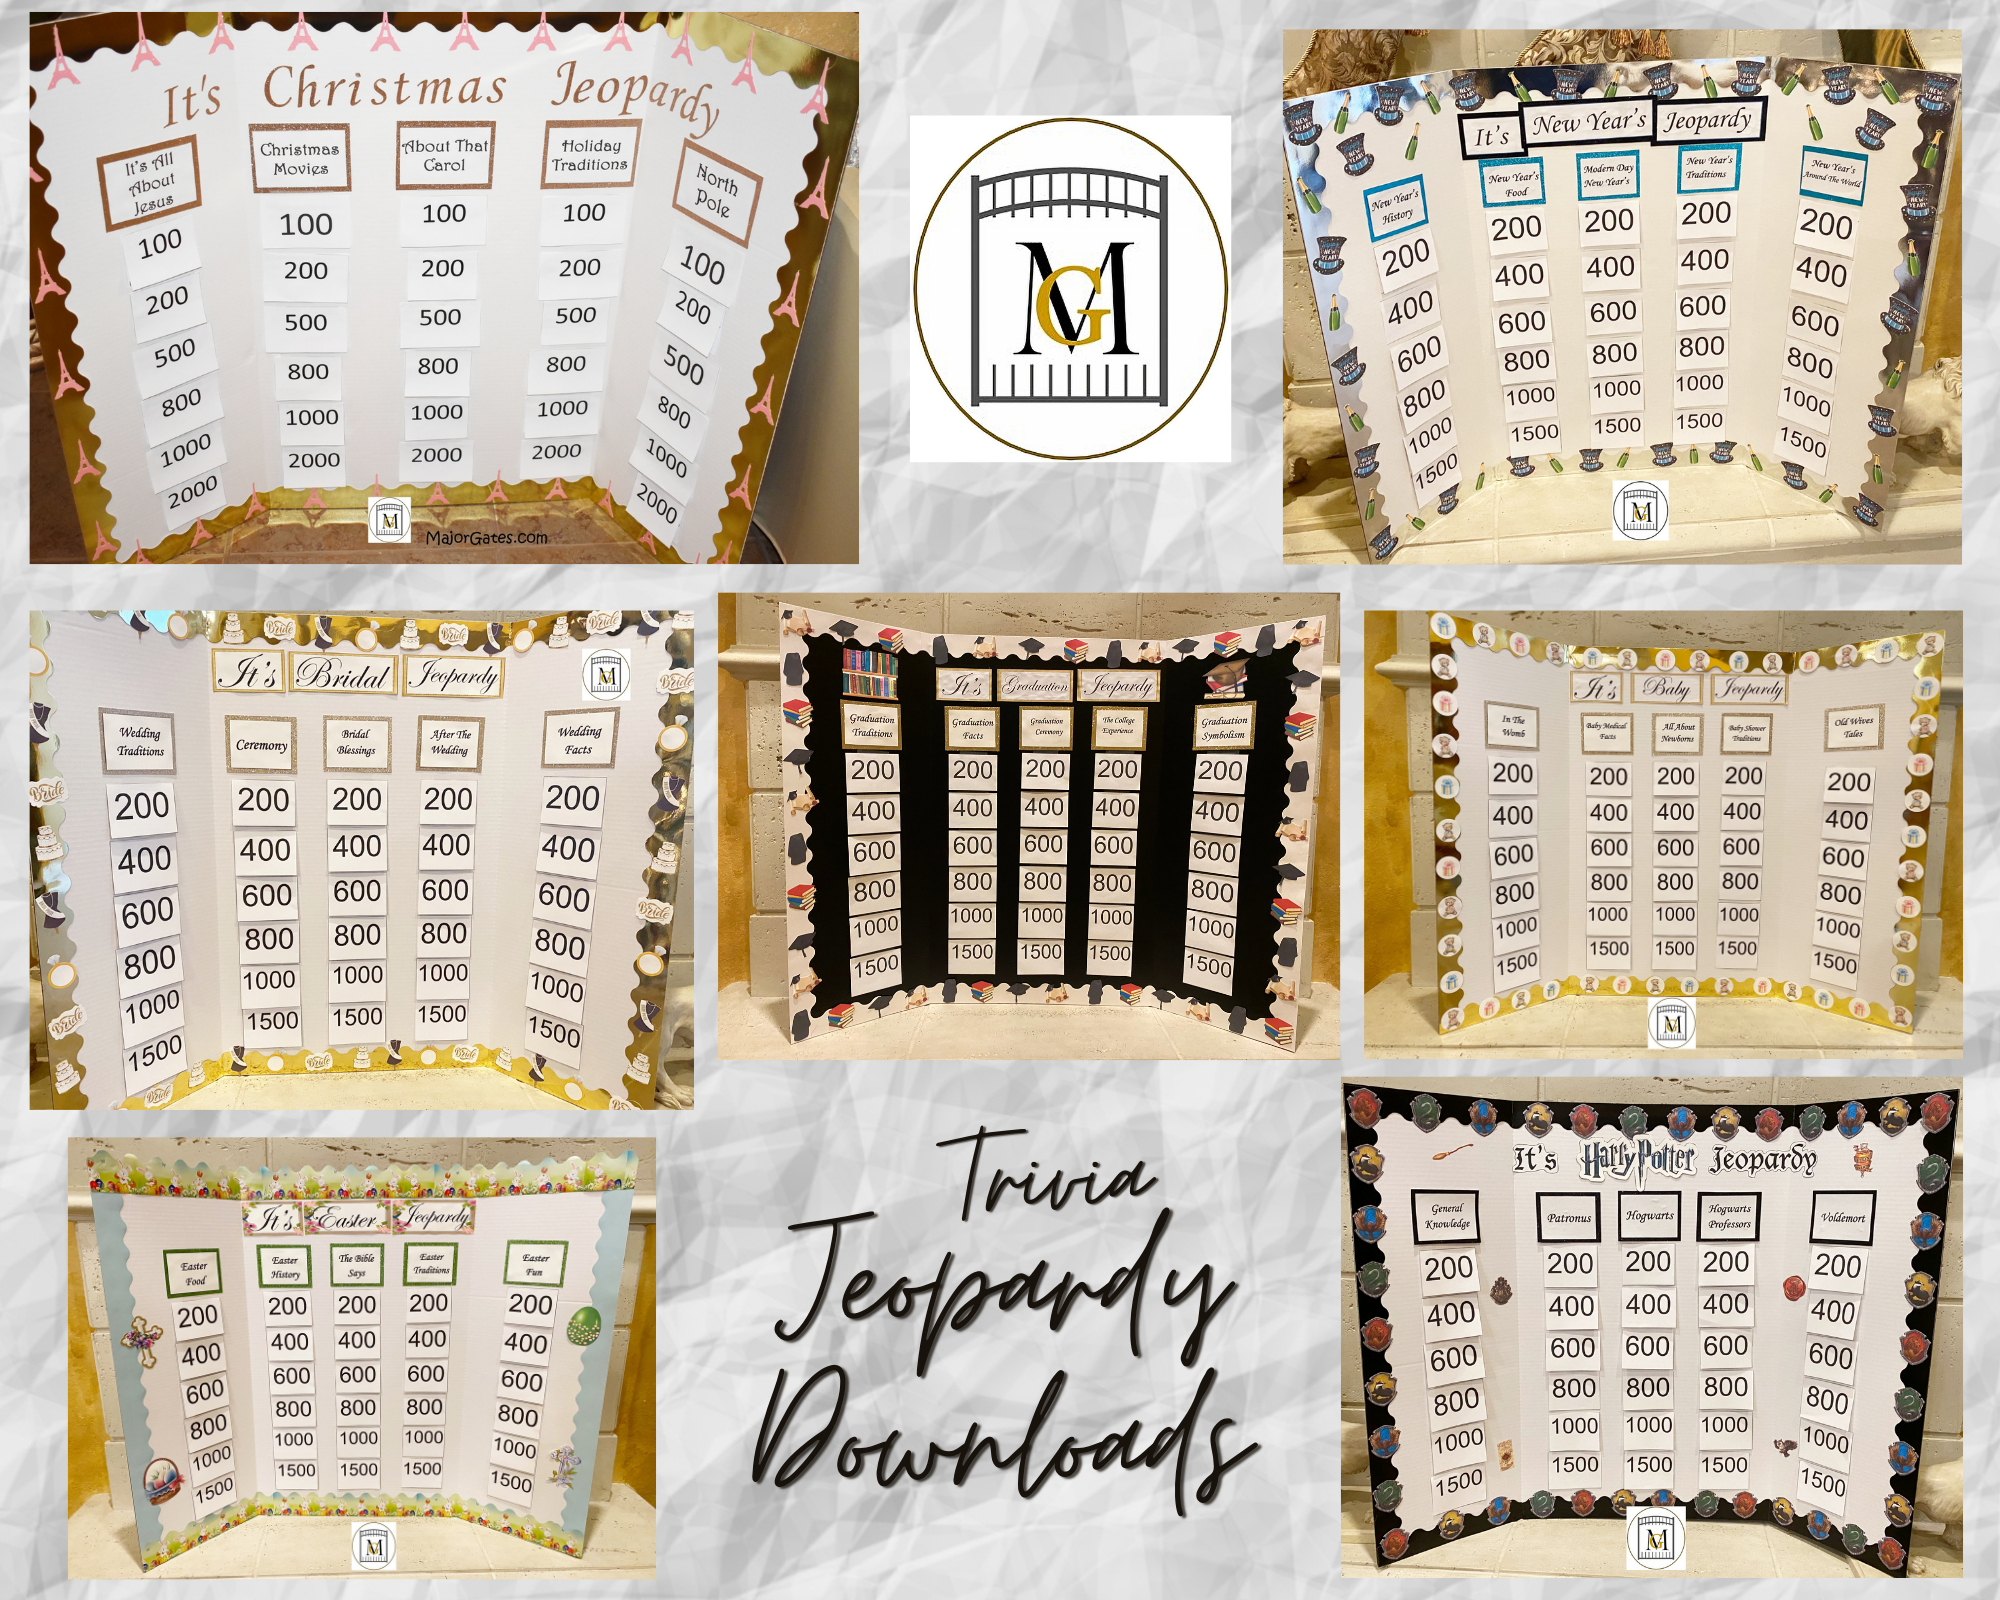
For a great party or holiday game, see my available Jeopardy/Trivia Party downloads here: https://majorgates.com/product-category/jeopardy-trivia/
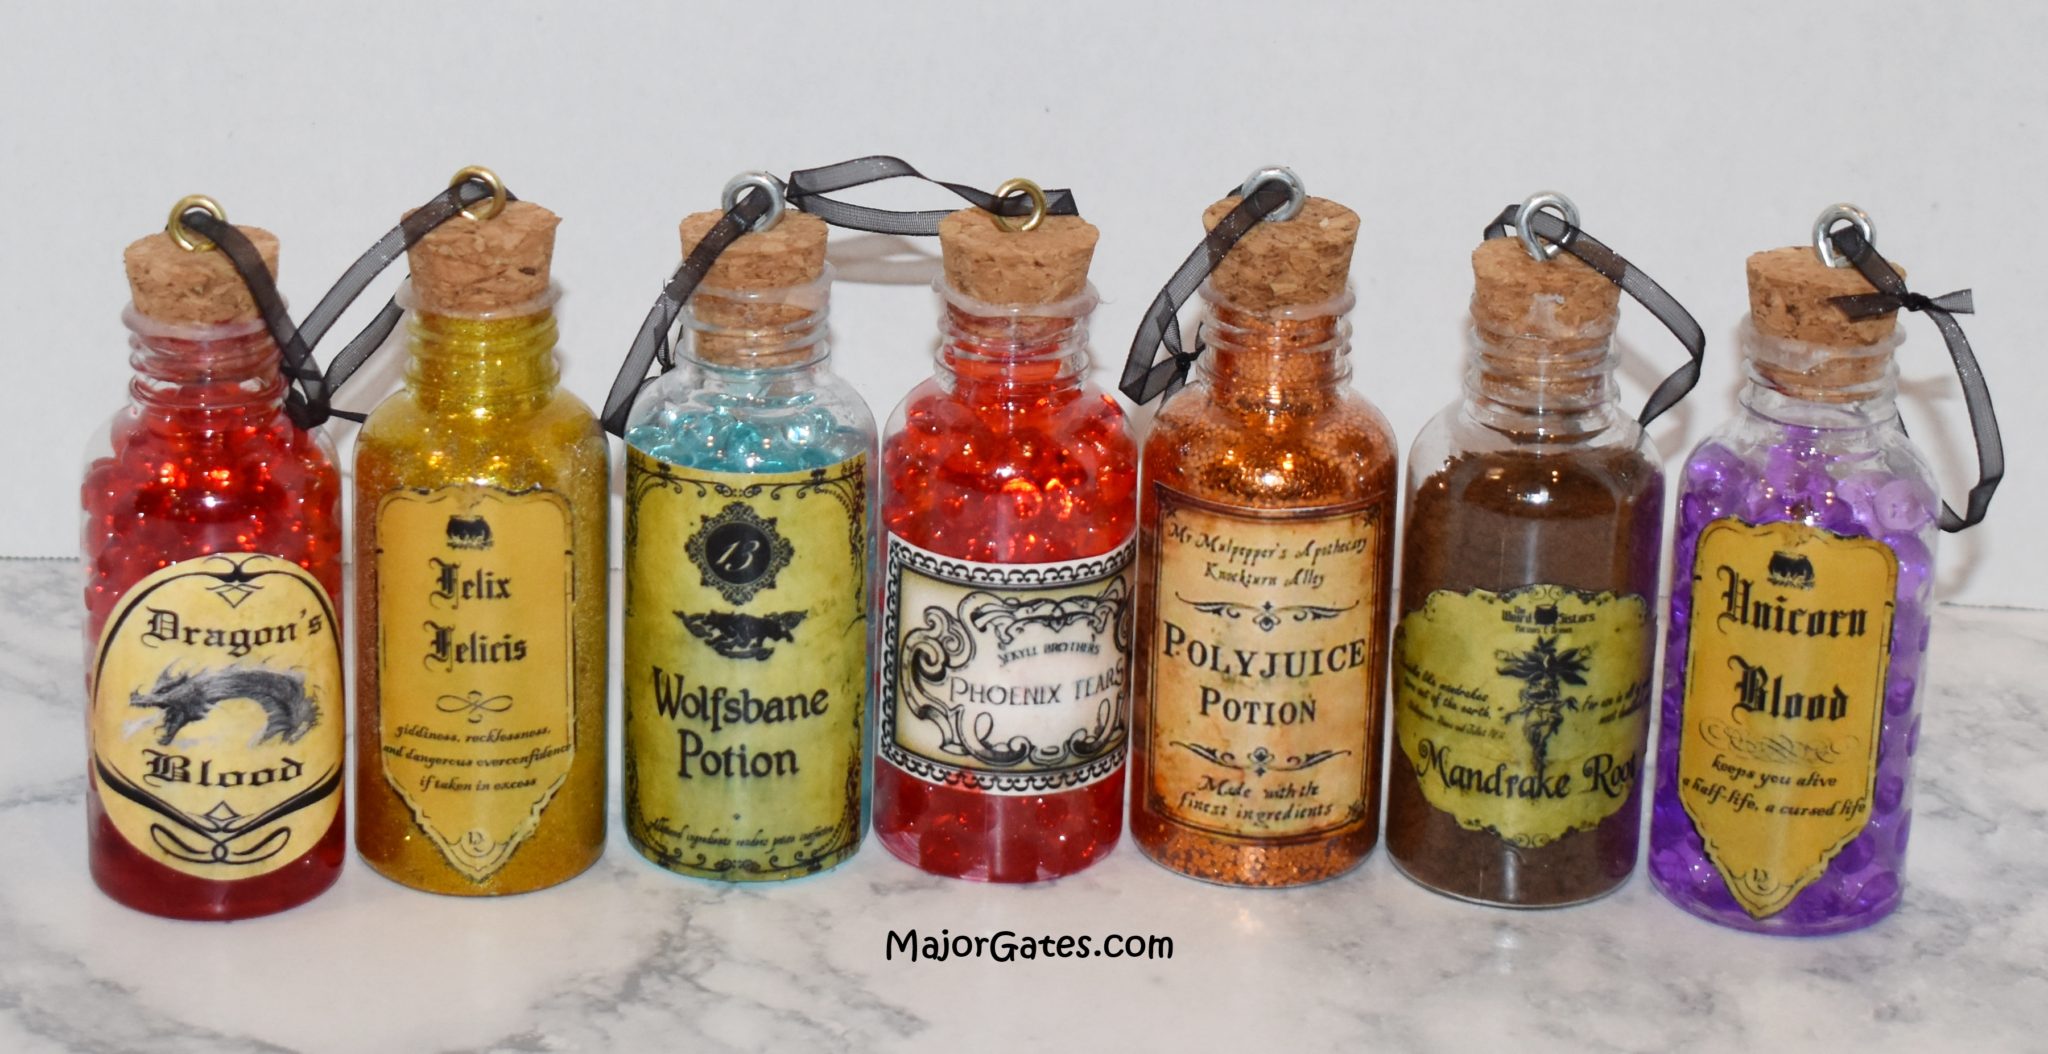
To learn how to make Harry Potter Potion Bottle Ornaments, click here: https://majorgates.com/do-it-yourself/harry-potter-potion-bottle-ornaments/
Supplies
I found most of my supplies at my local craft store except for the Mod Podge, Card Stock and eyelet screws but if you can not find these items locally, I have links to buy them on-line.
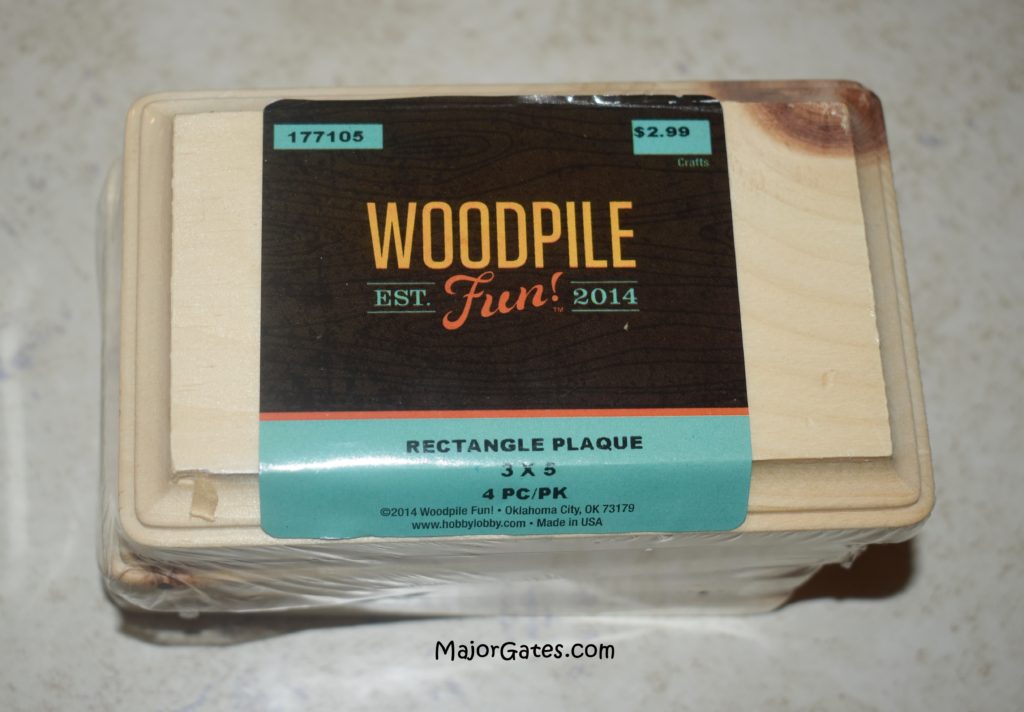
- 3 inch x 5 inch rectangle wood plaque – I found a 4 pack at my local craft store but you can also buy on-line
- DecoArt Americana Gloss Enamels Glorious Gold DAG71 Acrylic Paint – 2 oz or DecoArt Americana Gloss Metallics Glorious Gold DA071 Acrylic Paint – 2 oz
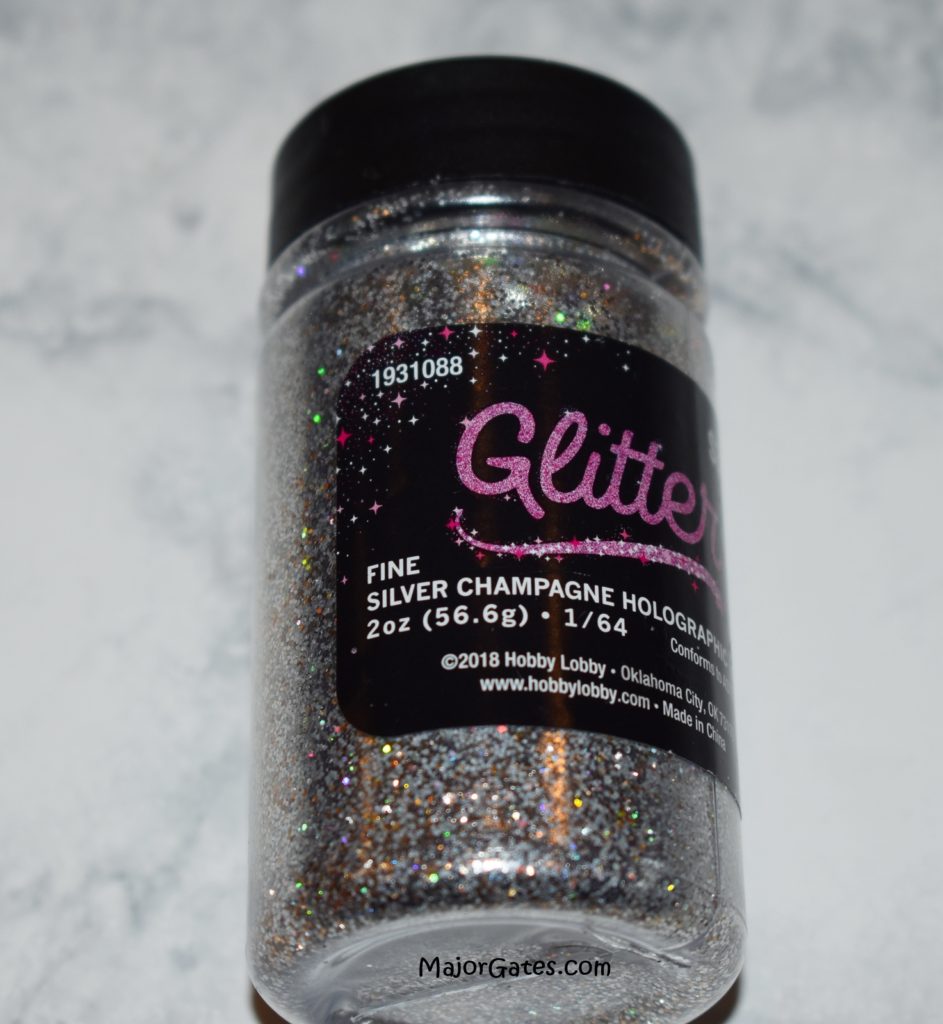
- Glitter: Fine Silver Champagne Holographic (I recommend only using fine or extra fine glitter) – I found glitter at my local craft store but have provided an on-line purchase option as well.
- 65 lb White Card Stock
- Color Printer
- Scissors
- Mod Podge Gloss
- Paint Brush and Paint Tray
- 3-5 mm Thick Ribbon
- Eyelet Screws – 0.23 x 0.31 in (6 x 8 mm)
Directions For Hogwarts Ticket Ornaments
- Print the ticket image on white card stock. Search the internet for a ticket image that you would like to use and then save it down to your computer. Then print the image a little smaller than the wood plaque. So I printed 6 images ( 3 rows x 2 columns).
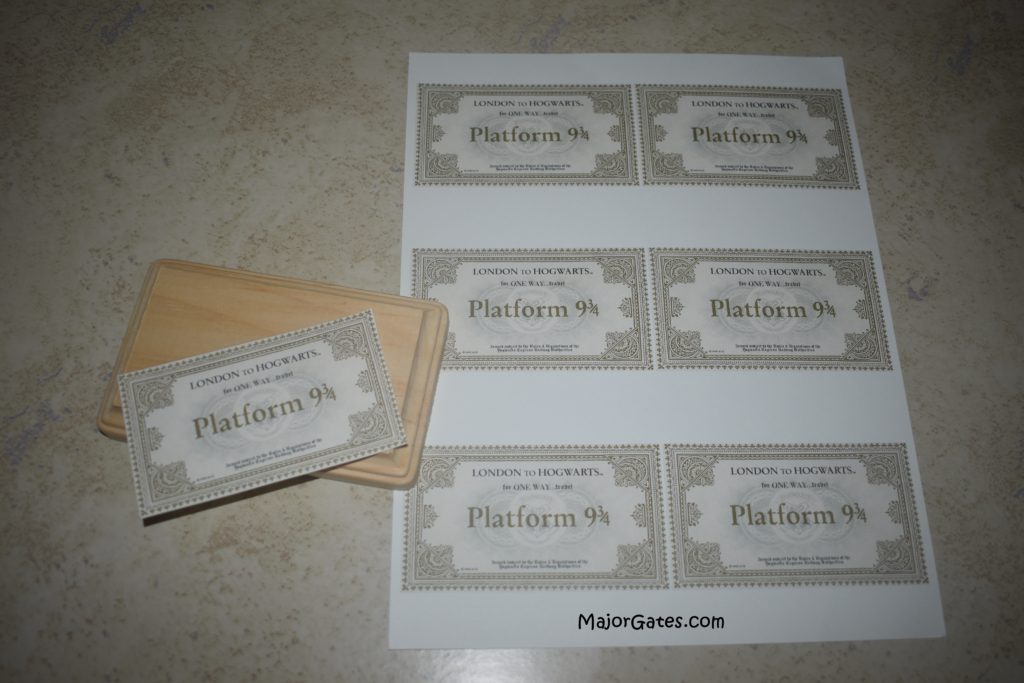
I used a free photo editing software called PhotoScape. I am not affiliated with this company but I like it becasue it is easy to use and free. They do offer a paid option as well. Here is the link if you are interested. http://www.photoscape.org/ps/main/index.php
NOTE: If you are using an image that you saved from the internet, you can not sell items with that image unless you get permission from the image owner. My blog only recommends using on-line images for personal use only and not for re-sale.
- Next, cut out the tickets with sharp scissors.
- Protect your surface with tissue paper or scrap paper and paint the backside of the wood plaque first. Then allow to dry for 1 hour.
- After the back side of the wood plaque is dry, paint the rest of the wood plaque and let the front and sides dry for 1 hour.
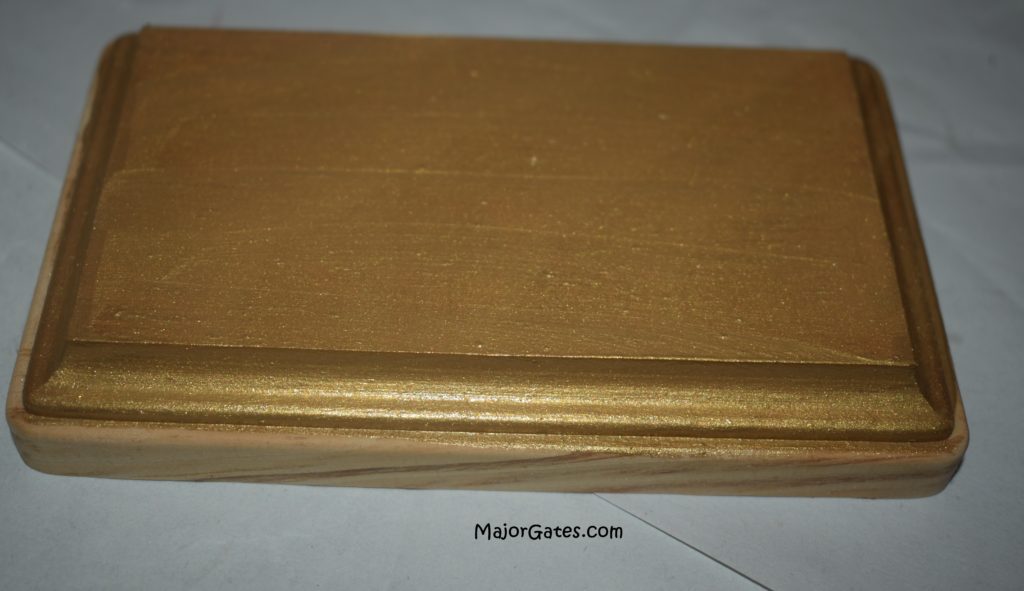
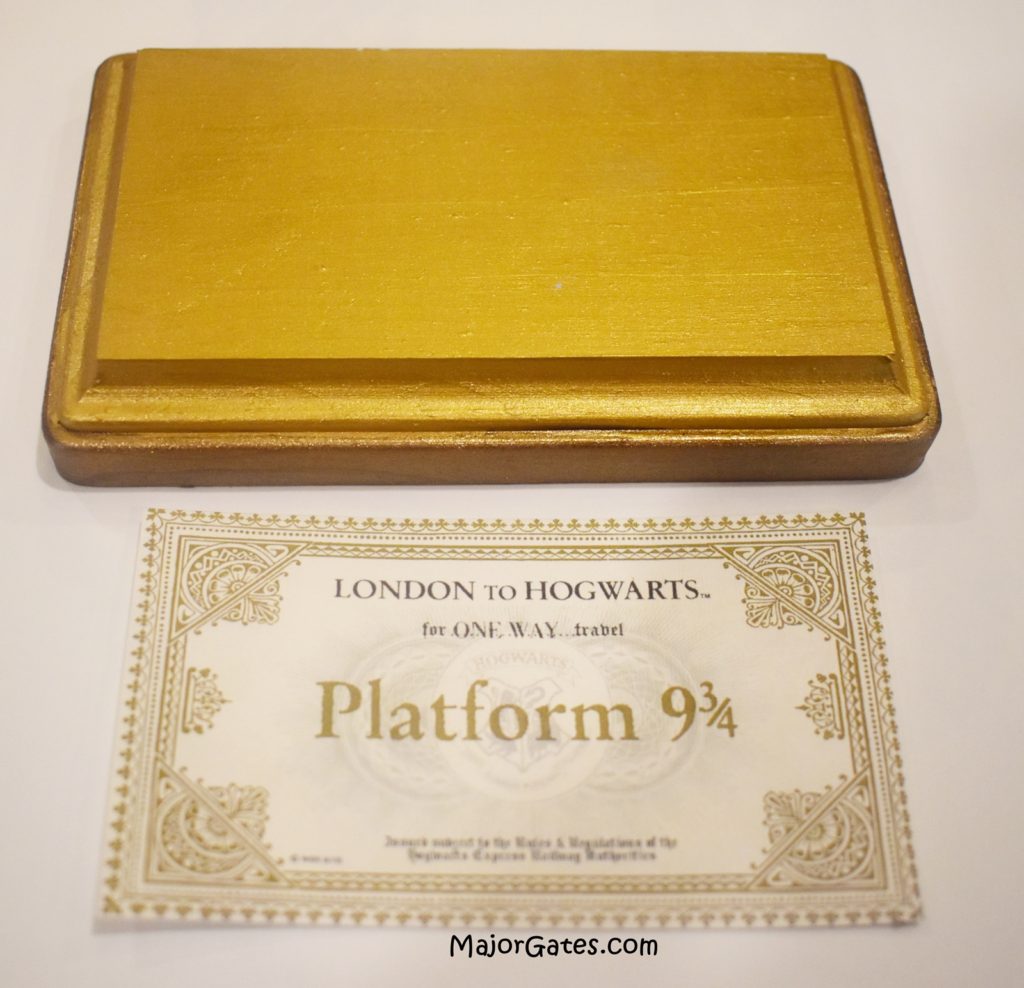
- Now apply the Mod Podge to the back side of the ticket and apply to the front of the wood plaque.
- Then paint a layer of Mod Podge on the front of the ticket and top of the ornament. As it dries, the white Mod Podge will dry clear with a nice gloss sheen.
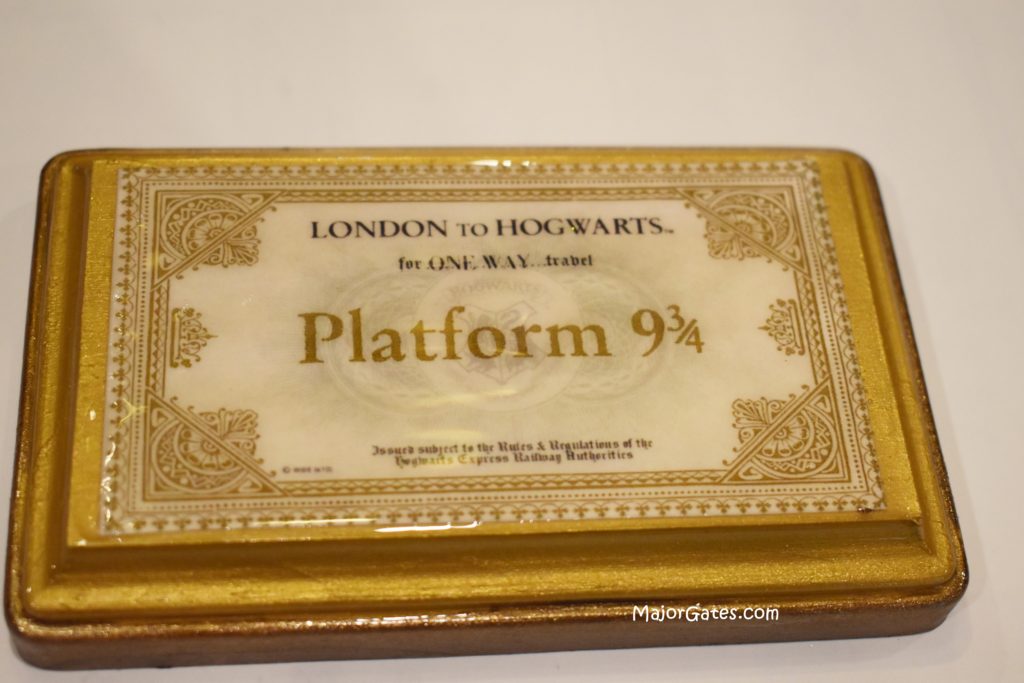
- Allow the plaque to dry for 1-2 hours or until completely dry.
- Now apply a thin line of Mod Podge on the sides where you will be shaking on the glitter. Then shake on the glitter and let it dry for another hour.
- Next add the eyelet screw in the center top of the ornament and then the ribbon.
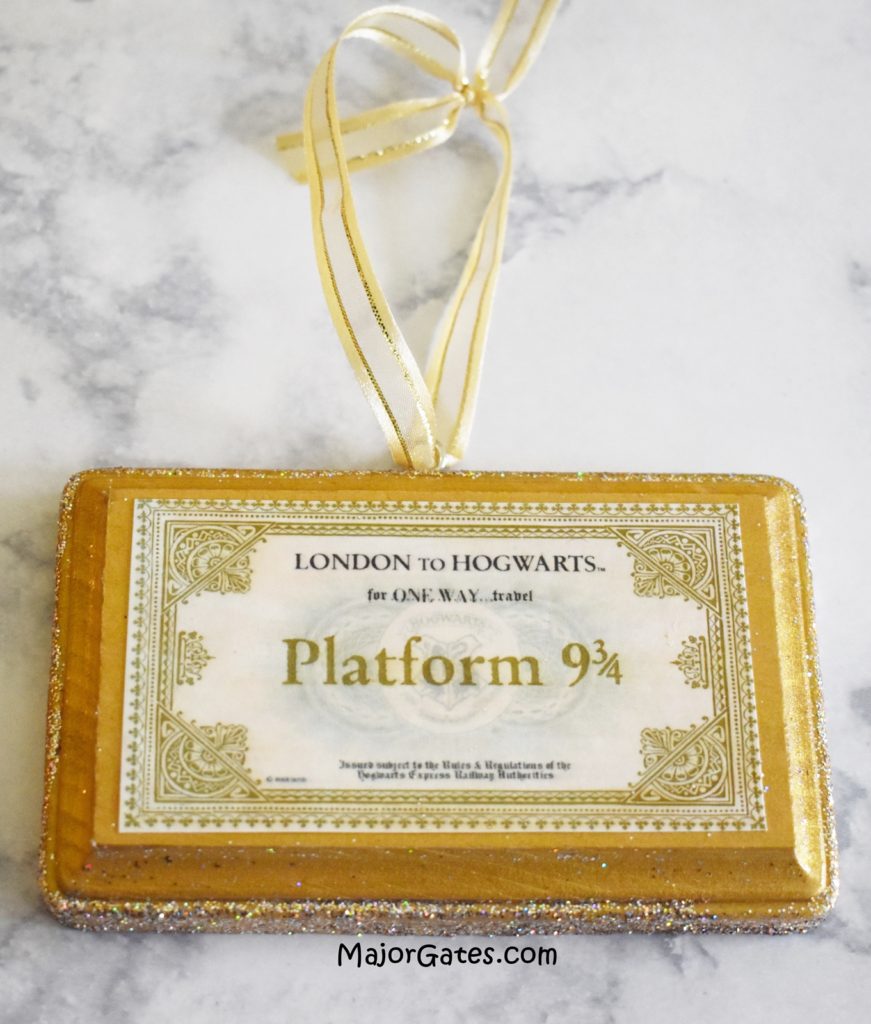
- It is now ready to hang on your tree!
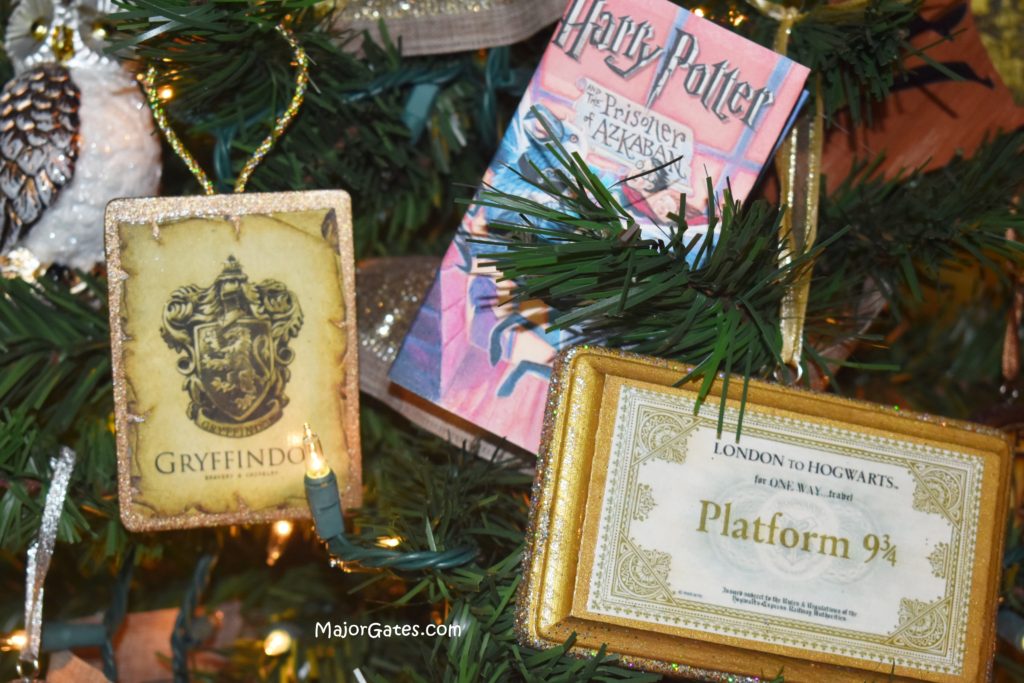
To learn how to make Harry Potter Crest Ornaments, click here: https://majorgates.com/do-it-yourself/easy-hogwarts-crest-ornaments/
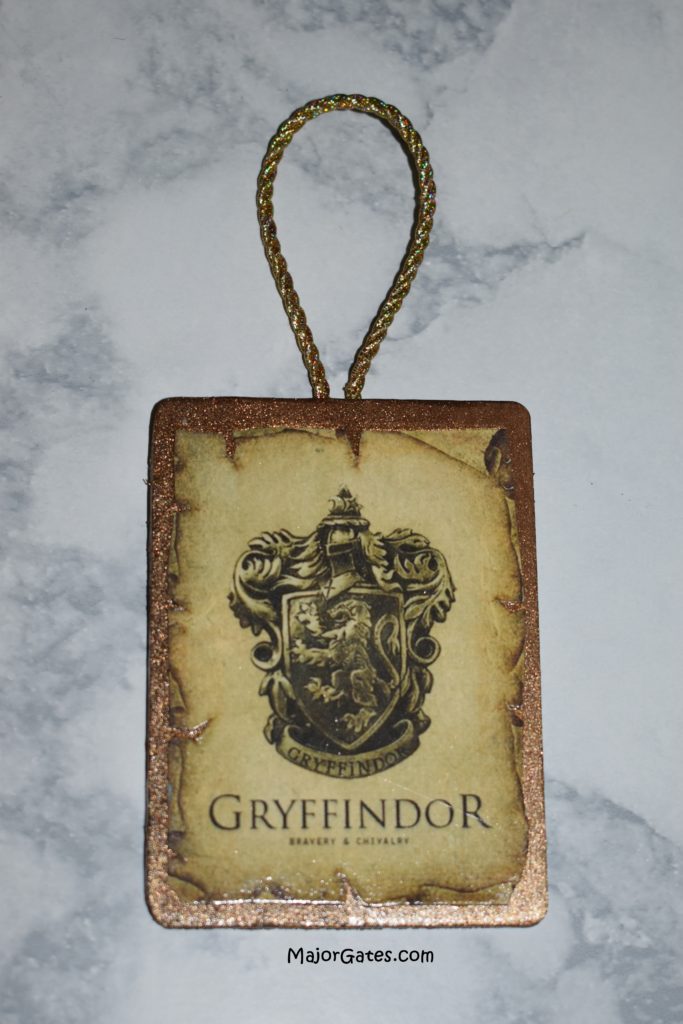
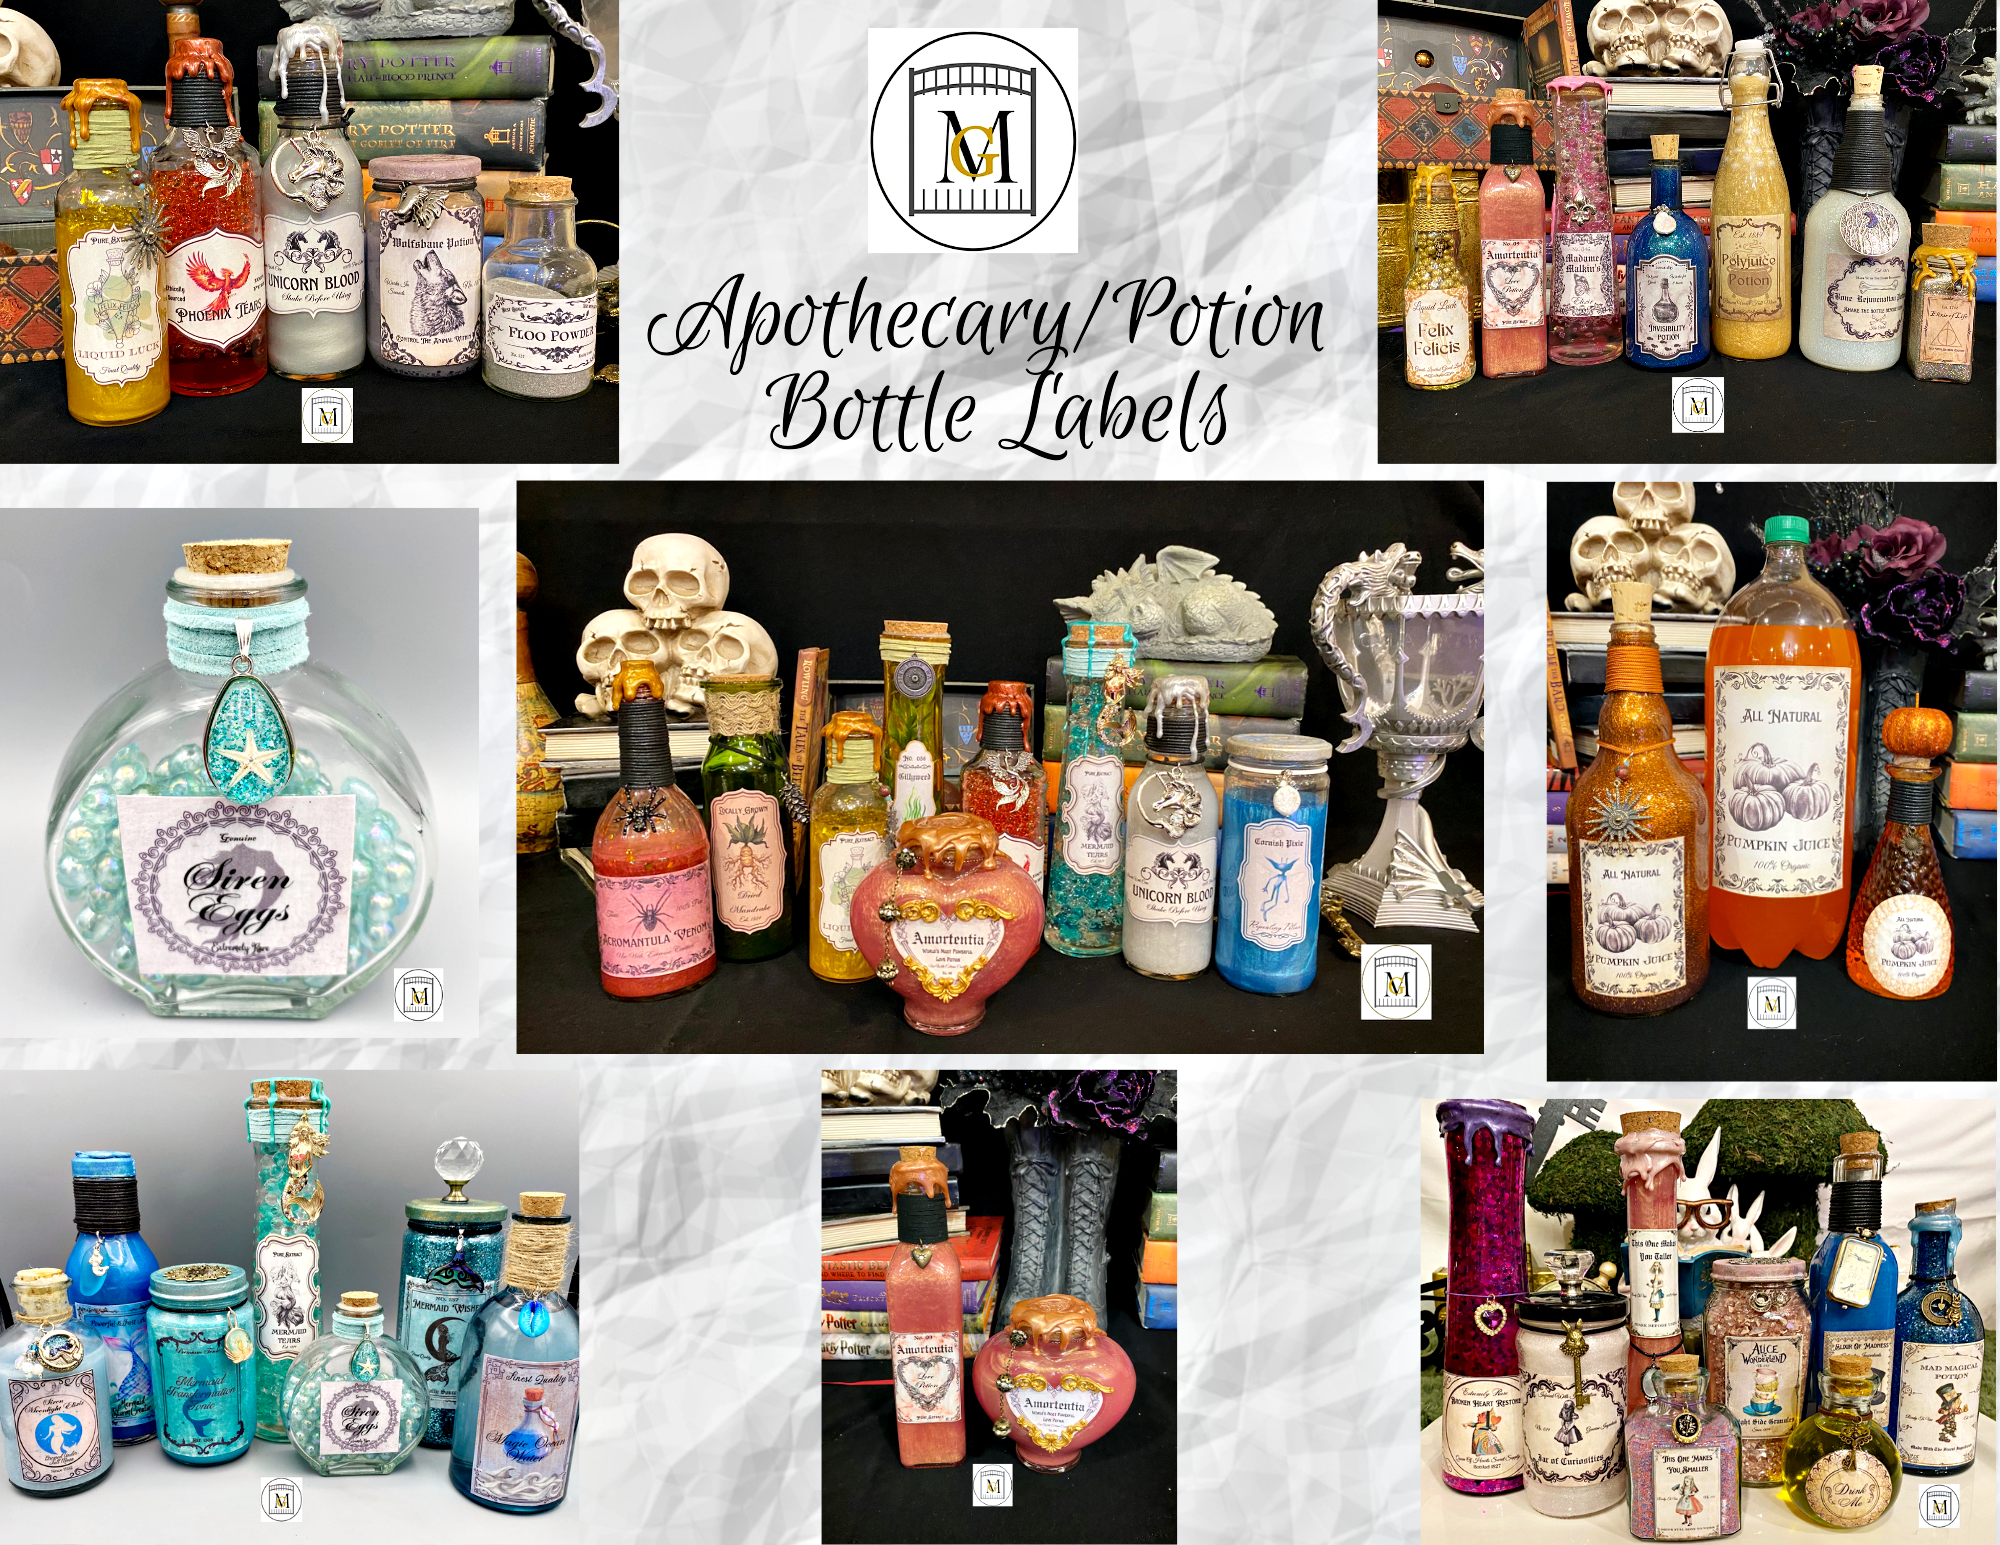
To see my available Potion/Apothecary Bottle Label downloads, click here: https://majorgates.com/product-category/potion-apothecary-labels/
