Wizard Potion Bottles
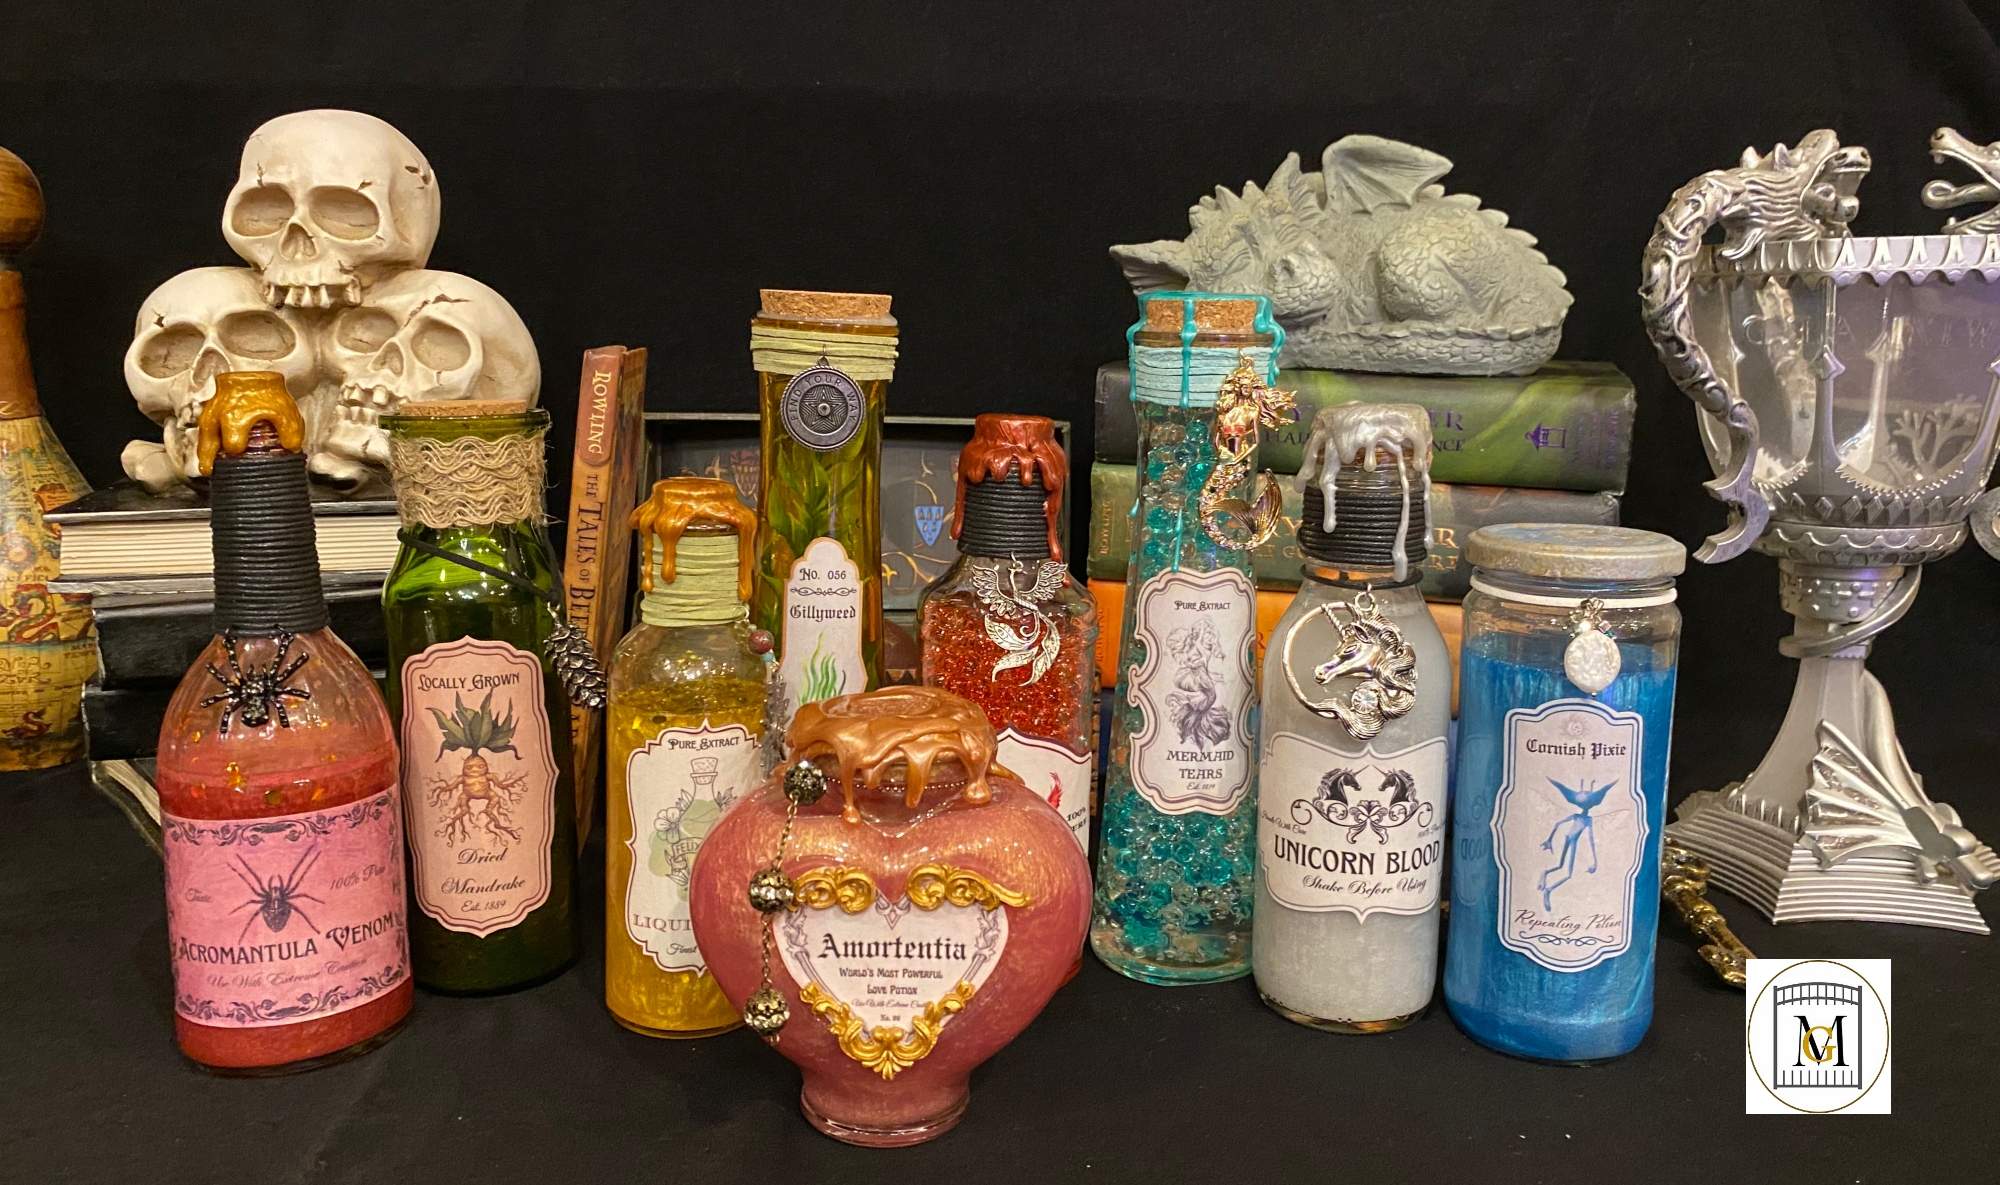
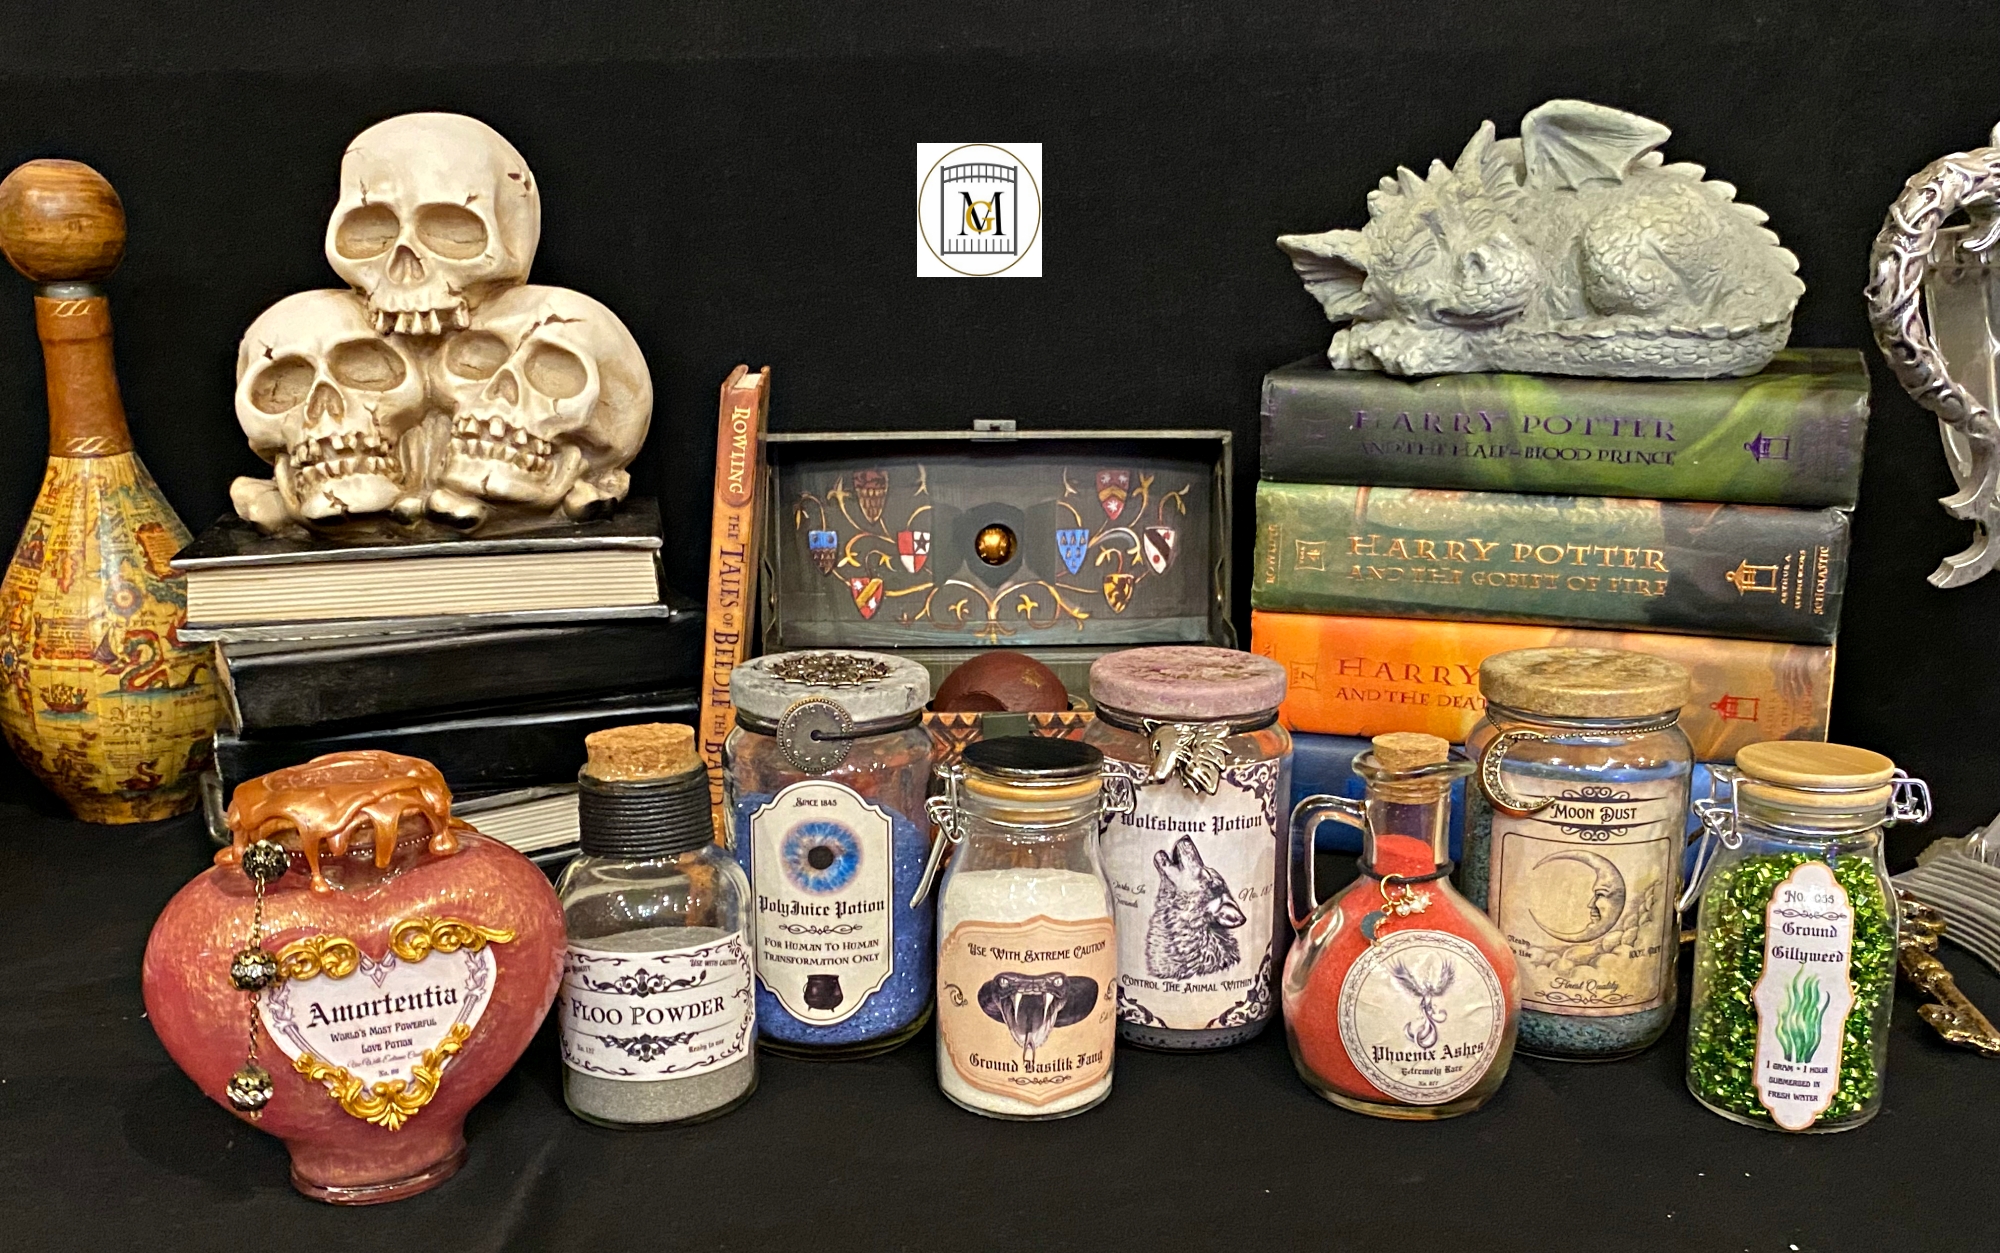
Wizard Potion Bottles or Apothecary Bottles are a great trend for decorations and parties. They are most commonly used for displays for a dramatic impact. People love to see how they are decorated and the read the labels. In this post, I will be detailing how I made some of the wizard themed potion bottles that you see in my pictures. This is a craft that any skill level can do and it is so much fun. You also do not need to have a great skill level to make these. This is a great craft to do with kids.
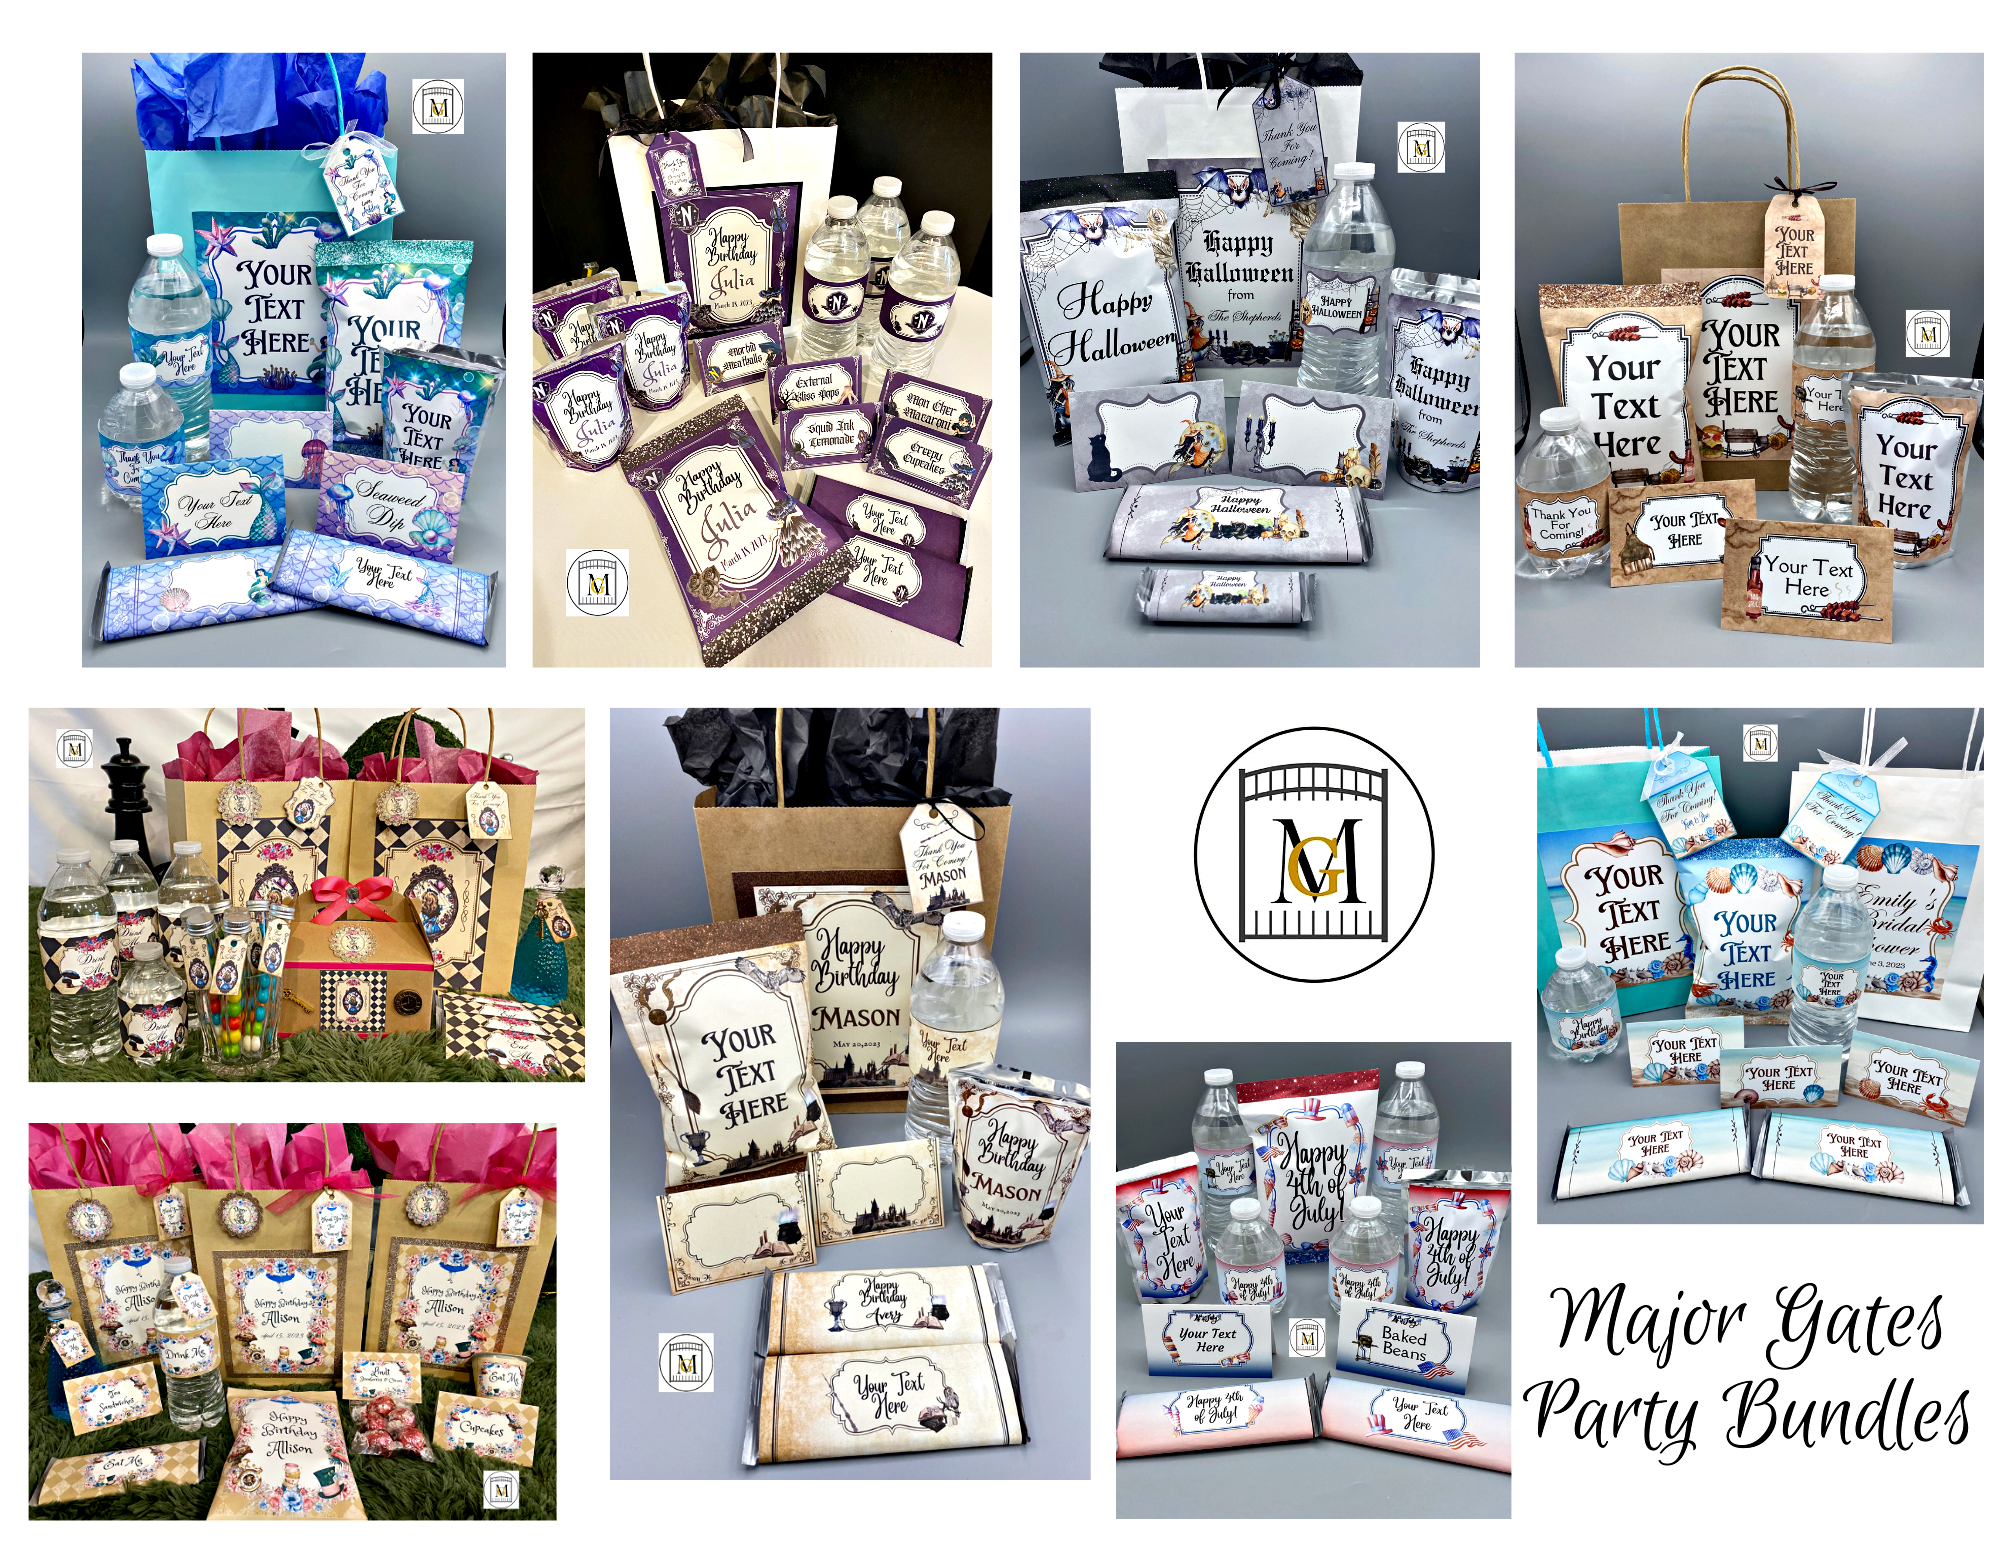
If you need a Party Label Bundle, see my available downloads here: https://majorgates.com/product-category/party-bundles/
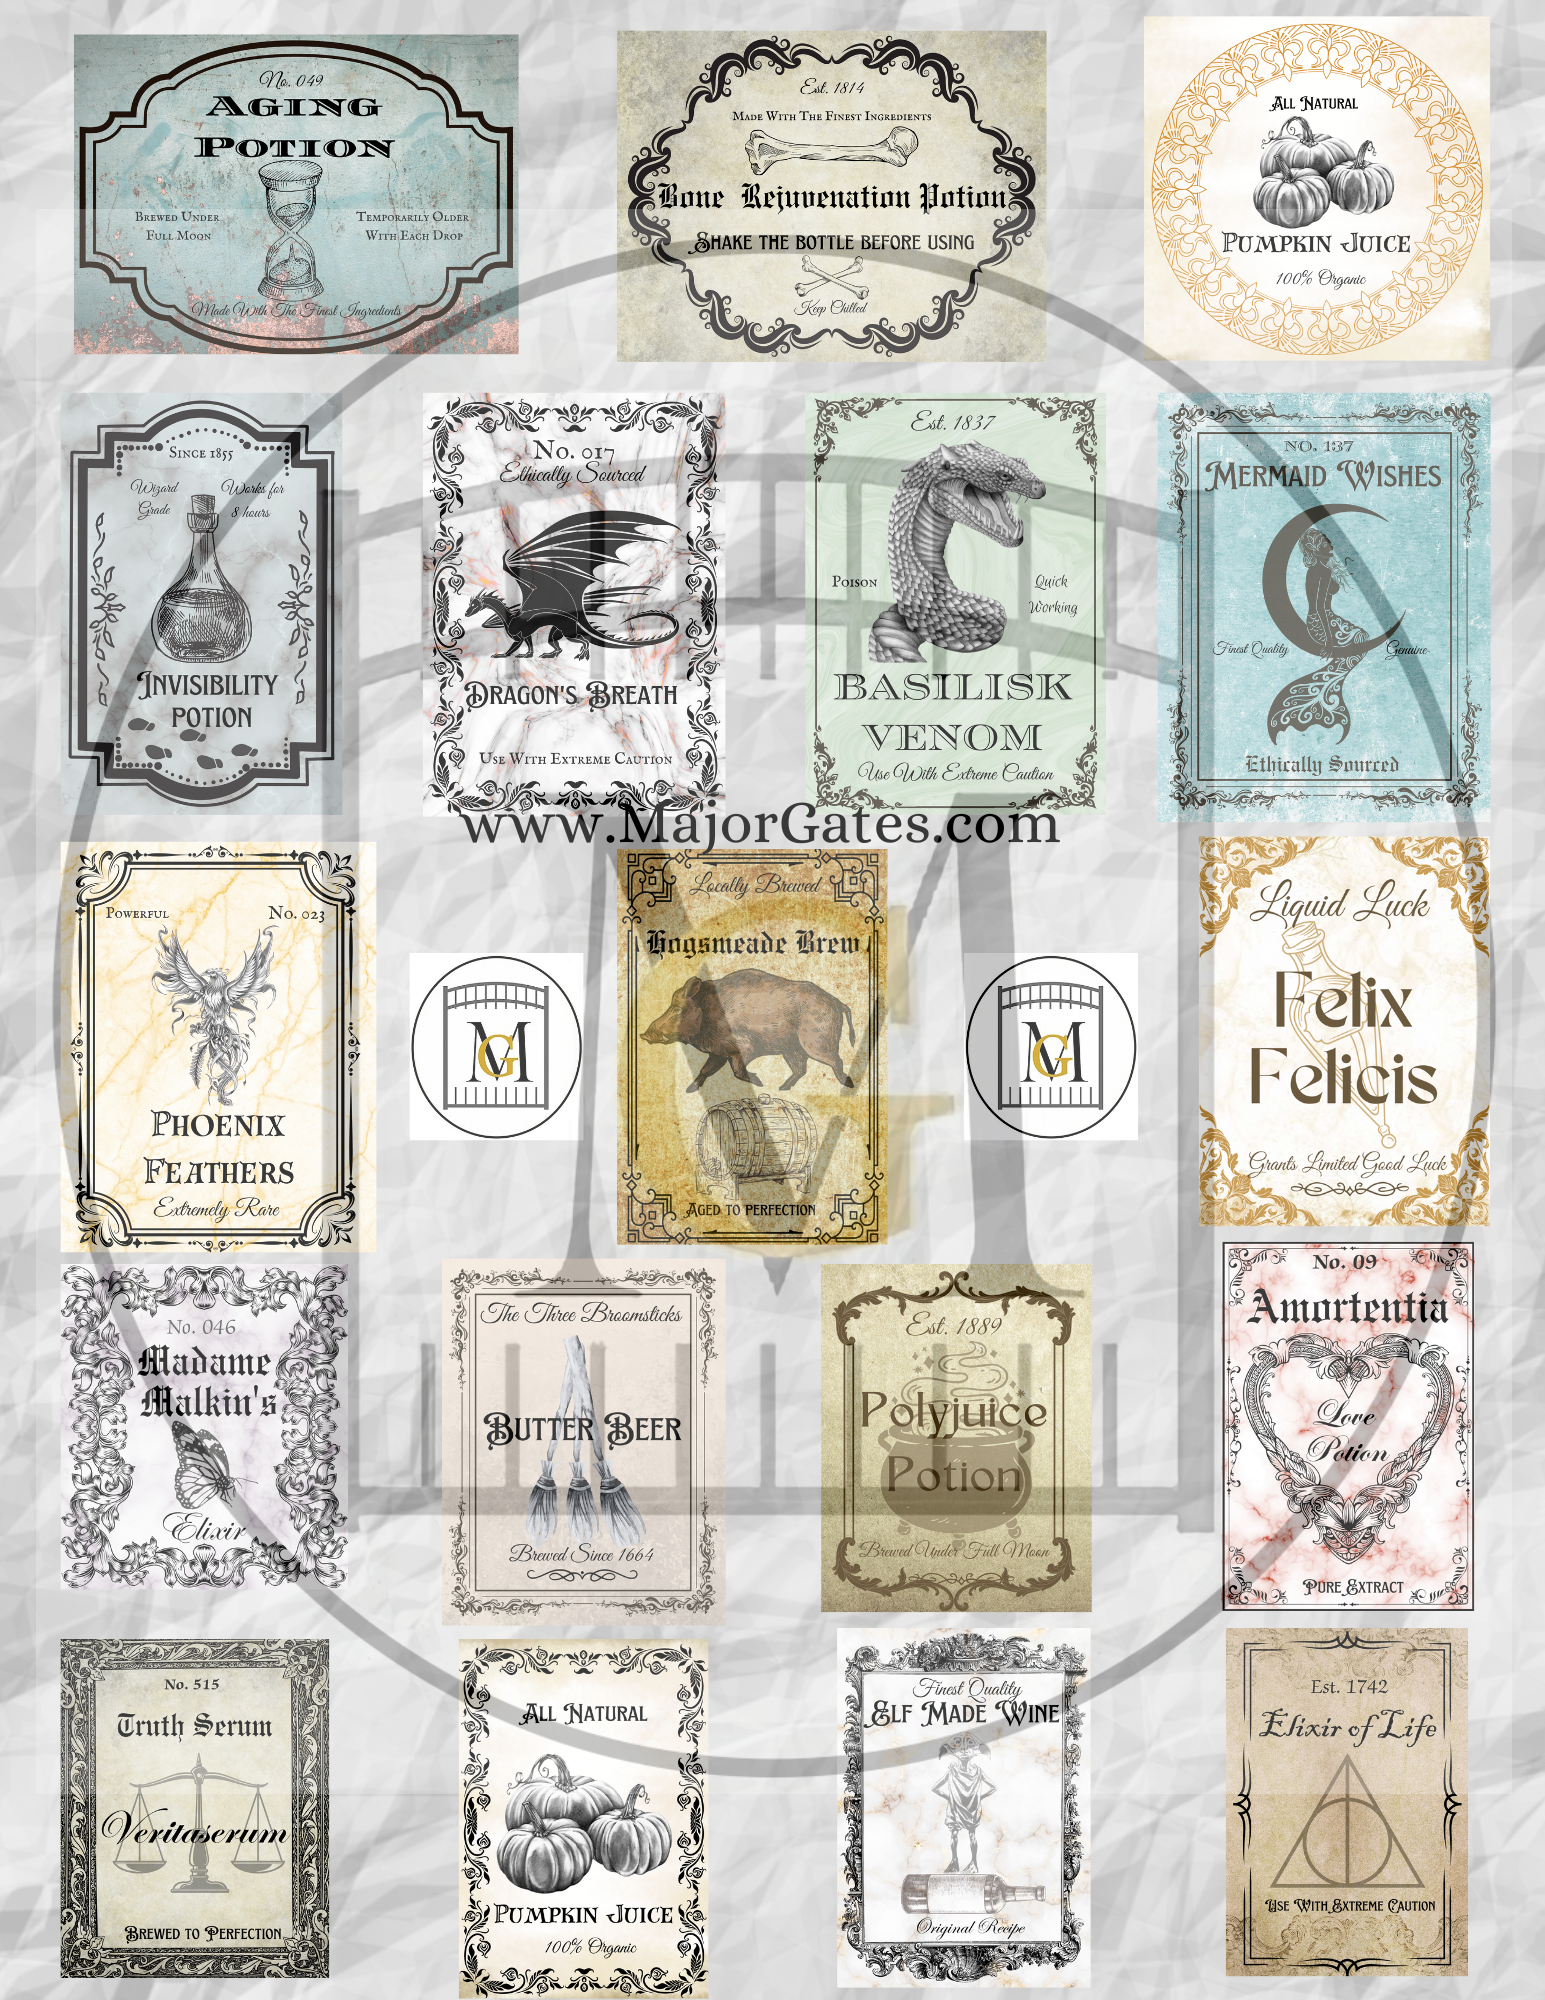
To get the Wizard Potion Bottle Labels seen in this post, click here: https://majorgates.com/product/wizard-potion-bottle-label-bundle-download/
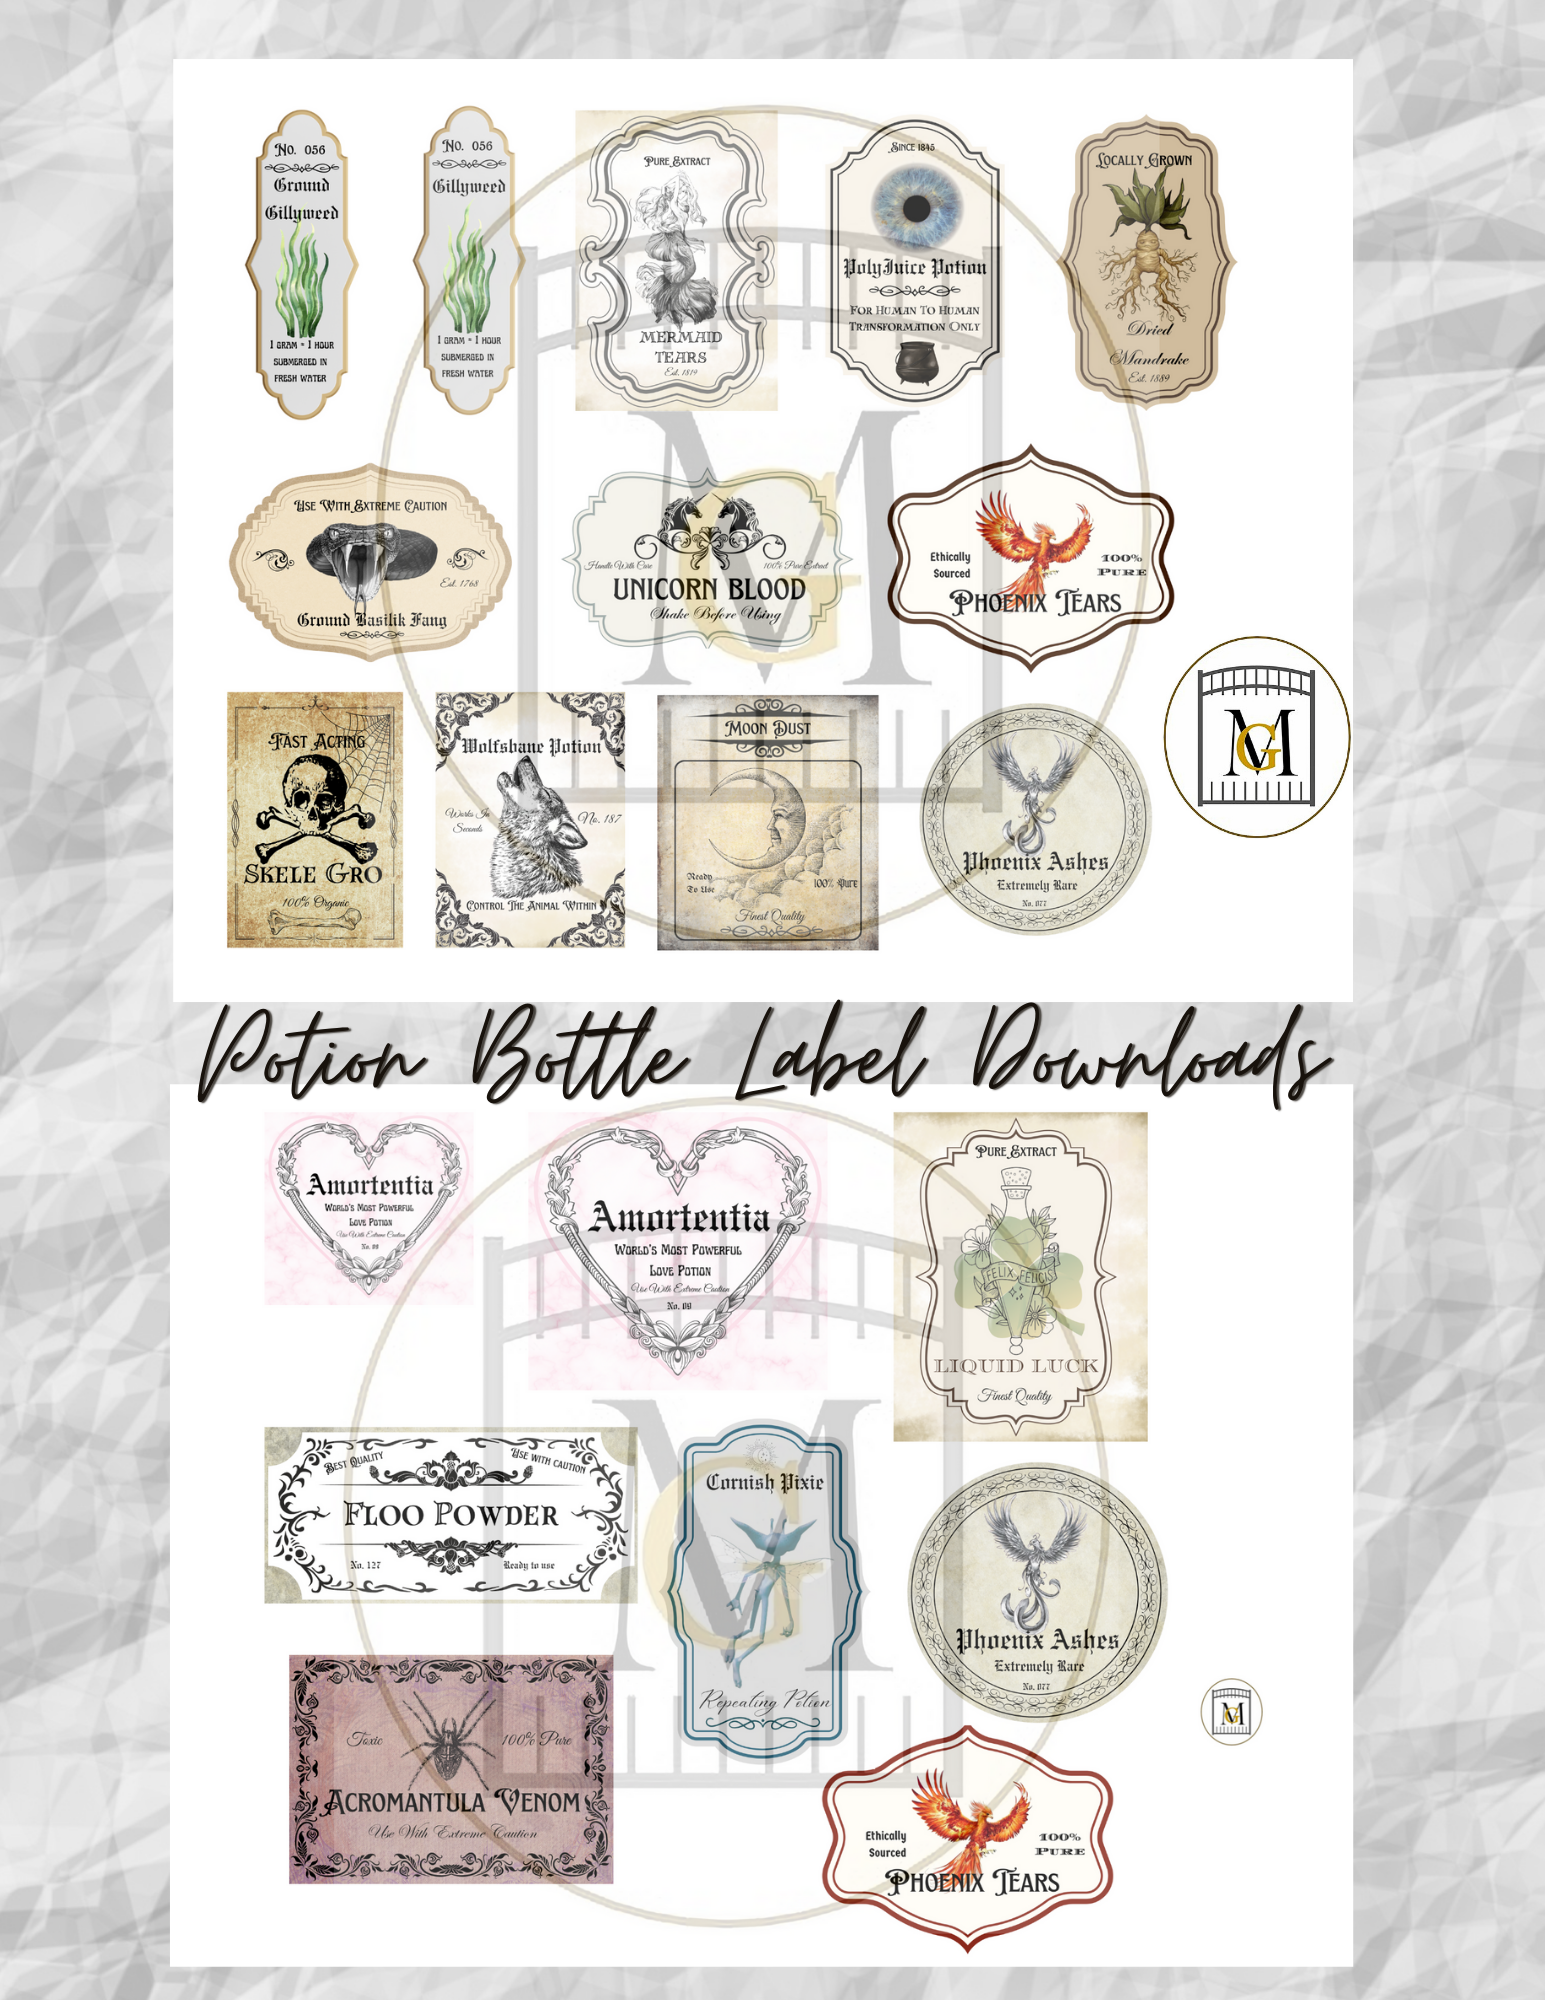
Or Group 2 Wizard Potion Bottle Labels here: https://majorgates.com/product/wizard-potion-bottle-label-bundle-download2/
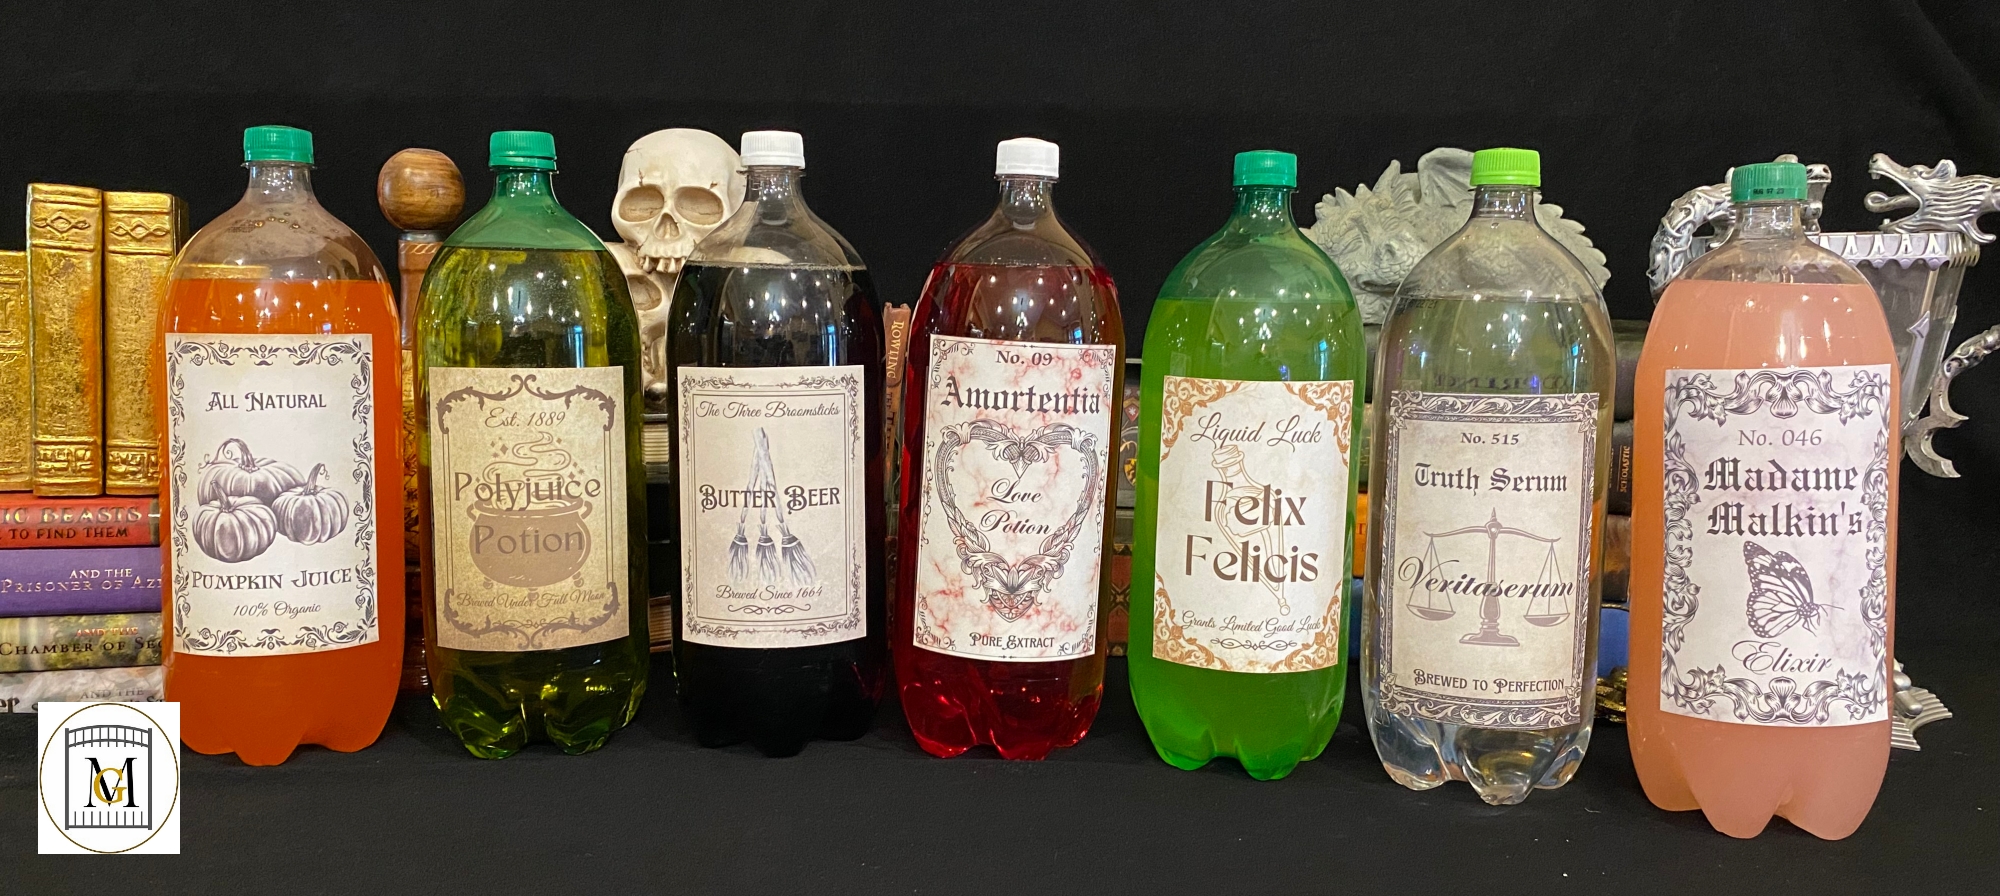
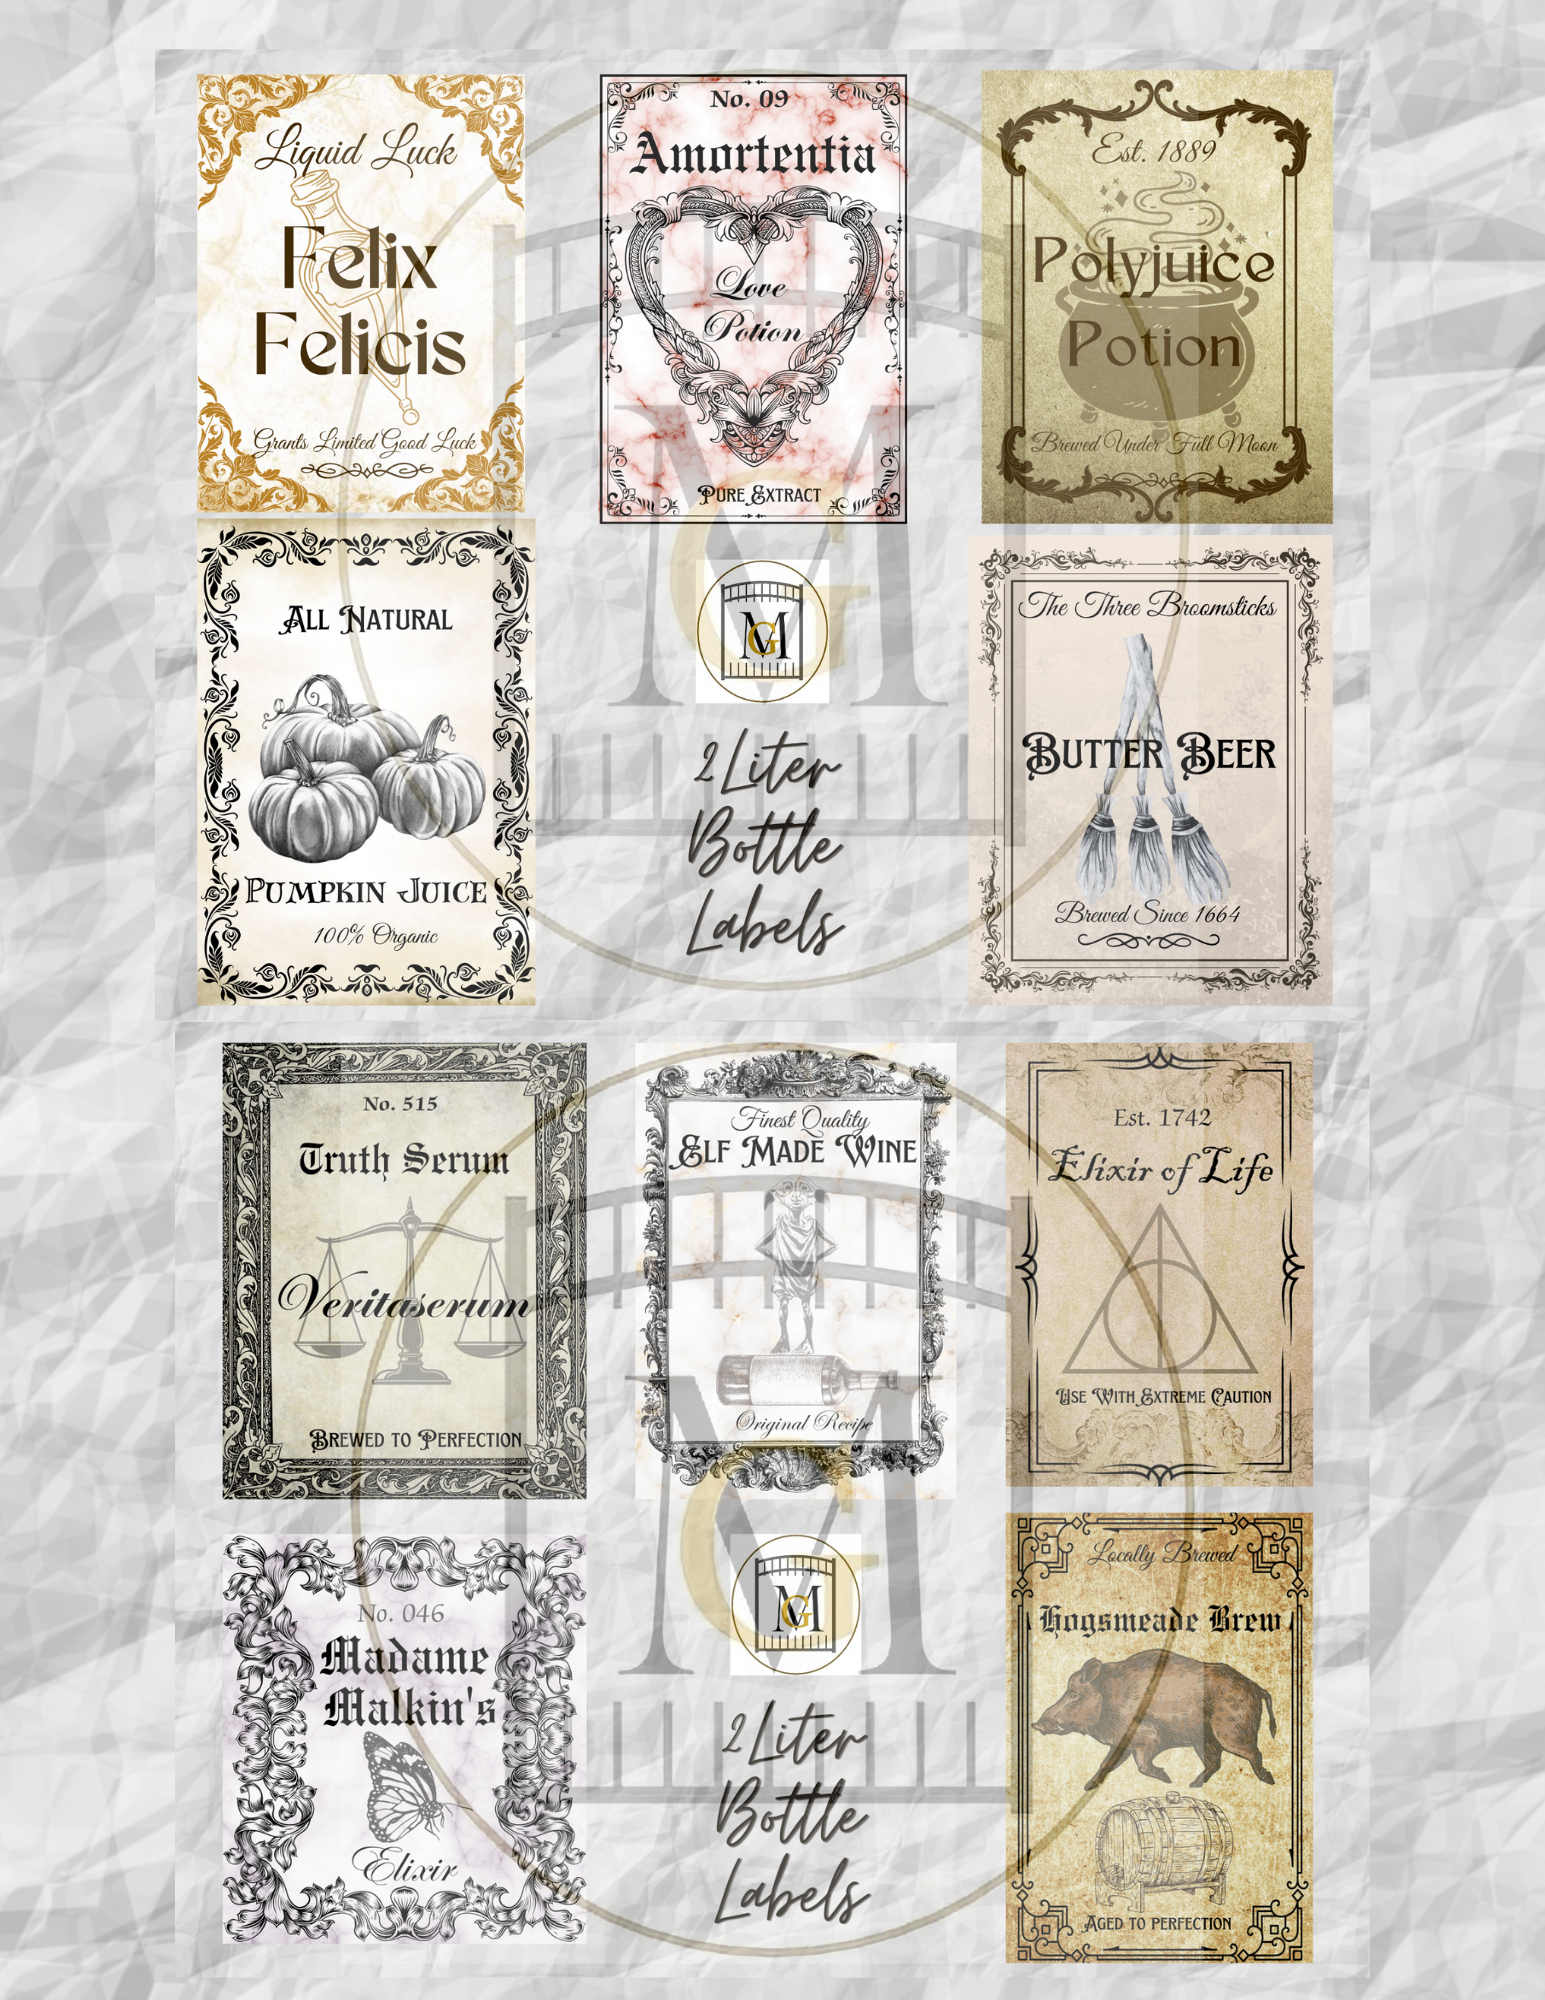
Add more dramatic impact to your party with Wizard themed 2-liter drink potion bottle labels here: https://majorgates.com/product/wizard-2-liter-potion-bottle-label-bundle-download/
Don’t Forget To Follow Me On Pinterest!
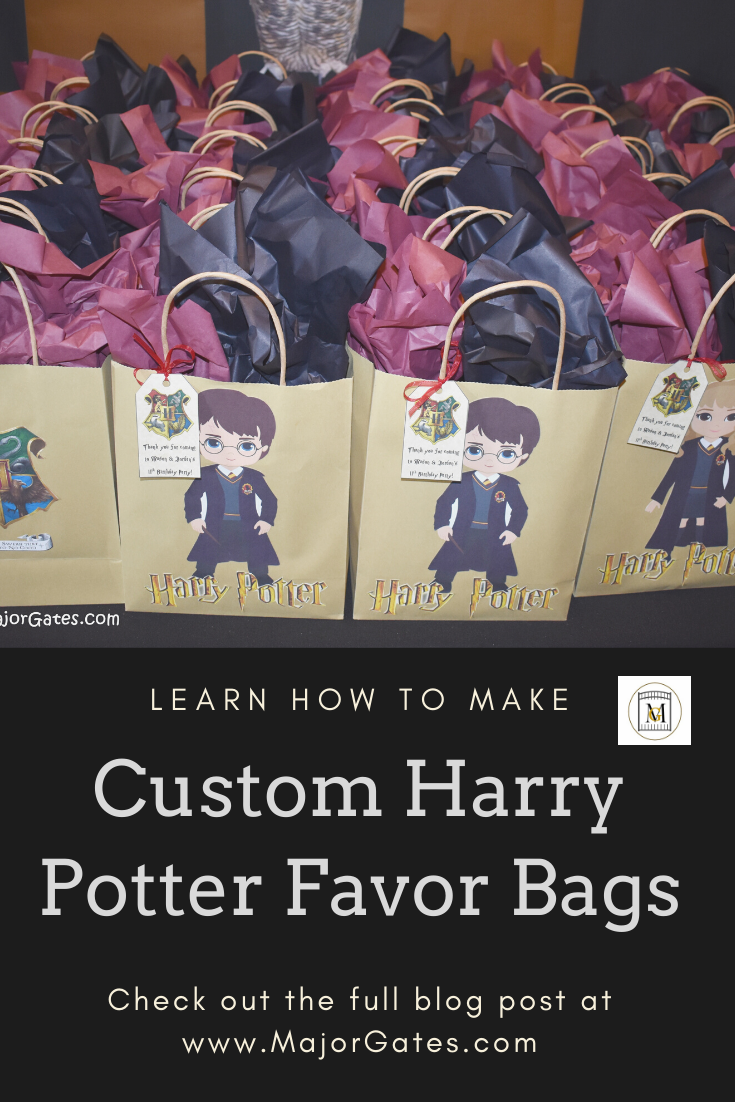
For another great Harry Potter or wizard themed idea, see how to make custom Harry Potter Favor Bags here: https://majorgates.com/do-it-yourself/harry-potter-favor-bags/
Supplies
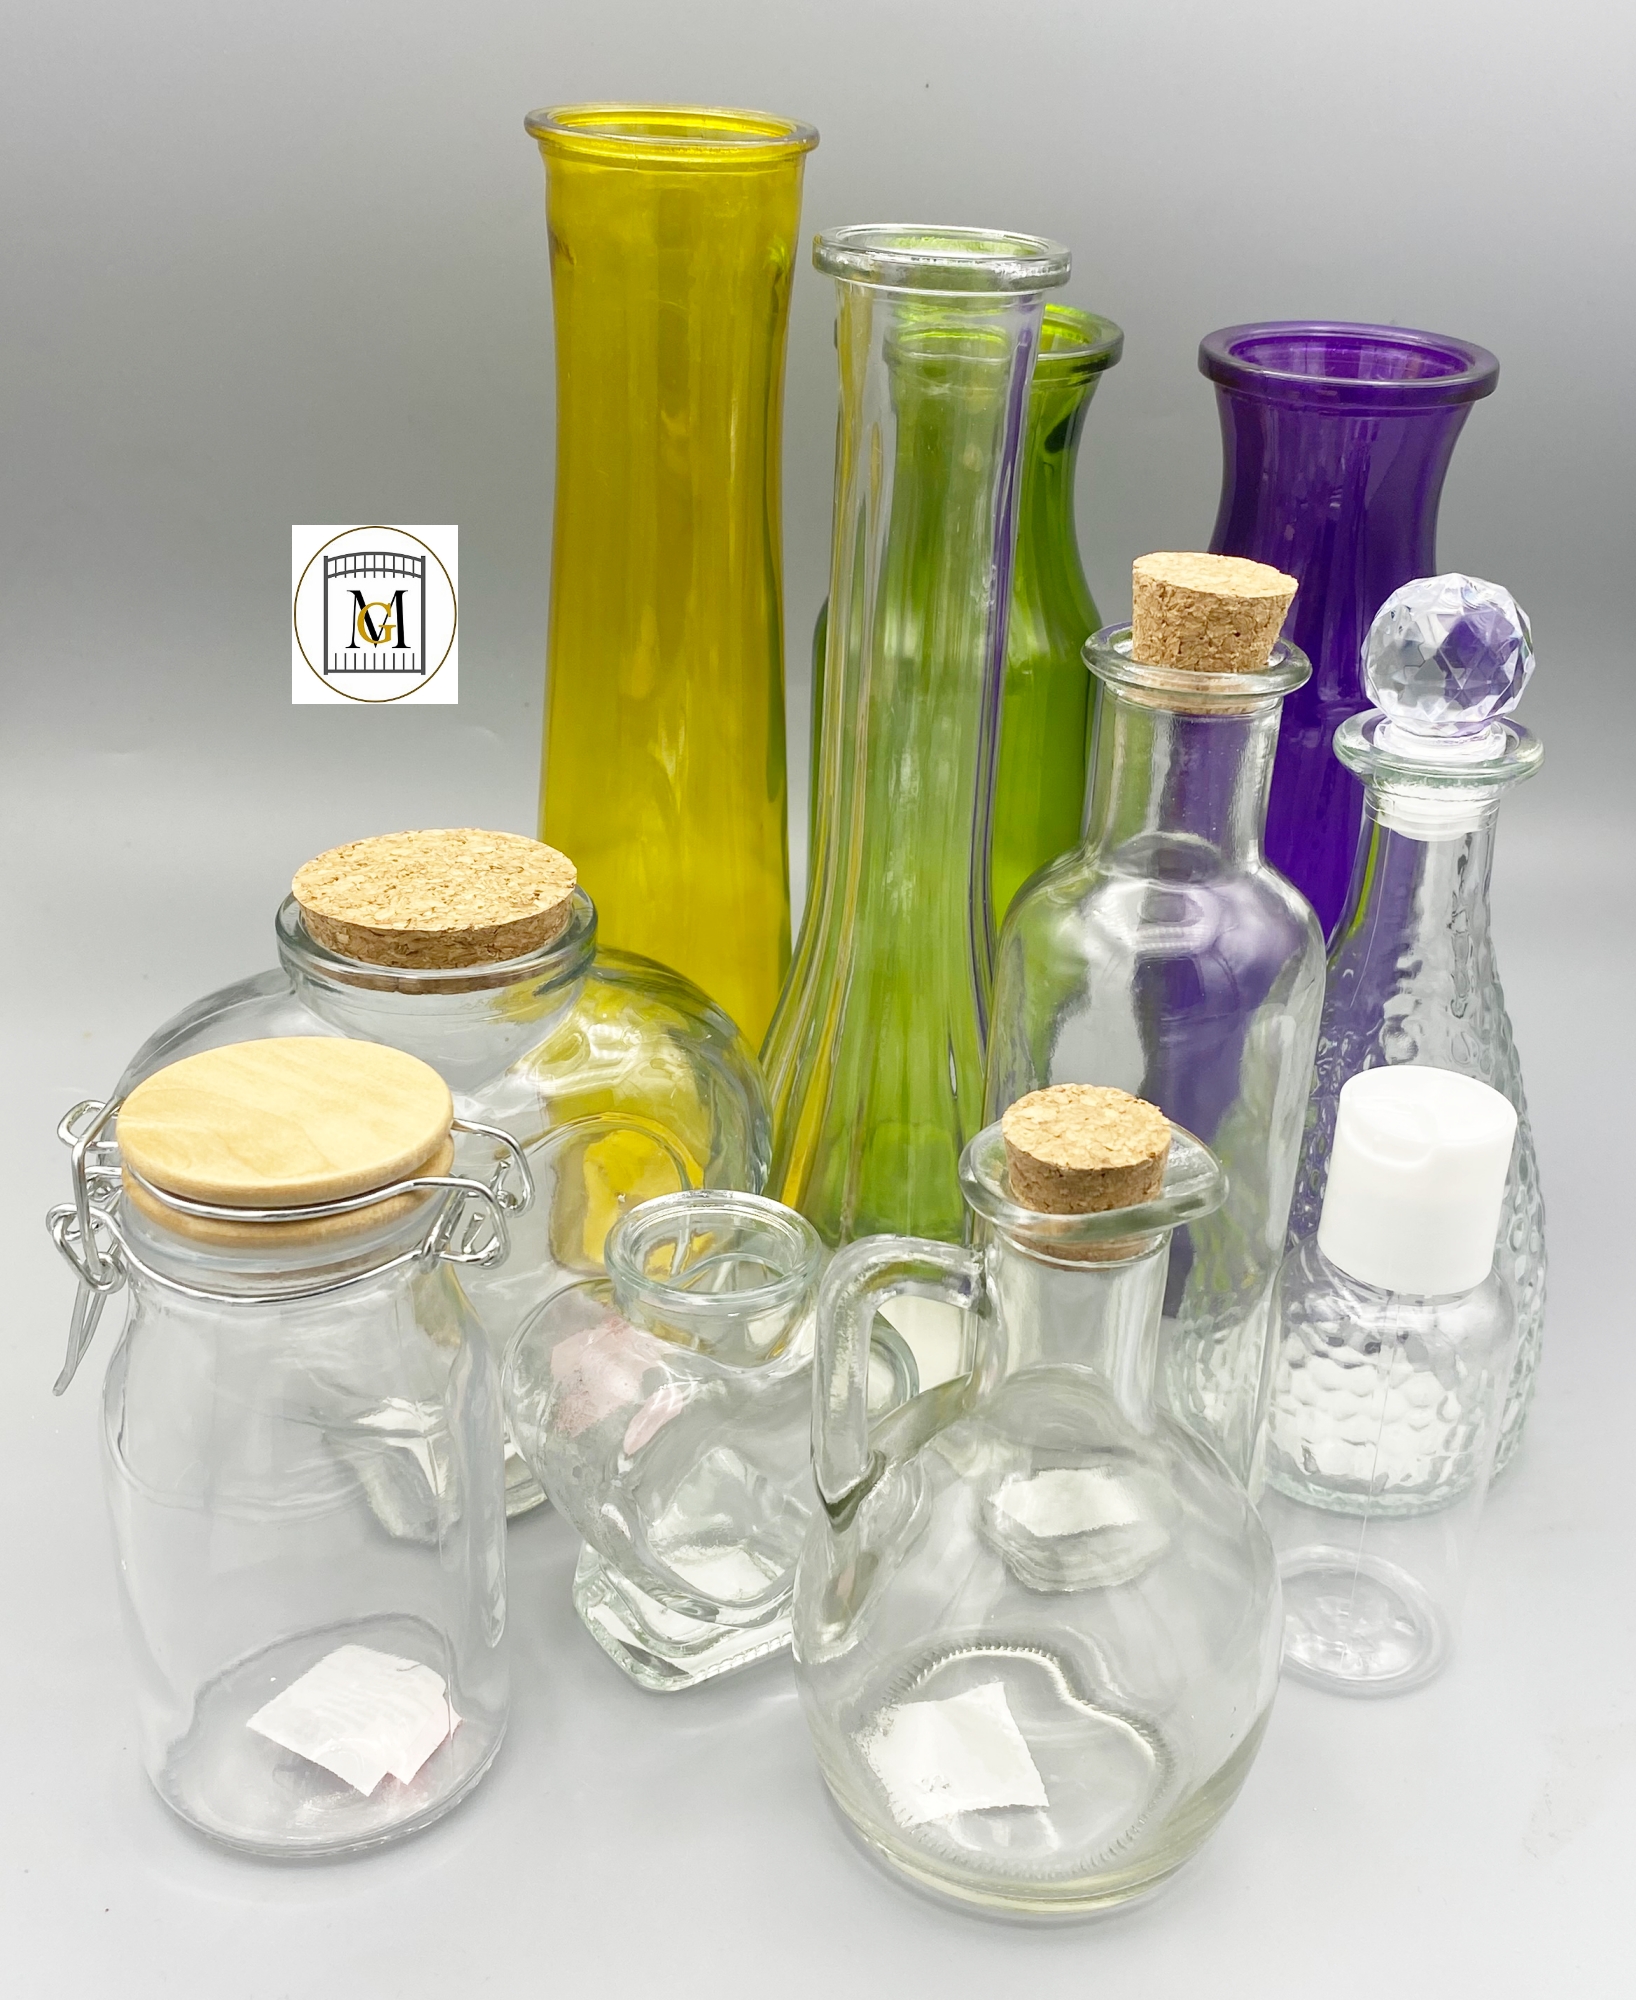
- Glass bottles – these can be store purchased or recycled bottles. So I recommend medium sized bottles are the best ones to work with and are great for displays.
Recommended Bottle Sizes:
- Large – 20-24 ounce
- Medium – 8-16 ounce (preferred)
- Small – 3-7 ounce
Bottle Sources: Cylinder Vases (milk, flower, bud), Hot Sauce Bottles, BBQ Sauce Bottles, Vinegar Bottles, store crafting bottles, Caper Jars, Olive Jars, Pasta Sauce Jars, Travel Bottles, mini alcohol bottles in various shapes.
Remove stamped best buy dates on recycled bottles with nail polish remover.
Here is a list of the most common supplies that I use to make my potion bottles.
- Paint brushes and paint tray
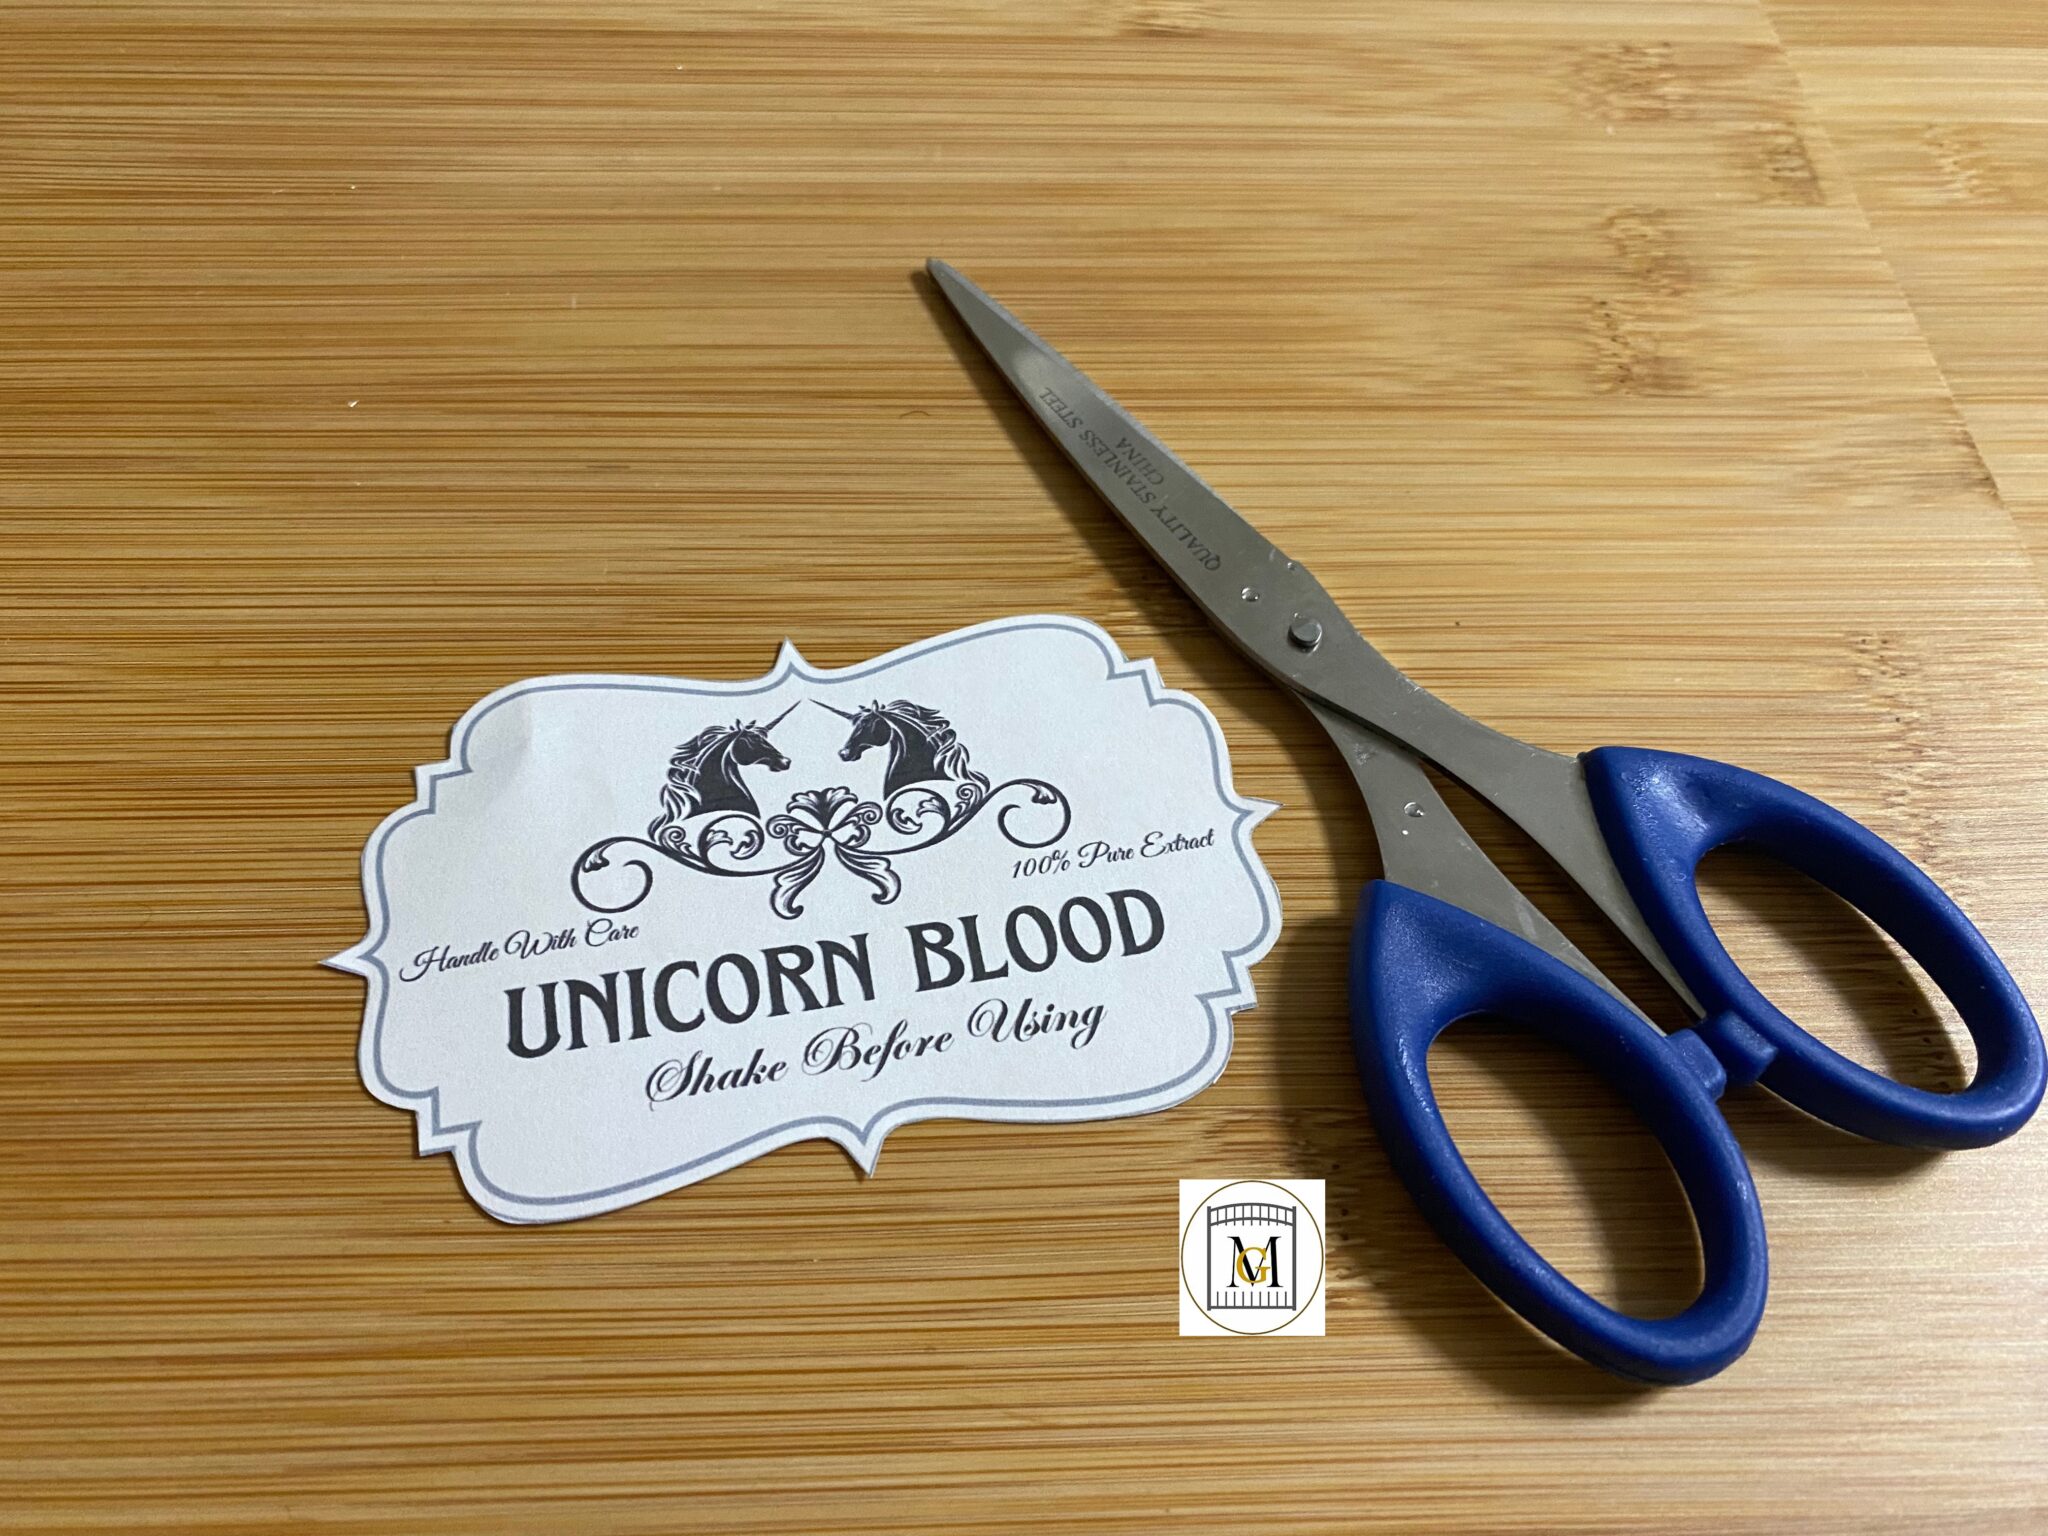
- Scissors (sharp and thin cutting preferred)
- Gloss Mod Podge
- Wax beads or wax mini glue sticks
- Mini glue gun with mini glue sticks
- Regular card 65 lb card stock, regular copy paper, inkjet sticker paper or card stock parchment paper
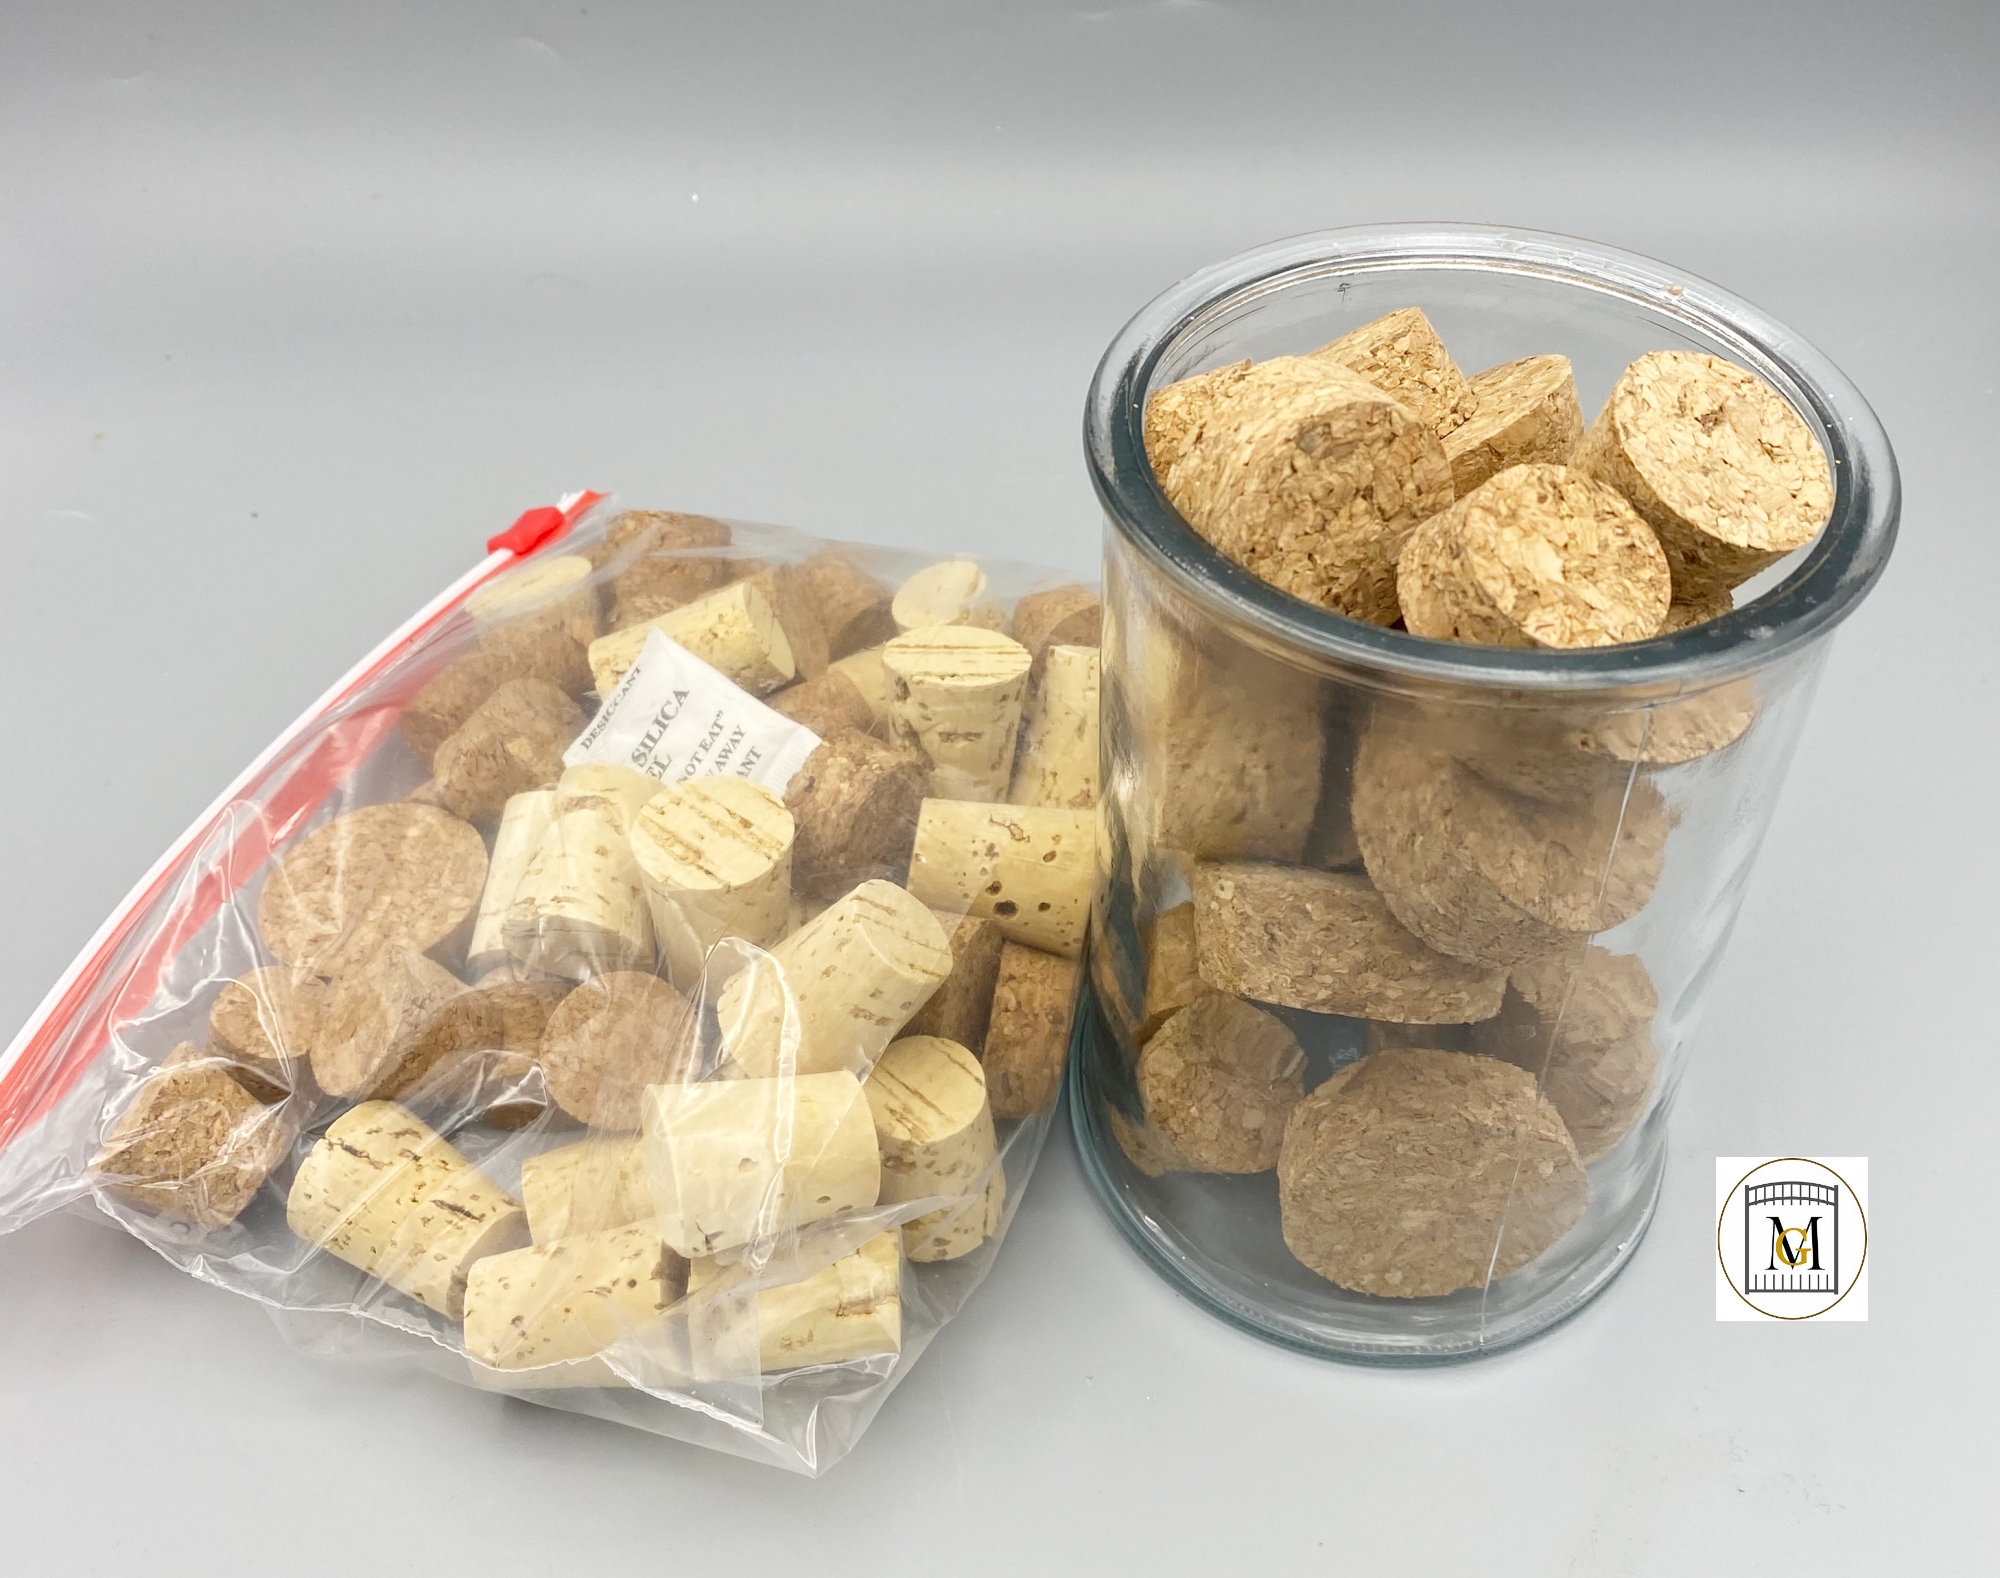
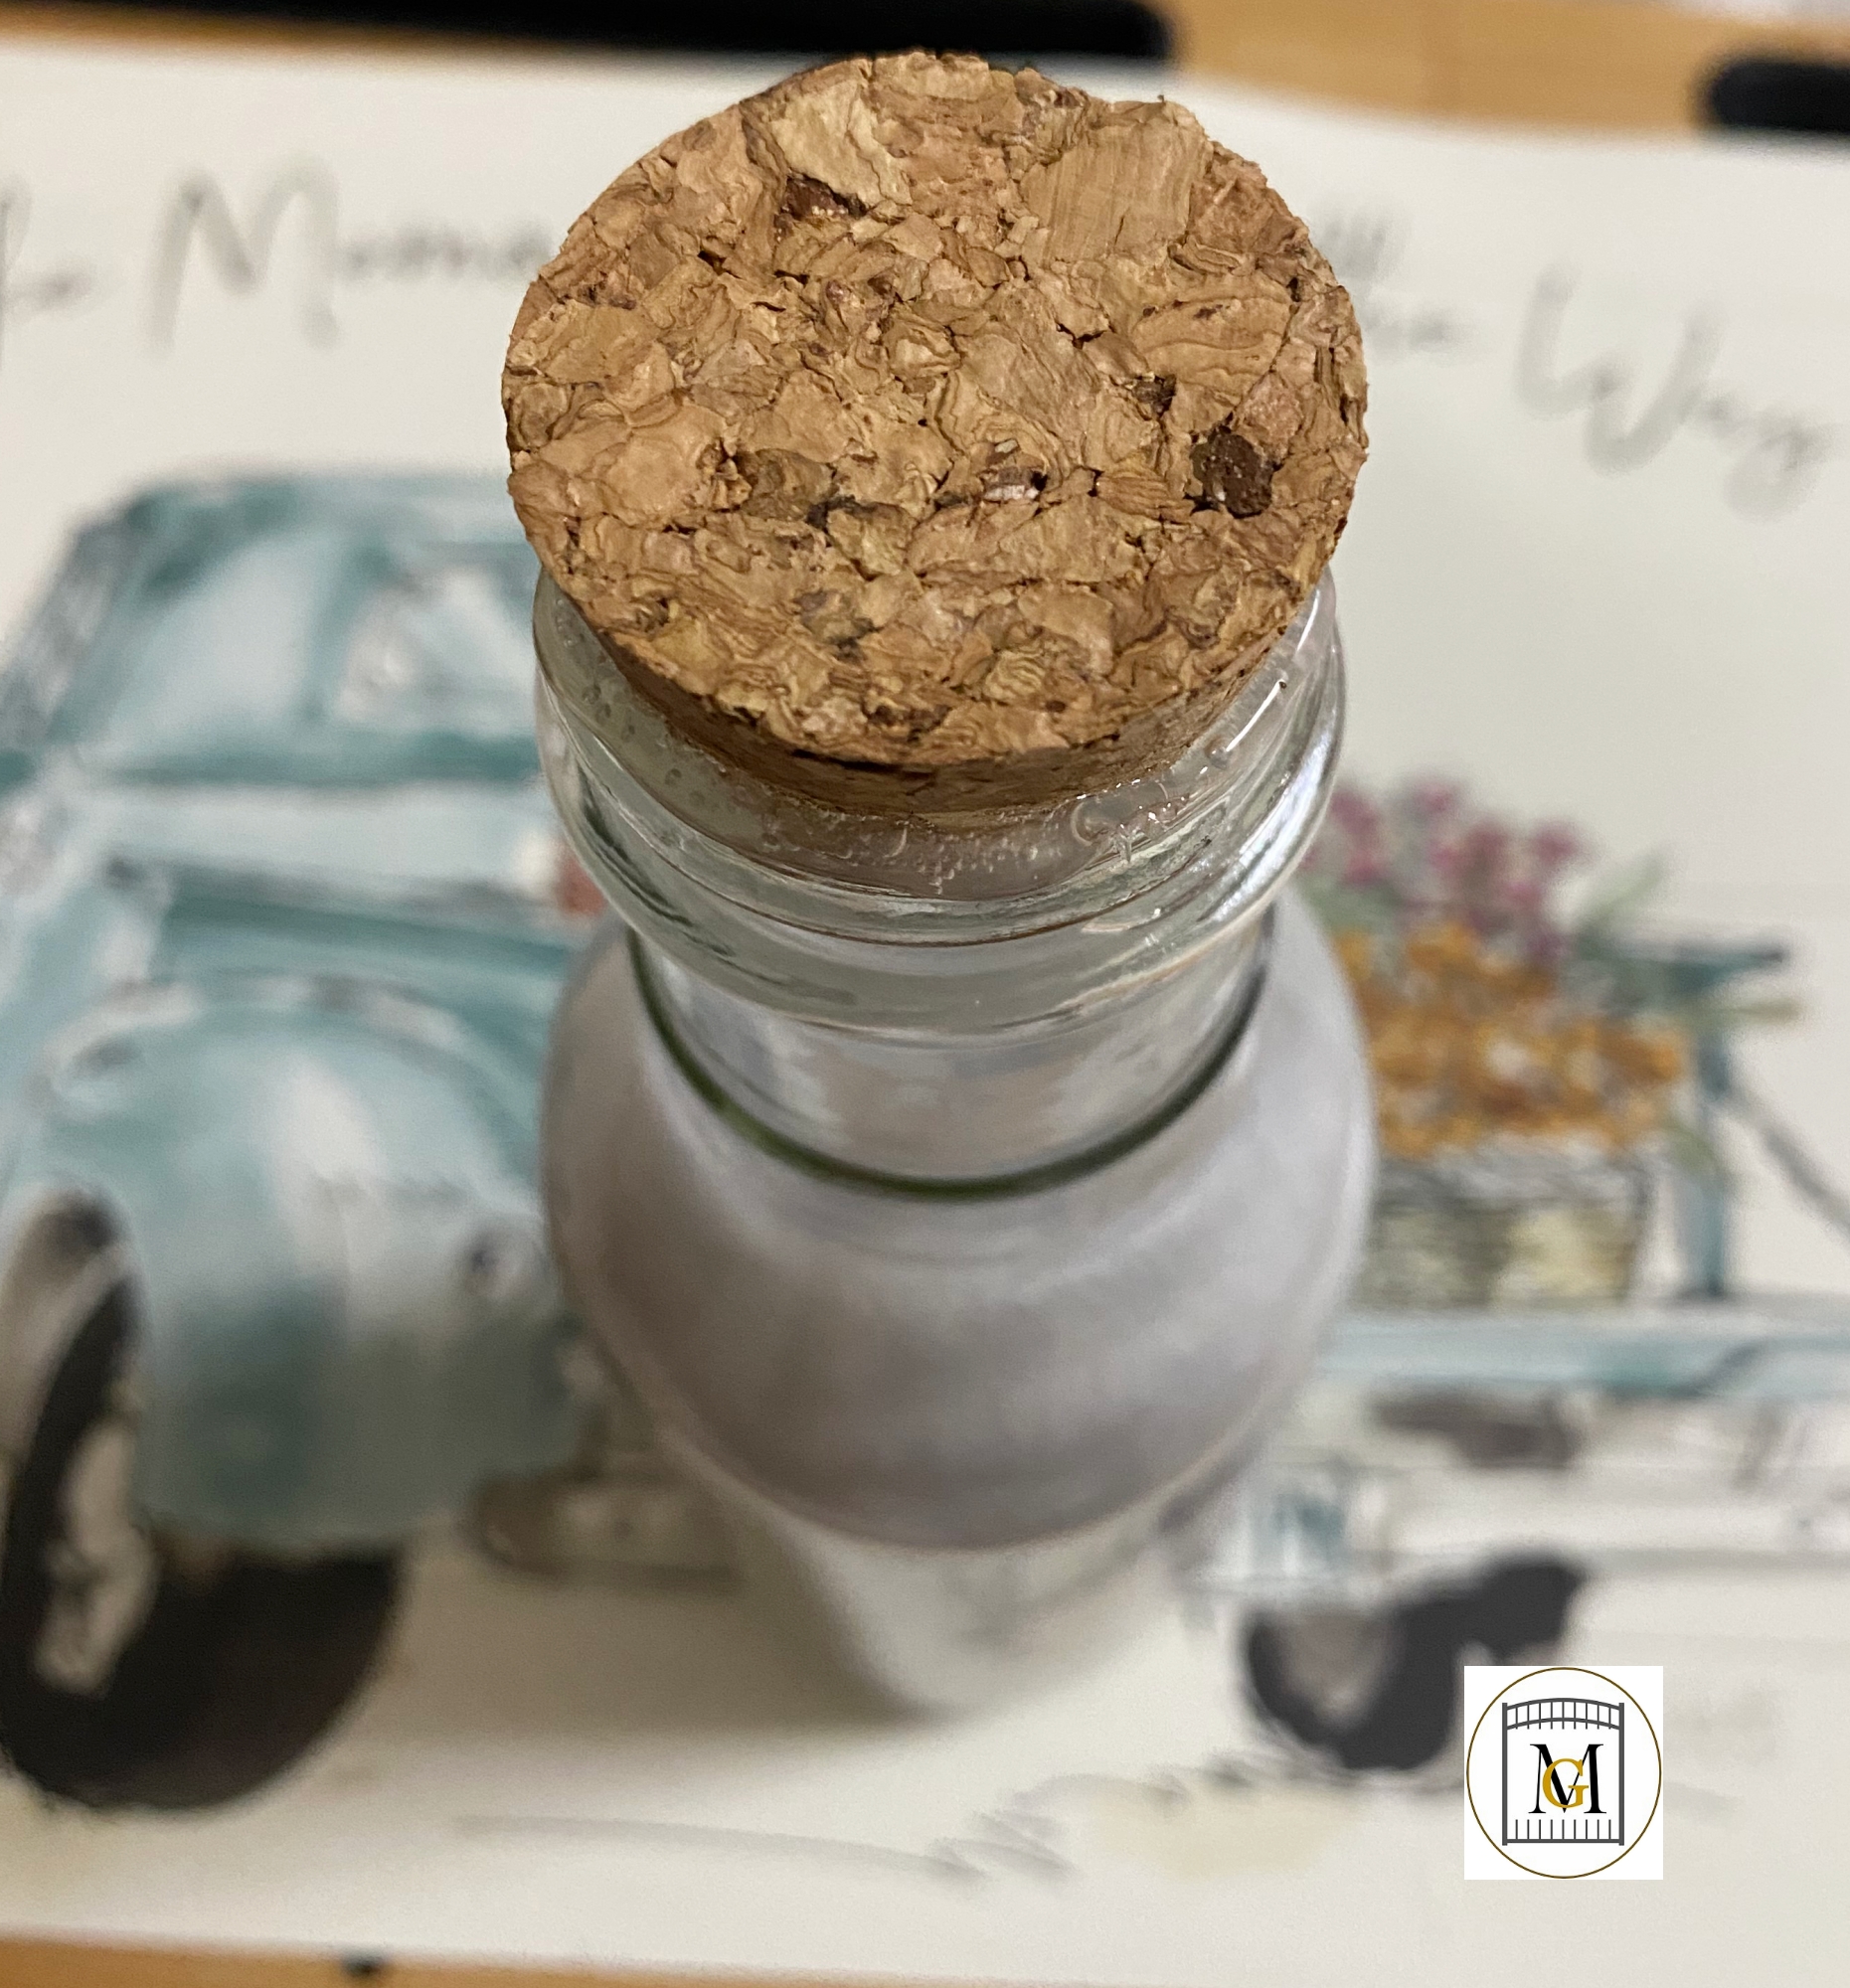
- Corks – various sizes
- Twine – regular and colored or waxed cord. You can also use jewelry suede cord, paracord or ribbon.
- Charms
- Acrylic metallic paints
- Color Printer
- Small funnel
- Plastic cups and flatware for mixing – sometimes I also use bamboo skewers for small neck bottles.
- Baby wipes
To see my available Apothecary/Potion Bottle Label Downloads, click here: https://majorgates.com/product-category/potion-apothecary-labels/

Potion Bottle Content Options
- Light corn syrup
- Polycrylic by Miniwax – water based and used to coat vases before adding glitter
- Distilled water (do not use tap water)
- Mica powder (gold and silver) or powdered pigment powder
- Gel or powdered food coloring
- Glitter
- Sequins
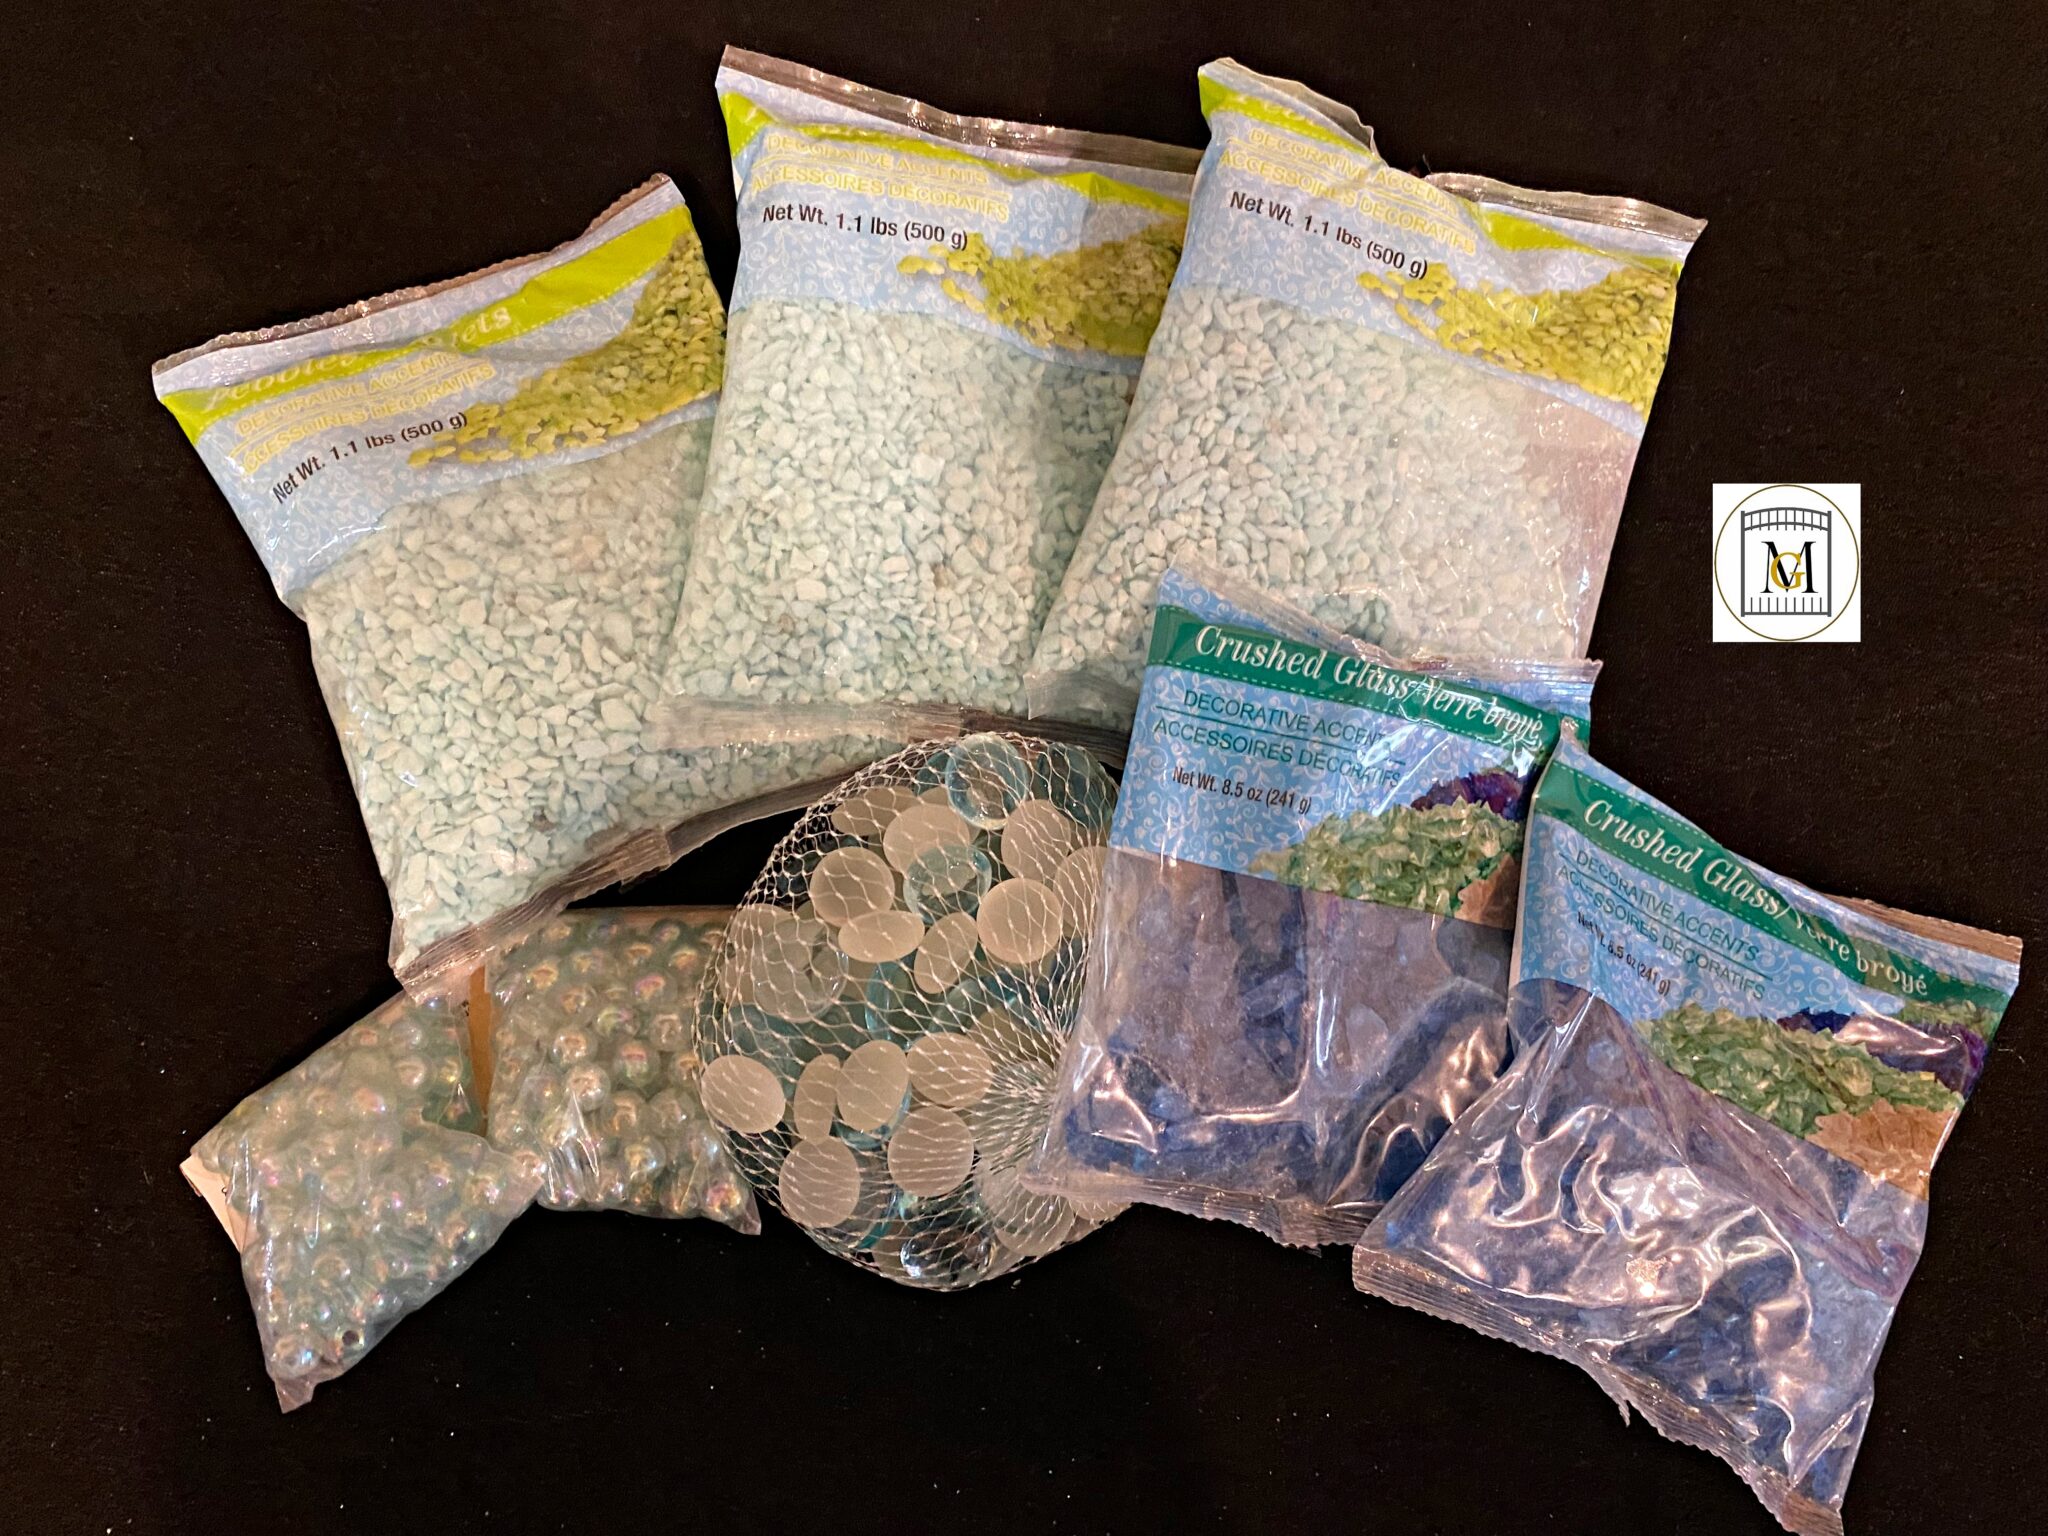
- Vase Filler
- Decorative pebbles
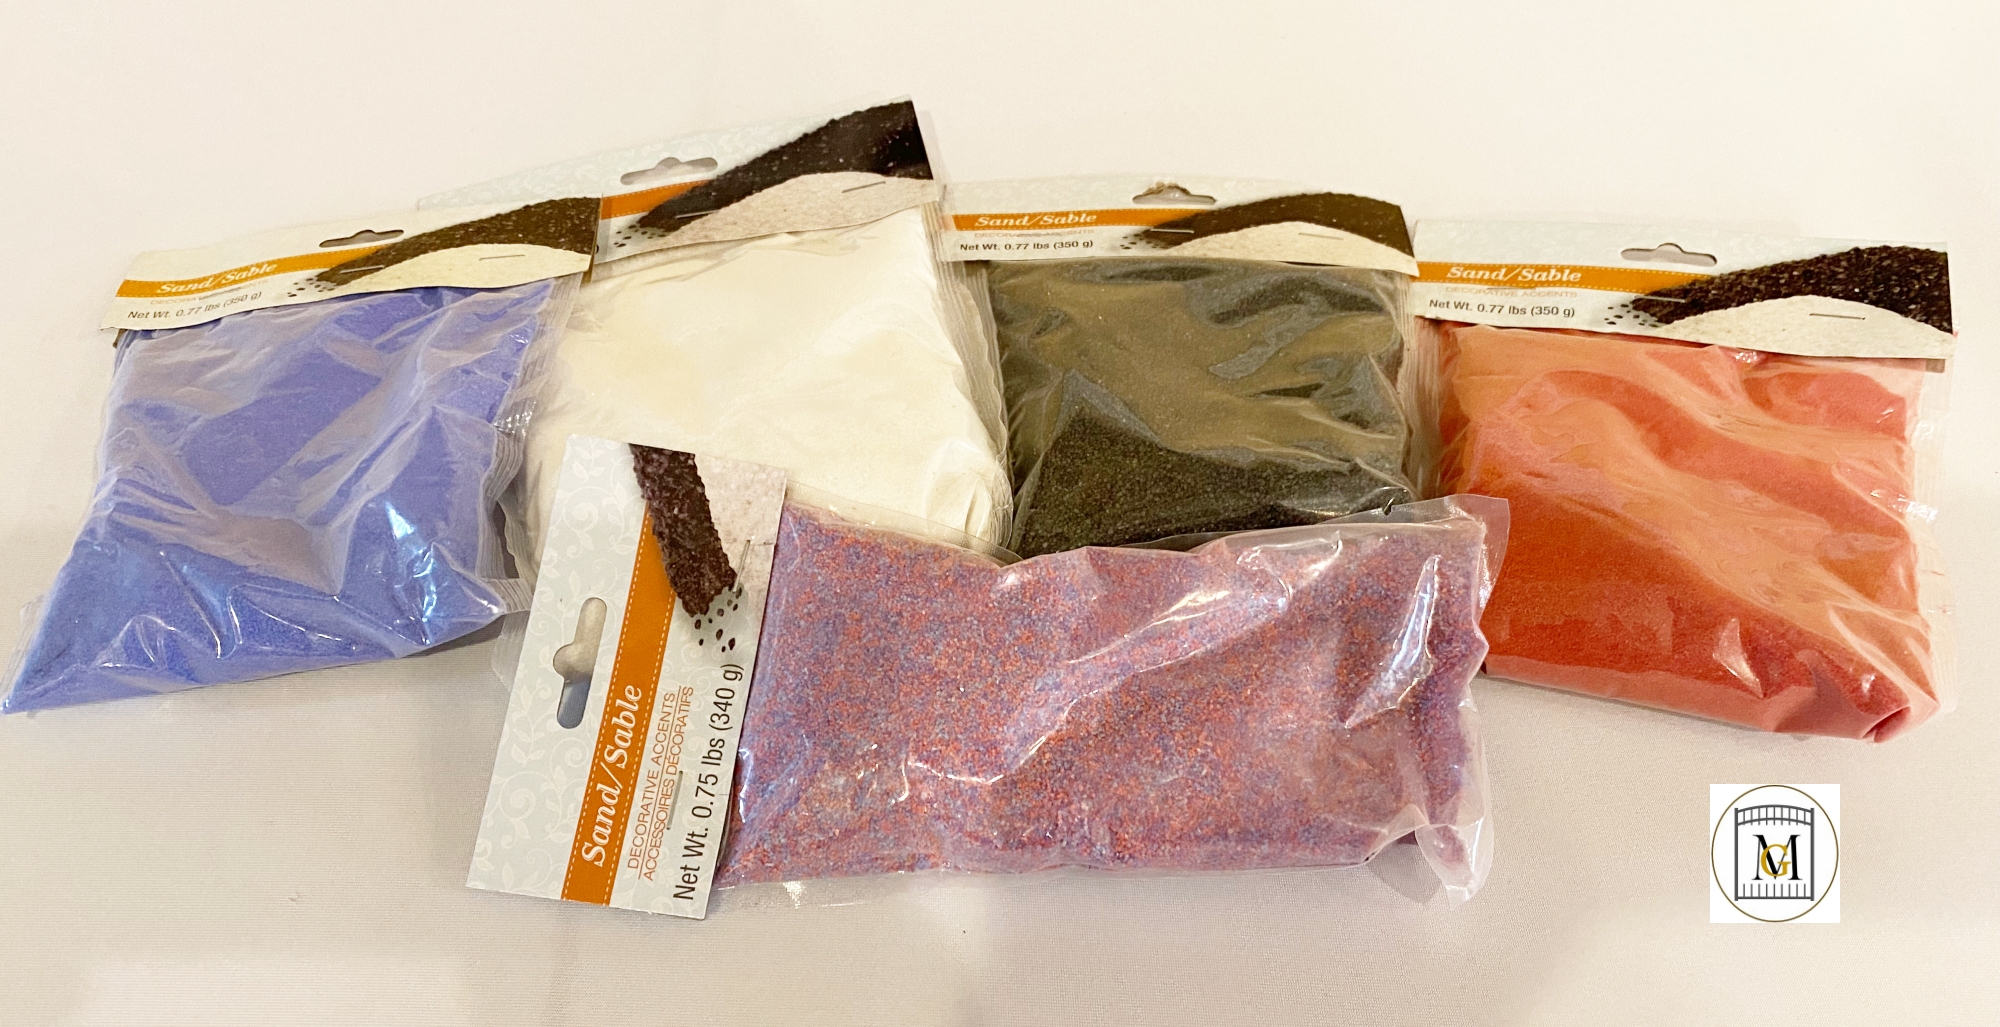
- Decorative sand
- Crushed glass
- Confetti
- Dried Food – coffee grinds, beans, popcorn kernels
- Flat back glass gems/beads
- Round beads -white pearls and color pearls
- Mosaic Glass Pebble Accents – red, black, green, blue
- Mosaic Seashell chips – assorted and dyed
- Easter scatters and fillers – pastel colors
- Easter Iridescent grass – use as hairs
- Feathers
- Doll hair
Directions For Potion Bottles
- Wash and fully dry any recycled bottles. So try to wash these out the day before you start this project. To remove the sticky residue from existing labels, use Goo Gone or olive oil. Also, to remove the best buy stated date on the bottle, remove with nail polish remover.

- Print out the labels and hand cut or use a cutting machine.
- Next, apply Mod Podge to the back of the label and then affix to the potion bottle.
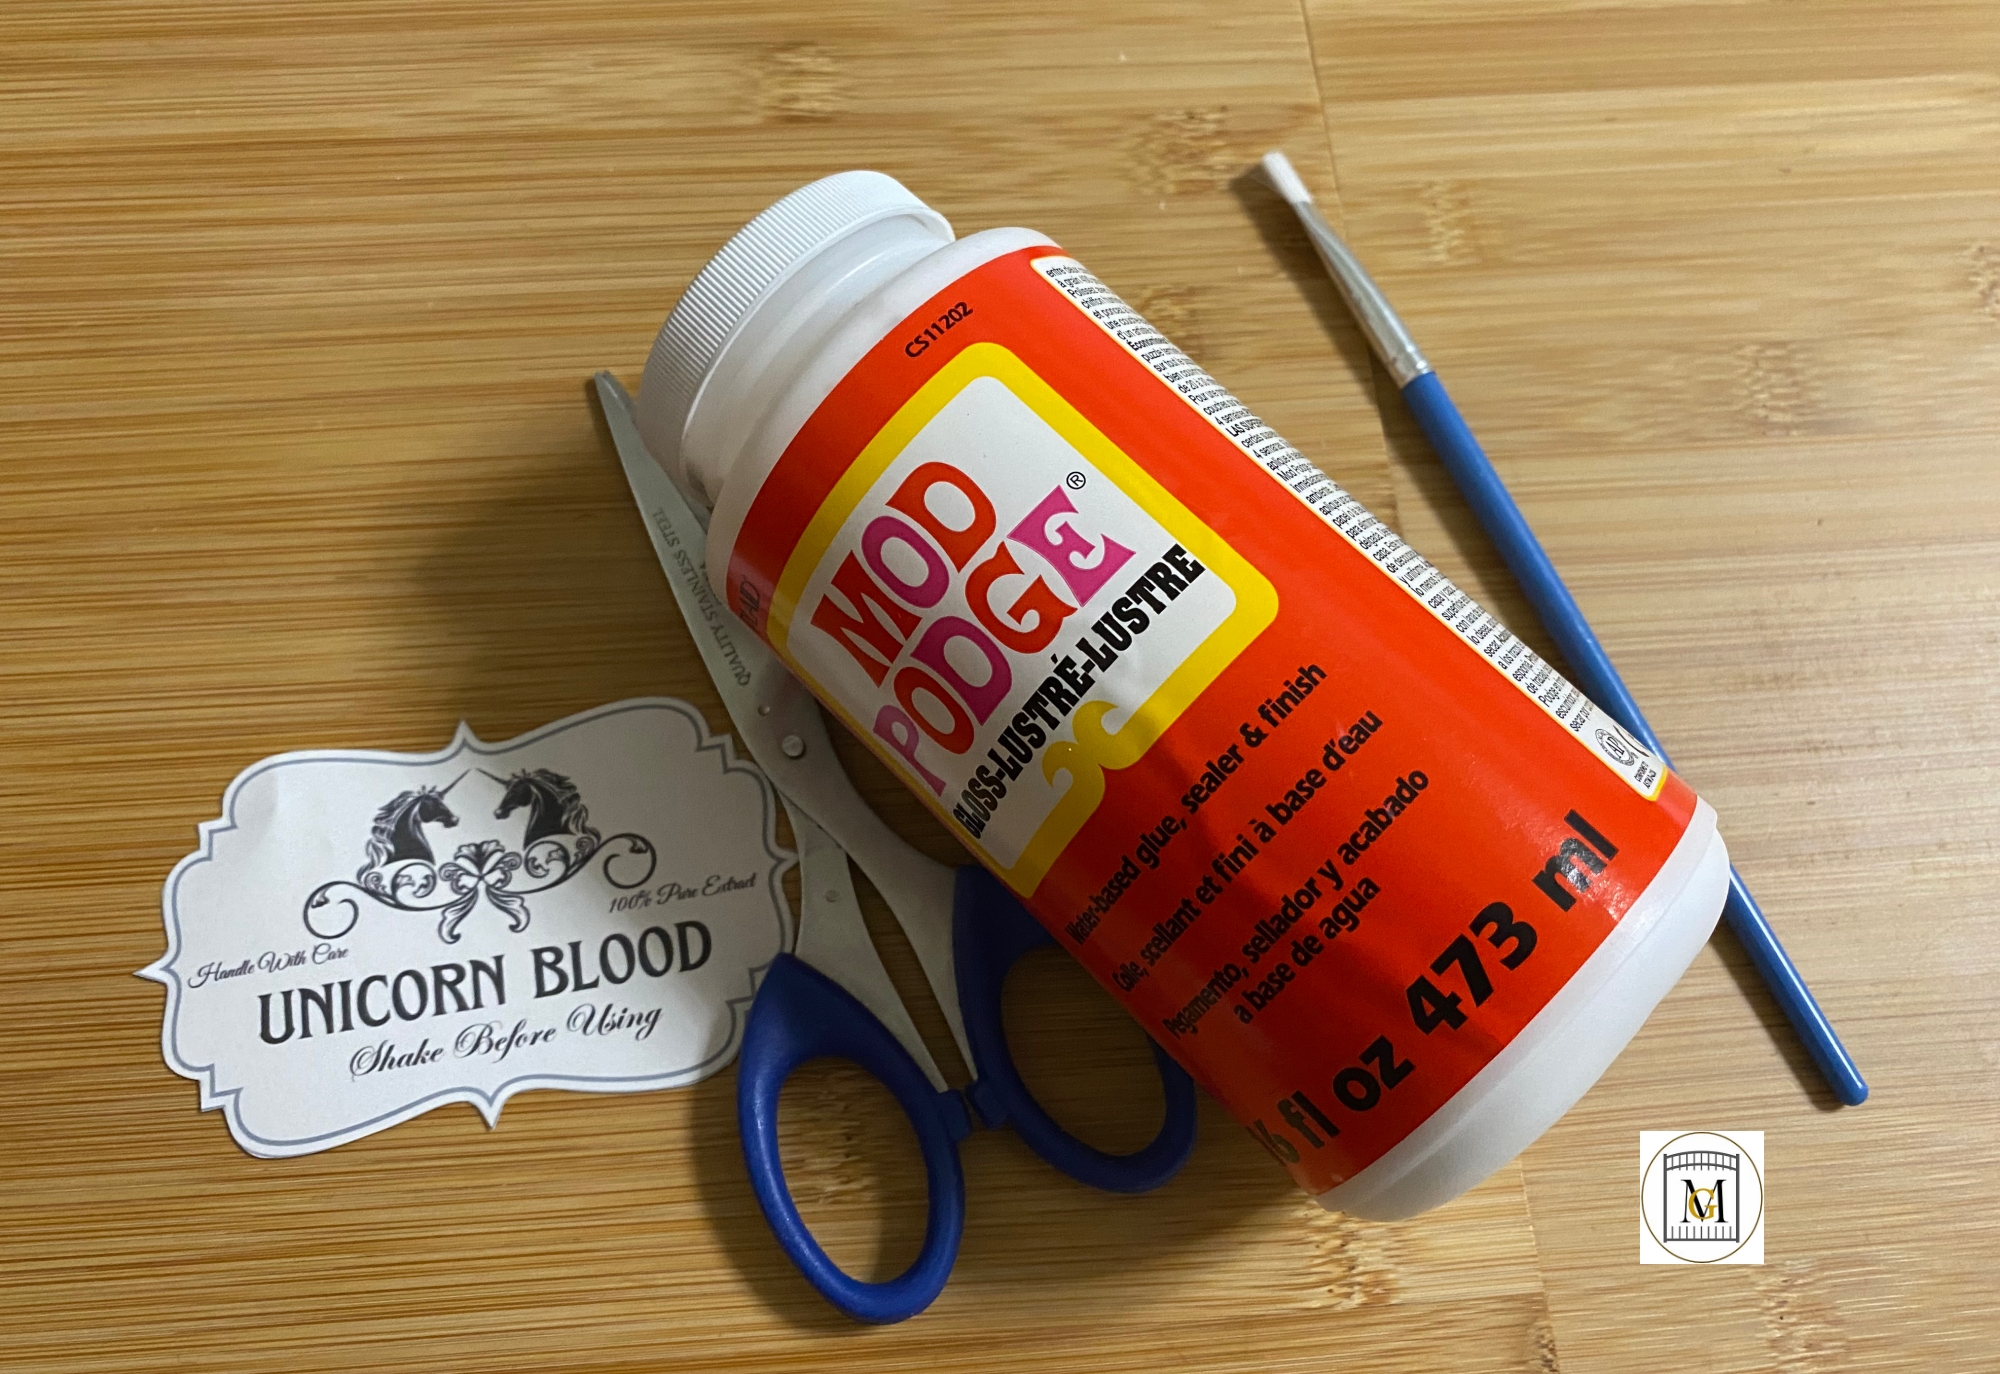
- Allow the label to dry for about 15 minutes and then paint over the label with Mod Podge to seal the label. Wipe off any excess glue with a baby wipe.
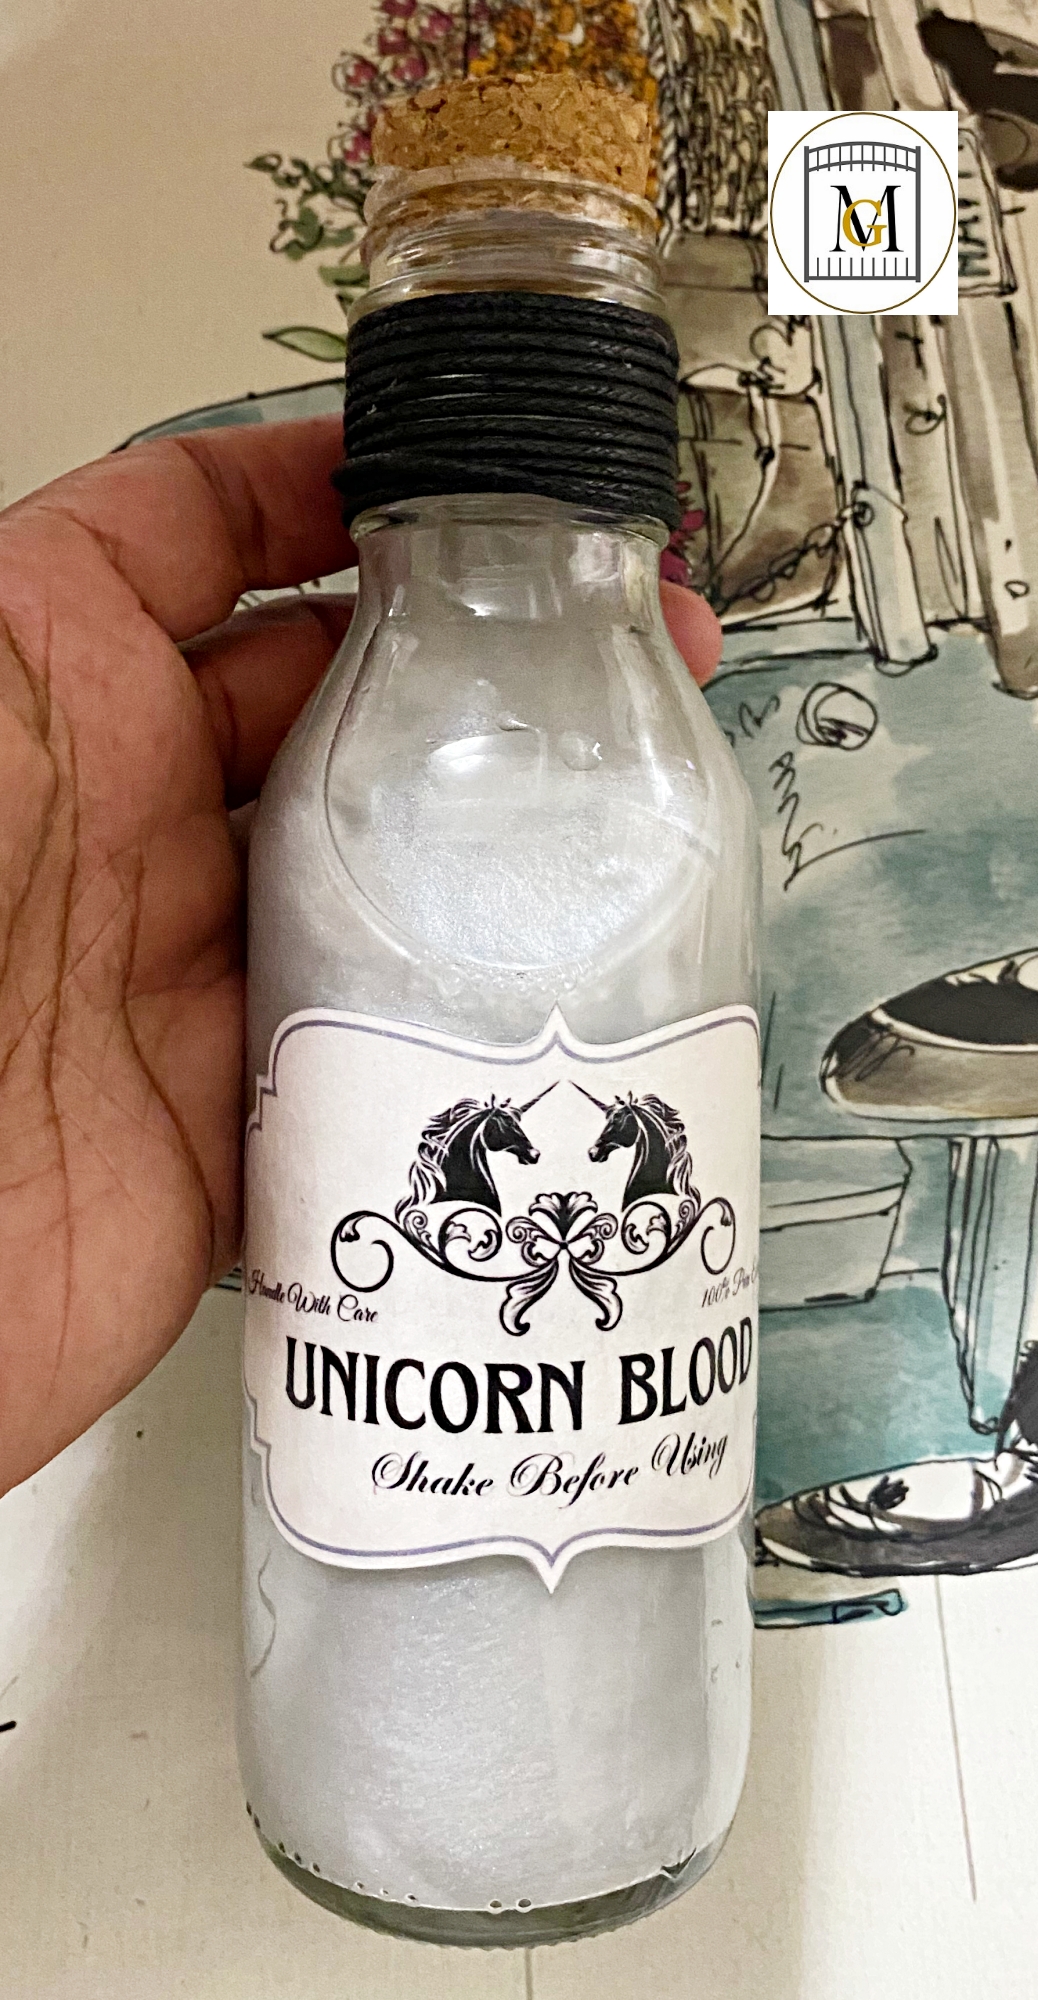
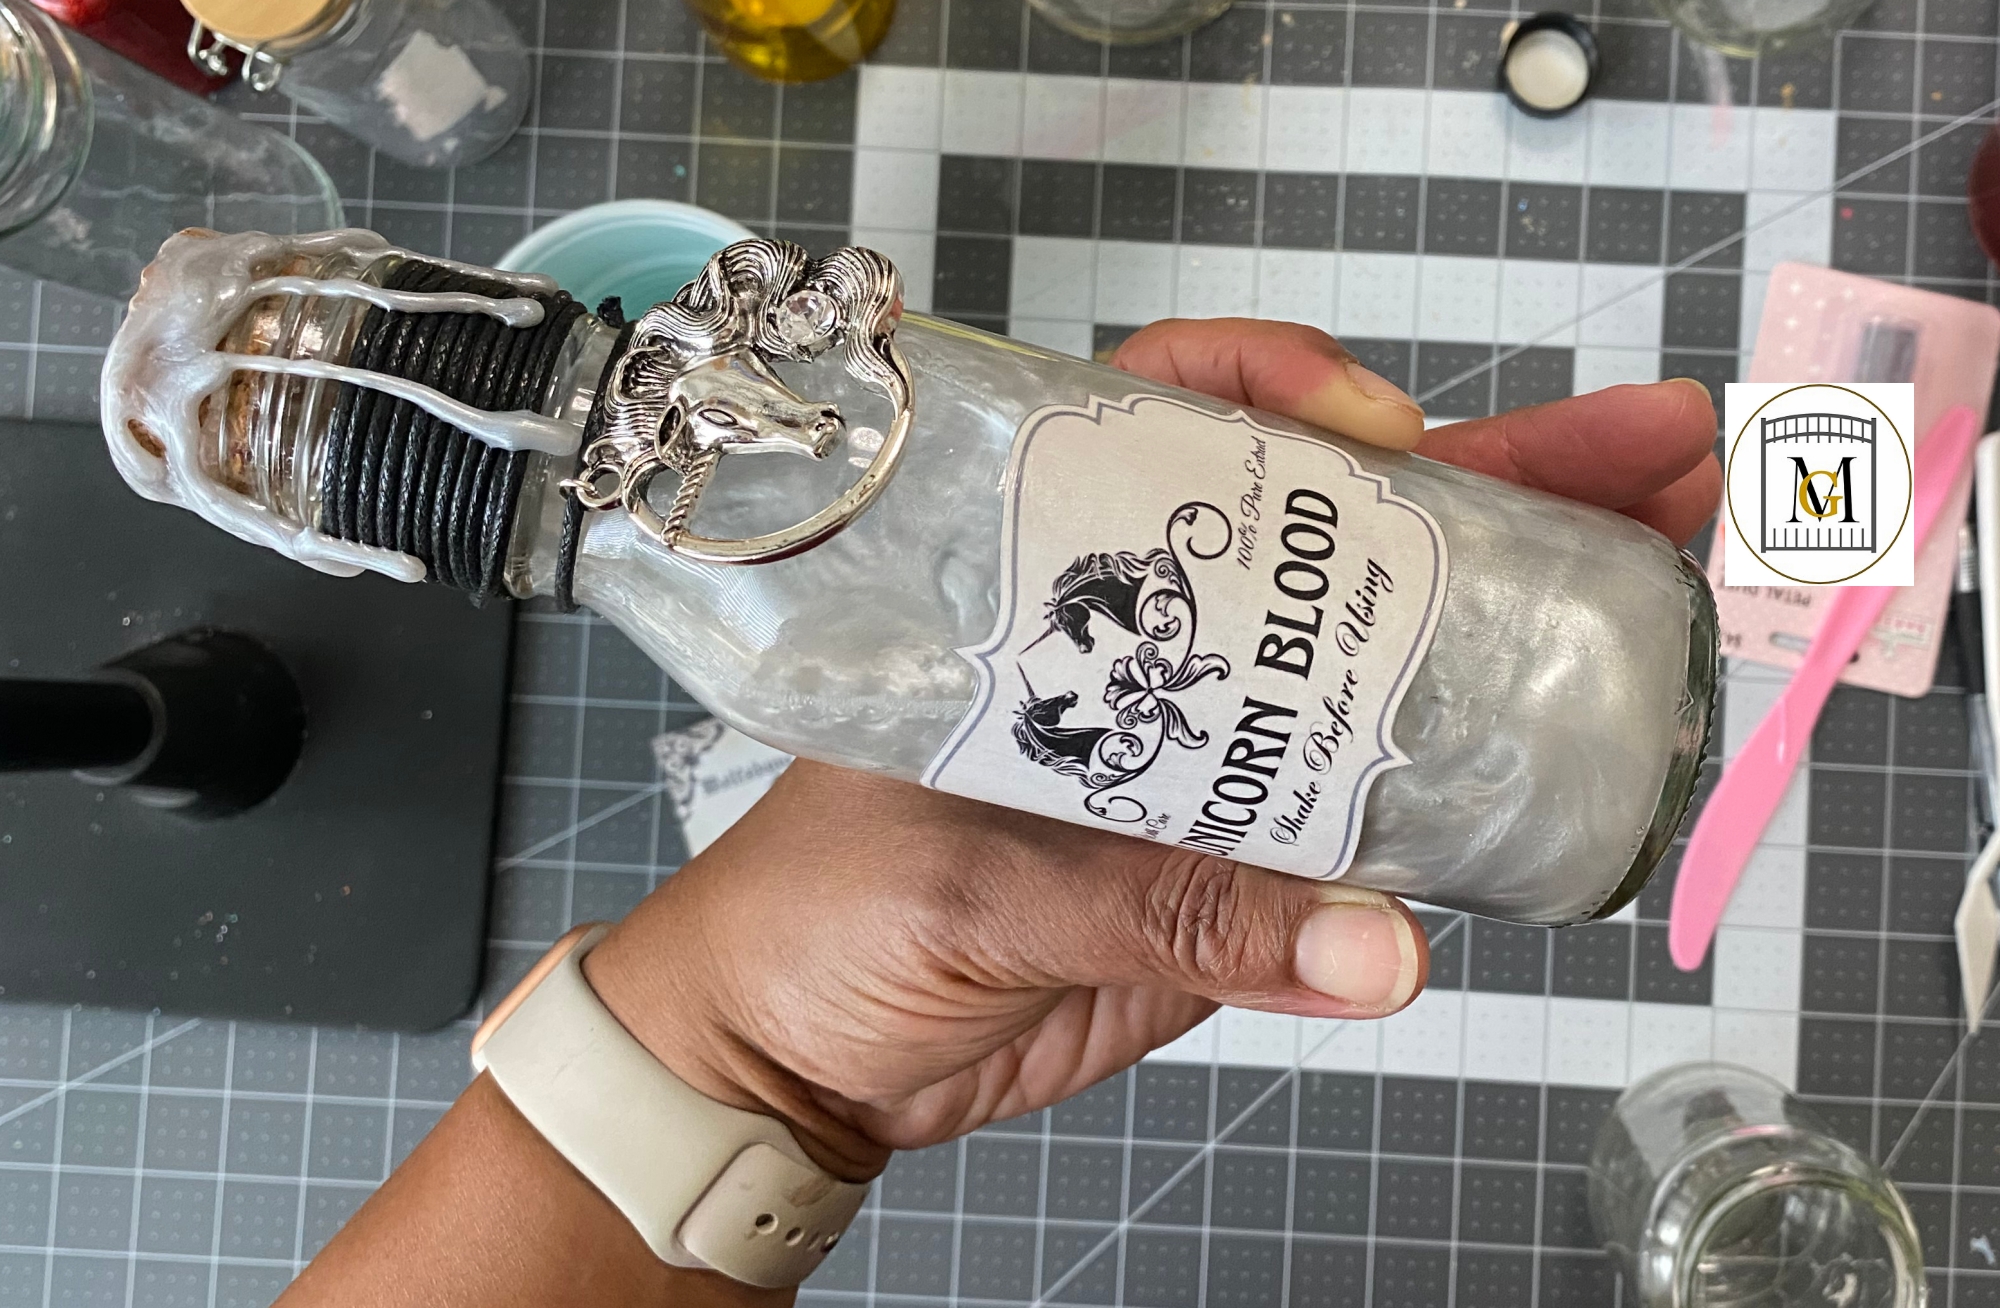
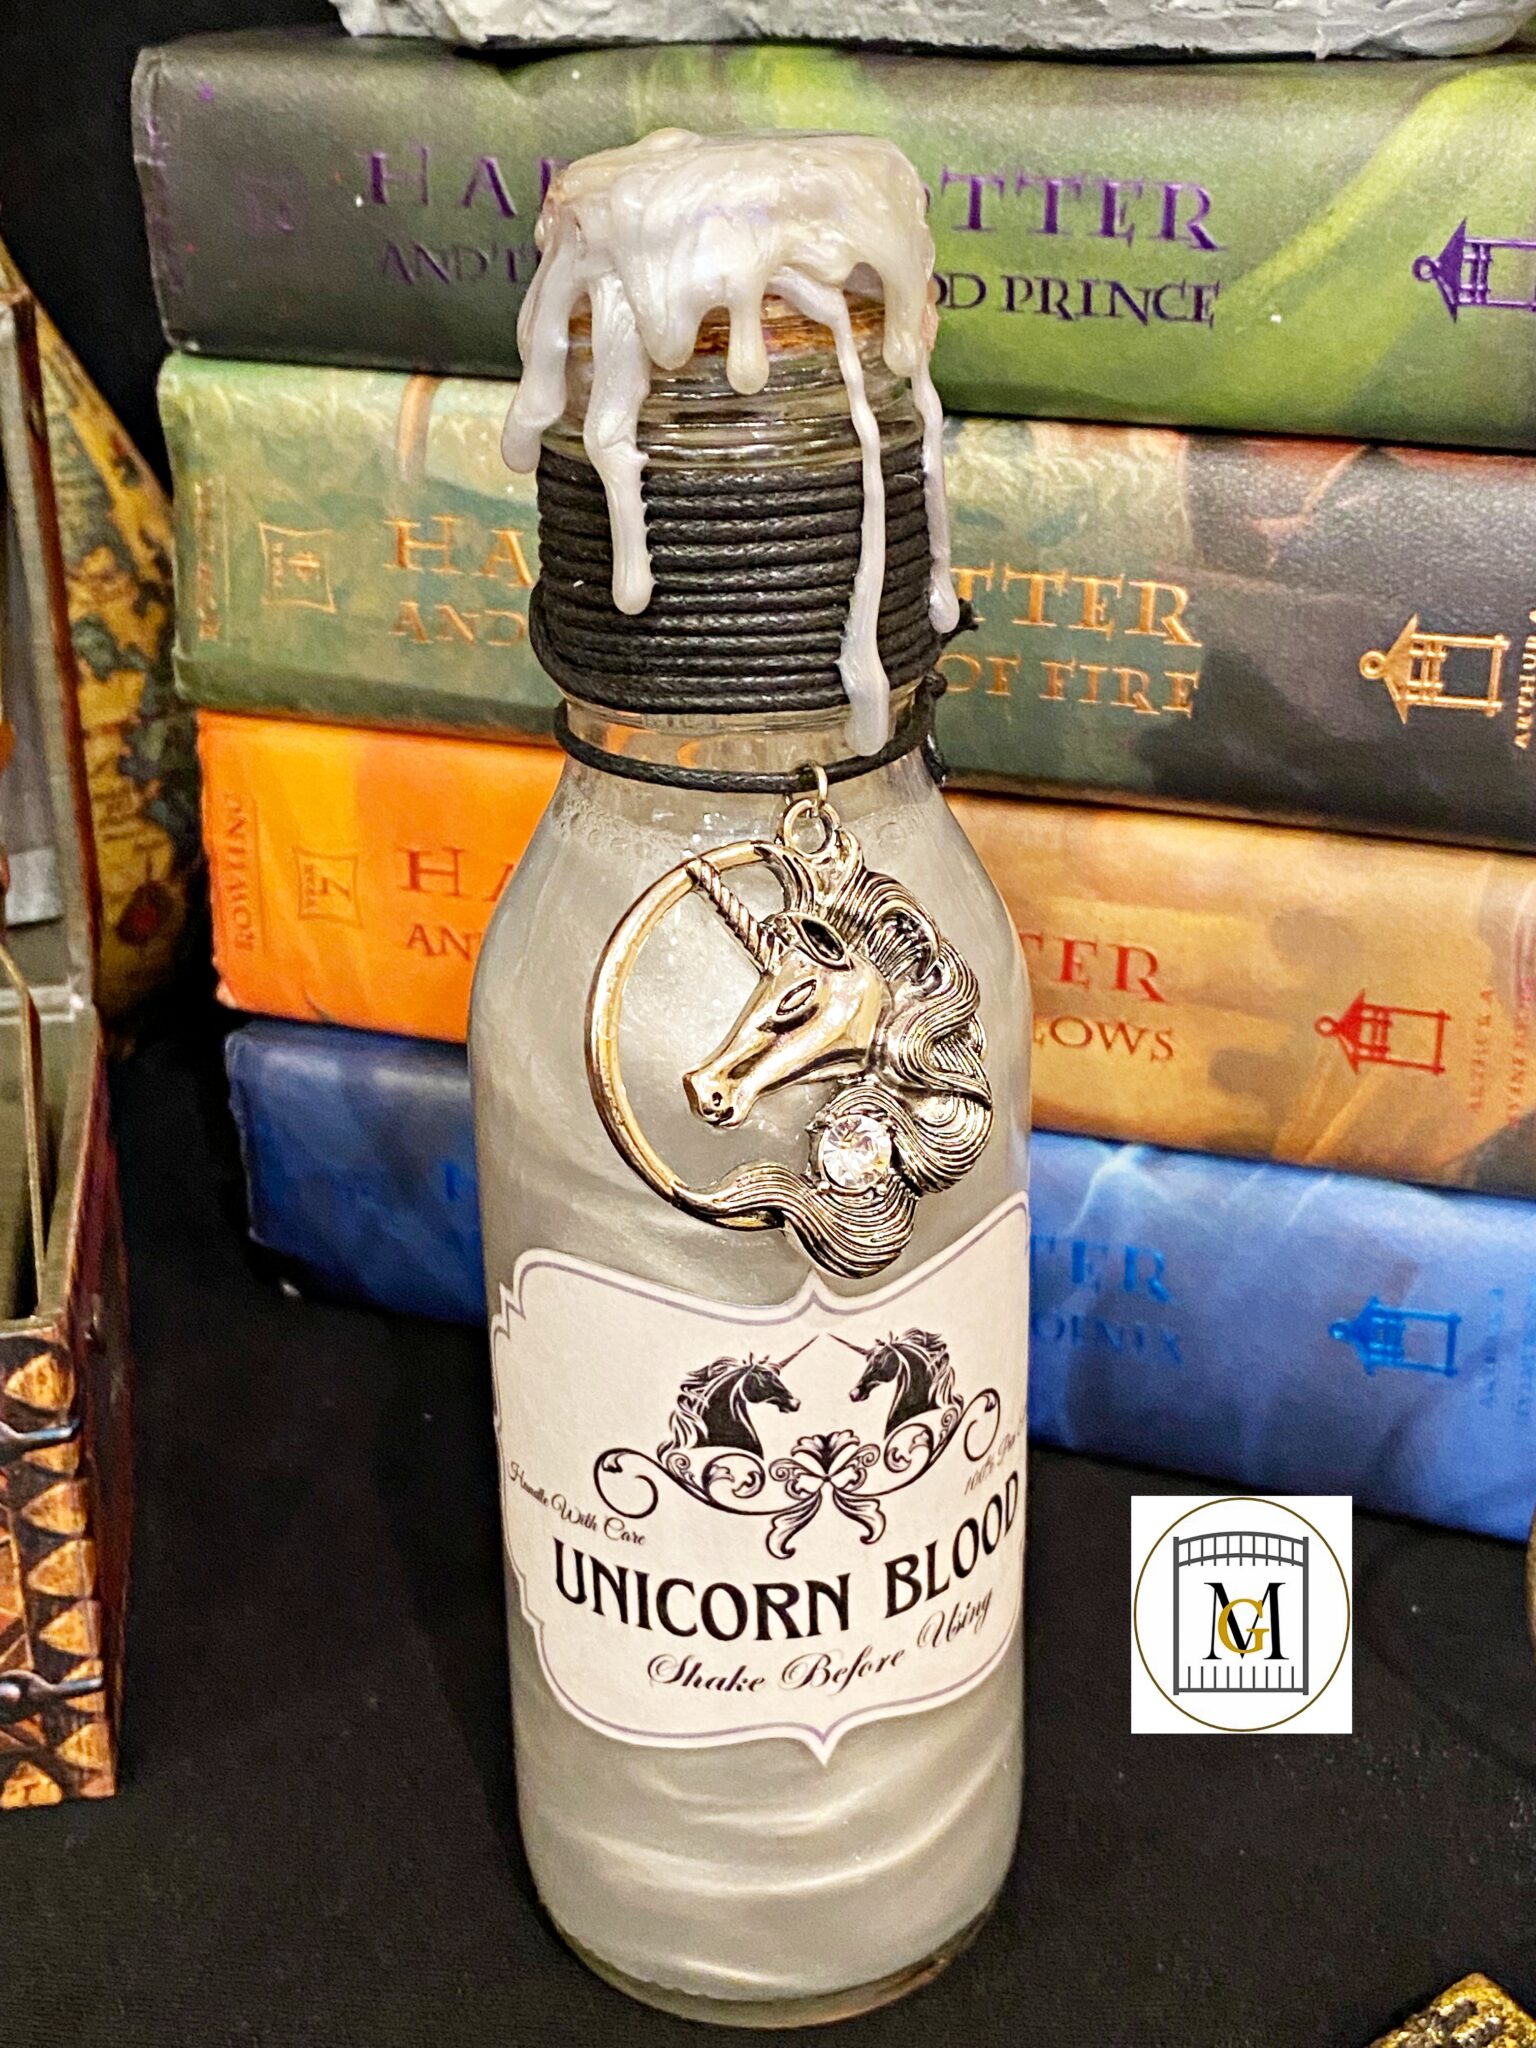
- Fill potion bottle with contents. Then seal with lid or cork. So if you are using a cork, hot glue the cork in place. In this example, I made the unicorn blood with distilled water and silver mica powder. The swirled impact is amazing. But, the mica does settle towards the bottom after a little while. So you have to keep shaking it to keep the swirling impact. If you don’t want to have to shake the bottle (kids love doing this though), you can put the mica powder in a jar/bottle filled with light corn syrup and mix well. It does not settle, but you can’t have the fun of shaking because the color is suspended in the liquid. I make a few bottles both ways.

- Now, add any trim cord/rope/ribbon and secure with hot glue.
- Then tie on decorative charm.
- Last, add hot wax at the top and allow it to drip over in certain places to resemble melted candle wax.
- Your potion bottle is ready! Display and enjoy!
Tips For Potion Bottles
- Corn syrup is sticky, so be sure to mix where you will not spill it. It can also seem to be a little thick. To loosen the liquid, add in some distilled water and mix well (1 ounce or less). So once you add the water, it will take a while to mix but be patient. The mica may settle as well too. I tend to not use any water if I am using corn syrup.
- Make sure you seal the label with Mod Podge because this will protect your label from splashes of water.
- In order to get the marbled effect in the potion, use mica powder, start with a 1/4 teaspoon and add more if the bottle is larger or you want more swirls in the solution. A little mica powder goes a long way.
- If you add mica powder to water or rubbing alcohol, you will have to shake often because the powder settles on the bottom. It will swirl again upon shaking. So if you want the liquid to maintain the impact from the mica powder, use corn syrup.
- Only used distilled water in the potion bottles and not tap water.
- Try adding glitter or confetti to potions, it creates a extra dramatic impact to the liquid potions.
- Store bottles inside the house if possible. Extreme weather will shorten the lifespan of the potion. Also, natural ingredients will deteriorate over time. For example, the coffee grind bottles last about 1 year before the coffee starts to deteriorate. Gel scent beads last about 8 months before they start turning to water.
- Have fun with it and share some of the creative things you put in your potion bottles!
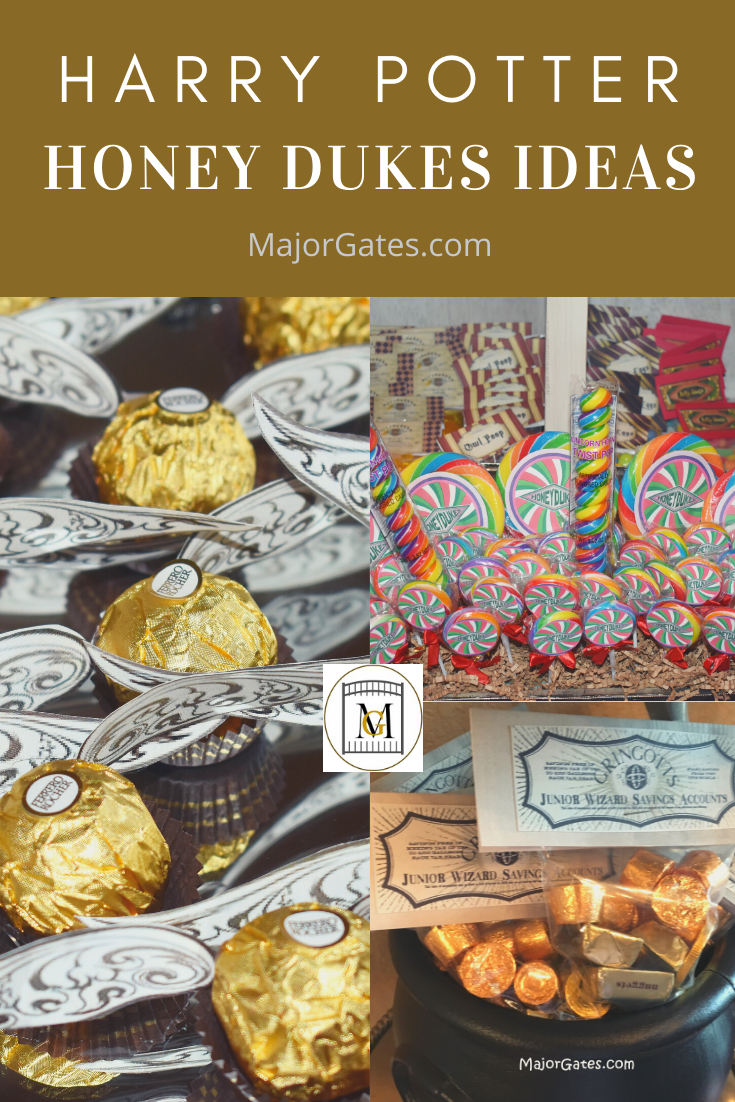
For another great wizard party idea, check out my post on Honey Dukes Ideas here: https://majorgates.com/do-it-yourself/harry-potter-honey-dukes-ideas/
To see my available Jeopardy/Trivia Party Downloads, click here: https://majorgates.com/product-category/jeopardy-trivia/
