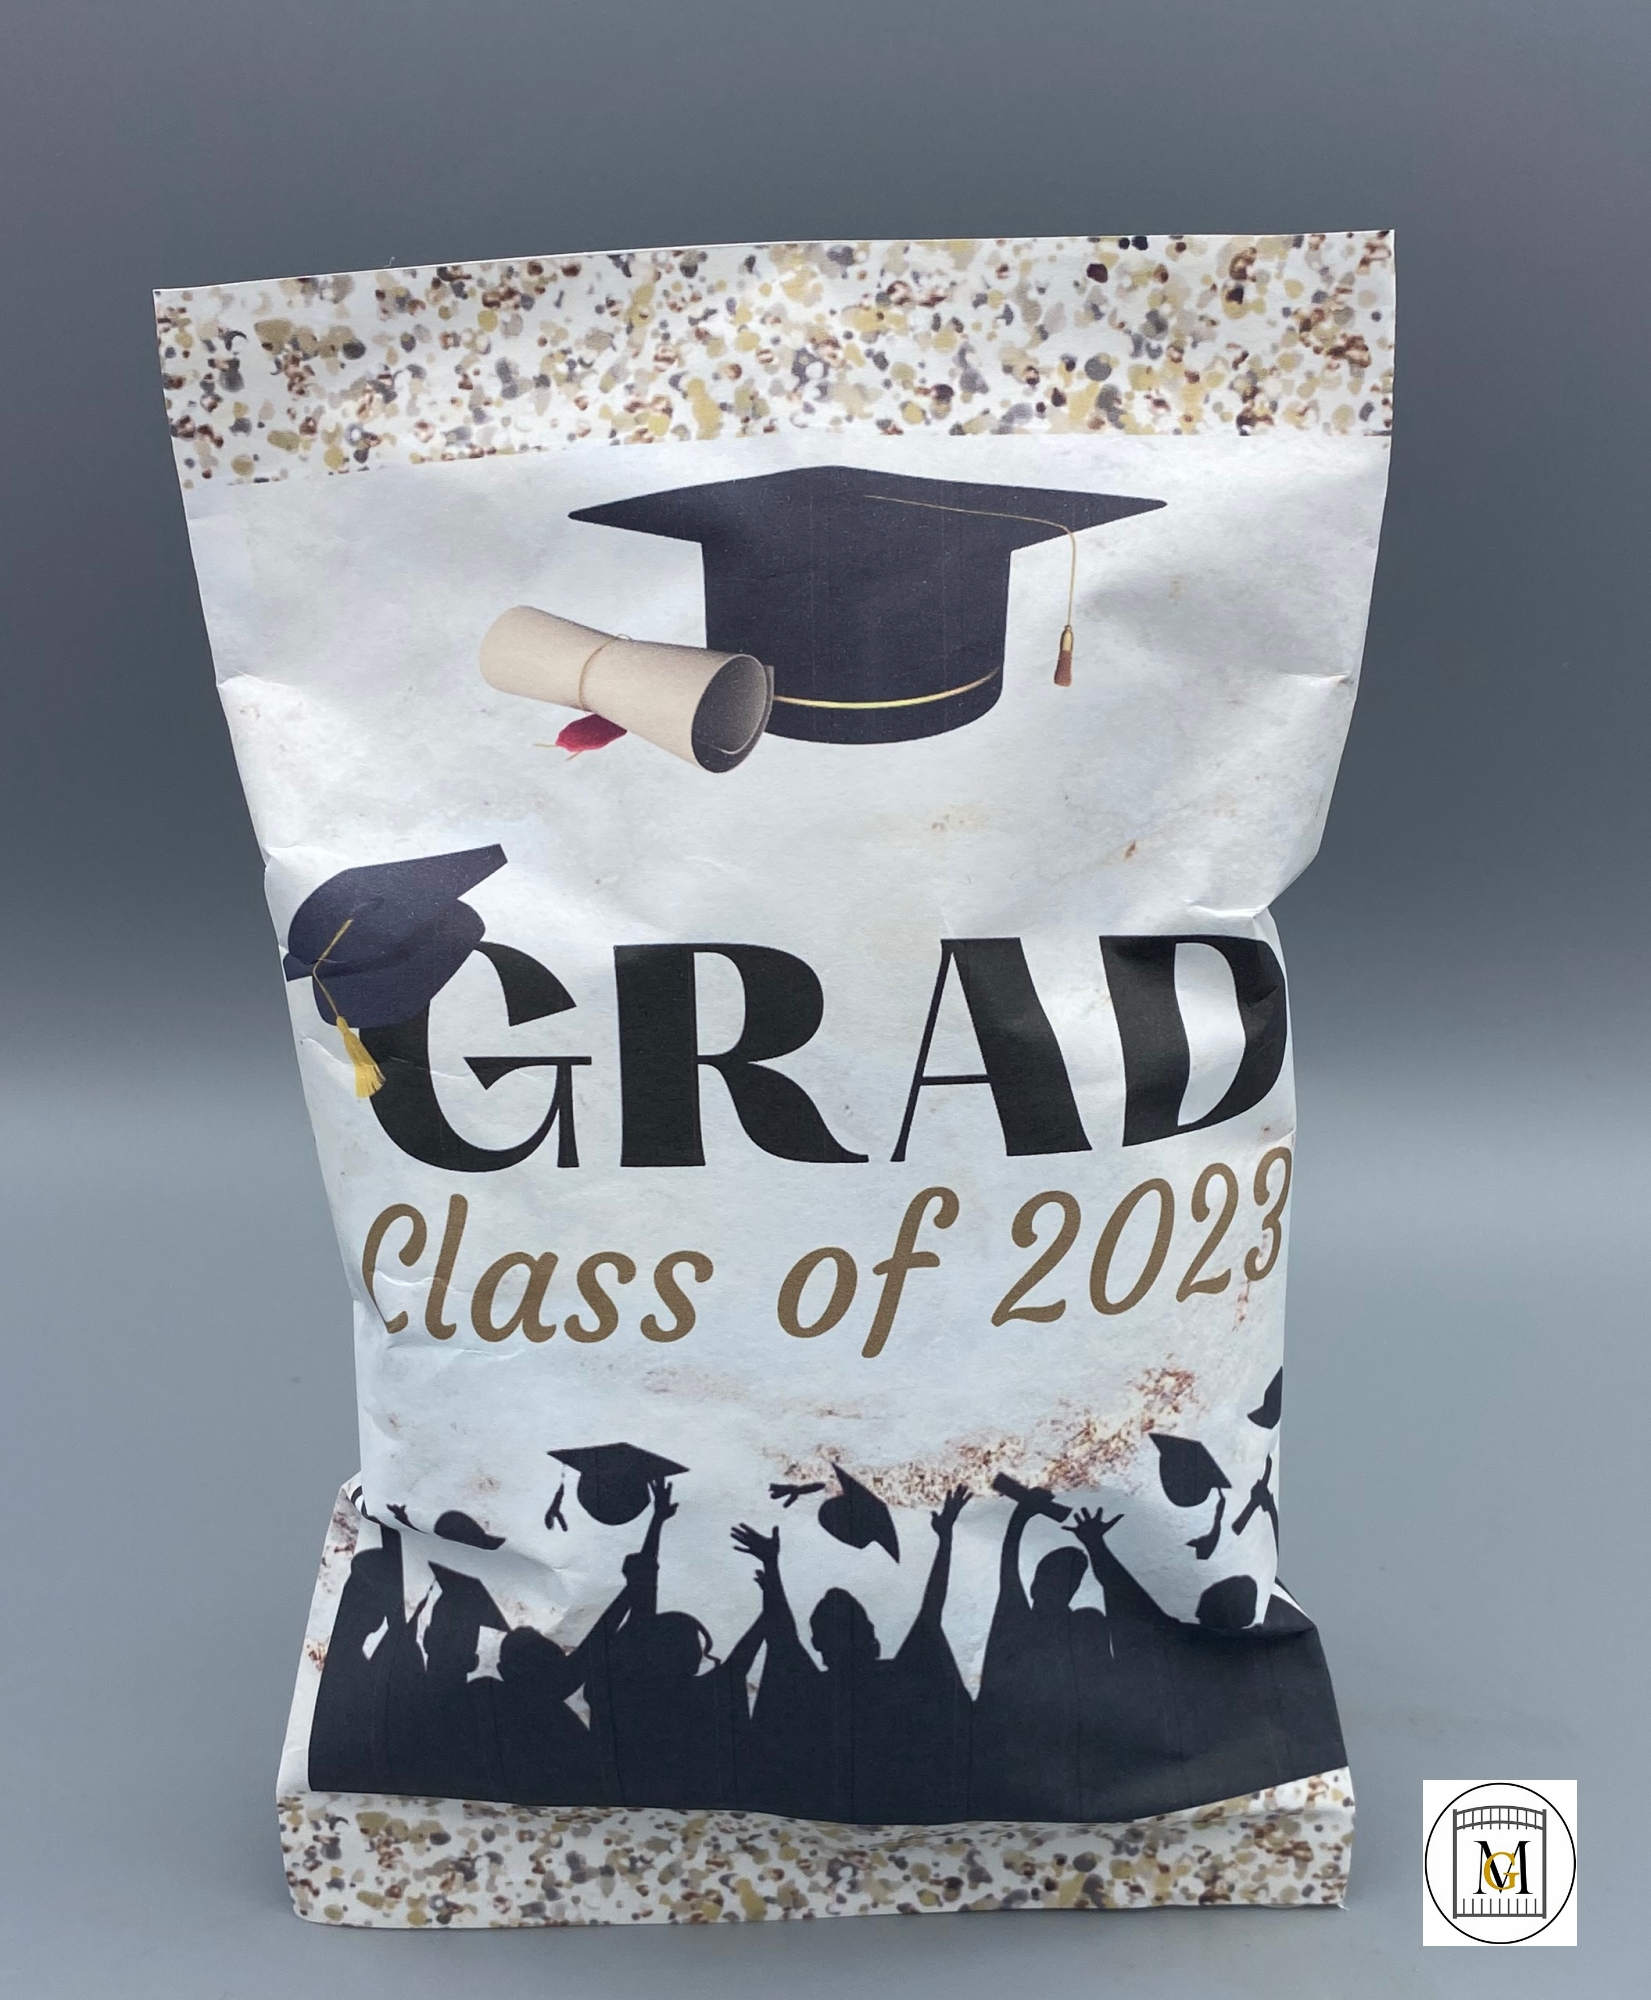
Chip Bag Cover Assembly
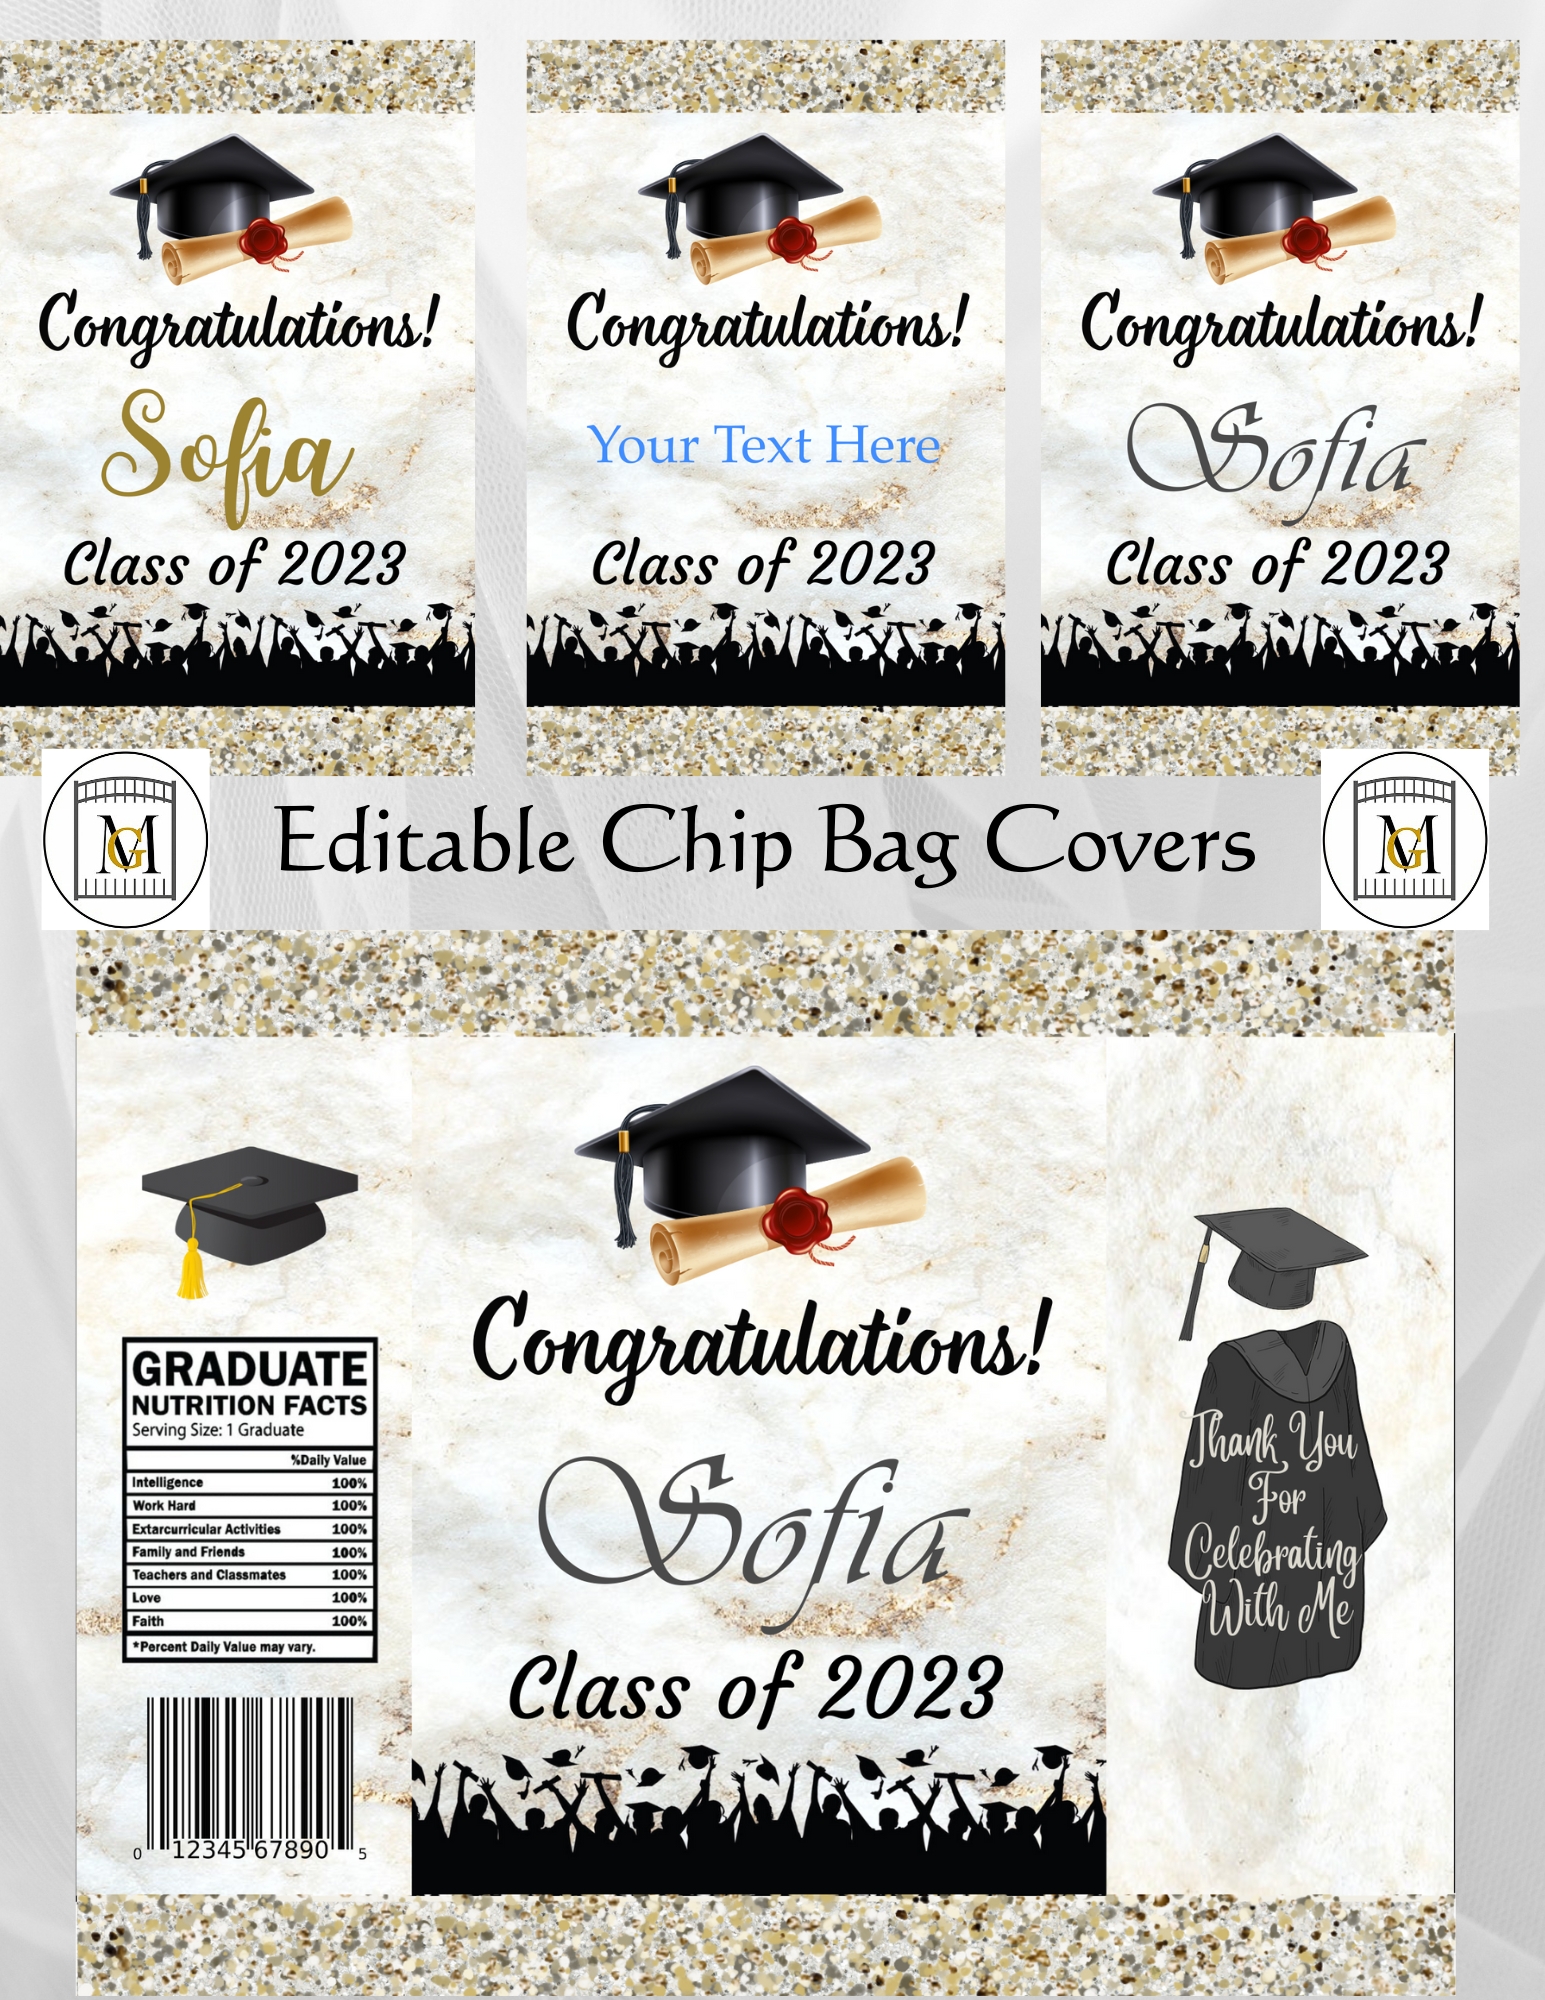


Here are some quick tips on how to assemble chip bag covers. Chip bag covers are a great way to customize a party. You can purchase pre-made templates to match your party theme. Some chip bag covers are even editable that you can change the text and some colors. Other chip bag covers are not editable. I recommend when buying editable templates that you get ones that can be edited in any editing application/service such as Canva.com (recommended and it is free and easy to use), MS Word, PhotoscapeX (also free), Adobe PDF Editor, or any image editing software application, etc. That way you have the freedom to use what you are most comfortable with.
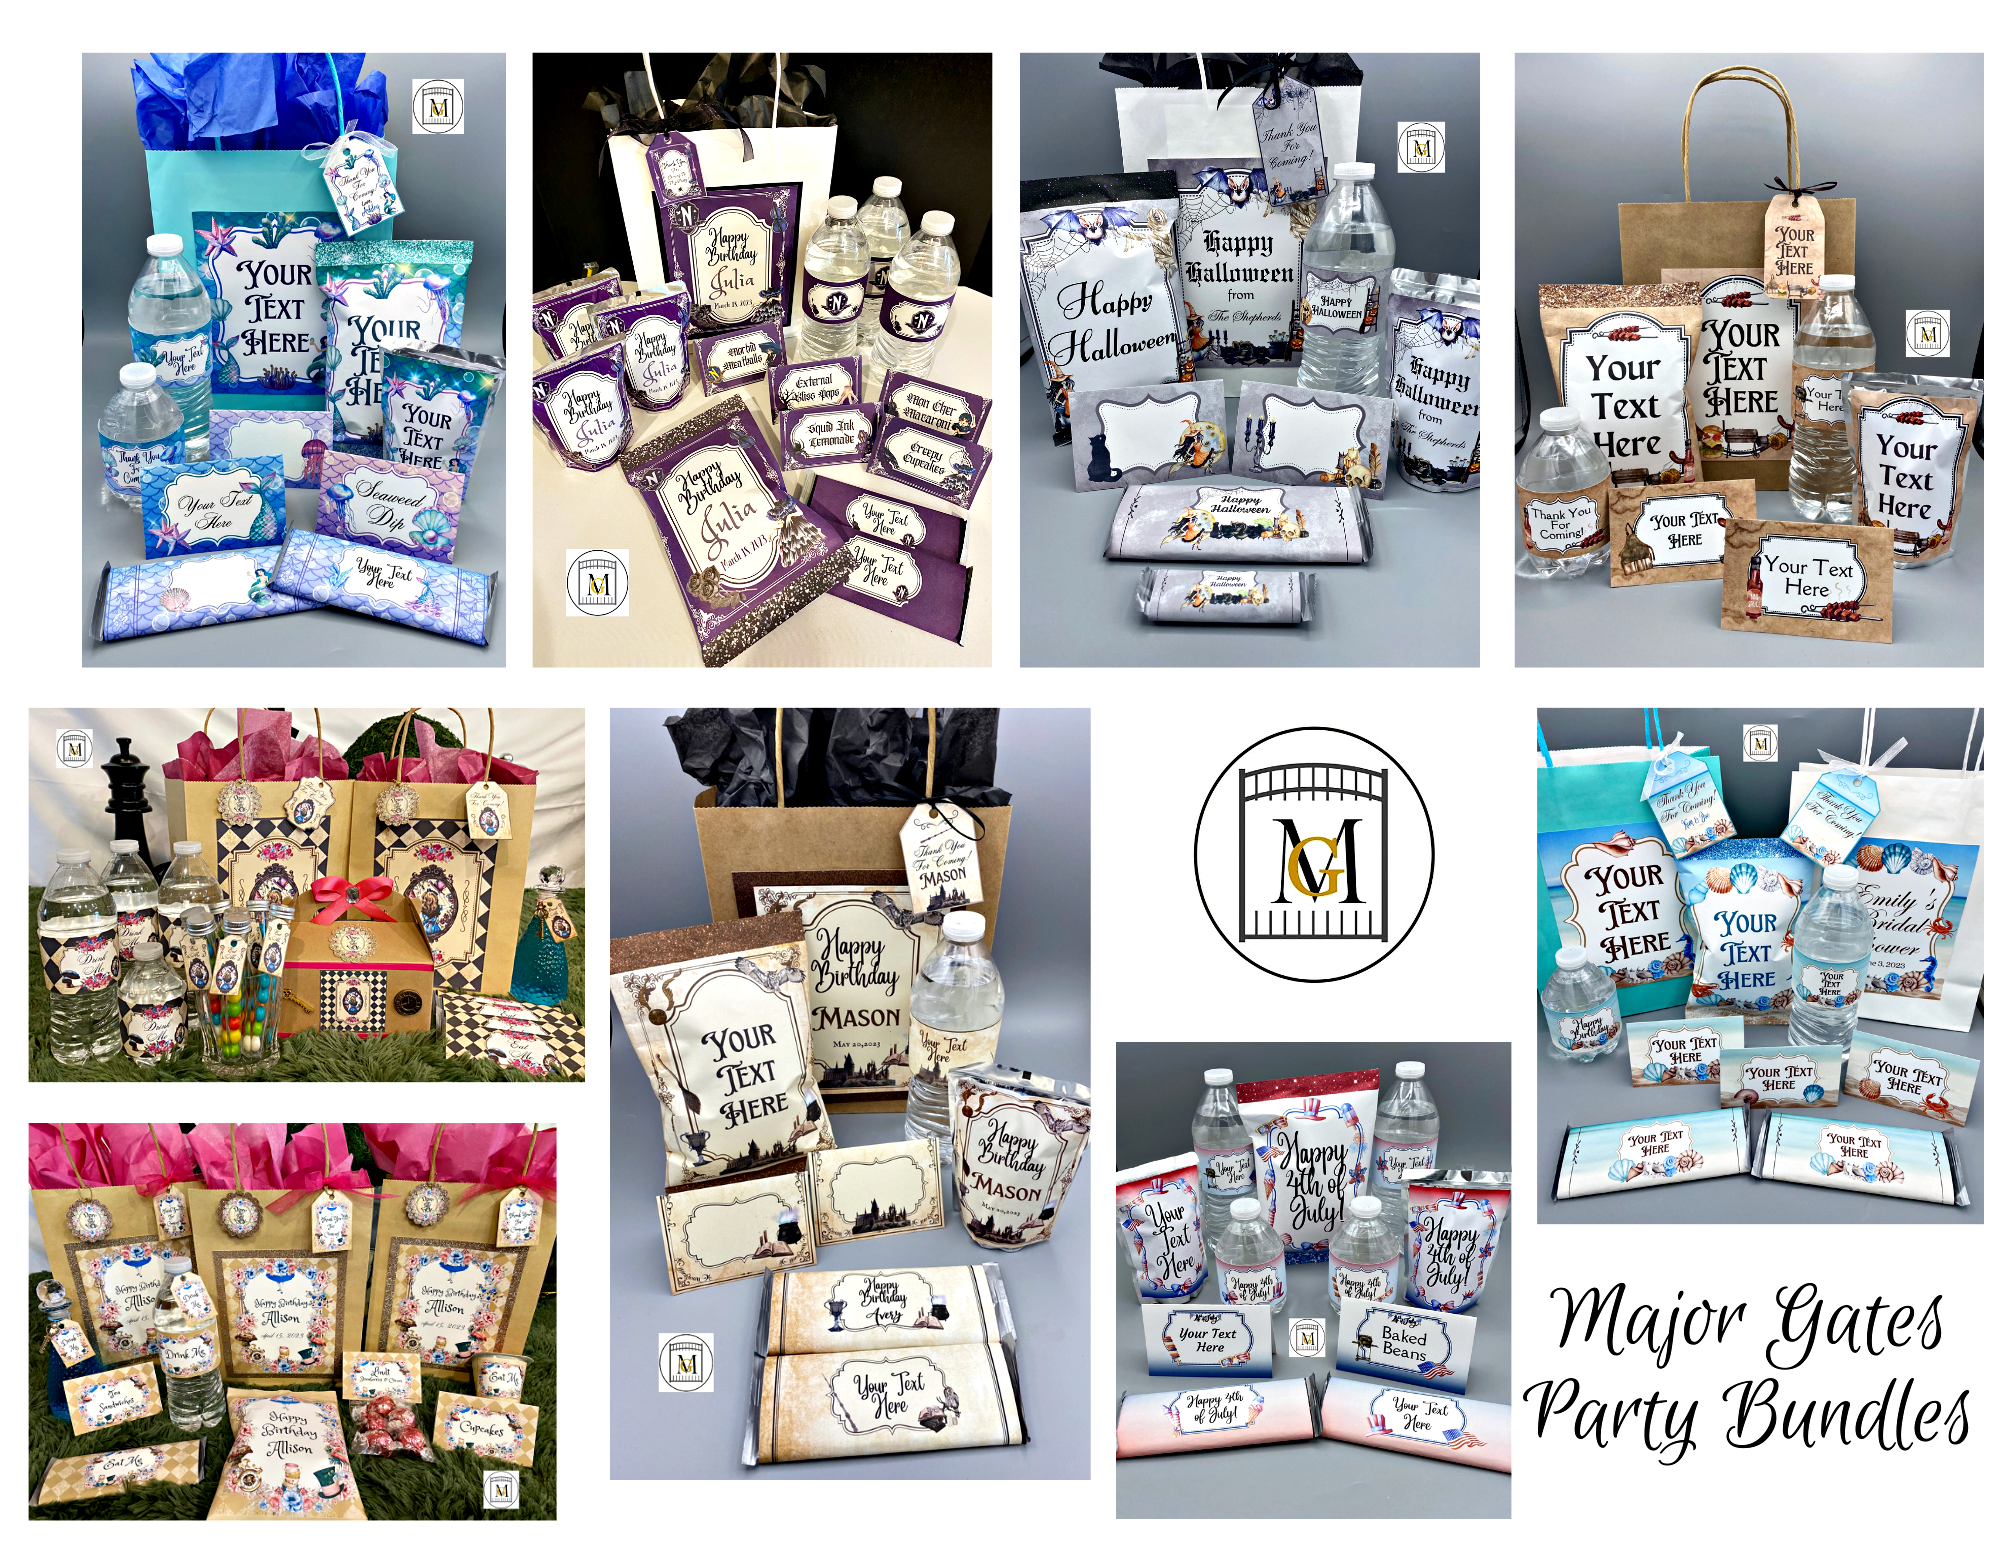
In this post, I will share my tips for assembling chip bag covers. Please check out my party downloads section in my shop, to see what party labels that I have available. https://majorgates.com/product-category/party-bundle/
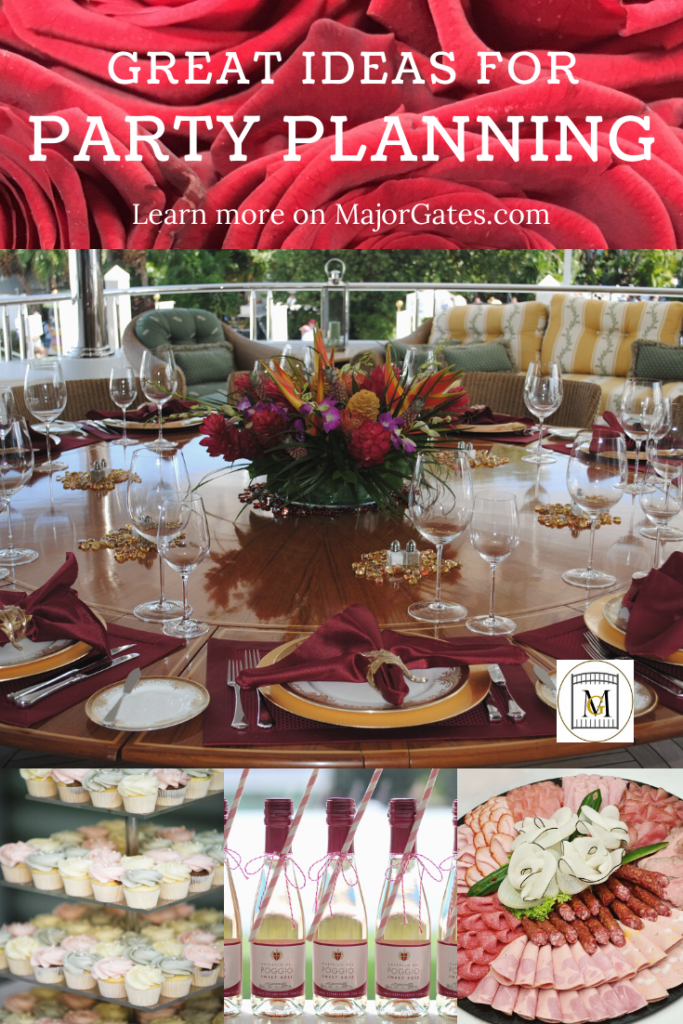
If you need some help planning your party, see my party planning tips here: https://majorgates.com/do-it-yourself/party-planning-tips/
Don’t Forget To Follow Me On Pinterest!
To see my available 2-Liter/Wine Bottle Party Label Downloads, click here: https://majorgates.com/product-category/2-liter-wine-bottle-labels/

Supplies Needed
- Color printer with high quality printing
- Regular copy A4 paper or 30-32 lb gloss paper (also known as brochure paper)
- Sharp scissors
- Glue stick, hot glue, double sided tape, red line tape or tape runner
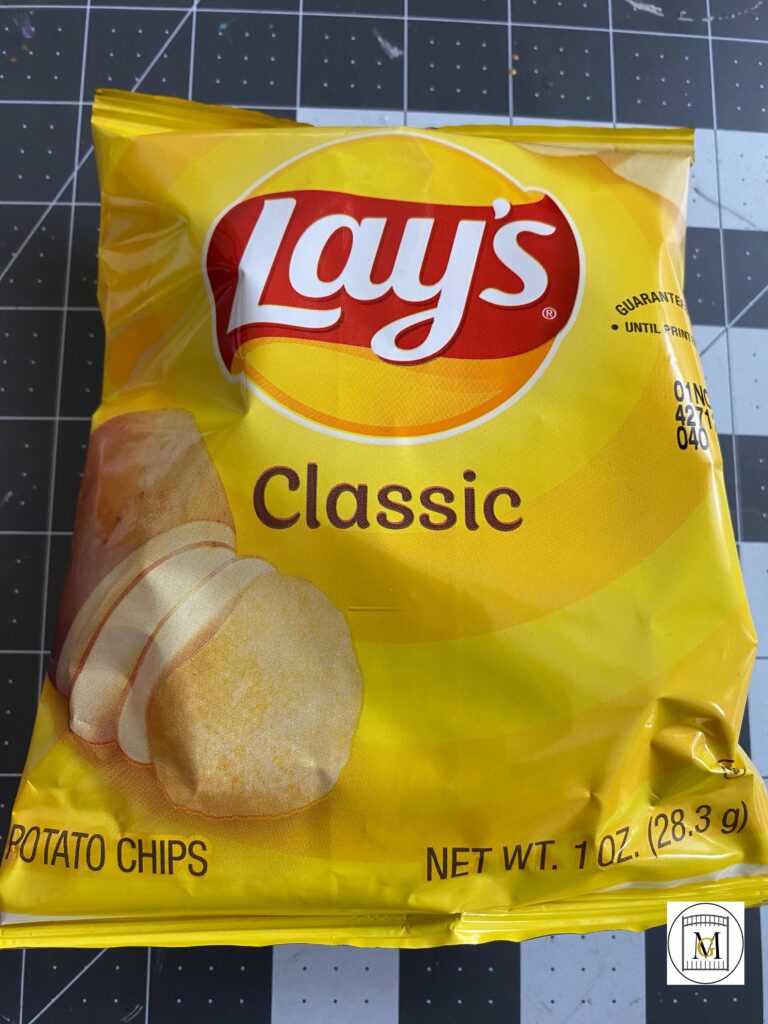
- 1 ounce bag of chips
To see my available Jeopardy/Trivia Party Downloads, click here: https://majorgates.com/product-category/jeopardy-trivia/

Directions For Chip Bag Cover Assembly
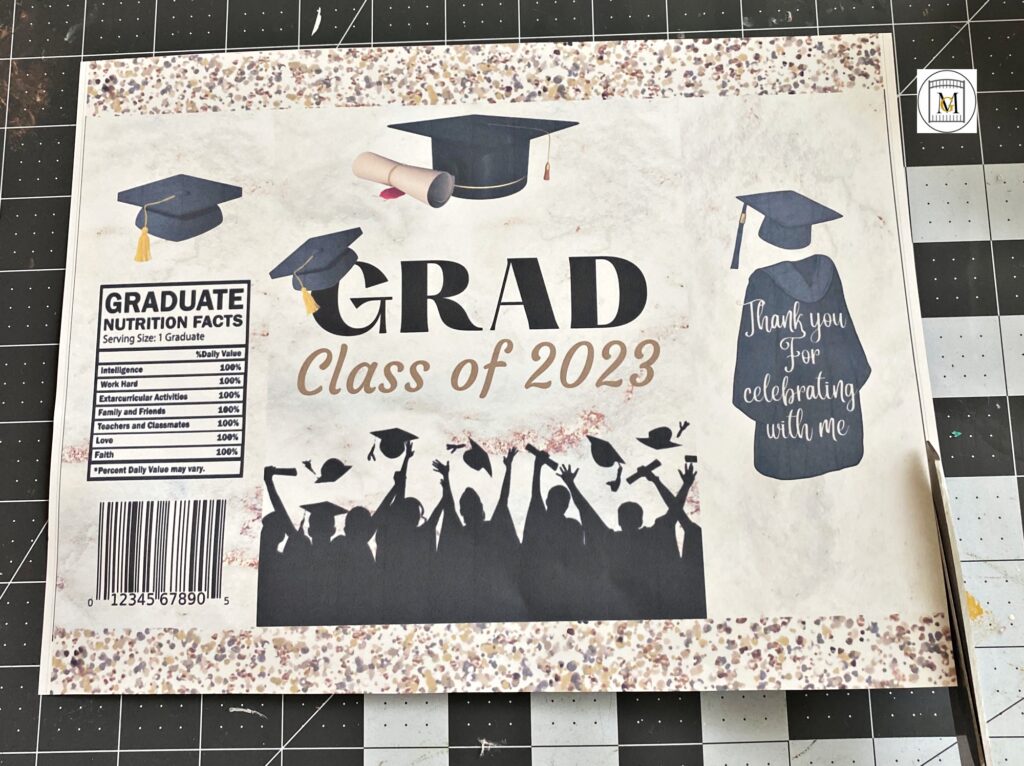
- After you create or download your saved file image of the chip bag, then print it out. You have a few options for printing. Chip bag covers are usually printed on regular copy paper or for a glossy look, 30-32 lb gloss inkjet paper(also known as brochure paper). There are slight differences with each. On regular copy paper, the colors typically are deeper but they will run and bleed if any water hits them. So if your event is outside and it rains or by a pool, the bags can get ruined quickly. If indoor, do not put these next to the drink station or ice bowls or they will ruin. Then on glossy paper, the colors tend to be lighter but the feel of the cover resembles a real chip bag. So it is just a matter of preference. The gloss paper is not water proof either but they do sell water proof gloss paper if you need to have the chip bags by a wet area.
- If printing at home, you also need to make sure you ignore the margin settings on the printer. So make sure your printer is set on the best quality setting and prints to “actual size”.
- Next, cut off any white trim on 3 sides only. So cut of the trim on the top and bottom and one of the sides (I prefer to cut off the right side trim).
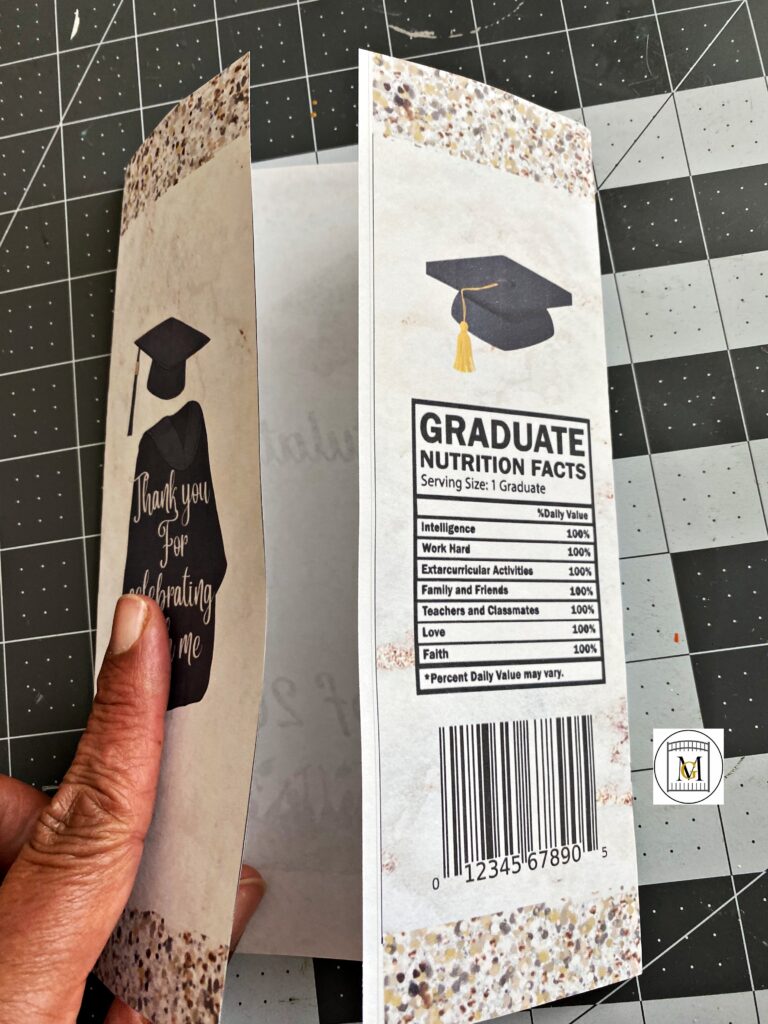
- Then lightly shape or gently fold (without making a crease) the sides to overlap and secure with glue or tape. So the clean side should be glued/taped over the side with the trim remaining.
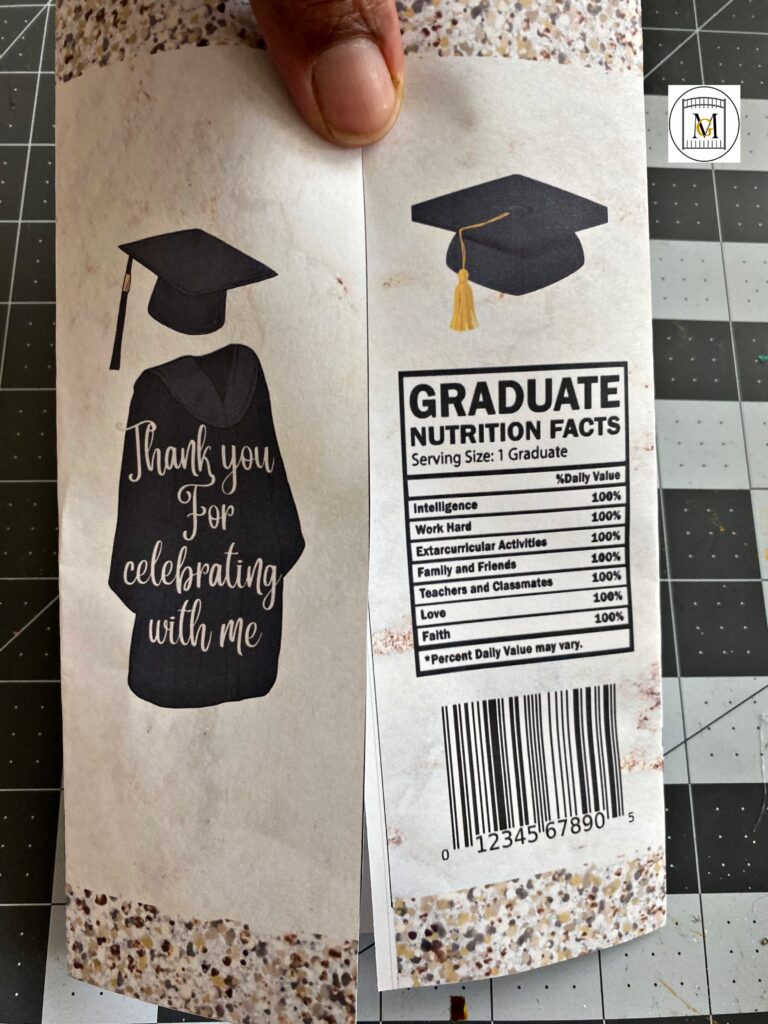
- Then, glue/tape the bottom of the chip bag cover.
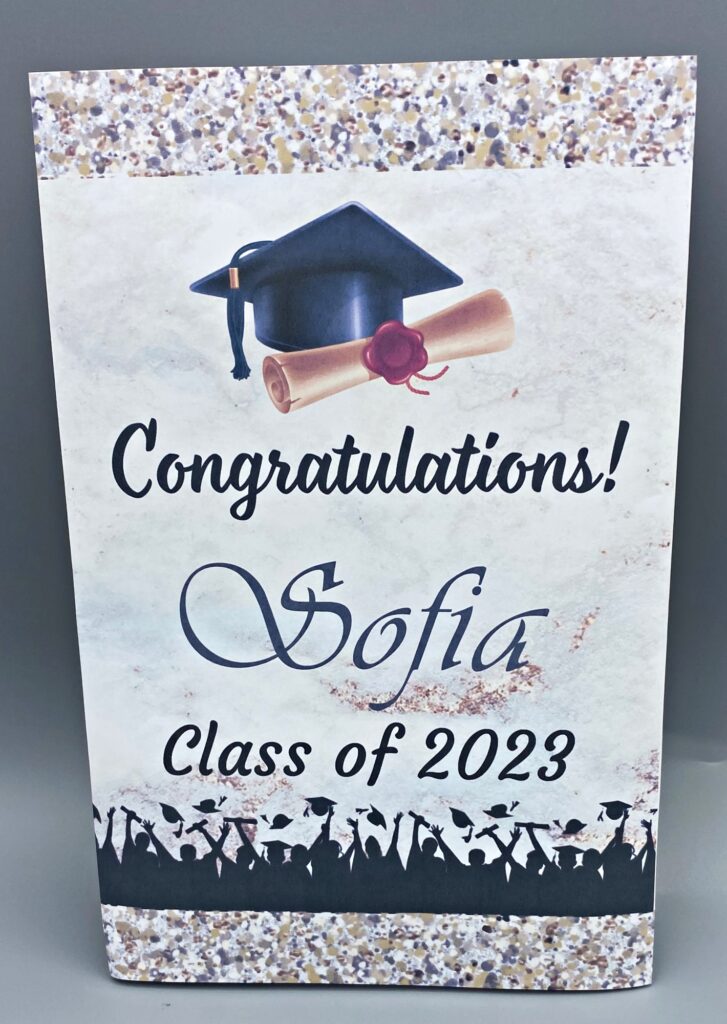
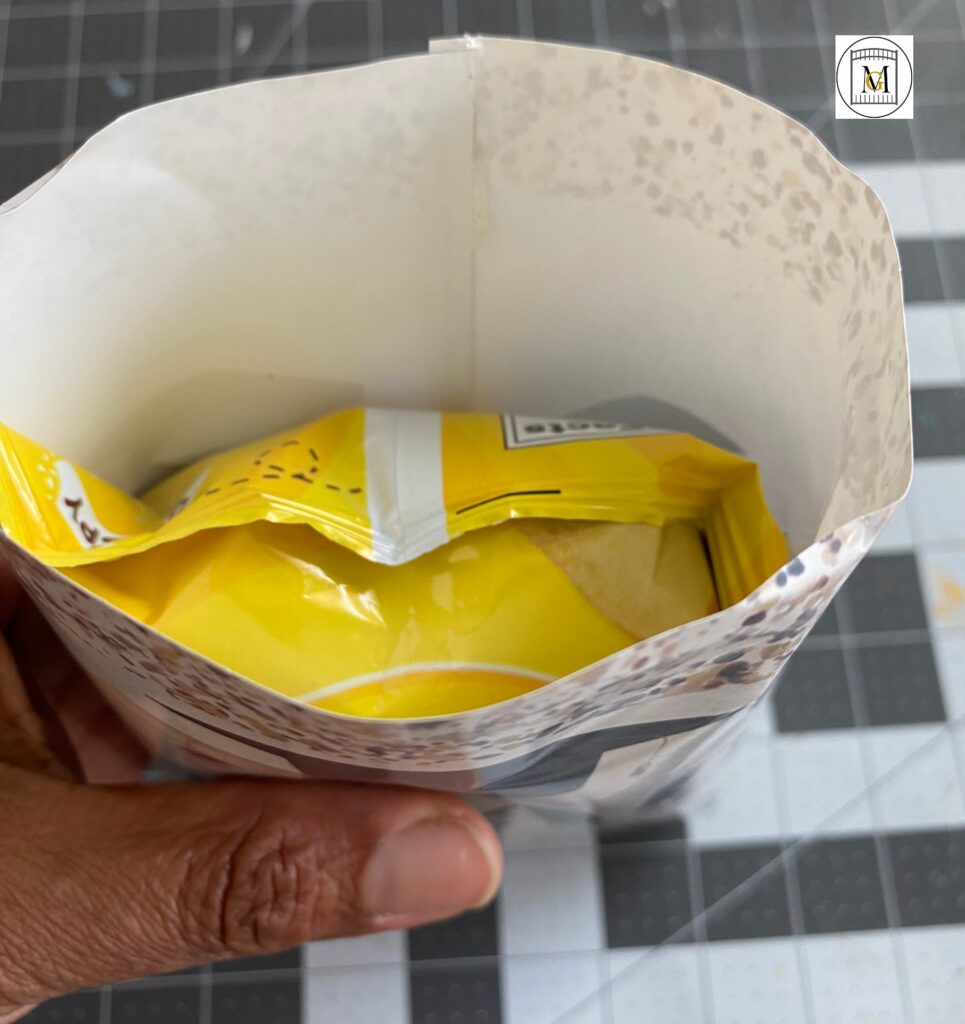
- Now, wiggle in the chips and be careful not to squeeze open the chip bag while insert into the chip bag cover or crush the chips.
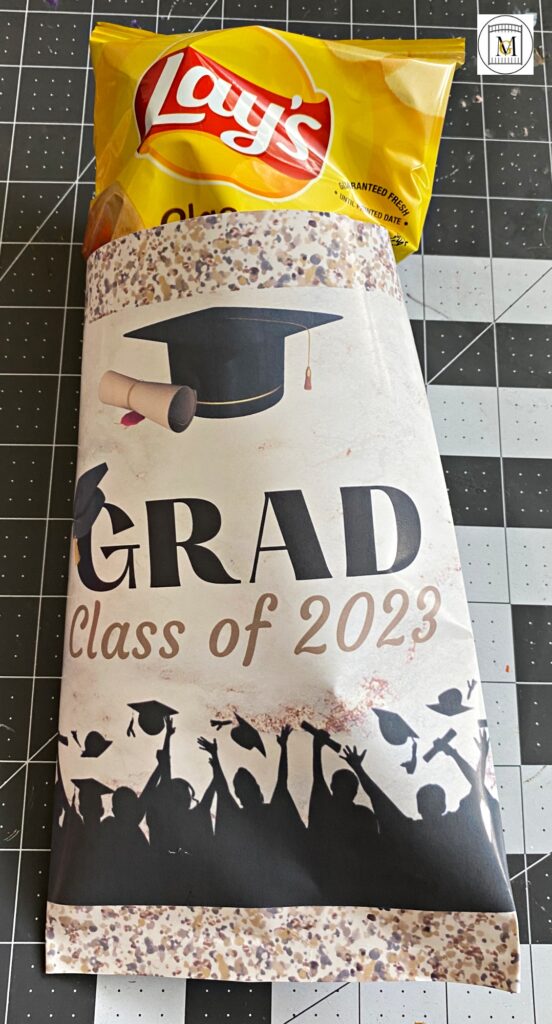
- Last, secure the top of the chip bag cover with glue/tape.
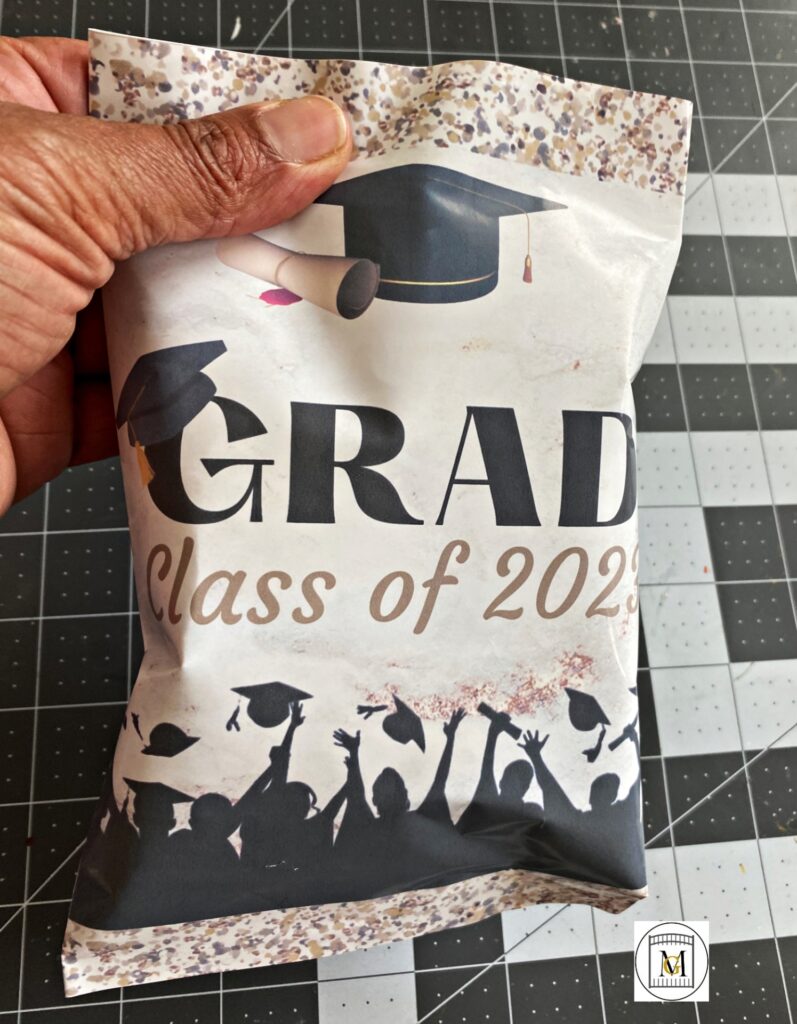
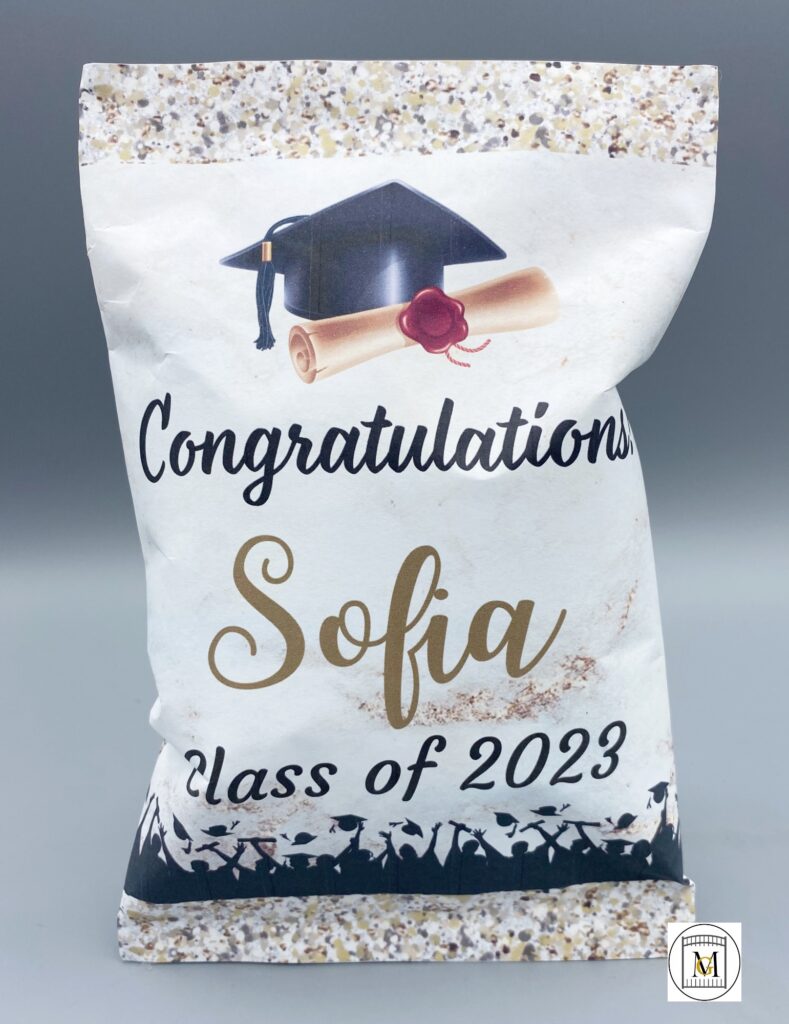
Your custom chip bag cover is ready! Repeat as many times as you need to and enjoy the party!
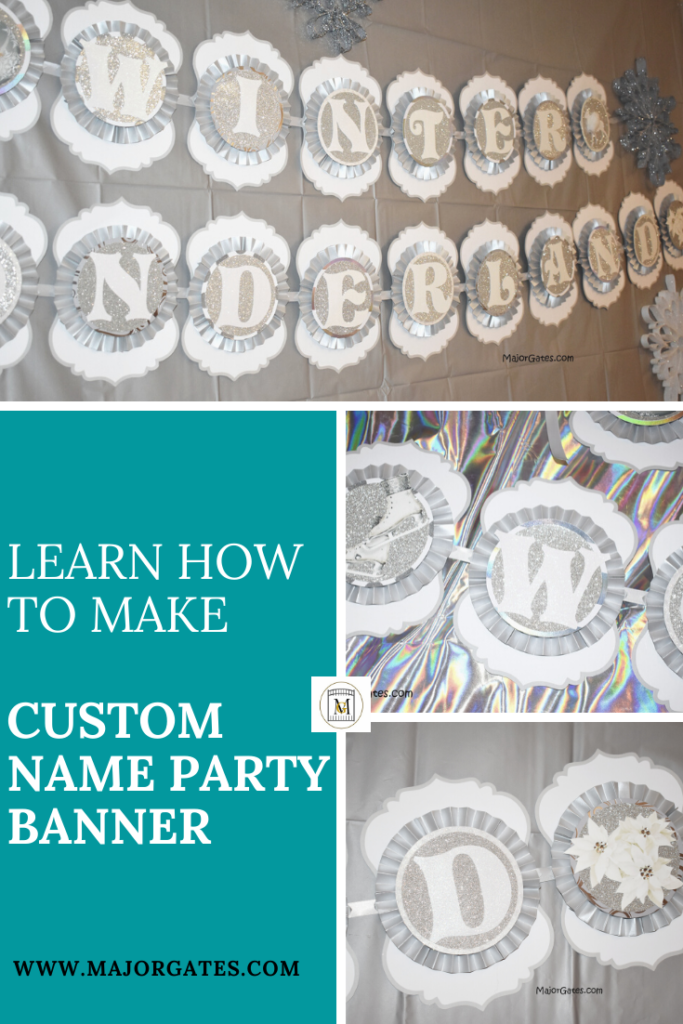
For another great party idea, see my post about How To Make A Custom Name Banner here: https://majorgates.com/do-it-yourself/custom-name-banner/
To see my available Potion/Apothecary Bottle Party Labels, click here: https://majorgates.com/product-category/potion-apothecary-labels/
