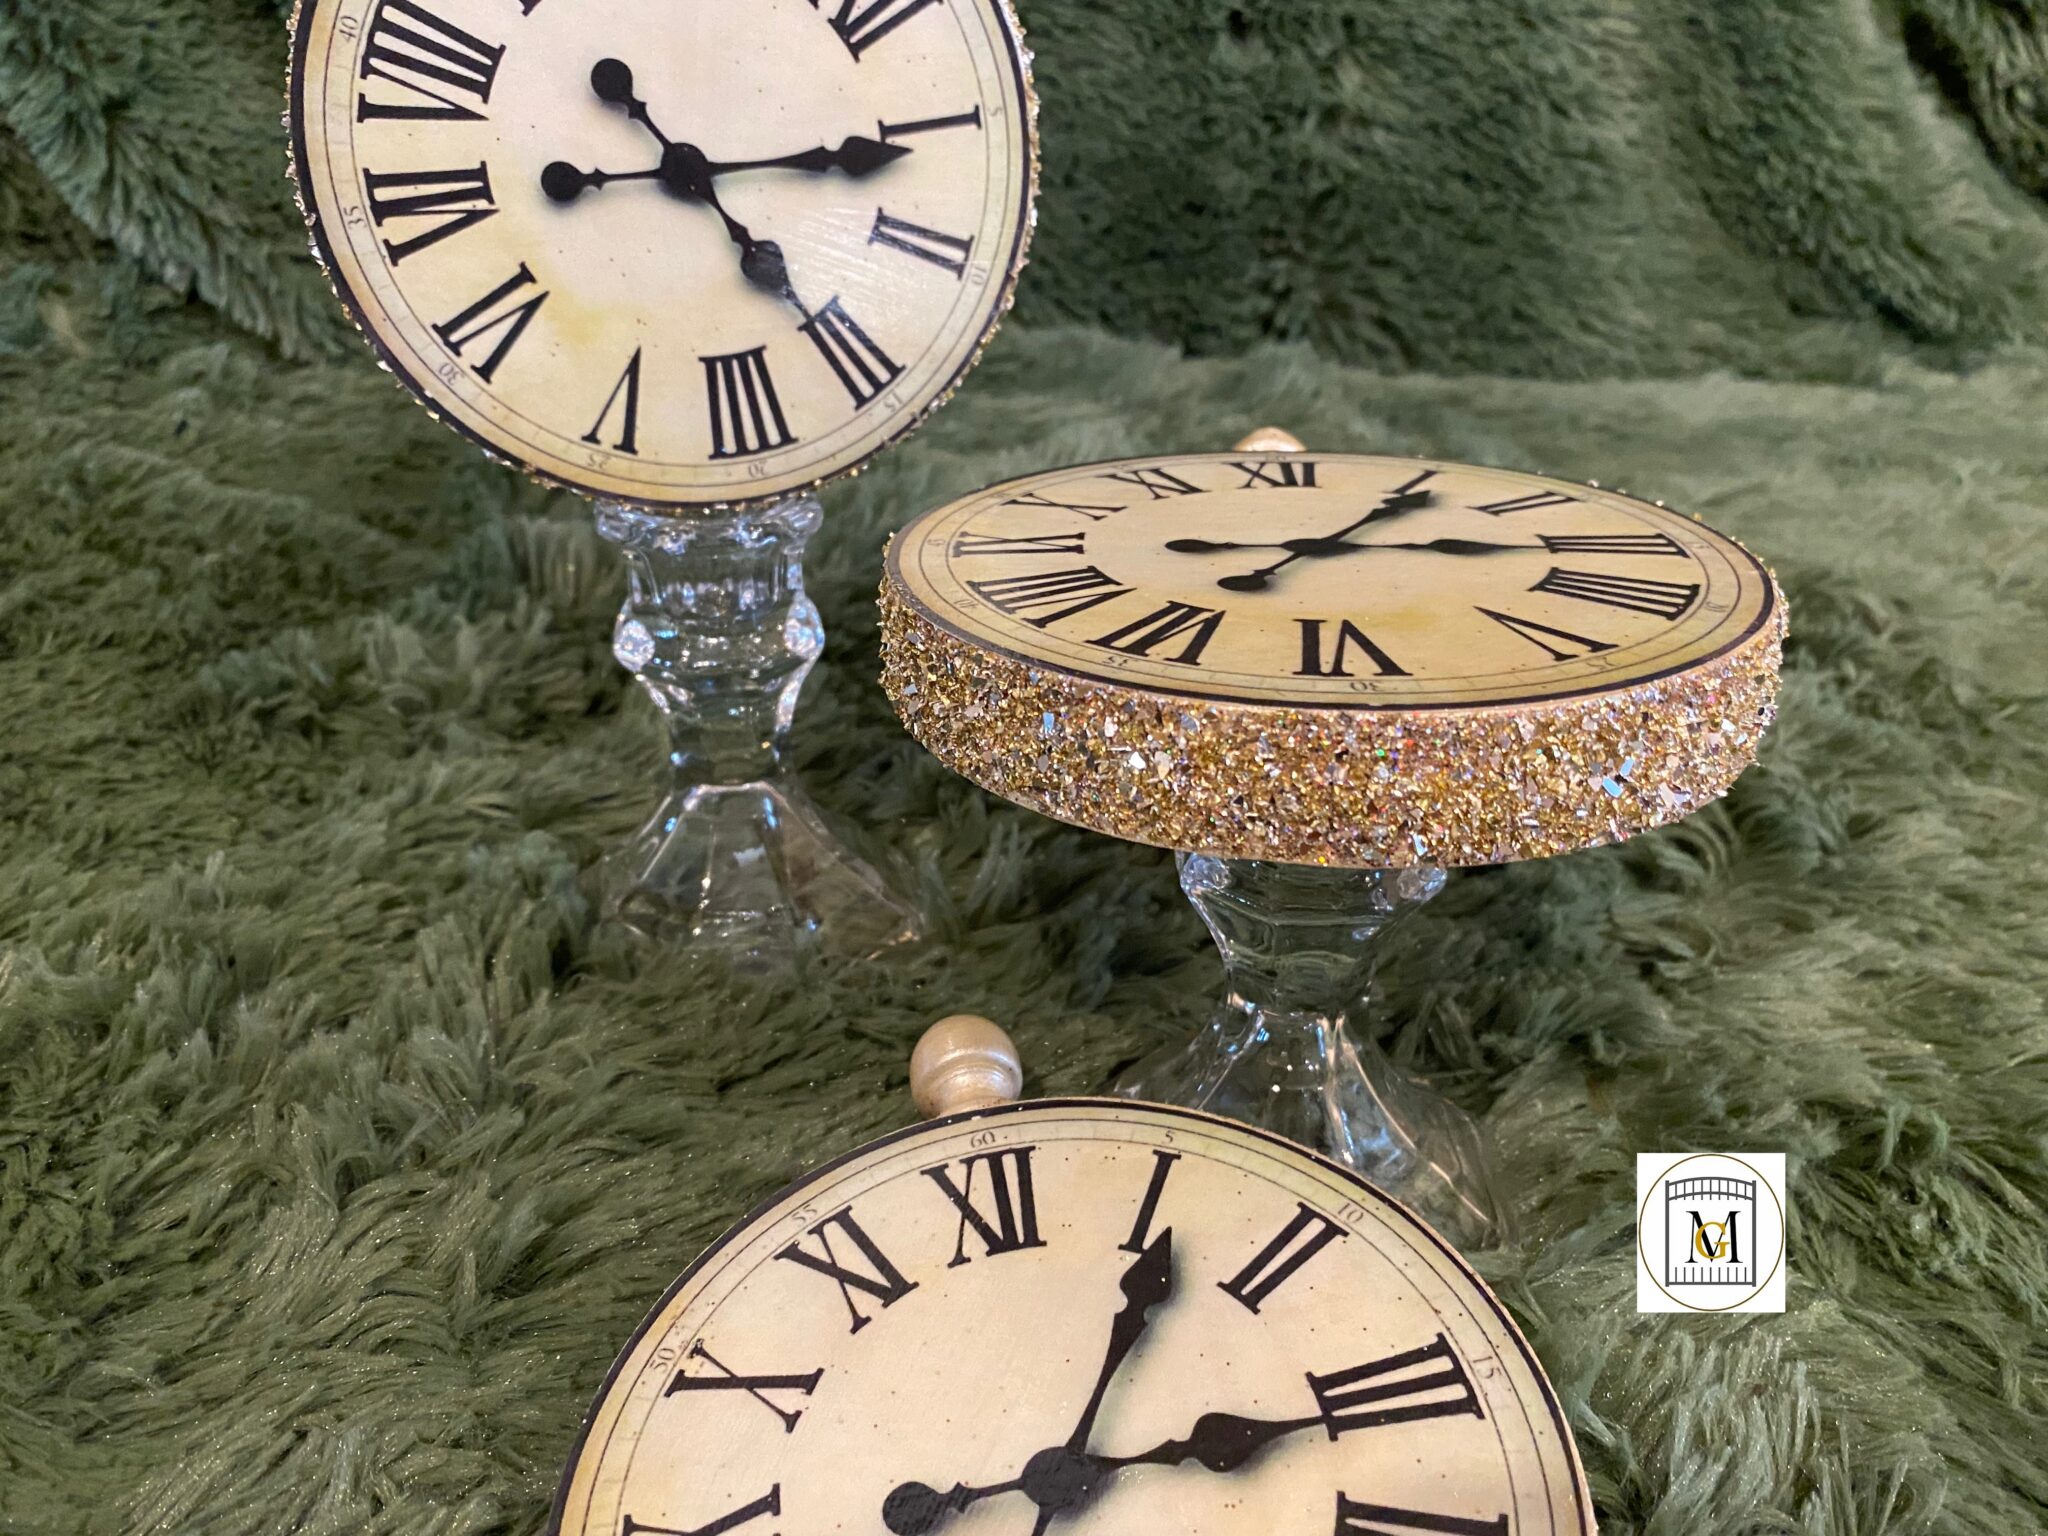
Clock Decoration

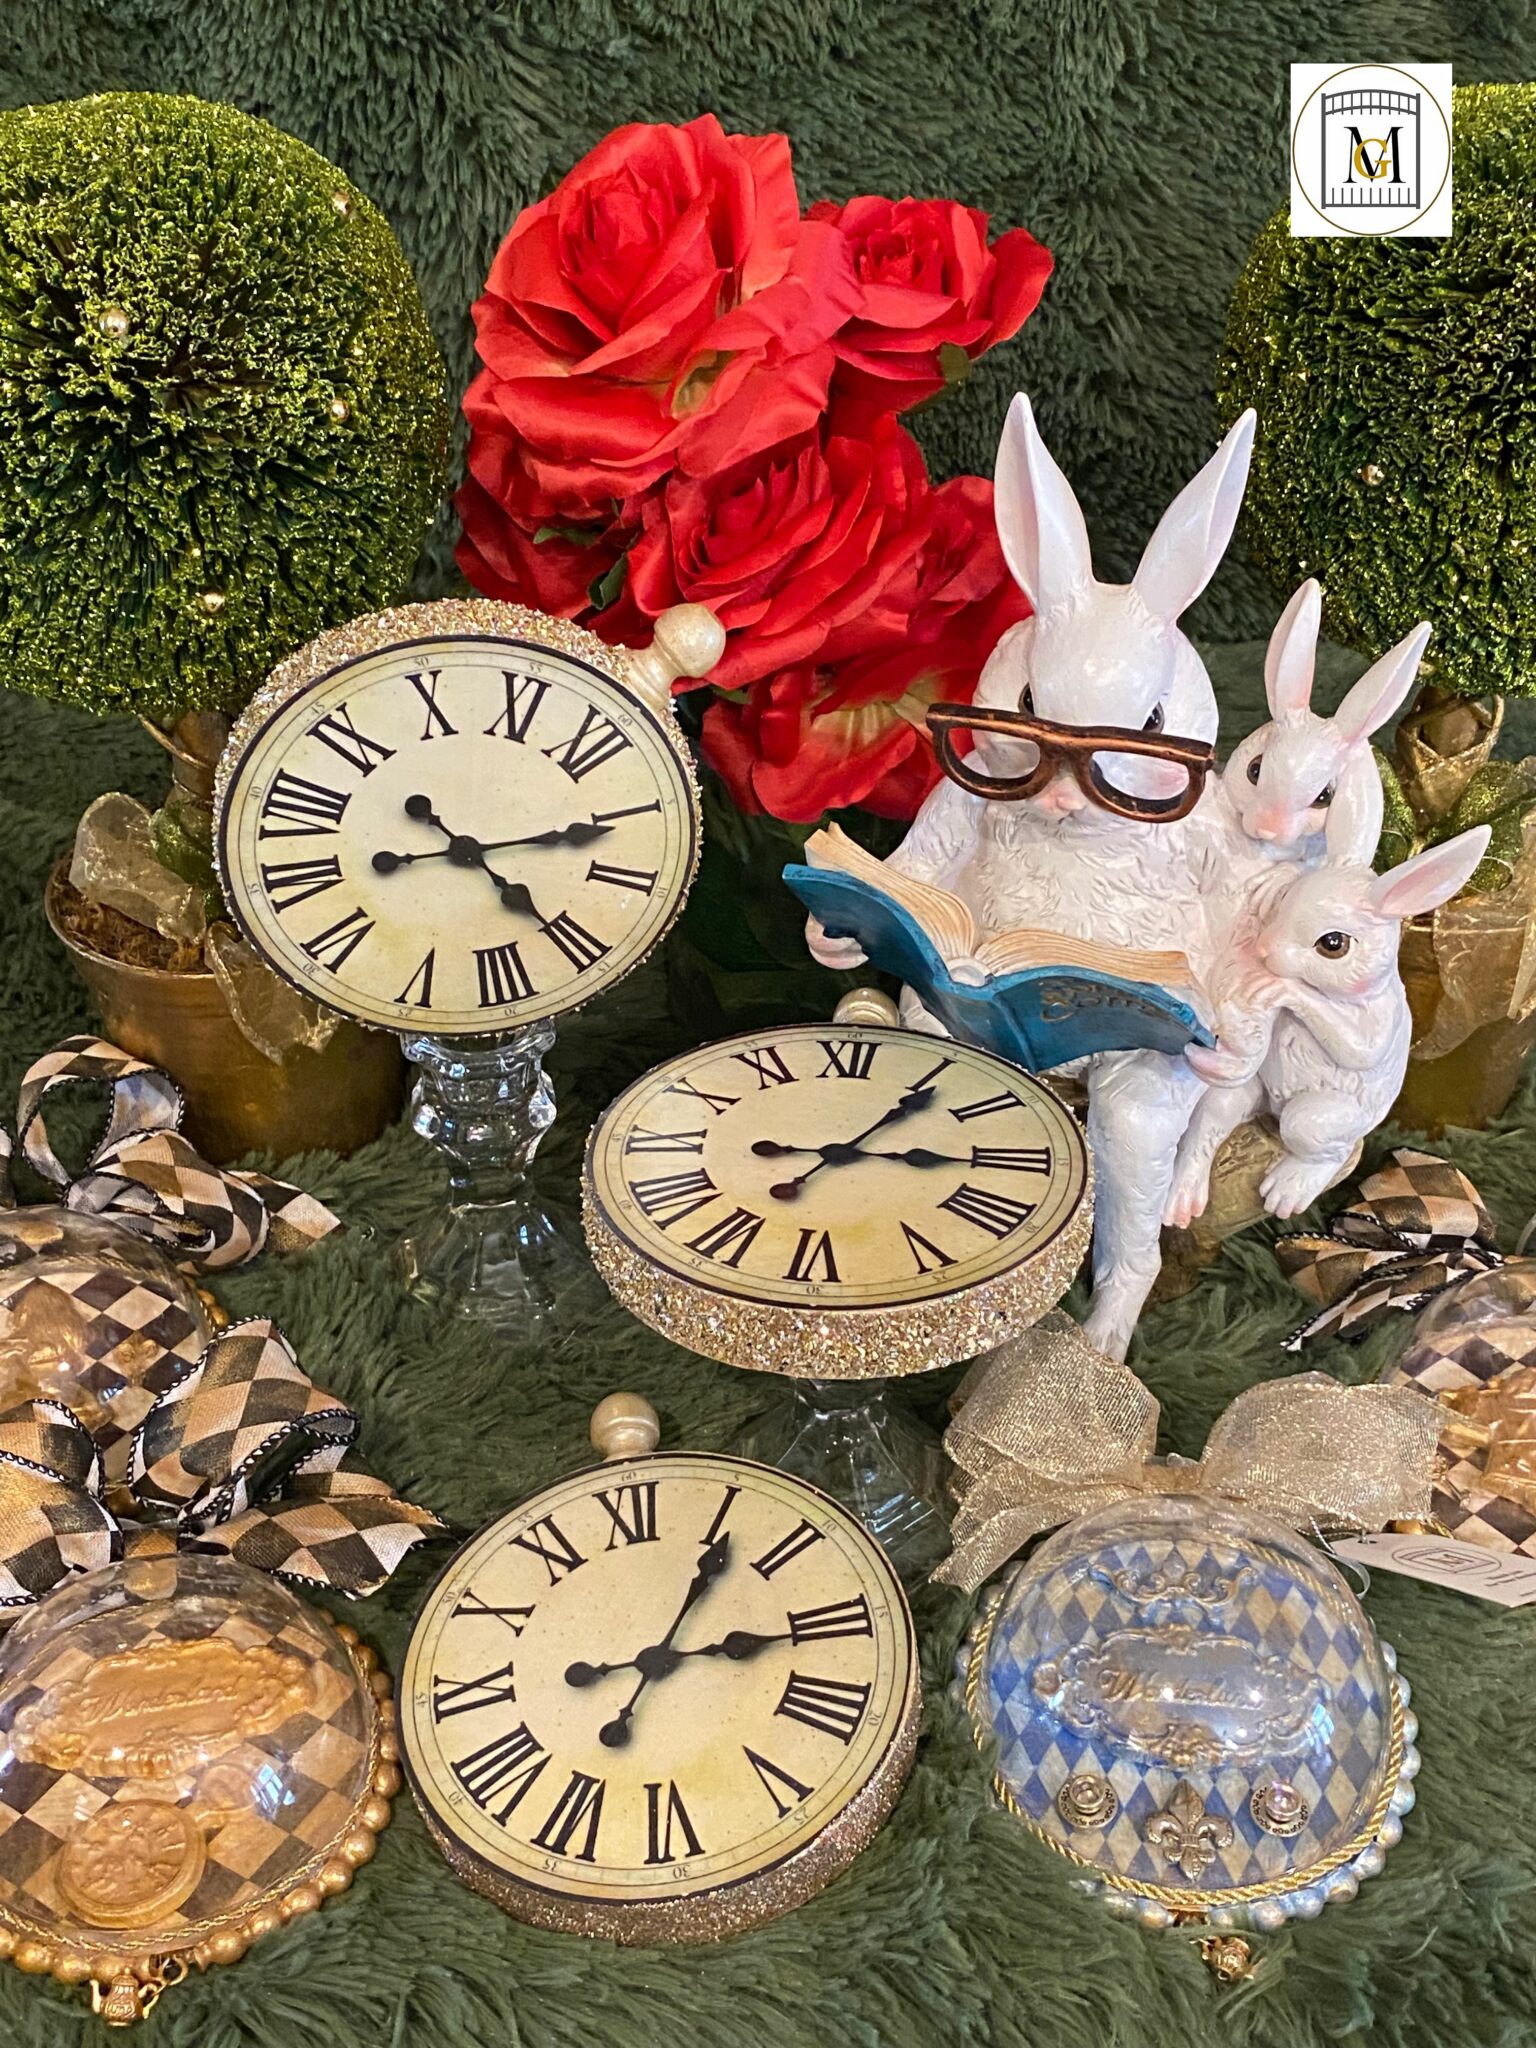
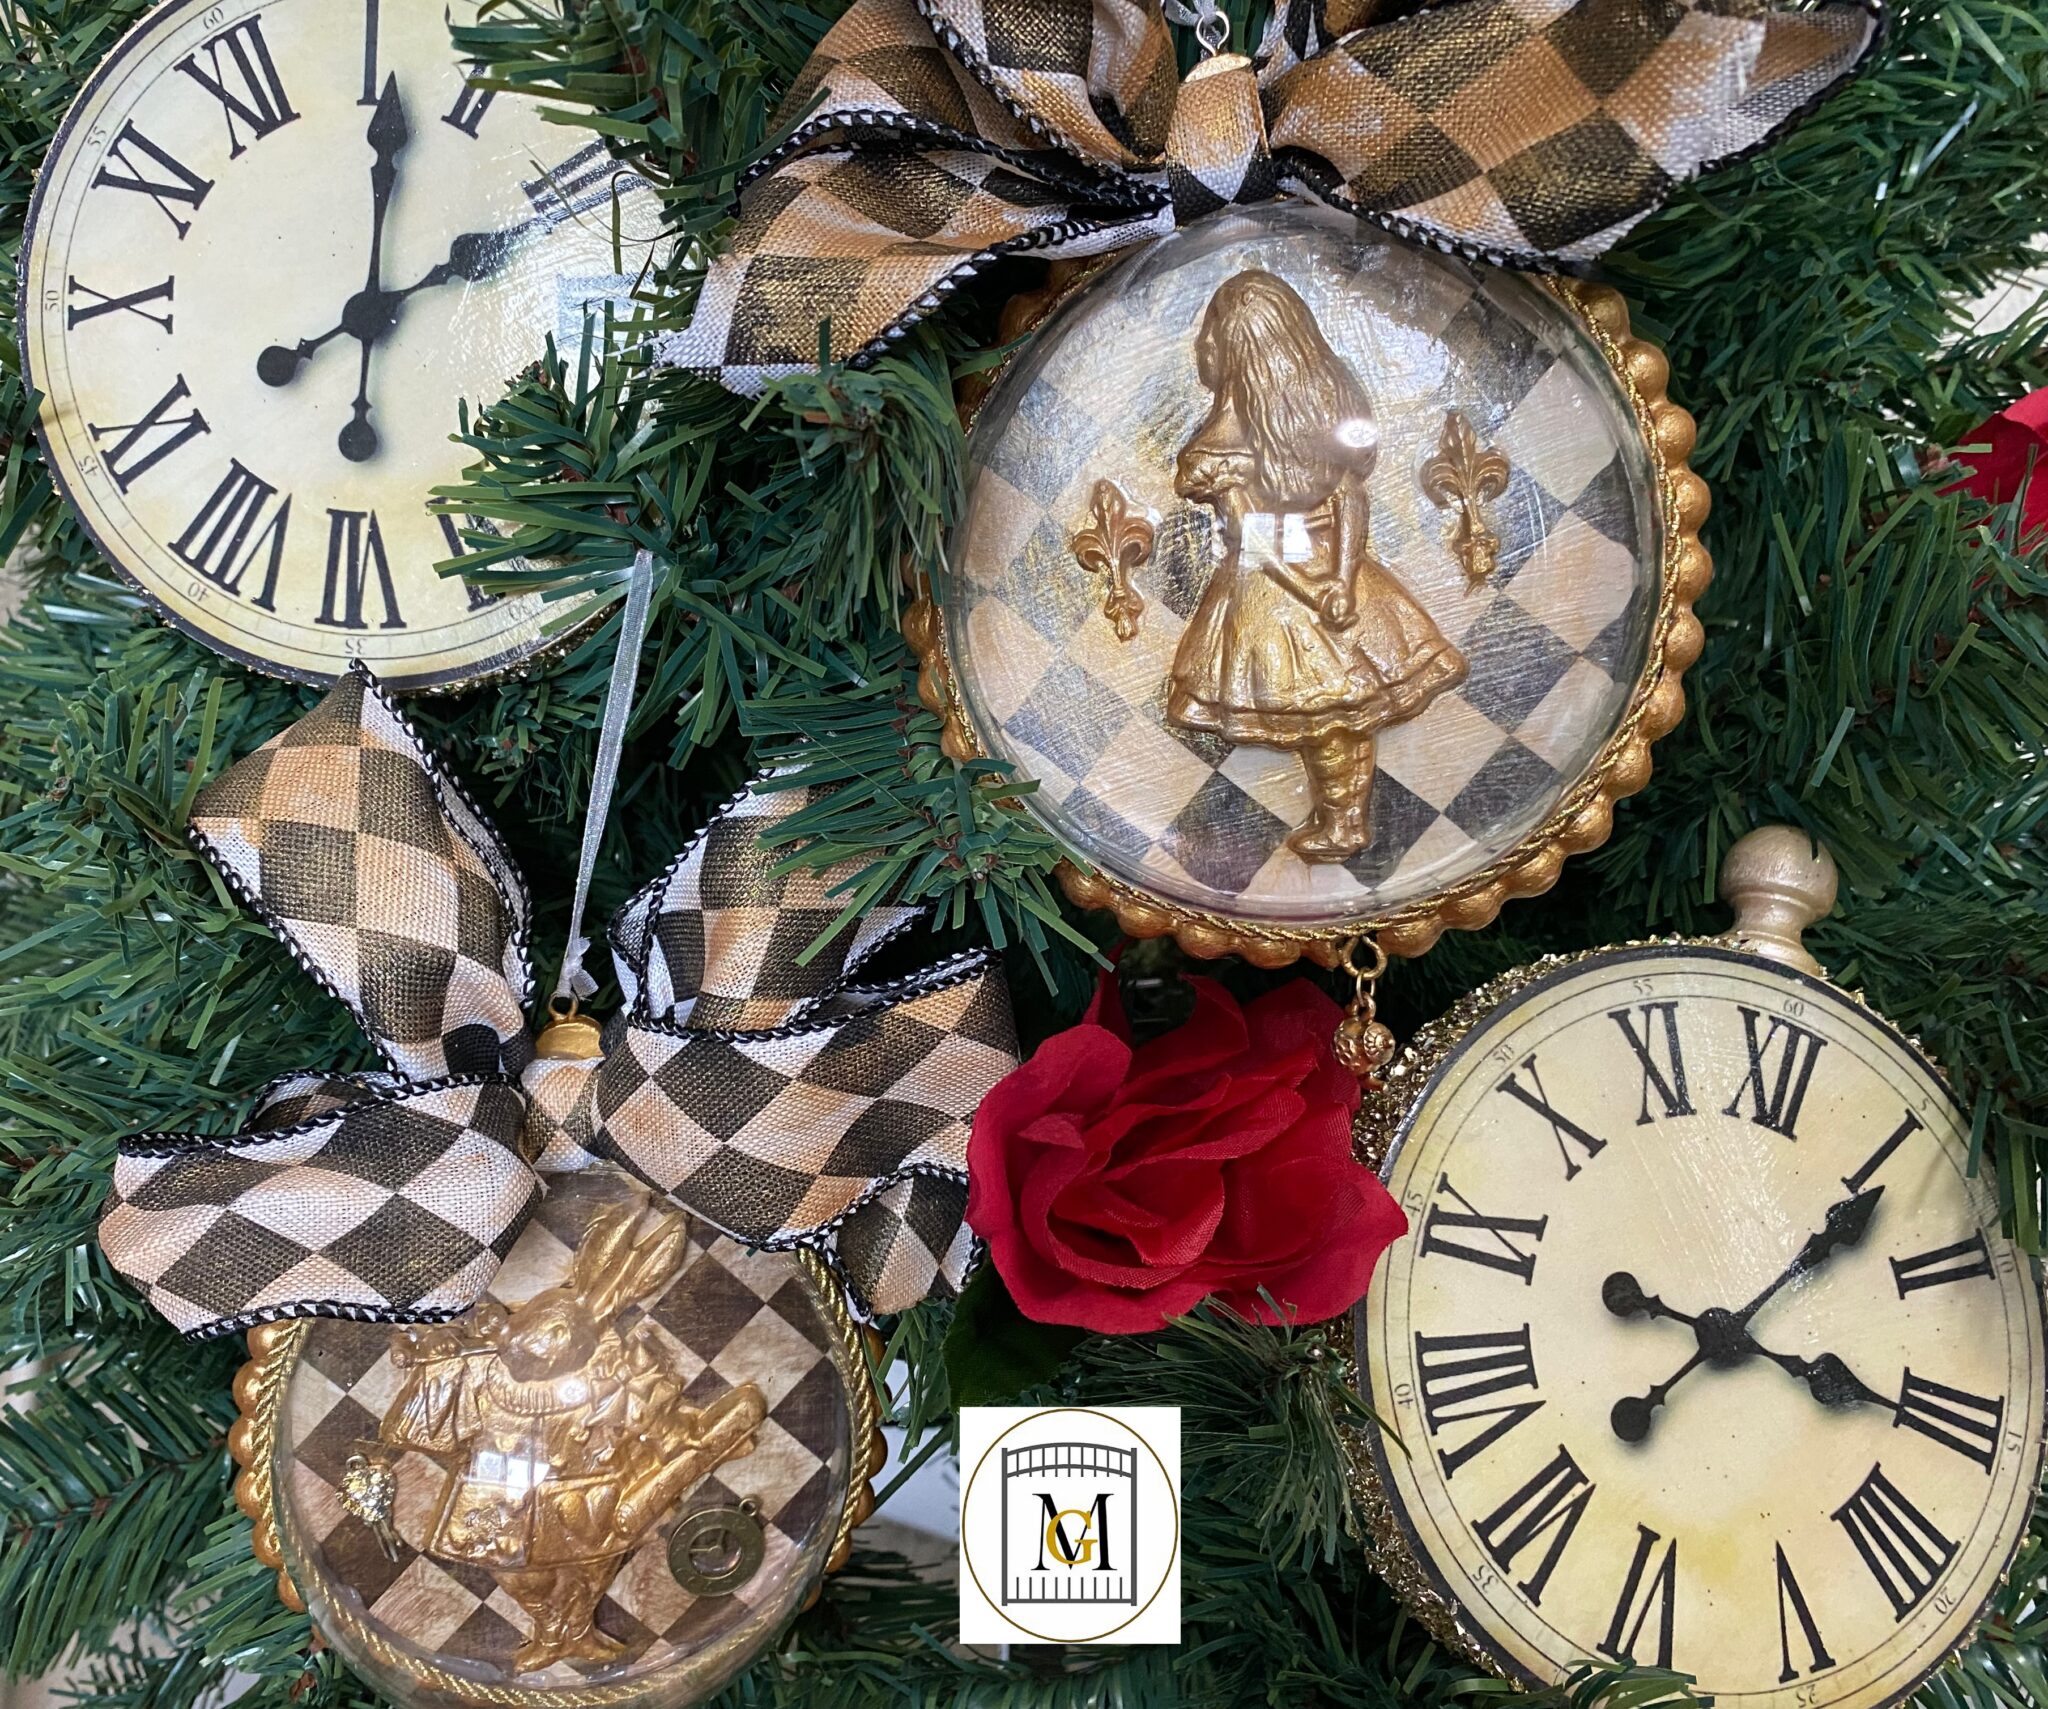
This clock decoration/ornament turned out so great. This is a great craft, ornament or decoration. Also, this decoration is perfect for New Years, Tea Parties, centerpieces, weddings, anniversaries and more. I made these for an Alice in Wonderland themed party. I used most of these as ornaments on the Christmas tree and the others as accent decorations on tables. So, the best part is that these were pretty easy to make and affordable. These also would make cute prize gifts for games played at Christmas parties or an Alice in Wonderland party.
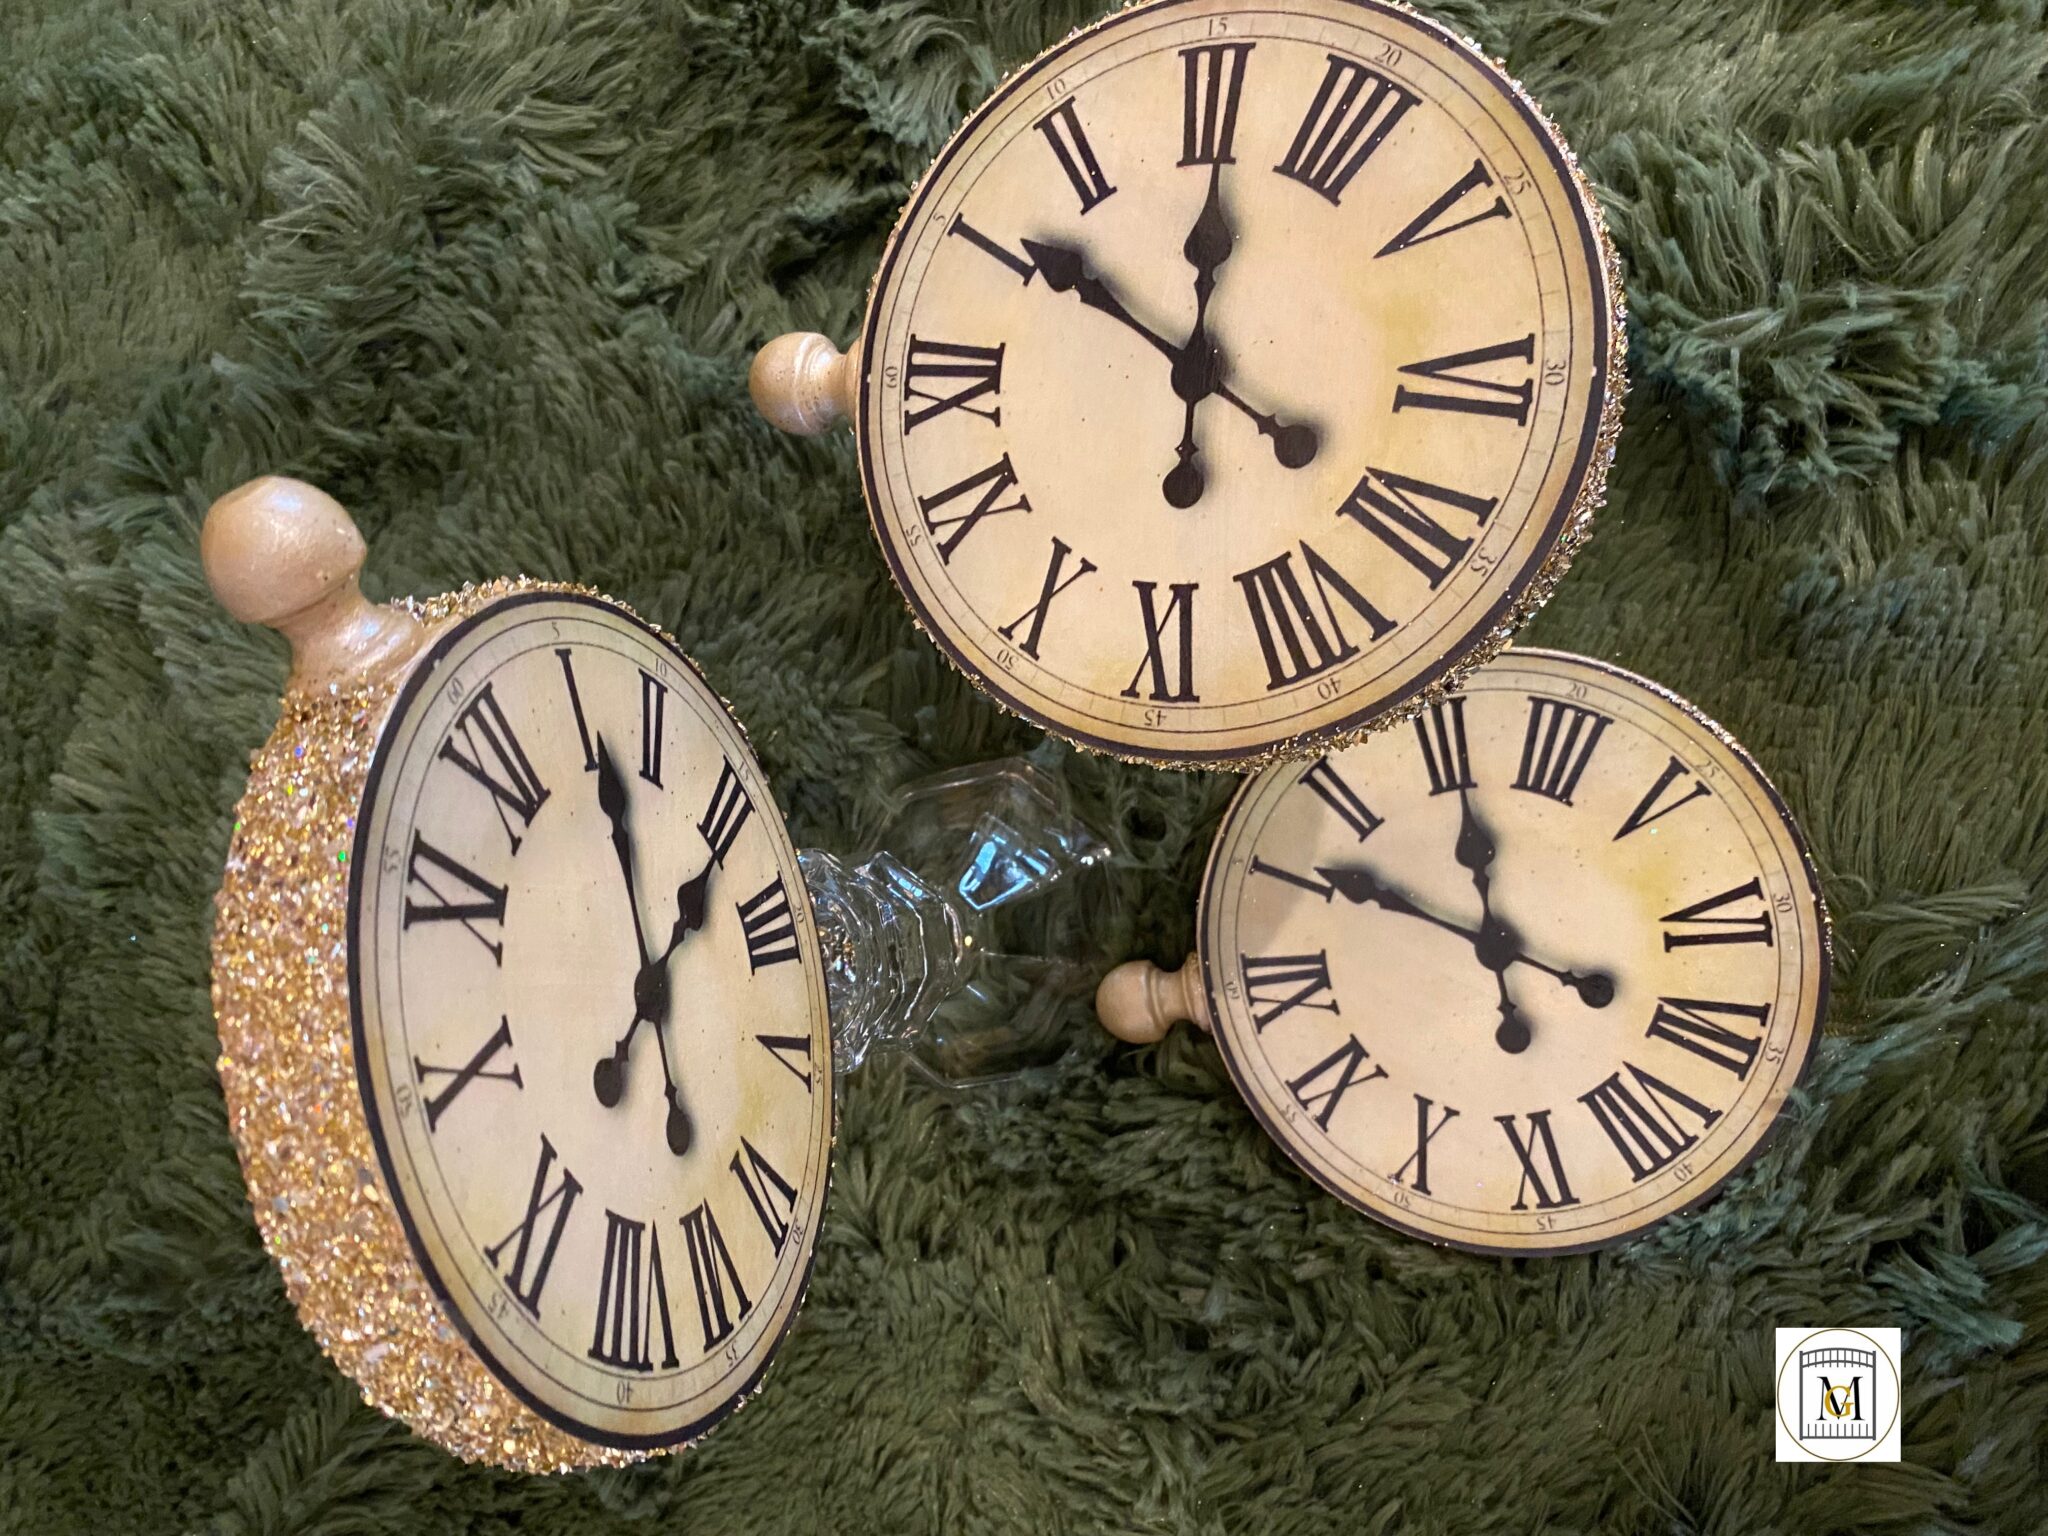
Like with most handmade ornaments, the time it takes to make them is long due to the drying time. But the results are always worth it though. Making a clock ornament is not restricted to size. So you can make these extra large or small. It all depends of the size of the wood circle. You can also use printed clock face images or hand paint the clock. So in this example, I use a printed clock face. If you are interested in the Alice in Wonderland ornaments, visit my shop to see what handmade ornaments I have available for sale. They are available in very limited quantities.
To see my available Party Label Bundle Downloads, click here: https://majorgates.com/product-category/party-bundles/
For more DIY and craft ideas, visit my DIY section here: https://majorgates.com/category/do-it-yourself/

Don’t Forget To Follow Me On Pinterest!
To view my available Party Jeopardy/Trivia Downloads that are great for groups, click here: https://majorgates.com/product-category/jeopardy-trivia/

For some tips on party planning, see my post here: https://majorgates.com/do-it-yourself/party-planning-tips/

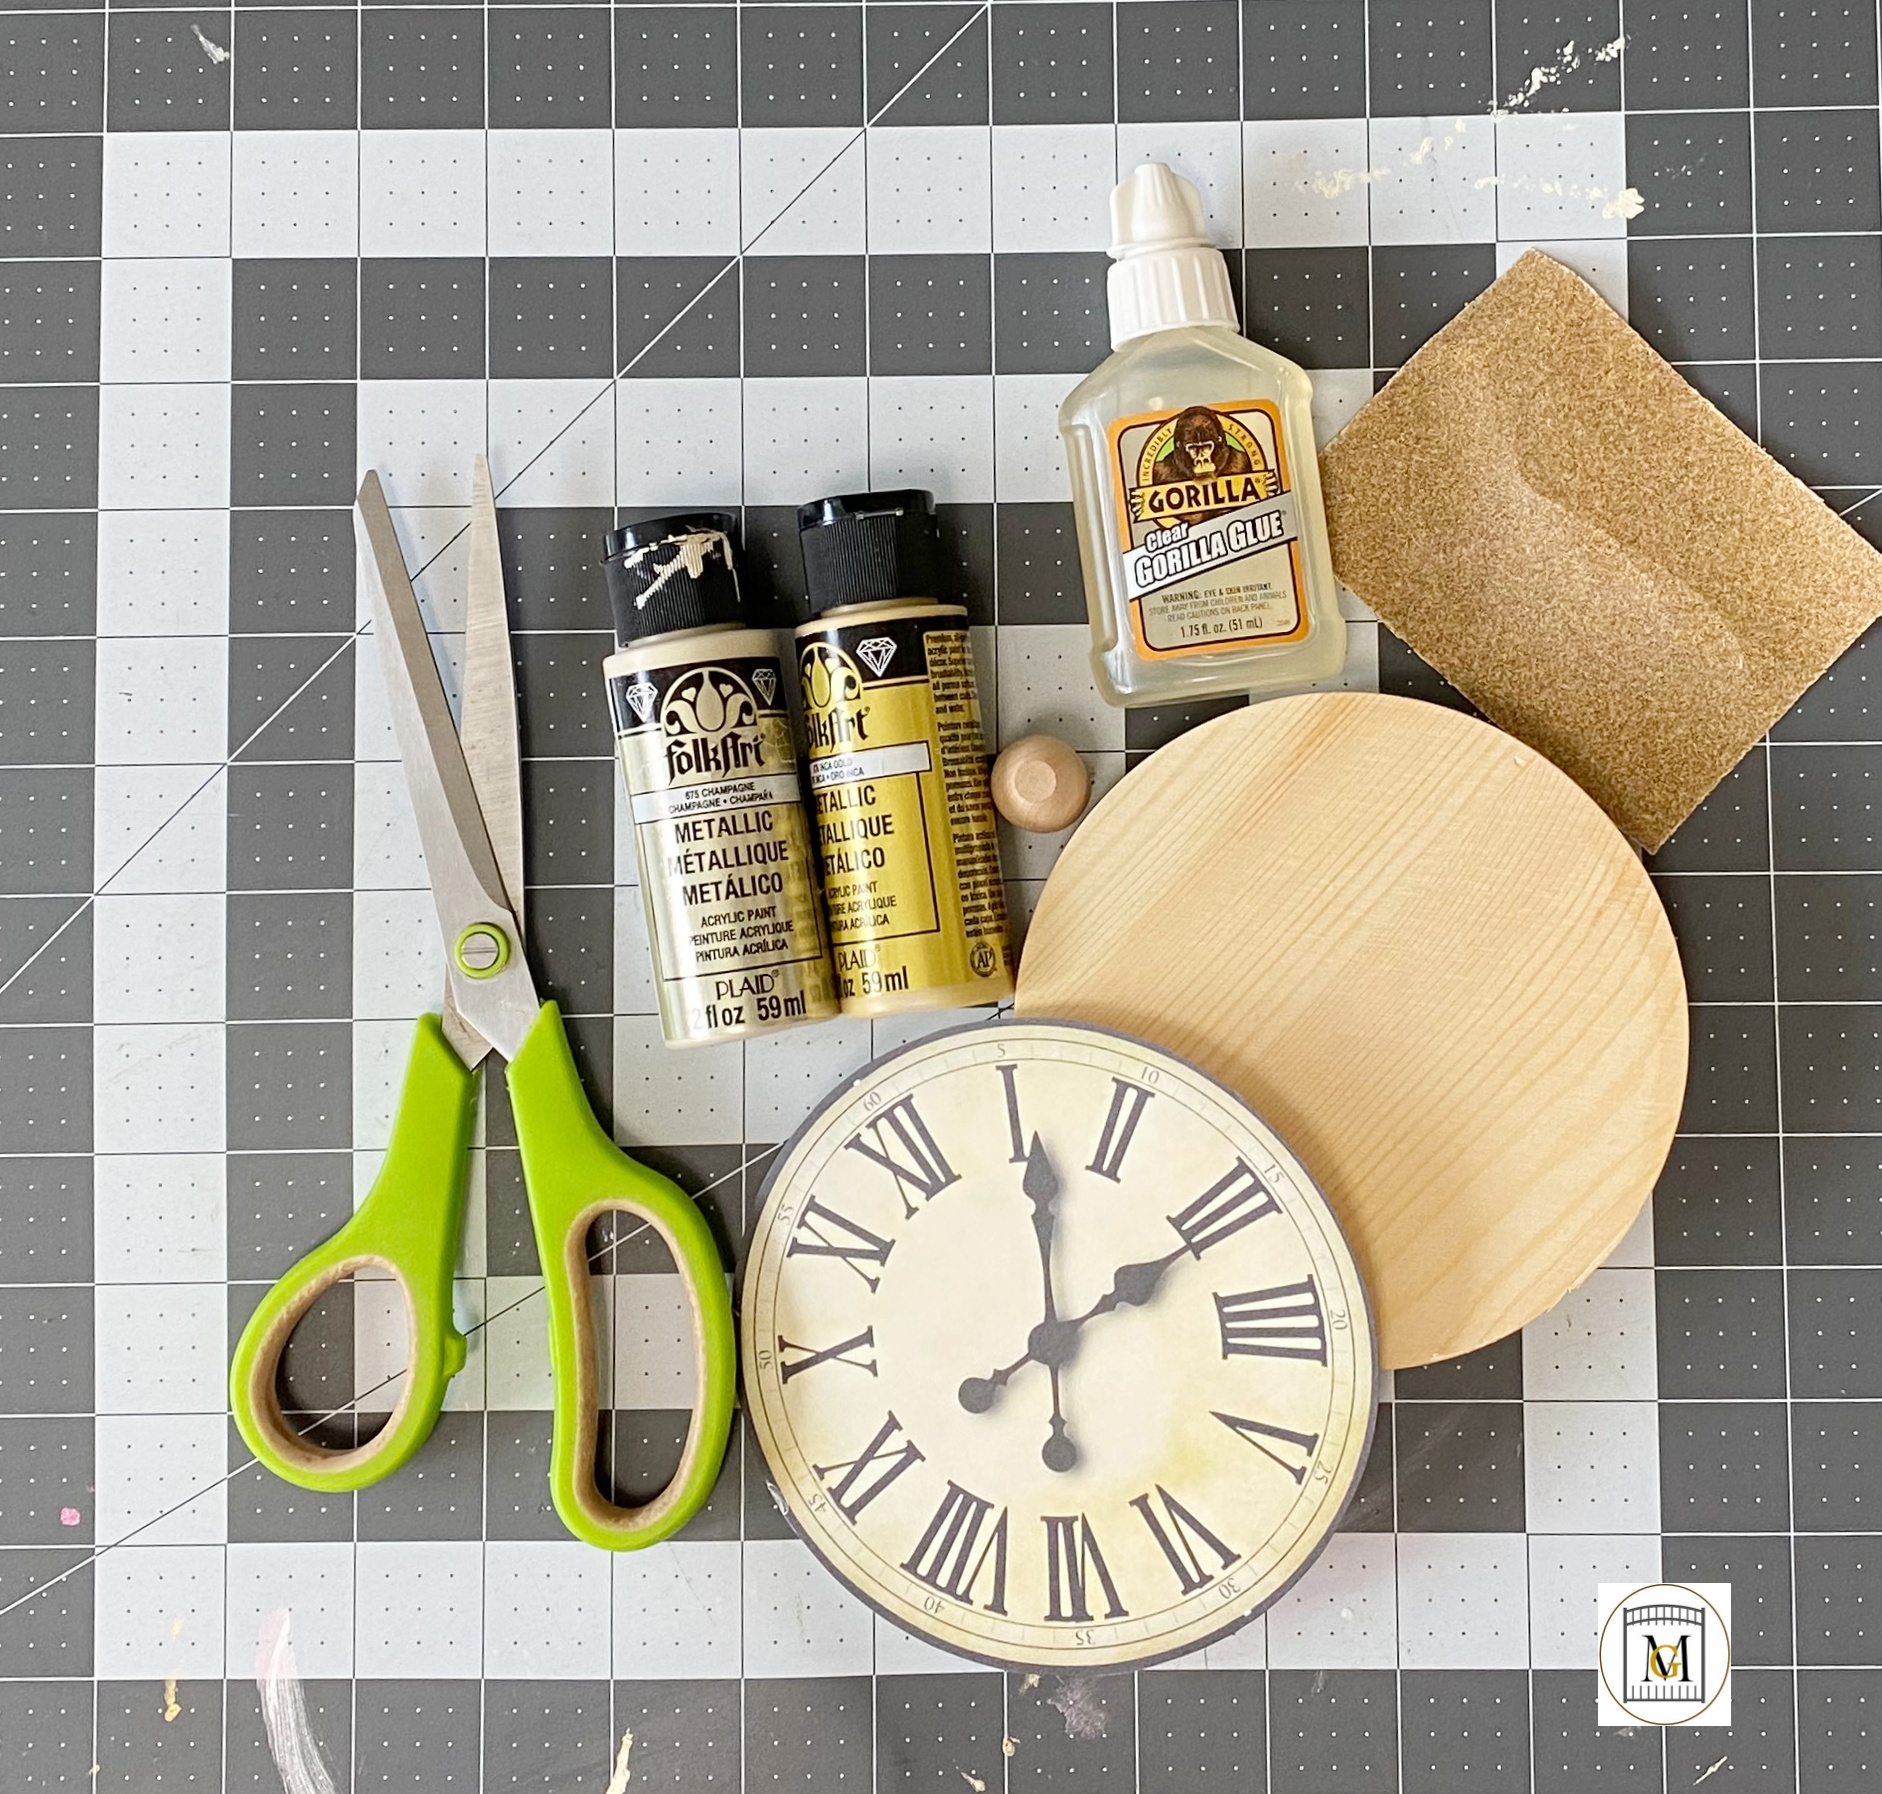
Supplies
- 4 inch, 5 inch or 6 inch circle wood shape, preferably 1/2 inch to 3/4 inch thick
- Wooden acorn dowel cap, 1/4″ drawer pull or jewelry pulls
- 65 lb regular white card stock
- Clear Craft Glue – or any other super strong grip glue
- Scissors
- Tripple Thick
- Mod Podge Gloss
- Metallic acrylic paint
- Fine or extra fine glitter or glitter mix or flakes in the color of your choice
- .23 inch (6mm x 8mm) Eyelet Screws if you are making these into ornaments
- Fine sand paper – if needed
- Paper Towels
- Baby Wipes
- Color Printer
Affiliate links are in this post. So, I may receive a small commission at no extra cost to you if you make a purchase through my affiliate link. Therefore, I only recommend products that I use or would use and love! So, I have saved you the time of searching for good products for you. As an Amazon Associate I earn from qualifying purchases. Just click on the pictures or links for the items seen in this post.
If you need 2-Liter/Wine Bottle Labels, see my available downloads here: https://majorgates.com/product-category/2-liter-wine-bottle-labels/

Instructions
- Search for clock images on the internet and save it down to your computer.
NOTE: Any images found on the internet are for personal use. So, the image may be protected and you may need permission of the image owner if you plan to sell something. So try to find free images for your projects or use for personal use.
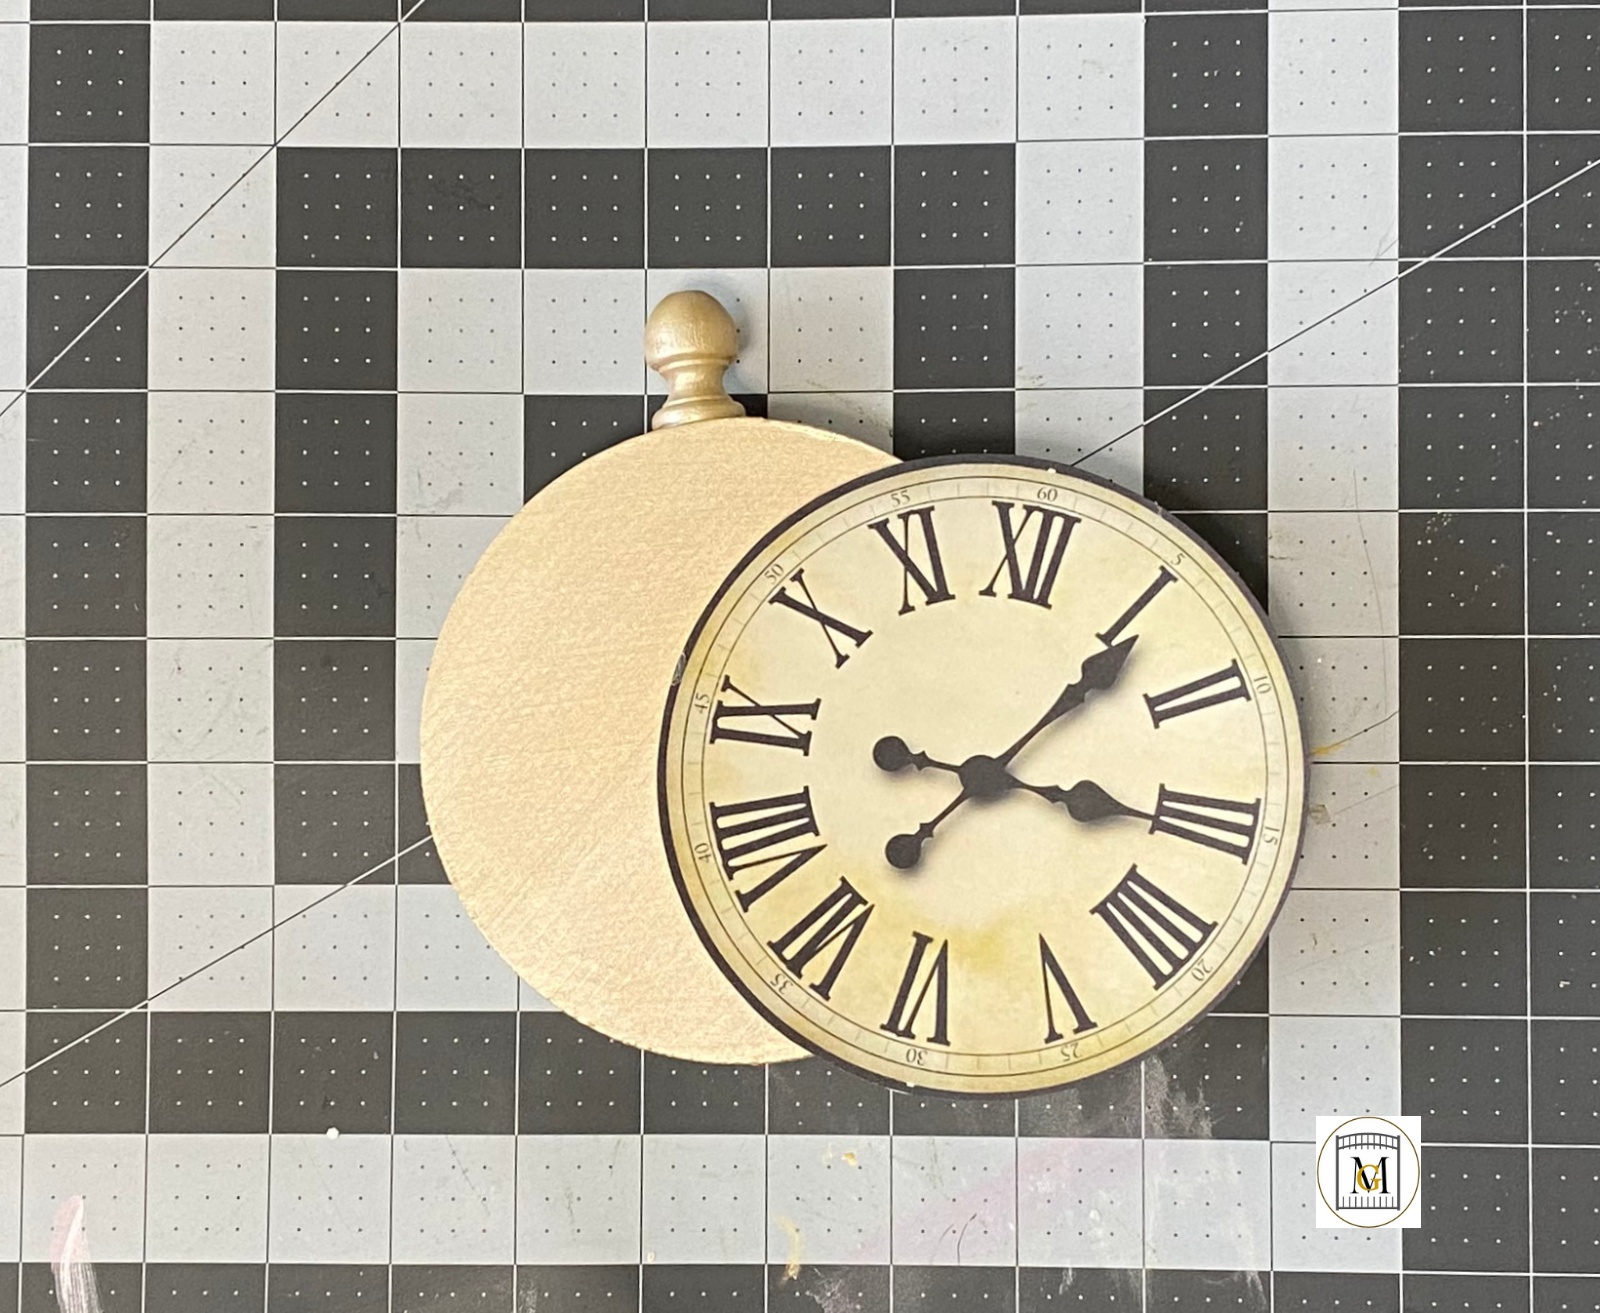
- Depending on the size of your wood circle, print slightly smaller than the wood shape on white card stock. For this example, I am using a 5 inch circle. I printed 1 per page and set the print size to 5 x 7 using a free software called Photoscape X. I am not affiliated and they do offer a free version, but so far I have been able to still use the free one. Here is the link: http://x.photoscape.org
- Next, sand down any wood splinters with a fine piece of sandpaper if required. Then wipe off with a moist cloth and let dry.
- Then glue on the top cap. These are usually small drawer pulls or dowel caps. The size should fit the size of the circle you are working with or be slightly smaller. Allow the cap to fully dry (up to 2 hours).
- Now, prime or paint the wood ornament. So if your paint is thick or dark, you do not need to prime it. You may have to apply multiple coats though. Paint both sides of the ornament, allowing it to dry completely on each side, and paint the edge and top.
- Once it is dry, apply Mod Podge with a paint brush to the underside of the clock image and then affix to the wood ornament.


- Allow the ornament to dry for 10 minutes.
- Now that the Mod Podge is fully dry, it is time to seal the back side of the ornament.
- Paint the back side of the ornament with Triple Thick and allow to fully dry for 2 hours.
- Then seal the clock image side with Triple Thick and allow to dry for another 1 1/2-2 hours. Also, don’t forget the cap of the clock.
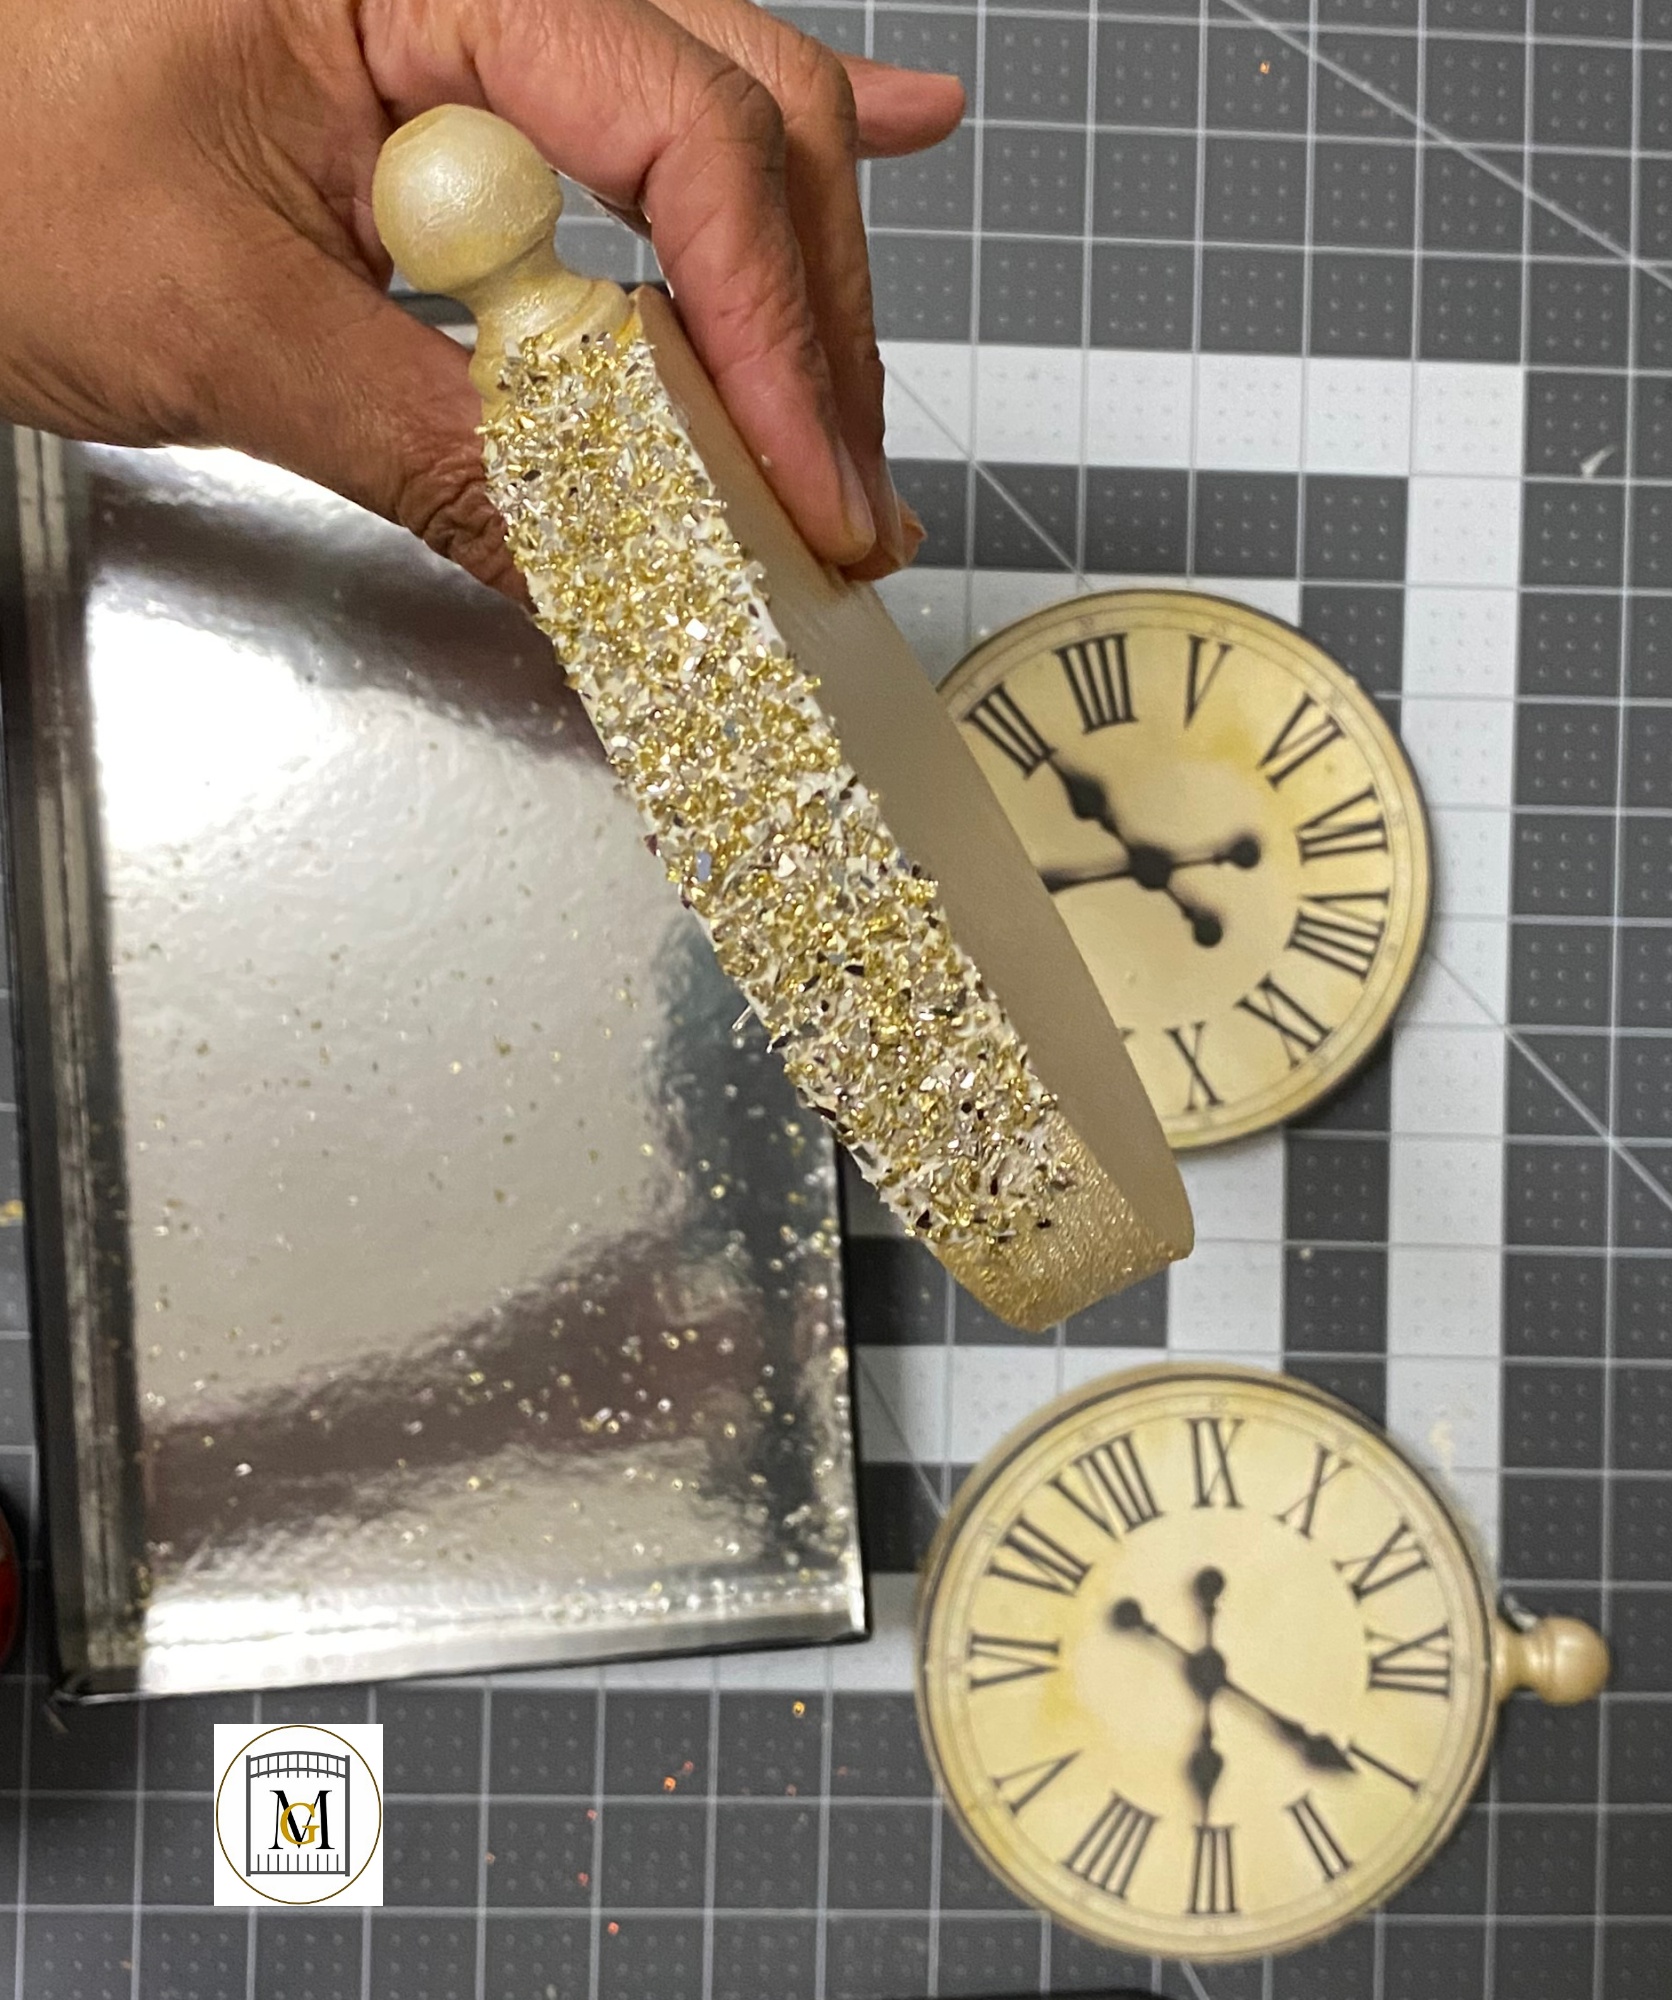
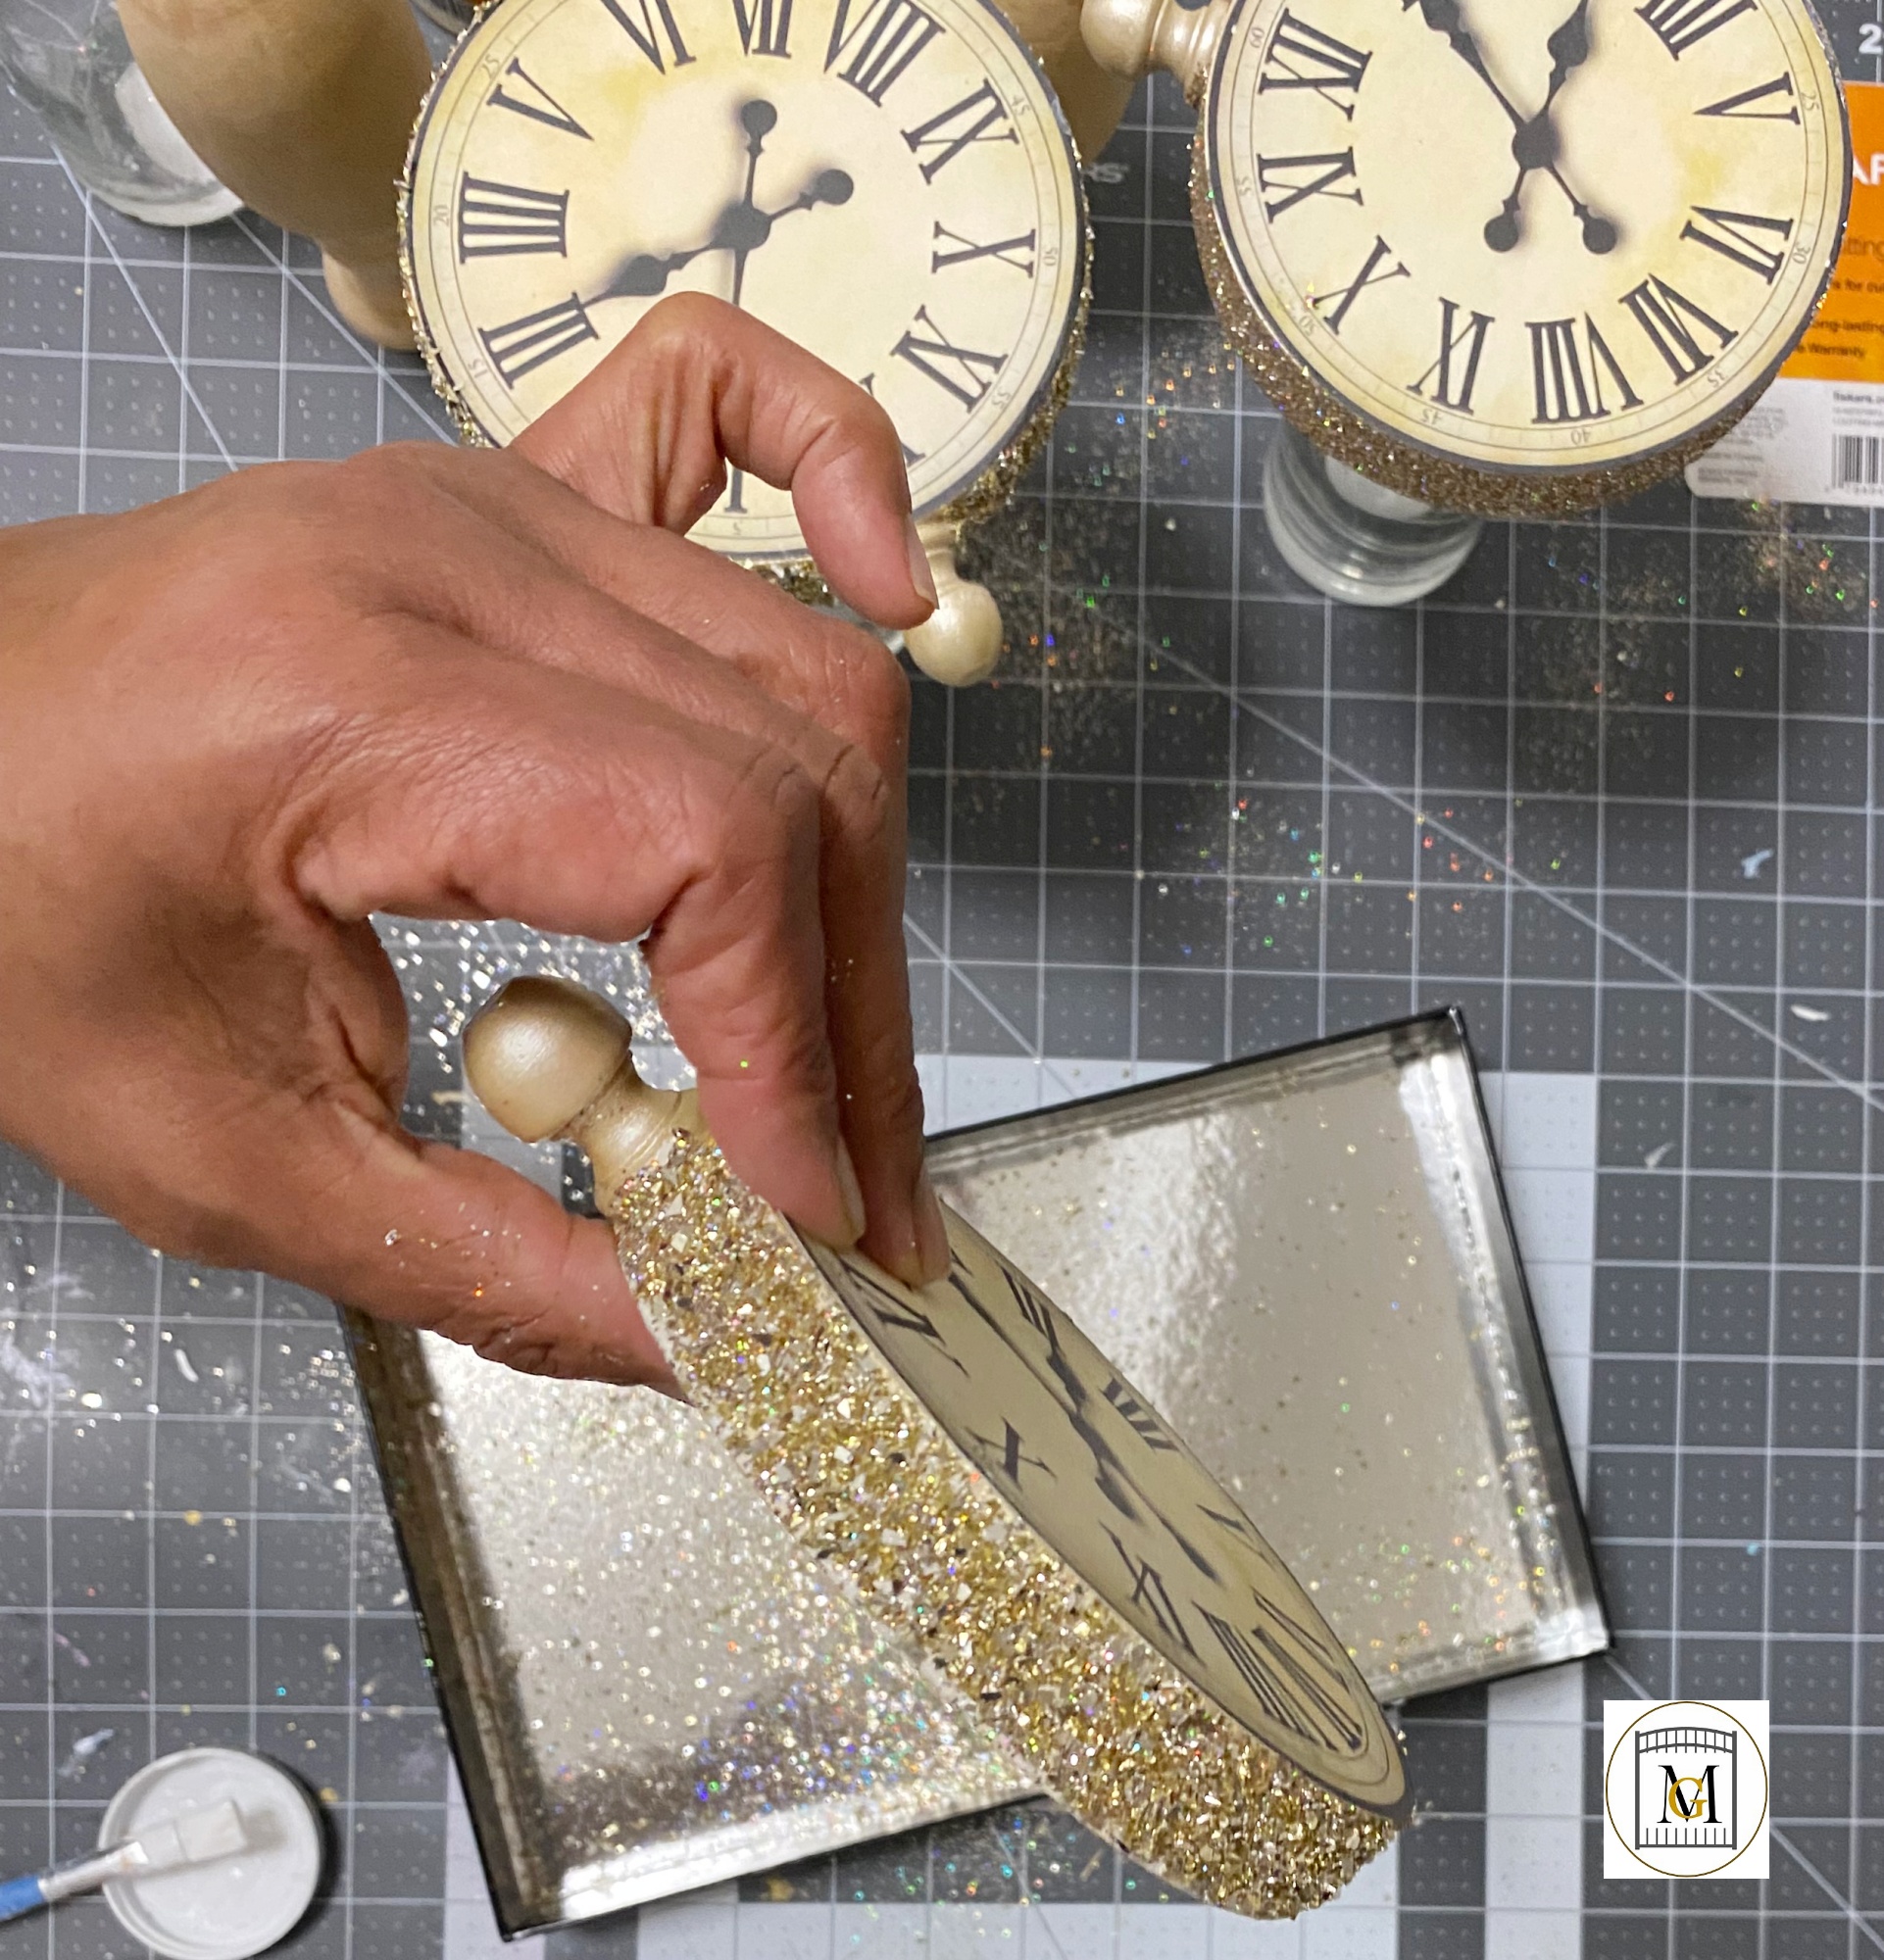
- Once the sealant has dried, paint the edge of the ornament with Mod Podge and shake on the glitter.
- Make sure you shake over a disposable plate or bowl, shake the glitter over the trim edge. But be careful not to shake over the face the clock or use a baby wipe to wipe off excess glitter.
- Now, let the glitter completely dry for at least 1 hour.
- Now, if you are making this into a hanging ornament, then screw the hook into the top and attach thin ribbon so it can be hung. But, if you are not making a hanging ornament, it is done! Insert into greenery displays, accent a table or two or use as part of a centerpiece. You can also just push the clock into the tree without hanging it, that way you can use it for other decor.
- Let me know how it goes!
For another great party idea, learn how to make beautiful cupcake toppers here: https://majorgates.com/do-it-yourself/custom-cupcake-toppers/

To see my available Potion/Apothecary Party Label Downloads, click here: https://majorgates.com/product-category/potion-apothecary-labels/
